
Gluten Free Cake Batter Ice Cream


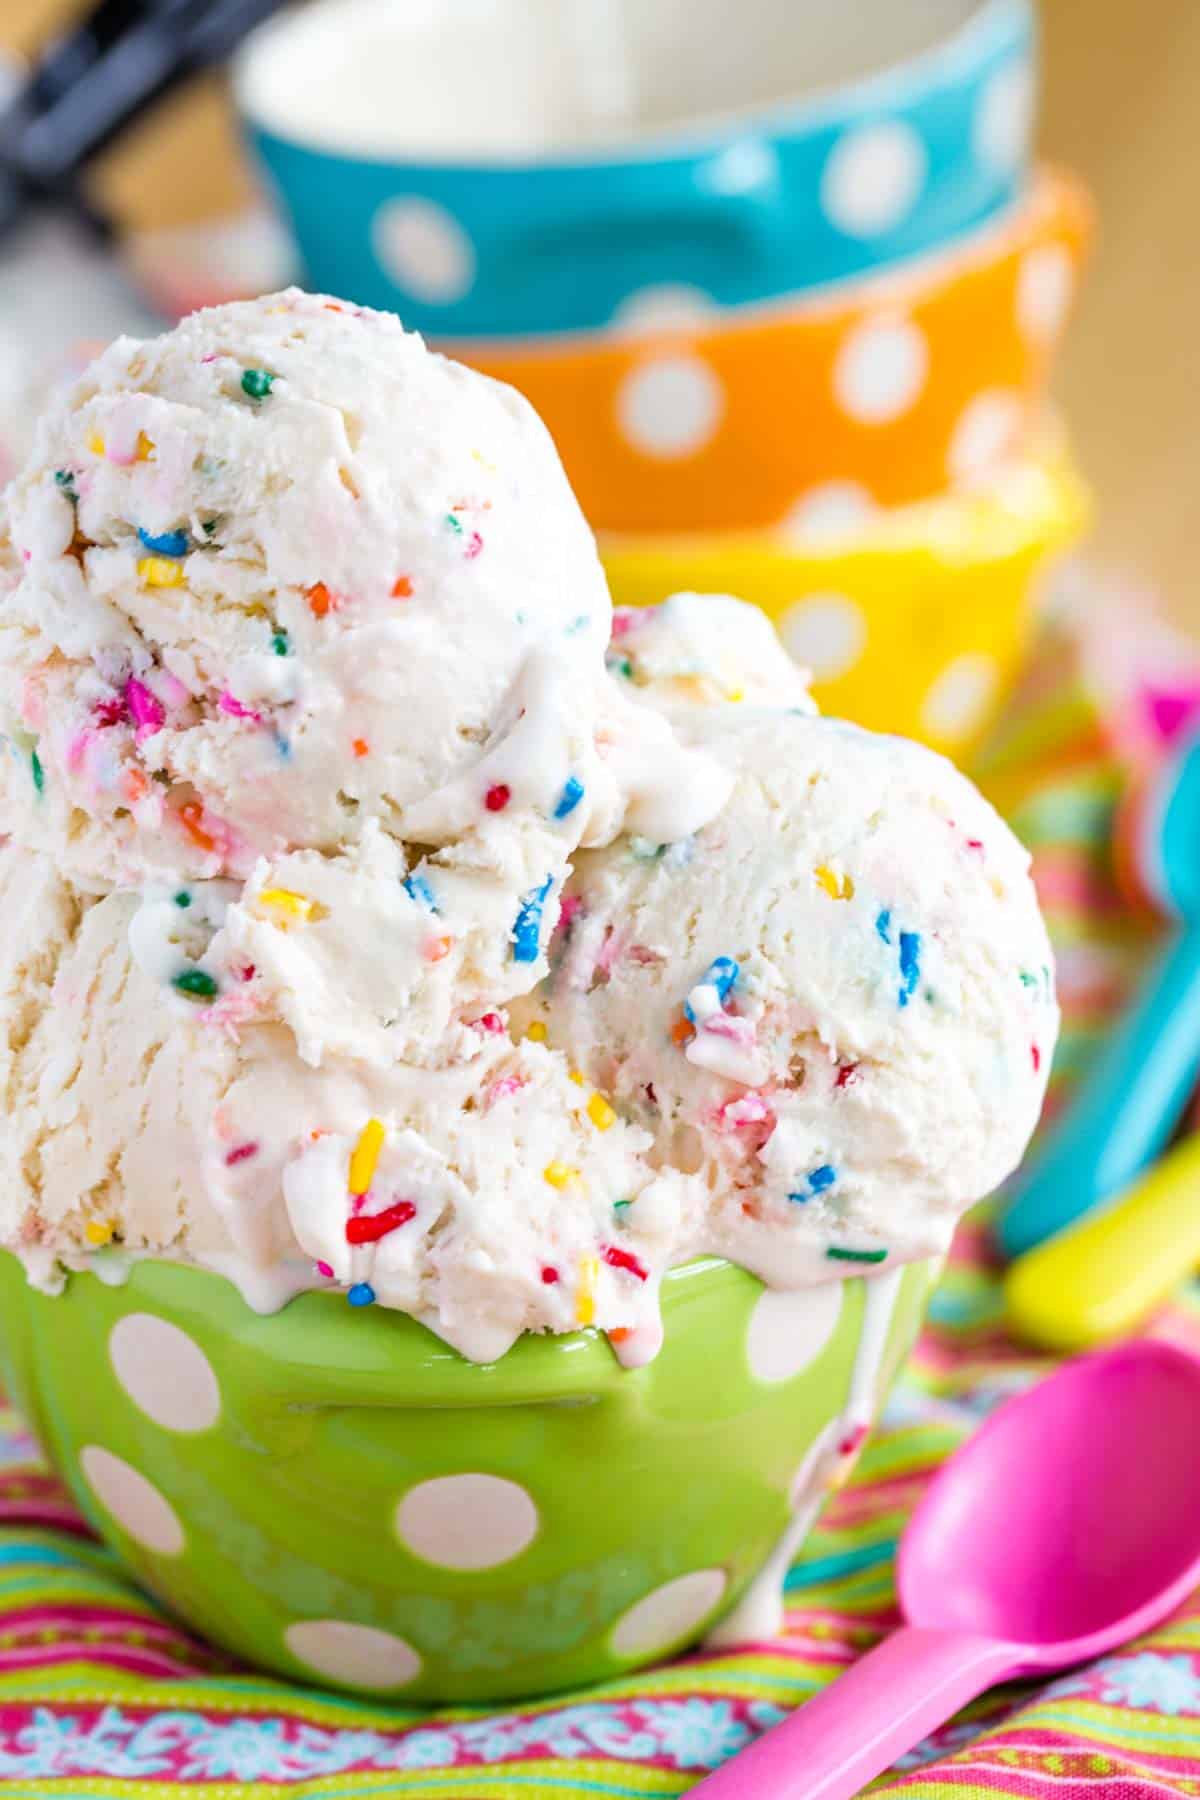
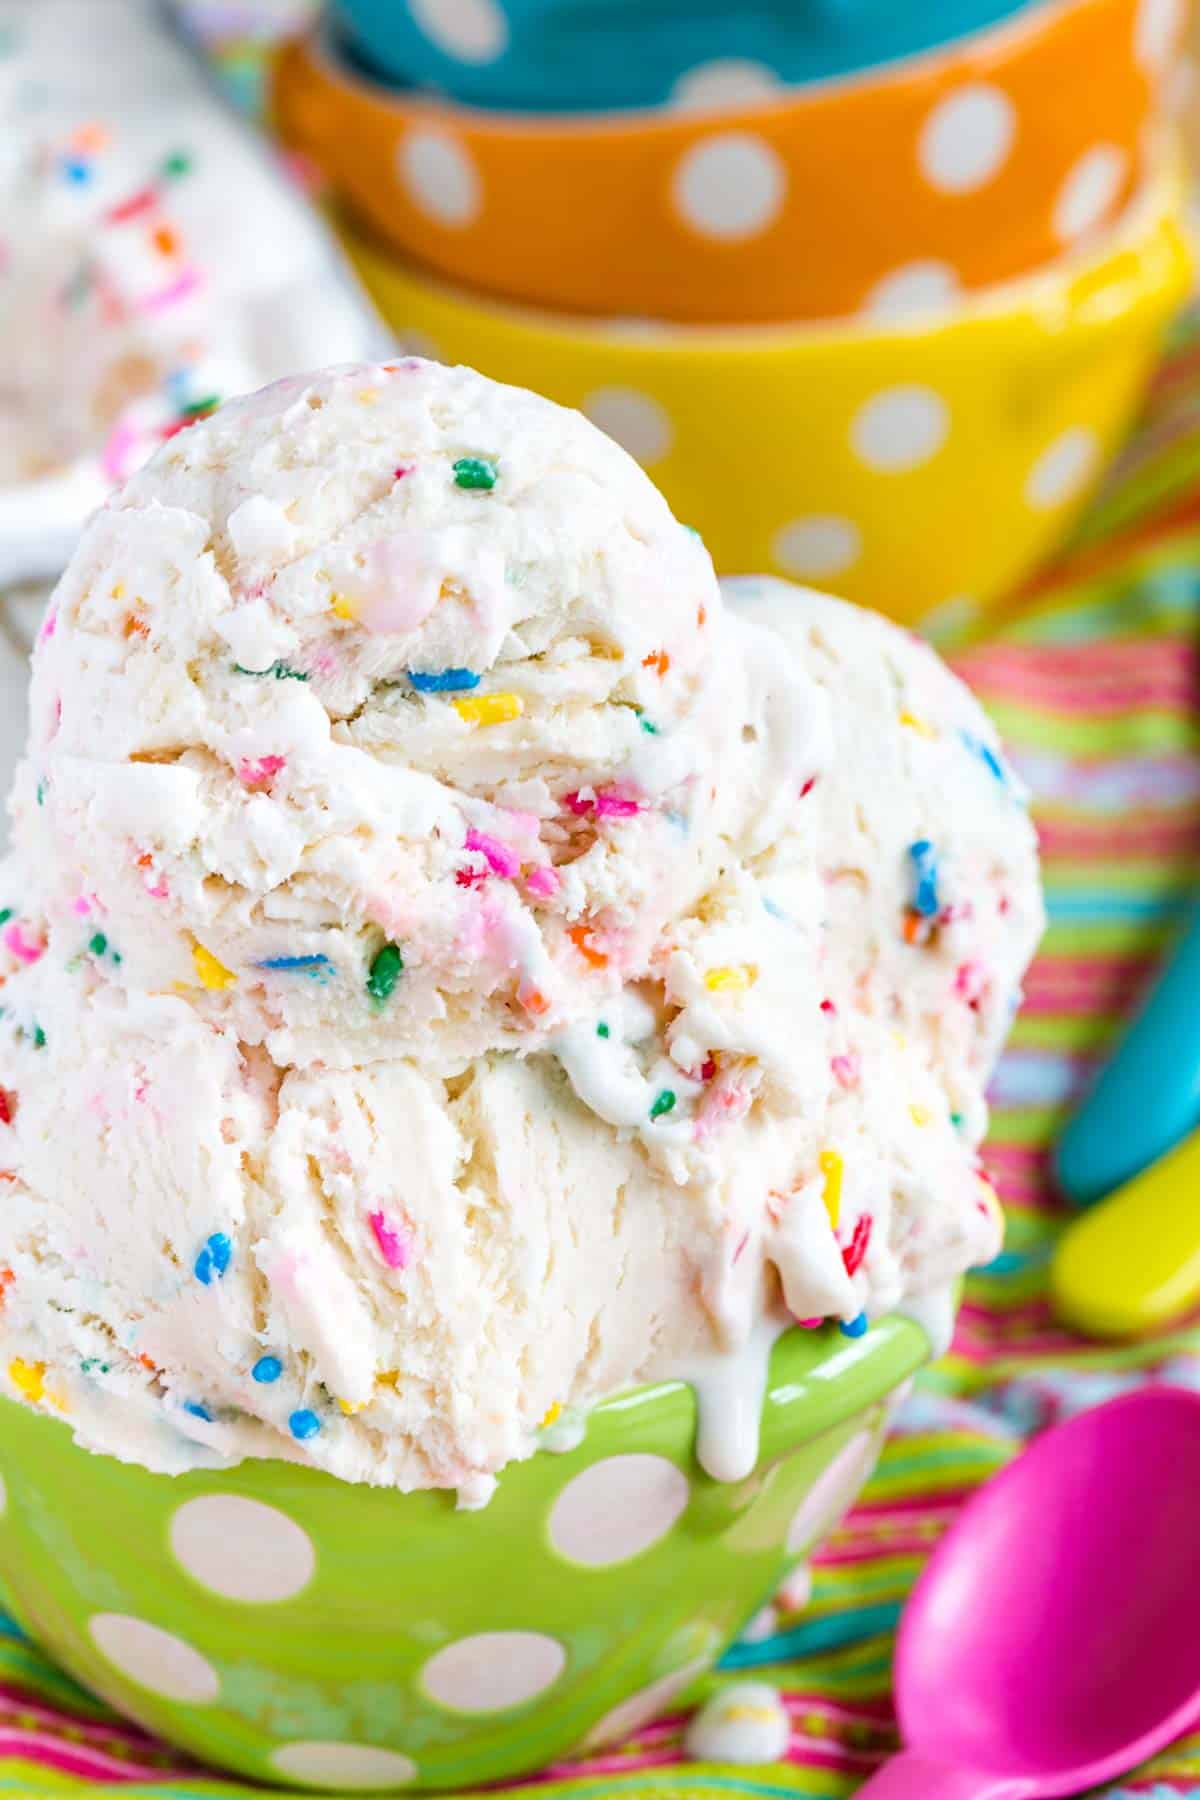
This creamy homemade Cake Batter Ice Cream tastes just like licking funfetti birthday cake batter from the bowl. But the best part is that you don’t need an ice cream maker or a box of cake mix! This easy no-churn recipe is fun for kids of all ages with its rich, buttery vanilla flavor and tons of rainbow sprinkles. Only six ingredients, a few simple steps, and naturally gluten free, so the hardest part is waiting for it to freeze before everyone can enjoy a scoop!
Delicious Details
- Cuisine Inspiration: American
- Primary Cooking Method: No-bake
- Dietary Info: Gluten-free
- Skill Level: Easy
This dreamy frozen treat combines two of my favorite things – ice cream and licking the bowl after mixing up a Funfetti Cake. It is creamy and buttery with a rich vanilla flavor. There is a pinch of salt that enhances the other flavors. And let’s not forget the rainbow sprinkles!
But there’s a secret to this cake batter ice cream that allows even more people to enjoy it. Unlike Cold Stone Creamery, many other recipes out there, and most cartons of birthday cake ice cream you’ll find at the grocery store, this recipe doesn’t contain any cake mix or pieces of cake. So it has no gluten or egg, which means it’s a treat for everyone!
Why You’ll Love this Homemade Cake Batter Ice Cream Recipe
- Tastes just like cake batter. Yes, even without cake mix! It’s the extra ingredients added to the standard heavy cream and sweetened condensed milk base that make it taste like funfetti cake batter – unsalted butter, vanilla extract, salt, and, of course, rainbow sprinkles!
- So simple. Only six easy-to-find ingredients, a few quick steps, and no cooking or ice cream machine is needed. This is truly a recipe anyone can make.
- Dreamy texture. If you’ve ever made no-churn ice cream, you know it’s incredibly rich and smooth. The addition of butter makes it even more velvety, and without cake mix, there’s no grittiness.
- Safe for many to enjoy. The ingredients are naturally gluten free and egg free (no nuts either!). So you don’t have to make any substitutions to enjoy this dreamy treat. That means it’s easy, delicious, and budget-friendly while meeting many dietary needs.
Recipe Ingredients
Even without using cake mix, you only need six simple ingredients to make this luscious cake batter ice cream! Here is a quick overview of what you’ll need, but scroll down to the recipe card for the full amounts.
- Heavy cream: Make sure it is well-chilled.
- Sweetened condensed milk: NOT evaporated milk. You need the sugar in the sweetened condensed milk, as well as the ultra-thick consistency.
- Unsalted butter: Melted and cooled to give it that rich, buttery flavor, just like cake batter.
- Vanilla extract: A key component of the birthday cake ice cream flavor. Something like Niesen-Massey Madagascar Bourbon Vanilla Extract will give you a pure vanilla flavor, but a reader commented that Mexican vanilla extract has more of a cake batter flavor. I also sometimes like to use clear vanilla flavor for a more pure white color for the ice cream and the nostalgic box cake mix vanilla flavor.
- Salt: Just a pinch enhances the sweetness and buttery goodness while making the vanilla stand out.
- Rainbow sprinkles: They add color, texture, and, of course, they put the fun in funfetti! Make sure yours are gluten free, if needed, like these gluten free rainbow sprinkles. Learn more about safe brands in my article Are Sprinkles Gluten Free?

🍴 In the Cupcakes & Kale Chips Kitchen…
- VANILLA EXTRACT: In most cases, I recommend pure vanilla extract, but there is something about clear vanilla flavoring in this recipe that makes it taste even more like cake batter without using a box mix.
- RAINBOW SPRINKLES: If you are making my recipe because you are craving a gluten free option for cake batter ice cream, make sure your brand of sprinkles is gluten-free. Not all of them are!
- HAND MIXER: One with a whisk attachment also saves the effort of using a whisk and is much easier to handle than pulling out the big stand mixer.
- SPATULAS: A silicone spatula is the best tool to gently fold the ice cream together.
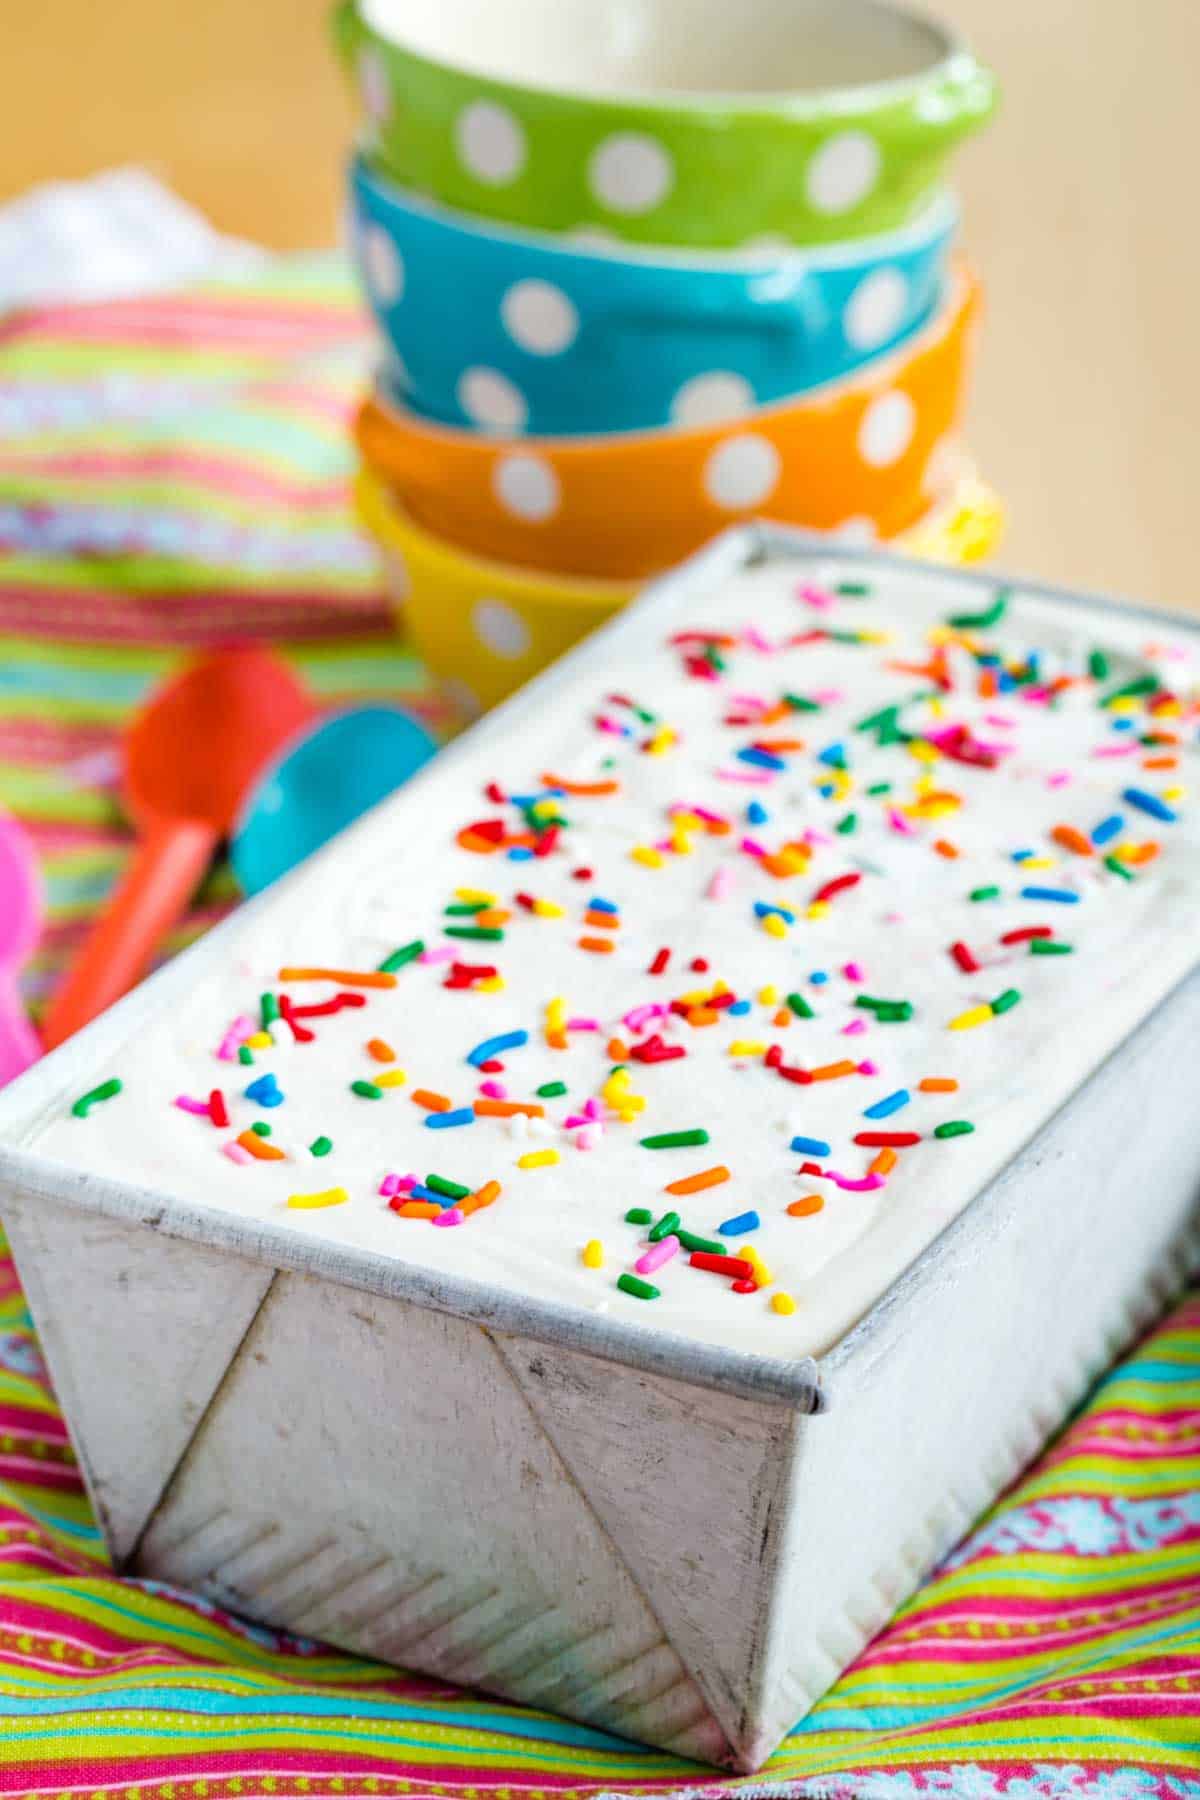
- LOAF PANS: Yes, you can buy a special ice cream container, but a basic 9-inch loaf pan is the perfect size to fit a standard batch of no-churn ice cream.
How to Make Homemade Cake Batter Ice Cream
Read this brief overview so you can see just how easy it is to make. Scroll down to the printable recipe card for the full quantities and details. But don’t skip my TIPS below!
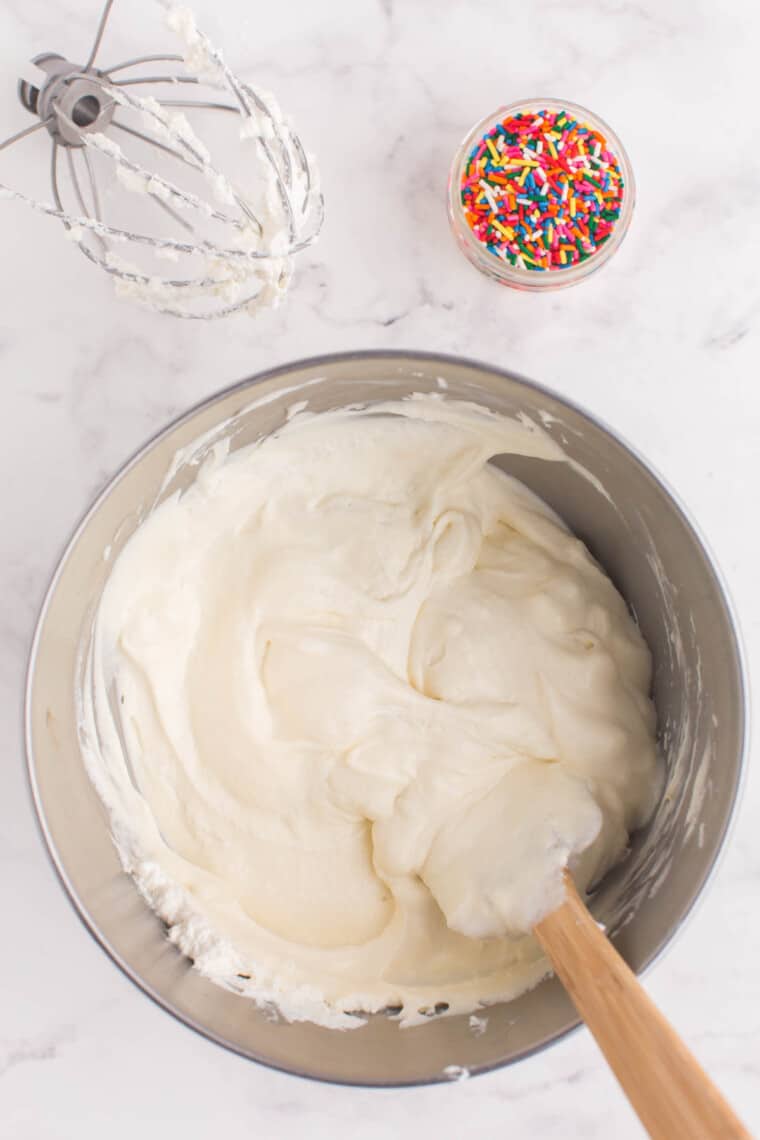
- Whip the cream: Combine the heavy cream, vanilla, and salt in a chilled bowl. Using a hand mixer with beaters or a whisk attachment or a stand mixer, whip the cream to soft peaks.
- Fold it together: Pour the sweetened condensed milk and cooled melted butter into the whipped cream and gently fold in with a spatula.

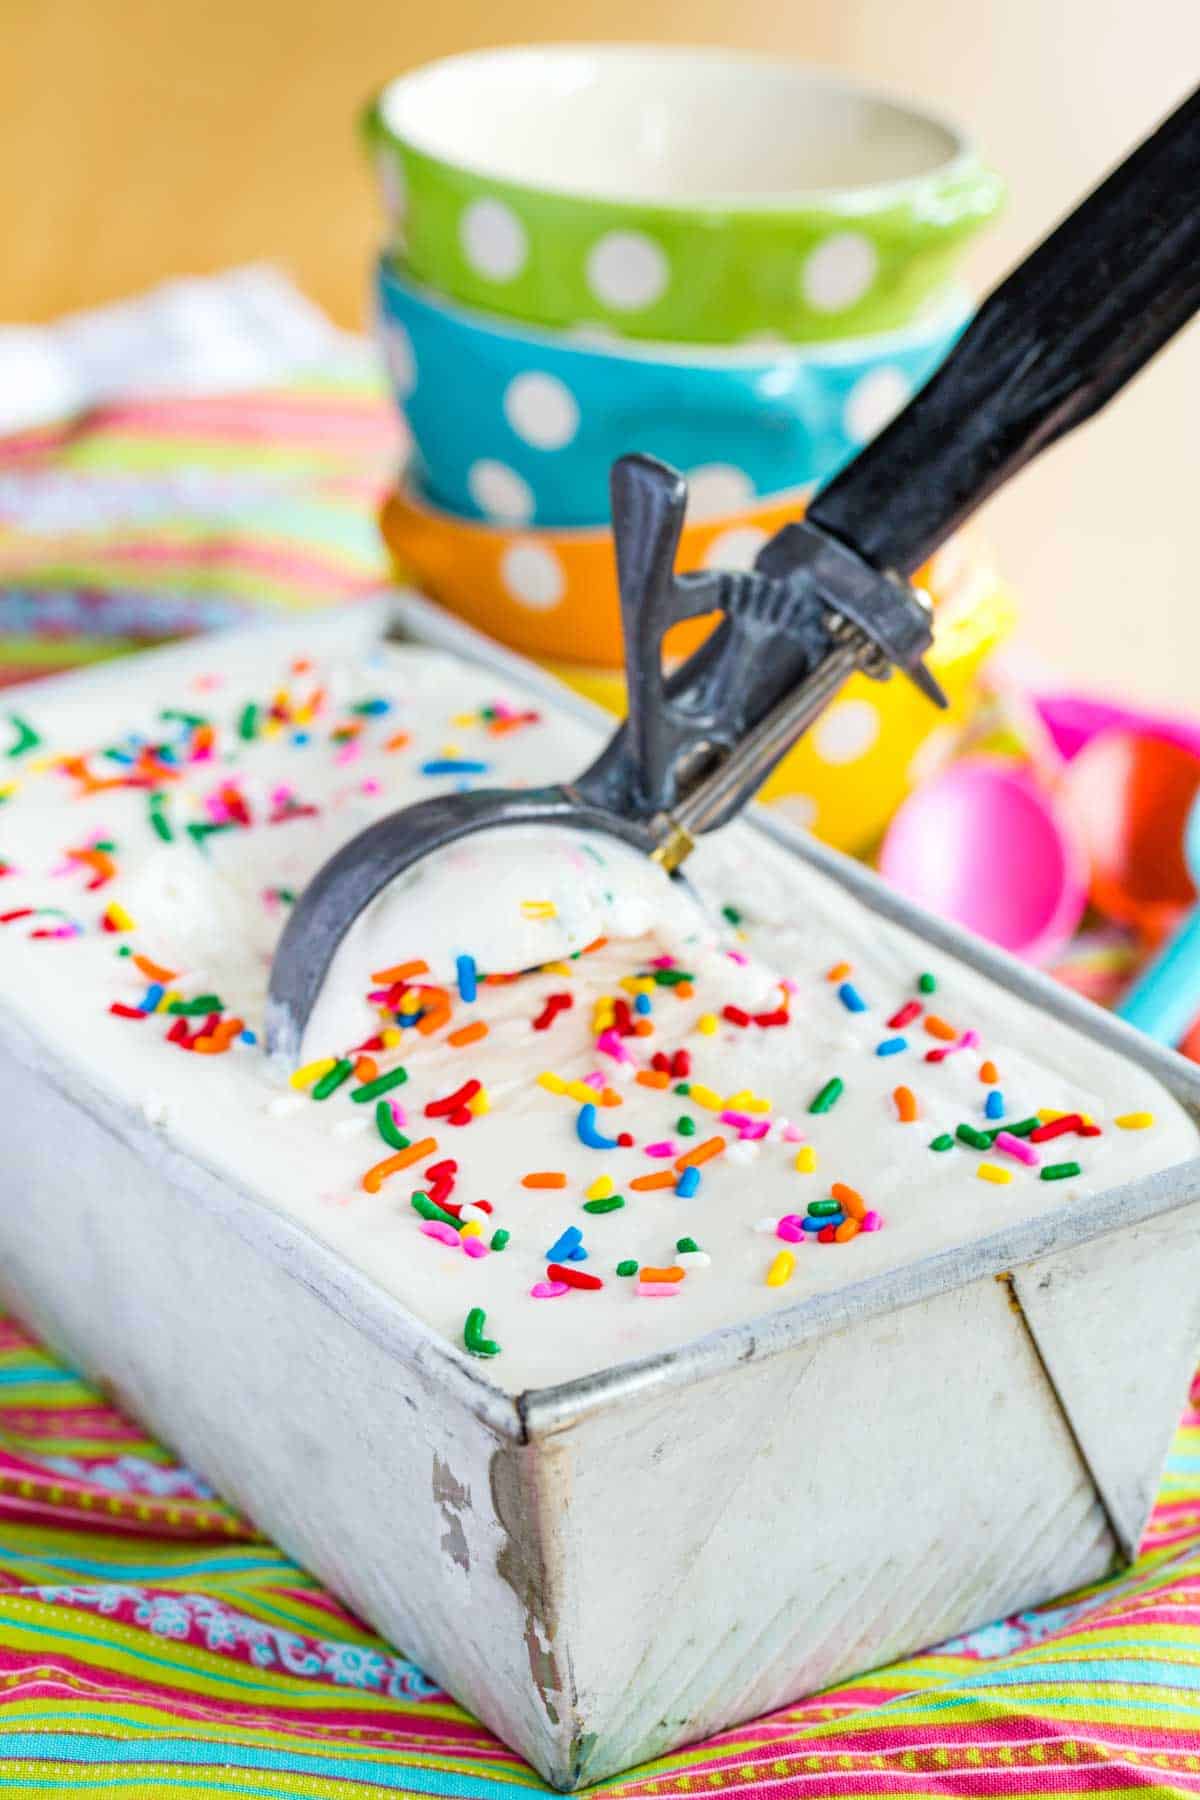
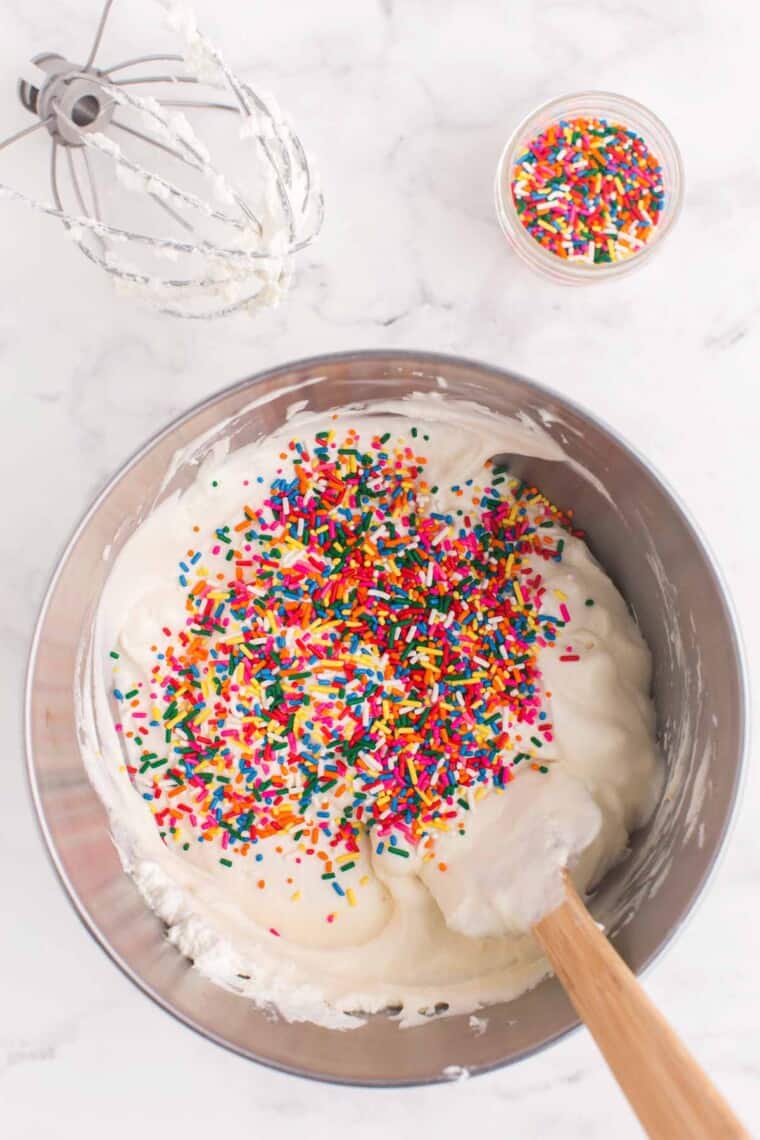
- Finish the ice cream base: Pour the rainbow sprinkles over the top of the mixture and gently mix in. Spread the ice cream into a loaf pan or another freezer-safe container and cover with a lid or wrap tightly with plastic wrap.

- Freeze then serve: Freeze for several hours or overnight. Then scoop and enjoy!
Tips for Success
Here are some things to remember to make the dreamiest cake batter ice cream…
- Keep it cold. Heavy cream whips more easily when it is nice and cold. I also recommend that you use a metal or even glass bowl, and chill it in the freezer or refrigerator before whipping the cream. Try to avoid plastic.
- Don’t overbeat. This will cause the cream to curdle a bit and start to separate, starting to form butter. It’s actually fine to have soft peaks. I like to use a hand mixer with a whisk attachment. It works better and faster than the beaters. A stand mixer works well too, just watch it carefully because it will reach soft peaks quickly.
- Cool the butter. Make sure the butter is cooled completely to room temperature but has not solidified so that it doesn’t “melt” the cream, but still distributes evenly.
- Fold carefully. Use a large spatula and fold the ingredients in gently. Pull the spatula vertically through the middle of the bowl to the bottom, then fold the mixture over on itself. Stir the sprinkles in very briefly so that the color does not start to dissolve and smear through the ice cream.
- Seal it well. If well-sealed, it will keep for about a month. But if you don’t create an airtight cover, it will start to get freezer burn very quickly.
Cake Batter Ice Cream Variations
- Make it chocolaty. If you prefer a chocolate birthday cake ice cream, whisk 1/2 cup of unsweetened cocoa powder into your sweetened condensed milk before folding it into the whipped cream.
- Add some mix-ins. You can swap out the sprinkles or add 1-1 1/2 cups of other mix-ins like chocolate chips (I prefer mini ones), Gluten Free Oreos, or toffee bits.
- Stir in cake. If you want to turn it into birthday cake ice cream, add chunks of Gluten Free Yellow Cake or crumble up a couple of Gluten Free Funfetti Cupcakes.
- Give it a swirl. Drizzle in some chocolate glaze or caramel sauce and swirl it through with a knife or skewer before freezing. You can even add a ripple of vanilla frosting!
- Use different sprinkles. You can go with chocolate sprinkles or use colors to match a holiday or occasion. Red, white, and blue would be fun for the Fourth of July.
- Turn it into an ice cream cake. Instead of a loaf pan, pour the cake batter ice cream base into a springform pan and add chocolate frosting to make this Funfetti Ice Cream Cake!
Serving Suggestions
While you can’t go wrong just enjoying a scoop or two, there are lots of ways to make your cake batter ice cream even more fun and yummy. Try these ideas:
- Make a sundae. You can’t go wrong with the classic combo of hot fudge, whipped cream, and a cherry. Or swap that cherry for Funfetti White Chocolate Strawberries. You can also scoop your birthday cake ice cream on top of gluten free brownies or chocolate waffle cookies for a real treat!
- Sandwich it. Add a scoop of cake batter ice cream between gluten free chocolate chip cookies to make a funfetti chipwich!
- Have a cone. Of course, you can pick up a package of cones (gluten free, if needed) and scoop it on top, but you can also follow the directions in this Cannoli Ice Cream Cones to turn it into the drumsticks you loved as a kid.
- Serve cake and ice cream. It’s a birthday staple, and you can choose from Gluten Free Strawberries and Cream Cake for simple summer vibes, Banana Nutella Chocolate Chip Cake to be extra decadent, Gluten Free Chocolate Cake to balance the vanilla flavors, or Gluten Free Rainbow Layer Cake for even more color.
No-Churn Cake Batter Ice Cream without Cake Mix
Ingredients
- 2 cups heavy whipping cream , well chilled
- 2 teaspoons vanilla extract
- ¼ teaspoon salt
- 14 oz. sweetened condensed milk
- 2 Tablespoons unsalted butter , melted and cooled
- 1/2 cup rainbow sprinkles
Instructions
- Place a large bowl and beaters or whisk attachment into the freezer to chill for about 10 minutes.
- Combine 2 cups heavy whipping cream, 2 teaspoons vanilla extract, and ¼ teaspoon salt in the chilled bowl, and using the whisk attachment of a stand mixer or hand mixer, whip the cream to soft peaks.
- Carefully pour 14 oz. sweetened condensed milk and 2 Tablespoons unsalted butter (melted and cooled) into the bowl, then gently fold into the whipped cream. Then quickly and gently fold in 1/2 cup rainbow sprinkles.
- Transfer the ice cream into a container you can freeze. Cover tightly and freeze for at least 4-6 hours, or until firm.

Did you make this?
Leave a star rating to help others know that they should make this recipe.
Share a photo and tag @cupcakesandkalechips on Instagram!
I am happy to see that this is gluten free. I have a question about your “Brianne Recommends”. In the box you say you need butter extract, but it is not listed in the recipe. Am I missing it?
Oh silly me, no. I actually just use melted butter for the most authentic flavor. I think I was confusing myself with another recipe. Though you can use it instead of the butter if you want to save a few calories.
Pro tip: Mexican vanilla extract blends taste like cake batter! That’s our secret ingredient in cake batter ice cream
Good to know!