
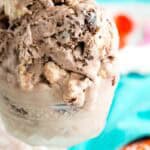
No-Churn Brownie Batter Ice Cream

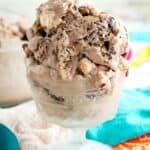
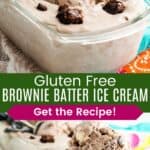
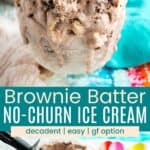
Creamy and ultra-rich, No-Churn Brownie Batter Ice Cream is studded with brownie chunks and gooey toasted marshmallow for a little something extra. Easily made gluten-free so you don’t have to miss out, and no ice cream machine is needed!

Delicious Details
- Cuisine Inspiration: American
- Primary Cooking Method: Oven
- Dietary Info: Gluten-free option
- Skill Level: Easy
Why You’ll Love This Brownie Batter Ice Cream
What’s better than licking the brownie bowl? How about turning the brownie batter into ice cream swirled with a thick ribbon of gooey roasted marshmallows and bits of chopped brownies? I thought so! This rich brownie batter no-churn ice cream is like a s’mores version of ice cream, but made with brownies instead of Gluten Free Graham Crackers. Truly, this recipe gives Ben & Jerry’s a run for their money!
It’s so good drizzled with Homemade Hot Fudge Sauce (grown-ups will love it topped with Bailey’s Chocolate Sauce) to make it a little extra. Here are some more things you’ll love about this homemade ice cream:
- Beloved by all. Kids love the marshmallows, adults love the brownies, and everyone will appreciate how rich and decadent this ice cream tastes.
- No churn, no problem. I am a huge proponent of keeping things easy, and no-churn ice creams are my favorite. You’ll love how simple it is to prepare this ice cream—there’s no need to make a custard or lug out the ice cream maker.
- Nice texture contrast. A smooth ice cream base, sticky marshmallows, and chewy brownie pieces add lots of texture and keep things interesting.

Recipe Ingredients
I use a boxed brownie mix to cut down on time, and sometimes I’ll make from-scratch brownies (my Gluten Free Rocky Road Brownies are a fun addition); I’ve included how to do this lower down. Here’s a look at what you’ll need for this recipe, and I’ve included the full ingredient amounts in the recipe card lower down.
- Brownie Mix: I recommend a box of King Arthur Flour Gluten Free Ultimate Fudge Brownie Mix, but you can use any brownie mix you prefer. You’ll also need the ingredients to make the mix (egg, water, and butter).
- Marshmallows: I use mini marshmallows because I like smaller bites of marshmallow. If needed, you could use regular-sized marshmallows and chop them up. (See my post on Are Marshmallows Gluten Free for tips on choosing gluten-free marshmallows.)
- Heavy Cream: Don’t substitute the heavy cream because you will whip it to make the ice cream base
- Sweetened Condensed Milk: Make sure to buy sweetened condensed milk because there is no additional sugar in the ice cream base.

How to Make Brownie Batter Ice Cream
There are a few steps that go into making this ice cream, but of course, the bonus is that you don’t have to deal with pre-freezing an ice cream maker. Here’s how to put together this recipe, and you’ll find the full instructions in the recipe card.
- Make brownies. Prepare half of the brownie mix.
- Bake. Place it in a lined loaf pan and bake at 350°F for about 20 minutes. After cooling, cut into chunks.


- Prep marshmallows. Spread mini marshmallows on a lined baking pan.
- Toast. Place the marshmallows under the broiler for 1-2 minutes.


- Whip cream. In a chilled bowl, beat the cream with the remaining brownie mix until soft peaks form.
- Add condensed milk. Fold in the sweetened condensed milk.


- Add brownies and marshmallows. Break up the marshmallows and add them and the brownie pieces to the ice cream base.
- Fold together. Gently fold the add-ins into the base.


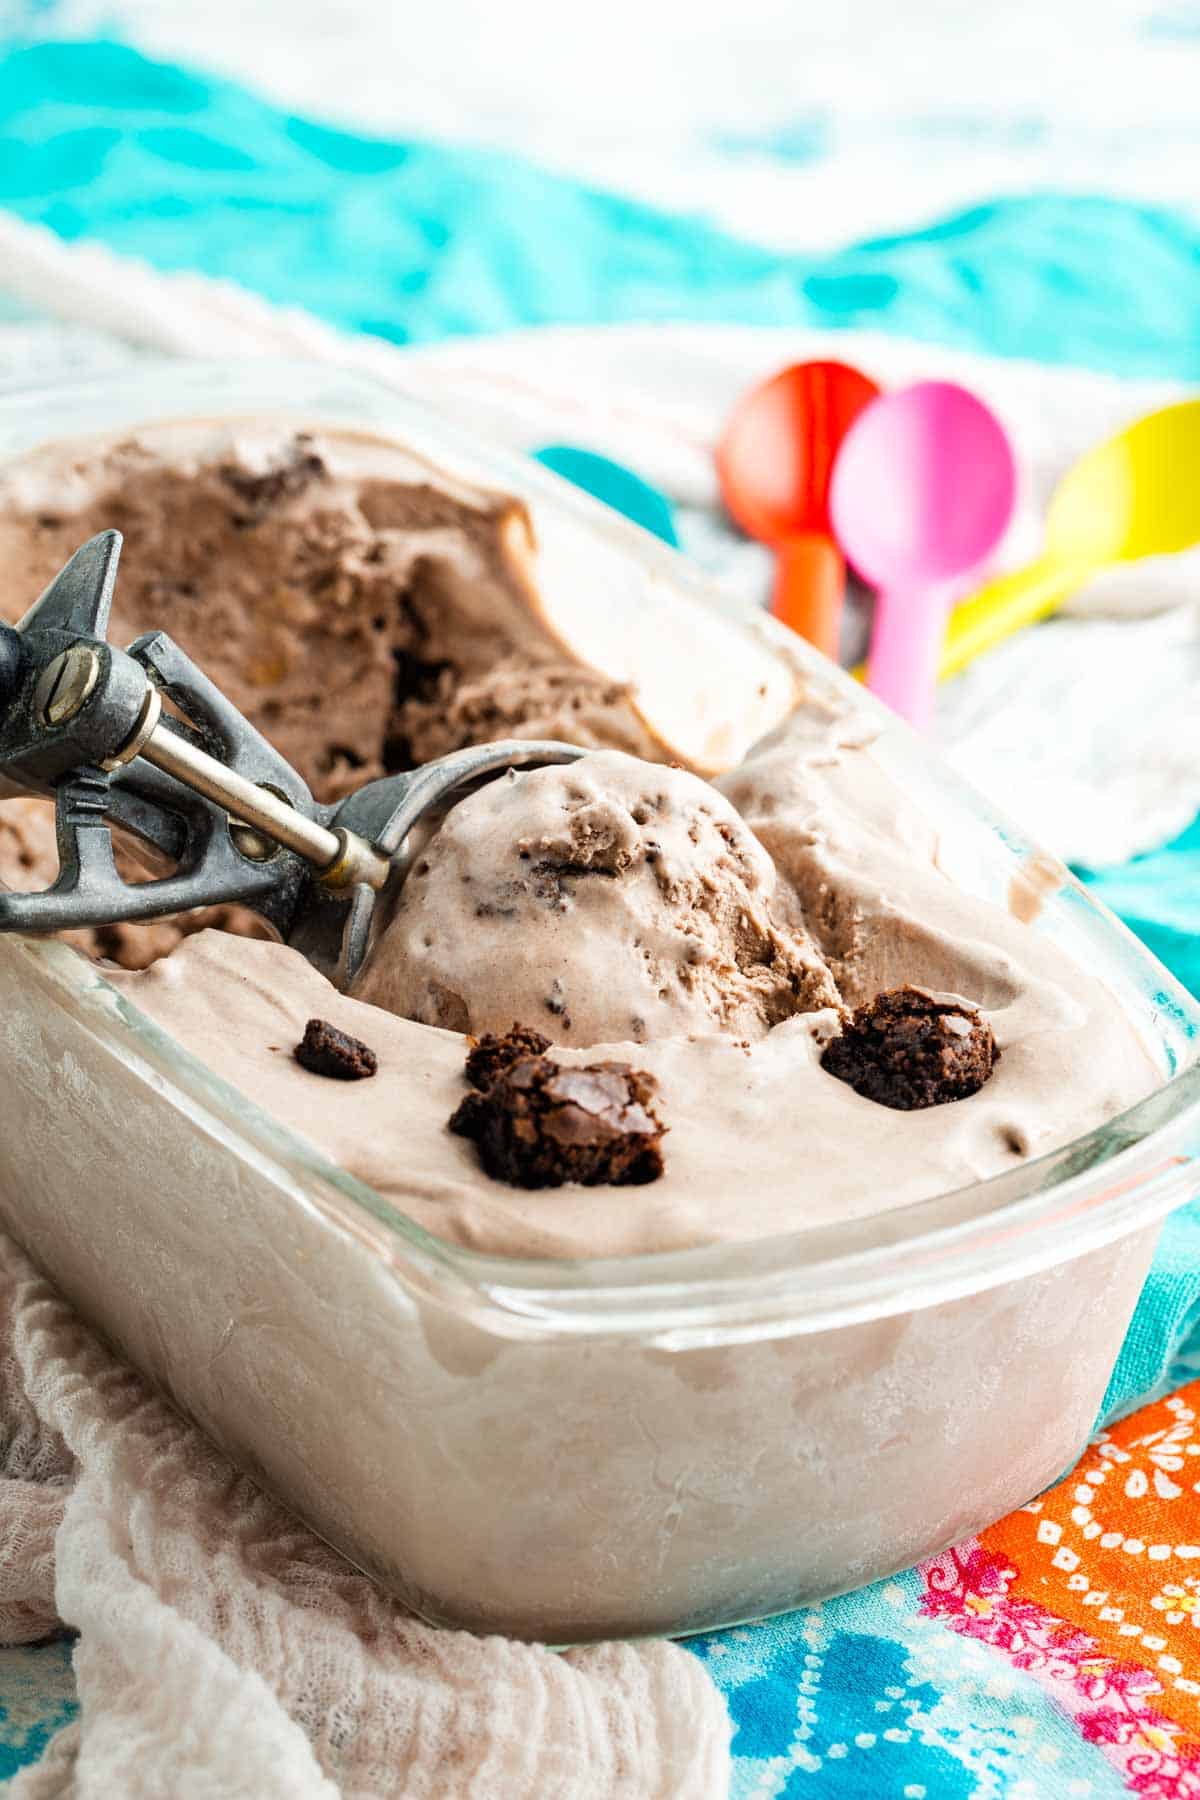
- Place in containers. Transfer the ice cream to two freezable containers.
- Freeze. Top the ice cream with the remaining brownie pieces, cover it with plastic wrap, and freeze for at least 6 hours.


Tips and Variation Ideas
- How to reduce the amount of ice cream: This recipe makes two batches of ice cream. If you only want to make one batch, you can bake the half batch of brownies, use one-quarter of the mix whipped with one pint of heavy cream, and fold in one can of sweetened condensed milk. Then use 1 cup of marshmallows and half of the baked brownies.
- Store correctly. If you only plan on having one container of ice cream right away, make sure to cover and tightly wrap the second one with plastic wrap to prevent freezer burn or ice crystals from forming. For the best flavor and texture, enjoy within a month.
- Dealing with sticky marshmallows: The toasted marshmallows are very sticky. To separate and transfer them to the bowl, use a spatula lightly sprayed with nonstick cooking spray or use your hands.
- Other mix-ins: Feel free to swap the marshmallows for 1 cup of mix-ins like toffee, chopped chocolate, toasted walnuts, etc.
- Dairy-free. For a dairy-free version, use coconut cream for the heavy cream and dairy-free sweetened condensed milk. Swap the butter in the brownie mix for vegetable oil.
- Make homemade brownies! Skip the boxed mix and make my Gluten Free Brownies to add in. If you do this, use half of the baked batch to cut up and stir into the ice cream base, and leave out the “reserved brownie mix” portion of the instructions.
How to Store
Transfer the ice cream to a freezer-safe container, cover the ice cream with a piece of plastic wrap to help prevent ice crystals from forming, and keep it sealed in the freezer for no more than 30 days. Remember that homemade ice cream doesn’t stay fresh as long as store-bought ice cream because it doesn’t contain any preservatives. Keep track of how long you’ve had it in the freezer so that it tastes as fresh as possible.

More No Churn Ice Cream Recipes

No-Churn Brownie Batter Ice Cream
Ingredients
- 1 box brownie mix that makes a 9×9 inch square pan of brownies plus ingredients to bake half a batch of brownies , gluten free if needed (recommended King Arthur Flour Gluten Free Ultimate Fudge Brownie Mix plus 4 tablespoons melted butter, 1 tablespoon water, and 1 large egg)
- 2 cups mini marshmallows
- 4 cups (one quart) heavy cream, well chilled, divided
- 2 14.5 oz. cans sweetened condensed milk
Instructions
- Place a large glass or metal bowl in the refrigerator or freezer for whipping the cream. Preheat the oven to 350°F or as directed on your brownie mix. Line a 9-inch loaf pan with parchment paper and spray lightly with nonstick cooking spray.
- Divide the 1 box brownie mix that makes a 9×9 inch square pan of brownies plus ingredients to bake half a batch of brownies in half (241 grams or about 1 ½ cups if using the King Arthur Flour mix), placing half in a mixing bowl and set aside.
- Add the brownie ingredients to the brownie mix in the mixing bowl and mix as directed. Pour the batter into the prepared pan and bake, check at about 5 minutes less than the time listed for the full batch. Bake till done, about 20-25 minutes for the King Arthur Flour mix). Remove the brownies from the oven, cool completely, and cut into small cubes.
- Adjust the setting on the oven to turn on the broiler. Spread the 2 cups mini marshmallows on a sheet pan lined with a silicone baking mat or a piece of aluminum foil covered well with cooking spray. Place the marshmallows under the broiler for 1-2 minutes, or until lightly browned and toasted. Remove from the oven and set aside to cool to room temperature.
- Add the 4 cups (one quart) heavy cream, well chilled, divided and reserved brownie mix to the chilled bowl. Using an electric mixer or whisk, beat the heavy cream until it forms soft peaks.
- Add the 2 14.5 oz. cans sweetened condensed milk to the whipped cream mixture and gently fold until just barely combined. It’s fine if some streaks remain.
- Transfer the toasted marshmallows to the bowl, breaking up as much as possible. Note that they will be quite sticky. Add the brownie pieces, reserving some for the top, if desired. Fold in gently.
- Transfer to two containers that you can freeze, such as two 9-inch loaf pans. Top with any reserved brownie pieces.
- Cover with a lid or plastic wrap and place in the freezer for at least 6 hours or until frozen completely.
Did you make this?
Leave a star rating to help others know that they should make this recipe.
Share a photo and tag @cupcakesandkalechips on Instagram!
I just got home from the grocery store, but you have me wanting to go straight back to get all these ingredients. My mouth is watering!!
Do it! 🙂