
No-Churn Dulce de Leche Ice Cream


Easy and decadent No-Churn Dulce de Leche Ice Cream is the recipe you didn’t know you were missing! Just a few ingredients including dreamy dulce de leche and rich cream combine for a quick frozen treat that’s also gluten free.

Why You’ll Love This No-Churn Ice Cream
Delicious Details
- Cuisine Inspiration: American
- Primary Cooking Method: No-bake
- Dietary Info: Gluten-free
- Skill Level: Easy
This beautifully simple dulce de leche ice cream recipe features the caramel-butterscotch flavor unique to dulce de leche, tucked into a super easy homemade ice cream. No-churn ice creams have a special place in my heart, and I will forever love how easy they are to put together. No need to bother with an ice cream maker or any fancy equipment, you just need an electric mixer or whisk and a few hours. I know you will love this recipe!
- So flavorful. Who doesn’t love the deep butterscotch notes that make dulce de leche special? It infuses this creamy dessert with layers of flavor, and you can offset it with flaky salt, chocolate, and more if you wish.
- Quick. Unlike more traditional ice cream, no-churn ice cream doesn’t need multiple chilling times and you don’t have to pre-freeze an ice cream maker bowl. This means you can throw it together almost on the spur of the moment!
- A little different. While I love a classic ice cream recipe, such as my No Churn Chocolate Chip Ice Cream, I love branching out into less familiar territory with ingredients you might not use every day (like dulce de leche!).

What You’ll Need
Here’s a look at the four ingredients you’ll need to make this dulce de leche ice cream recipe. Check the recipe card at the end of this post for the full ingredient amounts.
- Heavy Cream: Keep your heavy cream very cold in the fridge until you are ready to use it.
- Dulce de Leche: Use my homemade dulce de leche recipe or pick up a can of pre-made dulce de leche.
- Vanilla: A little pure vanilla extract adds extra depth of flavor.
- Salt: I use fine sea salt to balance the sweetness of the ice cream. You can increase the amount of salt if you prefer a more sweet-salty combination.

Mix-In Ideas
If you want to fancy up this ice cream a bit, go right ahead! Try chocolate, nuts, and more to give your dulce de leche ice cream some extra oomph.
- Chocolate – Adding chocolate to dulce de leche ice cream will give it another layer of flavor. You can chop up a bar of your favorite semisweet or milk chocolate chocolate bar into fine slivers and stir them into the base. Or, add mini chocolate chips.
- Toffee – Add a little crunch with chopped-up bits of toffee!
- Nuts – To offset the sweet creaminess of the ice cream, I love adding a handful of chopped, toasted nuts (even better if they’re salted!) like walnuts, peanuts, or almonds.
- Marshmallows – Stir in 1 cup of mini marshmallows to the ice cream base for little pillowy pockets of extra sweetness.
- Fudge – Add a swirl of fudge to this ice cream, or try my Salted Caramel Chocolate Chip Ice Cream with a fudge ripple.
How To Make No-Churn Dulce de Leche Ice Cream
Here’s a look at how to make this delectable ice cream. Find the detailed instructions in the recipe card lower down.
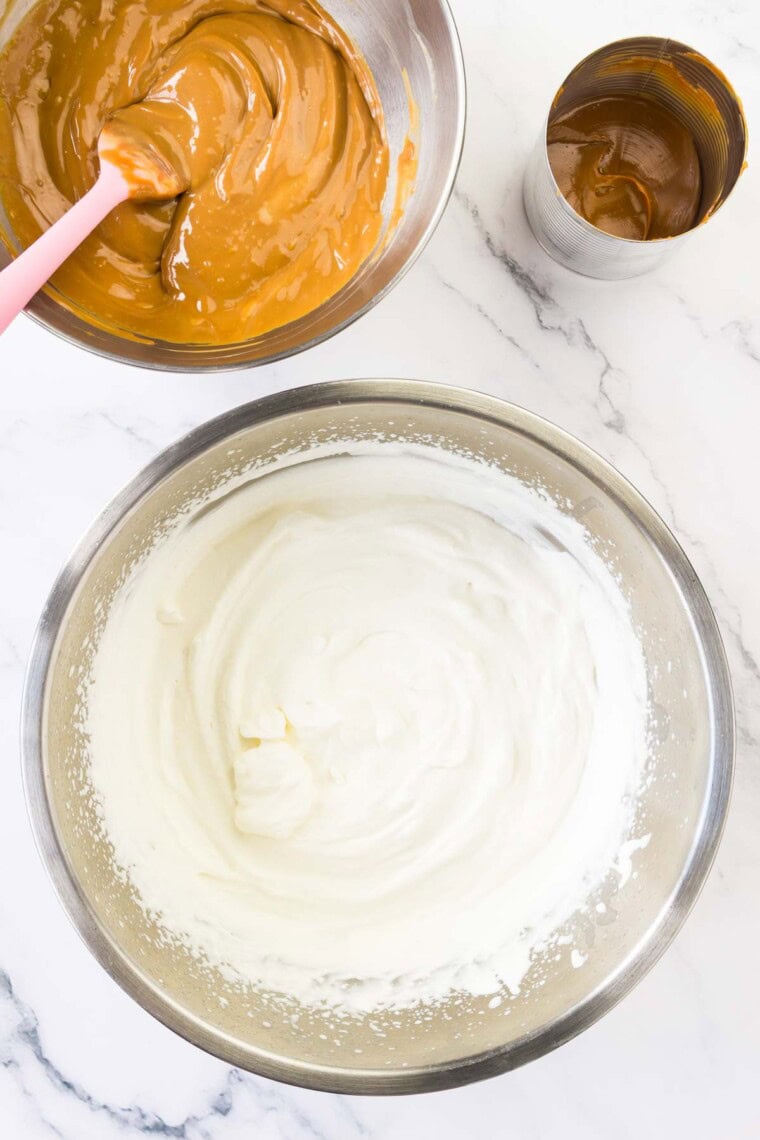
- Combine cream and dulce de leche. Chill a bowl, and in a separate bowl add 2⁄3 of the can of dulce de leche, then add 1⁄2 cup heavy cream. Stir together until smooth.
- Whip the cream. Add the heavy cream, vanilla extract, and sea salt to the chilled bowl and beat until soft peaks form.

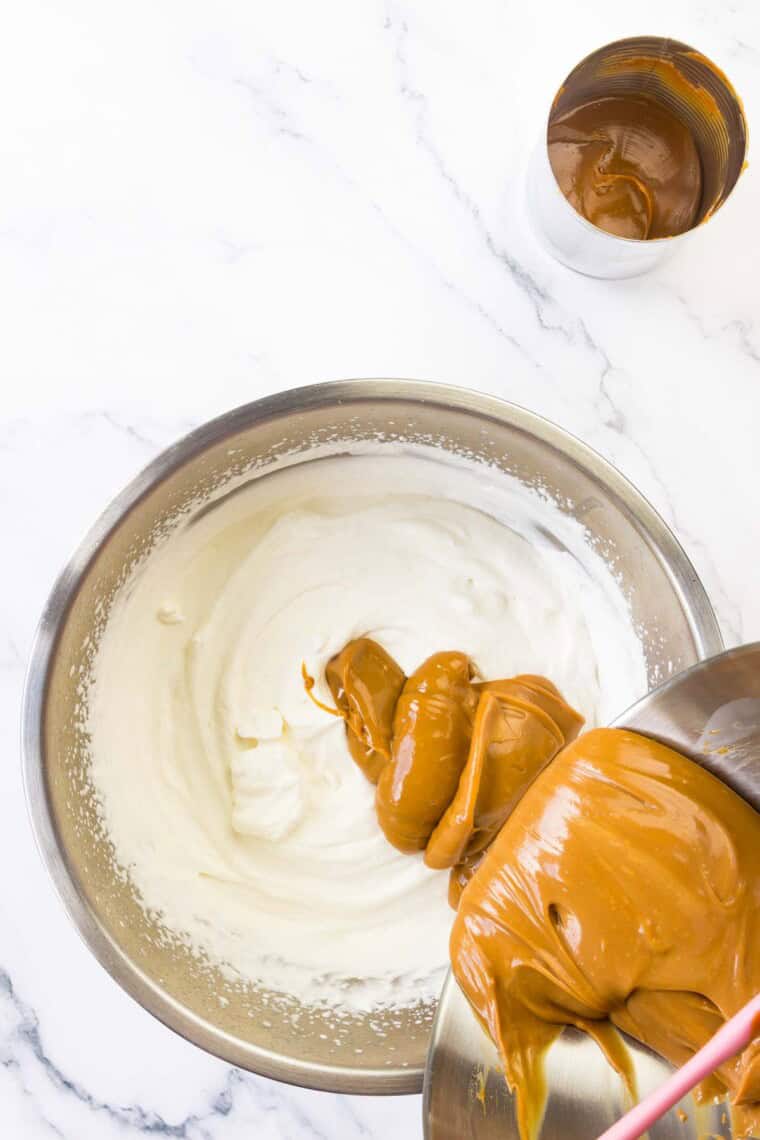
- Add dulce de leche. Pour the dulce de leche and cream mixture into the whipped cream. Gently fold in until combined.
- Transfer to a container. Pour the ice cream into a freezer-safe container.


- Finish. Dollop the remaining dulce de leche over the ice cream mixture.
- Swirl. Using a skewer swirl in the dulce de leche.


- Freeze the ice cream. Cover the pan and freeze for at least 6 hours. Scoop and enjoy!

Tips For Success
- Make it with store-bought or homemade dulce de leche. This is a versatile recipe and you can make it with a can of purchased dulce de leche you buy or dulce de leche that you’ve made from scratch. Note that because the homemade dulce de leche might not be as dark as the store-bought one, you may find your ice cream is slightly lighter in color.
- Add salt. If you love salty-sweet, try sprinkling a little coarse sea salt on top!
- Make it dairy-free. If you’d like to make this ice cream dairy-free, you can substitute coconut cream for the heavy cream. Then, follow my homemade dulce de leche recipe but use a can of condensed coconut milk for the condensed milk in the recipe to make a dairy-free version of dulce de leche.
- Don’t keep the ice cream for too long. Homemade ice cream doesn’t last as long as store-bought ice cream because it doesn’t contain any preservatives. And, the longer you keep it in the freezer, the more potential it has to turn icy. I like to eat up my no-churn ice cream within about 2 weeks (although you can stretch that time to up to 1 month if needed).

Proper Storage
Transfer the ice cream to a freezer-safe container, cover the ice cream with plastic wrap to help prevent ice crystals from forming, and keep it sealed in the freezer for no more than 30 days. Remember that homemade ice cream doesn’t stay fresh as long as store-bought ice cream, so you’ll want to keep track of how long you’ve had it in the freezer.

Serving Suggestions
Enjoy scoops of dulce de leche ice cream plain, or try a few of my serving suggestions below:
- Ice cream sandwiches. Make a batch of sturdy cookies, such as Gluten Free Gingersnaps, Gluten Free Peanut Butter Cookies, or Gluten Free Chocolate Chip Cookies, and use them to make ice cream sandwiches! To store, wrap each sandwich in plastic wrap and keep them in the freezer for up to 1 week.
- With dessert sauce. Drizzle a generous portion of Homemade Hot Fudge Sauce over servings of dulce de leche ice cream for a punch of chocolate. Or up the caramel flavor with my Caramel Sauce.
- Make a brownie sundae. Make a batch of Easy Gluten-Free Brownies and top a warm brownie with a big scoop of dulce de leche ice cream along with whipped cream and nuts.
- Serve in ice cream cones. Pick up a package of (gluten-free) ice cream cones to make an easy hand-held dessert.

No-Churn Dulce de Leche Ice Cream
Ingredients
- 2 cups (one pint) heavy cream, well chilled, divided
- one 13.4 ounce can of dulce de leche
- 1 teaspoon vanilla extract
- ¼ teaspoon fine sea salt
Instructions
- Place a large glass or metal bowl in the refrigerator or freezer for whipping the cream.
- Scoop about 2⁄3-3⁄4 of the dulce de leche out of the can and place it in a medium bowl. Set the remaining dulce de leche in the can aside. Add 1⁄2 cup heavy cream to the bowl of dulce de leche and mix until combined and smooth.
- Add the heavy cream, vanilla extract, and sea salt to the chilled bowl. Using an electric mixer or whisk, beat the heavy cream until it forms soft peaks.
- Add the dulce de leche and cream mixture to the whipped cream and gently fold until fully combined.
- Transfer to a container that you can freeze, such as a 9-inch loaf pan.
- Dollop the remaining dulce de leche over the ice cream mixture in the pan and swirl with a butter knife, skewer, or chopstick.
- Cover with a lid or plastic wrap and place in the freezer for at least 6 hours or until frozen completely.
Notes
- You can make this ice cream with a can of dulce de leche you buy at the store or one you make from sweetened condensed milk at home. Since the homemade dulce de leche might not be as dark as the storebought one, you may find you ice cream is a slightly lighter color.
- If you love salty-sweet, try sprinkling a little coarse sea salt on top!
- Feel free to add mix-ins like toffee, chopped chocolate, or try my Salted Caramel Chocolate Chip Ice Cream with a fudge ripple.

Did you make this?
Leave a star rating to help others know that they should make this recipe.
Share a photo and tag @cupcakesandkalechips on Instagram!