
No-Churn Chocolate Chip Ice Cream


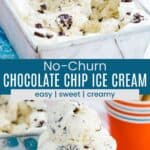
This creamy No-Churn Chocolate Chip Ice Cream is packed with chocolate in every bite. Made with just four simple ingredients, this easy homemade chocolate chip ice cream recipe turns out rich and smooth without an ice cream maker. But it’s just as satisfying as your favorite store-bought ice cream.

Delicious Details
- Cuisine Inspiration: American
- Primary Cooking Method: No-cook
- Dietary Info: Gluten-free
- Skill Level: Easy
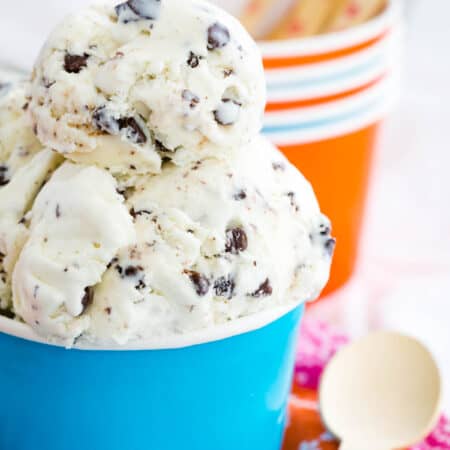
There’s something so classic about chocolate chip ice cream. Creamy vanilla ice cream filled with little flecks, chunks, and chips of chocolate never goes out of style. And trust me, you’ll want to use a mix of chopped dark chocolate and mini chips. The little flakes melt on your tongue while the chips stay nice and crunchy, and the mix of both means every bite has the perfect texture.
But the best part? You can make this homemade chocolate chip ice cream without an ice cream maker. I’m a big fan of no-churn ice cream because it’s rich, creamy, and so easy to make. Just whip the cream, fold everything together, and freeze. The result is a smooth vanilla ice cream packed with chocolate that’s every bit as delicious as your favorite ice cream shop. Plus, it’s naturally gluten free, so everyone can enjoy a scoop.
Why You’ll Love This Chocolate Chip Ice Cream
This is a reliable recipe you can make quickly any time you want it. Here’s why I love to make this no-churn chocolate chip ice cream:
- No ice cream maker needed. Just whip, fold, freeze, and enjoy creamy homemade chocolate chip ice cream with only four ingredients.
- Naturally gluten-free. Made with four simple ingredients that are naturally gluten free, so there’s nothing special to swap.
- Easy to customize. Keep it classic with dark chocolate, or stir in chopped candy bars or homemade candy, cookie pieces, nuts, caramel, or fresh fruit to make it your own.

Recipe Ingredients
Here’s an overview of what you’ll need to make this chocolate chip ice cream. recipe, with a couple of ingredient notes and helpful info. Make sure to check the recipe card at the end of this post for the full ingredient amounts.
- Heavy Cream: Make sure it is very cold so that it whips easily.
- Vanilla Extract: Use pure vanilla extract versus imitation to give this ice cream the best flavor.
- Sweetened Condensed Milk: Both regular and fat-free condensed milk work just fine; just be sure you don’t try to use evaporated milk.
- Dark Chocolate: You can chop your own chocolate or use chips or mini chips. I actually like to use a combination of both for lots of different textures!

🍴 In the Cupcakes & Kale Chips Kitchen…
- METAL BOWLS: Popping a metal bowl in the fridge or freezer for a few minutes helps the cream to whip up faster and avoid overbeating it.
- HAND MIXER: One with a whisk attachment also saves the effort of using a whisk and is much easier to handle than pulling out the big stand mixer.
- SPATULAS: A silicone spatula is the best tool to gently fold the ice cream together.
- LOAF PANS: Yes, you can buy a special ice cream container, but a basic 9-inch loaf pan is the perfect size to fit a standard batch of no-churn ice cream.
How to Make Chocolate Chip Ice Cream
It’s so easy to make this ice cream! Don’t forget to leave plenty of time for the ice cream to firm in the freezer before you serve it.
- Chill the bowl. Place a large glass or metal bowl in the refrigerator or freezer until it is cold.
- Whip the cream. Add the heavy cream and vanilla extract to the chilled bowl and whip to soft peaks.
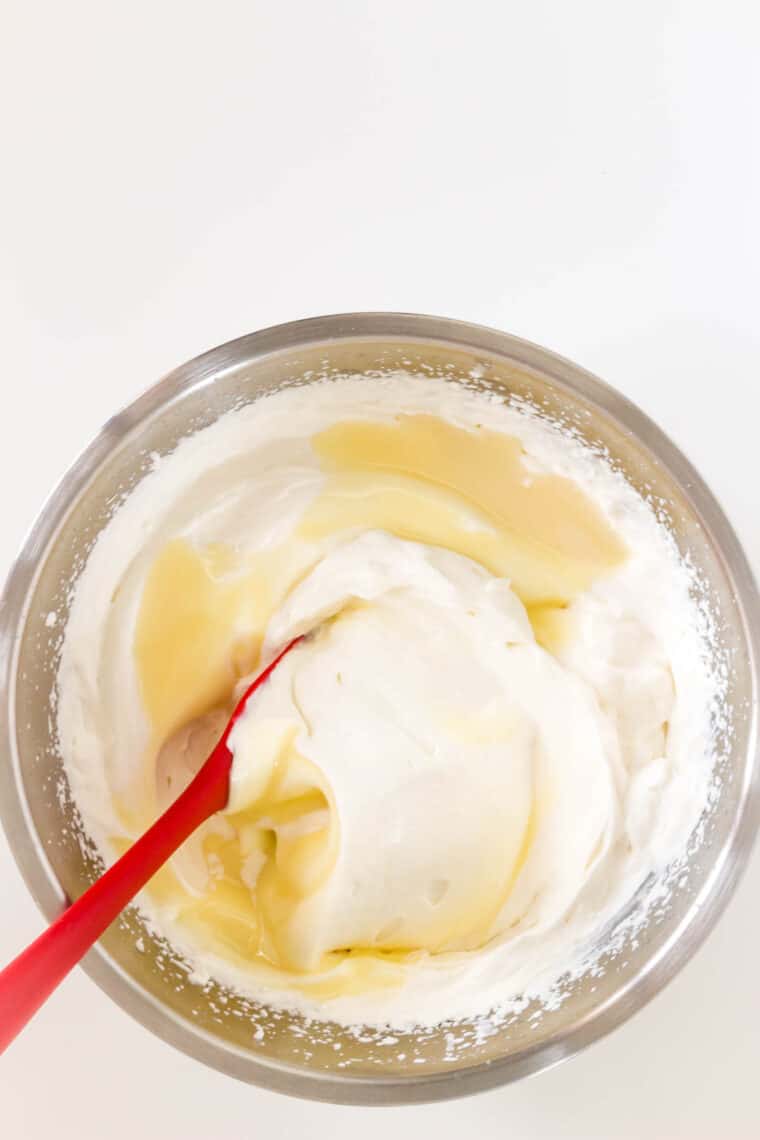
- Fold it together. Pour in the sweetened condensed milk and gently fold until it is evenly distributed.

- Fold in the chocolate. If you want to decorate the top of the ice cream, set aside a bit of the chocolate. Add the remaining chocolate to the ice cream mixture and gently fold it in.


- Transfer for freezing. Pour the ice cream mixture into a container that you can freeze. Sprinkle the reserved chocolate over the top, if desired.
- Freeze completely. Cover with a lid or plastic wrap and place in the freezer for at least 4-6 hours.


Tips and Variations
Here are a few tips to help you make this no-churn ice cream turn out just the way you want it:
- Keep everything cold. A chilled bowl and very cold whipped cream help ensure that the cream whips easily, so that you don’t overwhip it. You want soft peaks.
- Fold gently. After you’ve whipped the cream, in order to produce a nice, scoopable ice cream, you don’t want to deflate it. So fold gently with a spatula when mixing in the sweetened condensed milk and chocolate. It’s fine to leave a few small streaks of sweetened condensed milk, as it will get full incorproated as you mix in the chocolate.
- Vary the textures. As I said, I like to combine both chopped chocolate and mini chips for a variety of textures and even distribution of chocolate throughout the ice cream. But you can use all regular or mini chips, chunks, or even combine different types of chocolate, like white or milk.
- Make it dairy-free. If you’d like to make this ice cream dairy-free, you can substitute coconut cream for the heavy cream and a non-dairy condensed milk for the condensed milk. Alternatively, you can substitute coconut milk for the condensed milk, although it will not be as dense. You may also want to add some sugar to taste if it’s not sweet enough.
- Add other mix-ins. This is a great ice cream base that’s virtually endlessly adaptable. You could drizzle in chocolate sauce or caramel sauce. Try mixing in in mini M&Ms or other chopped candies, nuts, or even cookies of your choice, like this No-Churn Cookies and Cream Ice Cream, or turn it into Mint Chocolate Chip Ice Cream
Proper Storage
Store no-churn chocolate chip ice cream in an airtight container in the freezer for up to 3 weeks, preferably less. Homemade ice cream doesn’t last quite as long as commercially-made ice cream. This is because it doesn’t contain any preservatives. Store it in the back of the freezer, where it is the coldest, to preserve its freshness.

Make it a Dessert
When you want to keep things simple, you can’t go wrong when you just scoop bowls of chocolate chip ice cream! If you want some other serving suggestions, read on:
- Make a sundae. My Homemade Hot Fudge Sauce would be amazing drizzled over scoops of chocolate chip ice cream, as would rich and decadent Caramel Sauce. Don’t forget whipped cream and sprinkles!
- Top brownies and more. Try my Easy Gluten-Free Brownies or Gluten-Free Mug Brownies as a great base for chocolate chip ice cream. Make sure the brownies are warm! Or double the chocolate chip goodness by serving a scoop with my Gluten Free Chocolate Chip Banana Bread.
- Make ice cream sandwiches. Add a scoop between two Gluten Free Chocolate Chip Cookies for the classic Chipwich, or try it between a couple of Flourless Peanut Butter Cookies.
- Serve in ice cream cones. Pick up a package of gluten-free ice cream cones and make your kids happy with a hand-held dessert. You can also pre-make them, Drumstick-style, like these Cannoli Ice Cream Cones.
More No-Churn Ice Cream Recipes
No-Churn Chocolate Chip Ice Cream – No Ice Cream Maker
Ingredients
- 1 pint heavy cream , well chilled
- 2 teaspoons vanilla extract
- 14.5 ounce can of sweetened condensed milk , regular or fat-free
- 1 cup (about 5-5 ½ ounces ) chopped dark chocolate, chocolate chips, chocolate chunks, mini chocolate chips, or a combination
Instructions
- Place a large glass or metal bowl for whipping the cream in the refrigerator or freezer until it is cold.
- Add 1 pint heavy cream and 2 teaspoons vanilla extract to the chilled bowl. Using an electric mixer or whisk, beat the heavy cream to soft peaks.
- Pour in a 14.5 ounce can of sweetened condensed milk and gently fold until you no longer see ribbons of the sweetened condensed milk, and it is evenly distributed.
- If you want to decorate the top of the ice cream, set aside about 2 tablespoons of the chocolate. Add 1 cup (about 5-5 ½ ounces ) chopped dark chocolate, chocolate chips, chocolate chunks, mini chocolate chips, or a combination to the ice cream mixture, and gently fold in.
- Transfer the ice cream mixture to a container that you can freeze, such as a 9-inch loaf pan. Top with the reserved chocolate, if desired.
- Cover with a lid or plastic wrap and place in the freezer for 4-6 hours or until frozen completely.

Did you make this?
Leave a star rating to help others know that they should make this recipe.
Share a photo and tag @cupcakesandkalechips on Instagram!