
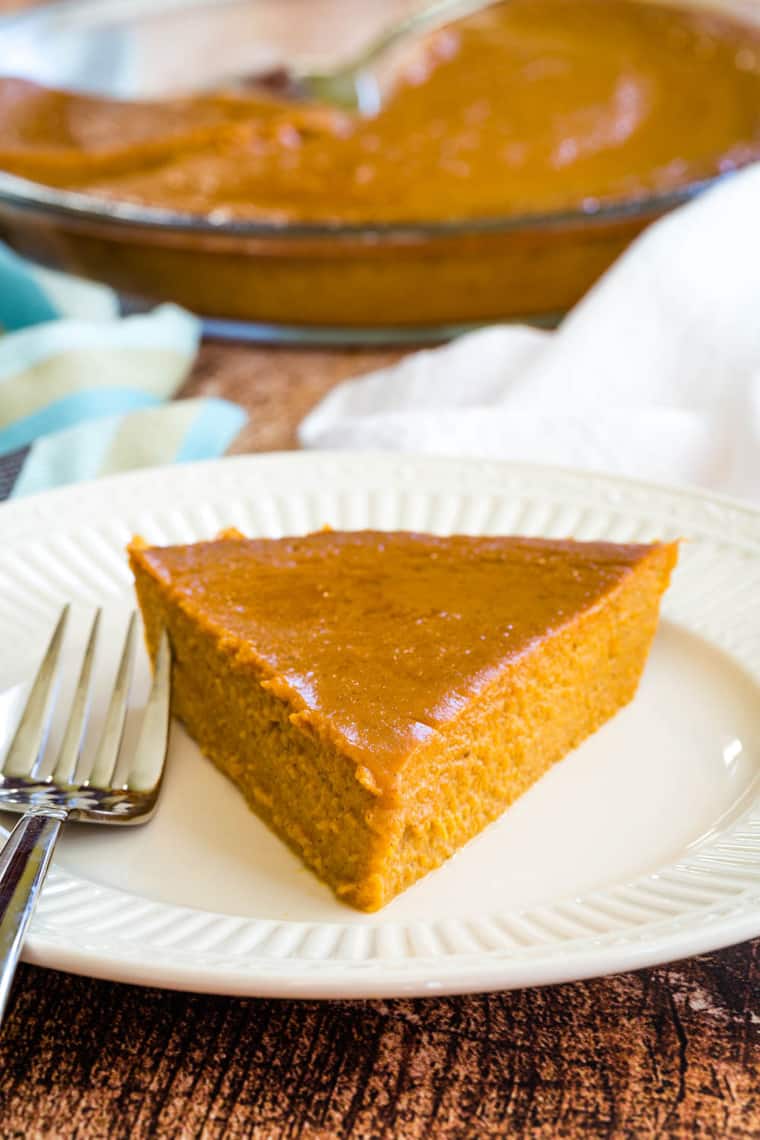
Crustless Pumpkin Pie


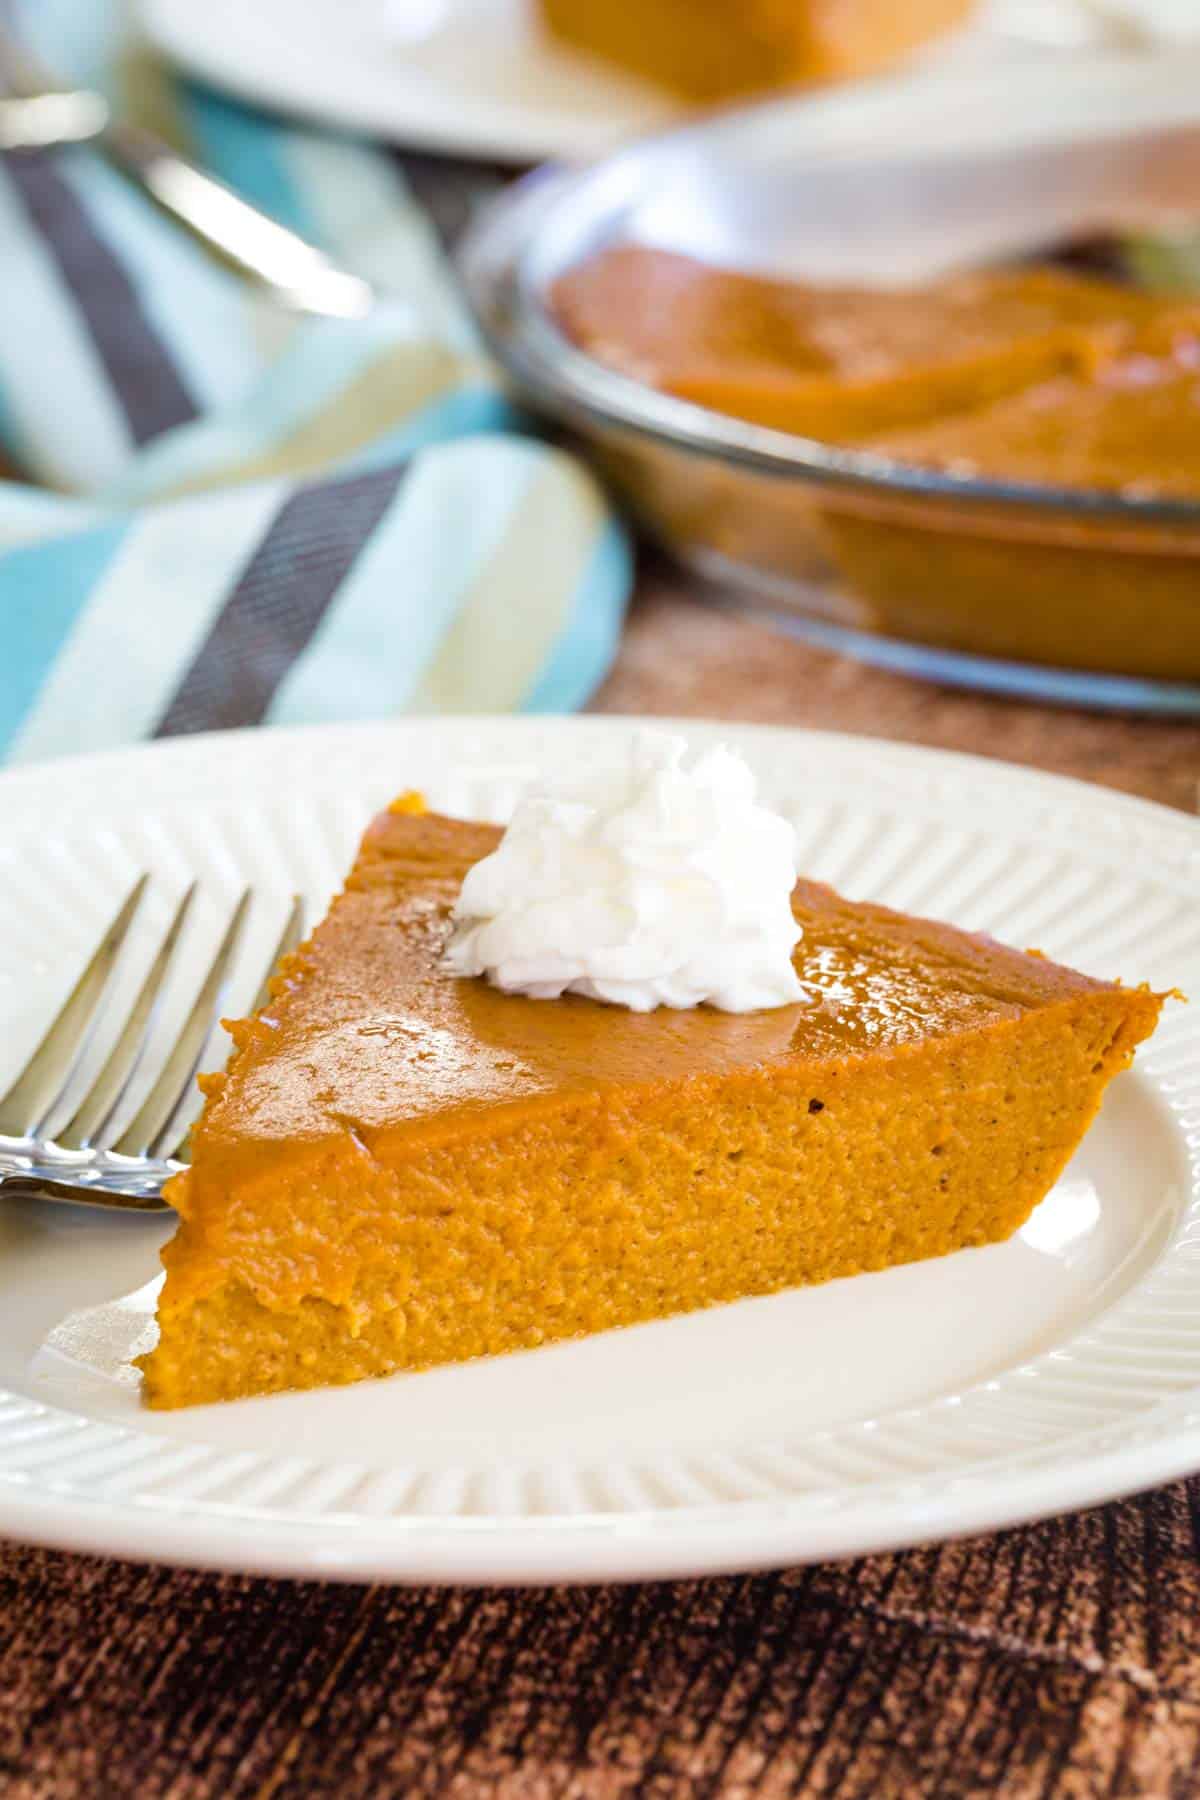
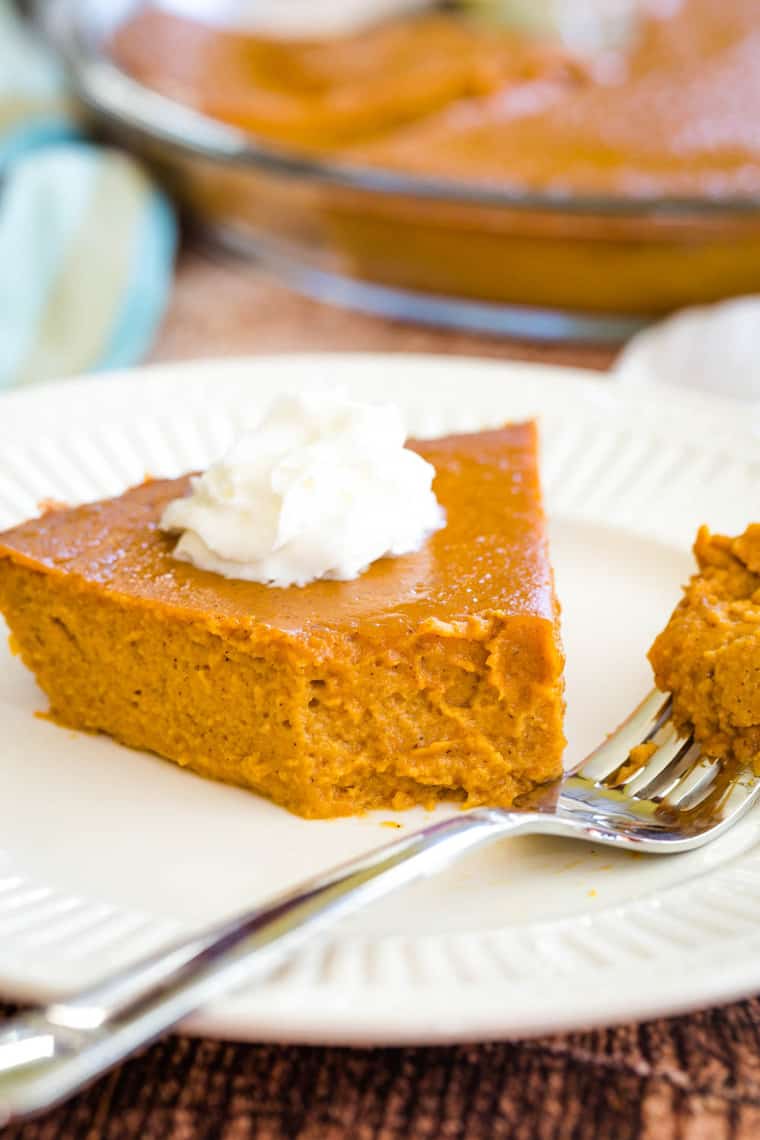
This easy Crustless Pumpkin Pie is deliciously creamy, perfectly spiced, and naturally gluten free. Plus, it has only 7 ingredients! It’s the perfect way to enjoy fall flavors and indulge in a classic Thanksgiving dessert.
Delicious Details
- Cuisine Inspiration: American
- Primary Cooking Method: Oven
- Dietary Info: Gluten-free
- Skill Level: Easy
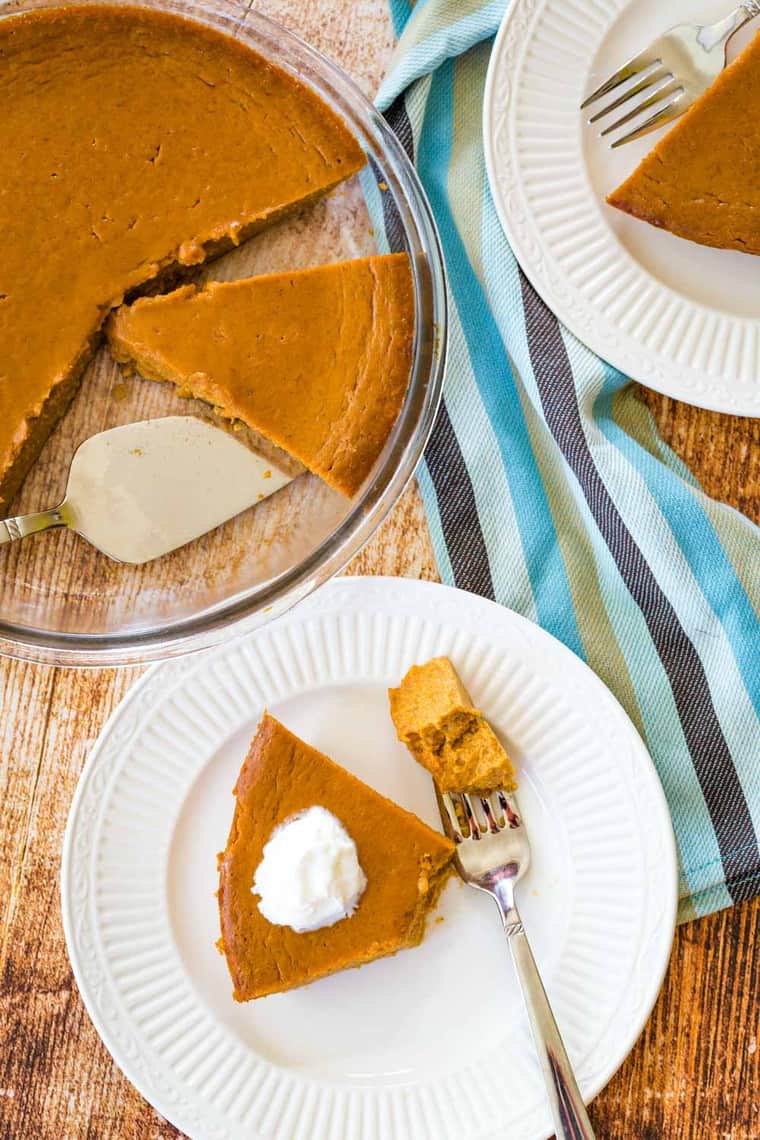
One of my favorite fall desserts is pumpkin pie. Give me a creamy slice of perfectly spiced pumpkin pie anytime, with a generous dollop of whipped cream on top, please! When I had to go gluten free, getting my pumpkin pie fix became something of a challenge since traditional pie crust is not gluten free. That’s where this recipe comes in – it’s crustless!
Technically, yes, pumpkin pie without a crust is actually a pumpkin custard. But I think anything you bake in a pie plate and cut into slices qualifies as pie, don’t you? So if you are looking for an easy gluten free dessert idea for Thanksgiving, or just want to enjoy some fall baking, here is why you should give this recipe a try…
Why You’ll Love This Crustless Pumpkin Pie
- Incredibly simple. Yes, the easiest way to make gluten free pumpkin pie is to make it with no crust. It’s truly the best option if you want to minimize fuss or just don’t like crest. And if you really want the pumpkin flavor to shine.
- Fast to prepare. When you have a million other dishes to make or if you are short on time, you only have to stir together seven ingredients and pop it in the oven.
- Wonderful flavor. I started with my all-time favorite pumpkin pie filling. The one that my husband, who never liked pumpkin pie before, actually enjoys every holiday season. It has the creamy custard you love with the perfect balance of rich sweetness from brown sugar instead of white sugar and cozy pumpkin pie spice.
Want to make pumpkin pie with the crust? Try my gluten free pumpkin pie recipe!
Recipe Ingredients
Are you ready to make pumpkin pie? There are only 7 ingredients in this no-crust recipe! Here is a brief overview so you can see just how easy it is to make. Scroll down to the printable recipe card for the full quantities and details. But don’t skip my Pro Tips below!
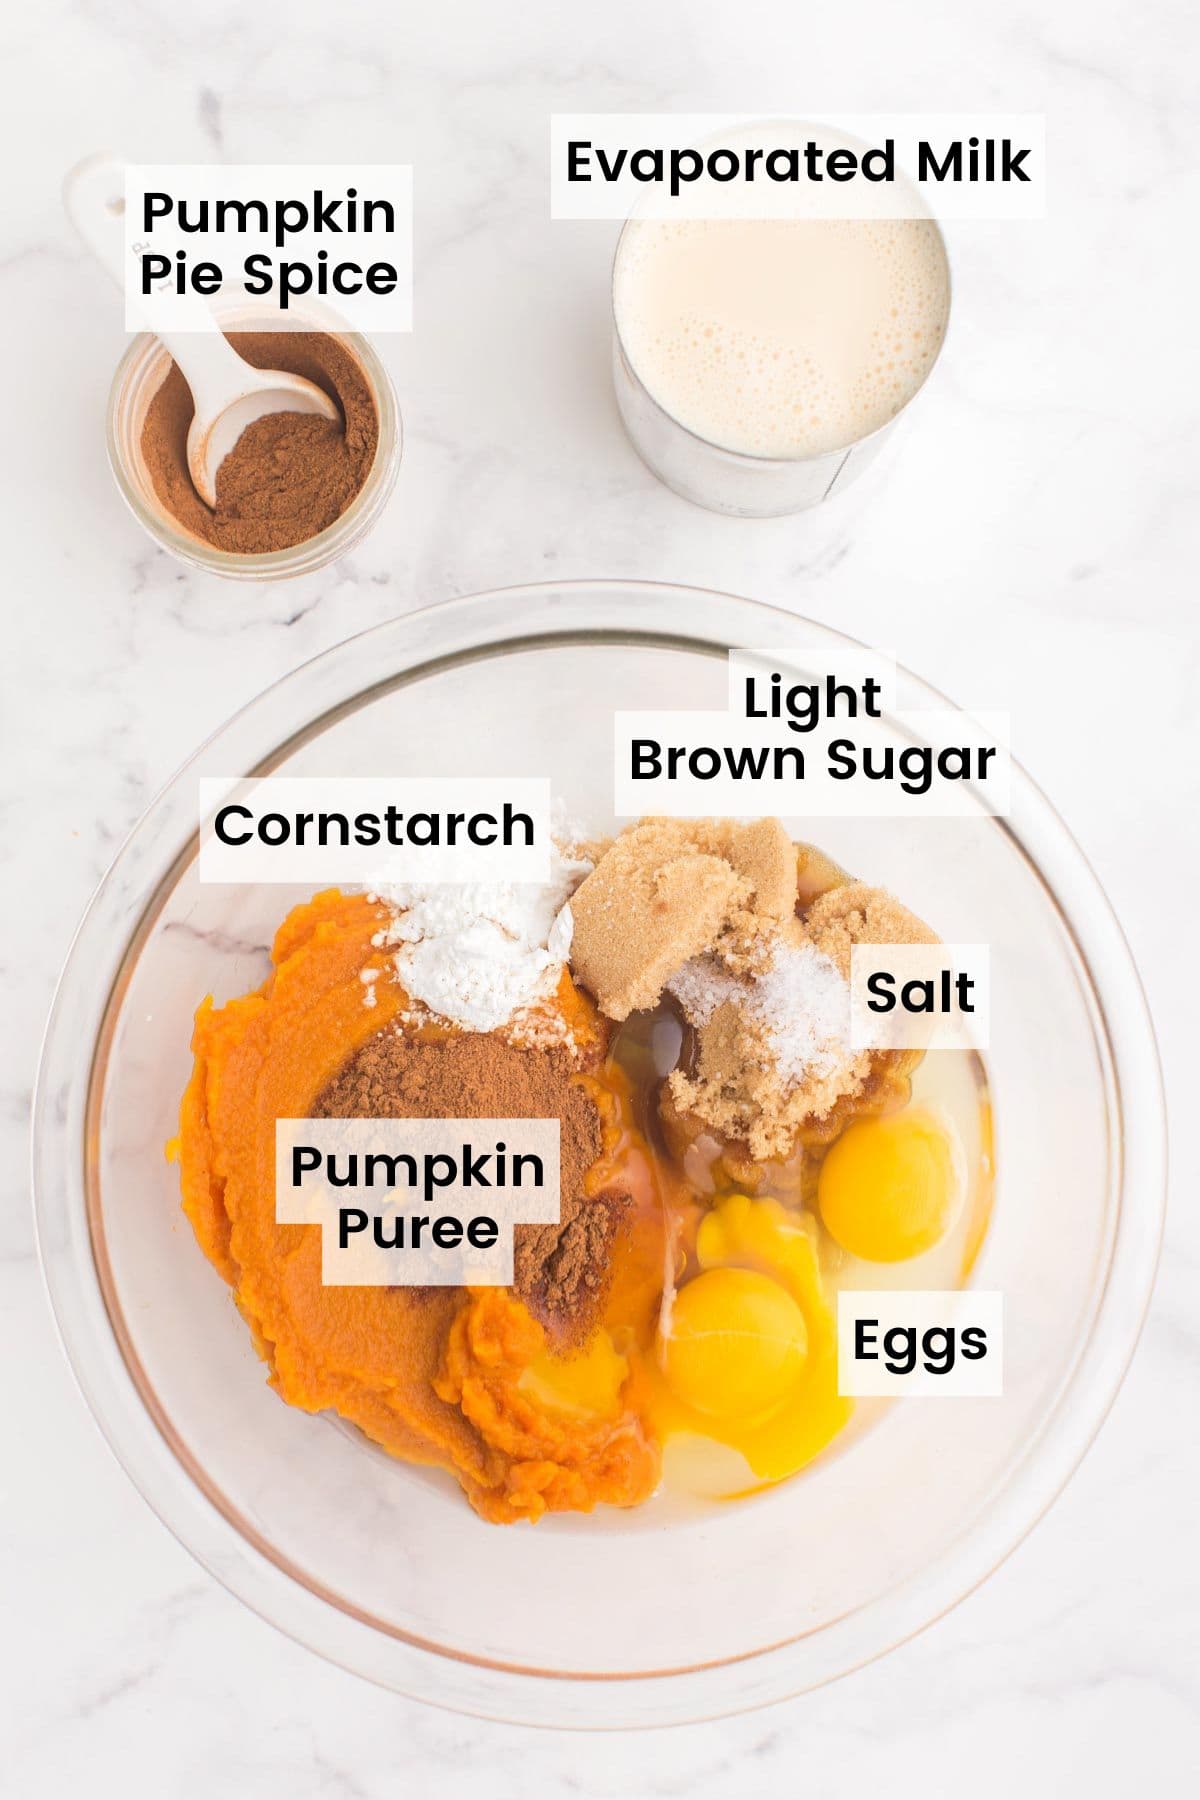
- One can of pumpkin puree. Just unsweetened and unseasoned pumpkin puree, not pie filling.
- Light brown sugar. I do not recommend dark brown sugar. Light brown sugar gives a nice molasses flavor that really makes this the best pumpkin pie filling ever. But dark brown sugar will make the pie a little too dark and almost give it a burnt sugar flavor.
- Cornstarch. This is how you thicken and set the custard without needing flour to keep it gluten free.
- Salt.
- Pumpkin pie spice. Buy it or make your own homemade pumpkin pie spice blend.
- Eggs.
- Evaporated milk. Despite what the can says, you don’t need to shake your evaporated milk since you are using the entire can. Swirl it around a bit, so that anything that is settled doesn’t stay stuck in the bottom of the can. But if you shake too vigorously, you can end up with tiny bubbles that float on the top of your pumpkin mixture and then end up on top of your baked pie.
How to Make a Crustless Pumpkin Pie
It’s so easy to make this mouthwatering dessert.
- Make the pumpkin mixture. Start by combining the pumpkin puree, brown sugar, cornstarch, salt, pumpkin pie spice, and eggs in a bowl and whisking it until smooth.
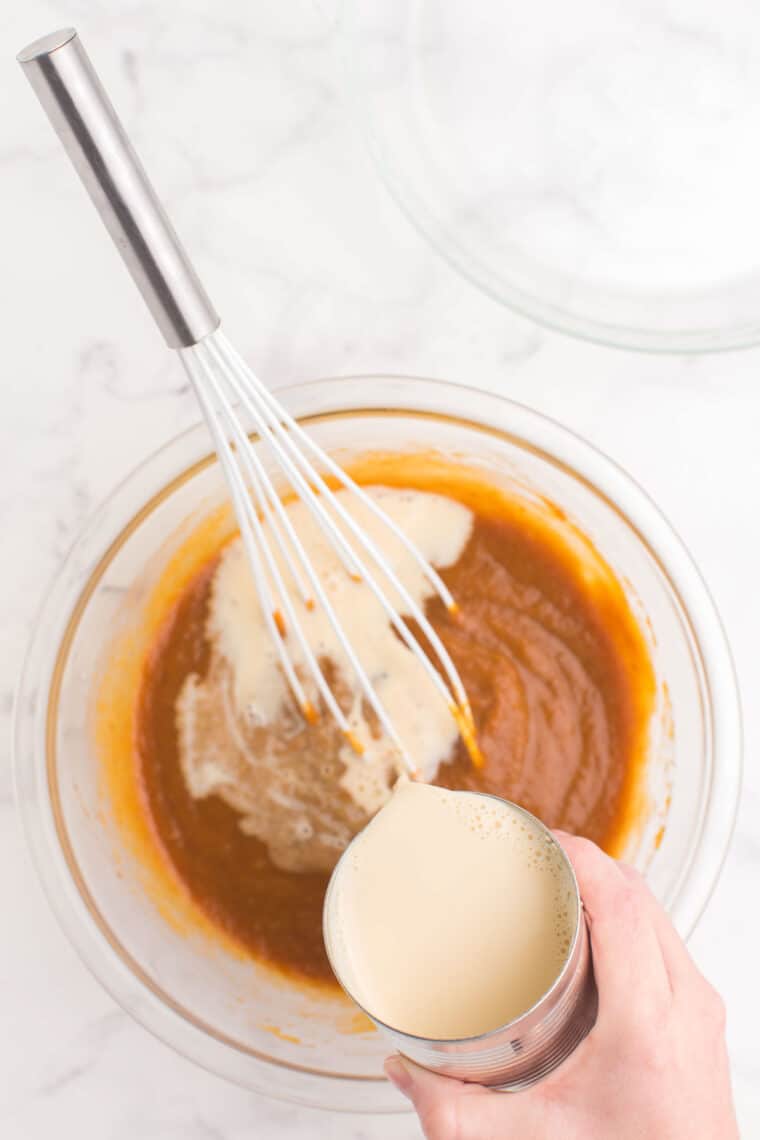
- Finish the custard. Then gently stir or fold in the evaporated milk with a spoon or spatula, being careful not to let it incorporate it and form a lot of bubbles. Otherwise, you will end up with a bubbly texture on top of your pie. It tastes fine, but doesn’t look as pretty.
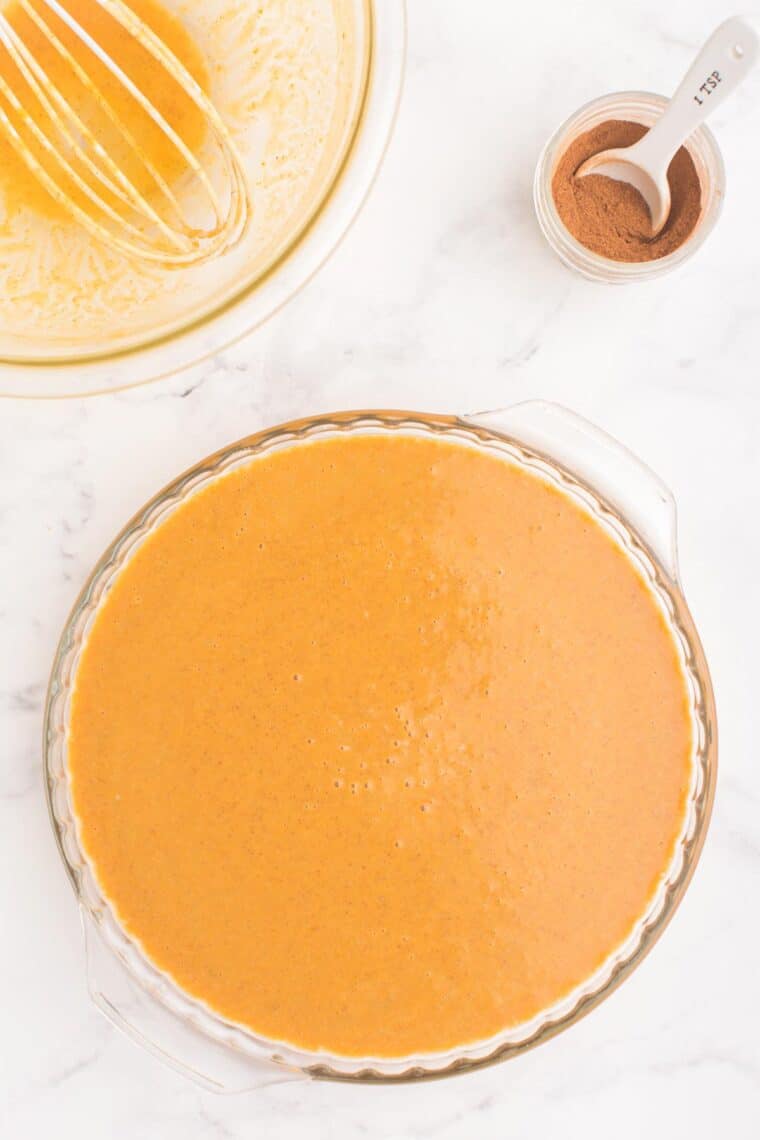
- Fill the pan. Pour the entire mixture into a 9-inch pie plate.
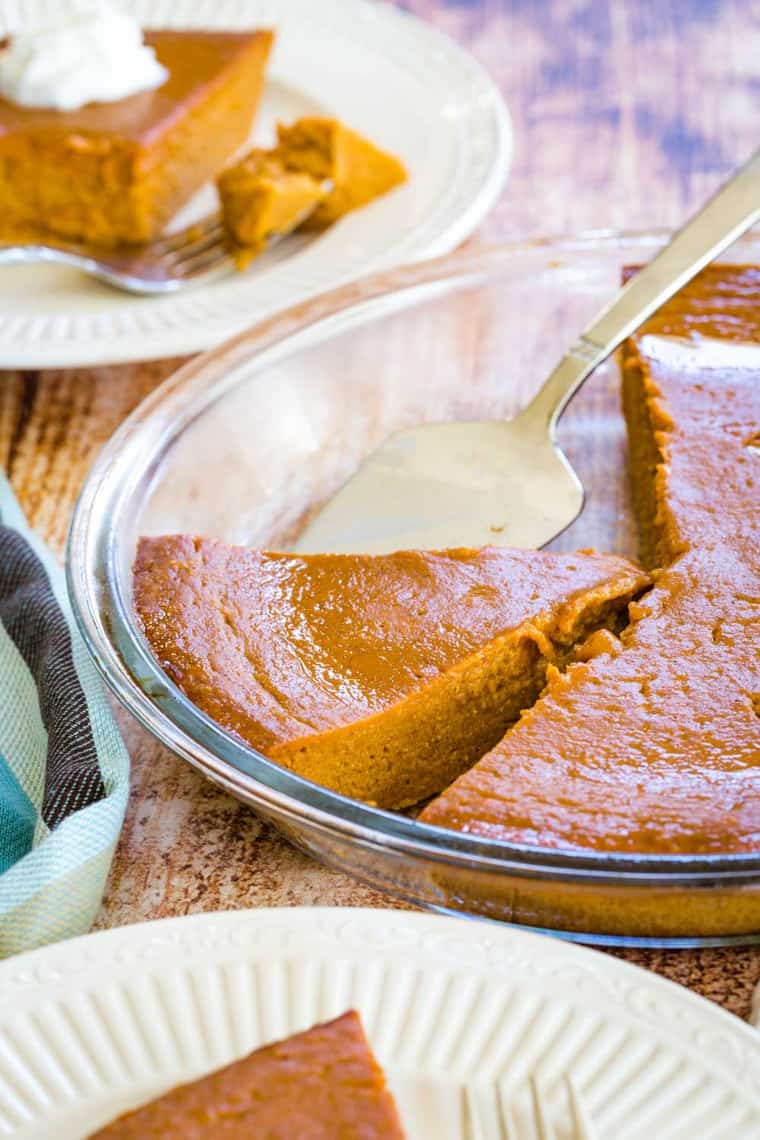
- Bake the pie. Bake it at 350°F for 45 to 55 minutes, or until it is still slightly jiggly in the center. It will set as it cools. Let it cool and you have the easiest gluten free pumpkin pie ever.
Tips for the Best Crustless Pumpkin Pie
- Mix well: While I like to whisk the first six ingredients vigorously to make it smooth, I gently stir or fold in the evaporated milk, again to avoid those bubbles.
- Don’t make a mess: I use a standard 9-inch pie plate. While I do place it on a baking sheet just in case, when you don’t have a crust, you don’t really run into problems with it overflowing. Though if you only have a deep dish pie pan, it will bake in there just fine too.
- Have leftovers? It’s time to have pumpkin pie for breakfast with these Pumpkin Pie Yogurt Parfaits.
How to Store
Once your pie has cooled completely, cover it with cling wrap and store it in the fridge. It will keep for 4-5 days. For Thanksgiving, you could definitely make your gluten free pumpkin pie a day or two in advance and store it in the fridge until you’re ready to dig in.
FAQs
Here are a few common questions about making a crustless pumpkin pie:
Is pumpkin puree and pumpkin pie filling the same thing?
No, pumpkin puree contains only pumpkin. You can make your own by roasting pumpkins, or, as I do, simply buy canned pumpkin puree. That is what you will use to make this recipe. Canned pumpkin pie filling already has the thickeners, sweeteners, and spices added. Starting with pure pumpkin puree gives you full control over the flavor and sweetness of your pie.
Can you overcook pumpkin pie?
Yes, pumpkin pie can be overcooked. Typically it won’t affect the flavor, though the texture might not be as smooth and creamy. However, over baking a pumpkin pie can cause it to weep liquid or crack in the middle. Again, unless you really leave it in way too long, it will still taste delicious, and cracks are nothing that a little whipped cream or no-churn vanilla cheesecake ice cream can’t fix.
To avoid overcooking it, make sure your oven temperature is accurate (an inexpensive oven thermometer helps with this) and check the pie at 45 minutes. Add image
How do you know your pumpkin pie is fully cooked?
It should still be a little jiggly in the middle and will not look quite set all the way to the center. You don’t want it liquidy, but it should not be completely firm. It will continue to cook a bit as it cools and then will firm up in the refrigerator.
Can you bake this pumpkin pie filling in a crust?
Yes! If you don’t have any gluten issues, you can use your favorite homemade pie crust or, what I always used to do, just pick up a package of pie dough from the refrigerated section of the grocery store. I also have a gluten free pie crust recipe that works really well with this pumpkin pie filling!
While a standard pie plate is fine if you are making a pumpkin pie without crust, once you add a crust I do recommend using a deep dish pie plate to avoid it spilling over while you bake it. And place the pie plate on a baking sheet so that if it does spill over, you don’t have to clean a burned-on mess in your oven.
Baking temperature is exactly the same as the crustless pumpkin pie, though it might need a couple of minutes longer in the oven. Check the pie after about 40 minutes and if the crust is getting too brown, cover the edges with aluminum foil or a pie shield.
No, pumpkin puree contains only pumpkin. You can make your own by roasting pumpkins, or, as I do, simply buy canned pumpkin puree. That is what you will use to make this recipe. Canned pumpkin pie filling already has the thickeners, sweeteners, and spices added. Starting with pure pumpkin puree gives you full control over the flavor and sweetness of your pie.
Yes, pumpkin pie can be overcooked. Typically it won’t affect the flavor, though the texture might not be as smooth and creamy. However, over baking a pumpkin pie can cause it to weep liquid or crack in the middle. Again, unless you really leave it in way too long, it will still taste delicious, and cracks are nothing that a little whipped cream or no-churn vanilla cheesecake ice cream can’t fix.
To avoid overcooking it, make sure your oven temperature is accurate (an inexpensive oven thermometer helps with this) and check the pie at 45 minutes.
It should still be a little jiggly in the middle and will not look quite set all the way to the center. You don’t want it liquidy, but it should not be completely firm. It will continue to cook a bit as it cools and then will firm up in the refrigerator.
Yes! If you don’t have any gluten issues, you can use your favorite homemade pie crust or, what I always used to do, just pick up a package of pie dough from the refrigerated section of the grocery store. I also have a gluten free pie crust recipe that works really well with this pumpkin pie filling!
While a standard pie plate is fine if you are making a pumpkin pie without crust, once you add a crust I do recommend using a deep dish pie plate to avoid it spilling over while you bake it. And place the pie plate on a baking sheet so that if it does spill over, you don’t have to clean a burned-on mess in your oven.
Baking temperature is exactly the same as the crustless pumpkin pie, though it might need a couple of minutes longer in the oven. Check the pie after about 40 minutes and if the crust is getting too brown, cover the edges with aluminum foil or a pie shield.
Make It a Meal
Since pumpkin pie is the quintessential Thanksgiving dessert, complete your holiday feast with an Herb Roast Turkey and my favorite gluten free Thanksgiving side dishes…
- Gluten Free Corn Pudding has been a family favorite for nearly three decades.
- Cheesy Mashed Potatoes takes the classic side and makes it even better.
- Cinnamon Orange Cranberry Sauce adds a little zing to perfectly sweet and tart cranberry sauce.
- Cheddar Bacon Gluten Free Stuffing is not your mama’s stuffing, but it’s so much better.
- Gluten Free Cornbread is so easy to mix together in just one bowl.
- Cranberry Orange Glazed Green Beans are a fresh and flavorful alternative to green bean casserole.
More Gluten Free Pumpkin Recipes

Crustless Pumpkin Pie
Equipment
- 9-inch glass pie plate
Ingredients
- 15 oz canned pumpkin puree (not pumpkin pie filling)
- 3 large eggs
- 3/4 cup packed light brown sugar
- 1 Tablespoon cornstarch
- 2 teaspoons pumpkin pie spice
- 1/2 teaspoon kosher salt
- 12 oz evaporated milk
Instructions
- Preheat oven to 350°F. Place 9-inch glass pie plate on a baking sheet.
- In a large bowl, combine 15 oz canned pumpkin puree, 3 large eggs, 3/4 cup packed light brown sugar, 1 Tablespoon cornstarch, 2 teaspoons pumpkin pie spice, and 1/2 teaspoon kosher salt. Whisk until combined and smooth.
- Add 12 oz evaporated milk, and stir gently just until combined.
- Pour the pumpkin pie filling into the pie plate.
- Bake at 350°F for 45-55 minutes, or until it is still slightly jiggly in the middle.
- Remove from the oven, and let cool to room temperature.
- Chill for at least two hours in the refrigerator, or until ready to serve.
Did you make this?
Leave a star rating to help others know that they should make this recipe.
Share a photo and tag @cupcakesandkalechips on Instagram!
I made this yesterday. It was beyond delicious! I used half-n-half as the milk and cut the brown sugar to 1/2 cup – made fresh whipped cream to top it. I brought it to a family event and the dish was empty in a matter of a few minutes!
Must it be a glass pie plate?
I always bake it in glass. I can’t say for sure, but I would be concerned that metal wouldn’t be insulating enough and it might overcook on the bottom. But if you keep a close eye on it, it should be OK.
what can be used instead of cornstarch?
You should be able to use the same amount of tapioca starch or arrowroot, but I have not tested this.
This crustless pumpkin pie was delicious!! So easy to make! Definitely will be my go to from now on!
So happy to hear this!
Does the pie pan need to be sprayed with Pam, or does it come out easily when sliced?
It comes out pretty easily, but a little spritz can’t hurt.
Can I put a brown sugar crumble on top of the pie if so when?
I have not done this, but when I look up other pumpkin pie recipes with streusel, they seem to add the topping after about 20-30 minutes.
Can I substitute whole or 2 percent milk for evaporated milk?
Thanks, Teresa
No, the pie will not set up the same way.
If you use pumpkin pie filling how do you alter the recipe?
I do not make this with pumpkin pie filling.