
Chocolate Chip Cookie Dough Ice Cream




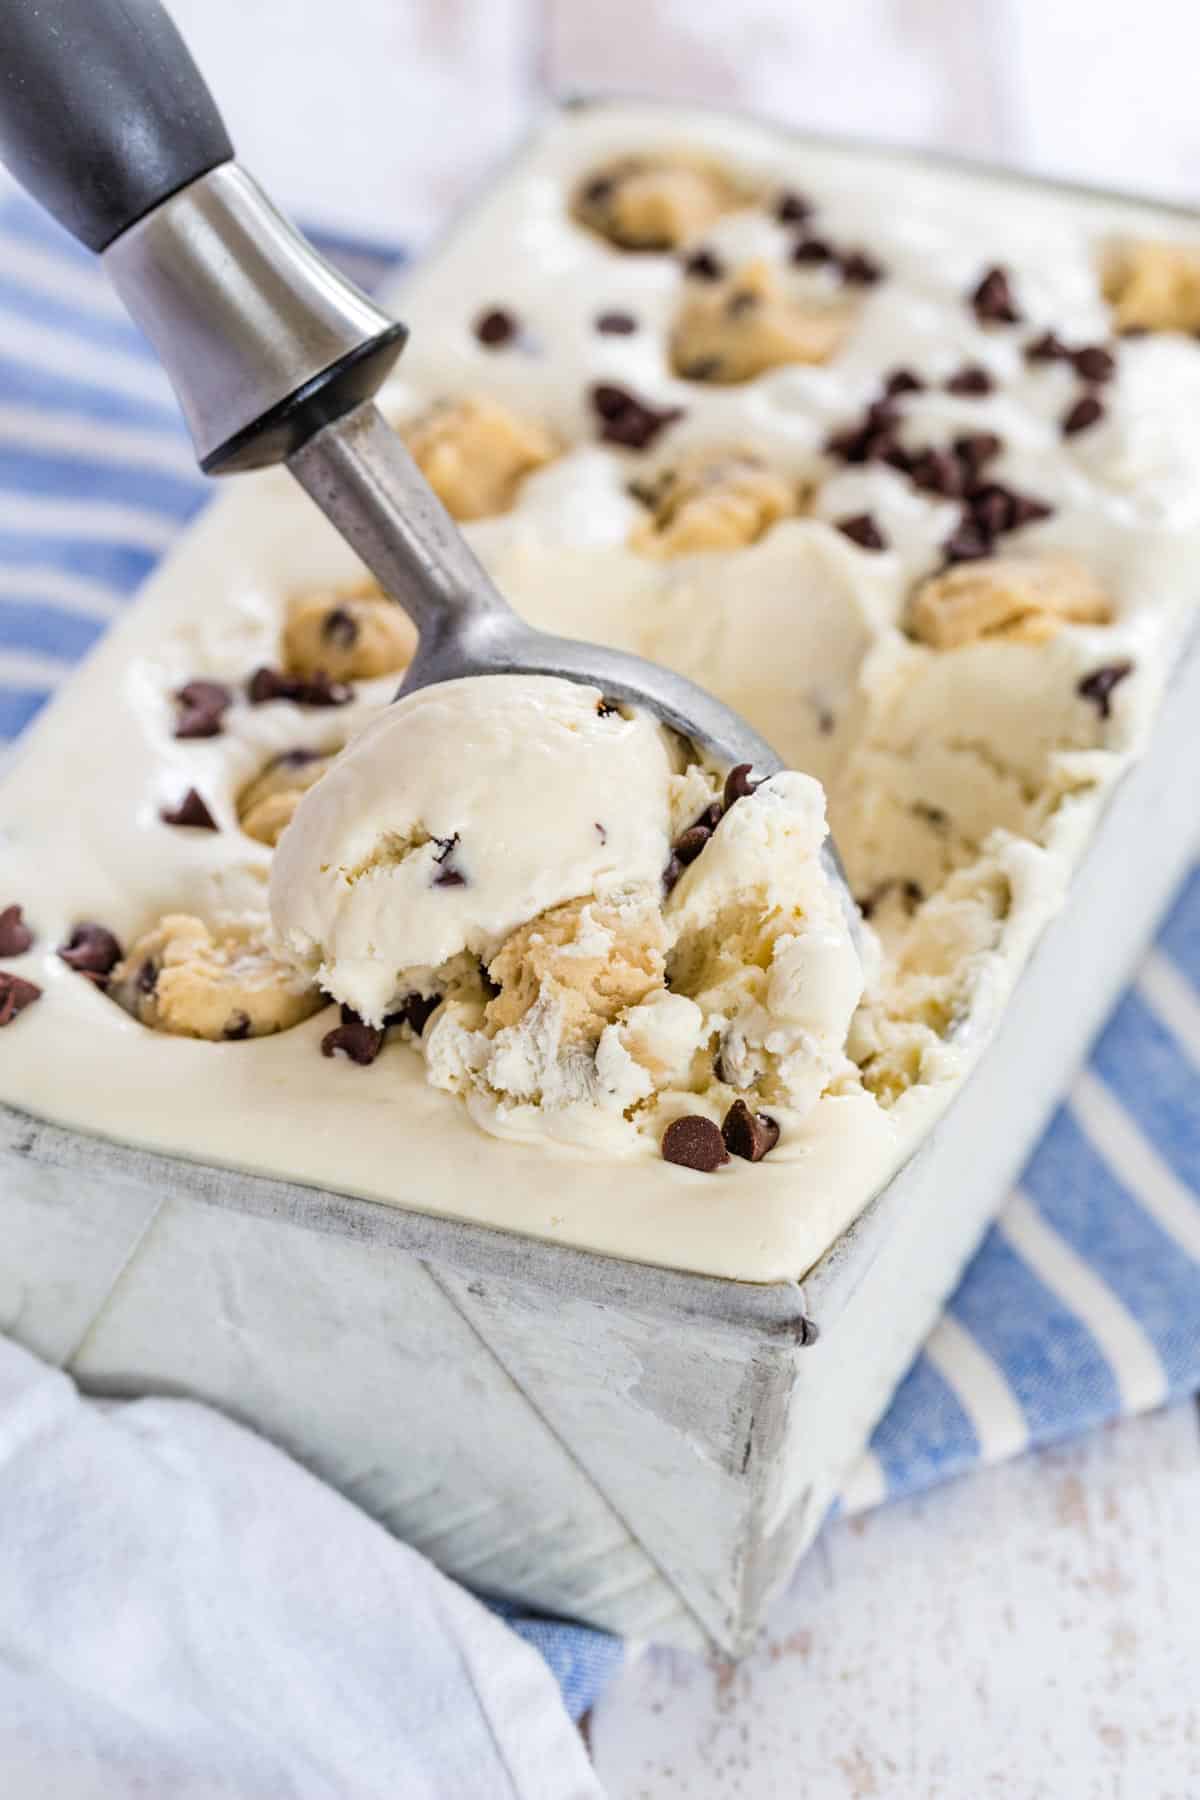
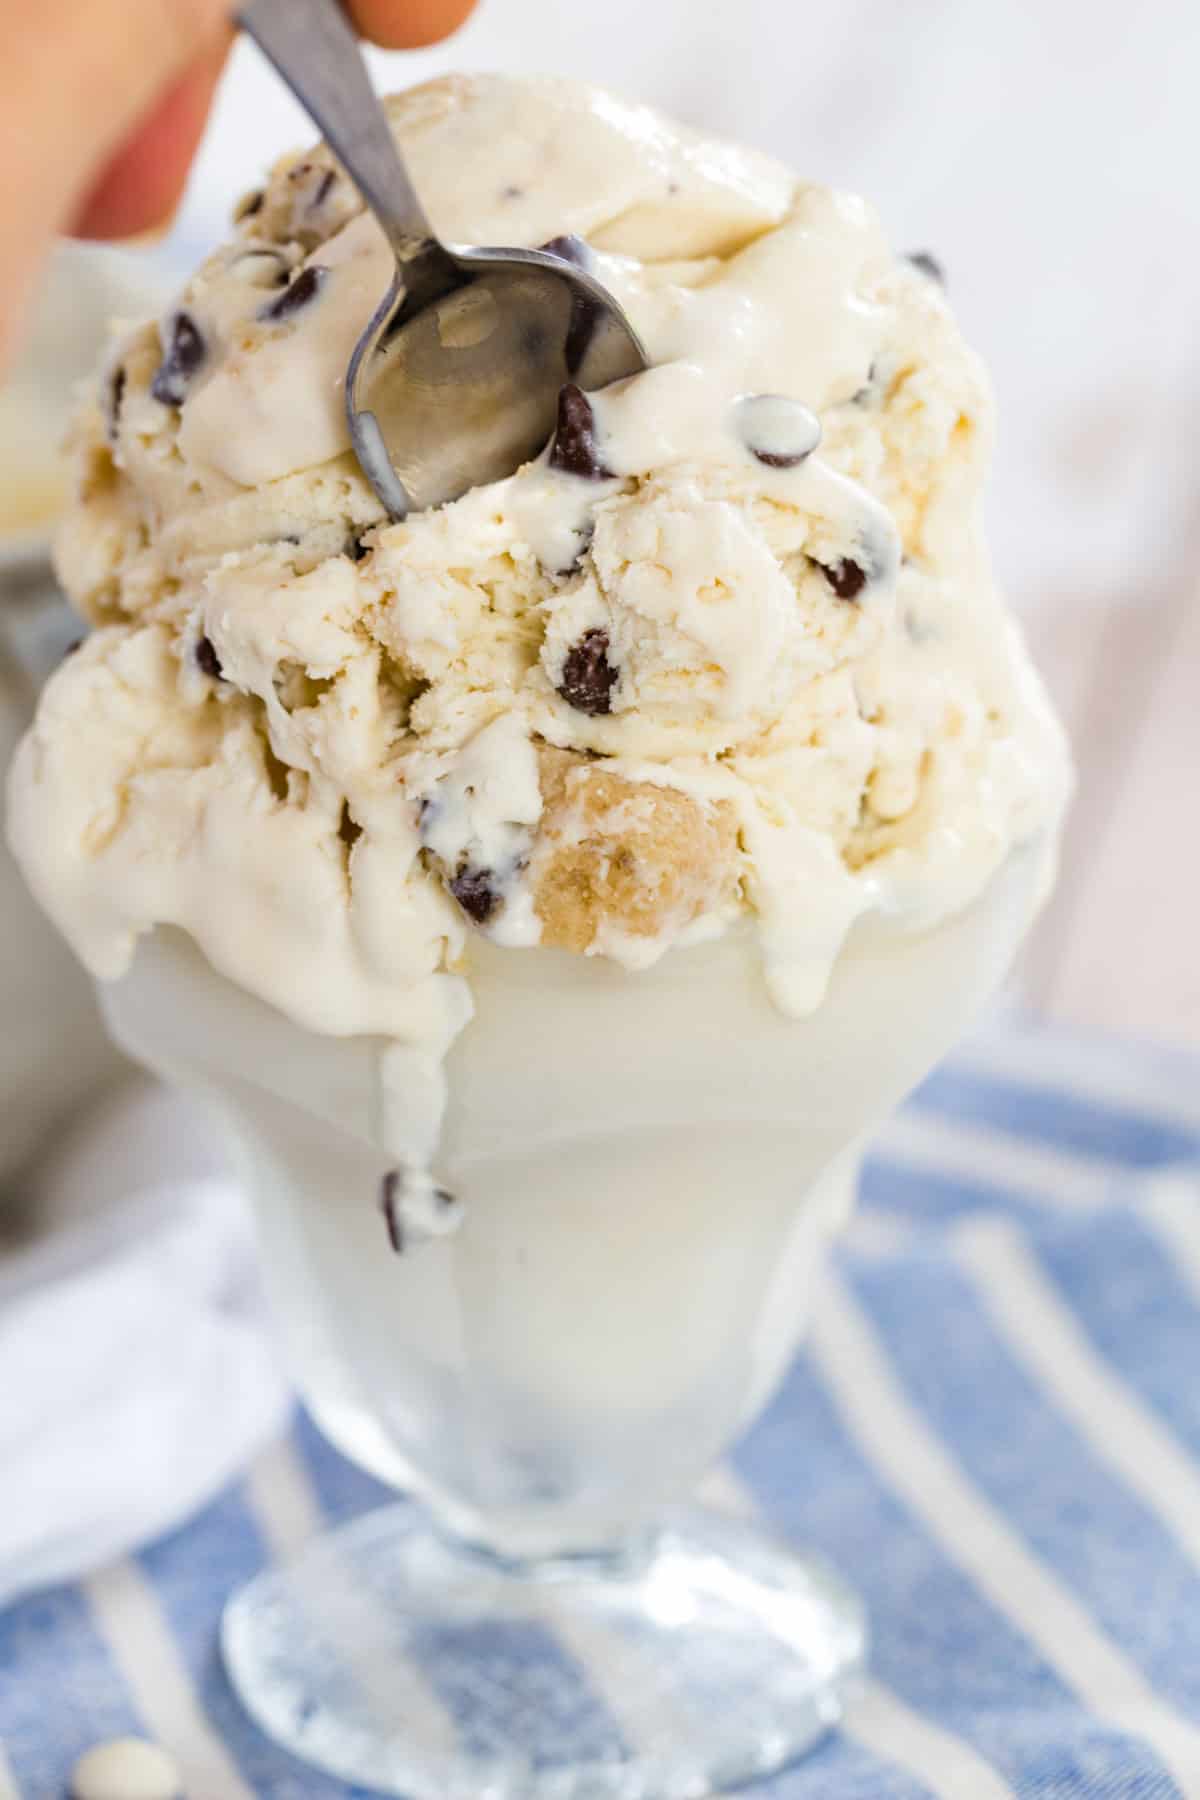
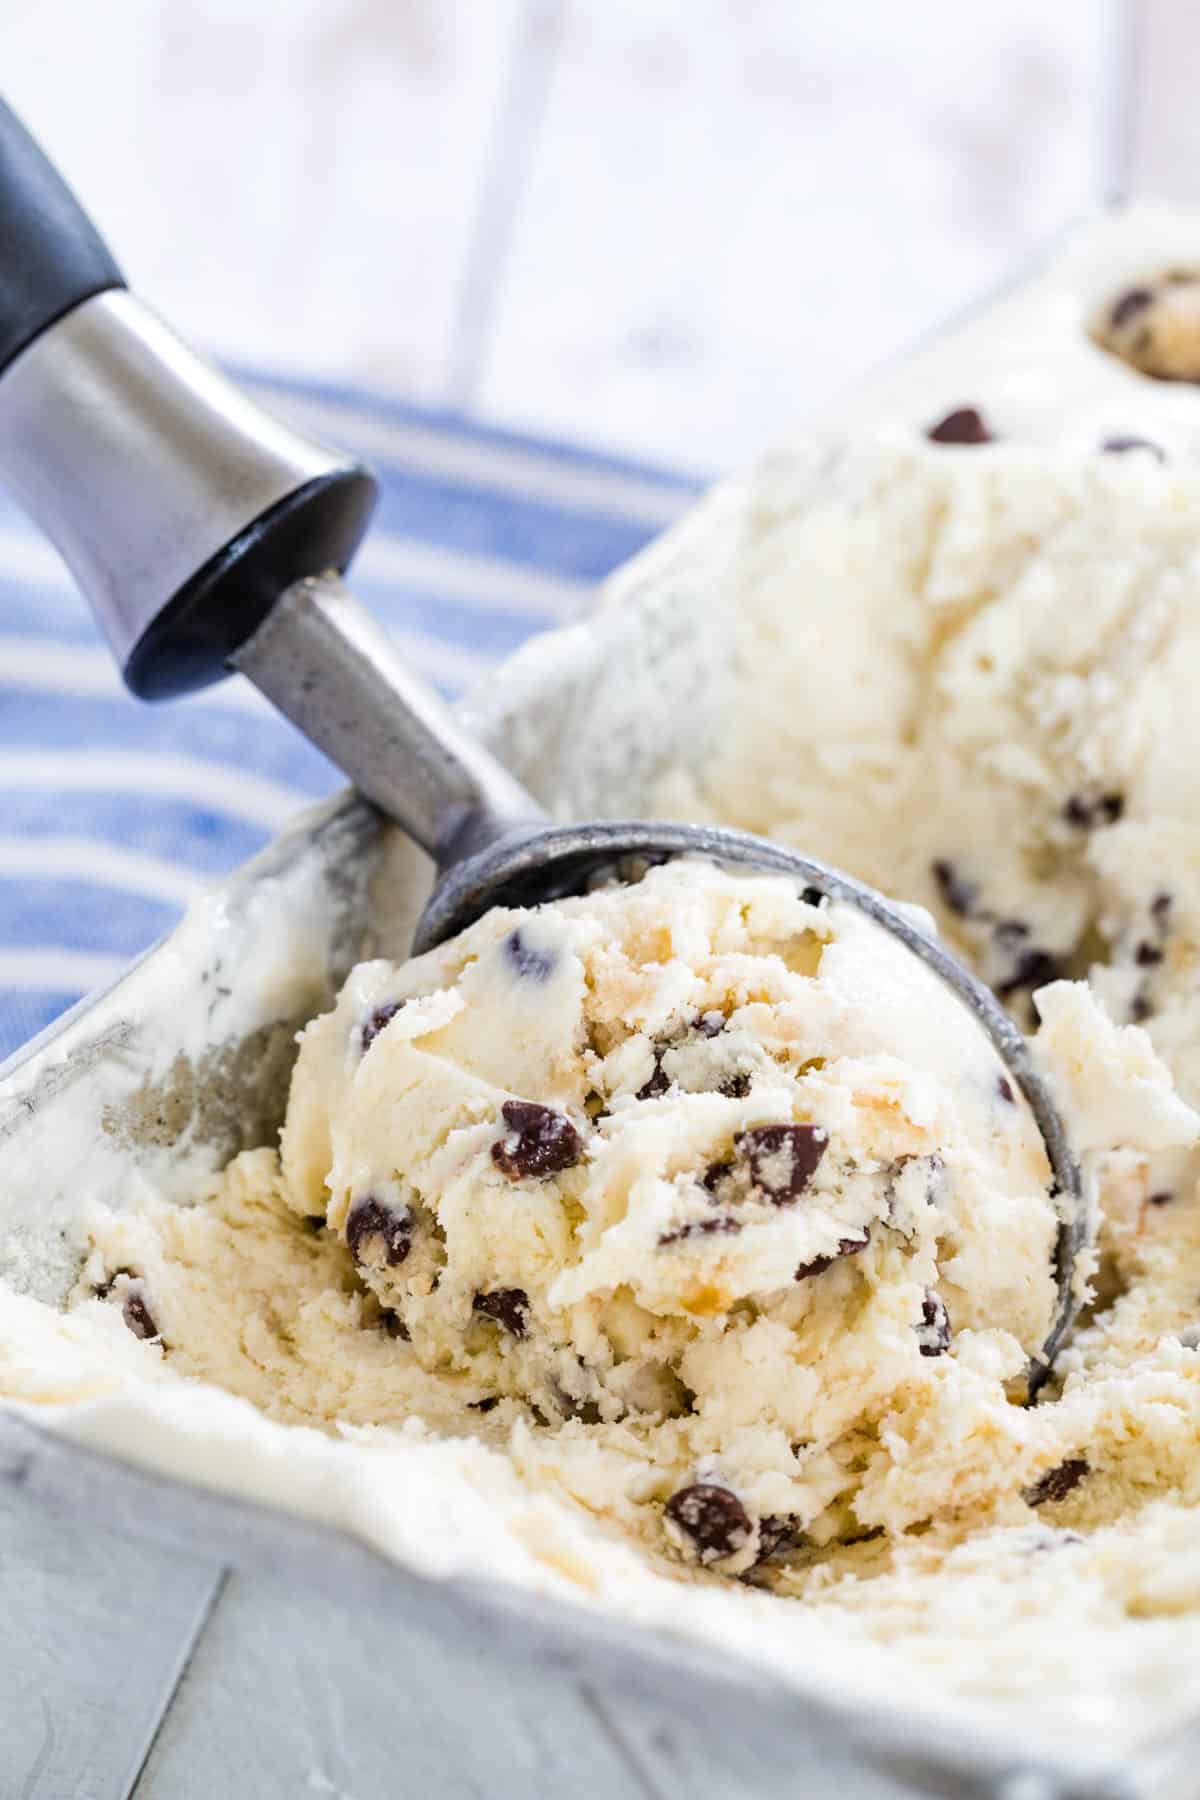
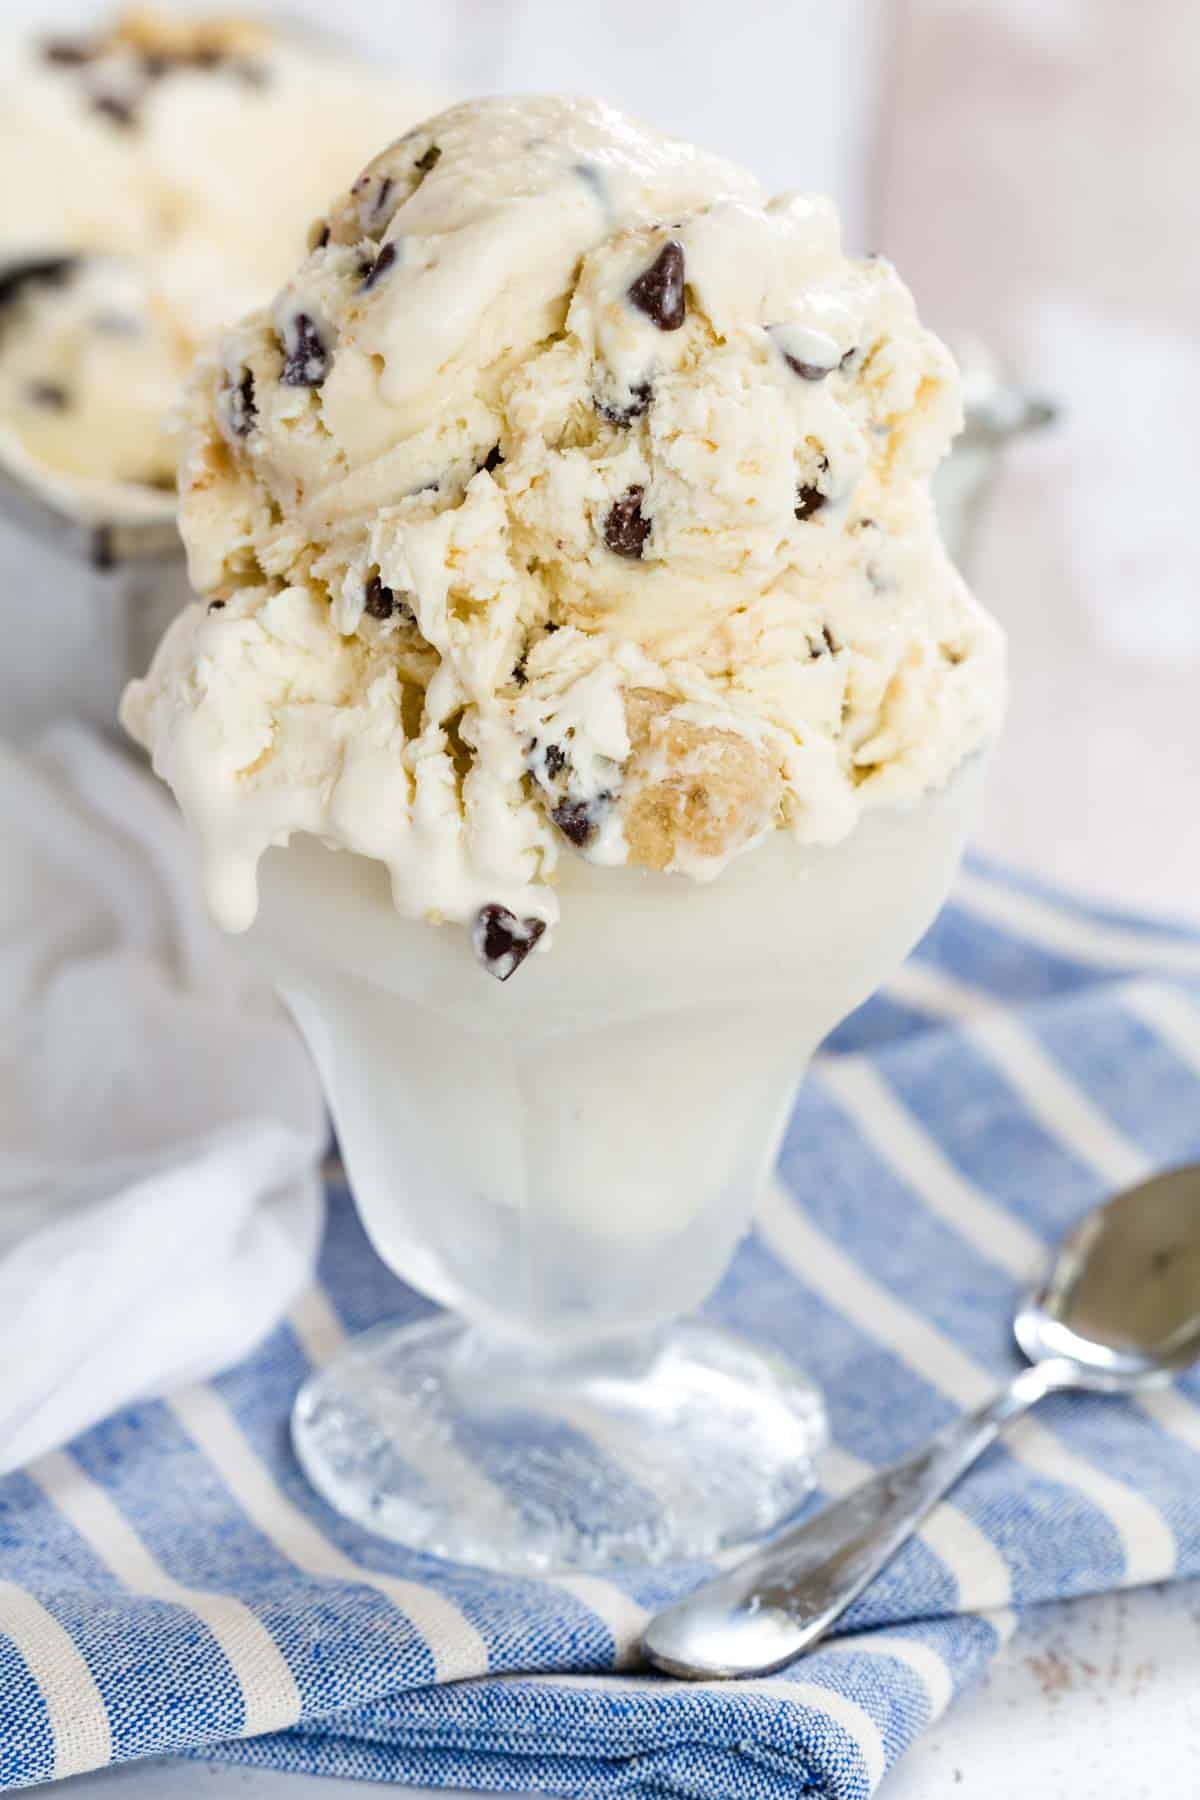
This recipe for homemade Chocolate Chip Cookie Dough No-Churn Ice Cream is made 100% gluten free! Yes, you can enjoy this all-time favorite again. Making your own edible cookie dough and creamy, homemade ice cream is no sweat (literally) with this easy and classic frozen dessert.
Delicious Details
- Cuisine Inspiration: American
- Primary Cooking Method: No-bake
- Dietary Info: Gluten-free option
- Skill Level: Easy
Hot on the heels of my Gluten Free Chocolate Chip Cookie Dough comes this easy recipe for no-churn, homemade cookie dough ice cream! Obviously inspired by the joy that is edible cookie dough. And with the summer temperatures inching up by the day, I’ll use any excuse to make a frozen dessert.
This no-churn recipe is a true contender for the best-ever homemade ice cream. Chocolate chip cookie dough ice cream forever remains a classic. This version is extra awesome, though, ‘cause the dough is totally fit for gluten-free diets!
Why You’ll Love Homemade Cookie Dough Ice Cream
In case you’ve never made your own cookie dough ice cream (or any ice cream) at home before, here are some reasons to start:
- It’s 100% gluten free. Everything in this recipe, from the ice cream ingredients right down to the chunks of homemade chocolate chip cookie dough, is safe for gluten-free diets.
- You don’t need an ice cream maker. No churn means you don’t even need an ice cream machine to make delicious cookie dough ice cream at home. This American-style ice cream recipe uses sweetened condensed milk and no eggs.
- No baking required! What’s better than a no-bake dessert in the summertime?
Recipe Ingredients
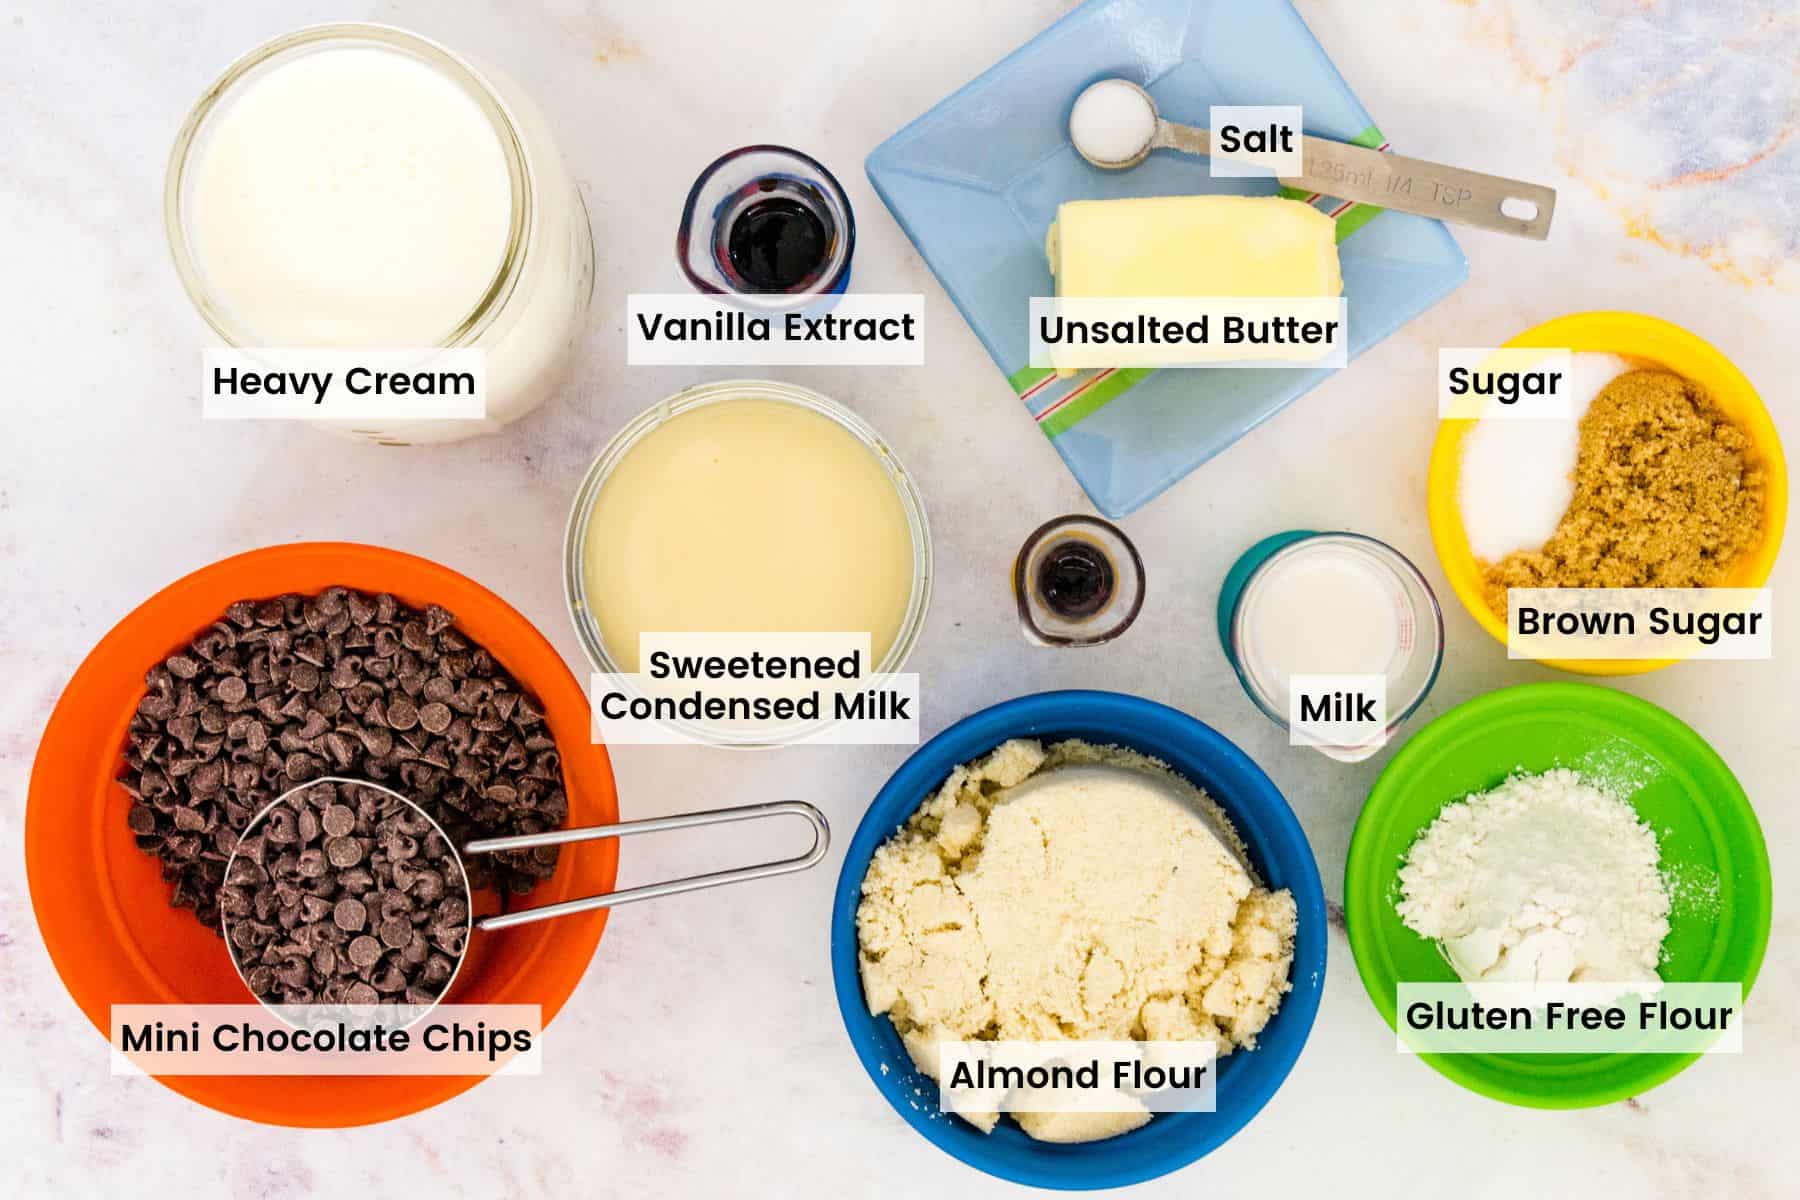
I use my recipe for Gluten Free Chocolate Chip Cookie Dough and make a half batch to add into the ice cream. Below is an overview of the ingredients for the edible cookie dough as well as the homemade ice cream in this recipe, with full amounts in the recipe card.
For the Gluten Free Cookie Dough
- Butter: I stick with unsalted butter. If you use salted butter, you may want to omit the salt that’s added later in the recipe to keep the cookie dough from becoming overly salty.
- Brown Sugar: This recipe uses a combination of brown sugar and white sugar for the best texture and flavor in the dough.
- Vanilla: For the most natural flavor, get your hands on pure vanilla extract.
- Almond Flour
- Flour: We use Bob’s Red Mill Gluten Free 1-to-1 Baking Flour to make the dough gluten free. If you’re not gluten free, regular all-purpose flour works fine. For safety purposes, I strongly recommend heat treating your raw flour prior to using it, see below. You can also use all almond flour (adding more to reach the texture you desire), or a safe oat flour, particularly oat flour you grind yourself.
- Salt
- Chocolate Chips: Mini chocolate chips work great in these bite-sized chunks of cookie dough.
- Milk: You can also use unsweetened almond milk if you prefer.
For the Ice Cream
- Heavy Cream: Make sure the cream is well chilled before you begin. You must use whole fat, heavy cream when making your own ice cream in order to be able to whip it to soft peaks and achieve the creamiest ice cream texture.
- Vanilla
- Sweetened Condensed Milk: You can use regular or fat-free. This ingredient is key to no-churn ice cream! Be sure you’re using sweetened condensed milk, and not canned evaporated milk.
- Chocolate Chips: Even more mini chocolate chips go into the ice cream itself.
Do I Have to Heat Treat the Flour?
Heat treating raw flour is recommended as a precaution against harmful bacteria like E. coli. Before it’s included in recipes like edible cookie dough, the flour needs to be heated to a temperature of 165ºF to kill off any bacteria and make it safe to eat.
You can heat treat your flour in the microwave or in the oven:
- Microwave Method: Heat the flour in a microwave-safe dish in 30-second bursts, until the temperature of the flour reaches 165ºF on an instant read thermometer. Give the flour a stir between bursts to break up any hot spots.
- Oven Method: Preheat the oven to 350ºF and spread the flour out on a large baking sheet. Bake the flour for 5-10 minutes; the exact time will depend on your oven. Use an instant read thermometer to check that the temperature of the flour (and not the baking pan!) is 165ºF.
How to Make No-Churn Cookie Dough Ice Cream
Once your flour is treated and before you start, place a large glass or metal bowl into the fridge or freezer to chill. You’ll need a cold bowl when making the whipping cream for your ice cream base later on. Next, follow these steps:
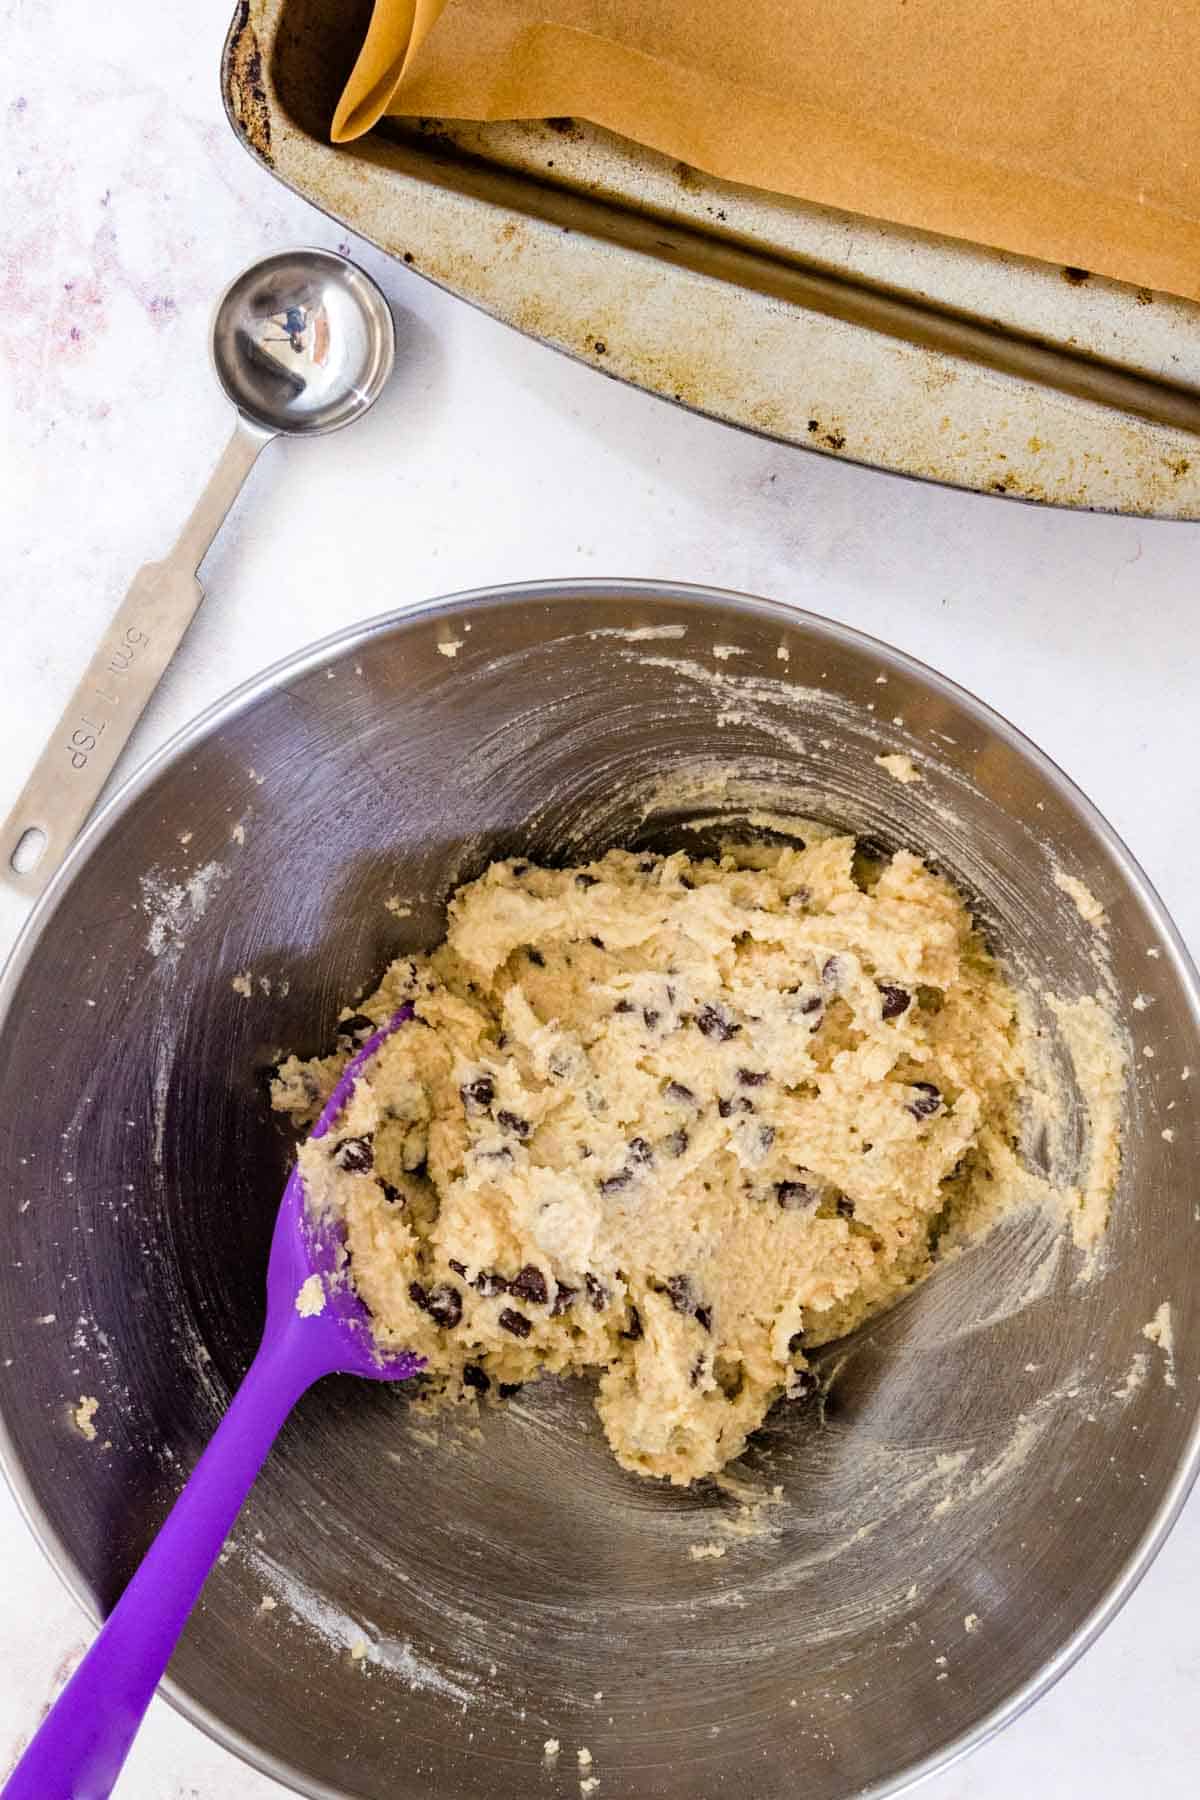
- Mix the Cookie Dough: Beat the wet dough ingredients together, then add in your treated flours and the salt. Mix until a dough forms. If your dough is crumbly, add in a spoonful of milk at a time to get it to the right consistency. Next, stir in the chocolate chips.
- Form the Balls: Spoon small balls of dough onto a parchment-lined pan, then place the pan into the freezer.

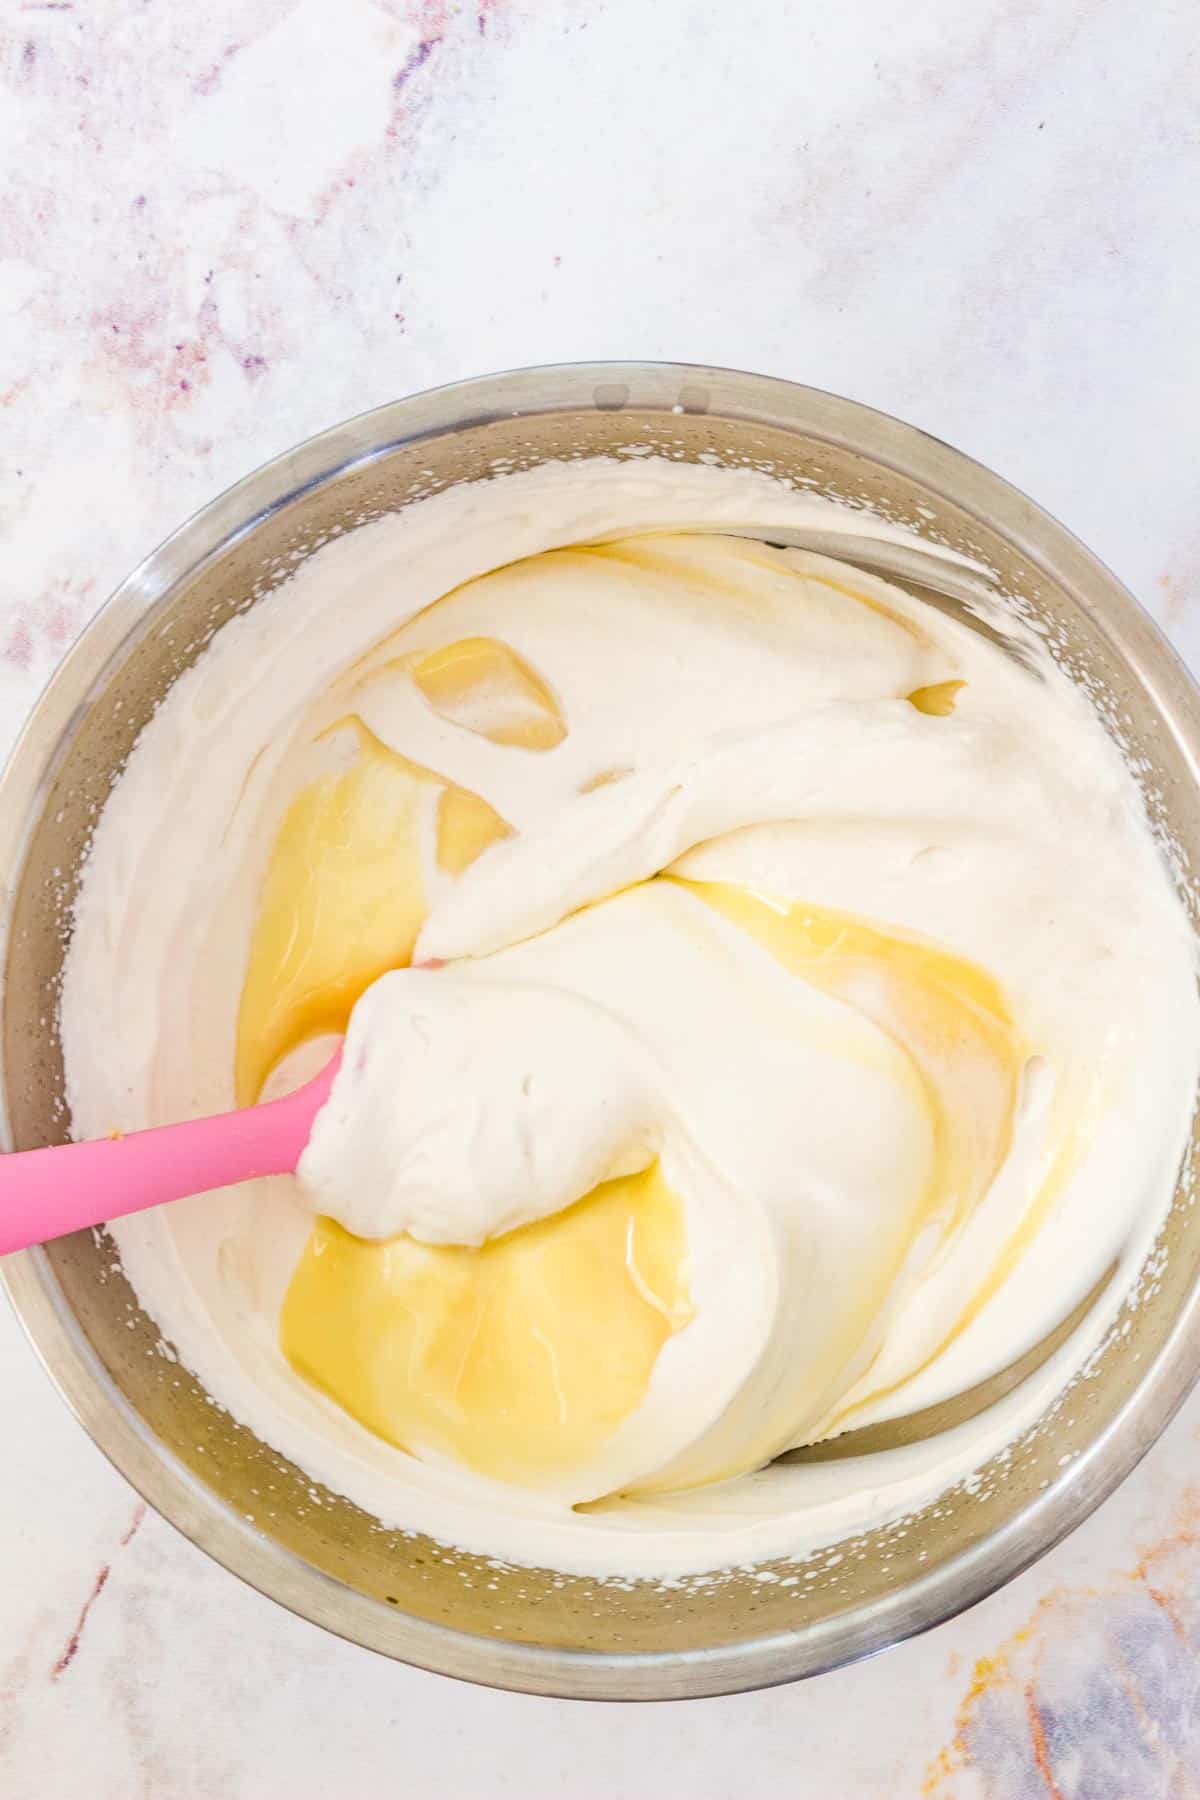
- Make the Base: Take your chilled bowl out of the fridge or freezer, and combine the heavy cream and vanilla. Beat the cream until soft peaks form, then gently fold in the sweetened condensed milk.
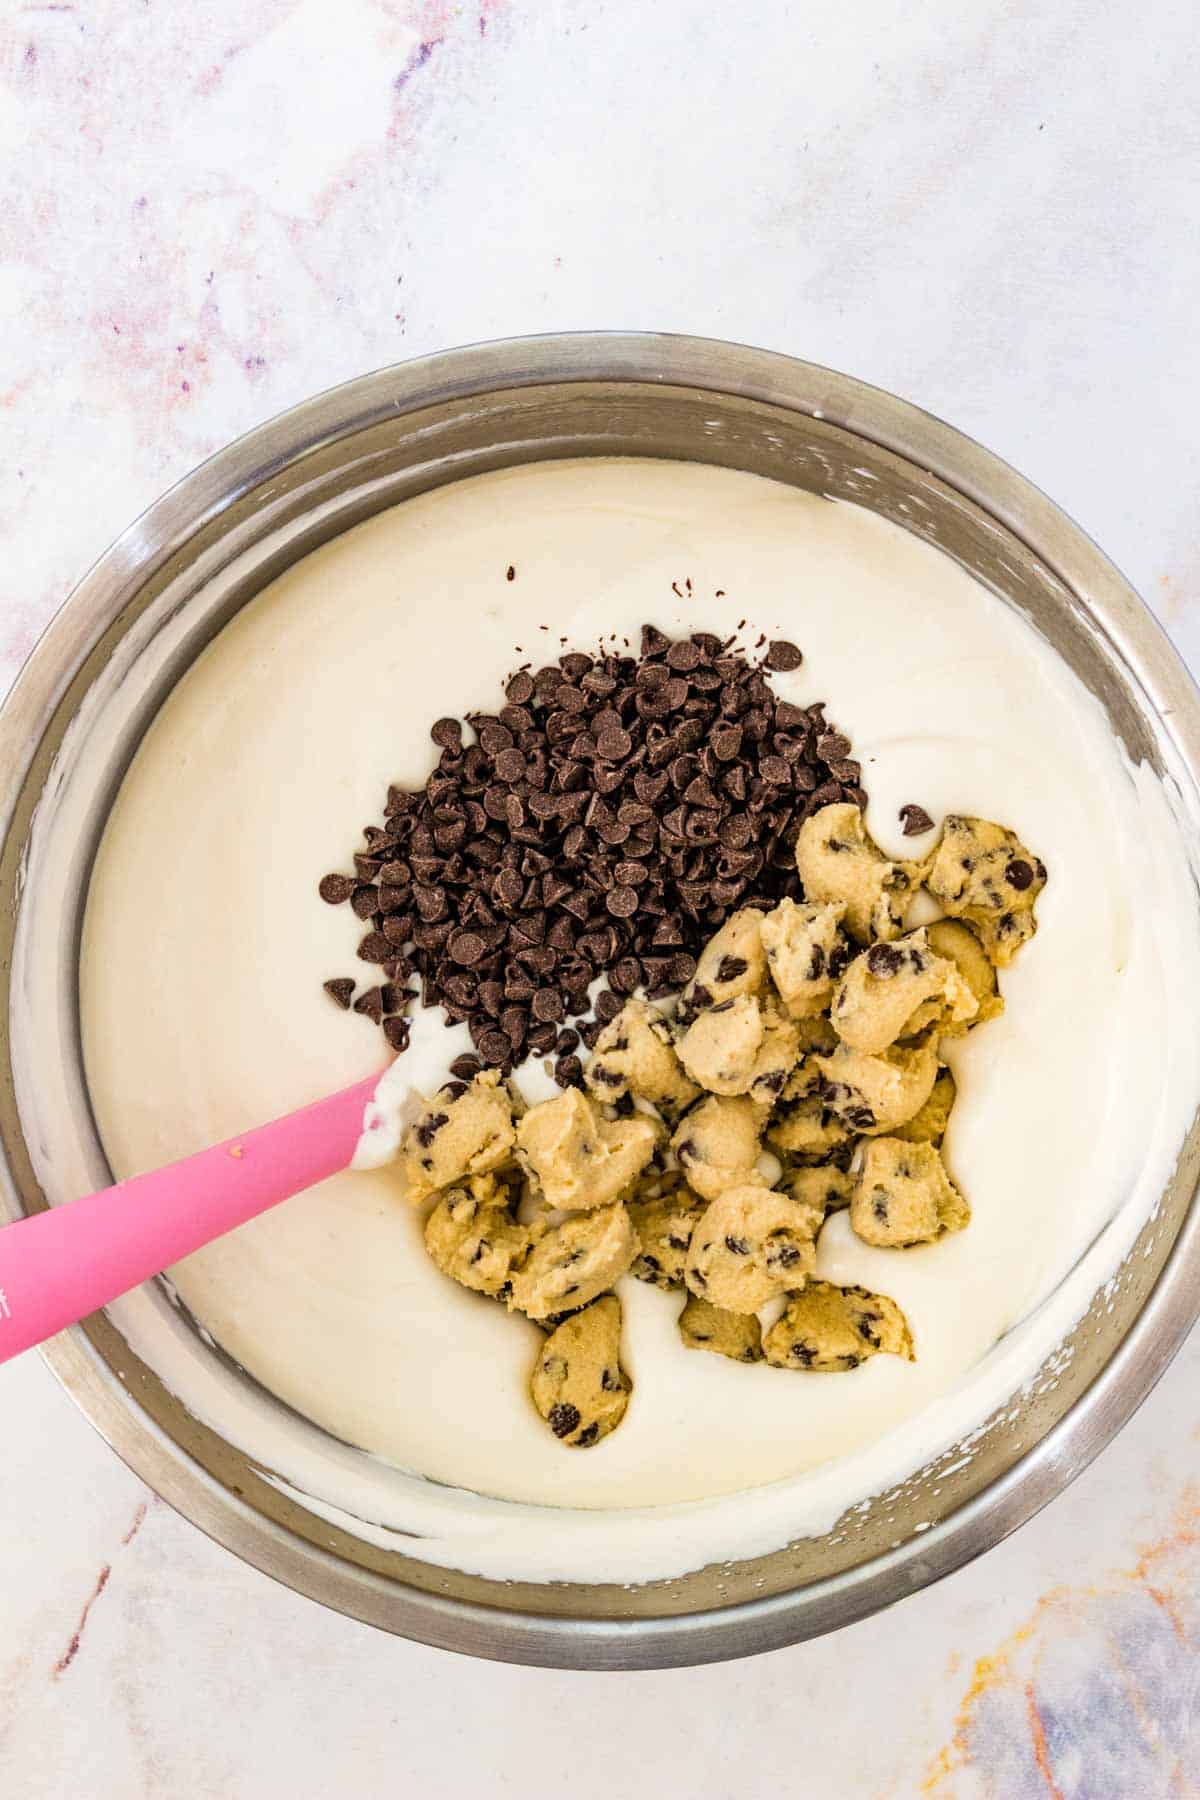
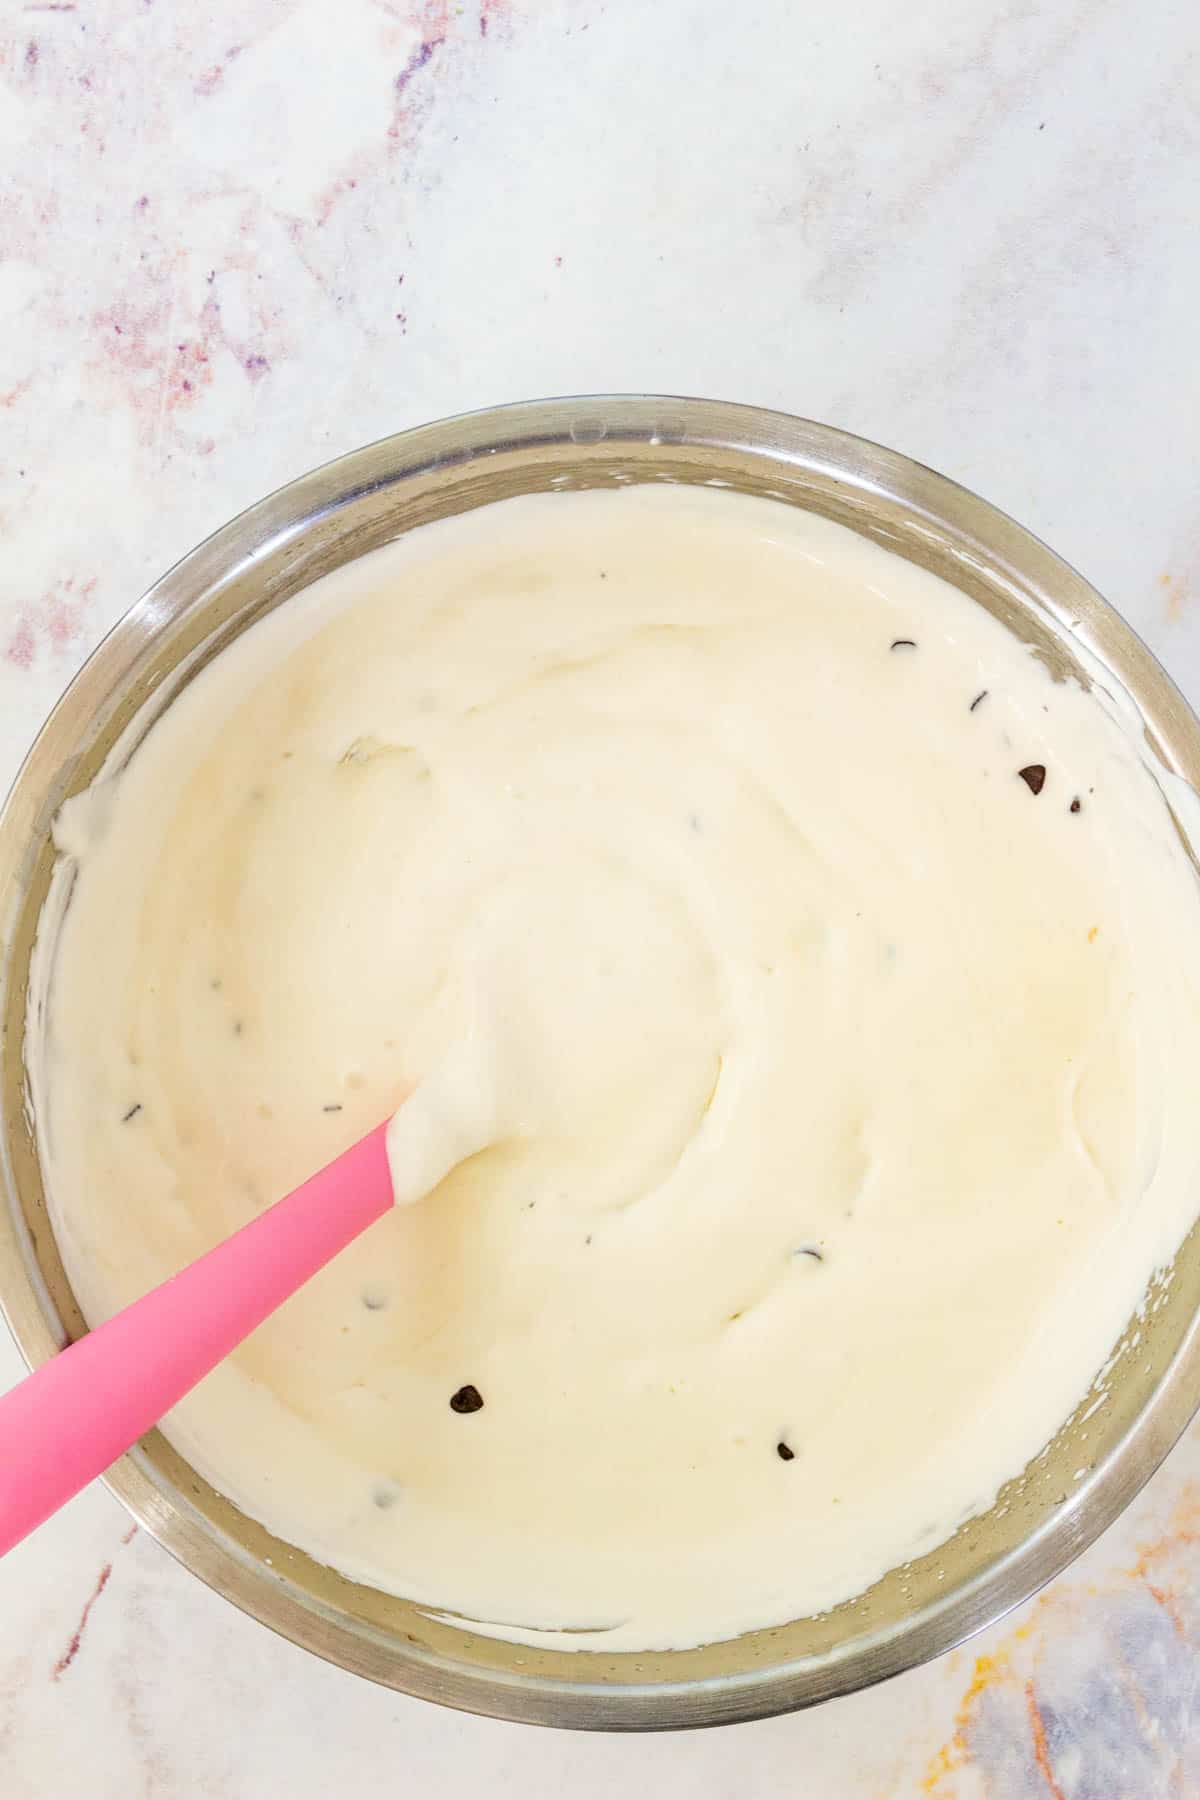
- Add the Mix-Ins: Once your base is ready, stir in the cookie dough pieces and chocolate chips.
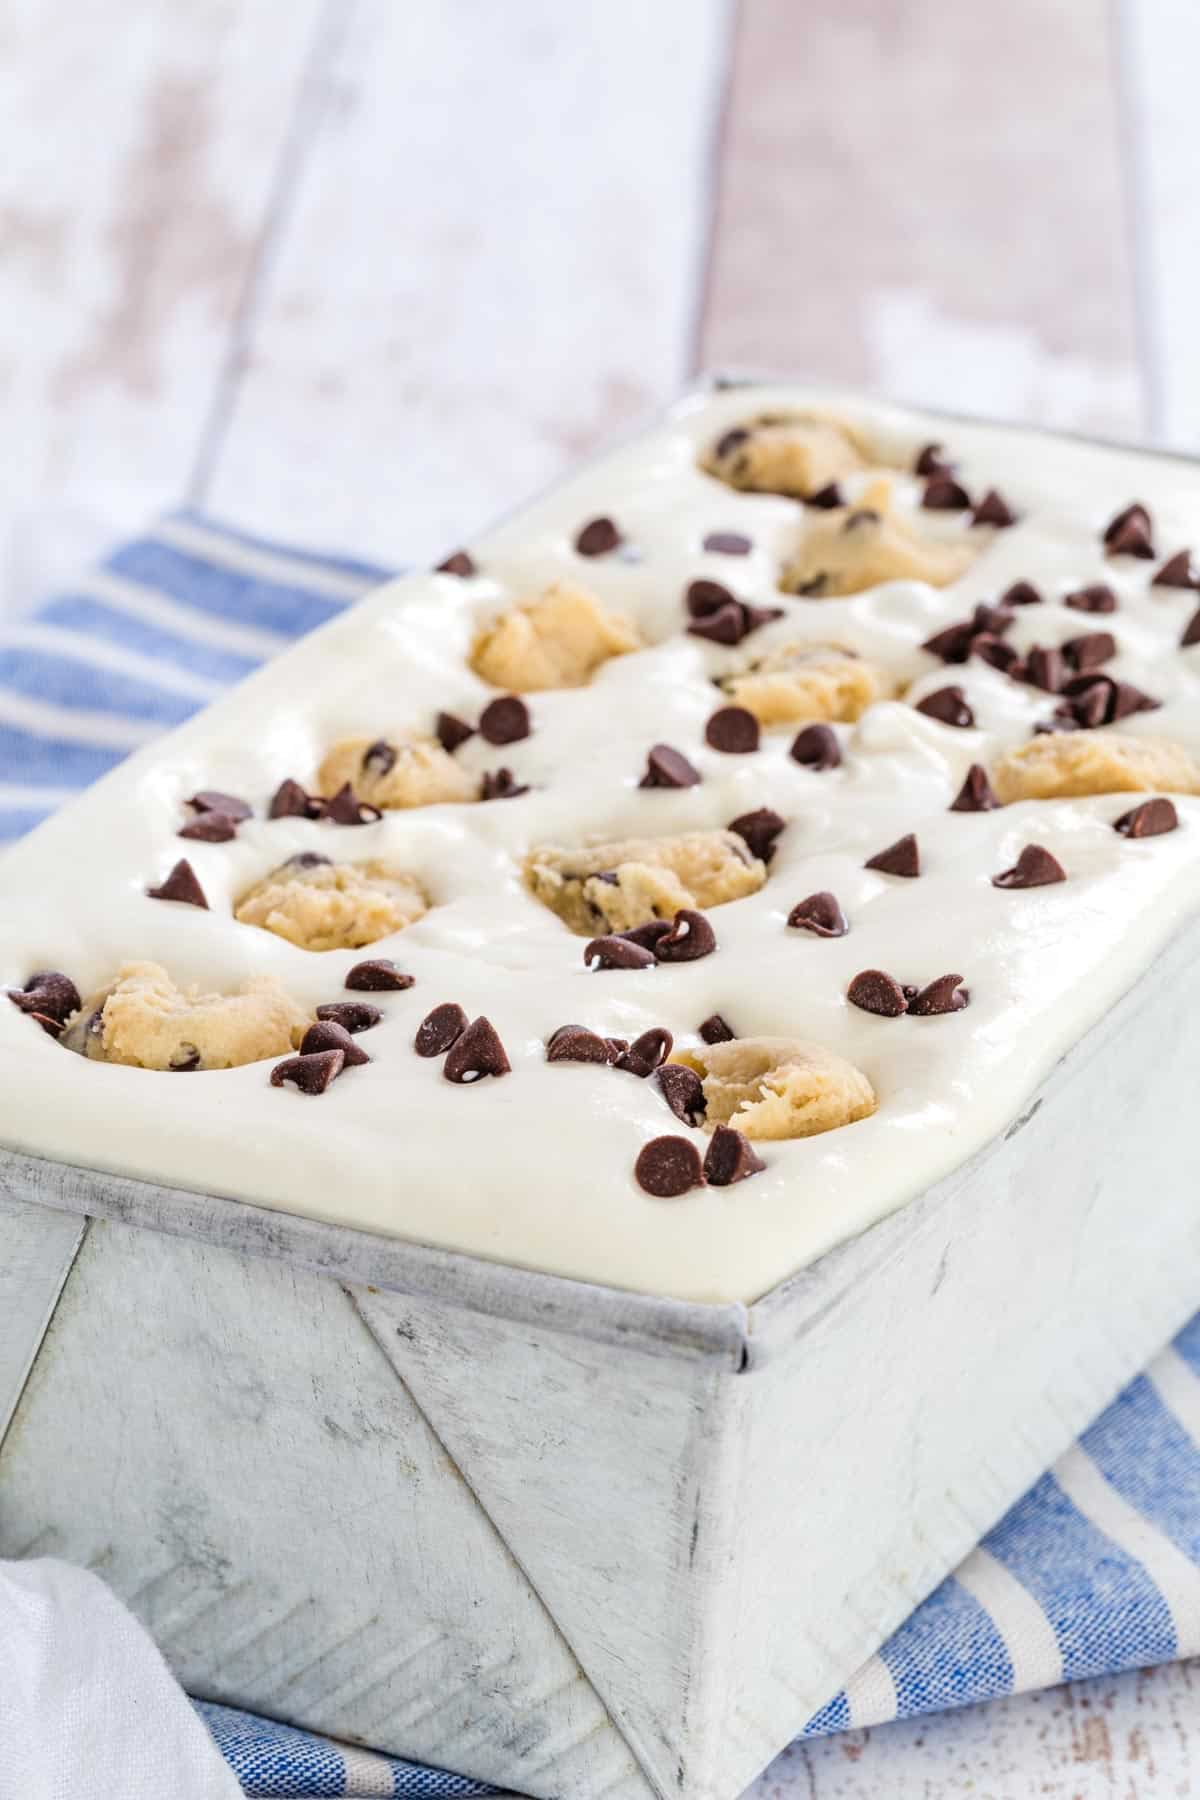
- Freeze: Finally, transfer the cookie dough ice cream mixture to a freezer-friendly loaf pan or similar container. Cover and place the cookie dough ice cream in the freezer. Homemade ice cream usually takes about 4 to 6 hours to freeze up completely.

Tips for Success
If you have a bowl and a freezer, you can make no-churn ice cream! It’s a simple method, and here are some quick tips to make sure this recipe comes out great:
- Chill the Bowl: It’s important that the bowl and the heavy cream itself are well chilled before you get whipping. Freezing the bowl ensures that the ice cream freezes quicker, meaning overall better texture.
- Fat Is Good: No-churn ice cream comes out the best when it’s made with full-fat ingredients, since the fats are what make ice cream extra creamy and not icy.
- Make It Picture-Perfect: If you’d like to decorate the top of your ice cream before it freezes, remember to set aside a few of the cookie dough chunks and chocolate chips ahead of time to sprinkle over once it’s in the pan.
- Can I Bake the Extra Dough?: Sadly, no. The cookie dough in this recipe is made without leavening ingredients like eggs and baking soda, so any attempt to bake it will literally fall flat. You can, however, enjoy any leftover cookie dough by the spoonful, since it’s 100% safe to eat!
Proper Storage
To help prevent ice crystals from forming, transfer the ice cream to a freezer-safe container and cover the ice cream with plastic wrap before sealing the lid.
I recommend that you enjoy your homemade ice cream within 30 days of making it. No-churn ice cream that’s stored for longer than a month in the freezer tends to crystallize and become icy.
Topping & Mix-In Ideas
Making ice cream at home means that you can bring even your wildest add-ins and flavor dreams to life! Here are some topping and mix-in ideas for cookie dough ice cream:
- Hot Fudge Sauce
- Caramel sauce
- Melted peanut butter
- More cookie chunks (gluten free Oreos, gluten free Graham crackers)
- Brownie chunks
- Candy (Snickers, Reese’s, M&M’s, Kit Kat, etc.)
- Sprinkles
- Chopped cherries
- Crushed nuts (pecans, walnuts, hazelnuts, macadamias)
- Cream cheese (beat a softened 8 oz. package of cream cheese with the sweetened condensed milk for a cheesecake ice cream base)
You can also make a pretty epic sundae by scooping it on top of some Gluten Free Brookies!
More Crowd-Favorite Desserts to Devour
Chocolate Chip Cookie Dough No-Churn Ice Cream
Ingredients
For the Cookie Dough
- 1/4 cup unsalted butter , softened to room temperature
- 2 Tablespoons brown sugar
- 2 Tablespoons granulated sugar
- 1 teaspoon vanilla extract
- 1/2 cup almond flour
- 2 Tablespoons gluten free or all-purpose flour (we use Bob’s Red Mill 1:1 Gluten Free Flour) that has been heat treats (see Note) or additional almond flour
- 1/4 teaspoon salt
- 1-2 Tablespoons milk or unsweetened almond milk
- 1/4 cup mini chocolate chips
For the Ice Cream
- 1 pint heavy cream , well chilled
- 2 teaspoons vanilla extract
- 14 oz sweetened condensed milk (regular or fat free)
- 1/2 cup mini chocolate chips
Instructions
For the Cookie Dough:
- Place a sheet of parchment paper in a small pan.
- In a medium bowl using a hand mixer, beat t1/4 cup unsalted butter, 2 Tablespoons brown sugar, 2 Tablespoons granulated sugar, and 1 teaspoon vanilla extract until light and fluffy.
- Fold in 1/2 cup almond flour, 2 Tablespoons gluten free or all-purpose flour, and 1/4 teaspoon salt. Mix until well combined. If needed, add 1-2 Tablespoons milk, 1 tablespoon at a time, until your desired texture is reached.
- Stir in 1/4 cup mini chocolate chips.
- Using a teaspoon, form small balls of the cookie dough and place them in the parchment lined pan. Set the pan in the freezer while you prepare the ice cream base.
For the Ice Cream:
- Before making the cookie dough, place a large glass or metal bowl in the refrigerator or freezer for whipping the cream.
- Add 1 pint heavy cream and 2 teaspoons vanilla extract to the chilled bowl. Using an electric mixer or whisk, beat the heavy cream to soft peaks.
- Pour in 14 oz sweetened condensed milk and gently fold until you no longer see ribbons of the sweetened condensed milk and it is evenly distributed.
- If you want to decorate the top of the ice cream, set aside a few of the cookie dough pieces and about a Tablespoon of mini chocolate chips. Add the remaining cookie dough pieces and 1/2 cup mini chocolate chips to the ice cream mixture and gently fold in. Transfer to a container that you can freeze, such as a 9-inch loaf pan.
- Top the ice cream mixture with the remaining cookie dough and chips.
- Cover with a lid or plastic wrap and place in the freezer for 4-6 hours or until frozen completely.
Notes
- Microwave Method: Heat the flour in a microwave-safe dish in 30-second bursts, until the temperature of the flour reaches 165ºF on an instant read thermometer. Give the flour a stir between bursts to break up any hot spots.
- Oven Method: Preheat the oven to 350ºF and spread the flour out on a large baking sheet. Bake the flour for 5-10 minutes; the exact time will depend on your oven. Use an instant read thermometer to check that the temperature of the flour (and not the baking pan!) is 165ºF.

Did you make this?
Leave a star rating to help others know that they should make this recipe.
Share a photo and tag @cupcakesandkalechips on Instagram!