This post may contain affiliate links. Read my disclosure policy.
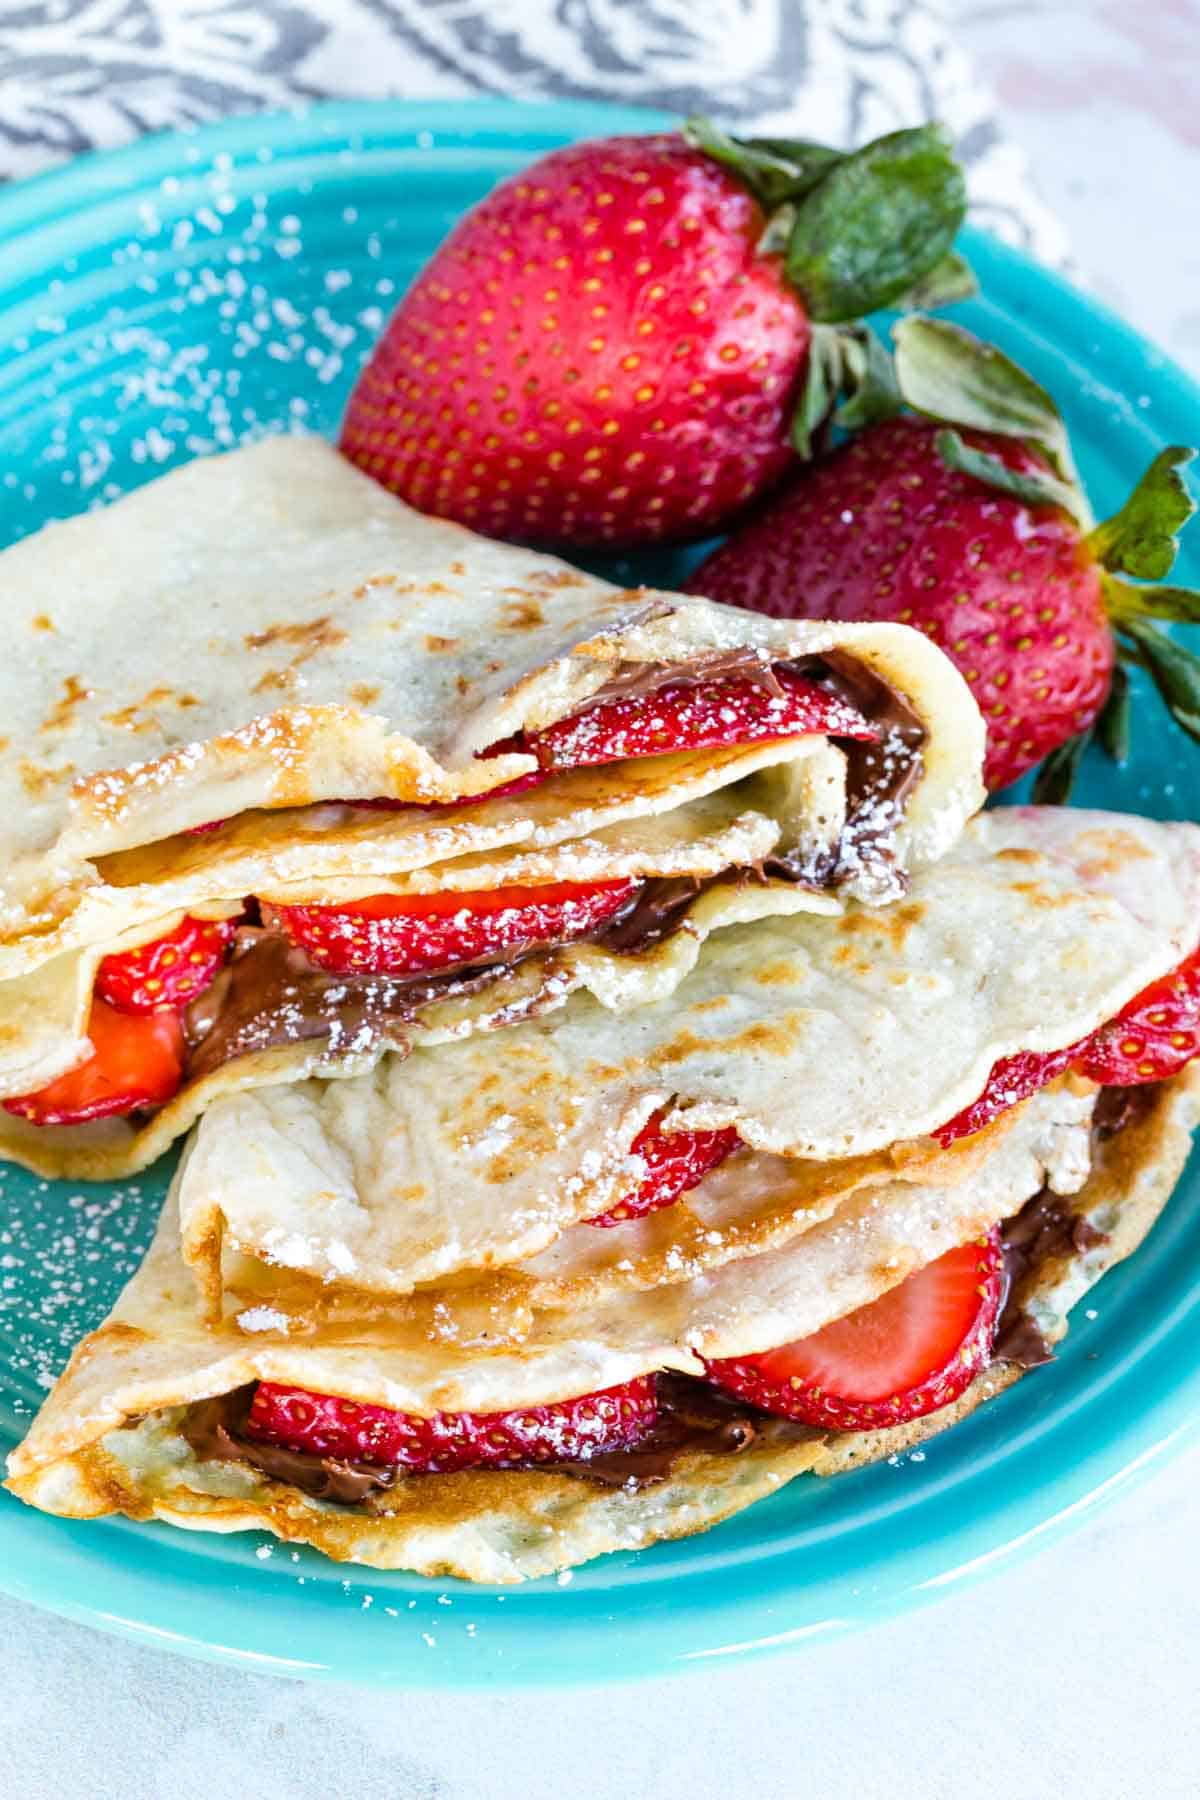
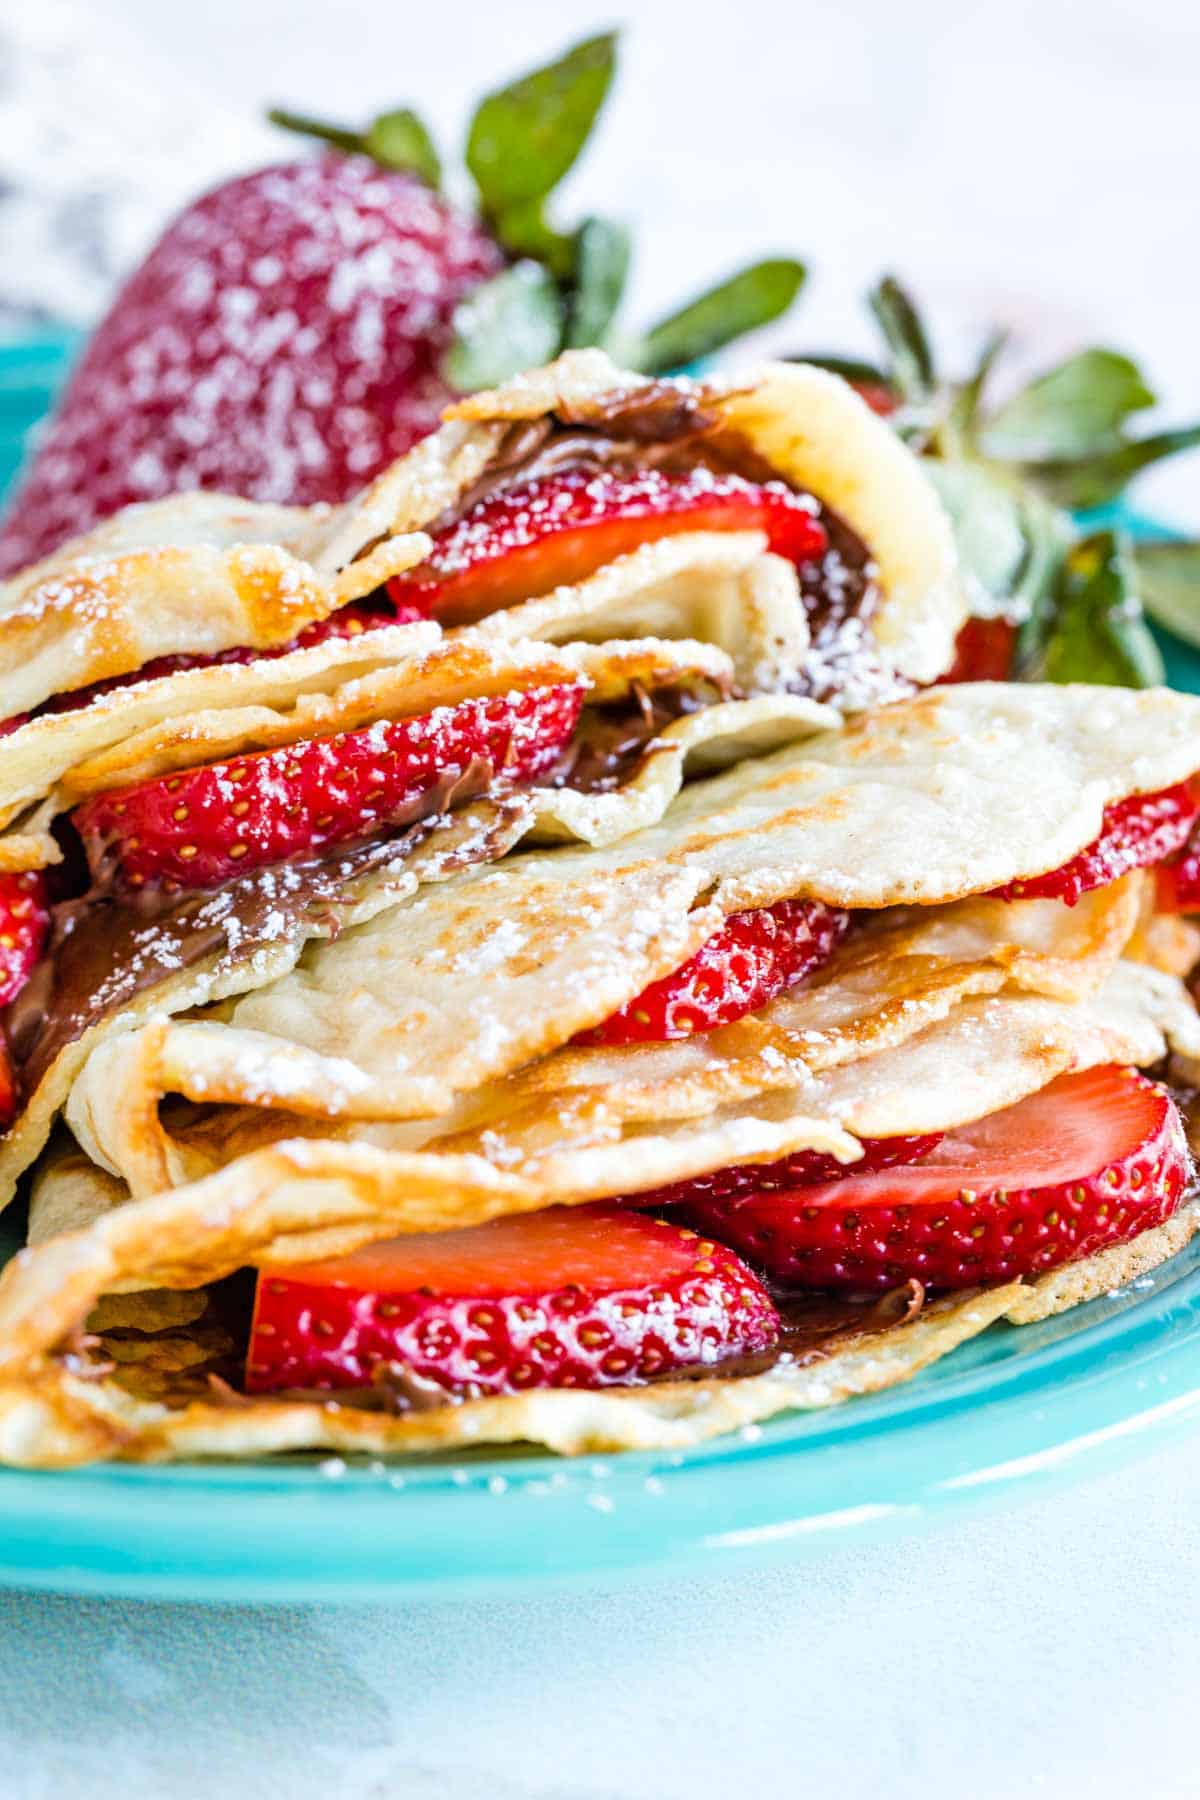
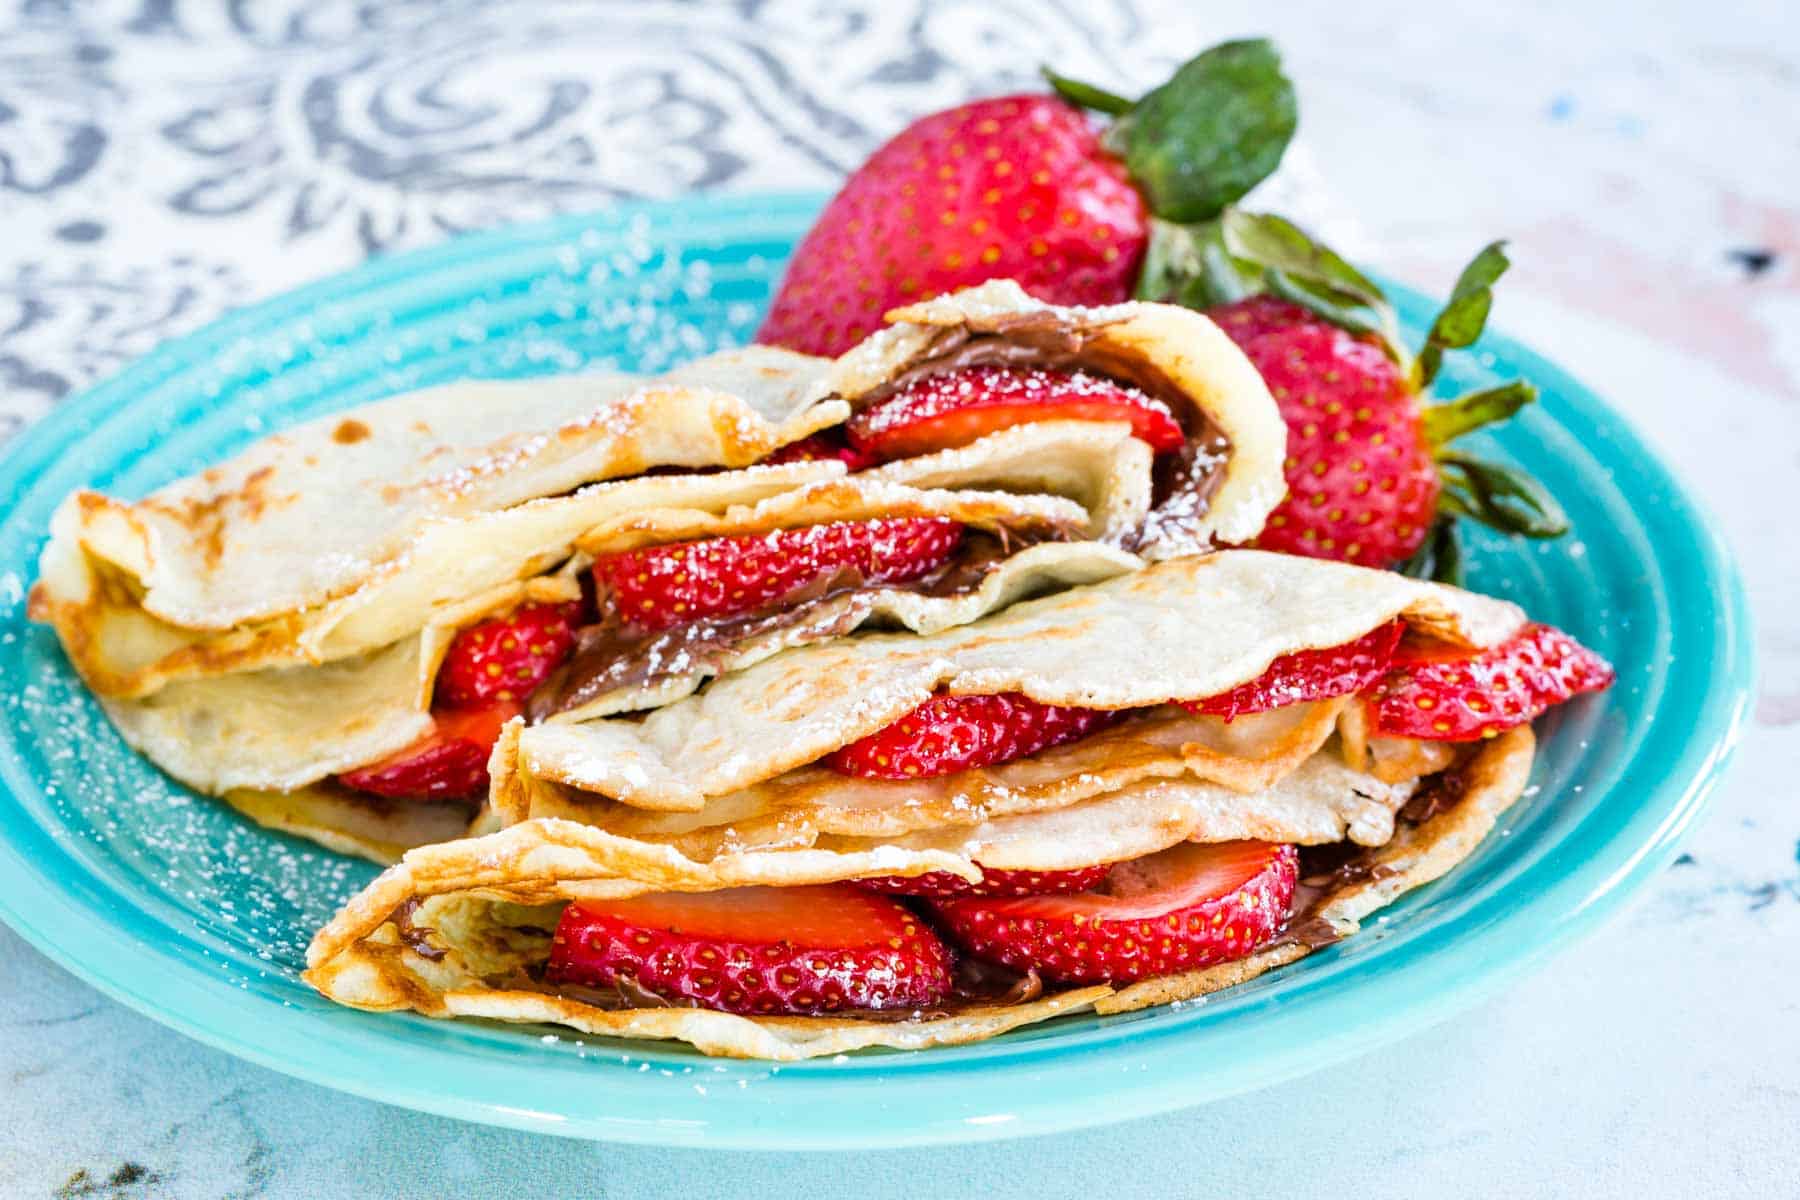
These Strawberry Nutella Crepes are a light and sweet breakfast treat! Tender gluten free crepes filled with juicy strawberries and creamy chocolate hazelnut spread are easy, irresistible, and disappear fast. While they make mornings extra-special, you can also enjoy them for dessert!

Delicious Details
- Cuisine Inspiration: French
- Primary Cooking Method: Stovetop
- Dietary Info: Gluten-free option
- Skill Level: Moderate
Why You’ll Love Strawberry Nutella Crepes
A crepe is a lot like a pancake, but thinner and more delicate. They’re classic in European cuisine, but you can find them pretty much anywhere nowadays! Crepes can be made sweet or savory, depending on the occasion and type of filling. So I’ve taken my recipe for Easy Gluten Free Crepes and filled it with the best combination: strawberries and Nutella. This crepe recipe is so easy to whip up in a blender, you’re going to want to make these every weekend!
When it comes to my favorite comfort food breakfasts, these Nutella crepes are pretty high up on the list! Combining tender crepes, fresh strawberries, and sweet chocolaty spread is basically a taste of heaven. Here’s why:
- Perfectly sweet. Filled with juicy strawberries and rich Nutella, these homemade crepes are just the thing to satisfy your sweet tooth.
- Light and fluffy. You won’t believe how light and buttery these crepes are! They’re melt-in-your-mouth delicious.
- Family favorite recipe. Who could turn down strawberry-and-Nutella-stuffed crepes? These disappear from the table within seconds every time I make them!
If easy strawberry breakfasts are a big hit in your household, try out these Gluten Free Strawberry Muffins, too!
Recipe Ingredients
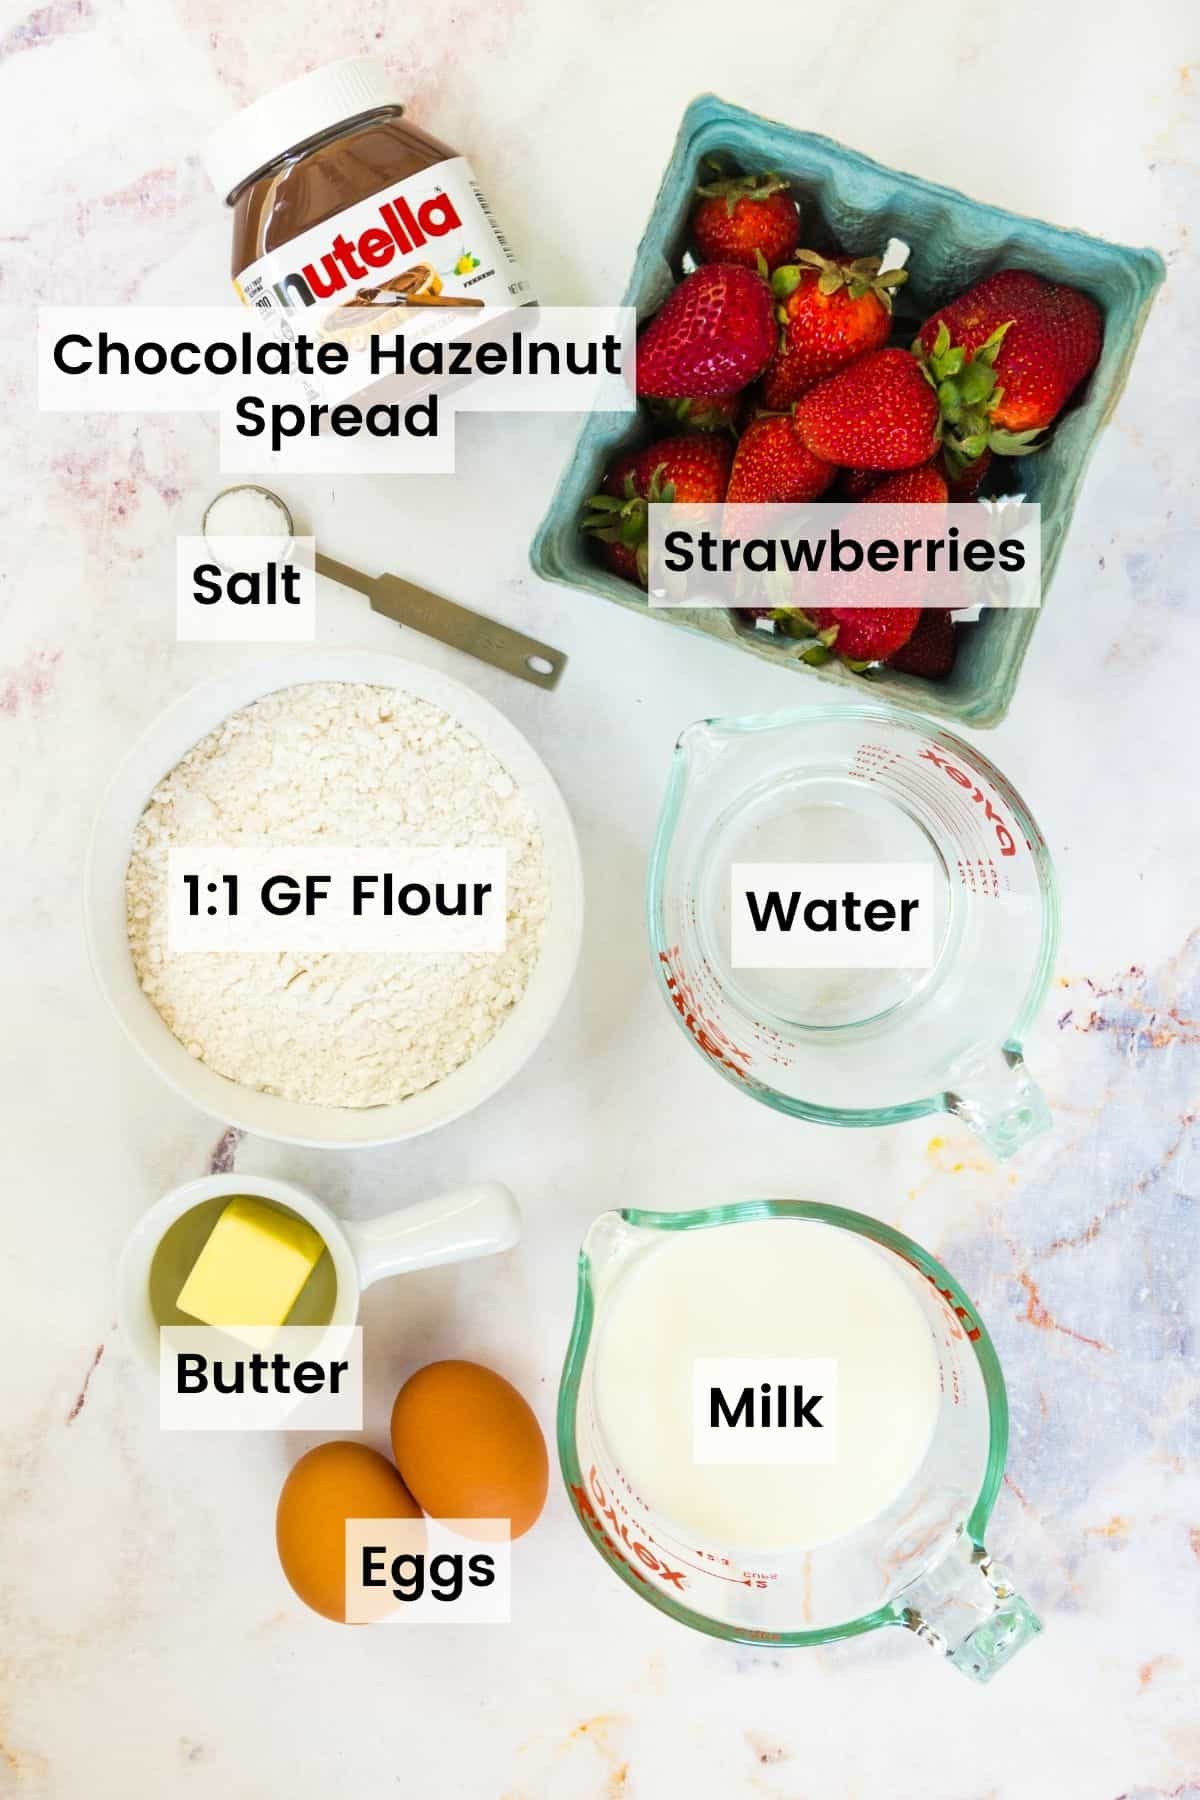
Let’s talk about what ingredients you’ll need to make crepes in your own kitchen. If you’re looking for exact ingredient amounts or the full set of instructions, check out the recipe card below!
- Gluten-free flour – You’ll need a good gluten-free all-purpose flour blend (I use Bob’s Red Mill 1-to-1).
- Kosher salt – To balance out the sweetness from the strawberries and the Nutella.
- Milk & eggs – Take your eggs and milk out of the fridge before you start to let them get to room temperature. Room temperature ingredients help the batter mix together easily and smoothly.
- Water – Just enough to get the perfect batter consistency.
- Butter – Use unsalted butter that’s been melted. This lends a rich, buttery flavor to the batter and will also keep the crepes from sticking to the pan as they cook.
- Nutella – You can also use any other chocolate hazelnut or chocolate spread you prefer.
- Strawberries – You’ll need to wash, dry, and hull the strawberries before you slice them. I recommend using fresh strawberries, as frozen ones tend to have more liquid and will result in a runny filling.
- Powdered sugar – Optional, for dusting over your crepes before serving.
How to Make Strawberry Nutella Crepes
There’s no fancy equipment or techniques involved in making crepes with Nutella at home. All you need is a flat skillet for swirling! The rest comes together easily:
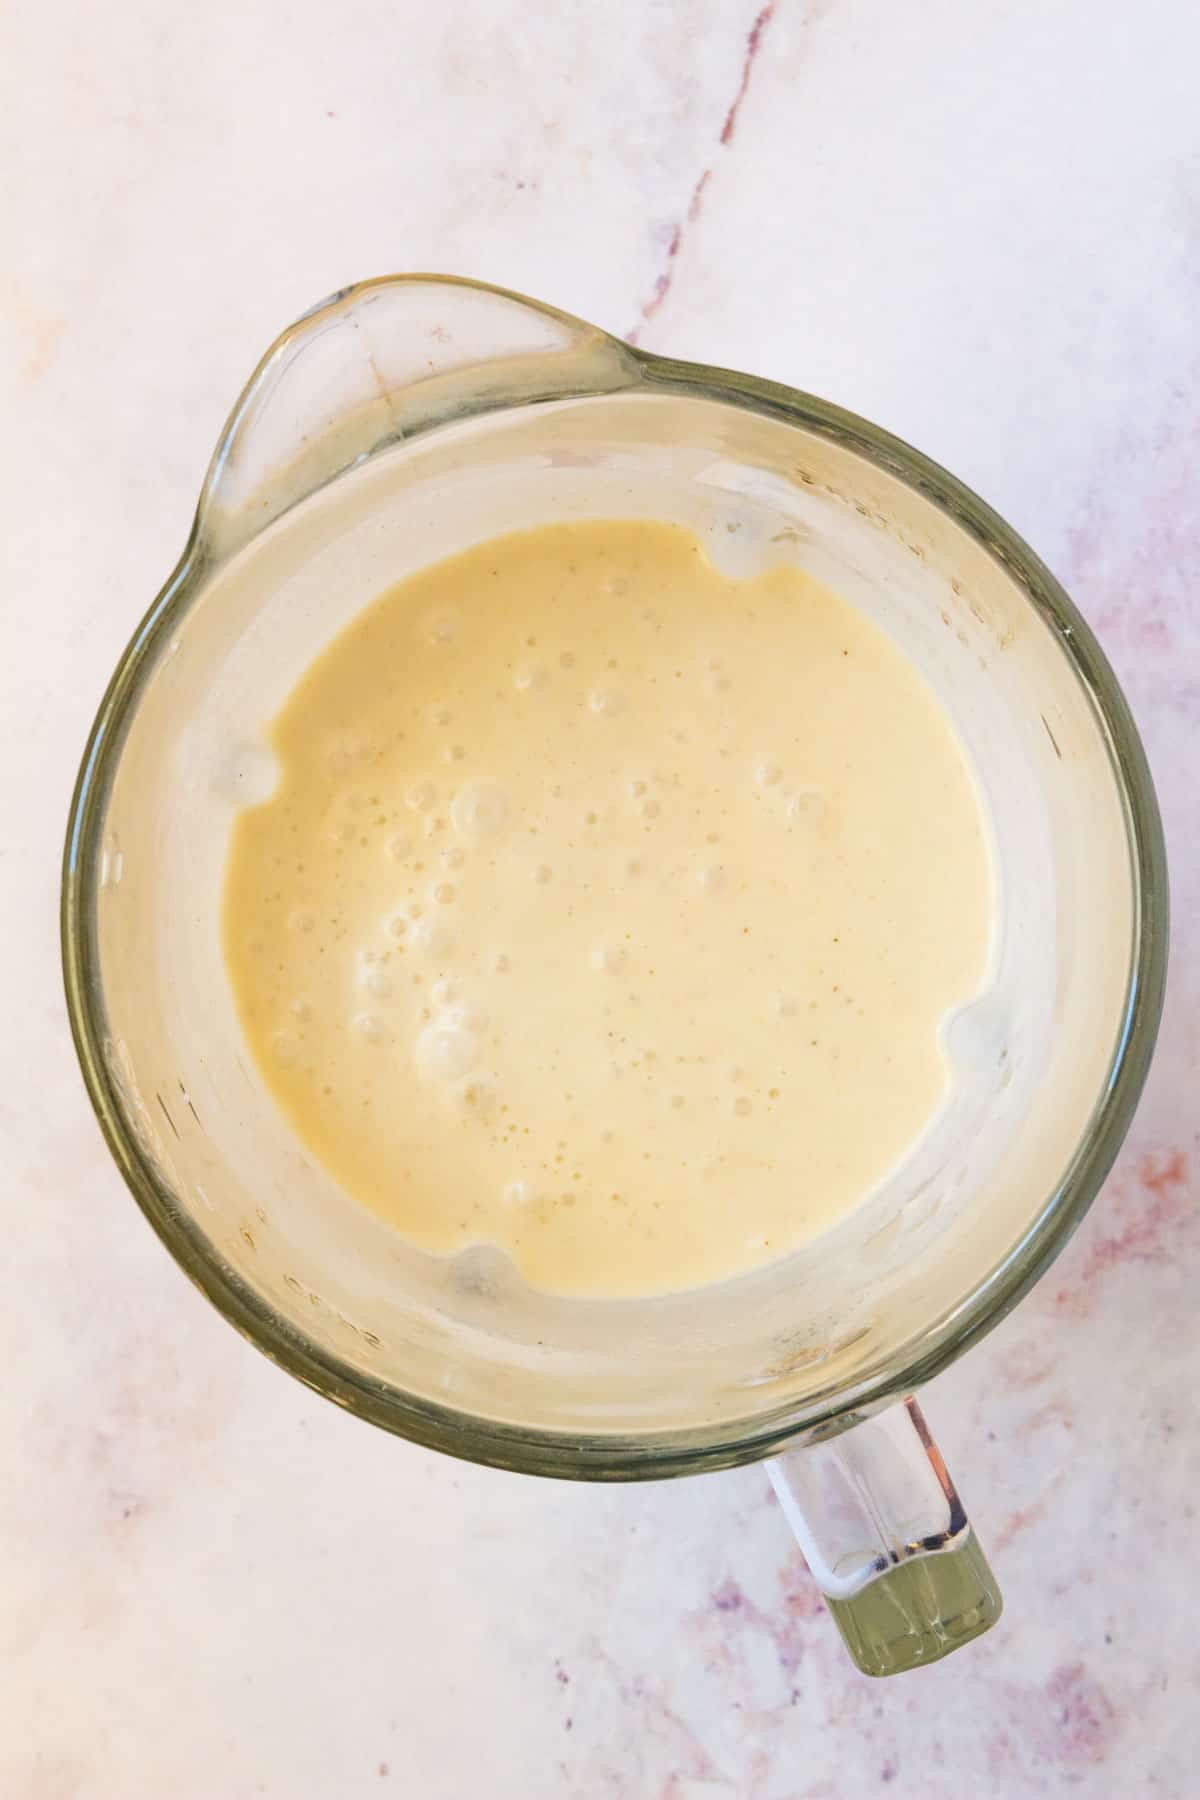
- Make the batter. Blend together the batter ingredients in a blender or food processor until smooth. This is super quick, and usually only takes about 30 seconds! Rest the batter for about 30 minutes, or in the fridge for up to 2 days. Thin out the batter by adding in a bit of water and blending it again before cooking.
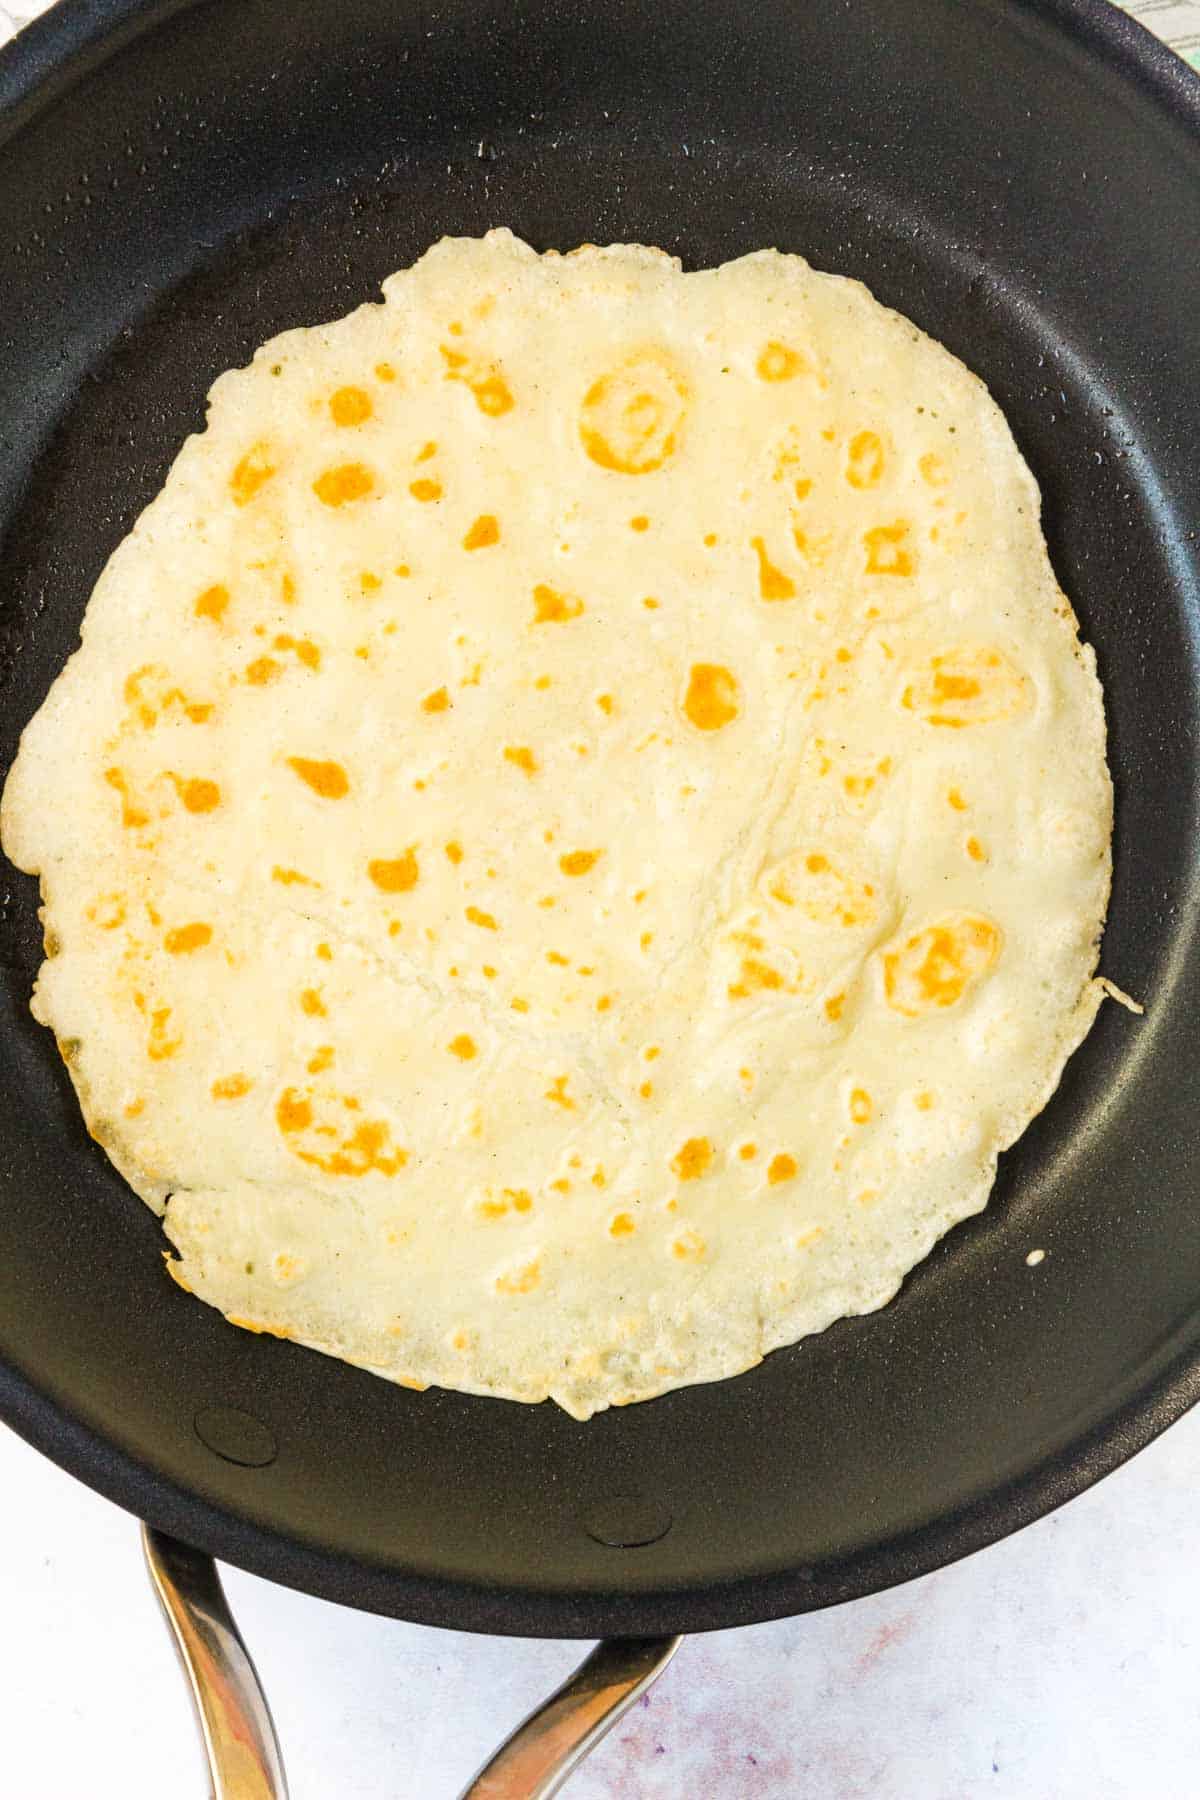
- Cook. Melt some butter in a non-stick skillet or crepe pan. Pour in a bit of the crepe batter and then swirl it to form a circle. Cook the crepe until bubbles start to break on the surface, and then flip it and cook for another minute until both sides are golden brown. Repeat this process with the remaining batter.
- Fill and serve. Keep the finished crepes warm in the oven on low until you’re ready to fill them. To serve, fill your crepes one at a time. First, place a crepe on a flat surface. Then, spread some Nutella over one half of the crepe, and place a single layer of strawberry slices over that. Next, fold the uncovered half over the half with the strawberries and Nutella, then fold the crepe into quarters. Finally, dust it with powdered sugar and enjoy!

Tips for Success
Pretty easy, right? Before you start though, I have just a few more tips and tricks on these strawberry Nutella crepes to share with you!
- Rest the batter. Like letting your bread dough rise, this is key to a successful, flavorful crepe. Aim to rest the batter for at least 30 minutes (at the bare minimum, fifteen). The texture will be tender, and the crepes will be easier to flip!
- Get the temperature right. Cook your crepes over medium-high heat. Overheating the pan can cause the crepes to burn, while under-heating can lead to crepes that take too long to cook.
- Use butter in the pan, if possible. Butter is miles tastier and more flavorful than non-stick spray!
- Use a measuring cup. To ensure you end up with even-sized crepes, use a ¼ measuring cup when pouring your batter into the pan.
- Swirl immediately. As soon as the batter hits the hot pan, you’re going to want to get swirling! Gently tilt the pan and swirl the batter into a thin circle so that the crepes cook through evenly.
- Warm the Nutella. This is optional, but if you melt the Nutella in the microwave for 15-30 seconds, it can be easier to spread on the crepe.
Variation Ideas
Crepes are just as versatile as they are tasty! The variations are next to endless. Here are some more ideas to try:
- Different fruit. Not a strawberry fan? Fill these crepes with sliced bananas to make banana Nutella crepes instead. Or, try other fruit variations such as berries, caramelized apples, and pineapple. You can also make delicious Gluten-Free Blueberry Crepes!
- Different spreads. Instead of Nutella, spread your crepes with whipped cream, dulce de leche, Greek yogurt, cream cheese, chocolate spread, or peanut butter.
- Chocolate chips. Sprinkle dark chocolate chips or white chocolate chips over the top of the filling before folding your crepes.
How to Store and Reheat Extras
- Fridge – Store cooked crepes in an airtight container in the fridge for up to 2-3 days.
- Freezer – Wait until the cooked crepes have cooled completely, then stack them with parchment paper in between (to keep them from sticking). Place the stack into a tightly-sealed freezer bag and freeze for up to 2 months. Thaw the crepes on a wire rack before carefully separating them to reheat.
- Reheat – Warm the crepes in the oven at 350ºF, or in a skillet over medium-low heat for a few minutes until heated through. You can also reheat crepes in the microwave in a pinch, though the texture just isn’t the same!
Can I Make These Crepes Ahead?
Crepes are one of my favorite make-ahead breakfasts! To make the batter in advance, prepare it per the directions and then cover it to store in the fridge. You can make it up to 2 days ahead, and the flavor actually improves over time! Be sure to let the batter come to room temperature again before cooking.
To cook the crepes themselves in advance, follow the cooking instructions and then store the finished crepes in the fridge, covered tightly in plastic wrap for up to 3 days. Reheat your crepes in a 350°F oven for a few minutes before serving. You can prep your strawberries in advance, too, and keep these stored airtight until you’re ready to use them.
Make it a Meal
Serve these crepes topped with whipped cream, dusted with powdered sugar, or both! You can even give them a generous drizzle with Fudge Sauce or a sprinkling of spicy Mexican Chocolate Spice Mix. These strawberry crepes are also great to make into a full-fledged breakfast or brunch, complete with one or more of these serving suggestions:
- Add some eggs. You’ll make an epic brunch whether you go with classic Gluten Free Eggs Benedict, make-ahead Ham and Cheese Strata, or a buttery Turkey Swiss Quiche.
- Pair with fruit. Everything from a bright Tropical Fruit Salad to a Tropical Smoothie Bowl with lots of toppings like Gluten Free Granola would be a fresh addition.
- Round out with sides. Baked Dill Hash Brown Potatoes are always a favorite, but crispy bacon or Chia Seed Pudding (topped with extra strawberries) are great options too.
More Easy Breakfast Ideas With Fruit
Want to try out some more easy breakfast ideas? I highly recommend these!

Strawberry Nutella Crepes
Ingredients
- 1 ½ cups gluten-free all-purpose flour blend (I use Bob’s Red Mill 1-to-1)
- ½ teaspon kosher salt
- 2 large eggs at room temperature
- 1 ½ cups milk at room temperature
- 2 tablespoons unsalted butter melted, plus more for cooking
- ½ cup water
- ¾ cup Nutella or more if desired
- 1 pound strawberries washed, dried, hulled, and sliced
- Powdered sugar optional
Instructions
- In a blender, combine the flour, salt, eggs, milk, and melted butter until smooth, about 30 seconds. Let the batter rest for at least 30 minutes at room temperature or up to 2 days in the fridge, covered. Longer resting will give you more flavorful crepes.
- Let the batter come to room temperature before using. Add the water and blend again before cooking. If you like thicker crepes, you can use less or omit the water altogether.
- When ready to cook, heat a pat of butter or a spray of nonstick spray in a nonstick 9-inch skillet or crepe pan over medium-high heat. When hot, pour about 1⁄4 cup of the batter into the pan. Immediately swirl the pan so the batter forms a thin circle.
- Cook the crepe for about 2 minutes, or until the bottom is light brown and bubbles burst on the surface. Use a thin spatula to flip and cook for another 30 to 60 seconds, until golden brown on the other side. Repeat with the remaining batter.
- If you are not filling your crepes immediately, place them in a preheated 200°F oven on a baking sheet covered with aluminum foil or store in the fridge for up to three days covered tightly in plastic wrap. Reheat in a 350°F oven for a few minutes to serve.
- Place one crepe on a flat surface. Spread about 1 Tablespoon Nutella over one half of the crepe, and place a single layer of strawberry slices over the Nutella. Fold the uncovered half over the half with the strawberries and Nutella, then fold in quarters. Place on a plate and dust with powdered sugar or serve with more strawberry slices or a drizzle of Nutella, if desired.
Notes
- To Store: Store cooked crepes airtight in the fridge for up to 2-3 days. Reheat the crepes in the oven at 350ºF, or in a skillet over medium-low heat for a few minutes until heated through. You can also reheat crepes in the microwave in a pinch, though the texture just isn’t the same!
- To Freeze: Wait until the cooked crepes have cooled completely, then stack them with parchment paper in between (to keep them from sticking). Place the stack into a tightly-sealed freezer bag and freeze for up to 2 months. Thaw the crepes on a wire rack before carefully separating them to reheat.


