This post may contain affiliate links. Read my disclosure policy.
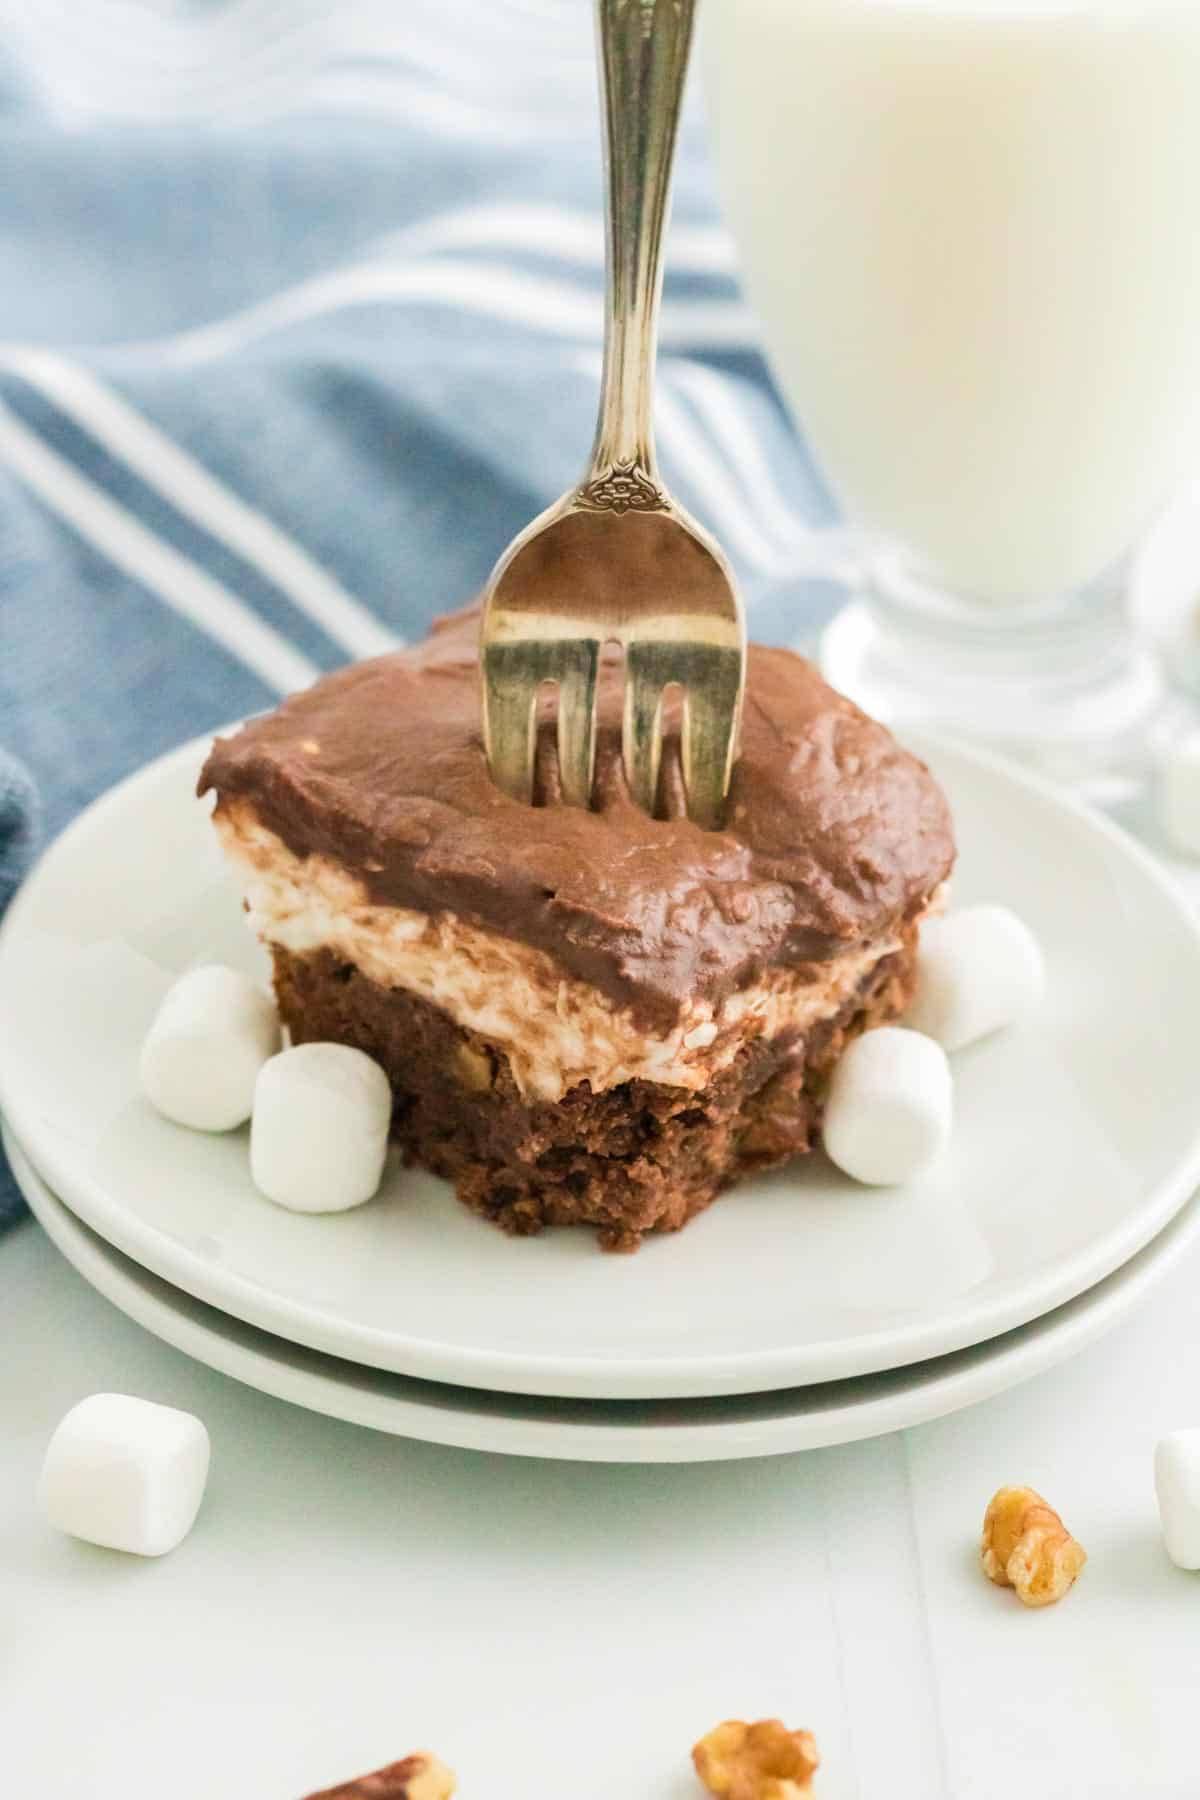
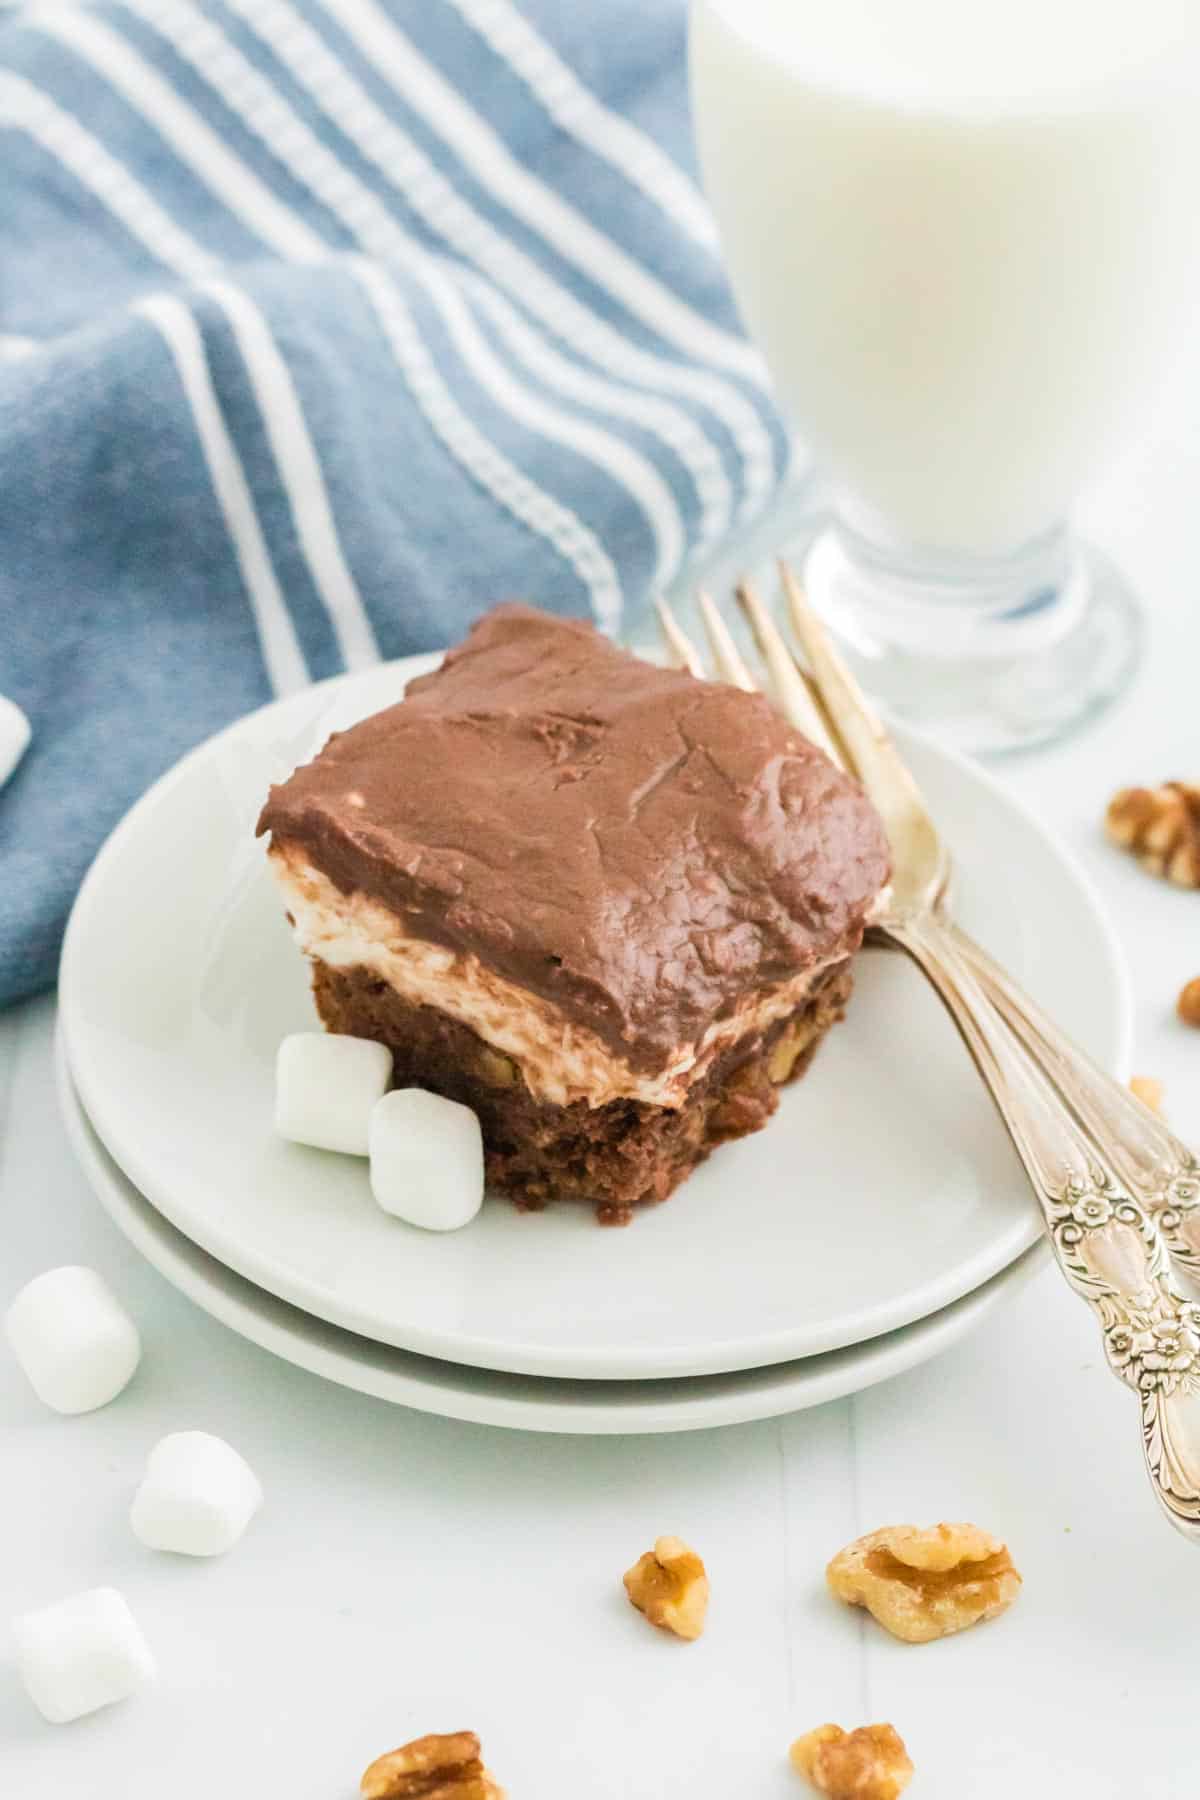
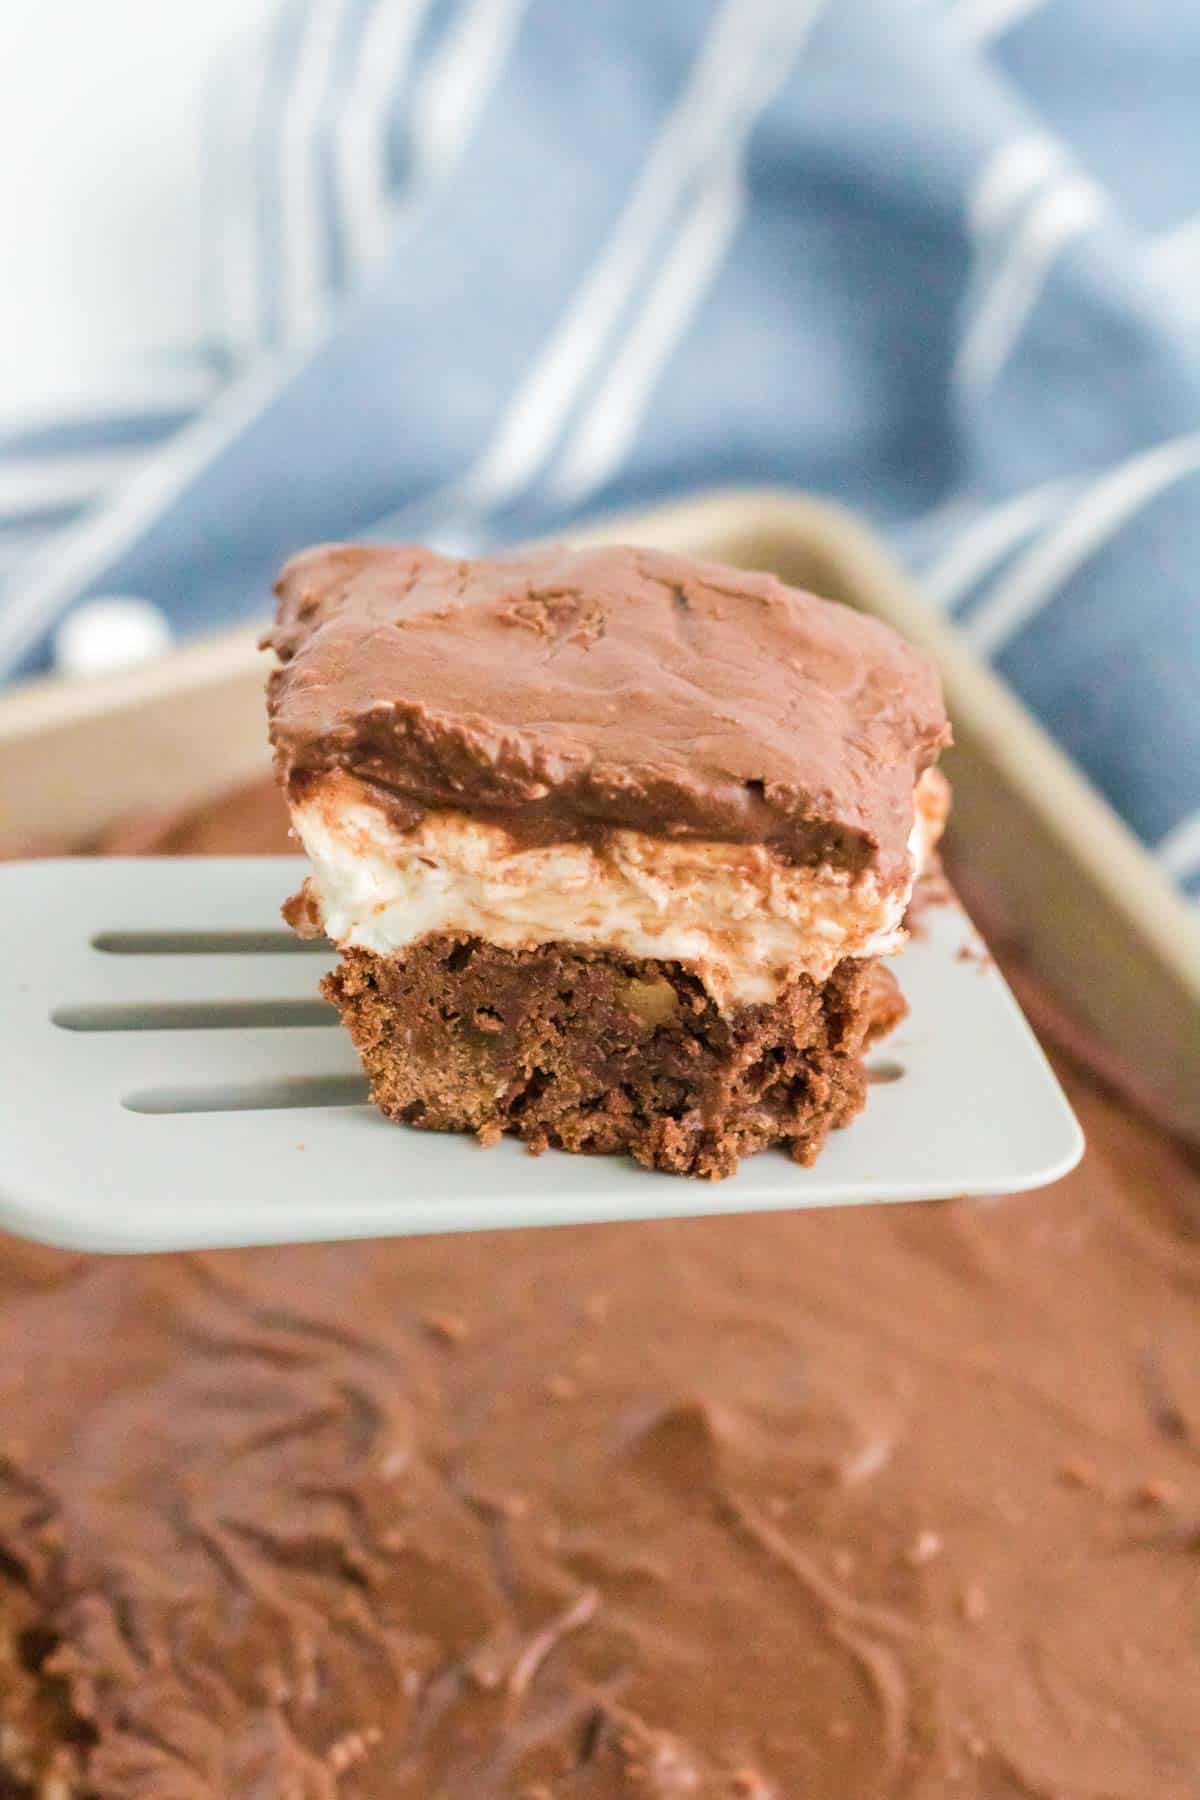
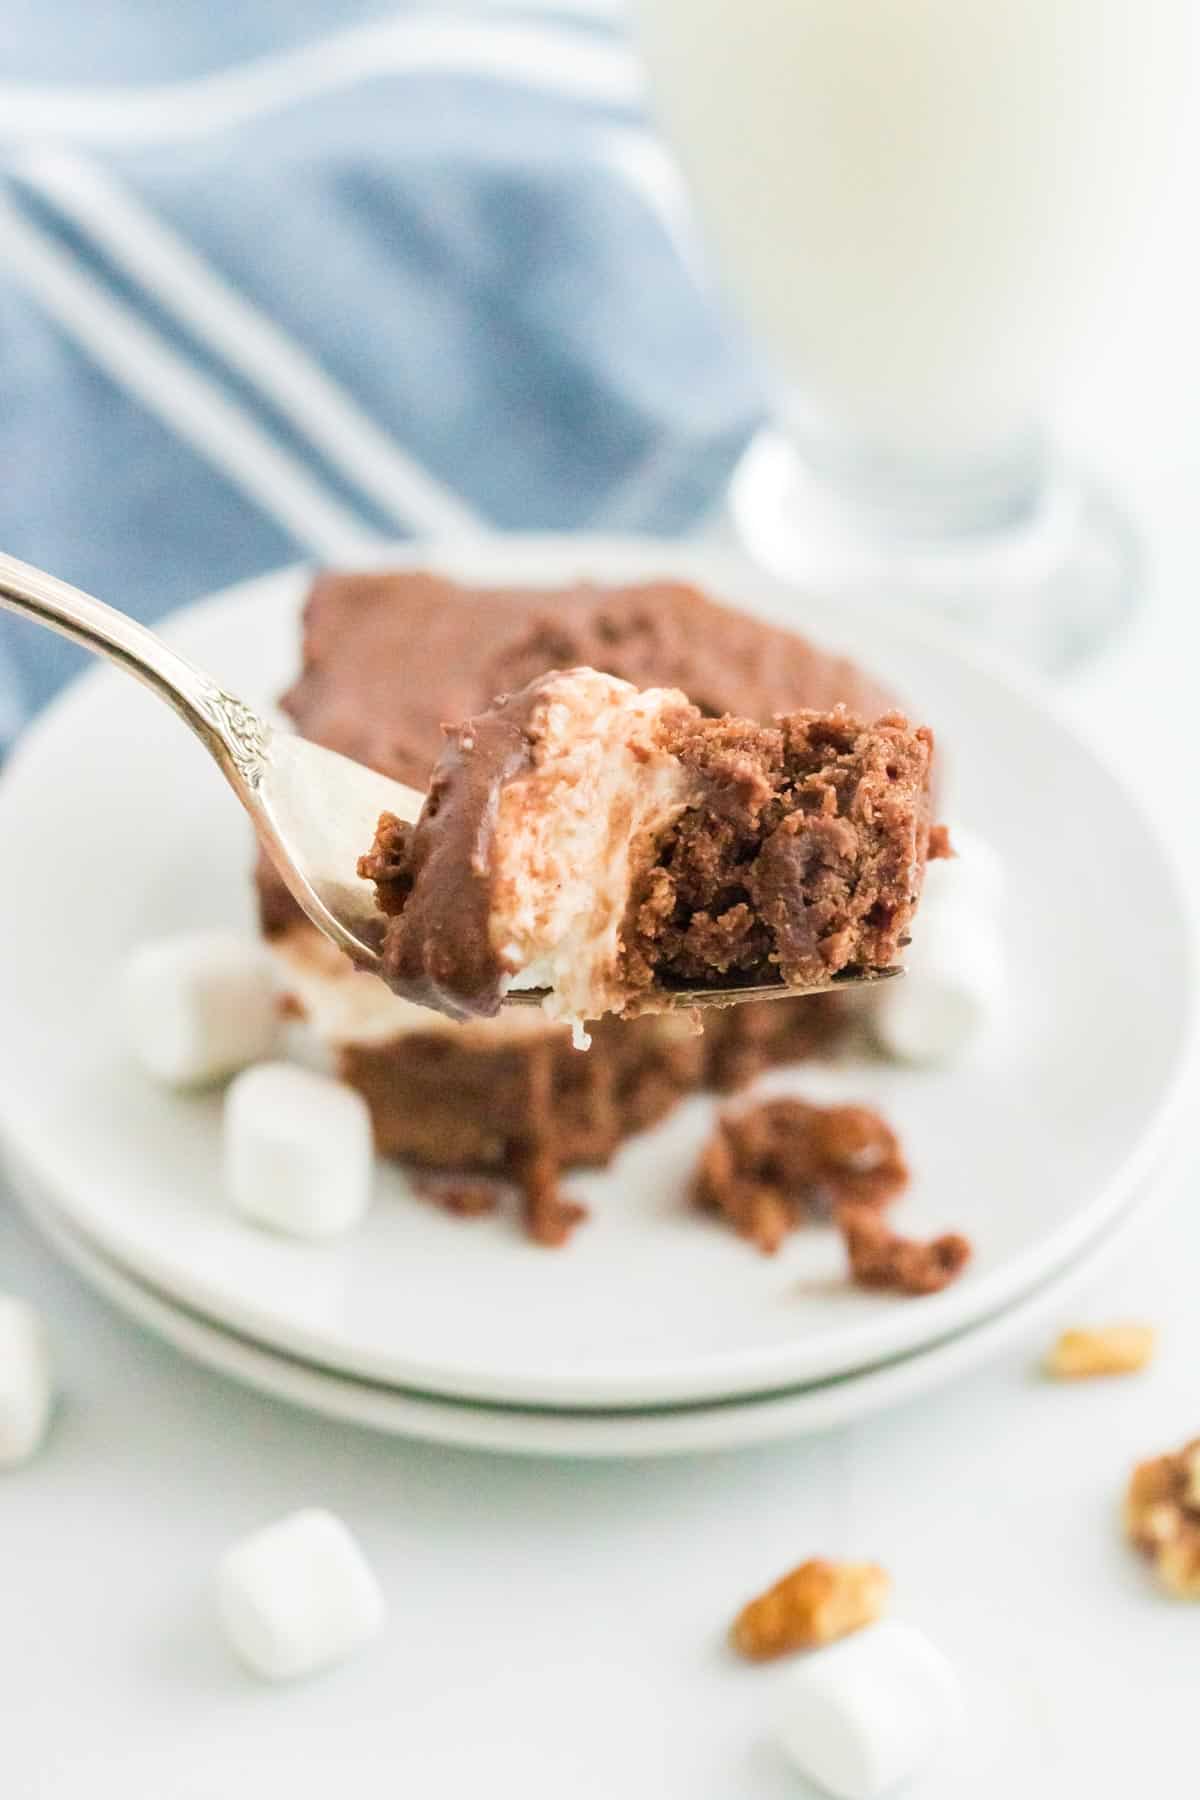
Get your glass of milk ready because it’s time to dig into some Gluten Free Rocky Road Brownies. These rich, fudgy brownies with chunky walnuts, gooey marshmallows, and a thick layer of chocolate frosting are the ultimate splurge-worthy dessert!
Gluten Free Rocky Road Brownies
You’ve probably heard of Rocky Road before. Around the world, it is most commonly known as a chocolate candy similar to fudge. It is usually made with milk chocolate studded with marshmallows and other ingredients from nuts to dried fruits to chopped cookies, depending on where you are from.
In the United States, most of us think of it as an ice cream flavor. It has a chocolate base loaded with marshmallows and nuts – usually walnuts or toasted almonds. But have you ever had it as a brownie?
Yes, you’ve got that right. Just start with an easy one-bowl gluten free brownie recipe that’s perfectly fudgy. Stir in some crunchy walnuts. Then, top it all off with a gooey marshmallow layer and rich chocolate frosting. Now you’ve turned your brownies into a decadent treat that is anything but basic!
And, if you’re looking for more rich, over-the-top brownie recipes, try these fudgy Baileys Irish Cream brownies or these gluten free brookies!
Why You’ll Love These Rocky Road Brownies
This rocky road brownie recipe is guaranteed to cure your sugar cravings. Seriously, it works every time. Here are a few more reasons to love these brownies:
- Ultra-gooey and fudgy. Every bite of rich brownie is filled with crunchy walnuts, soft marshmallow, and silky chocolate frosting. The texture is so perfect!
- Quick and simple. It only takes about an hour for this sweet treat to come together, and most of that is baking time!
- Adaptable. You can absolutely customize this brownie recipe to fit your needs! Swap out the nuts, add chocolate chips, dial down the marshmallow, etc. There are tons of options (see more substitutions below).
Recipe Ingredients
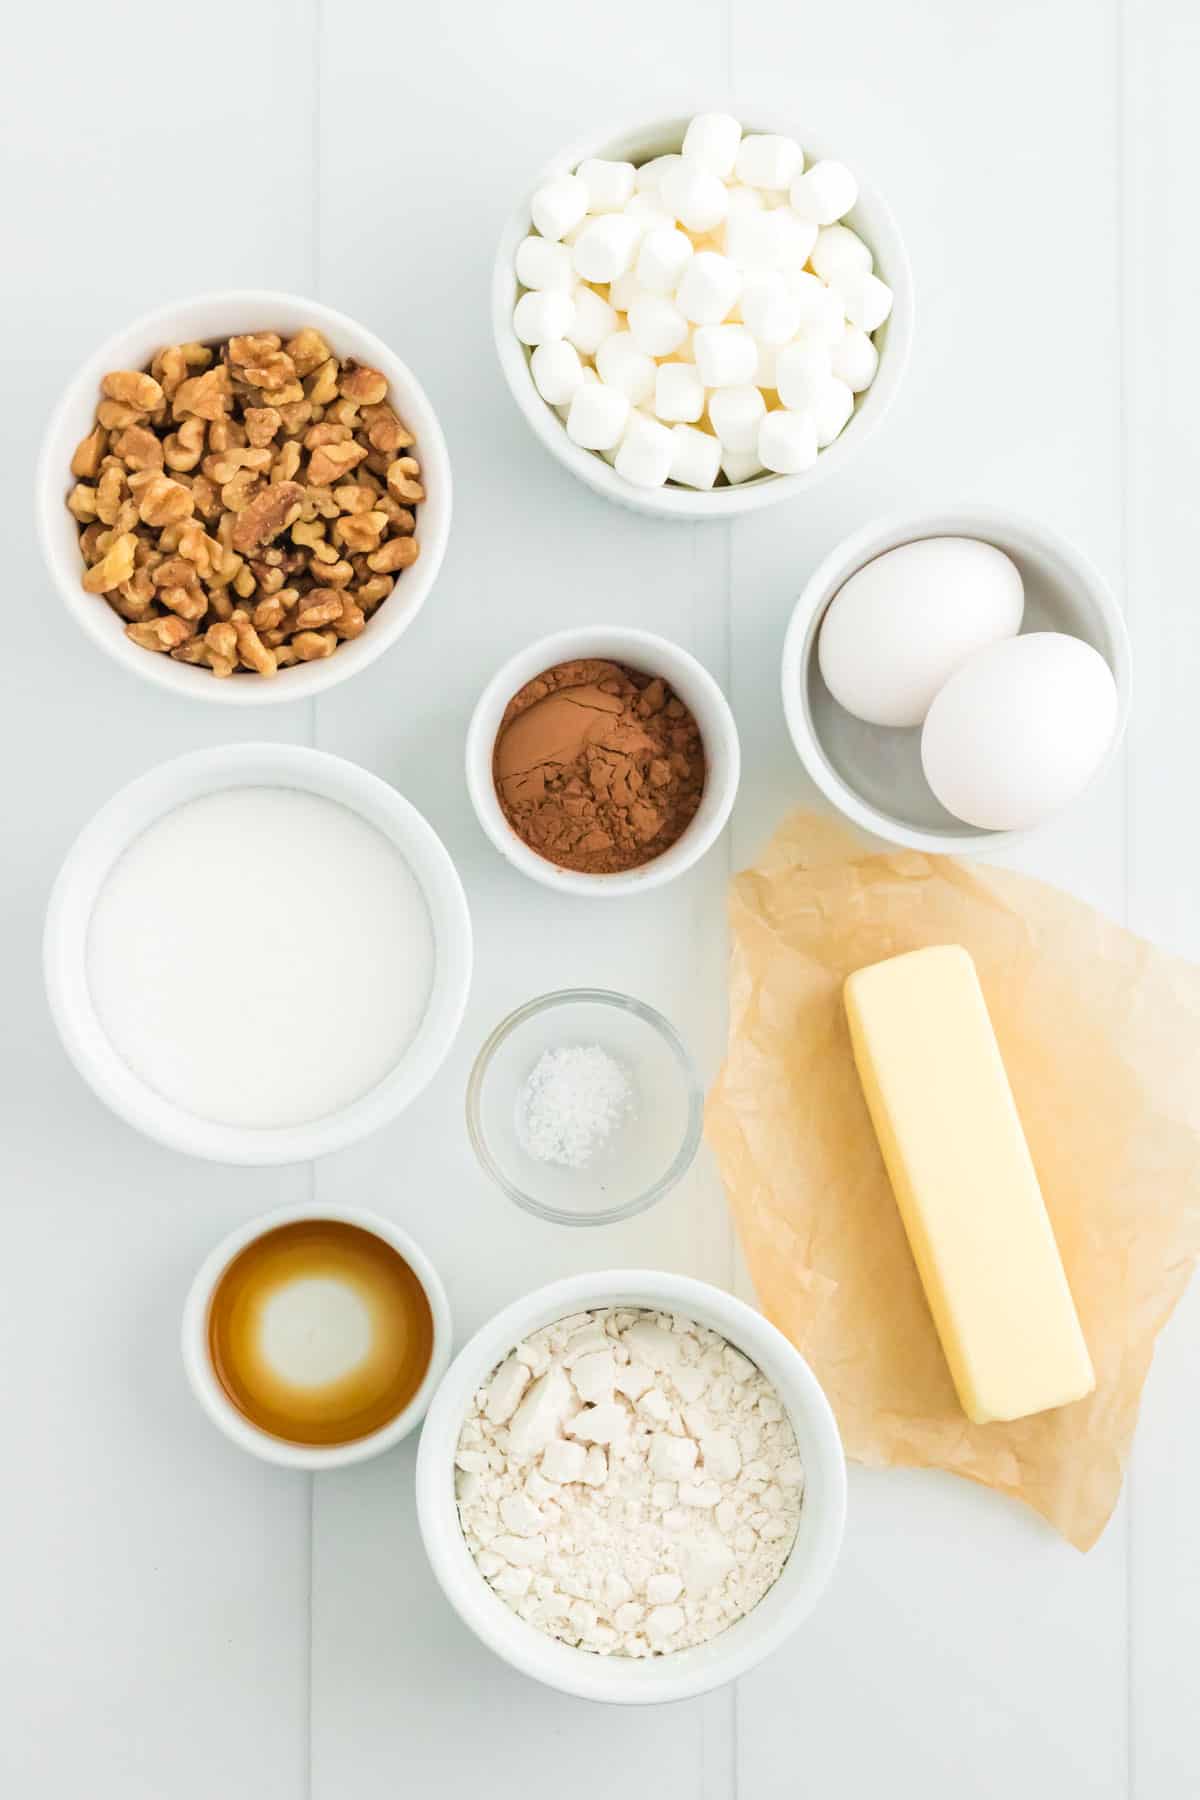
The ingredients for these rocky road brownies are just what you would expect. No surprises, but it’s the walnuts, marshmallows, and frosting that take them beyond your standard gluten free brownie recipe. Scroll on down to the recipe card below to find exact ingredient amounts!
For the Brownies
- Butter: I prefer to use unsalted. Also, make sure it is brought to room temperature before you begin!
- Granulated Sugar: Any white granulated sugar works well in this recipe.
- Unsweetened Cocoa Powder: I usually just use Hershey’s.
- Large Eggs: To bind your brownie batter together.
- 1:1 Gluten Free Flour Blend: I recommend Bob’s Red Mill 1-to-1 Baking Blend, though I expect King Arthur Flour Measure for Measure will also give you good results.
- Salt: Use whichever salt you like when baking (table salt, kosher salt, etc.).
- Pure Vanilla Extract: Make sure it is gluten free.
- Chopped Walnuts: Feel free to toast them in a skillet or in the oven for extra nutty flavor.
- Miniature Marshmallows: Mini marshmallows work best here because they melt faster than larger marshmallows do.
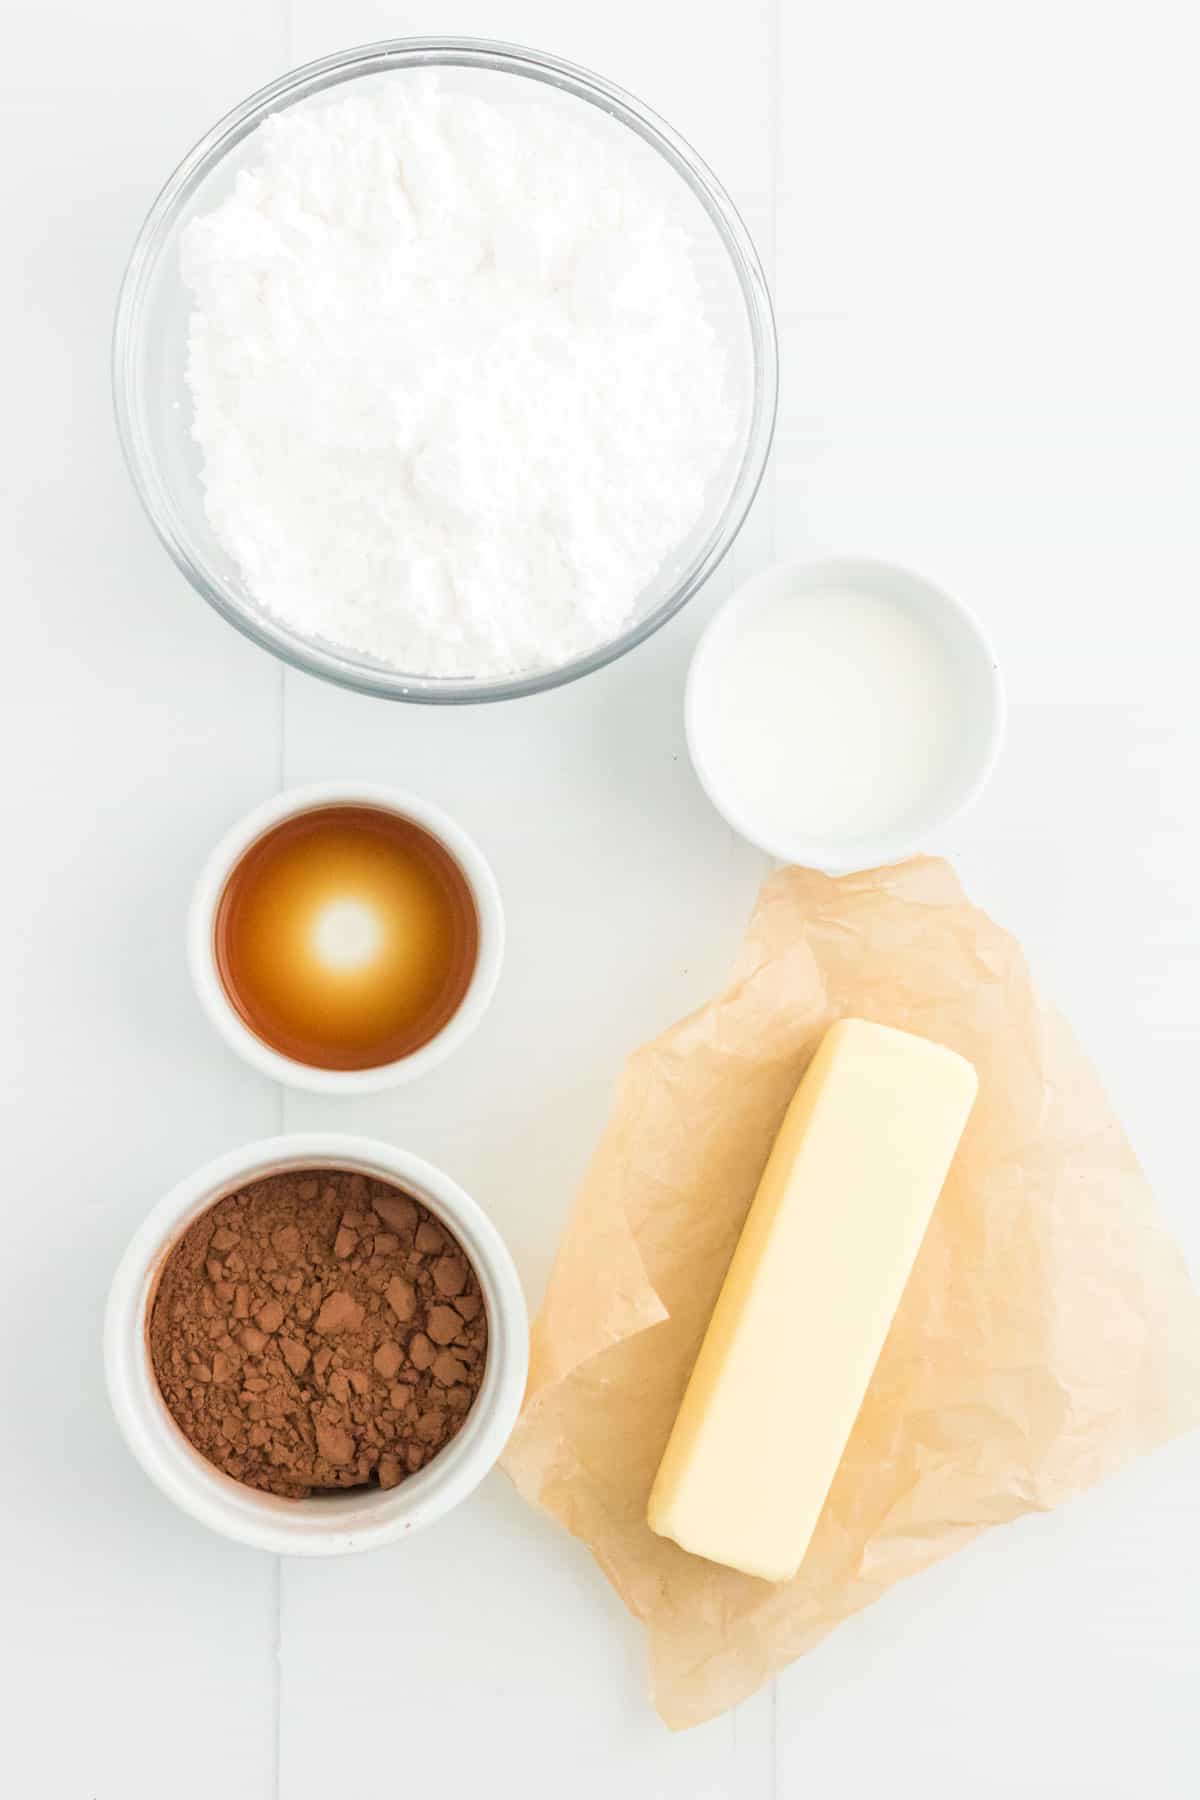
For the Frosting
- Butter: Again, unsalted and softened to room temperature.
- Powdered Sugar: If you have a lot of clumps, you might want to sift it after you measure it.
- Unsweetened Cocoa Powder: Again, sifting will remove clumps from your frosting.
- Milk: Any kind you have on hand will do.
- Pure Vanilla Extract: Pure vanilla offers the boldest, sweetest flavor.
How to Make Rocky Road Brownies
This one-bowl brownie recipe is super simple to make. Then, just let them bake, and while they cool, blend together a simple chocolate frosting. You’ve never seen a treat this decadent that is so easy to make. Check out the recipe card for the full, concise instructions!
- Prepare. Take the butter and eggs out of the fridge so they can come to room temperature. Next, preheat the oven to 350°F and coat a 9×9-inch square baking pan with shortening or nonstick cooking spray.
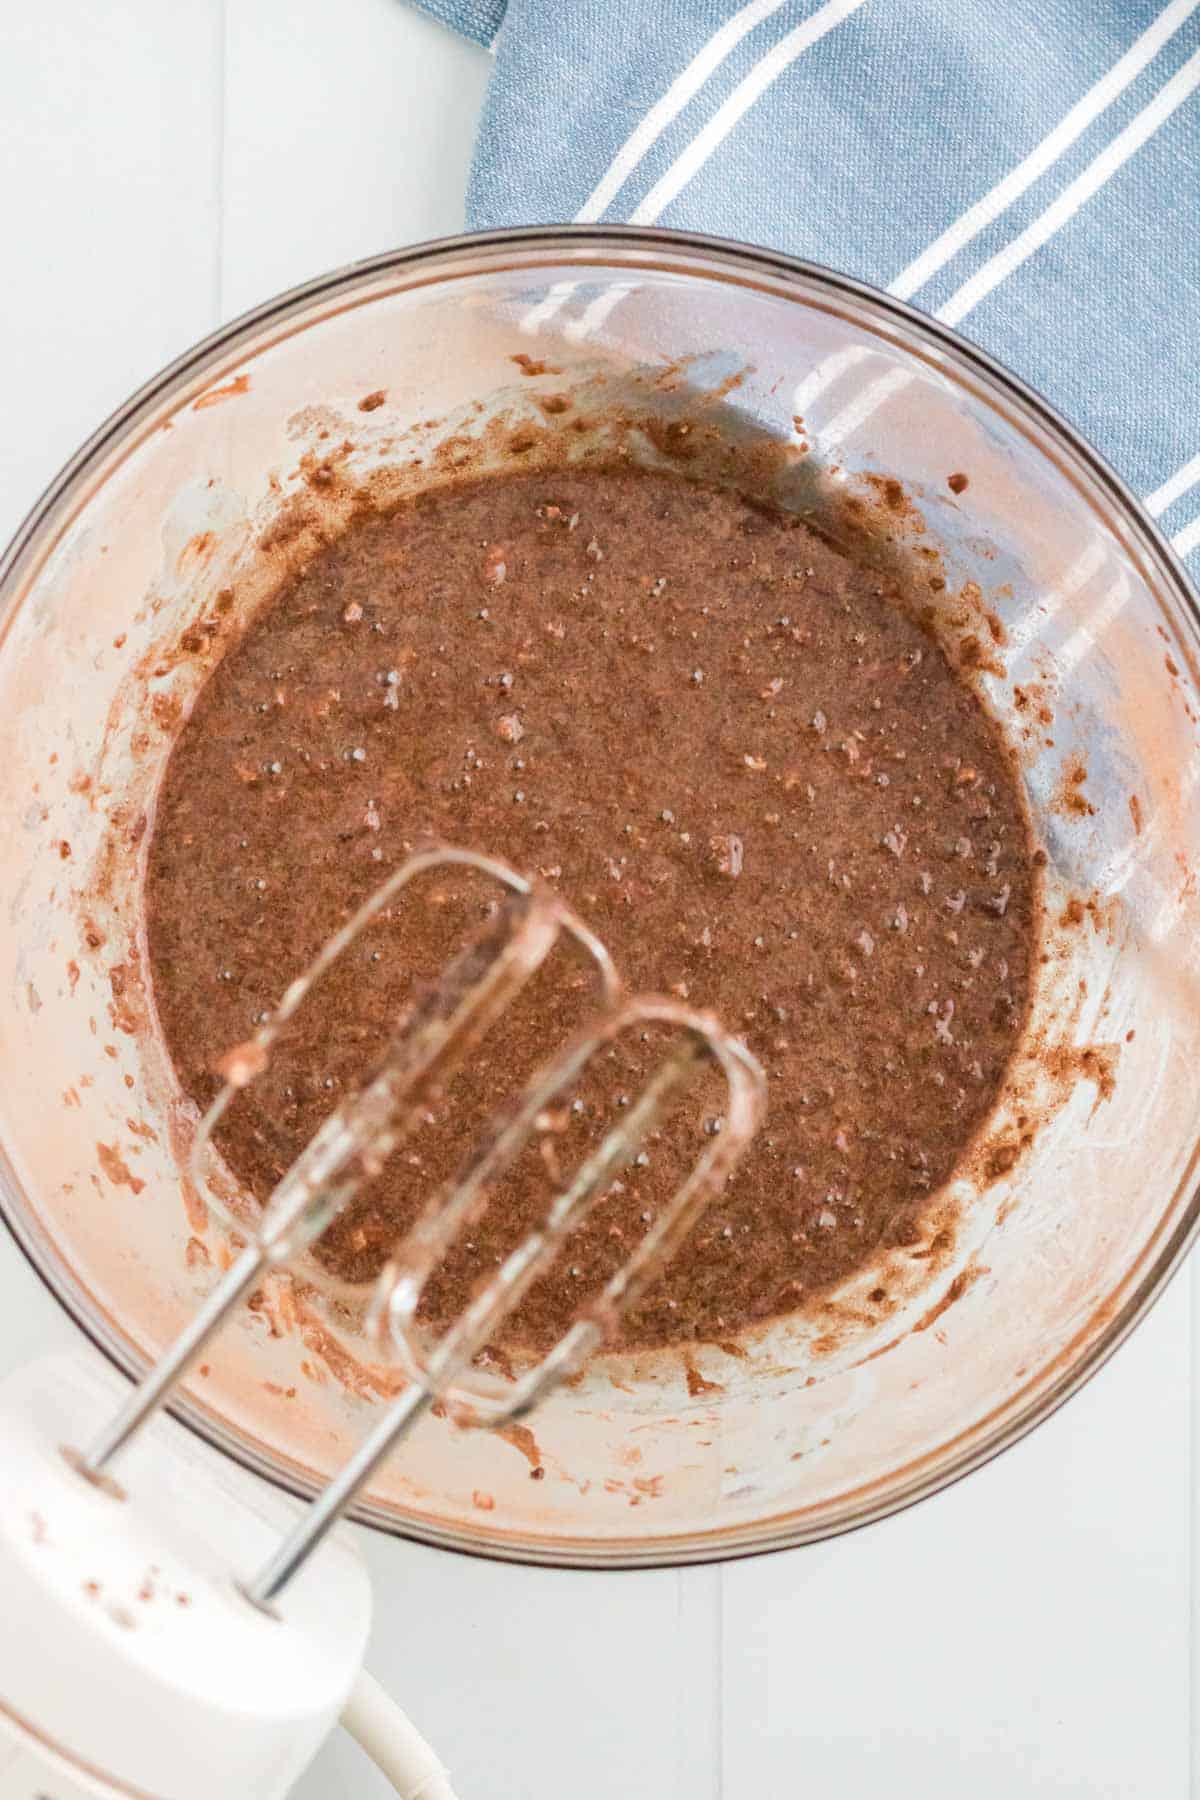
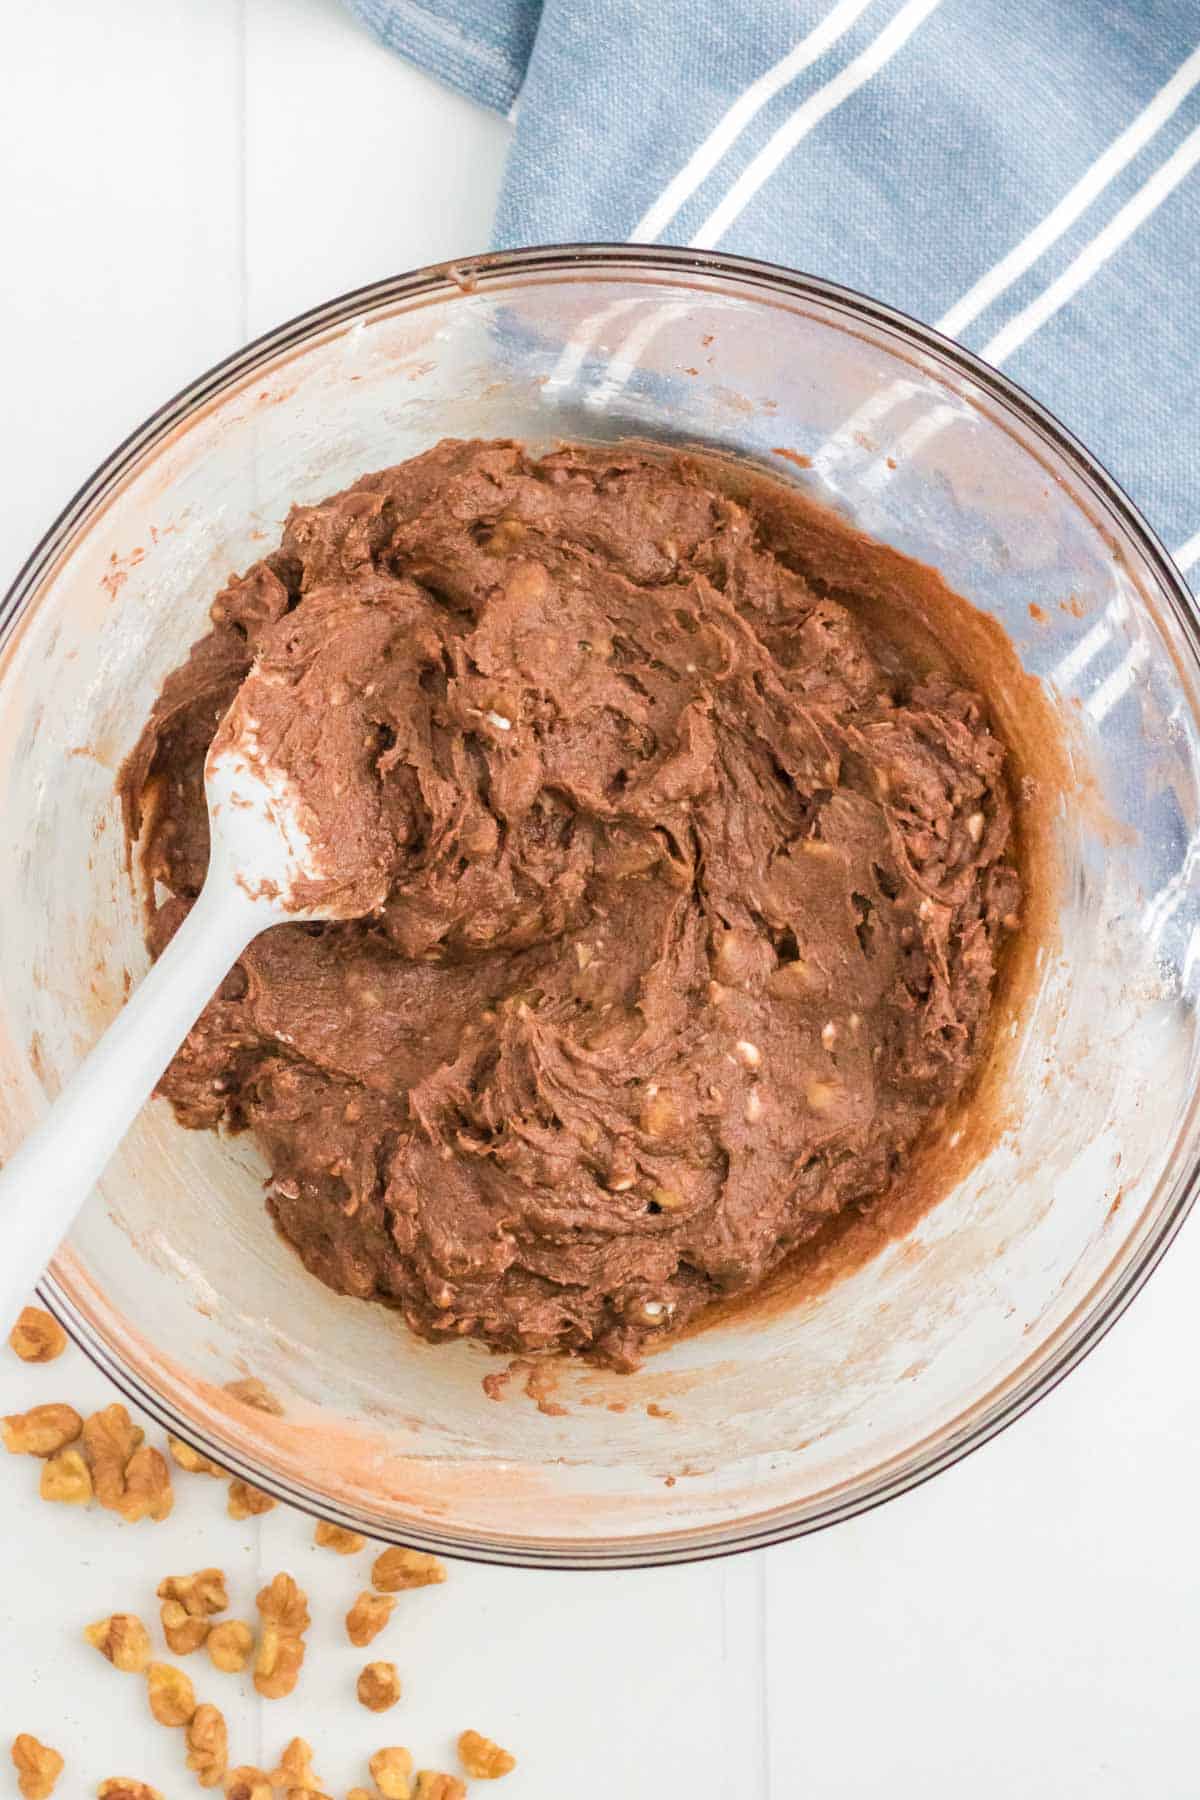
- Make the brownie batter. In a large mixing bowl, combine the butter, sugar, and cocoa powder. Use an electric hand mixer on medium speed to blend everything together until it is creamy. Now add the eggs one at a time, blending after each one. Then, reduce the speed to low to mix in the flour, salt, and vanilla extract. Use a spatula or wooden spoon to mix in the walnuts.
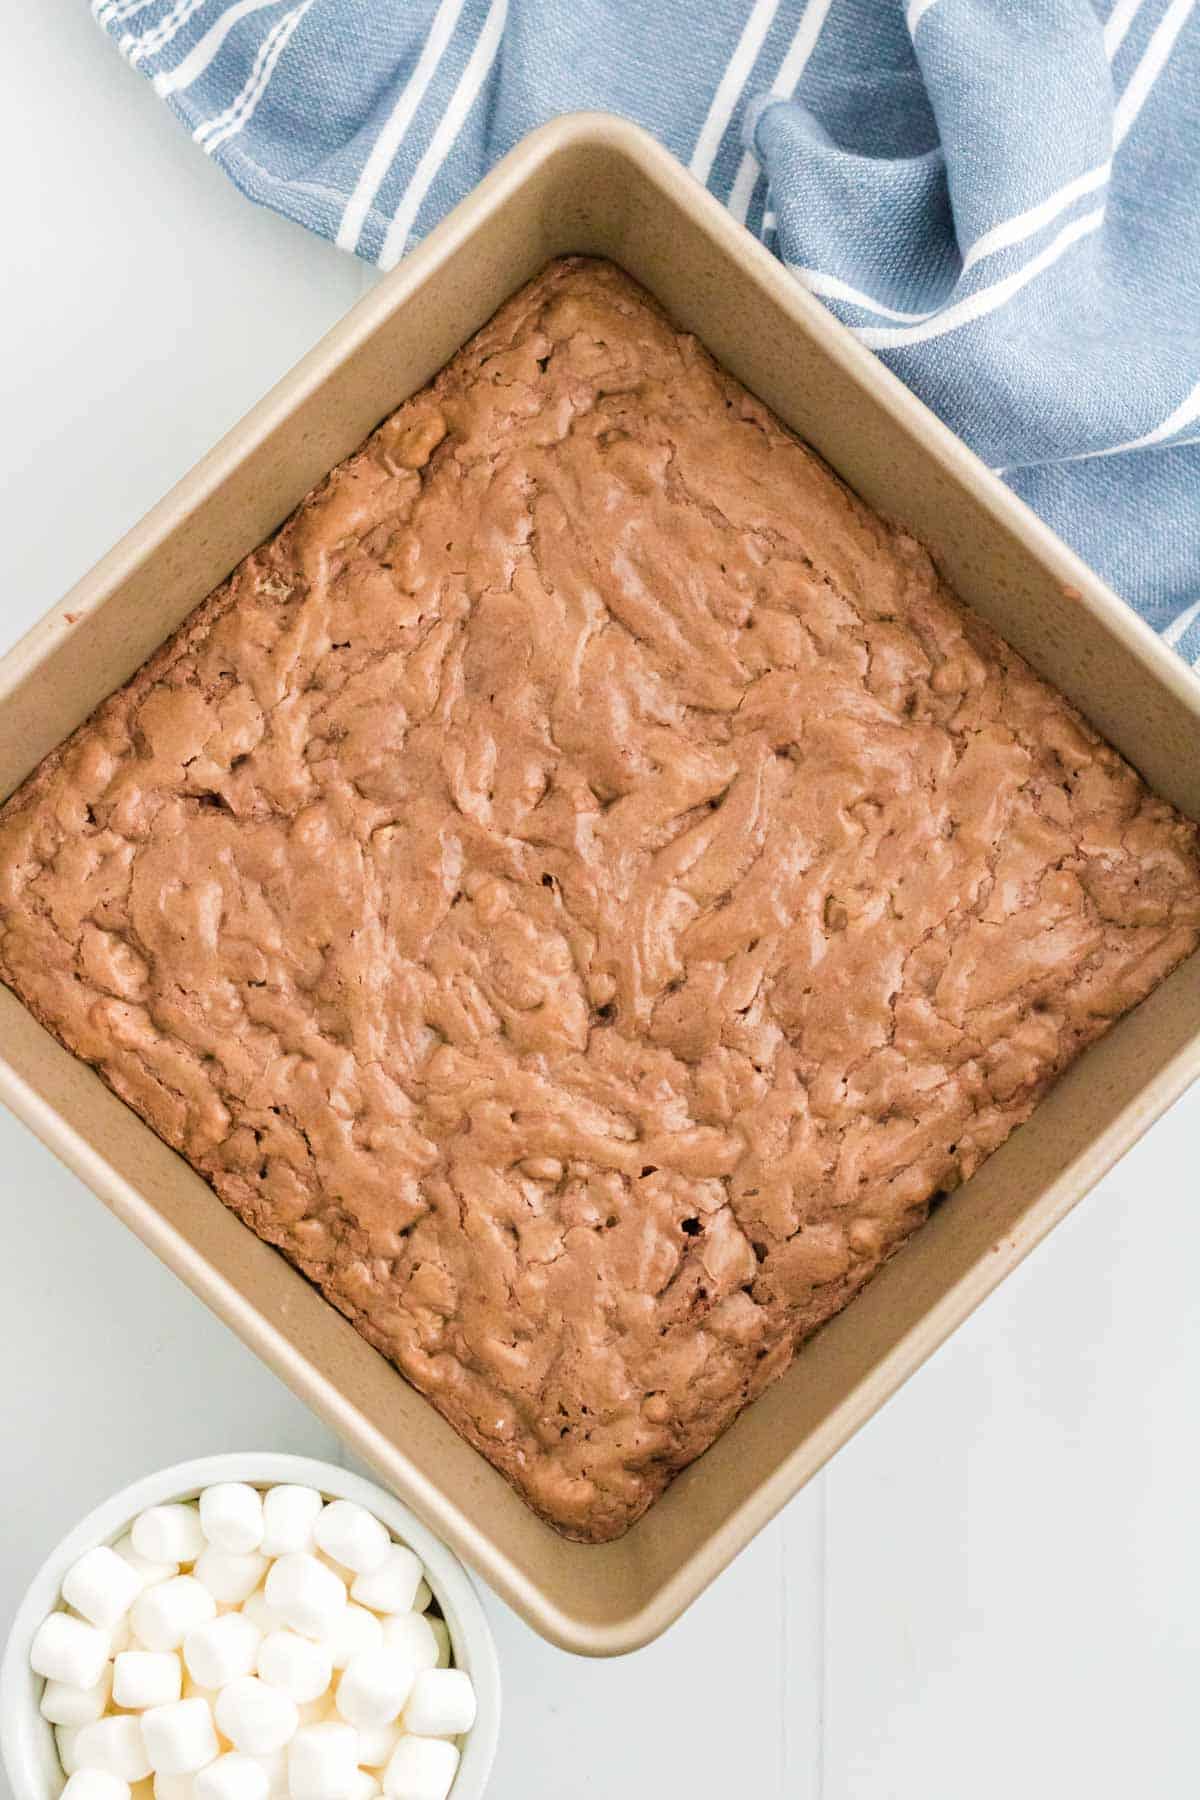
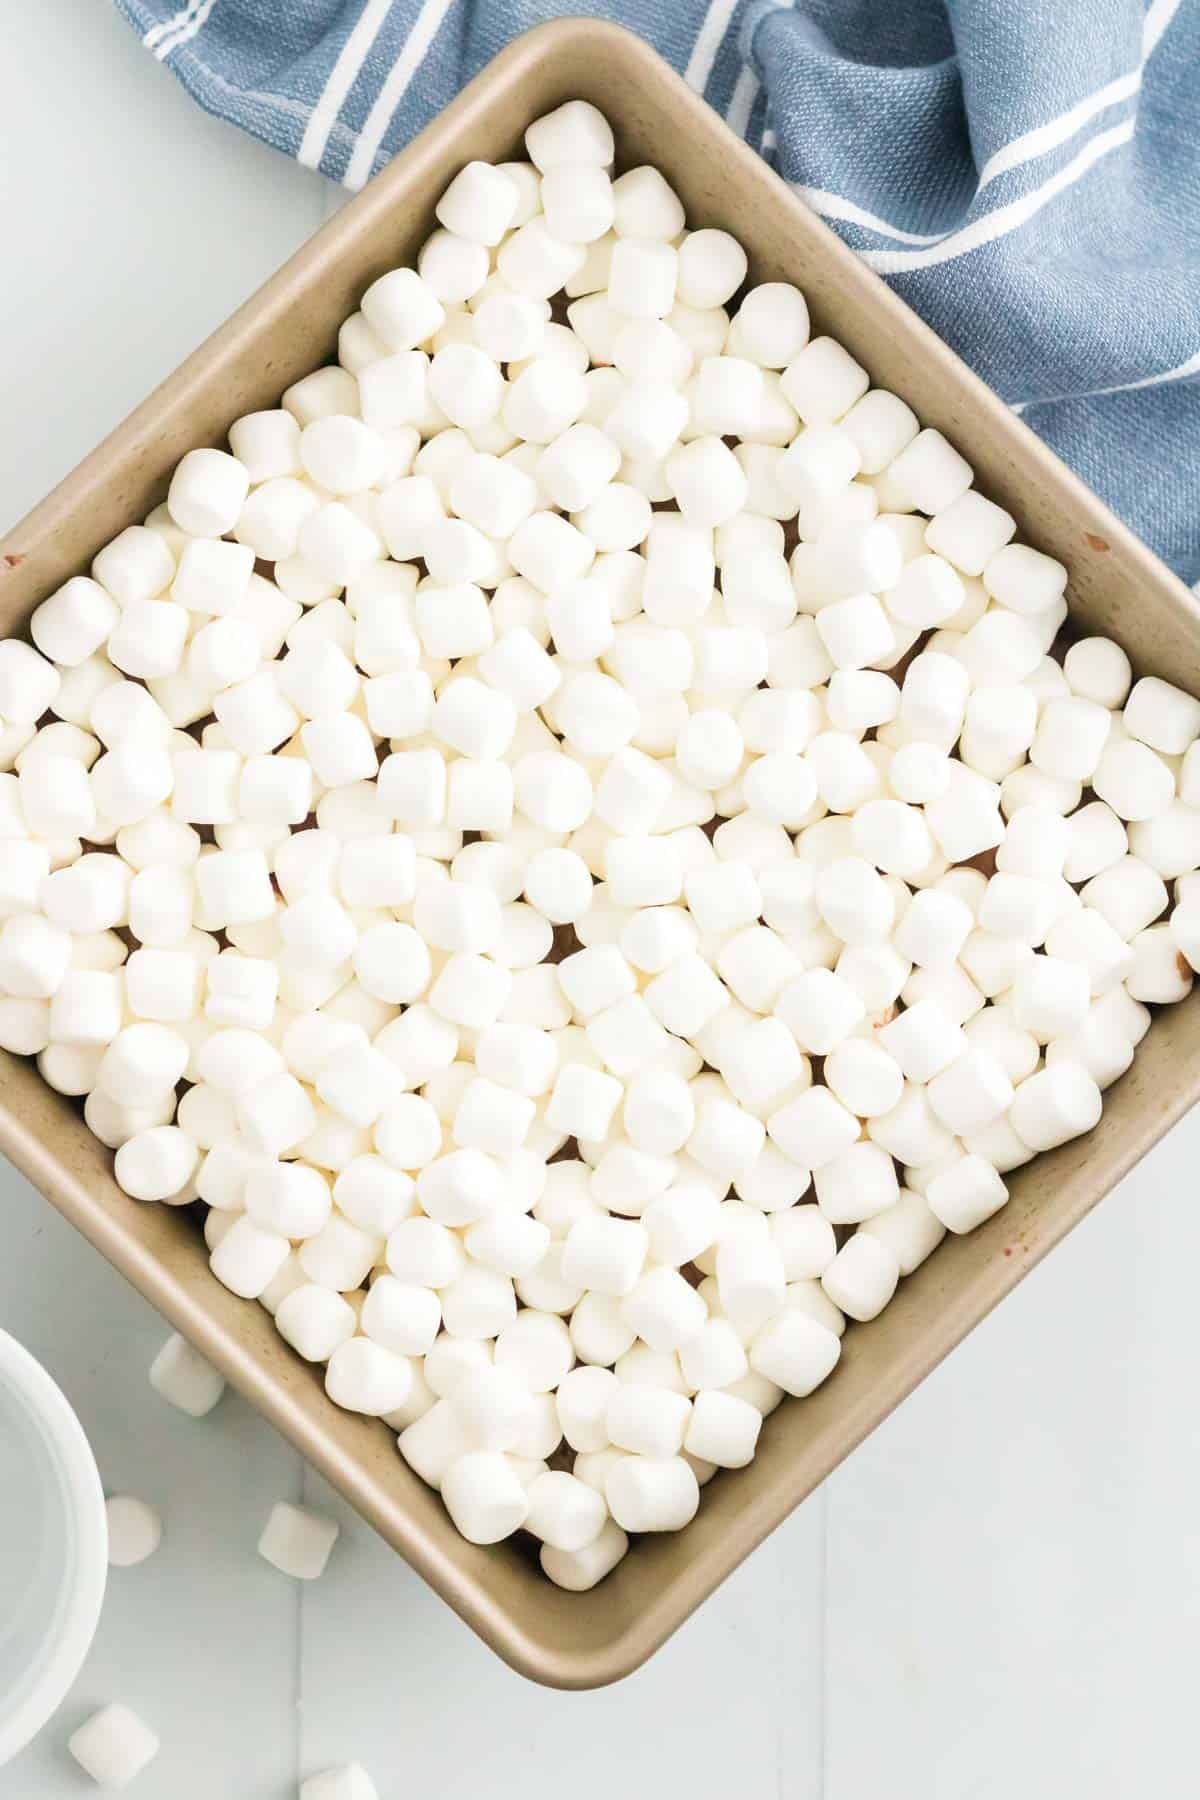
- Bake the brownies. Pour the batter into the greased pan and bake at 350°F for 30-35 minutes, until just set. Scatter the marshmallows over the top of the brownies and pop them back into the oven for 4 minutes. Then, allow everything to cool completely.
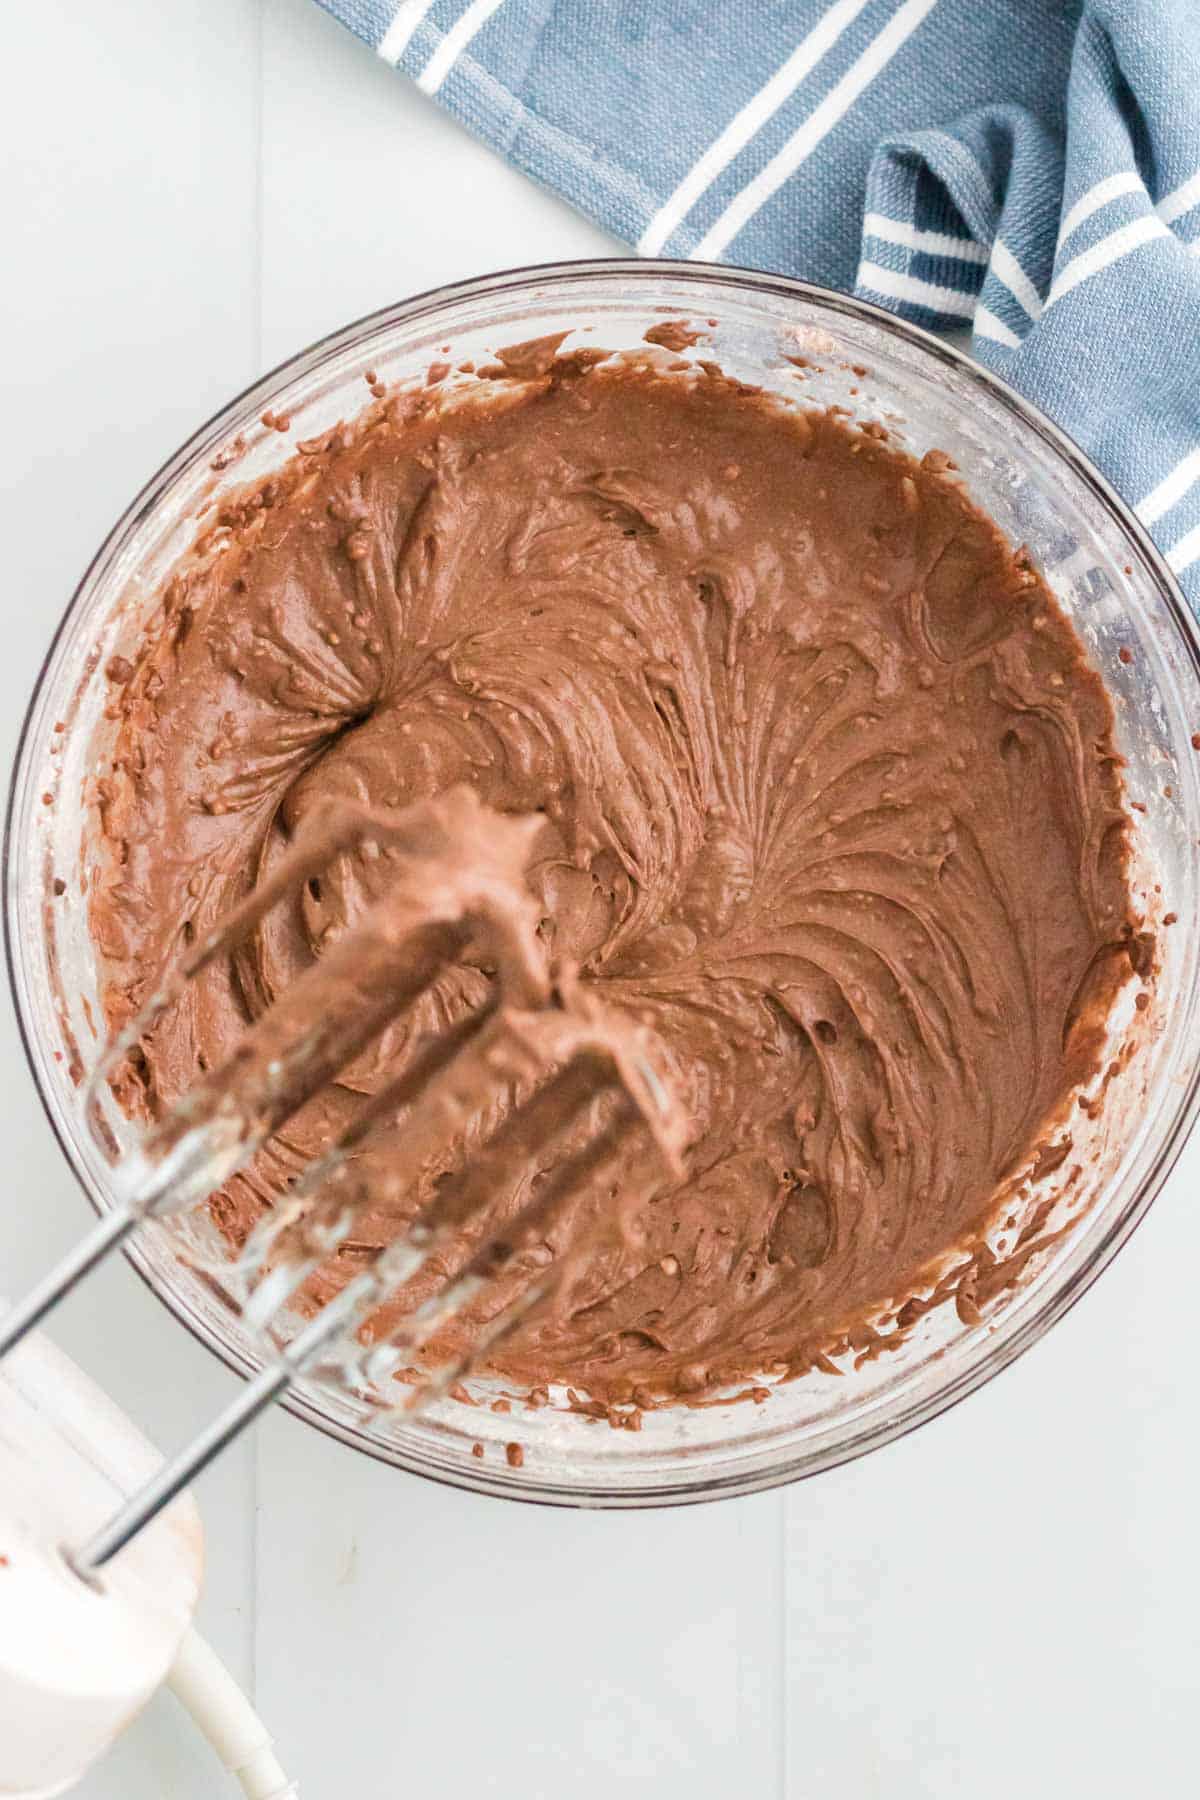
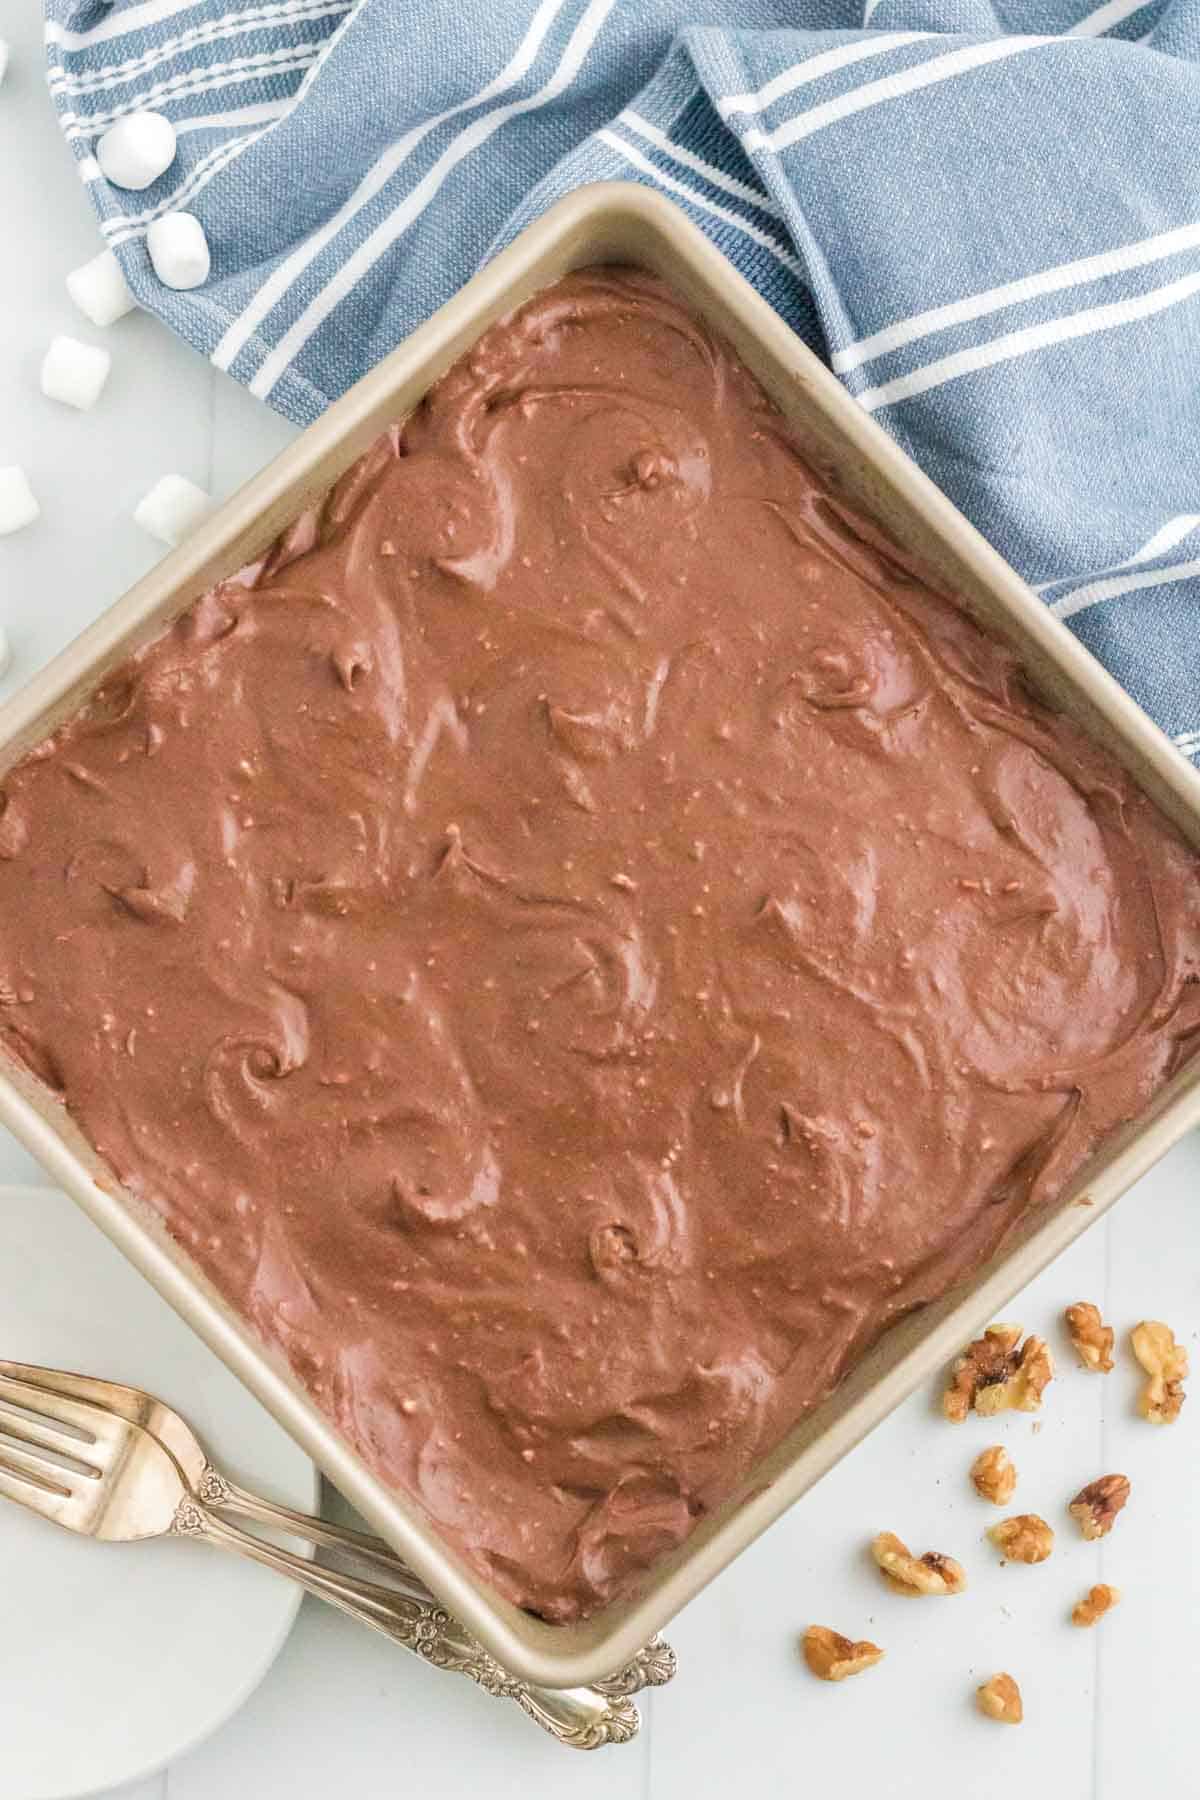
- Make the frosting. In a large mixing bowl, use your hand mixer to blend together the butter, powdered sugar, cocoa powder, milk, and vanilla extract until light and fluffy. Add additional milk a tablespoon at a time to achieve the desired consistency. When the brownies are cool, spread the frosting over the top of the marshmallow layer.
- Chill and cut the brownies. Now comes the hardest part. You do want to chill your brownies in the fridge for a couple of hours before you try to cut them. (While gooey is good, these brownies can be ultra gooey if they are still warm.) Finally, slice them into squares and enjoy!
Tips for Success
This recipe is super simple, but a few things will ensure that your gluten free rocky road brownies are absolutely perfect!
- Have all of your ingredients at room temperature. This ensures that everything will blend together nice and smooth in both the brownie batter and the frosting.
- Carefully measure the dry ingredients. When measuring the dry ingredients, lightly spoon them into the measuring cups, then level off so you don’t pack in too much.
- Sift if needed. If you notice lots of clumps or chunks in your powdered sugar or cocoa powder, try sifting it so you get a nice, smooth icing.
- Add a scoop of ice cream. You can’t go wrong serving your brownies a la mode, perhaps with some No-Churn Caramel Toffee Ice Cream. Or, use any leftovers to stir into some No-Churn Nutella Brownie Ice Cream.
Substitutions & Recipe Variations
As mentioned above, these rocky road brownies are super easy to customize! Here are a few possible switches you could make:
- Make them flourless. Try my gluten free brownies (linked above) that use almond flour in place of this brownie recipe if you want to skip the gluten free flour.
- Adjust the marshmallows. Too gooey for you? You can always cut down on the marshmallows, or try stirring some into the brownie batter.
- Swap the nuts. Just like different brands of rocky road ice cream use different nuts, you can always swap the walnuts for almonds, pecans, cashews, hazelnuts, or even peanuts.
- Add more chocolate. Stir in some chocolate chips or sprinkle some on top with the marshmallows because more chocolate never hurts.
How to Store Extras
As I mentioned, since these rocky road brownies are extra gooey and cut better when chilled, I recommend keeping them covered in the refrigerator. They will be good for 3 or 4 days (if they last that long!).
Can I Freeze Rocky Road Brownies?
You can try freezing these brownies for a month or two if they are tightly wrapped, but beware that the texture of the marshmallow after it has been frozen may change slightly. Also, remember to let them thaw in the fridge before enjoying again.
More Easy Brownie Recipes
Ready to try some more rich and decadent brownie recipes? Take a look at these ones!
- Flourless Nutella Cheesecake Brownies
- Gluten Free Mug Brownies
- Flourless Reese’s Brownies
- Flourless Turtle Cheesecake Brownies
- Cashew Caramel Cheesecake Swirl Brownies
Shop the Recipe
Gluten Free Flour: For this recipe, I usually use Bob’s Red Mill 1-to-1.
Vanilla Extract: Pure extract has much better flavor that imitation. just be sure your band is gluten free.
Hand Mixer: I used this simple and inexpensive one from Hamilton Beach.
Baking Pan: You’ll need a 9-inch square, and I like this one from OXO.
Gluten Free Rocky Road Brownies
Ingredients
For the Brownies:
- 1/2 cup unsalted butter, softened to room temperature
- 1 cup granulated sugar
- 3 tablespoons unsweetened cocoa powder
- 2 large eggs
- 3/4 cup 1:1 gluten free flour blend (recommended: Bob's Red Mill 1-to-1 Baking Blend)
- 1/4 teaspoon salt
- 1/2 teaspoon pure vanilla extract
- 3/4 cup chopped walnuts
- 4 cups miniature marshmallows
For the Frosting:
- 1/2 cup unsalted butter, softened to room temperature
- 2 1/2 cups powdered sugar
- 1/4 cup unsweetened cocoa powder
- 2-4 tablespoons milk
- 1 teaspoon pure vanilla extract
Instructions
For the Brownies:
- Preheat the oven to 350°F. Grease a 9×9-inch square baking pan with shortening or nonstick cooking spray.
- In a large mixing bowl, combine the butter, sugar, and cocoa powder and use an electric hand mixer to beat at medium speed until creamy.
- Add eggs one at a time, blending well after each addition.
- At low speed, blend in the flour, salt, and vanilla extract. Then stir in the walnuts.
- Pour into the prepared pan and bake at 350°F for 30-35 minutes, until just set.
- Remove from oven and scatter the miniature marshmallows in a thick layer on top.
- Return the pan to the oven and bake an additional 4 minutes.
- Remove the pan from the oven and place on a cooling rack to cool completely. In the meantime, prepare the frosting, then spread the frosting in an even layer over the top of the marshmallow layer.
- Chill the brownies in the refrigerator before cutting into squares.
For the Frosting:
- Combine the butter, powdered sugar, cocoa powder, 2 Tablespoons of milk, and the vanilla extract in a large mixing bowl. Use an electric hand mixer or stand mixer to blend it together until light and fluffy, adding additional milk a Tablespoon at a time to achieve the desired consistency. Set aside at room temperature until ready to use.
Notes
- To Store: As I mentioned, since these rocky road brownies are extra gooey and cut better when chilled, I recommend keeping them covered in the refrigerator. They will be good for 3 or 4 days (if they last that long!).
- To Freeze: You can try freezing these brownies for a month or two if they are tightly wrapped, but beware that the texture of the marshmallow after it has been frozen may change slightly. Also, remember to let them thaw in the fridge before enjoying again.


