This post may contain affiliate links. Read my disclosure policy.
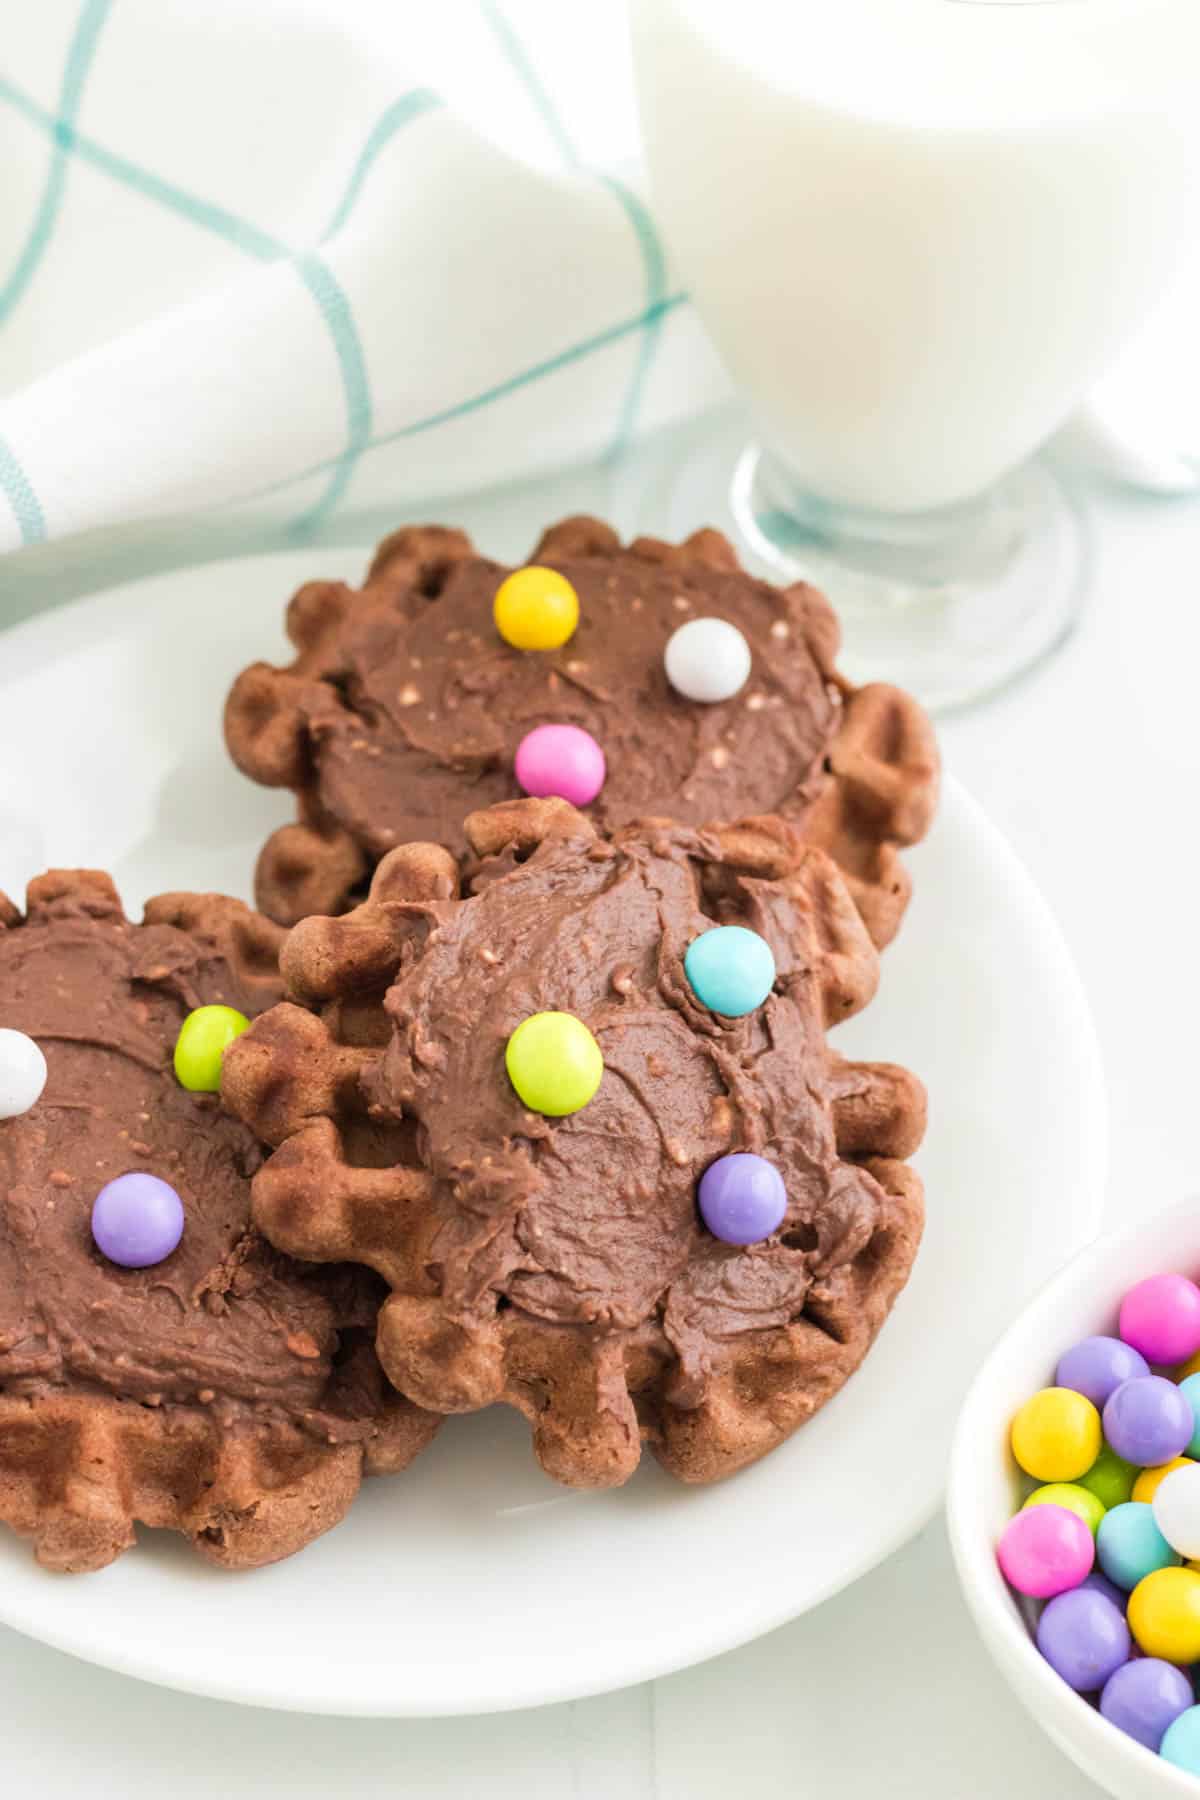
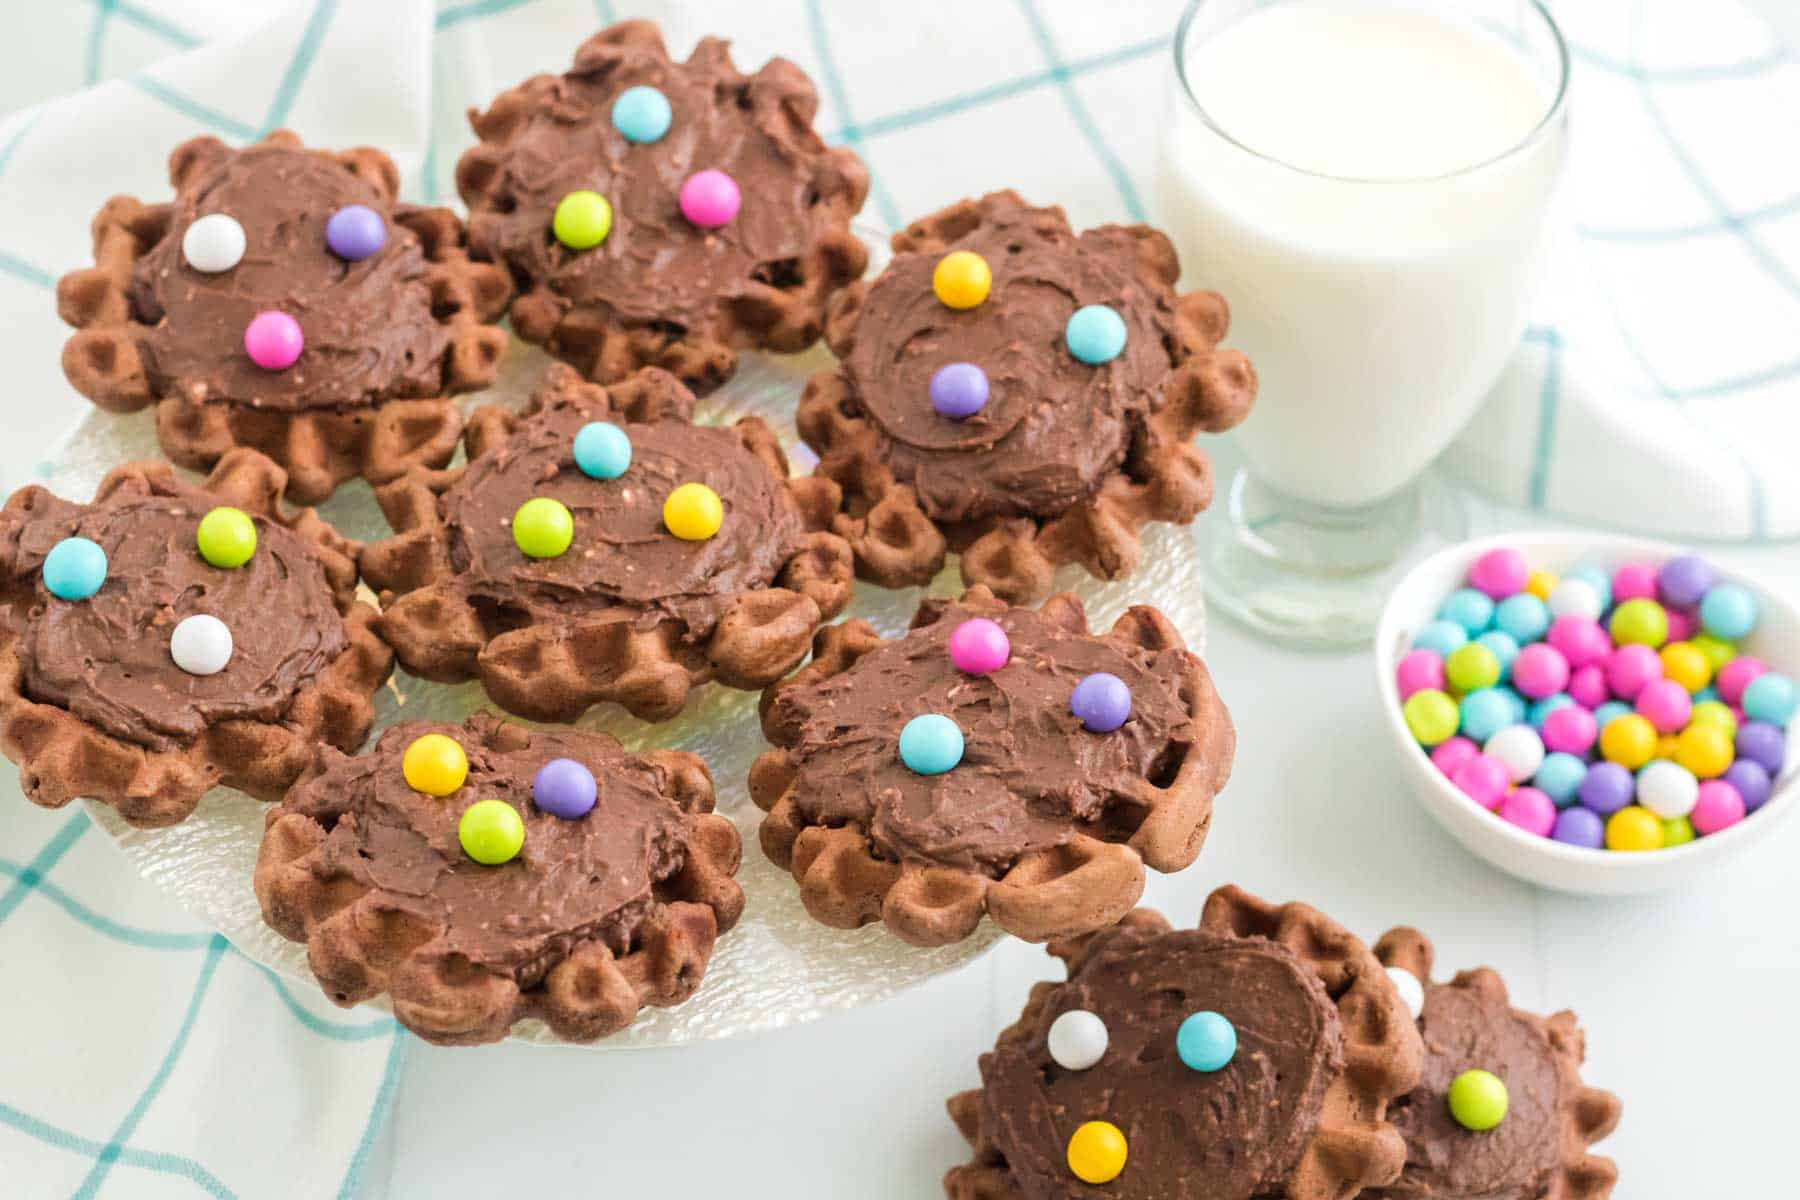
Surprise! You don’t have to heat up the oven to make cookies when you have a waffle iron. Gluten Free Chocolate Waffle Cookies are perfectly crisp outside with an airy, cake-like texture inside. And that chocolaty icing makes them extra irresistible!
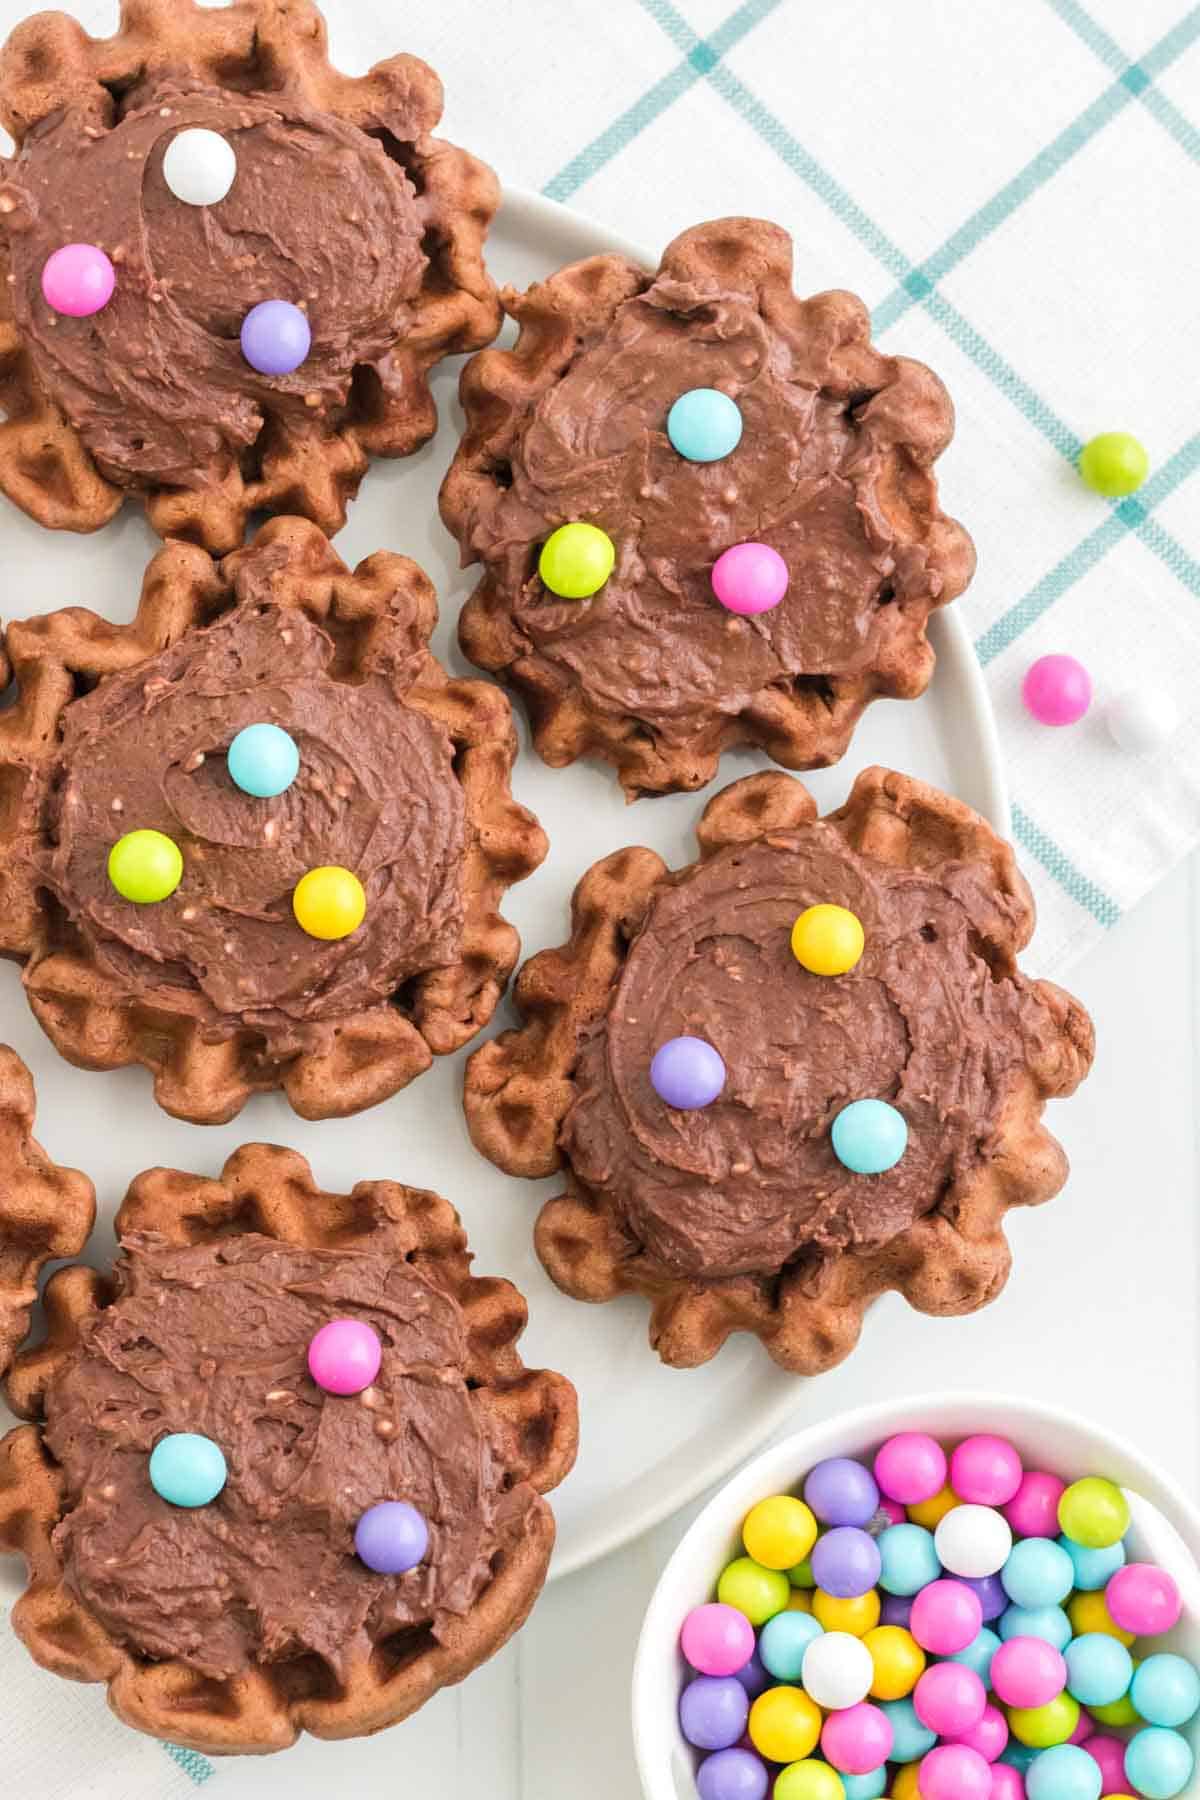
The perfect combo of chocolate cake and cookie, topped with a totally-necessary icing, you won’t be able to eat just one of these Chocolate Waffle Cookies. And the best part is that if you grew up eating them like the ladies of Gluten Free Anonymous who created this recipe for me to share, you can now enjoy them again in a gluten free version.
They became all the rage at get-togethers when they were little. Everyone who tried one of these delicious confections couldn’t help but request the recipe. They will induce nostalgic memories of tasty delight, especially if you add the lick-your-fingers delicious chocolate frosting!
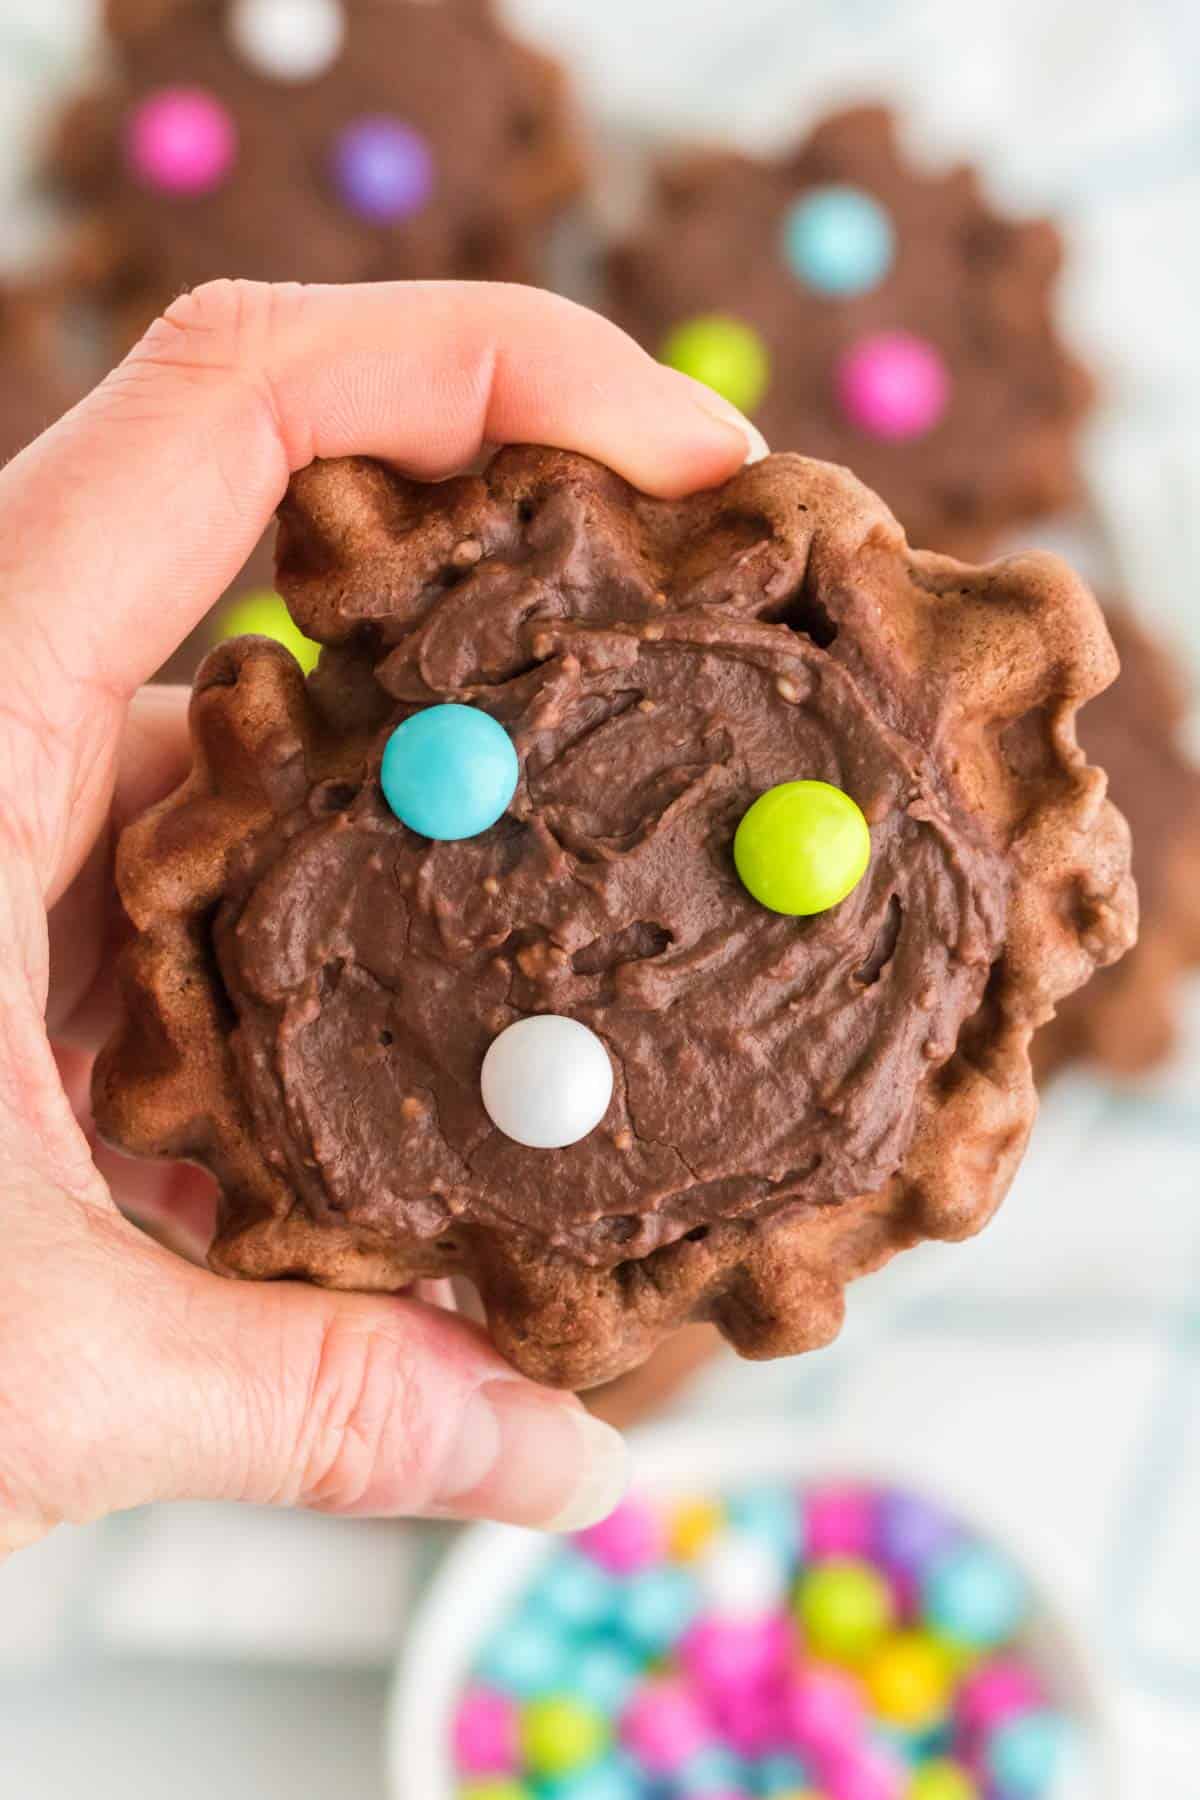
This chocolate waffle cookie recipe is the perfect combo of a crisp cookie exterior with a cakey interior. The icing brings it all together, with the perfect amount of flavor. And you can decorate them for any holiday or celebration. You won’t be able to eat just one!
What kind of waffle iron do I need?
You don’t need anything fancy to make these waffle cookies, and you definitely don’t need anything like a belgian waffle maker. If you have a mini individual waffle maker, you can make one cookie at a time. But if you have a square or round waffle iron like the one I always use to make my Gluten Free Banana Waffles, you can make two or four at a time, depending on how many sections your has.
Ingredients
These easy cookies are made with just a handful of staple ingredients, so you can whip up a batch anytime!
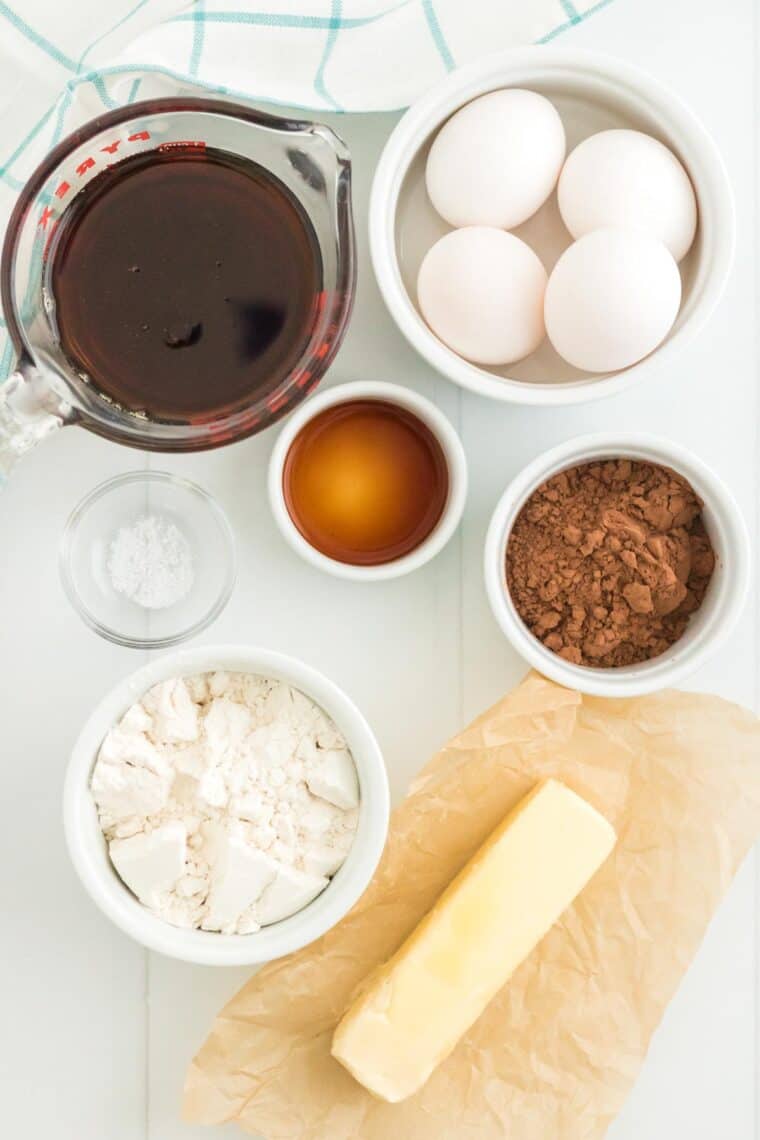
For the chocolate waffle cookies:
- 1:1 gluten free flour blend. I usually use Bob’s Red Mill 1-to-1. Other blends like King Arthur Flour Measure for Measure and Cup4Cup should work just fine, but different brands can produce slightly different results.
- Unsweetened cocoa powder.
- Salt.
- Unsalted butter. Make sure it is softened to room temperature.
- Maple syrup. Pure maple is essential for the best flavor to enhance the chocolaty goodness. Don’t use pancake syrup.
- Large eggs. Lightly beaten.
- Pure vanilla extract. Be sure yours is gluten free.
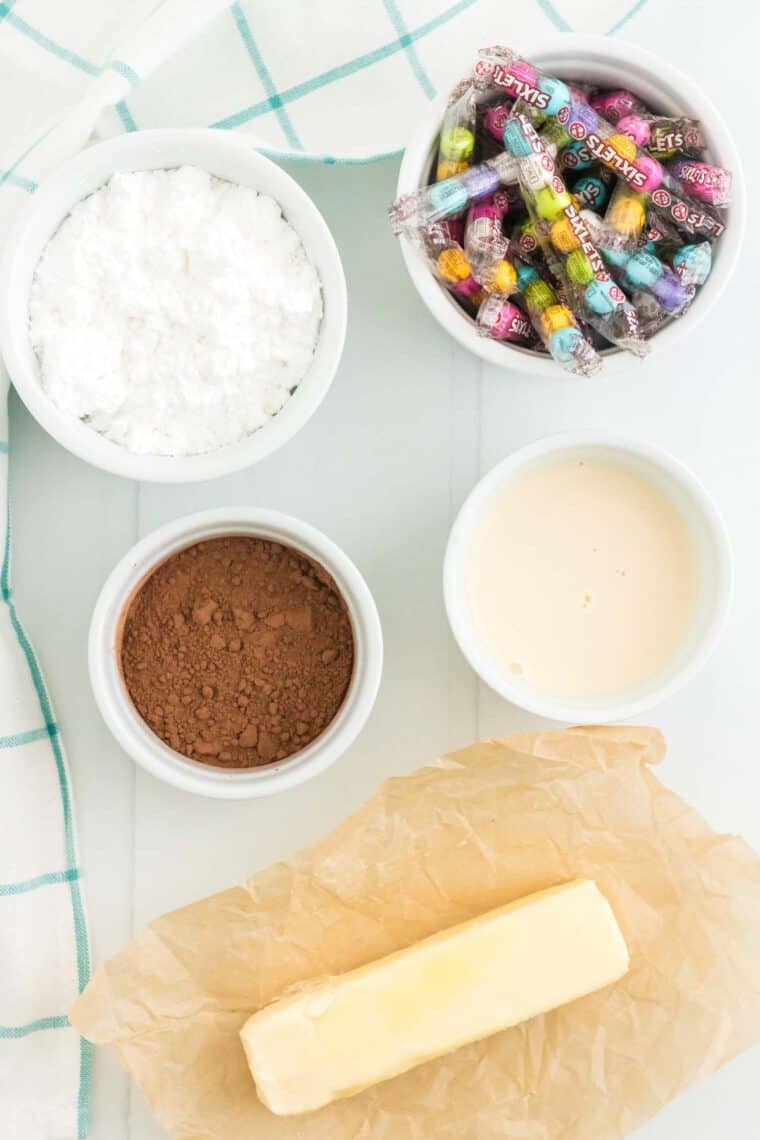
For the chocolate frosting:
- Unsalted butter. Again, softened to room temperature.
- Powdered sugar.
- Unsweetened cocoa powder.
- Evaporated milk. This adds to the richness and consistency of the frosting. You can substitute any milk or cream you have on hand, but start with less and add more as needed.
Start by preheating your waffle iron to medium heat. The batter is so quick to whip up that you can do it while the waffle iron warms up.
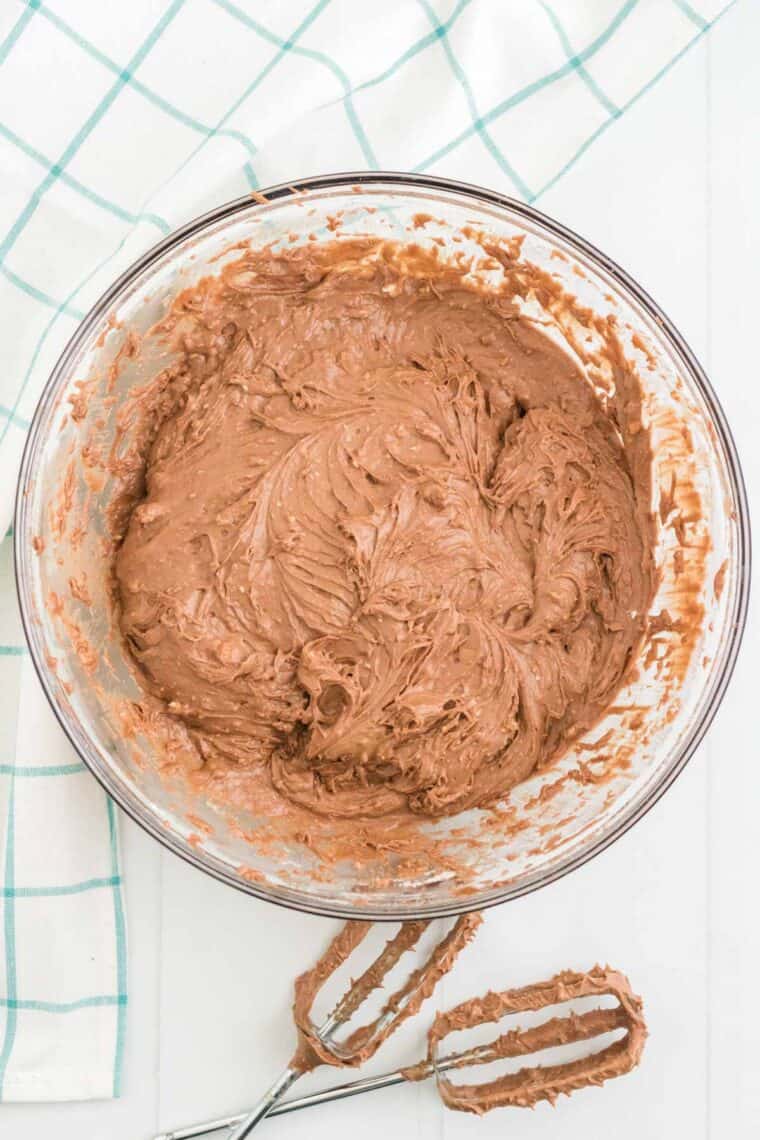
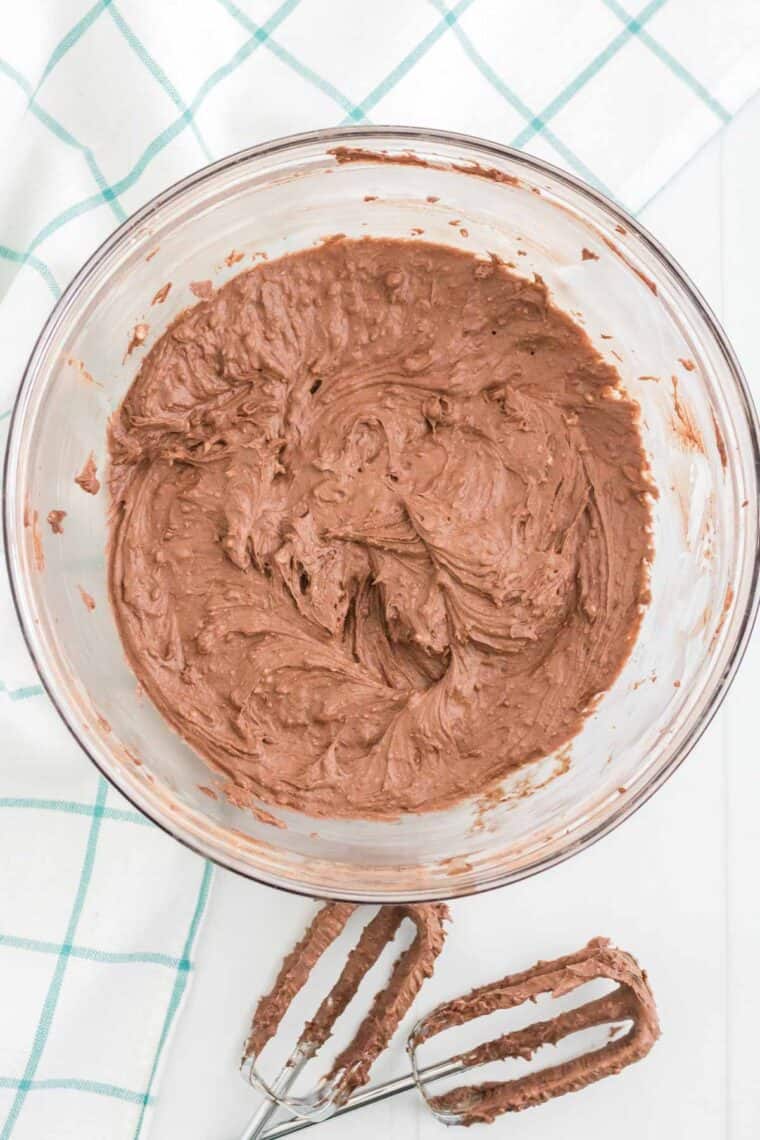
Make the cookie batter. Add all of the ingredients to a bowl, and use a hand mixer to blend them together until smooth.
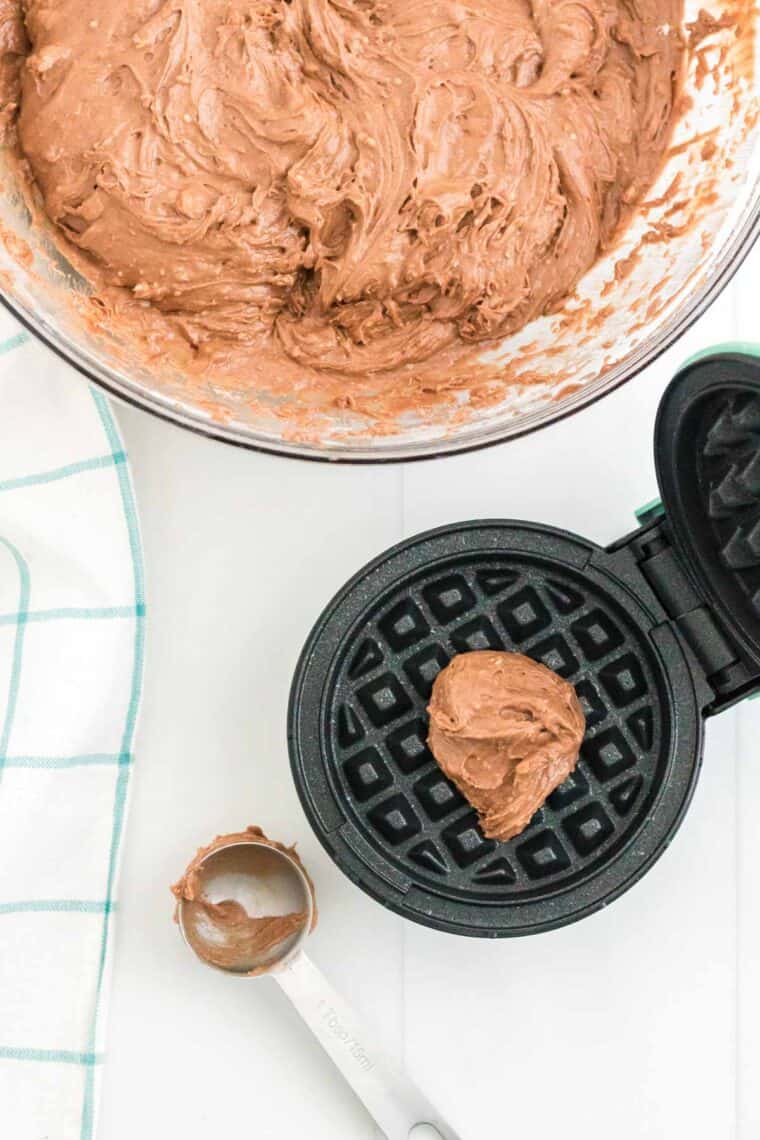
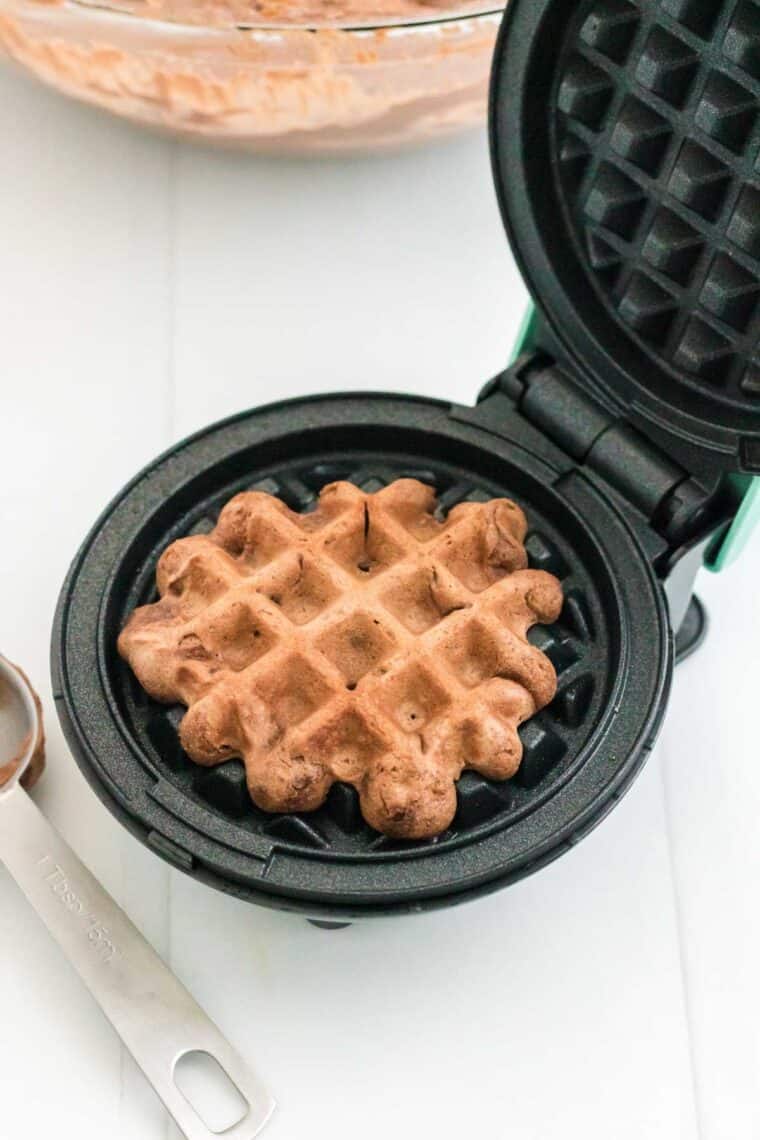
Bake the cookies. Spray your waffle iron with nonstick cooking spray. Spoon 1 Tablespoon of batter into each section of the waffle iron. Close and let it cook until your waffle iron indicated it is done based on the manufacturer’s instructions. You can adjust cooking time to desired texture – longer for a crisp cookie, shorter for a soft cookie. Gently remove with a fork and let cool.
Make the frosting. Combine the frosting ingredients in a bowl and blend until smooth.
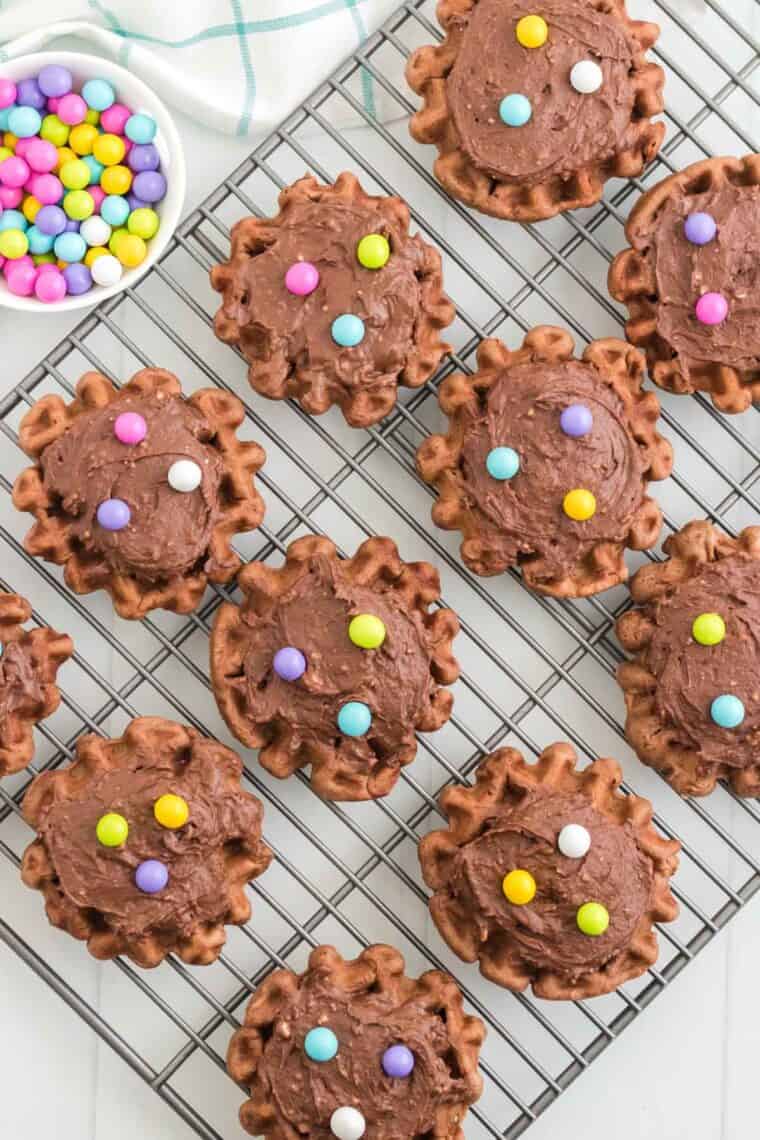
Frost the cookies. Spread frosting on the cooled cookies and decorate as desired.
Variations
If you want to change things up, you can skip the chocolate icing and leave them plain or try another option.
- Dust with powdered sugar.
- Dip in peppermint glaze.
- Go with vanilla icing.
- Make it cookies and cream with gluten free Oreo frosting.
- Give them a dollop of jam.
You also have plenty of toppings and decorations you can use.
- Sixlets. This gluten free candy-coated chocolate has colorful options for different holidays, inclusing these pastel ones for spring occasions like Easter.
- Sprinkles. Always a classic, but make sure yours are gluten free.
- Crushed gluten free chocolate sandwich cookie. For that cookies and cream version.
- Chopped candies. Everything from candy canes to Reese’s peanut butter cups to M&M’s, or anything you love.
- Gluten Free Gingersnaps
- Flourless Mexican Hot Chocolate Cookies
- Gluten Free Sugar Cookies
- Flourless Peanut Butter Cookies
Ingredients
For the cookies:
- 2 cups gluten free 1:1 flour Bob's Red Mill 1-to-1 is recommended. Other blends like King Athur Flour Measure for Measure and Cup4Cup should work just fine, but different brands can produce slightly different results.
- 4 Tablespoons unsweetenend cocoa powder
- 1/4 teaspoon salt
- 7 Tablespoons unsalted butter, softened to room temperature
- 1 cup pure maple syrup
- 4 large eggs, lightly beaten
- 2 teaspoons pure vanilla extract
- Sixlets, sprinkles, chopped candies, etc. as desired to decorate the cookies
For the frosting:
- 1/2 cup unsalted butter, softened to room temperature
- 2 cups powdered sugar
- 5 Tablespoons unsweetened cocoa powder
- 4 to 5 Tablespoons evaporated milk (you can substitute any milk or cream you have on hand, but start with only about 3 Tablespoons and adjust consistency as needed)
Instructions
For the cookies:
- Preheat your waffle iron to Medium according to the manufacturer's instructions.
- Add the gluten free flour, cocoa powder, salt, butter, maple syrup, eggs, and vanilla extract to a large bowl. Using a hand mixer, start on low speed and gradually increase to medium, and blend until the ingredients are combined and the batter is smooth.
- Spoon approximately 1 Tablespoon batter into each section of waffle iron. Close and allow it to cook until the waffle iron indicates it is done, based on the manufacturer's instructions. A just cooking time to desired texture – longer for a crisp cookie, shorter for a soft cookie.
- Gently remove with fork and place on a cooling rack. Let the cookies cool compltely, then frost and decorate as desired.
For the frosting:
- Add the butter, powdered sugar, cocoa powder, and 4 Tablespoons evaporated milk to a large mixing bowl or the bowl of a stand mixer. Using a hand mixer or the paddle attachment of the stand mixer, start on low speed and gradually increase to medium, and blend until the ingredients are combined and the frosting is smooth. Add additional milk to thin it out or powdered sugar to thicken it as needed to achieve your desired consistency.


