This post may contain affiliate links. Read my disclosure policy.
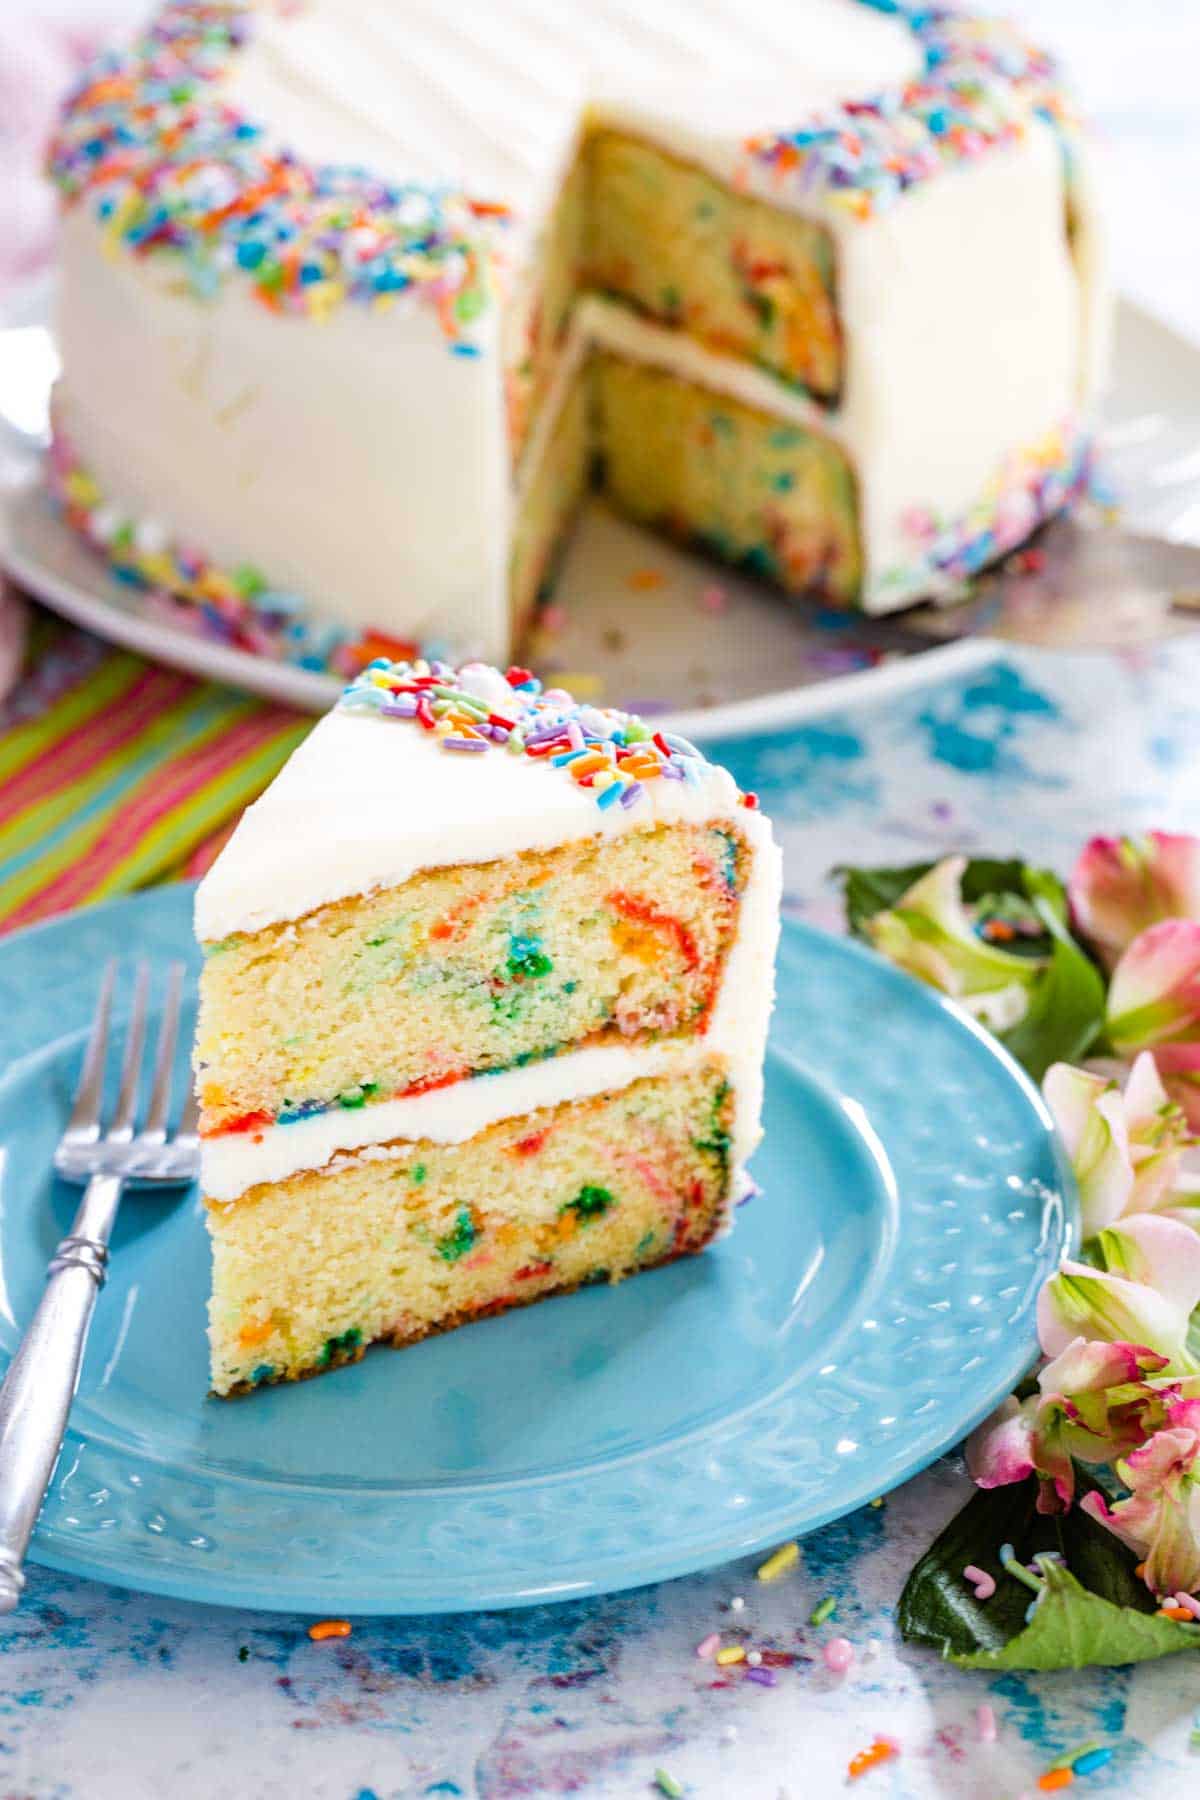
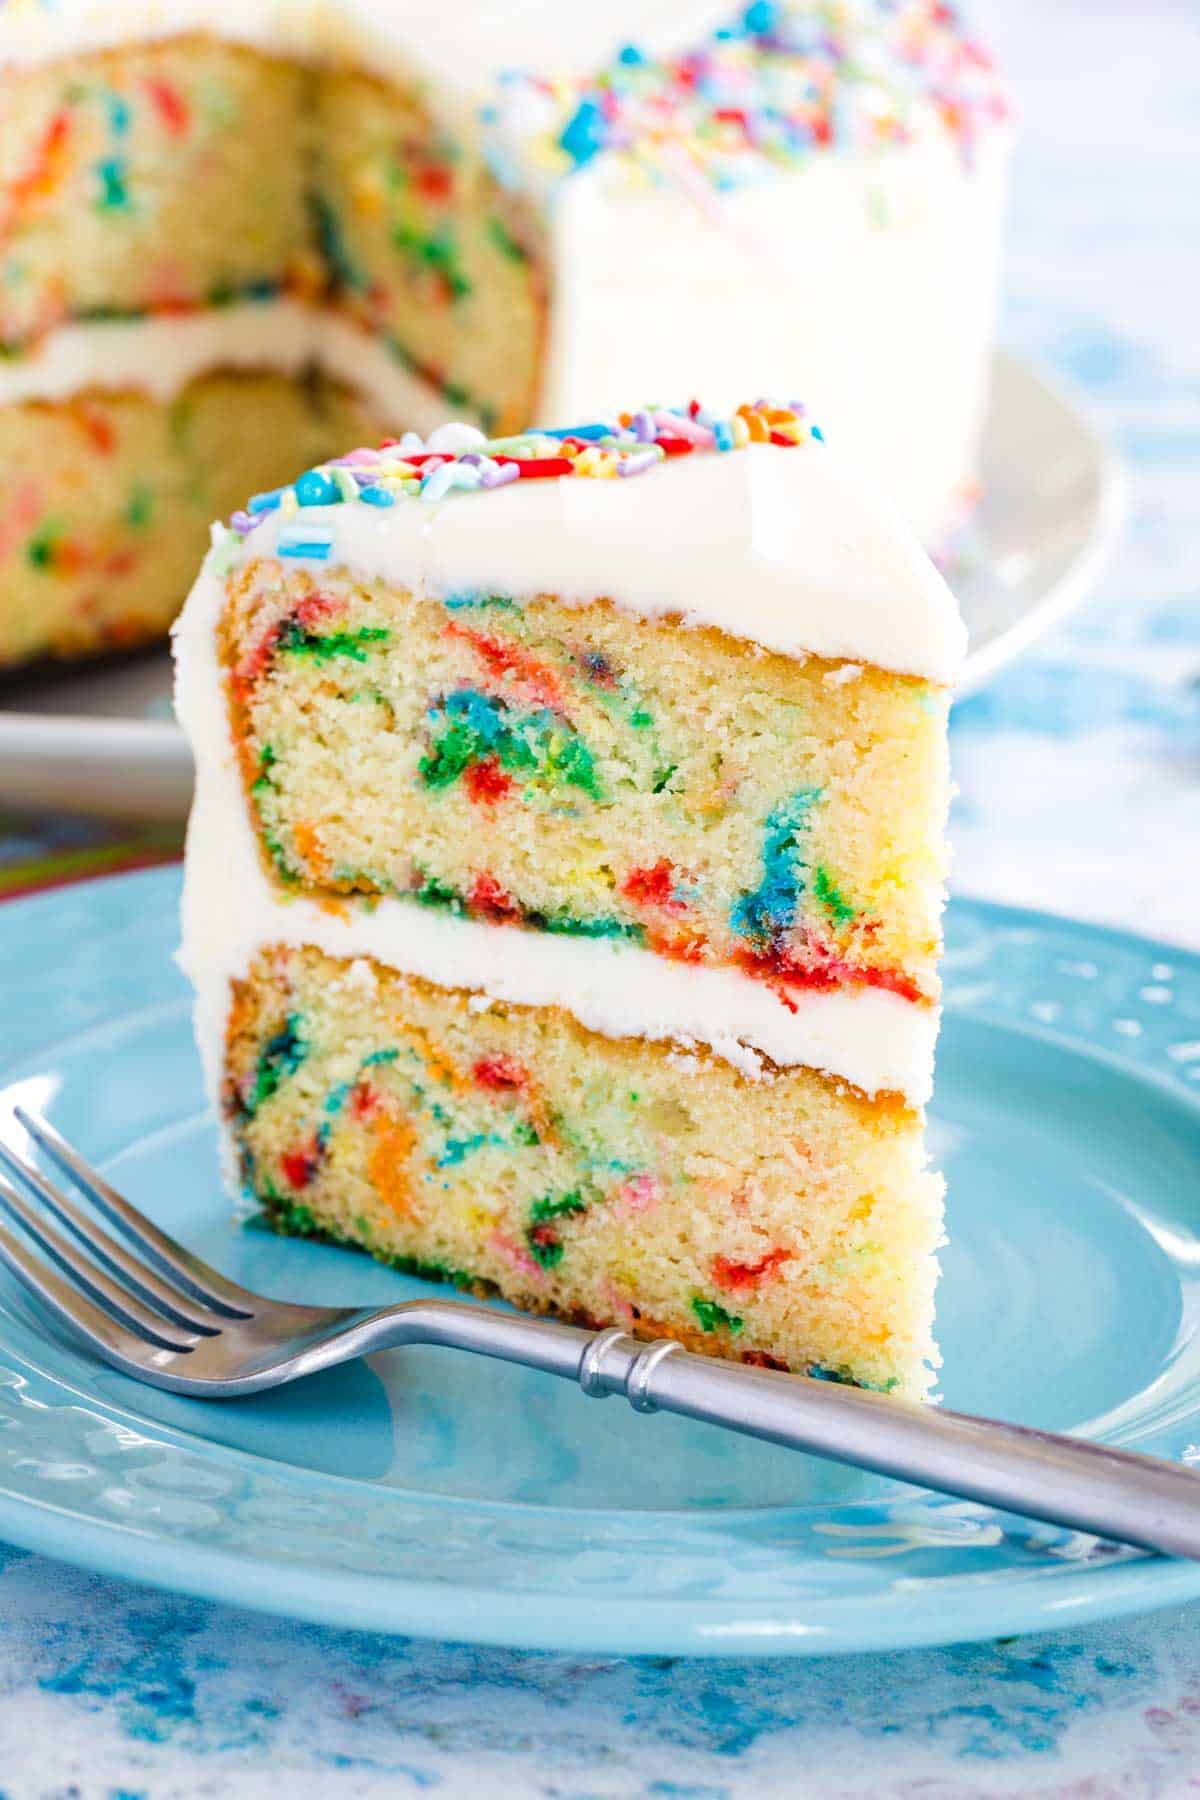
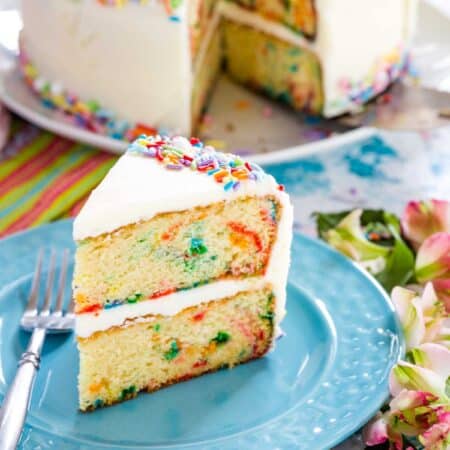
This Gluten Free Funfetti Cake is a perfect gluten-free birthday cake! A classic vanilla cake recipe loaded up with rainbow sprinkles inside and out. This delicious dessert is made for a celebration!
A Classic Birthday Cake Made Gluten-Free
Honestly, who can resist a cheerful, sprinkle-filled slice of rainbow funfetti cake? This recipe makes the perfect gluten-free birthday cake that’s literally joy in dessert form. Smiles come out the second this moist white cake dotted with bright bursts of color makes an appearance. Facts.
This recipe is inspired by classic boxed funfetti cake, made with gluten-free flour. The crumb is rich and milky with all sorts of authentic vanilla flavor, and loaded with sprinkles of course. For once, I suggest – no, insist – that you use artificial vanilla in a recipe. It adds to the nostalgia!
Finish your gluten-free cake with homemade vanilla icing and decorate it to your liking! Don’t forget a scoop of Gluten Free Cake Batter Ice Cream!
What is Funfetti Cake?
Funfetti cake originated in the late 80s, as a classic white cake recipe with a special twist – rainbow sprinkles! Since then, colorful “confetti” cake has become a staple at birthday parties and celebrations. The vanilla flavor of a funfetti cake is sweet and milky, with a richer texture thanks to buttermilk.
Recipe Ingredients
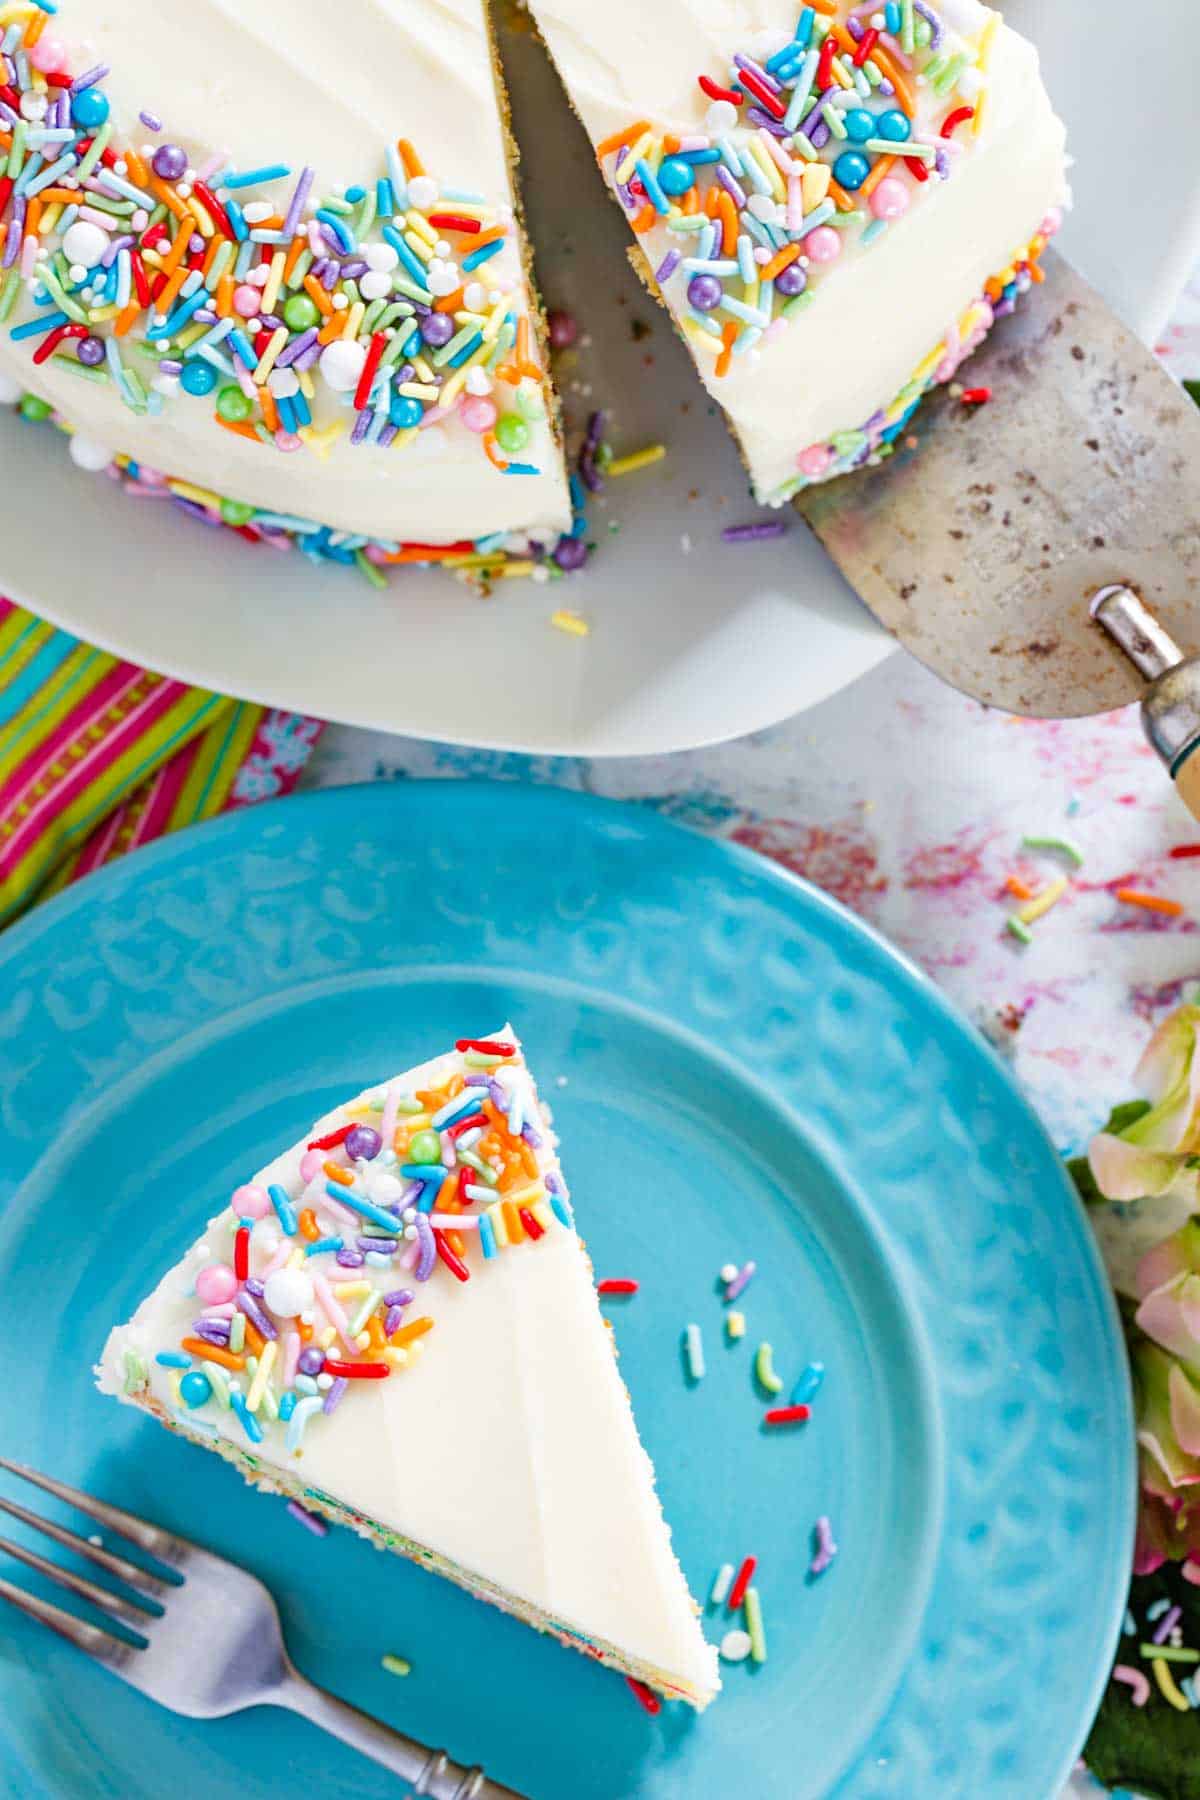
Here’s everything you’ll need to make your very own funfetti cake that’s 100% gluten free:
- Gluten Free Flour: I recommend Bob’s Red Mill 1-to-1 Baking Flour for this gluten-free cake recipe, as it already contains xanthan gum. You can use other brands or blends, but bear in mind that the results may vary!
- Leavening: Baking soda and baking powder gives this funfetti cake the perfect amount of lift.
- Butter: Unsalted and at room temperature.
- Eggs: Also at room temperature.
- Sugar: Regular granulated sugar is best for this white cake recipe.
- Vanilla Extract: For the best color and authentic flavor, use clear vanilla extract in both the cake as well as the frosting. Even though it’s technically artificial vanilla, the flavor is truest to a classic funfetti birthday cake.
- Buttermilk: Buttermilk works with the leavening ingredients to give this cake incredible moisture and a light, tender texture. For best results, make sure it’s also brought to room temperature before you start!
- Rainbow Sprinkles: Colorful sprinkles put the “fun” and “confetti” in funfetti cake! Make sure to use a gluten-free brand of sprinkles that doesn’t bleed into the crumb too much. See my tips below for the best kind of sprinkles to use.
- Frosting: Either store bought, or you can whip up a batch of homemade Vanilla Frosting or Chocolate Frosting to frost your cake with. If you do opt to make your own vanilla frosting, I highly recommend substituting the vanilla in the recipe with clear vanilla extract instead for the most pure white color.
What Kind of Sprinkles Should I Use?
Choosing the right sprinkles for this funfetti cake is two-fold: one, they need to be gluten free. And secondly, they shouldn’t bleed their color into the batter. For this reason, always use jimmies (the long, skinny rainbow sprinkles) when making confetti cake. Not to be confused with nonpareils (the tiny round balls), which tend to melt and bleed easily.
While most jimmies are gluten free, it’s always a good idea to check the labels to be sure! Some are a cross-contamination risk.
How to Make Gluten-Free Confetti Cake
I make my two-tier funfetti cake using a pair of greased 8-inch round cake pans lined with parchment paper. Once the pans are prepped, here’s how easy it is to make the cake:
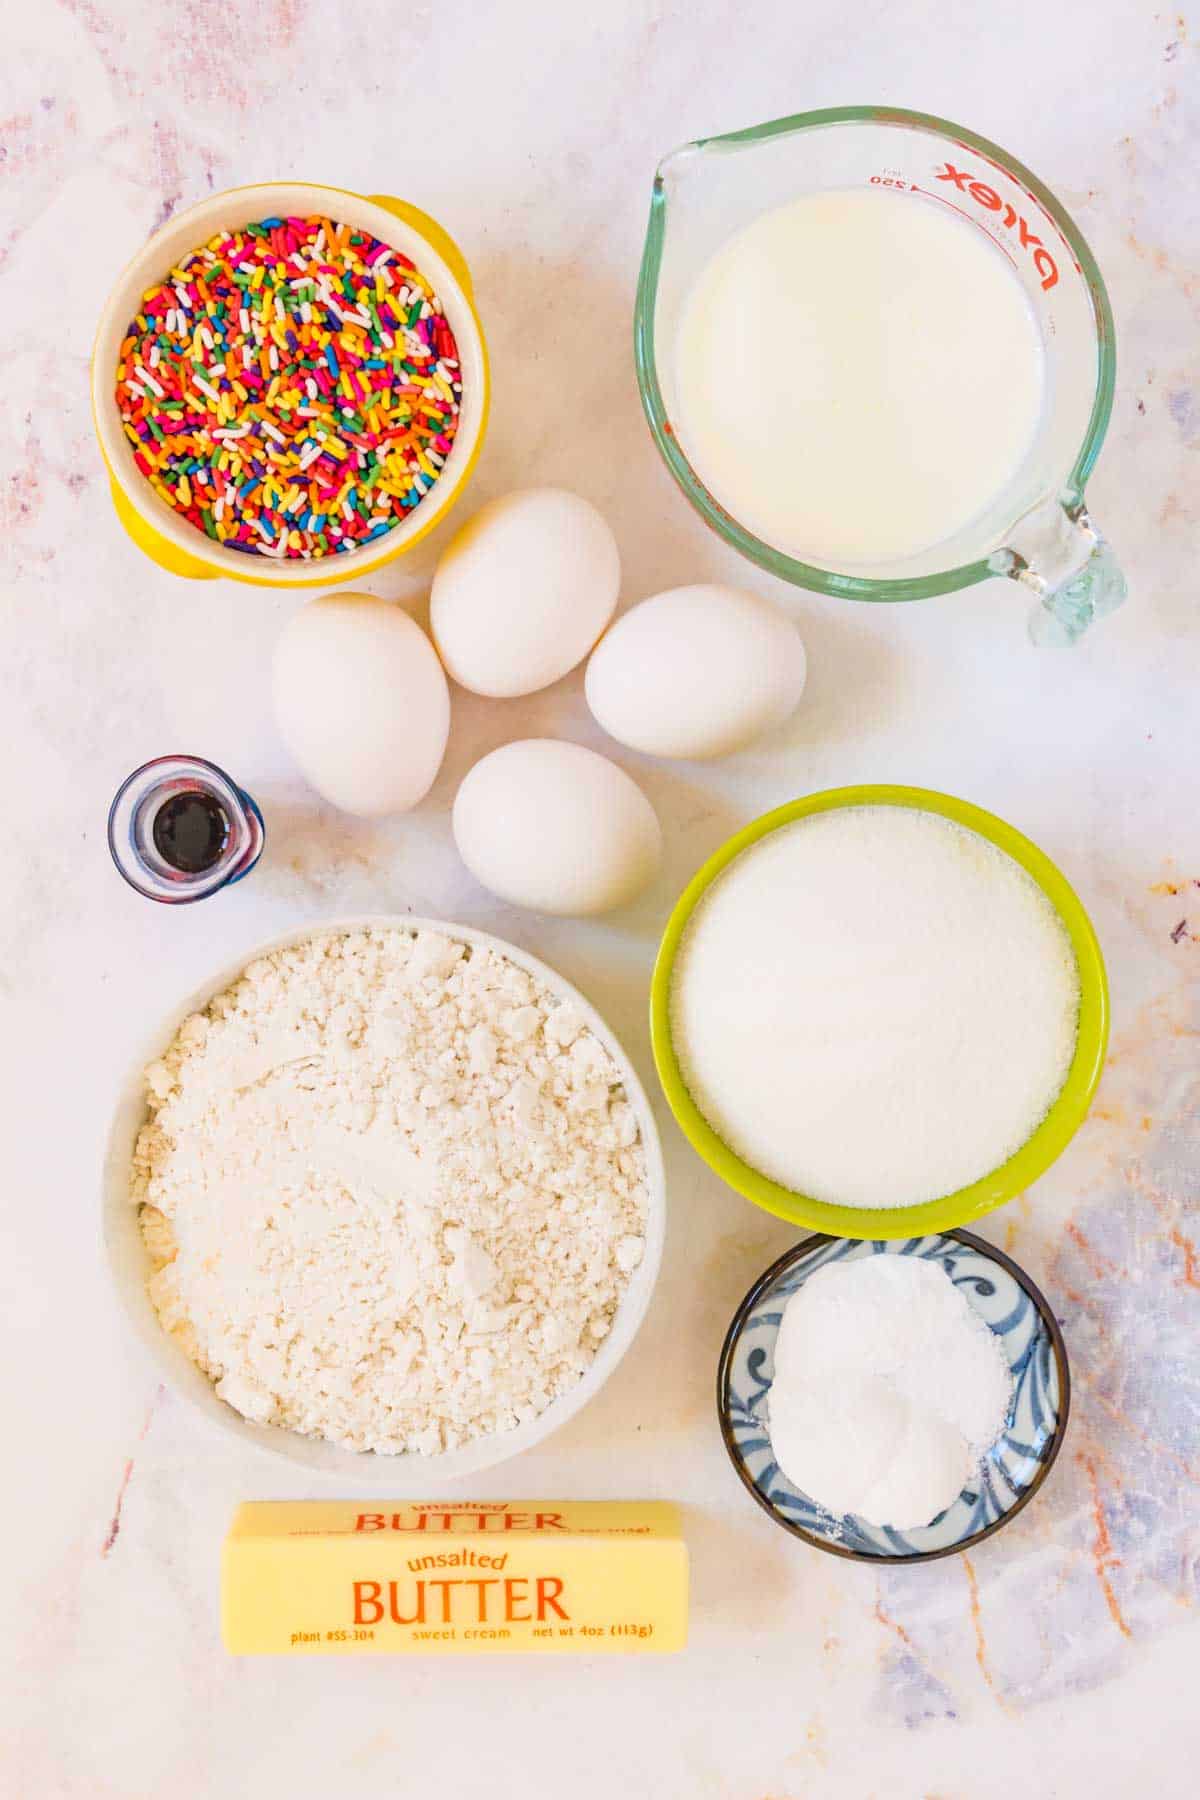
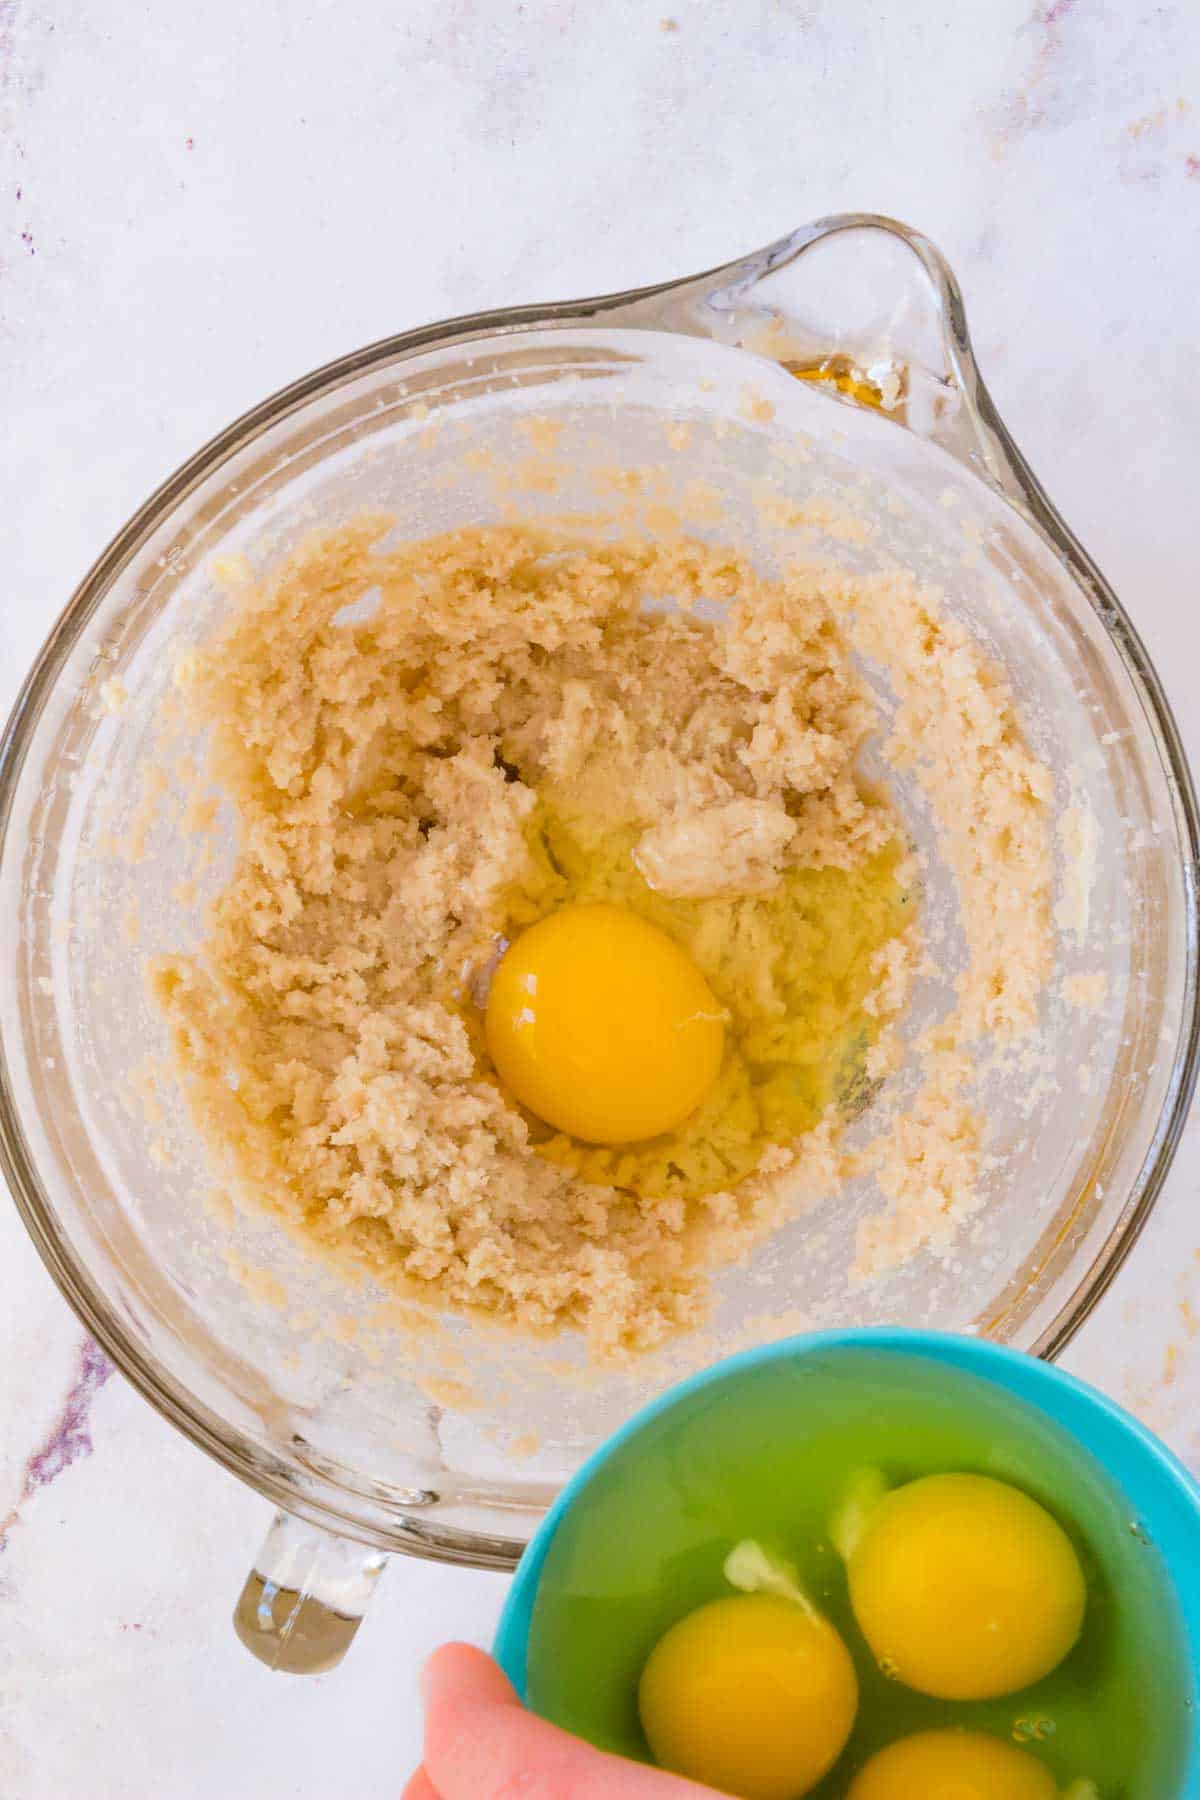
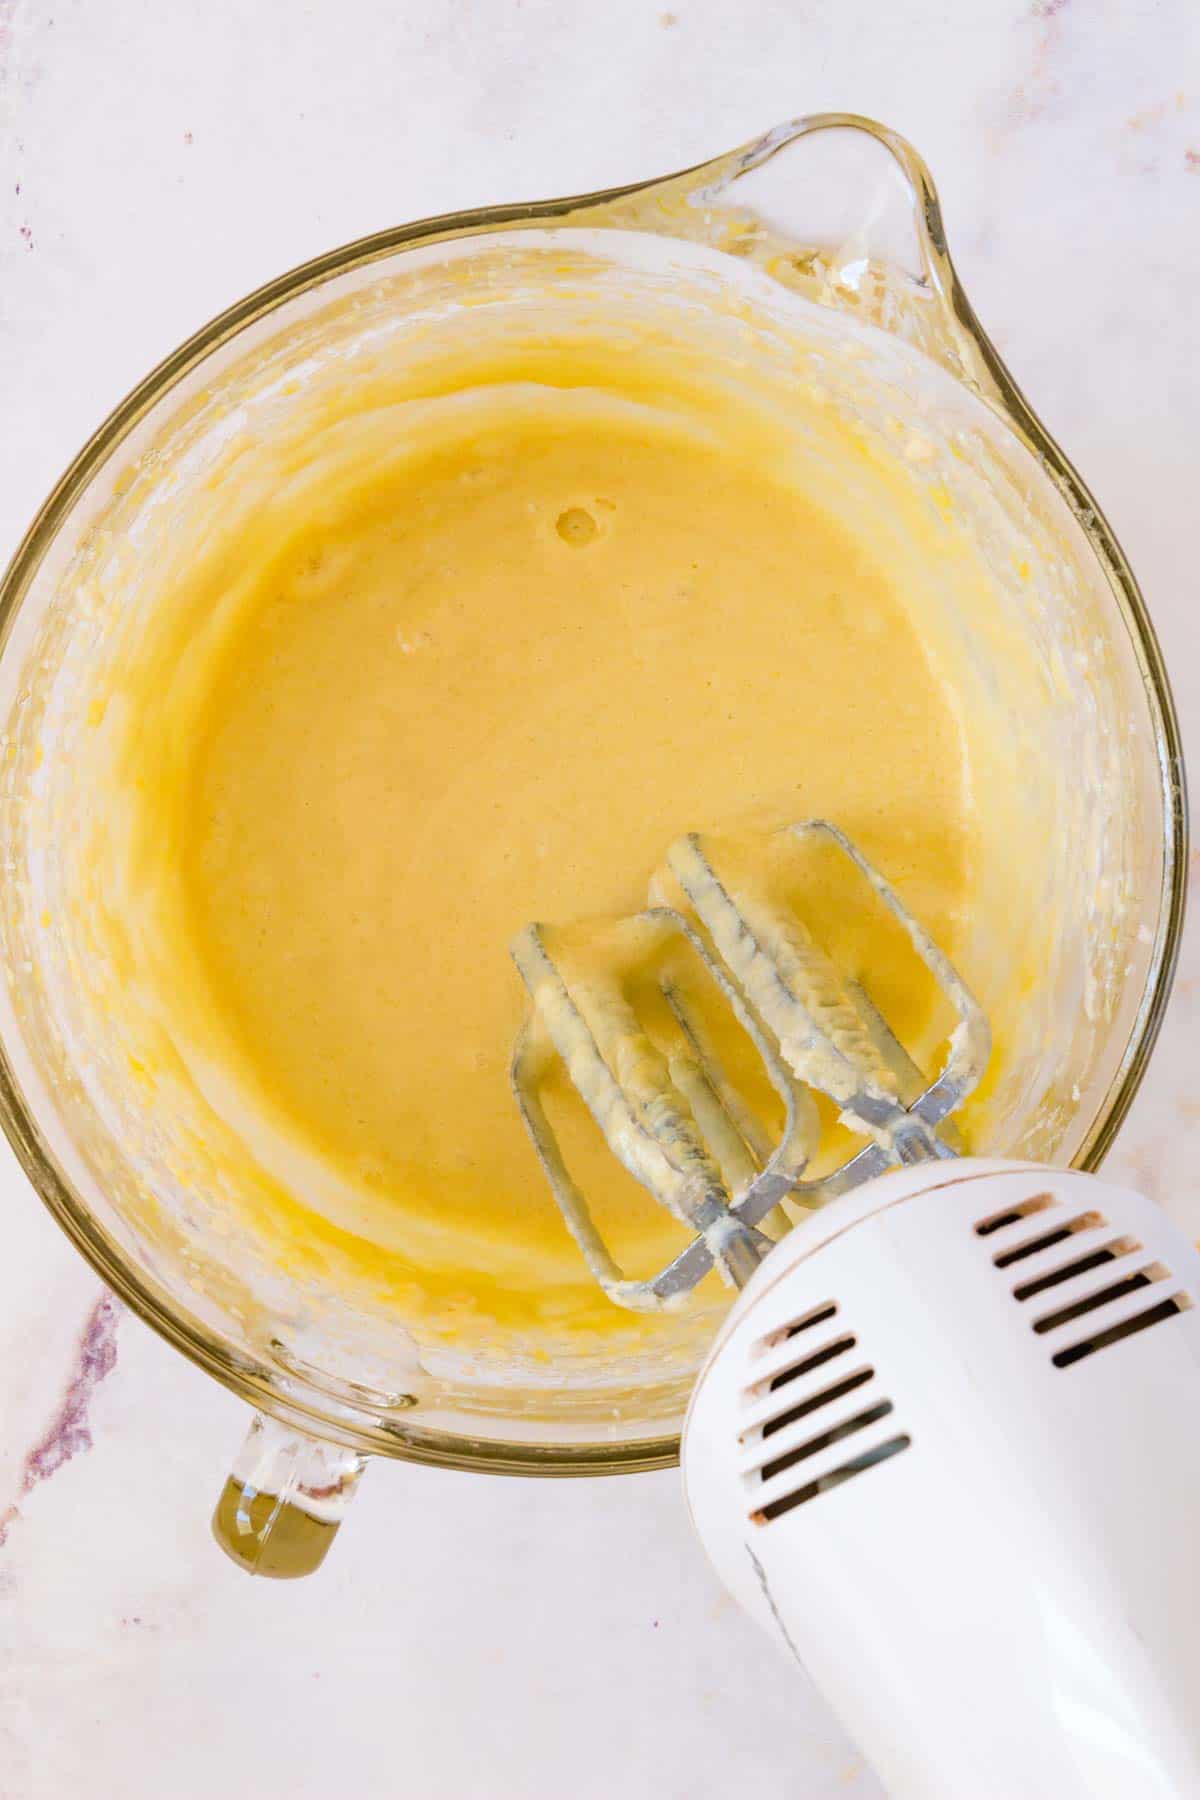
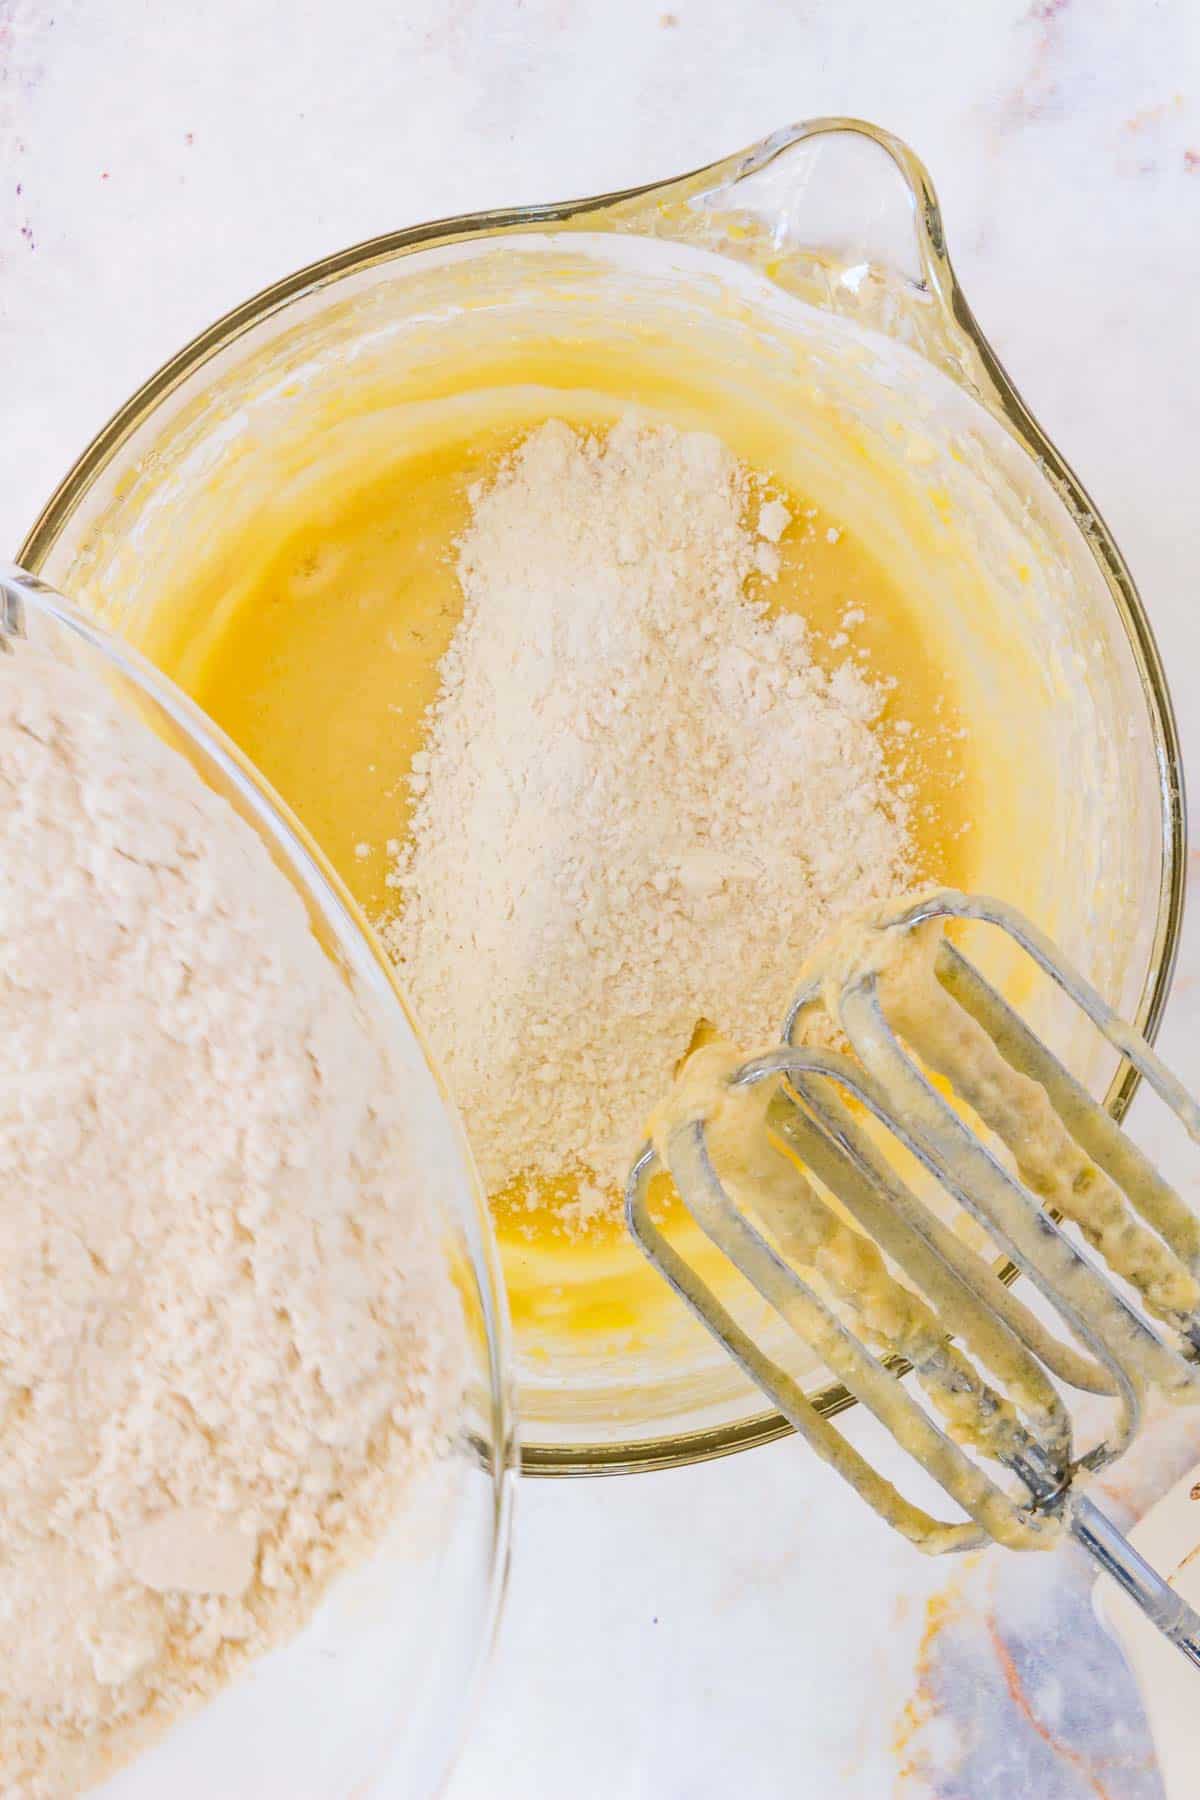
Make the Batter: Combine the dry and wet ingredients separately, adding the eggs into the wet ingredients one at a time. Gradually add the dry ingredients into the wet ingredients, alternating with the buttermilk until just combined.
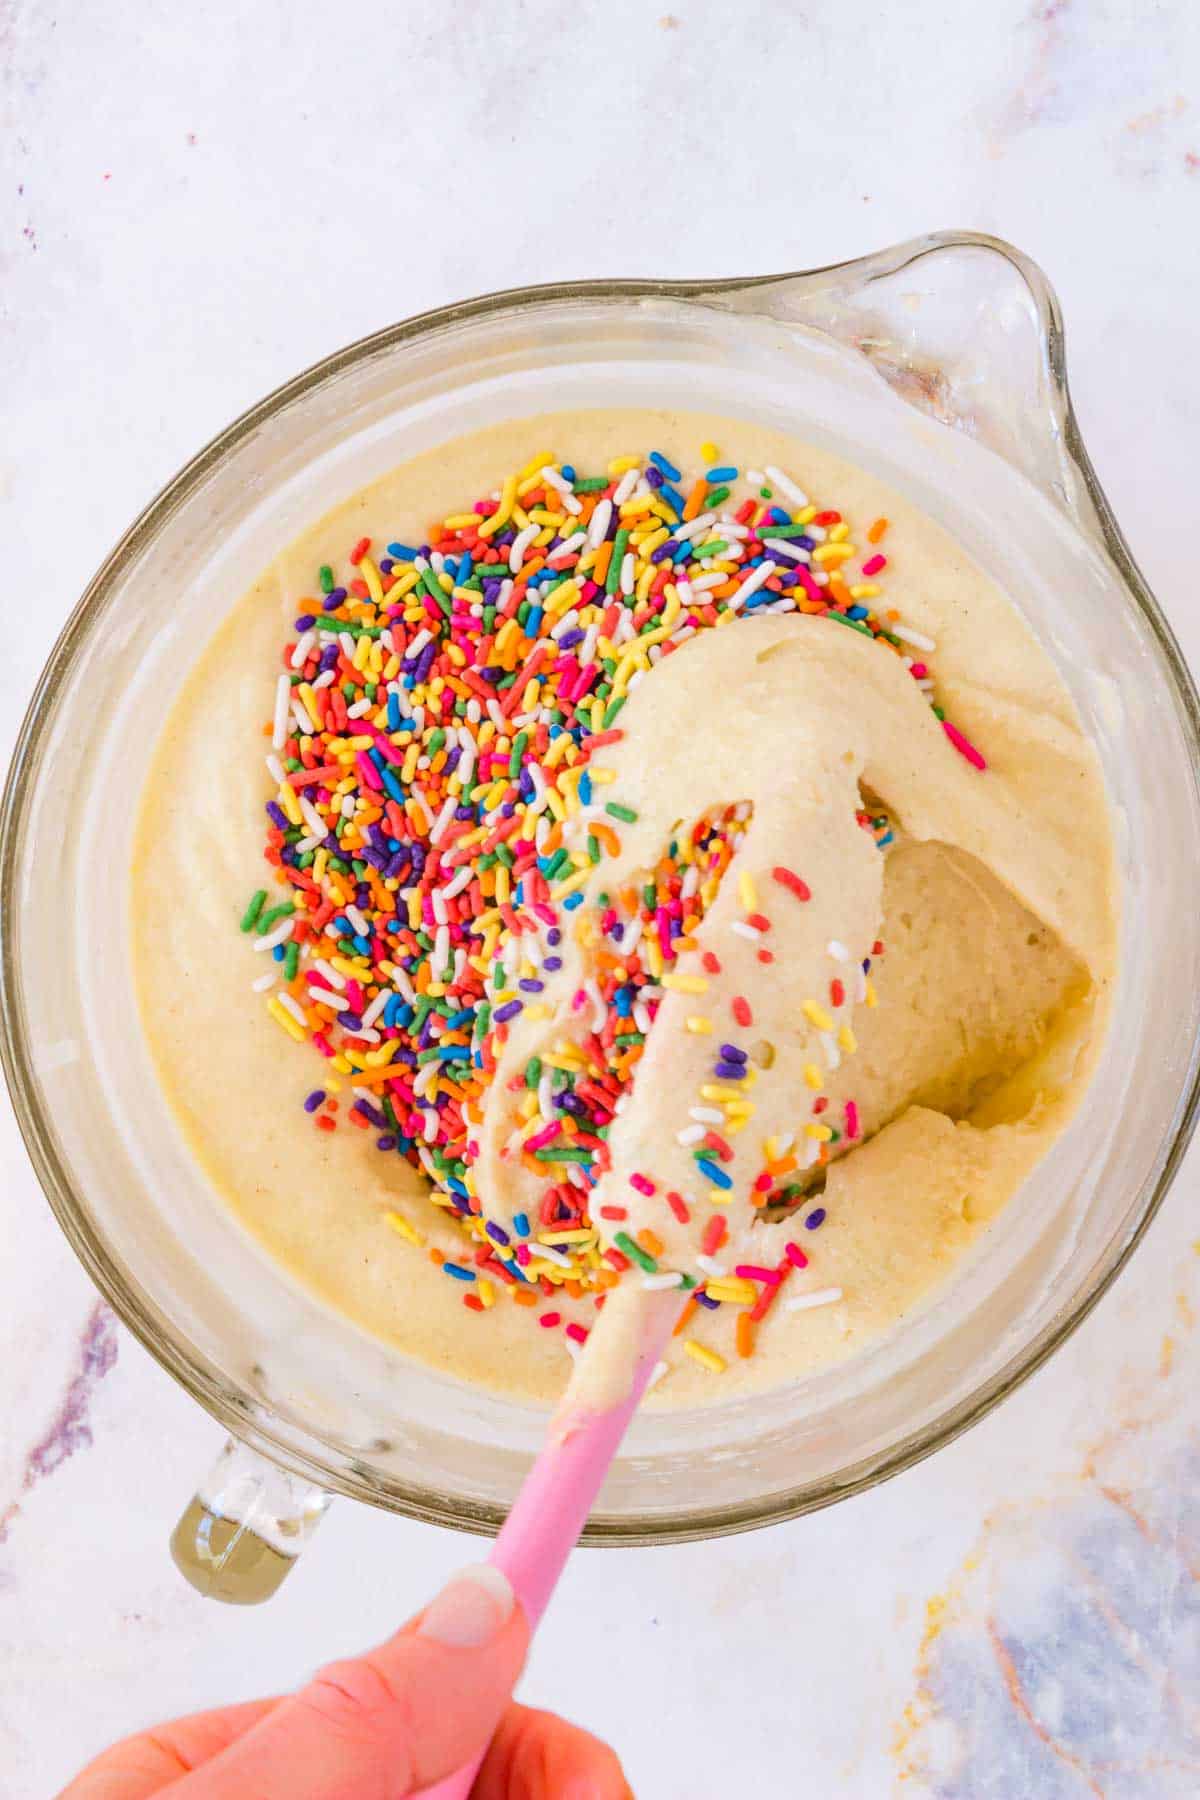
Add the Sprinkles: Gently fold the rainbow sprinkles into the cake batter.
Fill the Cake Pans: Divide the batter evenly between the two prepared pans. I like to tap the bottom of the pans against the counter a few times to free up any air bubbles in the batter.
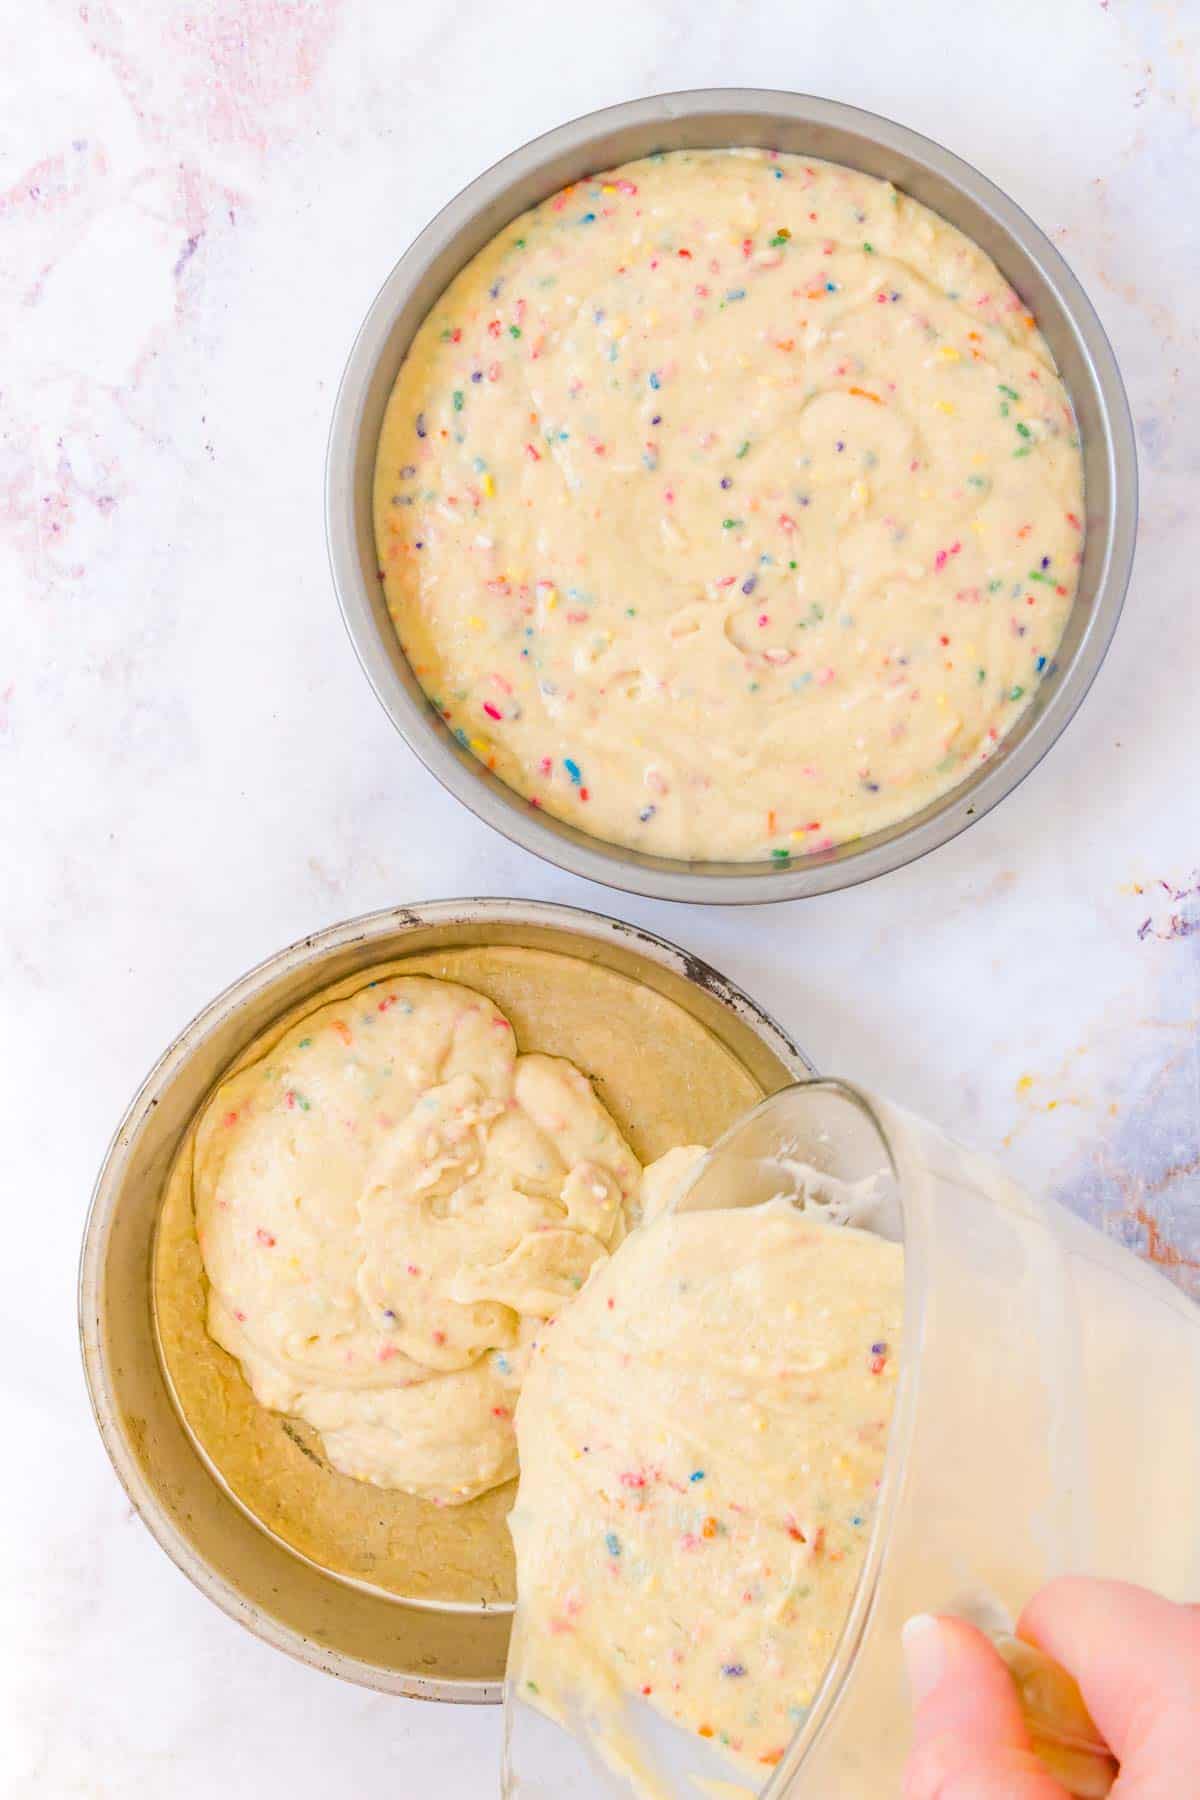
Bake: Next, you’ll bake the cakes in a 350°F oven until they’re set in the center. Don’t forget to rotate the pans about halfway through the baking time. Leave the cakes to set up in their pans for a bit once they’re out of the oven, and then transfer them to a wire rack to finish cooling.
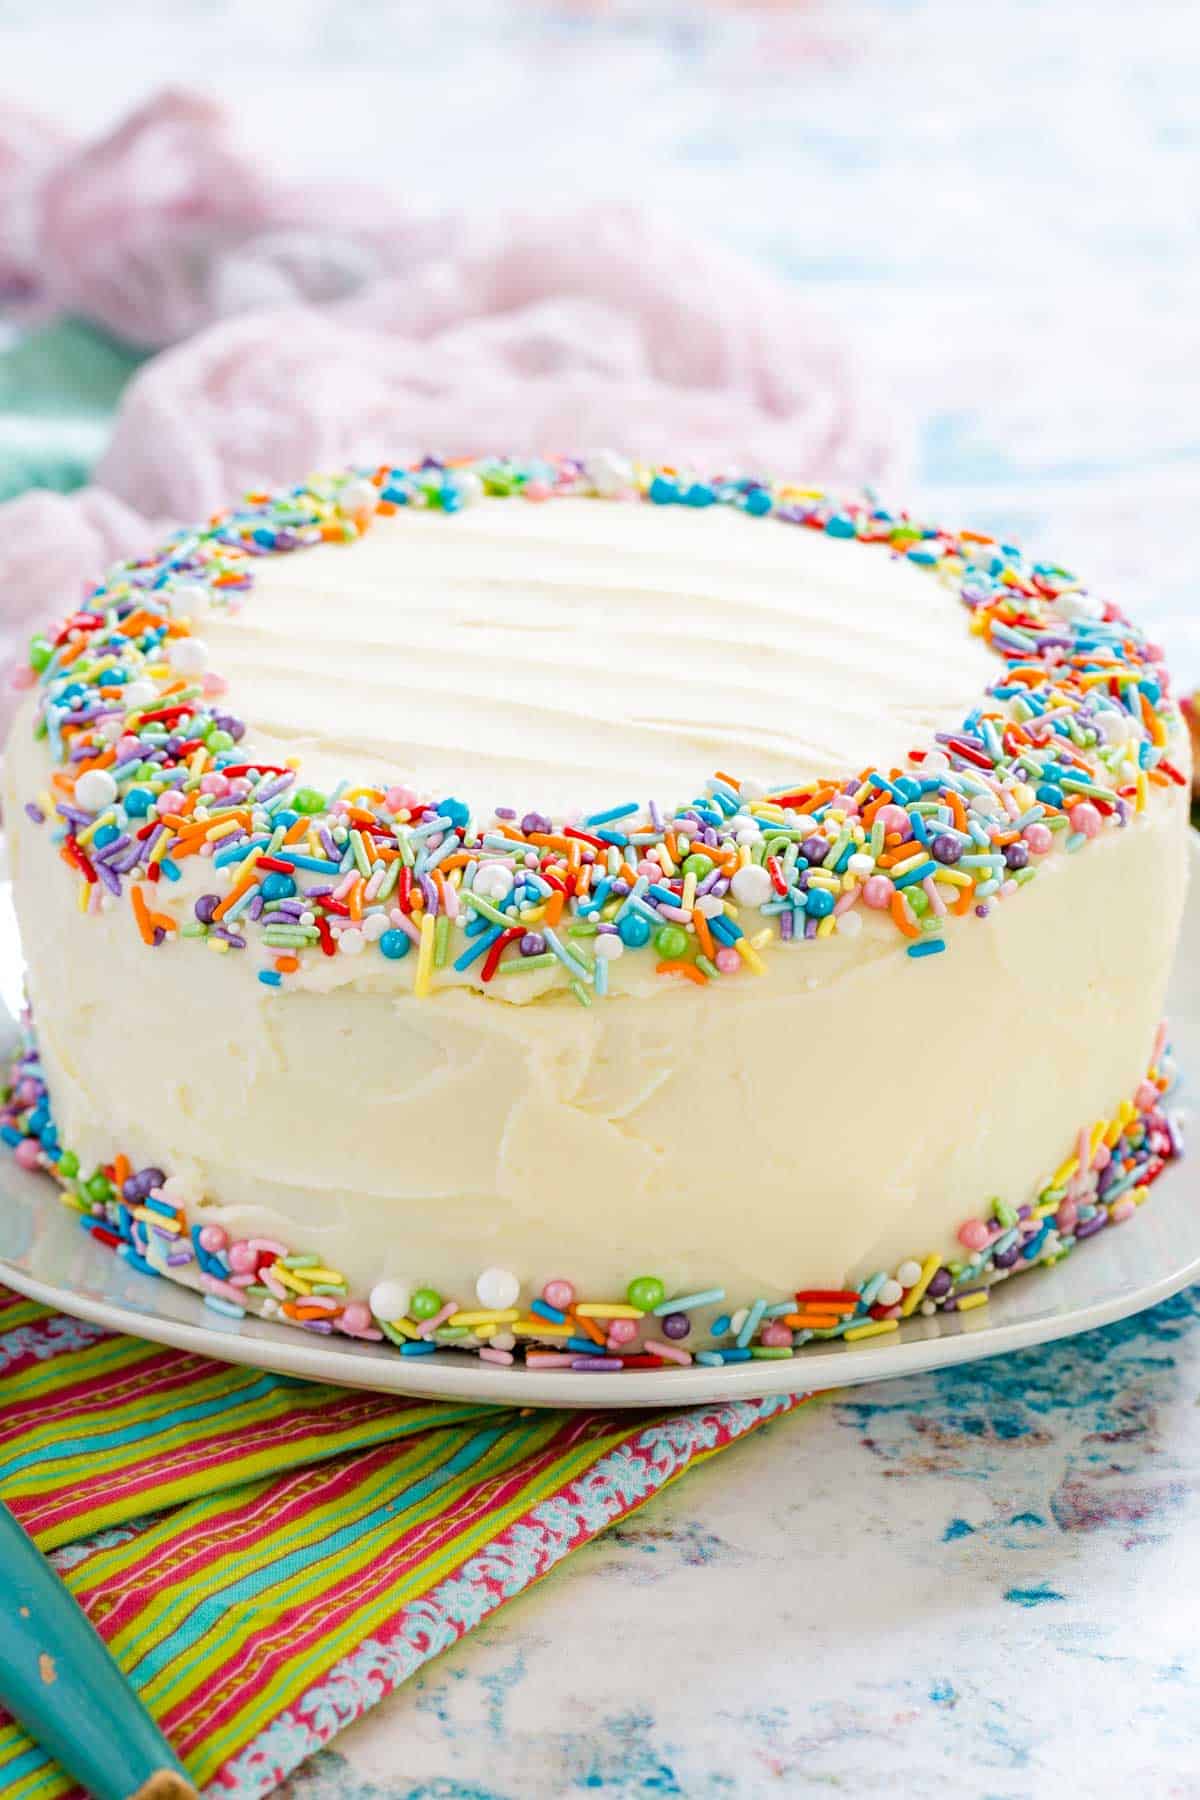
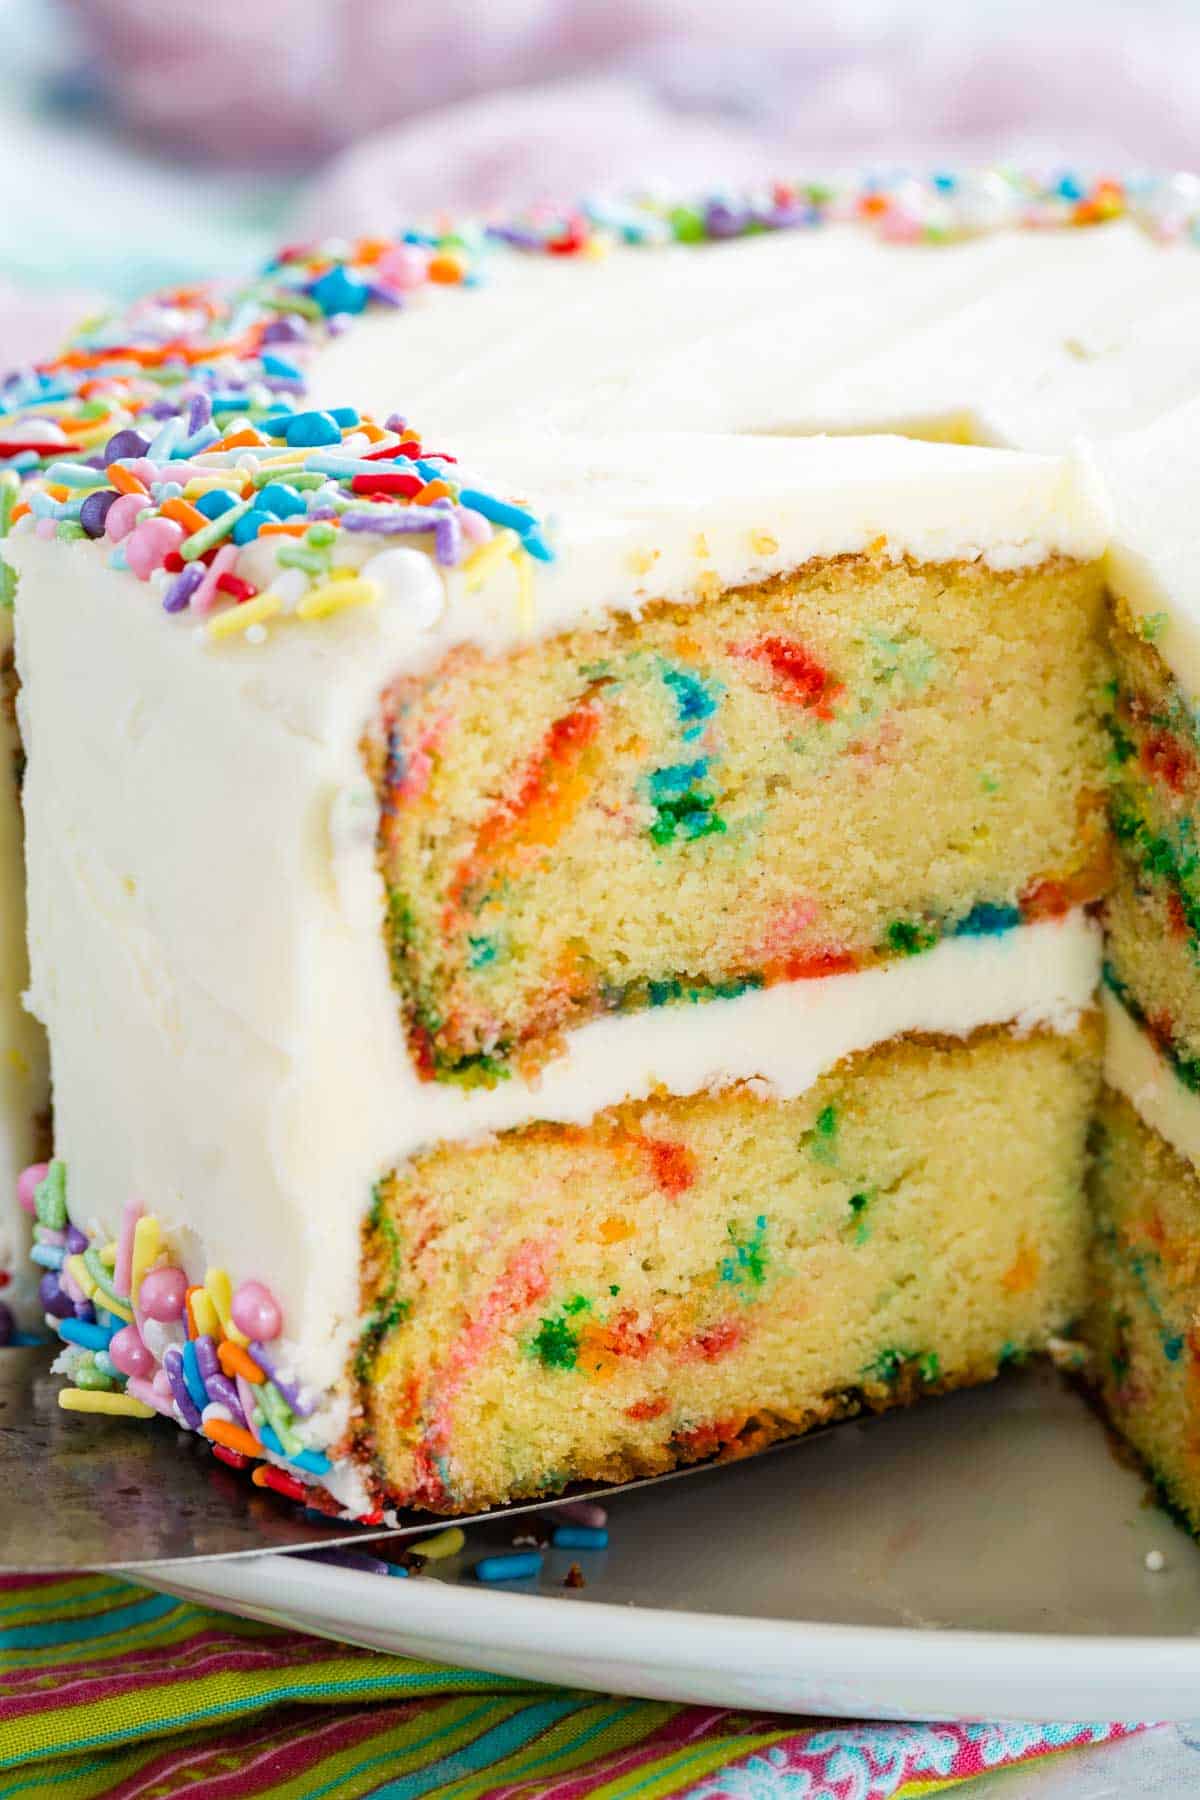
Assemble & Frost: Once the cakes have cooled completely, place one cake layer on top of the other with a generous layer of frosting in between, and then frost or decorate your funfetti cake in any way your heart desires!
Tips for Success
- Line the Pan: You don’t want your funfetti cake to stick, so I highly recommend lining your cake pan with parchment paper before spraying it with nonstick spray. You can buy rounds or trace your cake pan on a sheet and cut out a circle.
- Use Room Temperature Ingredients: A tip worth repeating! Make sure to take your eggs, butter, and buttermilk out of the fridge about a half hour or so before beginning. Letting these ingredients come to room temperature results in a smoother batter, and helps the cake to bake evenly.
- Measure Your Flour Correctly: Measure your gluten-free flour by weight, or if you don’t have a scale, it’s best to spoon the flour into your measuring cup and then level it off. Whatever you do, don’t scoop the flour directly from the bag using a measuring cup – this often leads to too much flour in the recipe!
- If You Don’t Have Buttermilk: Ready for a fun baking hack? You can easily make your own using whole milk! Remove one tablespoon from a cup of milk and replace it with a spoonful of white vinegar or lemon juice. Give the mixture a stir and then leave it to sit for 10 minutes. Voila! Homemade buttermilk.
- Don’t Over-Mix the Batter: Over-mixing the batter will lead to changes in the texture of the cake. Furthermore, be careful to not overmix your batter once the sprinkles have been added, as this can cause the colors to leak!
Decorating Ideas
This easy funfetti cake recipe makes a wonderful gluten-free birthday cake, or a colorful dessert whenever a craving strikes! Whatever the occasion, here are some ways to decorate your cake:
- Frost the Cake: Finish your cake with your favorite frosting! A classic vanilla buttercream is my first choice. You can also add a few drops of food coloring, or try a cream cheese frosting instead.
- Add a Drip: Add a drip made from white ganache, colored candy melts, or a fruit reduction over top of the cake.
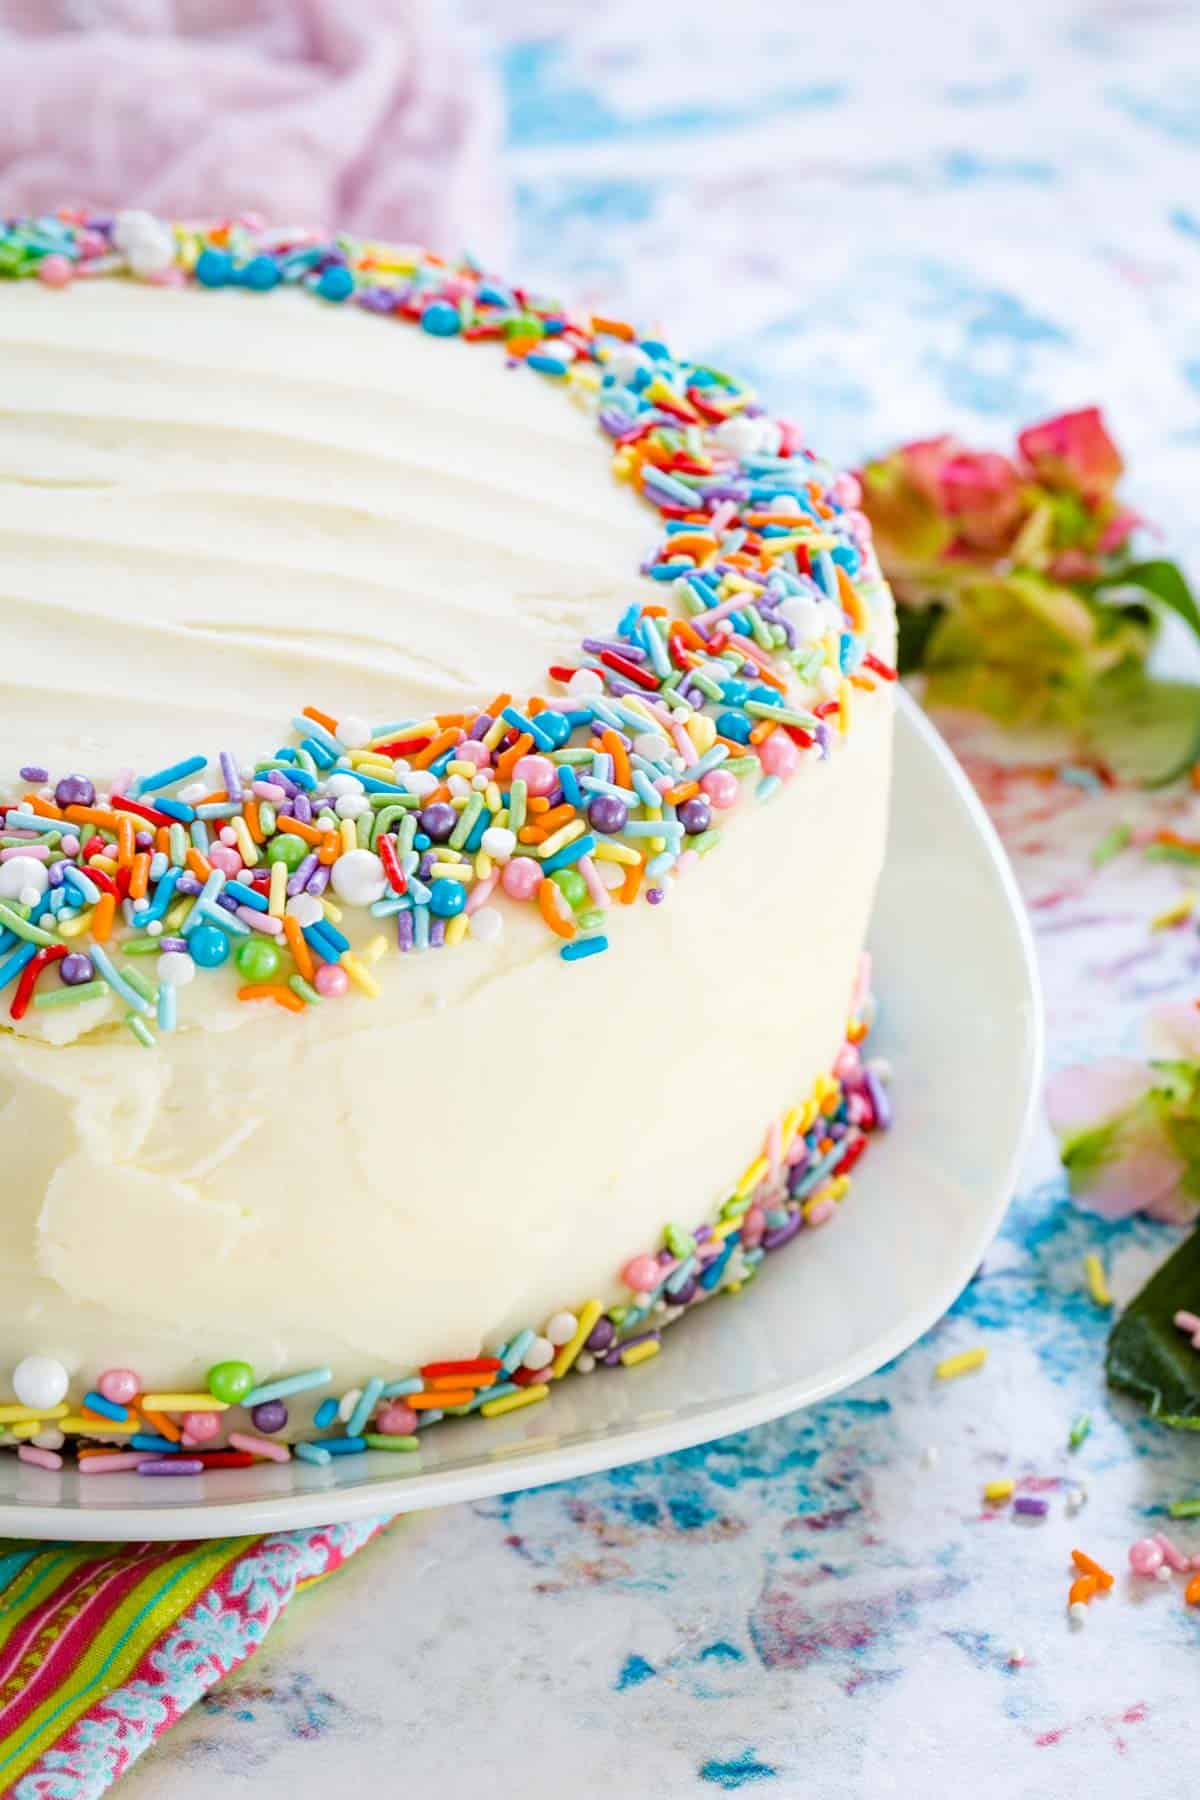
- Add a Skirt: This is a decorative element around the bottom of a cake. Funfetti cakes look marvelous with a skirt of sprinkles. You can also add a skirt of buttercream swirls, or white chocolate nibs.
- Top the Cake: Use a piping bag and tip to top your confetti cake with a crown of buttercream swirls, squiggles, or peaks. You can also make a wreath topping using your favorite gluten-free candies and sprinkles.
Storage Instructions
Whole, unsliced funfetti cake can be kept uncovered in the fridge for up to one day. Any longer than that and I highly suggest storing it airtight (in a cake container or otherwise), up to 3 days for maximum freshness.
Cake slices can be stored either in a container, or wrapped in plastic wrap to keep the crumb from drying out.
Can I Freeze This?
I’d recommend freezing your gluten free funfetti cake before it’s frosted. Store the cake layers in a freezer bag or wrapped tightly in plastic wrap until you’re ready to frost them, and thaw the cake at room temperature.
Gluten Free Flour: I recommend a 1-to-1 blend, and I usually use Bob’s Red Mill in cakes. But King Arthur Flour or Cup4Cup typically give good results as long as it it a 1:1 flour.
Rainbow Sprinkles: Can’t make funfetti cake without these, but you need to make sure your brand is, because not all are. One brand to avoid is Wilton. I like the colors i the sprinkles from Unpretentious Baker.
Clear Vanilla Extract: While I usually recommend pure vanilla extract, the clear one makes the batter lighter so the confetti color stands out more, and it’s more like those box mixes you loved as a kid.
Cake Pans: This layer cake is baked in two 8-inch cake pans. Be sure you line them with parchment paper!
More gluten free layer cakes
A lovely layer cake is perfect for any celebration, so try some of these favorites:
- Gluten Free Hummingbird Cake
- Gluten Free Chocolate Cake
- Chocolate-Frosted Gluten Free Yellow Cake
- Gluten Free Banana Chocolate Chip Cake
Gluten Free Funfetti Cake
Ingredients
- 2 ¼ cups gluten free flour (333 grams) (recommended: Bob’s Red Mill 1-to-1 Baking Flour)
- 1 tsp baking soda
- 2 tsp baking powder
- ½ tsp salt
- ½ cup unsalted butter (1 stick), room temperature
- 1 ¼ cups granulated sugar
- 2 tsp vanilla extract (recommended: clear vanilla extract for best color)
- 4 large eggs room temperature
- 1 cup buttermilk room temperature
- ½ cup rainbow sprinkles
- Vanilla Frosting (Make homemade Vanilla Frosting, substituting with clear vanilla extract for best color, or Chocolate Frosting!)
- Additional sprinkles for decorating
Instructions
- Preheat the oven to 350°F. Thoroughly coat two 8-inch round cake pans with nonstick spray and line with rounds of parchment paper. Spray the paper again.
- In a small mixing bowl, combine the flour, baking soda, baking powder, and salt.
- In a separate large mixing bowl, use an electric mixer on medium-high speed to cream together the butter, sugar, and vanilla until light and fluffy, about 2-3 minutes.
- Add the eggs one at a time, beating well between each addition.
- With the mixer on low speed, alternate adding the dry ingredient mixture and buttermilk in three additions, starting with the dry ingredients and ending with the buttermilk. Increase the speed to medium and beat for 5 minutes. Gently fold in the sprinkles until just combined. Overmixing can turn your batter rainbow colors.
- Divide the batter between the prepared baking pans. Bang the pans on the counter a few times to remove any air bubbles. Bake for 25-35 minutes, until set in the center, rotating the pans halfway through.
- Remove from the oven and cool for 10 minutes in the pan before transferring to a wire rack to cool completely before frosting.





You say to measure by weight but then gave measurements not in weight. Do you have the weight measurements to add to this recipe?
Yes, sorry, added it now.
I made it in a 9” by 13”
pan and it can out perfect. It was so moist and delicious!! I followed the directions exactly except for the sprinkles. I used the cake to make strawberry short cake.
Love the idea of using it for shortcake!
Can I make this in a 9 x 13 pan?
I haven’t tested it, but I think the amount of batter would be fine for that size pan. Just watch the baking time.