
Gluten Free Buttermilk Sweet Biscuits


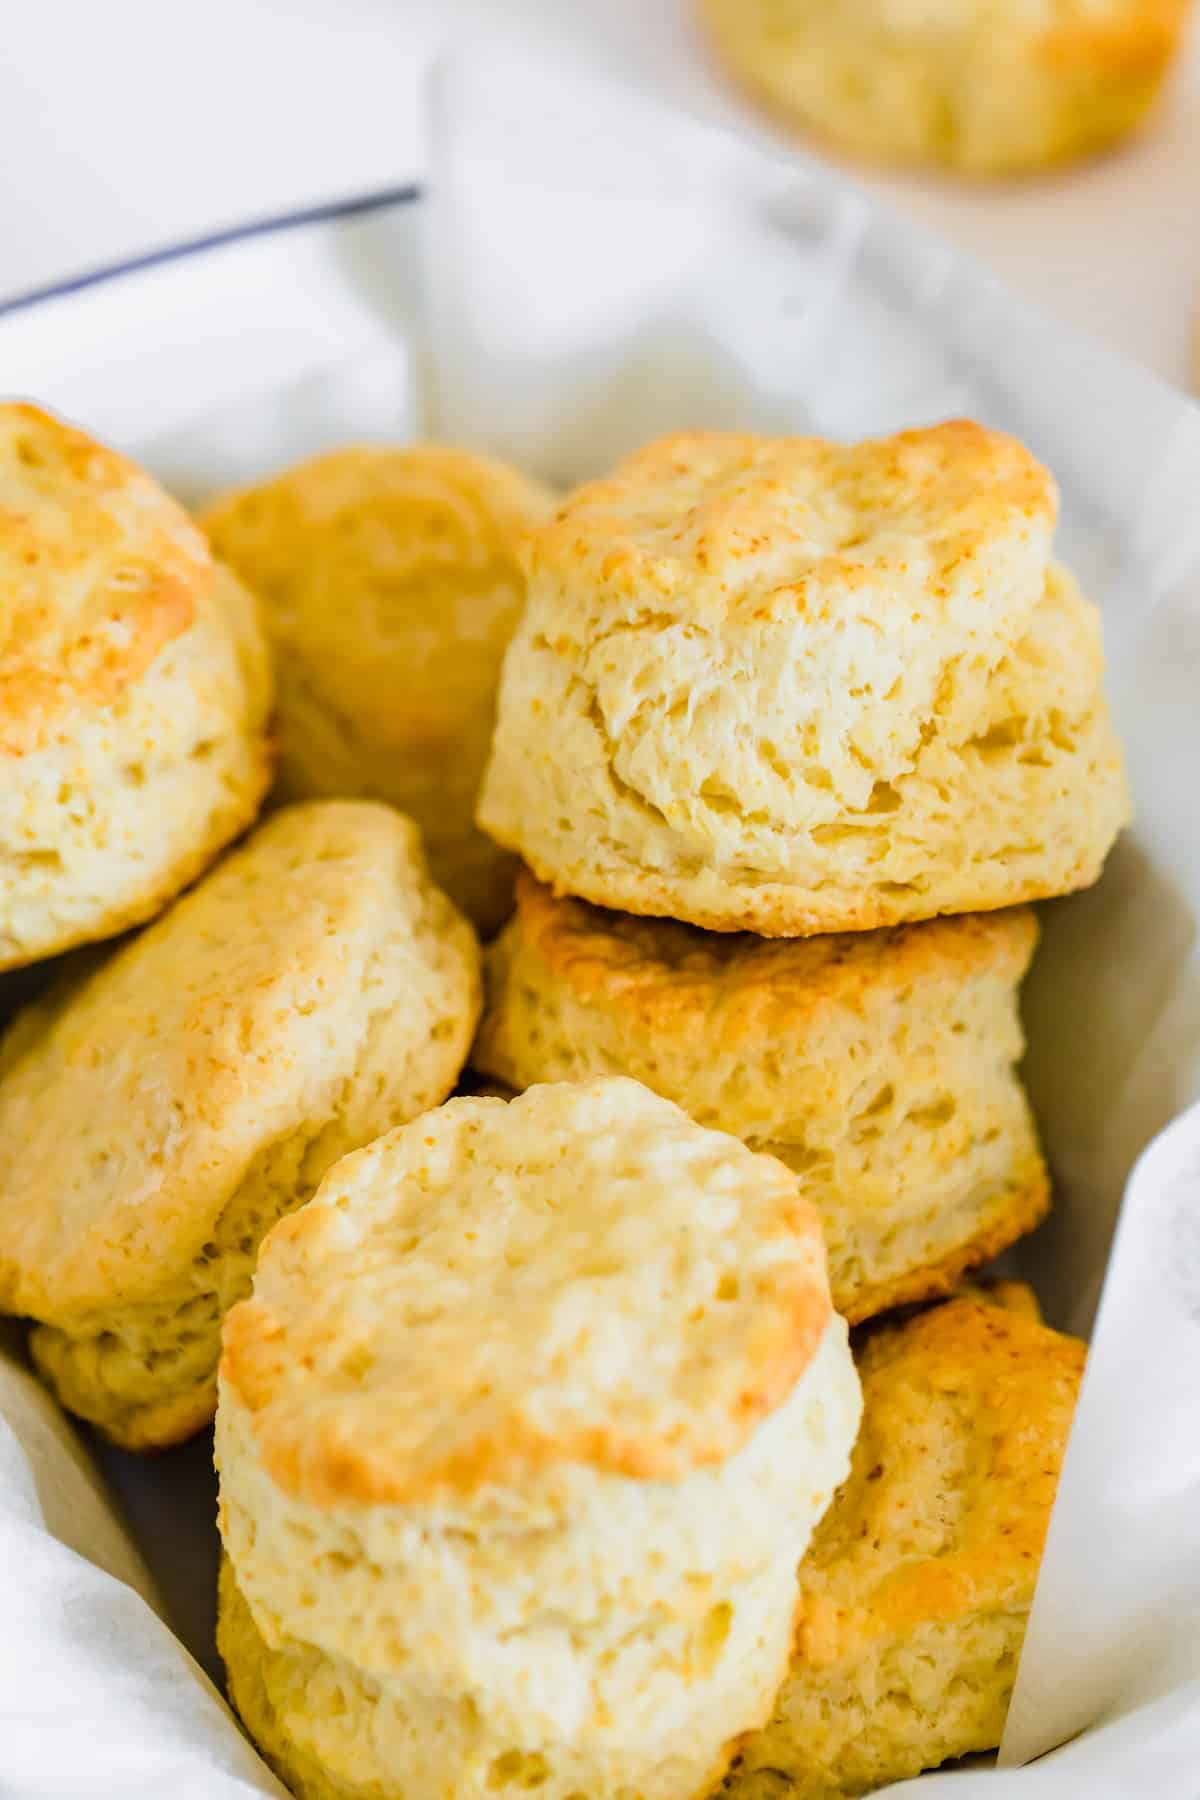
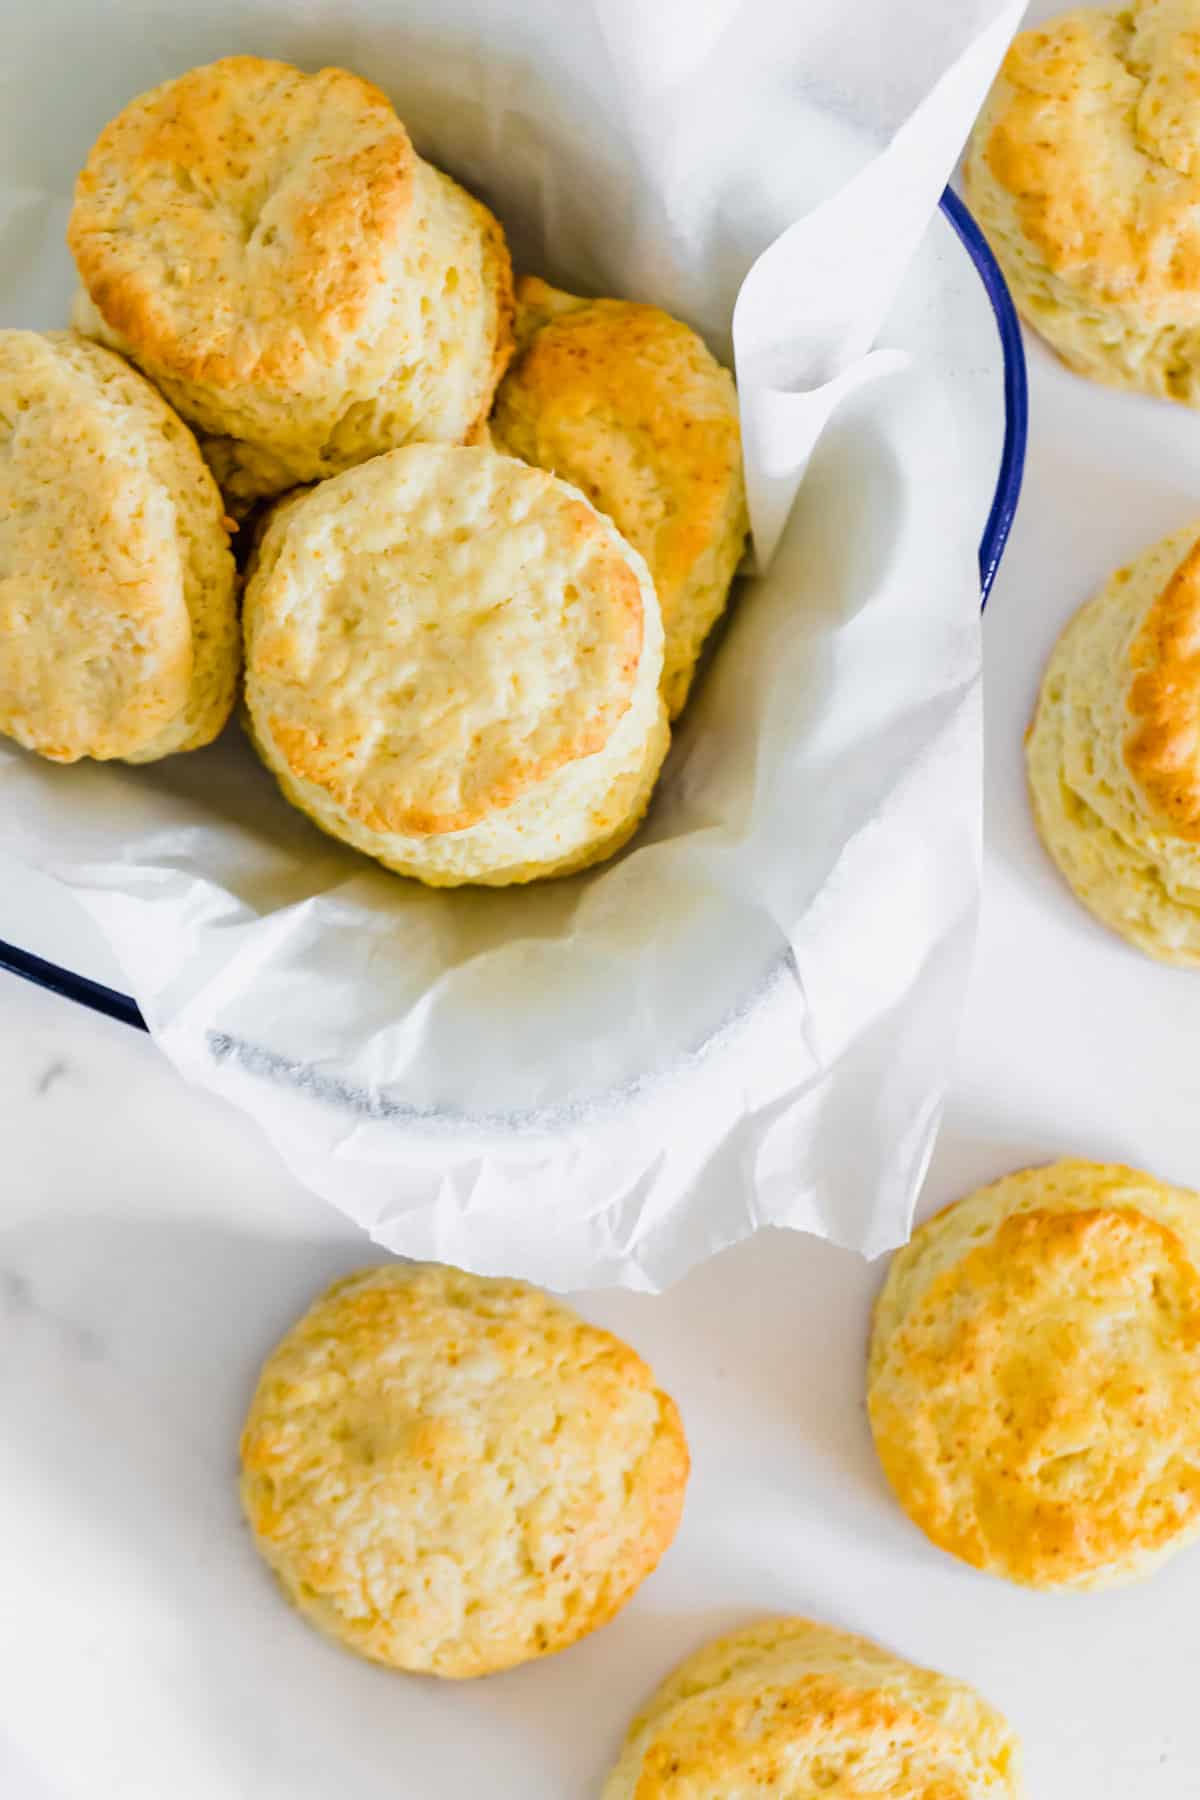
Whether you want to whip up some strawberry shortcakes or slather them with butter and jam, this recipe for Gluten Free Shortcake Biscuits will be your go-to. Follow a few simple steps, and you’ll have stacks of lightly sweet buttermilk biscuits that turn out tender and golden every time. They are perfect for lots of desserts and breakfast ideas!
Delicious Details
- Cuisine Inspiration: American
- Primary Cooking Method: Oven
- Dietary Info: Gluten-free
- Skill Level: Moderate
Whether you’re putting together a brunch or having a barbecue, there’s always a place for biscuits at the table. And I’m going to show you that these homemade sweet buttermilk biscuits can be made completely without fuss and totally gluten free. And yes, still turn out soft, fluffy, and light.
Also known as shortcake biscuits, they can be served in a number of ways. You can load them up with berries and cream for a classic dessert, top them with butter or jam, or even turn them into breakfast sandwiches.
Why You’ll Love These Gluten Free Shortcake Biscuits
- Easily gluten free. So, how do you make a beautiful batch of biscuits with no gluten? It’s easy! This recipe calls for 1:1 gluten-free flour, which is a staple pantry item for those on the gluten-free diet.
- Fluffy texture. Get the light results you crave by using cold butter and, yes, I’m going to say it, weighing your flour.
- Ready for anything. Yes, as I said, you can top them with whipped cream and berries for a nostalgic dessert, or enjoy them for breakfast or brunch.
Recipe Ingredients
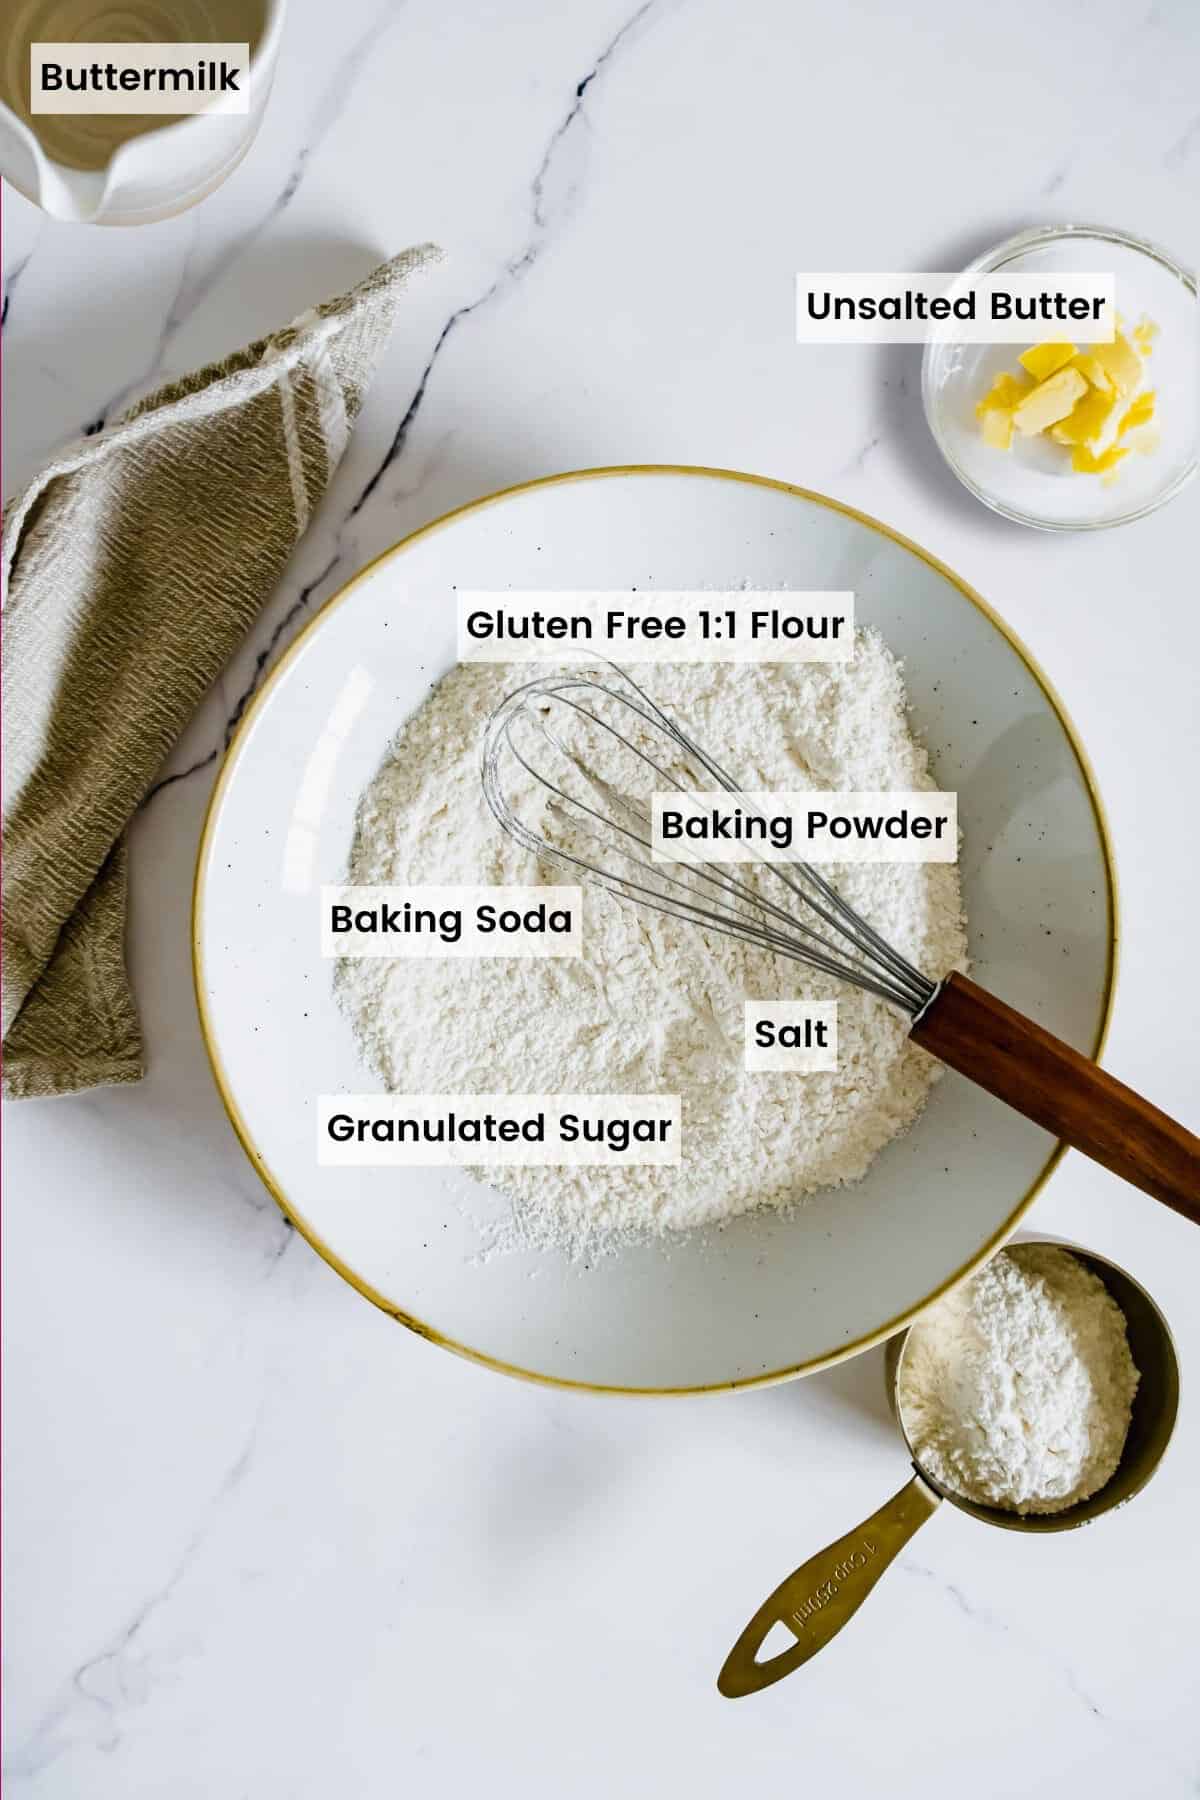
Let’s get into the ingredients you’ll need to make flawless homemade shortcake biscuits, as well as a few notes about them. I’m willing to bet you already have everything on hand! Scroll to the recipe card for the full amounts and detailed instructions.
- 1:1 gluten-free flour – I like to use Bob’s Red Mill 1-to-1 Baking Blend, though other 1:1 gluten-free flours should work. Measuring by weight is my recommendation here.
- Granulated sugar
- Baking powder & baking soda – I use a combination of both for the perfect rise and light texture.
- Salt
- Unsalted butter – You want to make sure it’s very cold. If you use salted butter, you can reduce the salt by about 1/4 teaspoon.
- Buttermilk – Buttermilk keeps the biscuits extra soft and tender, while also contributing to the amazing flavor.
- Milk – This is optional, but gluten free flour doesn’t brown as well as regular flour, so a little milk brushed on top helps the biscuits develop the nice, golden color.
🍴 In the Cupcakes & Kale Chips Kitchen…
- Pastry Blender – The easiest way to cut the butter into the flour quickly so it doesn’t start to warm up and get soft.
- Biscuit Cutters – I like to use the 2 1/4-inch cutter from this set to cut my biscuits so that they are a nice size and thickness.
- Sheet Pan – These pans get heavy use in my kitchen and hold up to all of it.
- Parchment Sheets – The most surefire way to ensure the biscuits don’t stick and crumble, and pre-cut sheets are super convenient
How to Make Gluten Free Shortcake Biscuits
- Prep for Baking: Preheat the oven to 400°F and grease a baking sheet with non-stick cooking spray or line it with parchment paper.
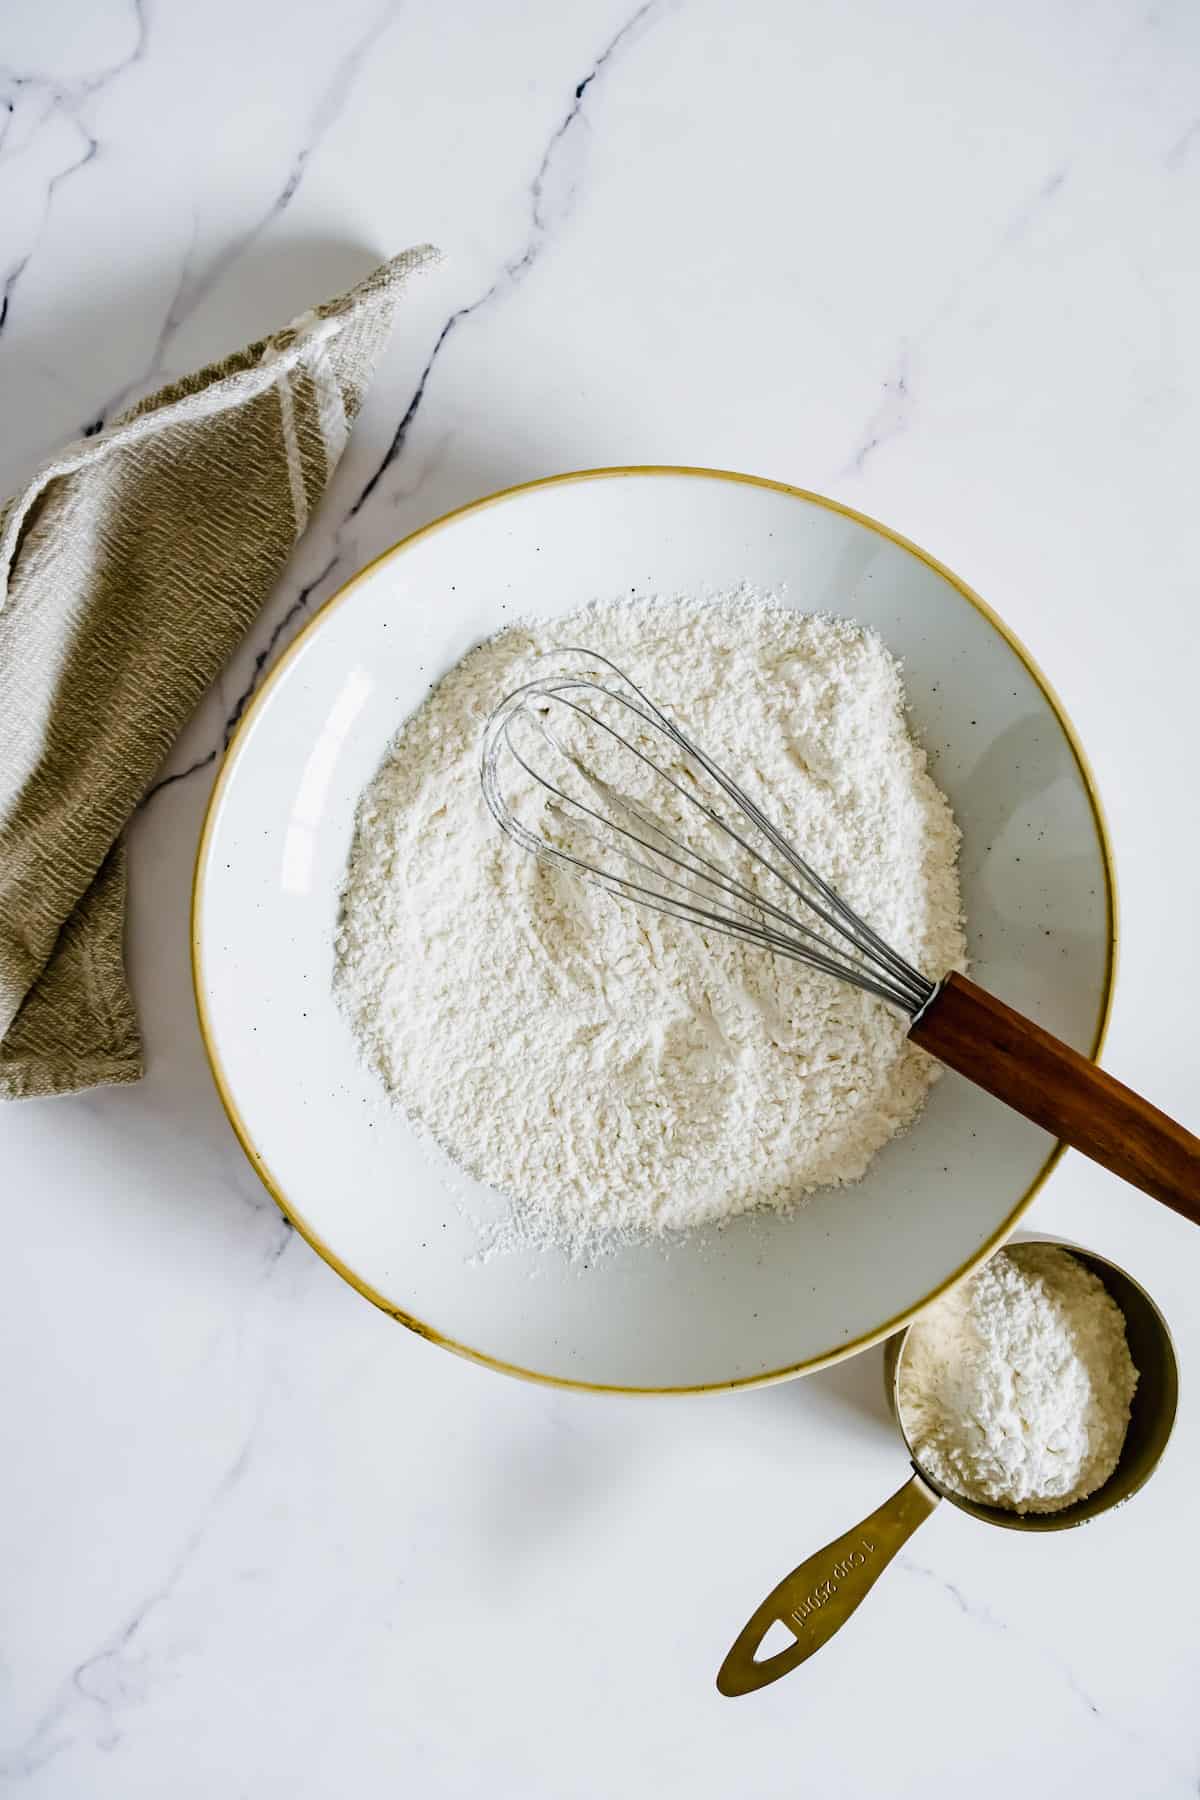
- Combine Dry Ingredients: In a mixing bowl, whisk together the dry ingredients until well combined.
- Combine Butter & Flour: Cut the cold butter into the flour mixture using a pastry blender or fork until coarse crumbs form.
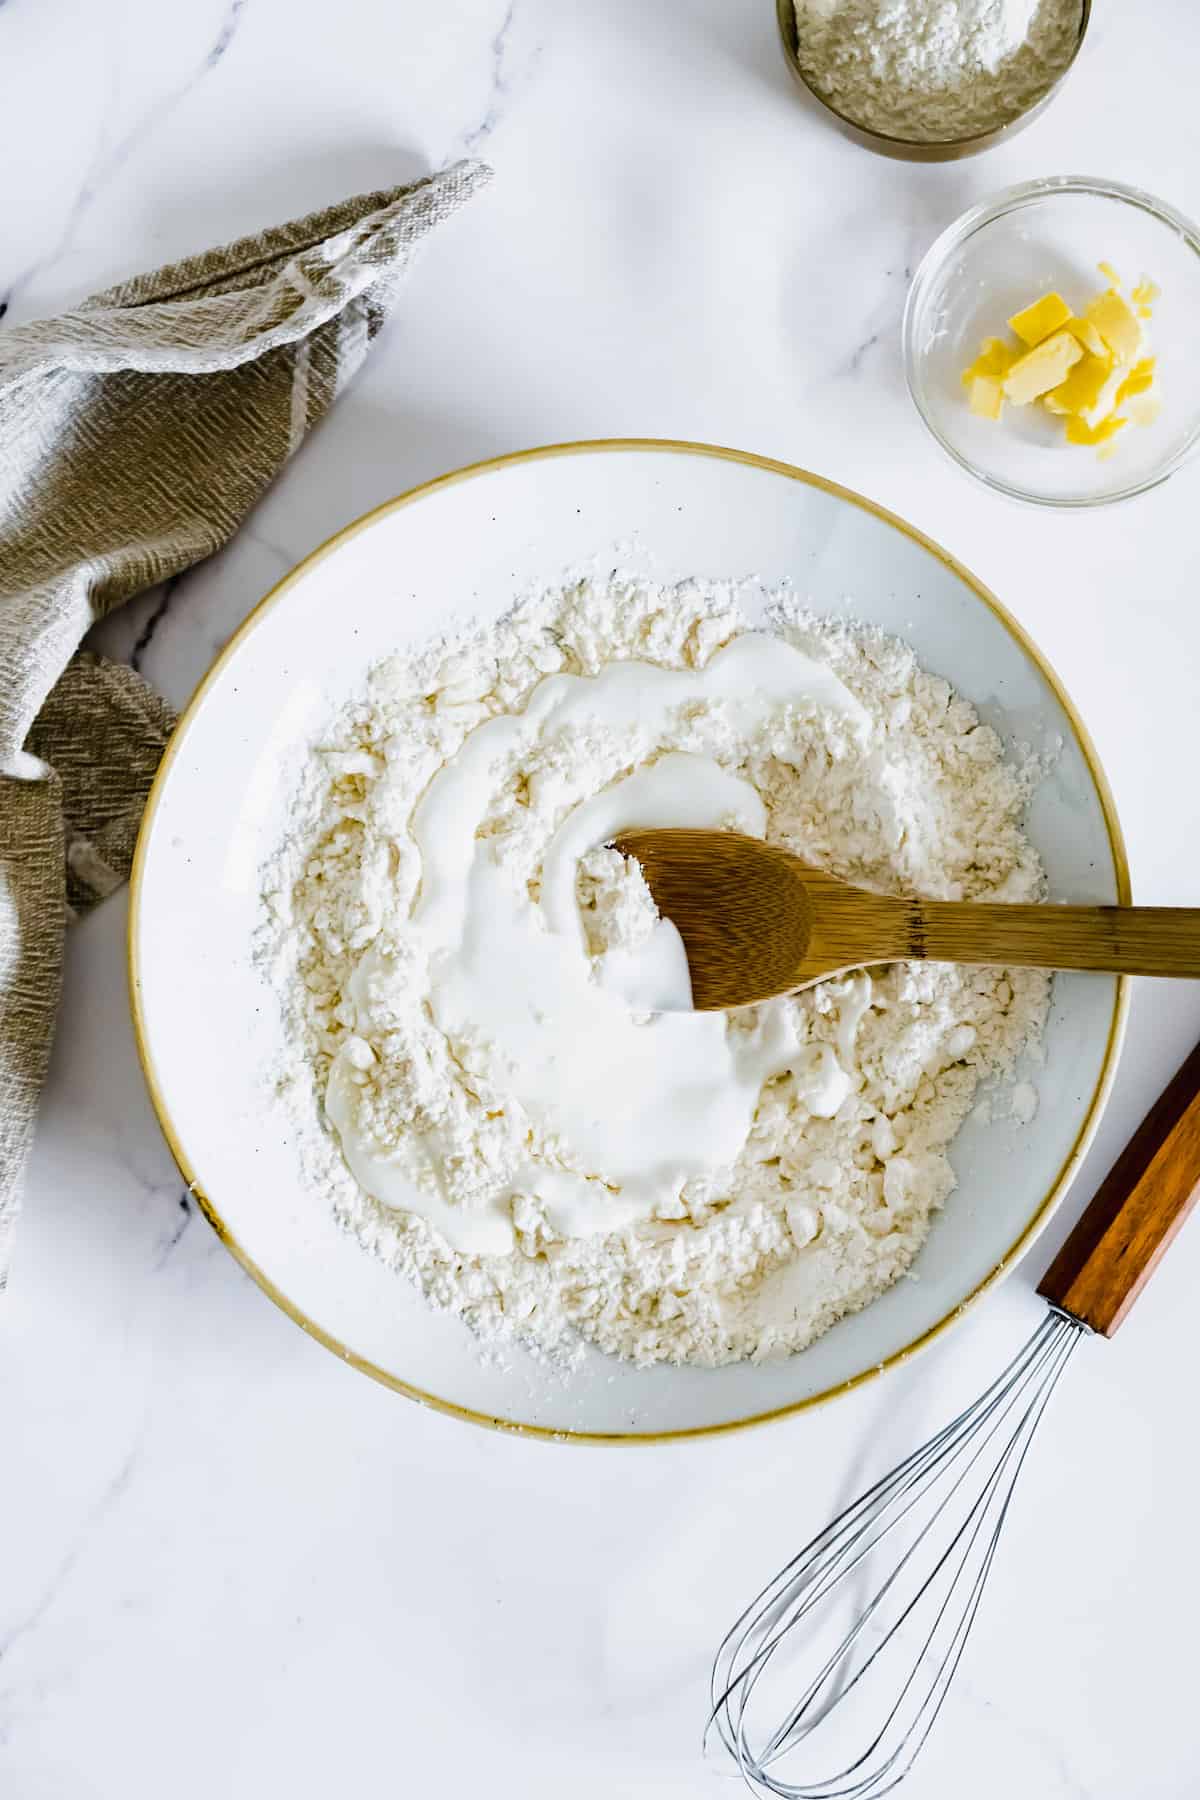
- Add Buttermilk: Pour the buttermilk into the flour mixture and use a wooden spoon to mix until the mixture comes together.
- Knead Dough: Turn the mixture out onto a floured surface and use your hands to knead the dough a few times.
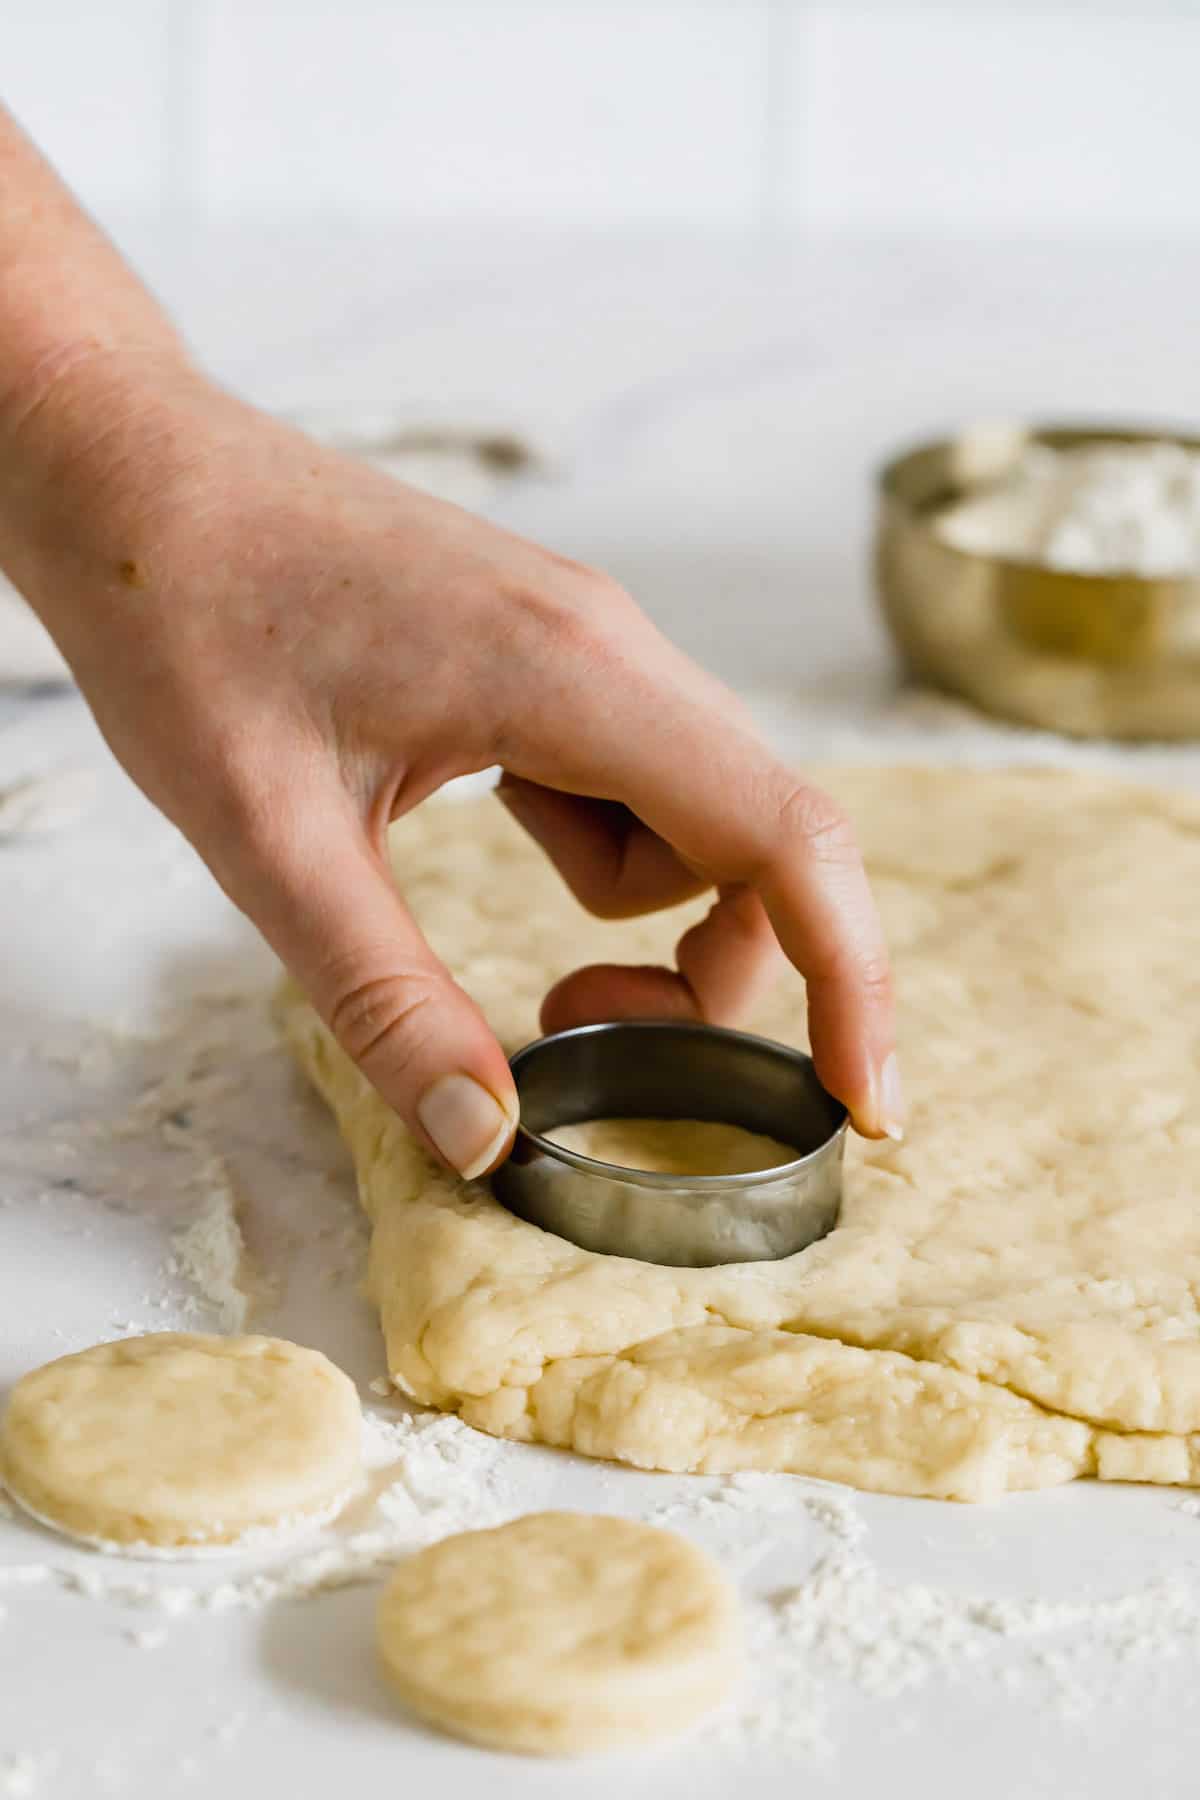
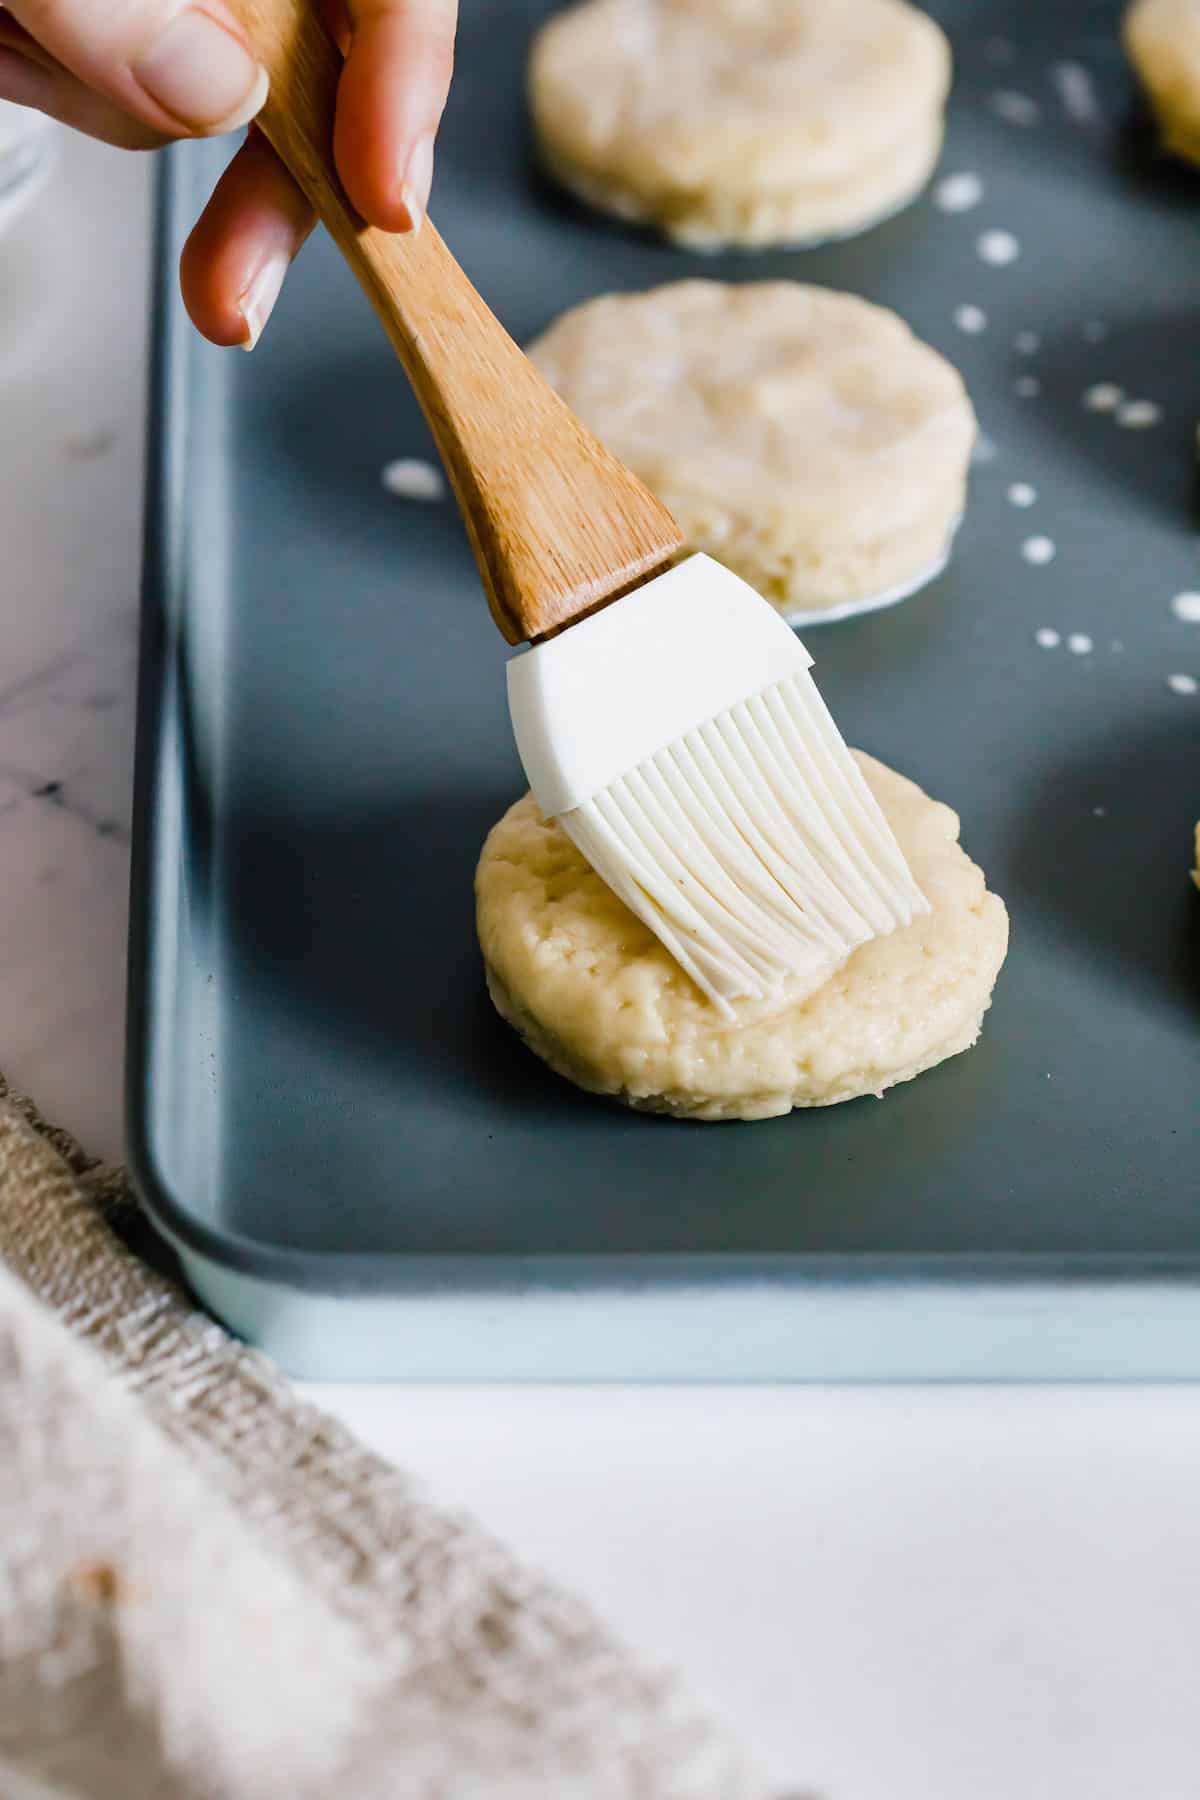
- Cut Out Biscuits: Press the dough into a rectangle about 1-inch thick. Use a round biscuit or cookie cutter to cut out the biscuits. Place them on the baking sheet. Brush the tops with milk, if desired.
- Bake: Bake for 15-17 minutes, or until golden. Allow the biscuits to cool slightly before serving them. Enjoy!

Tips for Success
If you could use some extra advice for making biscuits at home, check out these simple tips and tricks. They’ll guide you toward the best sweet biscuits of your life!
- For DIY Buttermilk: If you’re making your own buttermilk from a cup of milk and a teaspoon of vinegar or lemon juice, add a cup of milk to a bowl, mix in the acid well and let it sit for 5-10 minutes. Then, pour the buttermilk back into the measuring cup and discard the extra tablespoon in the bowl.
- Measure Flour Accurately: I recommend Do not scoop your measuring cup directly into the gluten-free flour when you’re making these biscuits! That will cause it to pack down, and you’ll end up with too much flour. Instead, use a spoon to transfer the flour to the measuring cup and level it off with a butter knife.
- Make Sure Butter is Cold: You want your butter to be nice and cold before you cut it into cubes and combine it with the flour mixture. The small bits of cold butter will melt while the biscuits are baking, leaving maximum fluffiness in their wake!
- Don’t Forget to Grease: To avoid your biscuits sticking to the baking sheet, be sure to grease it with vegetable oil or cooking spray before you begin.
Proper Storage
- Room temperature – These biscuits taste best the day they’re made, but you can store leftovers for a day or two if needed. Just place the cooled biscuits into a resealable plastic bag with all the air squeezed out and store them on the counter. Alternatively, you can wrap each biscuit tightly with plastic wrap.
- Refrigerator – If you need to keep them a couple of extra days, you can refrigerate them in a plastic bag or airtight container. Just let them come to room temperature or microwave for about 15 seconds before you slice them open.
- Freezer – These biscuits freeze well as long as you wrap them tightly in aluminum foil or keep them in an airtight freezer bag. Frozen biscuits last for up to 1 month and can be warmed up in the microwave once thawed.
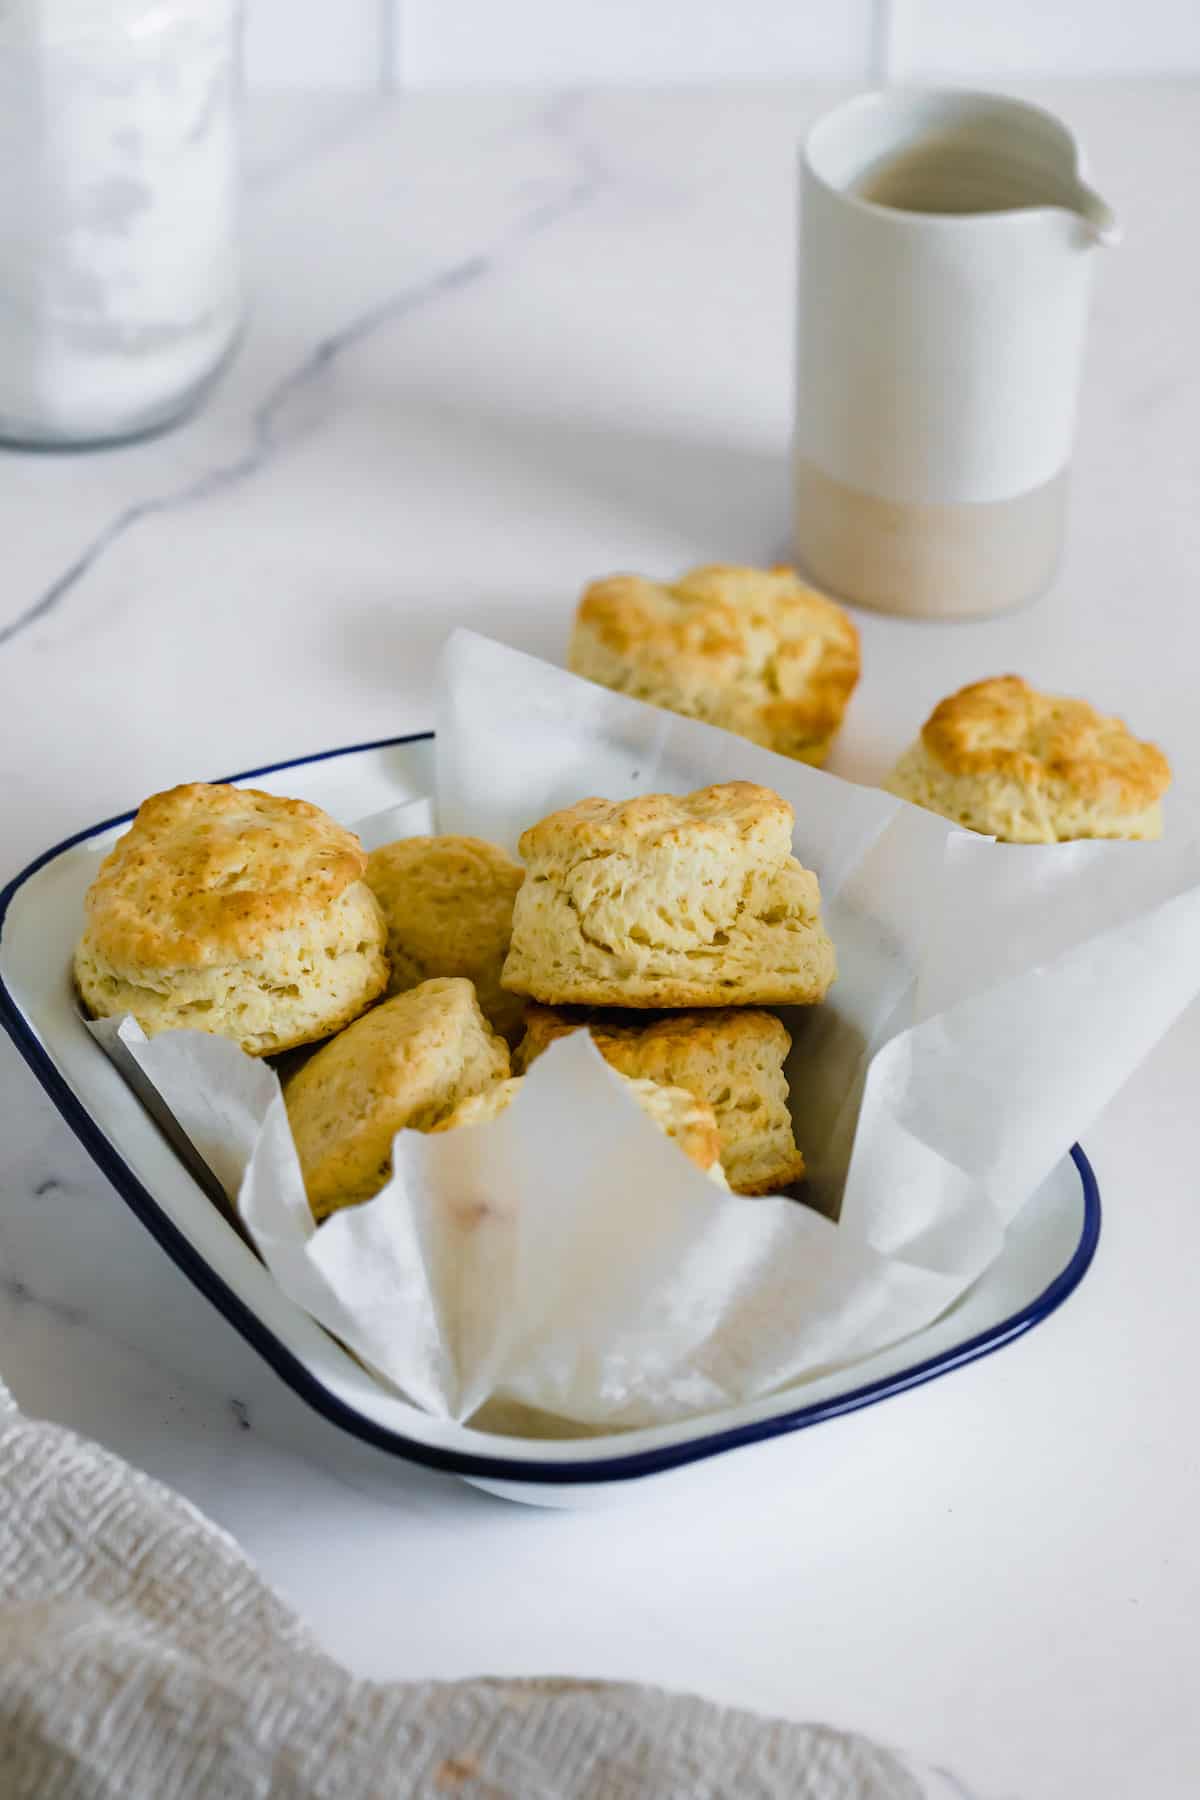
Ways to Use Sweet Biscuits
These biscuits are seriously the best. Here are some ultra yummy ideas for how to serve them!
- Make Shortcakes: Of course, the first thing you’ll think about is Gluten-Free Strawberry Shortcake. But try other berries or sliced peaches. You can also give it a fall twist with Apple Pie Filling and a drizzle of Caramel Sauce.
- Use in Other Desserts: Cut the dough into mini biscuits and swap them for the cake cubes in this Strawberry Shortcake Trifle! Or add a scoop of Dulce de Leche Ice Cream.
- Slather with Butter and Jam: There isn’t much better than a buttered biscuit with a cup of tea, except maybe if you use Cranberry Orange Butter. You can also add and flavor jelly or jam you like, but I’m a fan of peach jam!
- Make Dinner: Try the filling in this Gluten Free Chicken Pot Pie topped with biscuit instead of pie dough. Or make the stew mixture for this Gluten Free Chicken and Dumplings, spoon it into a bowl and top with a biscuit.
- Serve for Breakfast: Use them to make breakfast sandwiches with Baked Eggs and ham or bacon, or serve these slightly sweet biscuits alongside a savory Crockpot Cauliflower Hash Browns Breakfast Casserole.
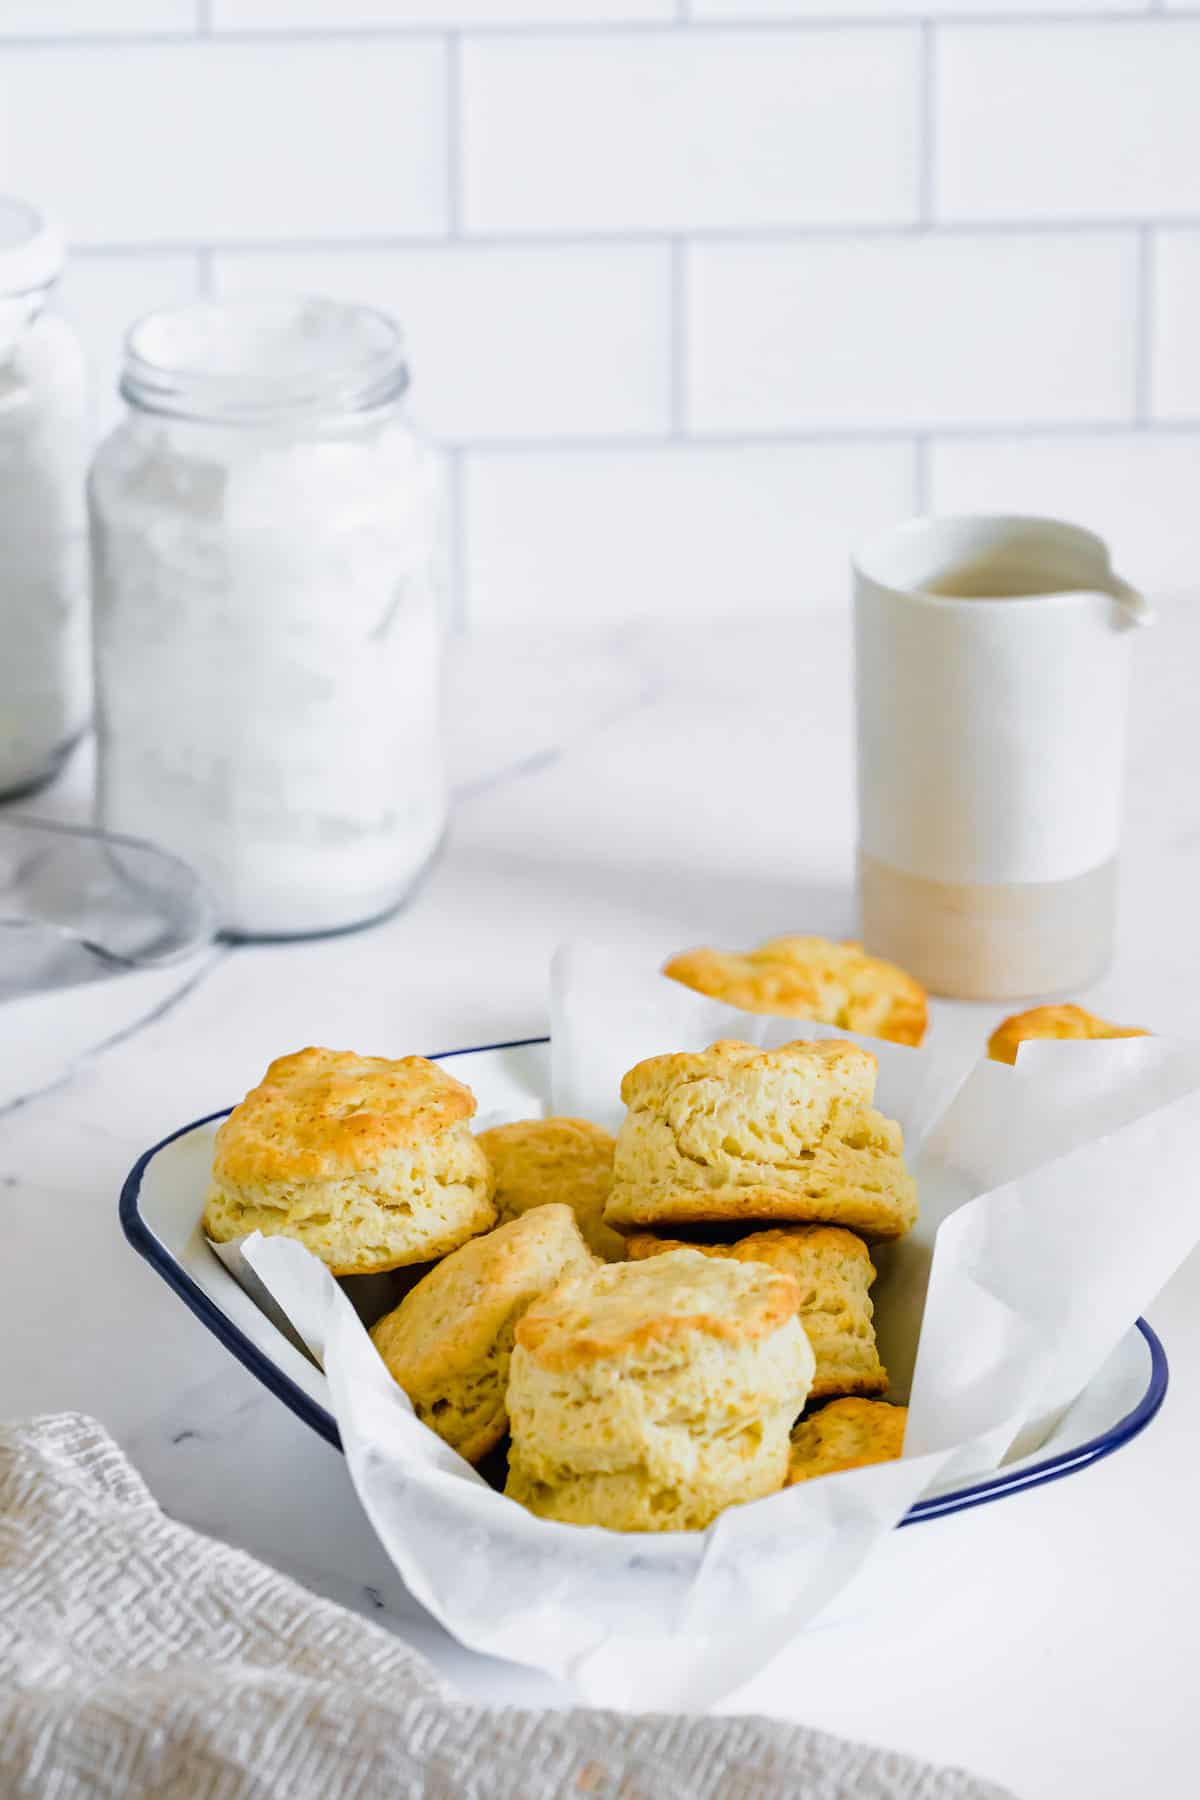
Gluten Free Shortcake Biscuits – Lightly Sweet Buttermilk Biscuits
Equipment
- Oven
Ingredients
- 2 1/4 cups (333 grams) 1:1 gluten-free flour (recommended: Bob's Red Mill 1-to-1 Baking Blend)
- 2 Tablespoons granulated sugar
- 1 Tablespoon baking powder
- 1 teaspoon baking soda
- 1 teaspoon salt
- 6 Tablespoons unsalted butter , cold and cut into small cubes
- 1 cup buttermilk
- 2 Tablespoons milk for brushing, optional
Instructions
- Preheat the oven to 400°F and line a sheet pan with parchment paper or coat it well with nonstick cooking spray.
- In a large mixing bowl, add 2 1/4 cups (333 grams) 1:1 gluten-free flour , 2 Tablespoons granulated sugar, 1 Tablespoon baking powder, 1 teaspoon baking soda, and 1 teaspoon salt, and whisk together until well combined.
- Add the cold, cubed 6 Tablespoons unsalted butter, and use a pastry blend, a fork, or two knives to cut the butter into the flour until coarse crumbs form.
- Pour 1 cup buttermilk into the flour mixture and use a wooden spoon to mix until the mixture comes together.
- Turn the mixture out onto a floured surface and use your hands to knead the dough a few times. Press the dough into a rectangle about 1-inch thick and use a 2-2 1/4-inch round biscuit or cookie cutter to cut out the biscuits.
- Place the biscuits on the prepared baking sheet. Brush the tops of the biscuits with 2 Tablespoons milk, if using.
- Bake for 15-20 minutes, or until golden brown. Allow biscuits to cool slightly before serving.
Did you make this?
Leave a star rating to help others know that they should make this recipe.
Share a photo and tag @cupcakesandkalechips on Instagram!
Would omitting the sugar negatively alter the recipe?
I haven’t tried it but I think it would work. You could also try my savory Buttermilk Biscuits – https://cupcakesandkalechips.com/gluten-free-buttermilk-biscuits/
So I’ve never made biscuits before so I know it’s user error but I would love any guidance you may have! I followed the recipe exactly. I made my own buttermilk with coconut milk and lemon juice. But my dough was sooo sticky I couldn’t handle it. I still cooked them and they tasted good but they were just blobs lol I would love to try it again but I don’t know what I did wrong!
I have not tested it with the dairy free buttermilk, so I can’t say how that would affect it. Can you let me know what flour you used?