
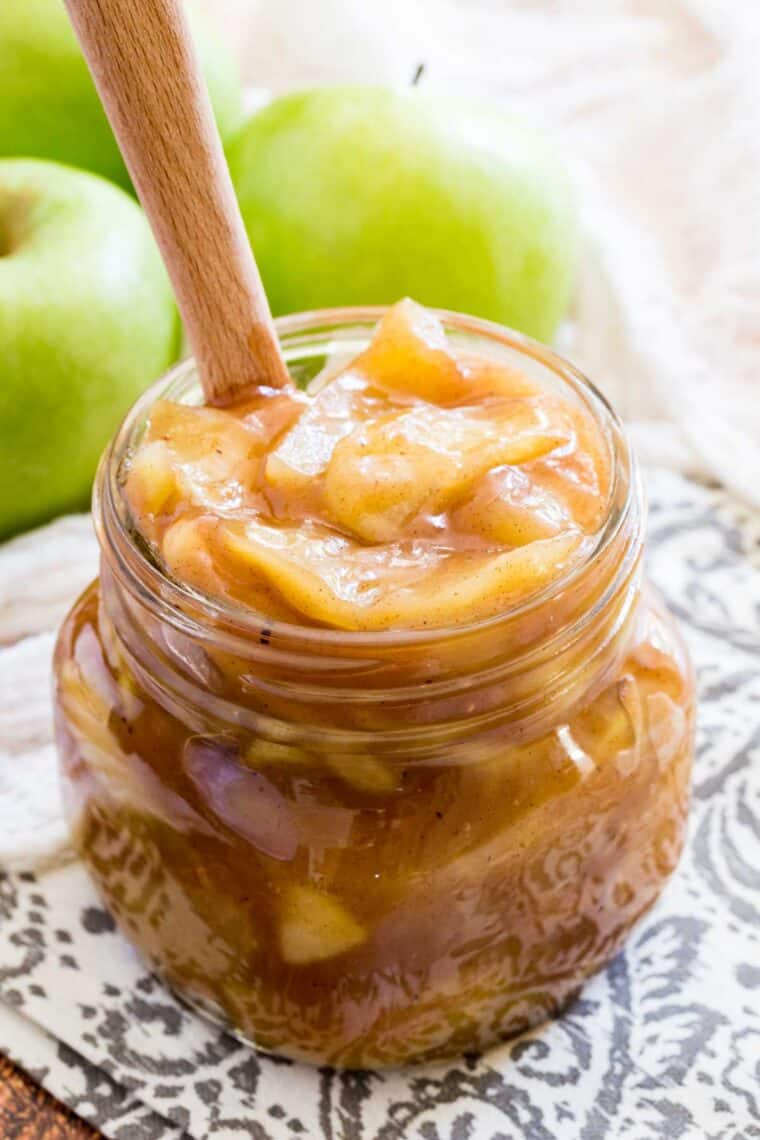
Apple Pie Filling


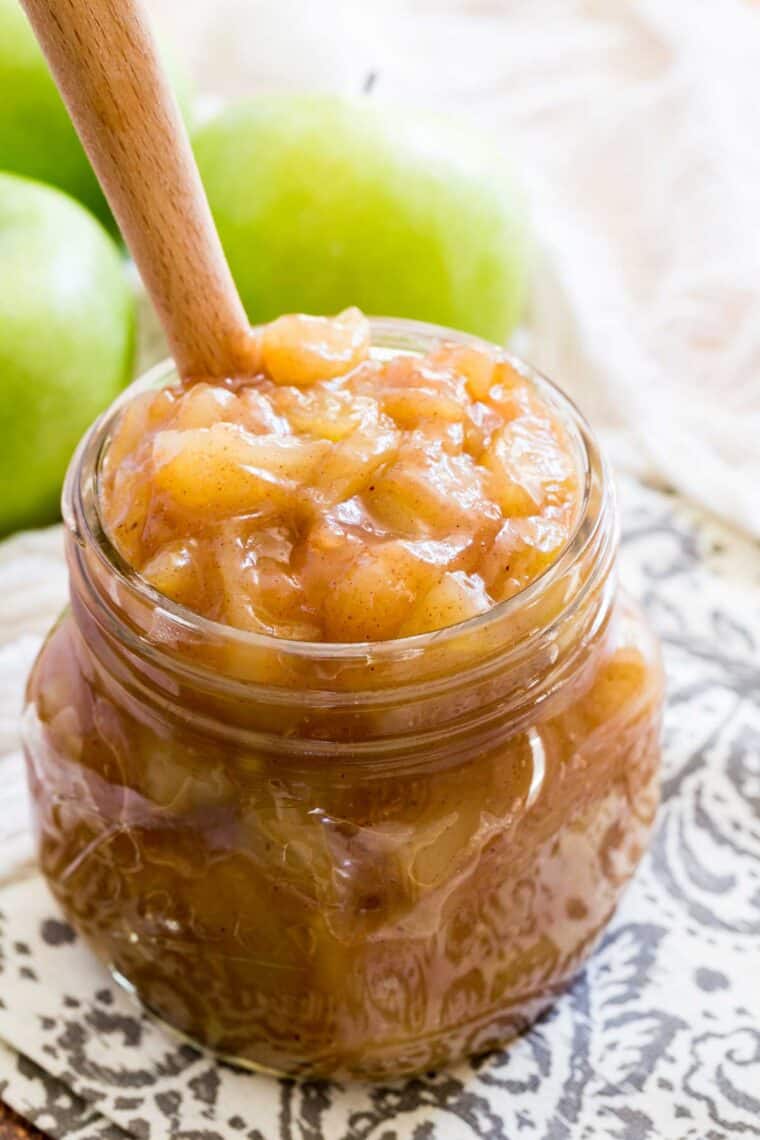
This homemade Apple Pie Filling is the start of so many cozy fall desserts. Sweet-tart apples simmer with warm spices and just enough sweetness to bring out their natural flavor. This easy stovetop recipe comes together in minutes, and since it’s naturally gluten free, it’s the perfect filling for all your favorite pies, galettes, turnovers, and more. You can even spoon it over ice cream or pancakes for a simple, seasonal treat!

Delicious Details
- Cuisine Inspiration: American
- Primary Cooking Method: Stovetop
- Dietary Info: Gluten-free, Dairy-free option
- Skill Level: Easy
When apple season rolls around, it never fails that a trip to the apple orchard leaves me with way more apples than we can eat. So it’s the perfect time to make a big batch of apple pie filling. Not only does it make the most delicious classic apple pie, but I love knowing I can tuck it into pastries, muffins, and crisps whenever the craving strikes.
You can freeze it for later, so a cozy dessert is always just a crust or crumble away. And because the ingredients are naturally gluten free, you can enjoy it in any of your gluten free baking projects without extra fuss. Keep this recipe handy so you can make good use of beautiful in-season apples at any time of the year.
Why You’ll Love Making Homemade Apple Pie Filling
During pie season, I make a lot of apple pie! Homemade gluten free apple pie filling is on regular rotation in my kitchen. Here’s why you’ll love it:
- Better than store-bought. Homemade is always better than store-bought, and this apple pie filling is no exception! Unlike canned pie filling, this recipe is not overly sweet or mushy.
- Versatile. Of course, you can make apple pie. But you can make the filling with apple slices or chunks so that you can also use it for crisps, pastries, or as an applesauce or apple topping. You can also adjust the spices and sugar depending on your taste.
- Easy to make. With about 20 minutes of cooking and just a few minutes of prep, you’ll have homemade pie filling ready to use.
- Reliably gluten-free. All of the ingredients in this homemade apple pie filling are naturally gluten-free, so you won’t ever have to worry about any cross-contamination or strange ingredients.
- Make-ahead friendly. This recipe freezes beautifully, meaning you can enjoy apple pie filling all year long.

What You’ll Need
Here’s an overview of the ingredients in this apple pie filling. Don’t forget to check the recipe card at the bottom of this post for the full ingredient amounts.
- Apples: I recommend Granny Smith, Golden Delicious, or a combination.
- Lemon Juice: Freshly squeezed is the best, but you can use bottled juice in a pinch.
- Water
- Butter: I prefer to use unsalted butter in this recipe so I can control how much salt I add. Vegan butter is fine to make it dairy free.
- Sugar: A combination of granulated sugar and brown sugar adds a nice sweetness plus rich molasses flavor to the filling.
- Ground Spices: Cinnamon and nutmeg are my favorite combination with apples.
- Salt: Just enough to enhance the flavors and sweetness without making it salty.
- Cornstarch: Cornstarch is a naturally gluten-free starch that helps to thicken pie filling and sauces.

What Apples Are Best For Apple Pie Filling?
Typically, when you make apple pie, you’ll choose apples that are firmer and less sweet. These include Granny Smith, Gravenstein, and Golden Delicious apple varieties. The tartness balances the sugar for the best flavor without being overly sweet. And the sturdier apples hold their shape after cooking without becoming too mushy or turning into applesauce.
How To Make Apple Pie Filling
Here’s my simple method for making this homemade apple pie filling recipe.
- Prepare the apples. Wash, dry, and peel the apples, then cut them into slices if you plan to use the filling for pie, chunks for other baked goods and pastries, or your choice if you plan to use it for a sauce or topping. Sprinkle the lemon juice over the apples and toss to coat.


- Make the syrup. In a large saucepan or skillet, combine water, butter, granulated sugar, brown sugar, cinnamon, nutmeg, and salt. Heat to melt the butter and dissolve the sugars, then bring to a boil.
- Cook the apples. Add the apples to the saucepan, the simmer until the apples are starting to get tender, but not mushy. The time will vary depending on the type of apple and the size and shape.


- Thicken the filling. In a small bowl, whisk the cornstarch in cold water and add to the pan. Simmer until thickened.
- Cool. Cool slightly to use as a topping or sauce, or cool completely to use in pies, cobblers, etc.


Tips for Success
I love how simple this recipe is – it’s hard to mess it up! Here are a few tips you can follow to help your homemade apple pie filling turn out perfectly:
- Choose tart, firm apples. Firm apples like Granny Smith are ideal to use in pies because they hold up well to baking. And the tarter the apple the nicer the flavor contrast with the sweetness of the sugar that’s added to the filling.
- Don’t forget the cornstarch. Cornstarch is an essential ingredient in gluten-free baking (and in baking in general). In this recipe, it helps to thicken the pie filling to create a nice, saucy base for the apples that’s not too watery.
- Make it in advance. It’s so easy and helpful to make this apple pie filling in advance! You can keep it in the fridge for a few days in advance of baking your apple pie so your day-of prep time is cut down.
- Freeze the pie filling for later. Apple pie filling freezes well, which means you can take advantage of a day of apple picking all winter long. When apples are in season and taste the best, you can make portions of pie filling and freeze them for later use in a pie or other pastries.
Proper Storage
Store homemade apple pie filling in an airtight container in the fridge for up to 7 days. You can also freeze apple pie filling. Place it in a sealable, freezer-safe bag and place it in the freezer for up to 3 months. Defrost the pie filling in the fridge before using it.

Ways To Use Apple Pie Filling
Apple pie filling is, of course, perfect in apple pie! But there are so many other options. Here are a few other suggestions for how to make good use of your homemade apple pie filling:
- In apple pie. This is the obvious choice! Gluten free apple pie filling makes for a marvelous gluten free apple pie. First, you’ll want to make a batch of my gluten-free pie dough. Then try the filling in a two-crust apple pie or follow my Gluten-Free Dutch Apple Pie recipe.
- Filling pastries. If you’ve made a batch of filling in advance, you can use it for my Gluten Free Apple Turnovers or stuff it into Gluten Free Cream Puffs instead of or along with the pastry cream.
- As a topping for ice cream. You can spoon warm apple pie filling over ice cream for a special treat! It would be lovely with my Caramel Apple Cheesecake No-Churn Ice Cream or on my vanilla No-Churn Cheesecake Ice Cream.
- Simply as applesauce. Follow the recipe above, but cut the apples into chunks so you can cook them into an applesauce. It goes great with pork chops or spoon it onto yogurt.
- Slip it into a cake. Use it between layers of a lovely spiced cake, like my Gluten Free Carrot Cake. Or spoon it over slices of Apple Cider Donut Cake.
- Have it for breakfast. It’s wonderful on top of a bowl of hot oatmeal or when you’ve prepped some Frozen Oatmeal Cups, a stack of Gluten Free Oatmeal Pancakes, or some French toast.
More Dessert Fillings and Toppings
Apple Pie Filling
Ingredients
- 6 cups cups peeled and sliced or chopped apples (about 2 pounds), I recommend Granny Smith, Golden Delicious, or a combination
- 2 Tablespoons fresh lemon juice
- 3 Tablespoons water
- 2 Tablespoons unsalted butter
- ½ cup granulated sugar
- ½ cup brown sugar
- 1 teaspoon cinnamon
- ¼ teaspoon ground nutmeg
- ⅛ teaspoon salt
- 2 Tablespoons cornstarch
- 2 Tablespoons water
Instructions
- Wash, dry, and peel the apples, then cut them into slices if you plan to use the filling for pie, chunks for other baked goods and pastries, or your choice if you plan to use it for a sauce or topping. You should end up with 6 cups cups peeled and sliced or chopped apples. Sprinkle 2 Tablespoons fresh lemon juice over the apples and toss to coat.
- In a large saucepan or skillet, combine 3 Tablespoons water, 2 Tablespoons unsalted butter, ½ cup granulated sugar, ½ cup brown sugar, 1 teaspoon cinnamon, ¼ teaspoon ground nutmeg, and ⅛ teaspoon salt. Place over medium heat and stir to melt the butter and dissolve the sugars. Bring to a boil.
- Add the apples to the saucepan. Reduce the heat to low, cover with a lid, and simmer for 4-8 minutes, stirring frequently, until the apples are starting to get tender, but not mushy. The time will vary depending on the type of apple and the size and shape you cut them.
- In a small bowl, whisk 2 Tablespoons cornstarch in the additional 2 Tablespoons water and add to the pan. Simmer for another 2-3 minutes, until thickened.
- Cool slightly to use as a topping or sauce, or cool completely to use in pies, cobblers, etc.
Did you make this?
Leave a star rating to help others know that they should make this recipe.
Share a photo and tag @cupcakesandkalechips on Instagram!