This post may contain affiliate links. Read my disclosure policy.
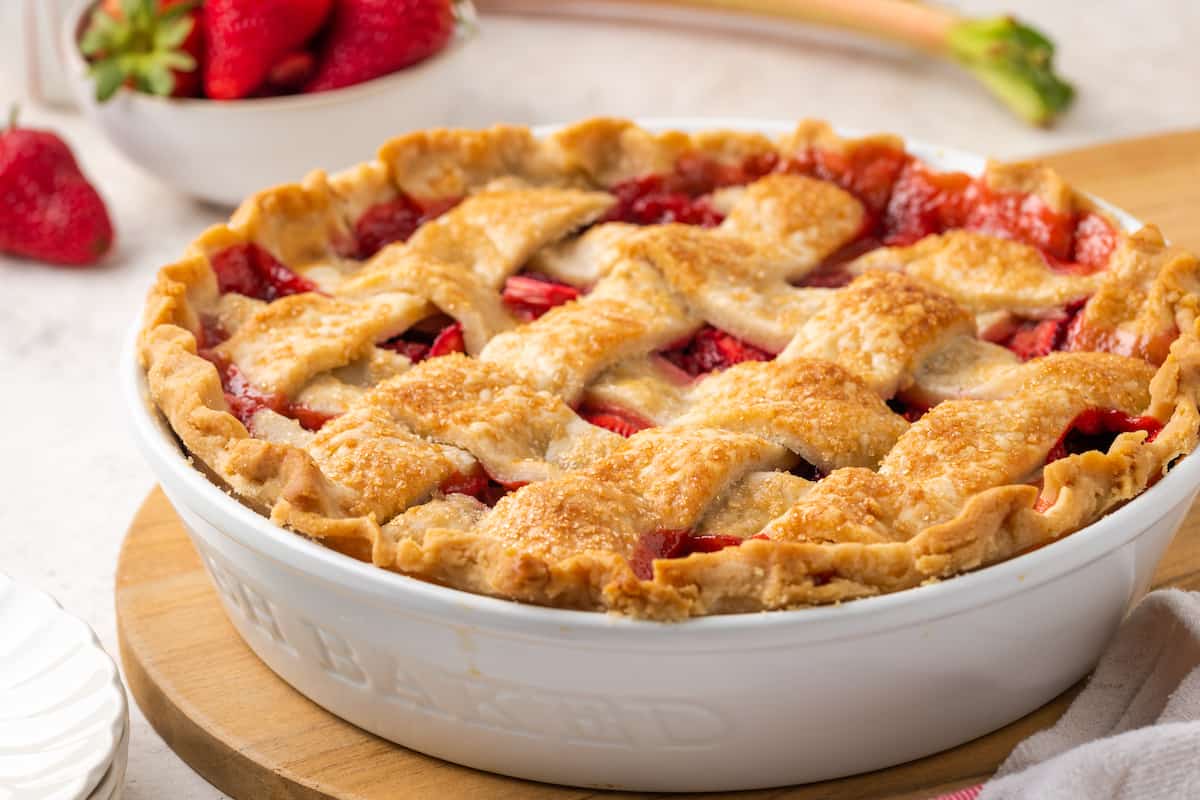
Gluten-Free Strawberry Rhubarb Pie is the perfect blend of tart and sweet. Fold vibrant summer strawberries and rhubarb into a flaky homemade gluten-free crust and celebrate the best of the season.
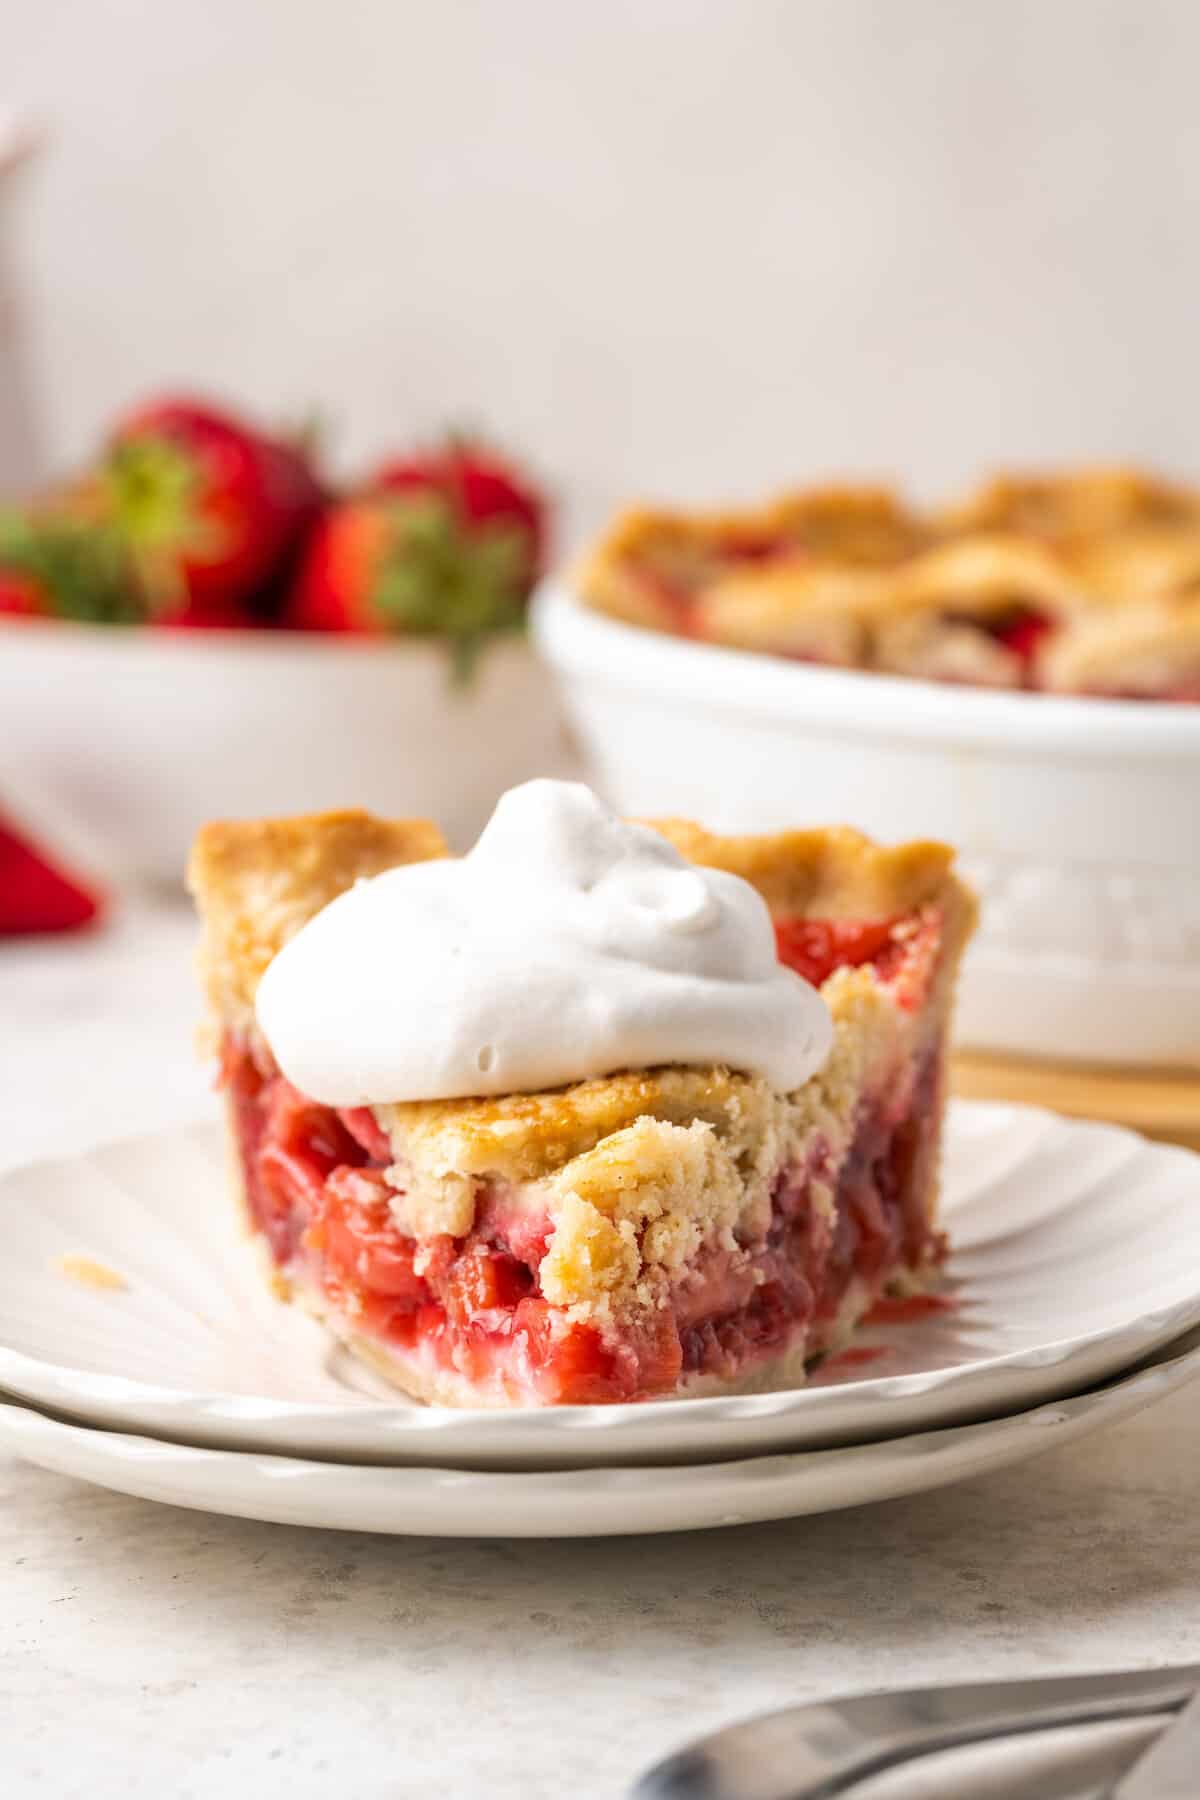
Gluten-Free Strawberry Rhubarb Pie Recipe
Strawberry and rhubarb go together like macaroni and cheese, chocolate and peanut butter – well, you get the idea! This is a gorgeously colored and flavored combination that just sings summertime. Rhubarb, which is actually a vegetable, is quite tart on its own, which is why it benefits from the sweetness of the strawberries as well as a bit of granulated sugar.
Some recipes will have you cook down the strawberries and rhubarb to make the filling but I prefer to let the filling rest a bit before folding it into a flaky homemade gluten-free pie crust. If you have your pie crust ready to go, you’ll need just 5 minutes of active time to put this recipe together. This means you can have pie ready for dessert as soon as tonight.
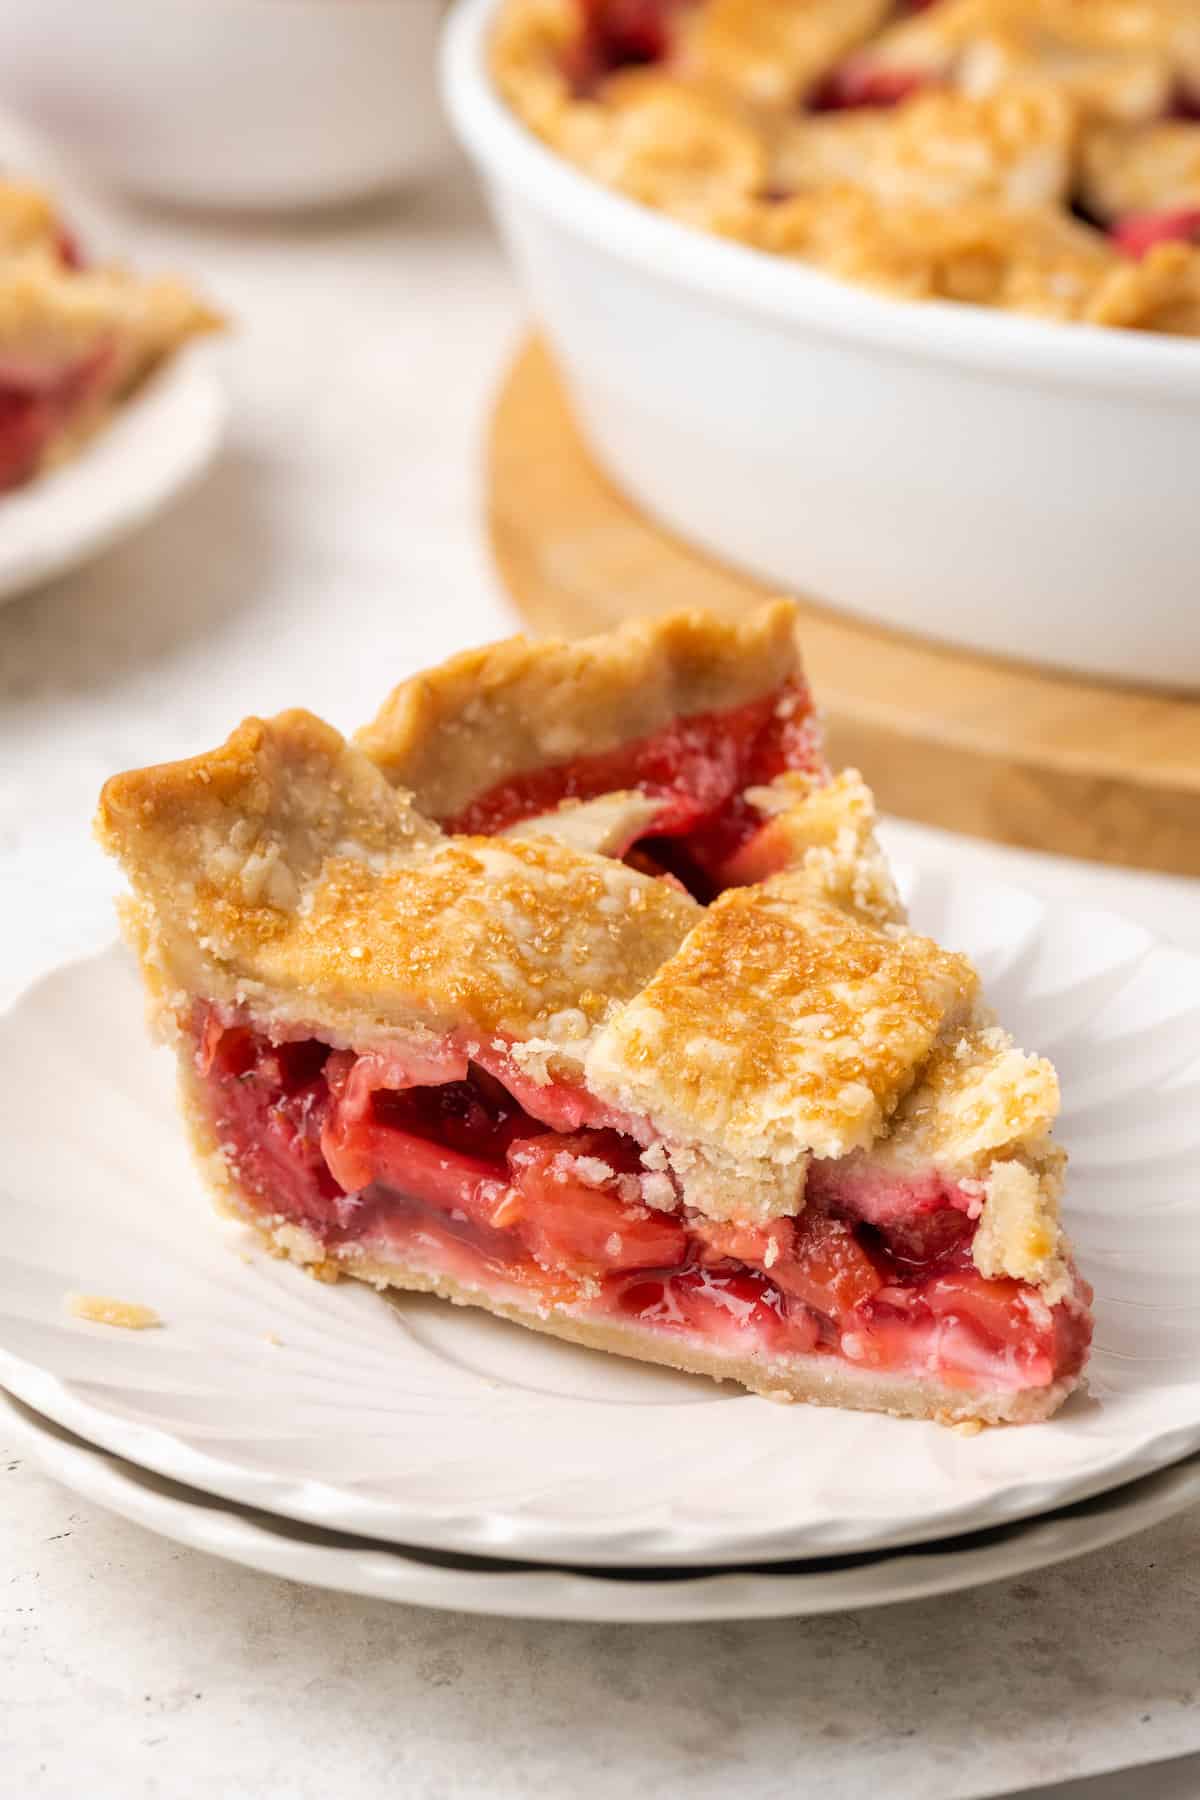
I’m a fan of pie for breakfast but of course one of the best ways to serve slices of strawberry rhubarb pie is warm, with a big scoop of vanilla ice cream on top!
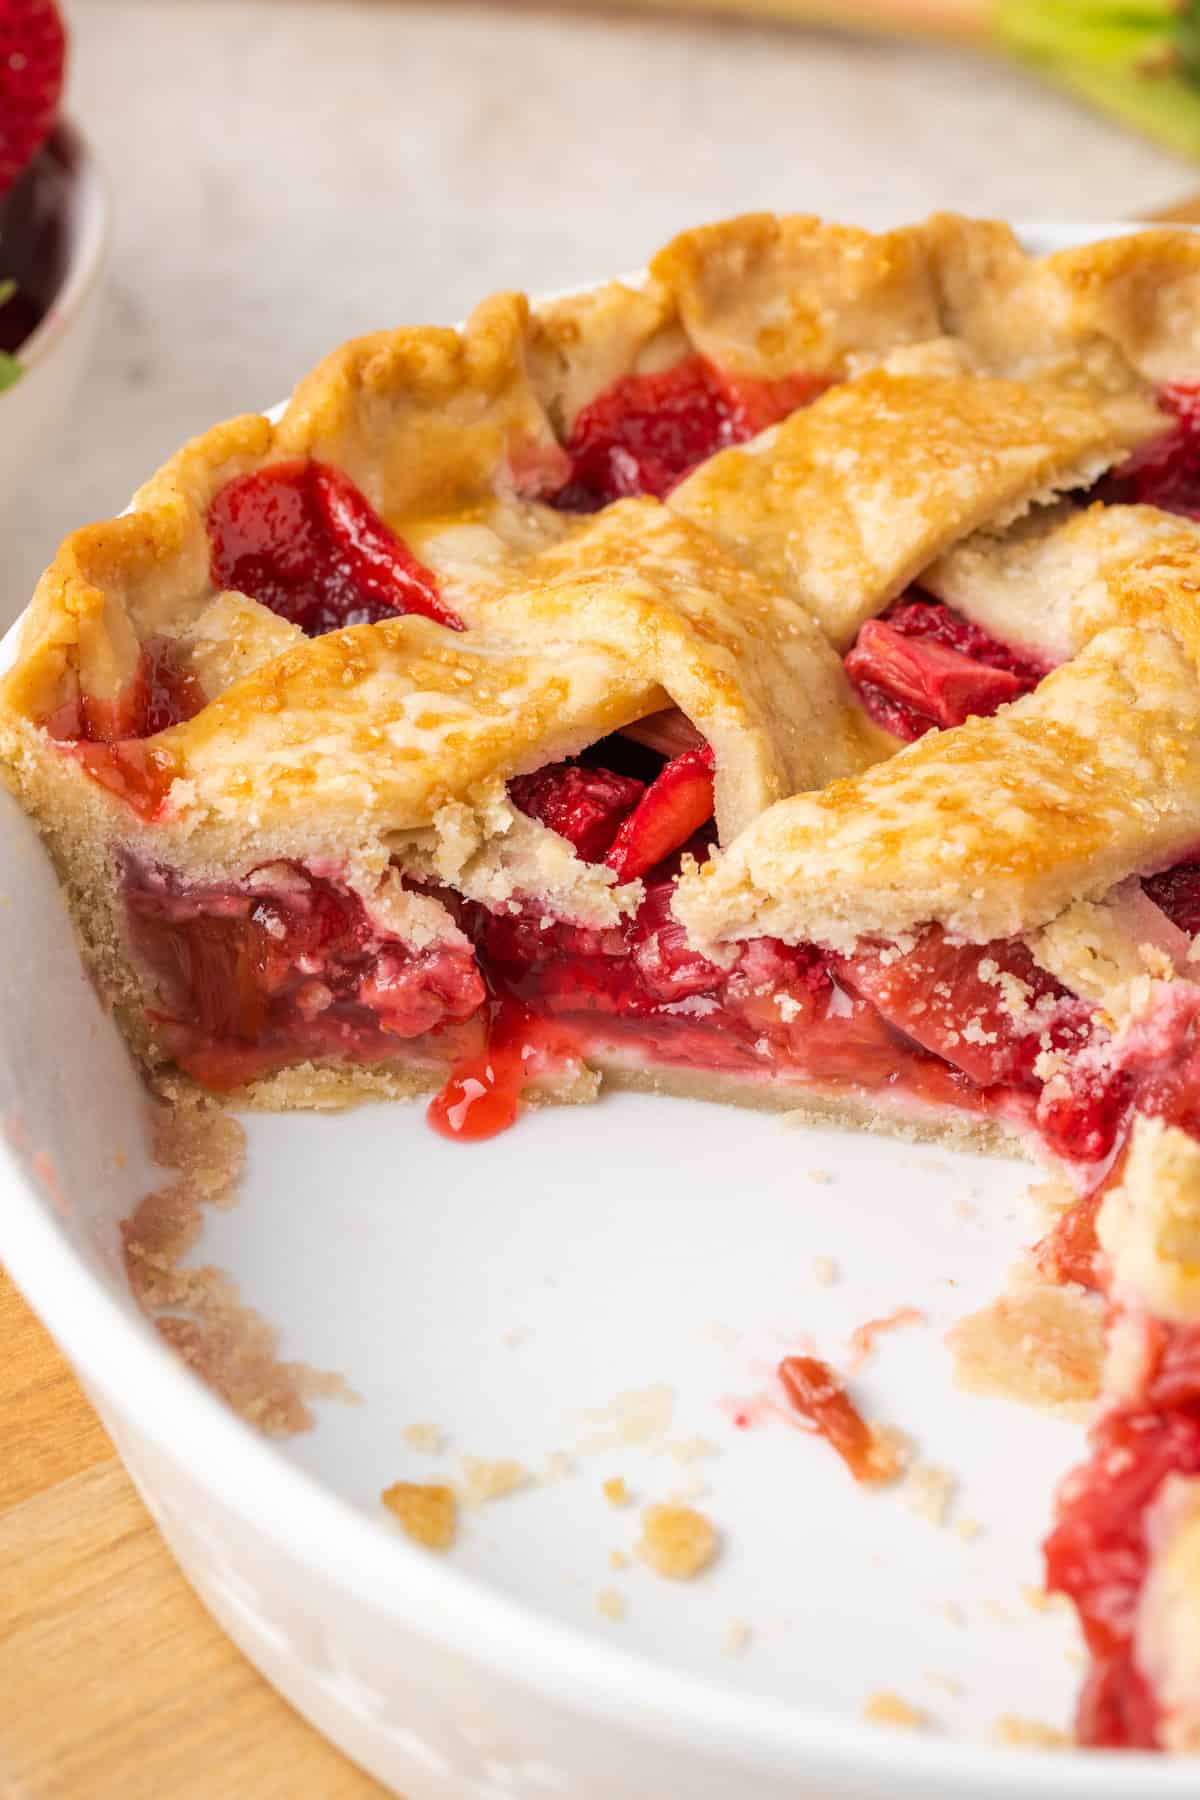
Why You’ll Love This Dessert
Pie in the summer is one of the season’s high points, and I like to make it as often as possible when seasonal fruit is at its peak. Here’s why you’ll love this recipe:
- Classic flavor. The combination of strawberries and rhubarb has become a beloved classic that you’ll find in many preparations, like jams and pie. My strawberry rhubarb pie recipe is so good made during the summer months when strawberries and rhubarb are in season.
- Easy to make gluten-free. This pie is incredibly easy to make gluten-free – all you need to do is use a gluten-free pie crust. The filling is thickened with tapioca or cornstarch which serves as a naturally gluten-free binder. And of course, the strawberries and rhubarb are naturally gluten-free as are the rest of the ingredients you’ll need.
- Not too sweet. You need less than a cup of sugar for the pie filling, as it relies on the natural sweetness of the strawberries to balance the rhubarb. I don’t find this to be an overly sweet pie, which I love! It makes a perfect base for a scoop of ice cream.
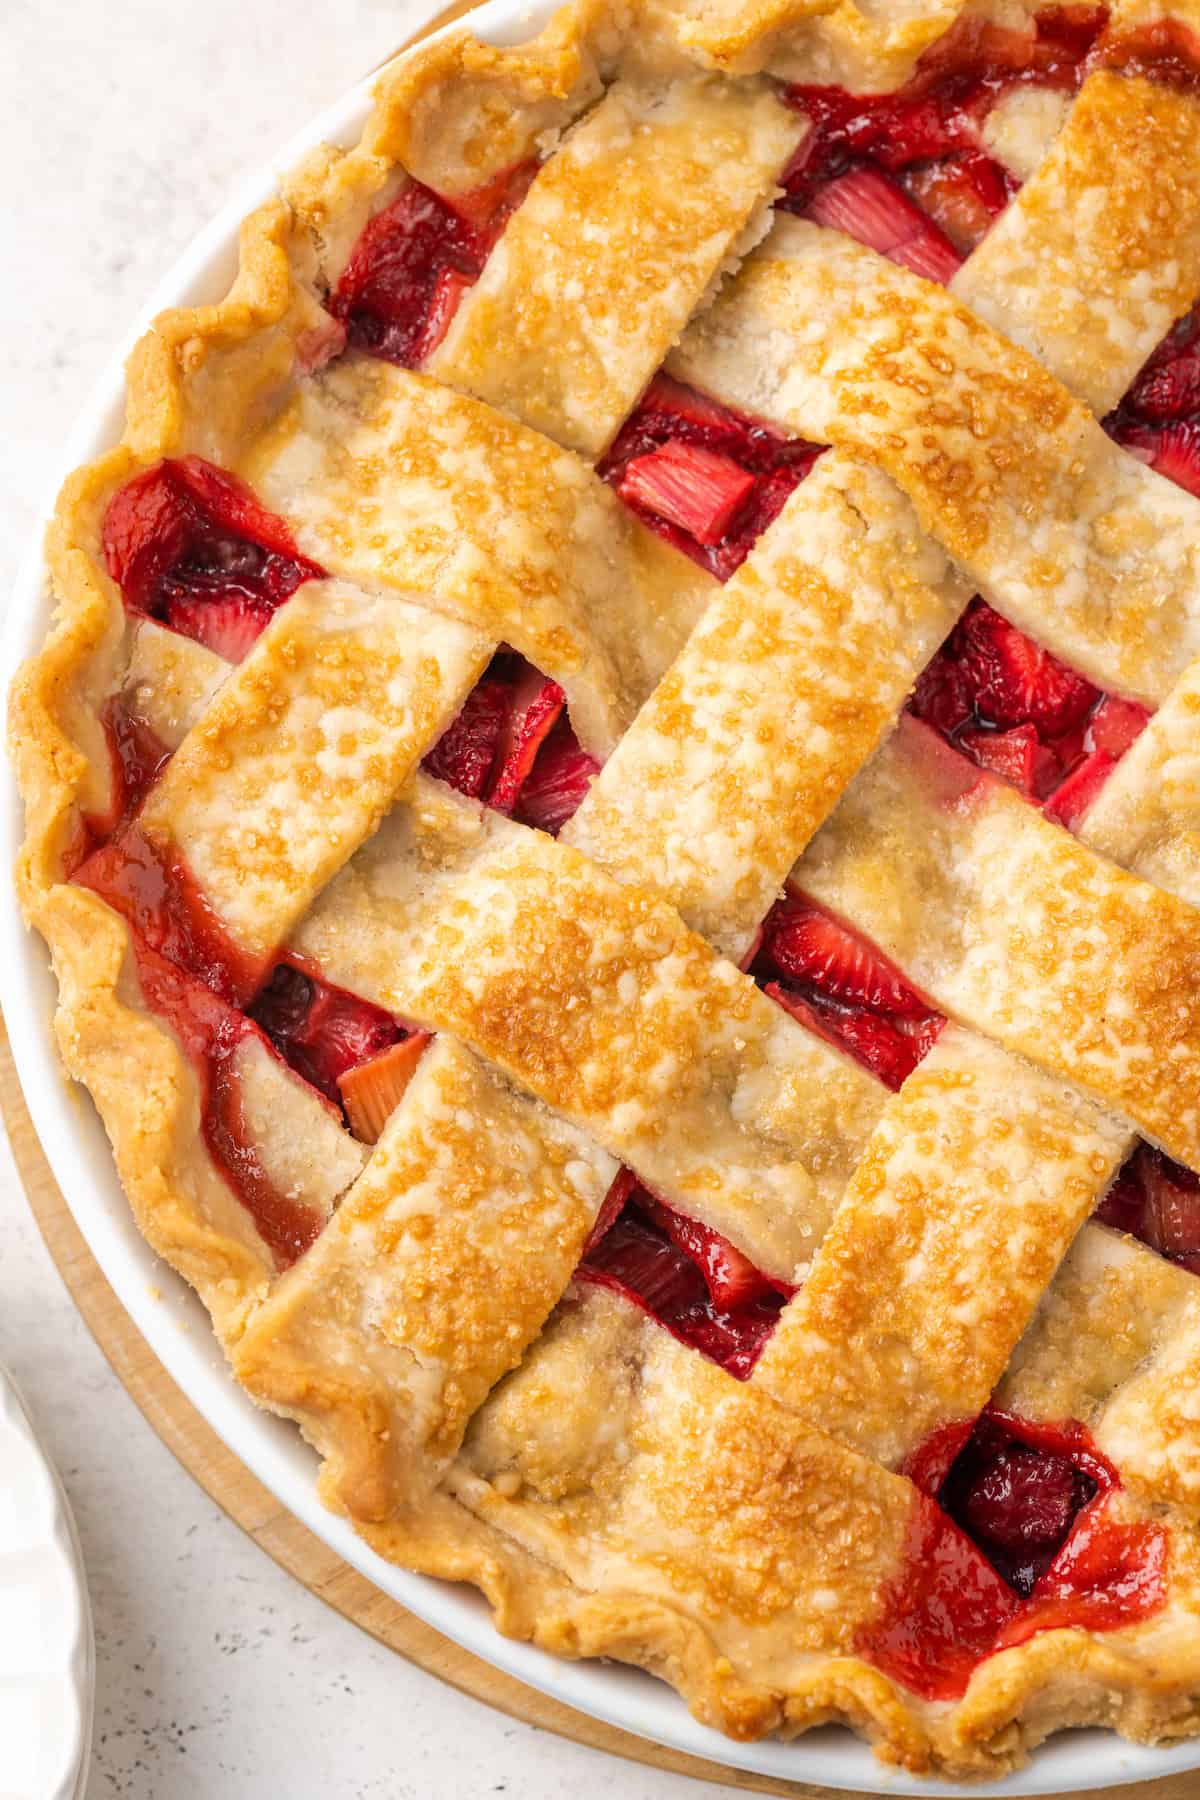
What You’ll Need
Here’s a list of everything you’ll need to make this beautiful pie. Don’t forget to scroll down to the recipe card at the end of this post for the full ingredient amounts.
- Rhubarb: Rhubarb is in season from late spring through the summer and you can find it in most grocery stores’ produce aisles. Rhubarb can be red or green when it’s picked.
- Strawberries: Look for ripe, but not mushy, strawberries for the pie.
- Sugar: Granulated sugar works with the strawberries to make this a sweet, not tart, pie.
- Cornstarch: You can use cornstarch or tapioca starch (also sold as tapioca flour) to thicken the pie filling.
- Salt: I like to use fine sea salt or table salt.
- Vanilla Extract: Pure vanilla extract will give the best flavor note to this pie.
- Lemon: You’ll use both lemon zest and juice in this recipe.
- Butter: You can use salted or unsalted butter.
- Double Crust Pie Crust: My homemade gluten-free pie crust is perfect for this recipe, or you could use a store-bought gluten-free pie crust.
- Egg: This is optional, to brush the crust.
- Coarse Sugar: Also optional, to dust the top of the crust.
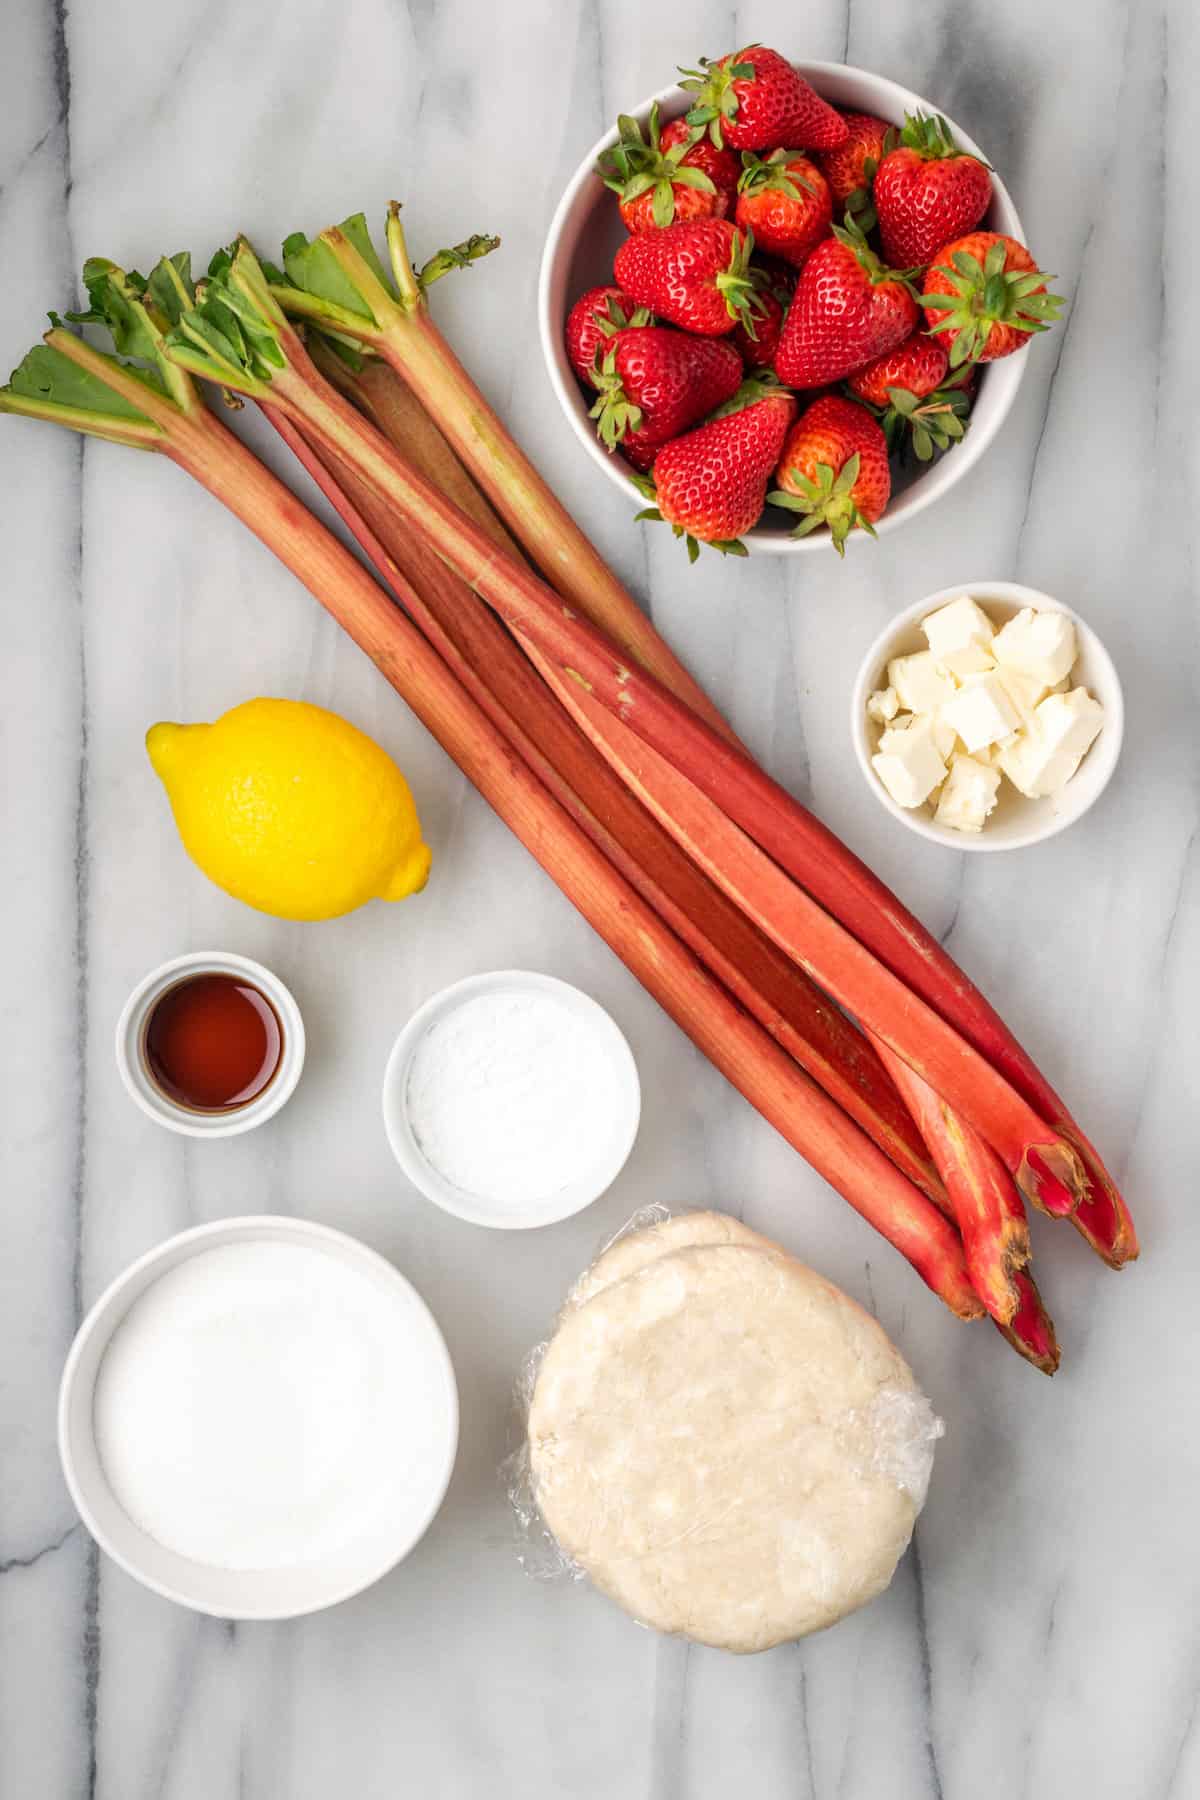
How to Make Strawberry Rhubarb Pie
I’ve included a quick overview below of how to make this pie. Have your pie crust made in advance so you can easily put this pie together when you have the filling ready.
- Preheat your oven. Set the oven to 375℉.
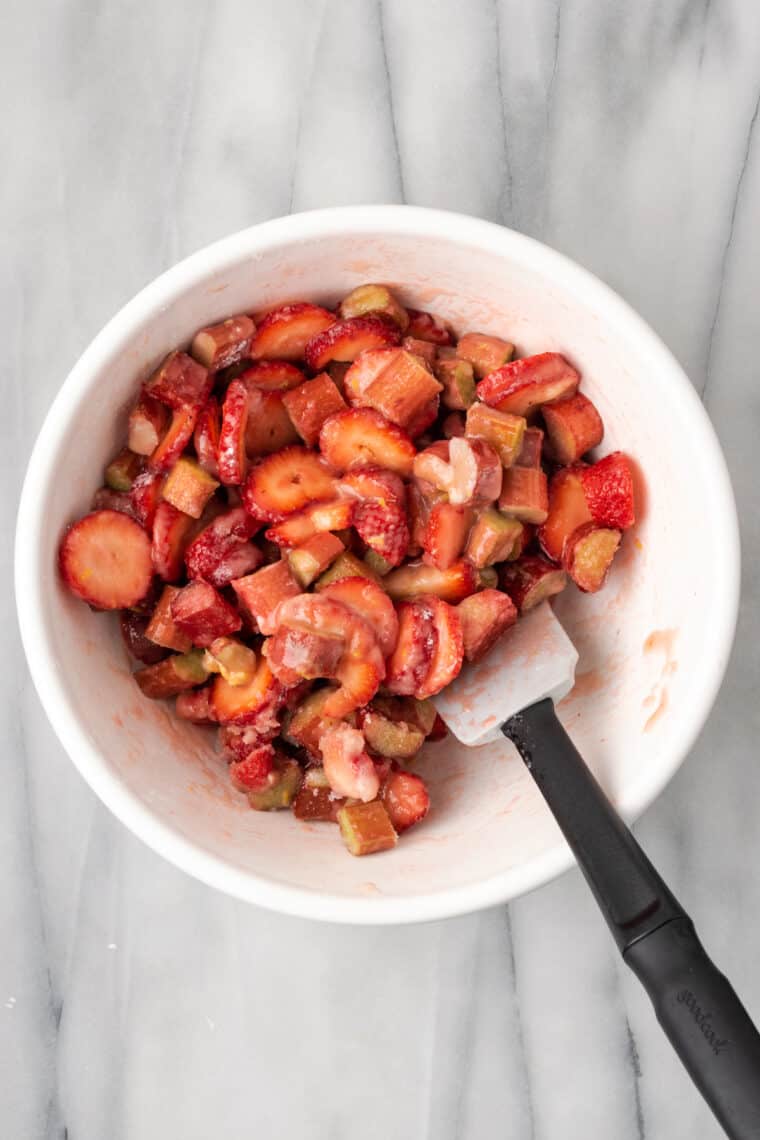
- Combine the fruit, sugar, cornstarch, salt, vanilla extract, lemon zest, and juice. In a large bowl, combine the rhubarb, strawberries, sugar, cornstarch, salt, vanilla, lemon zest, and lemon juice. Stir together until well mixed. Set aside for 10 minutes.

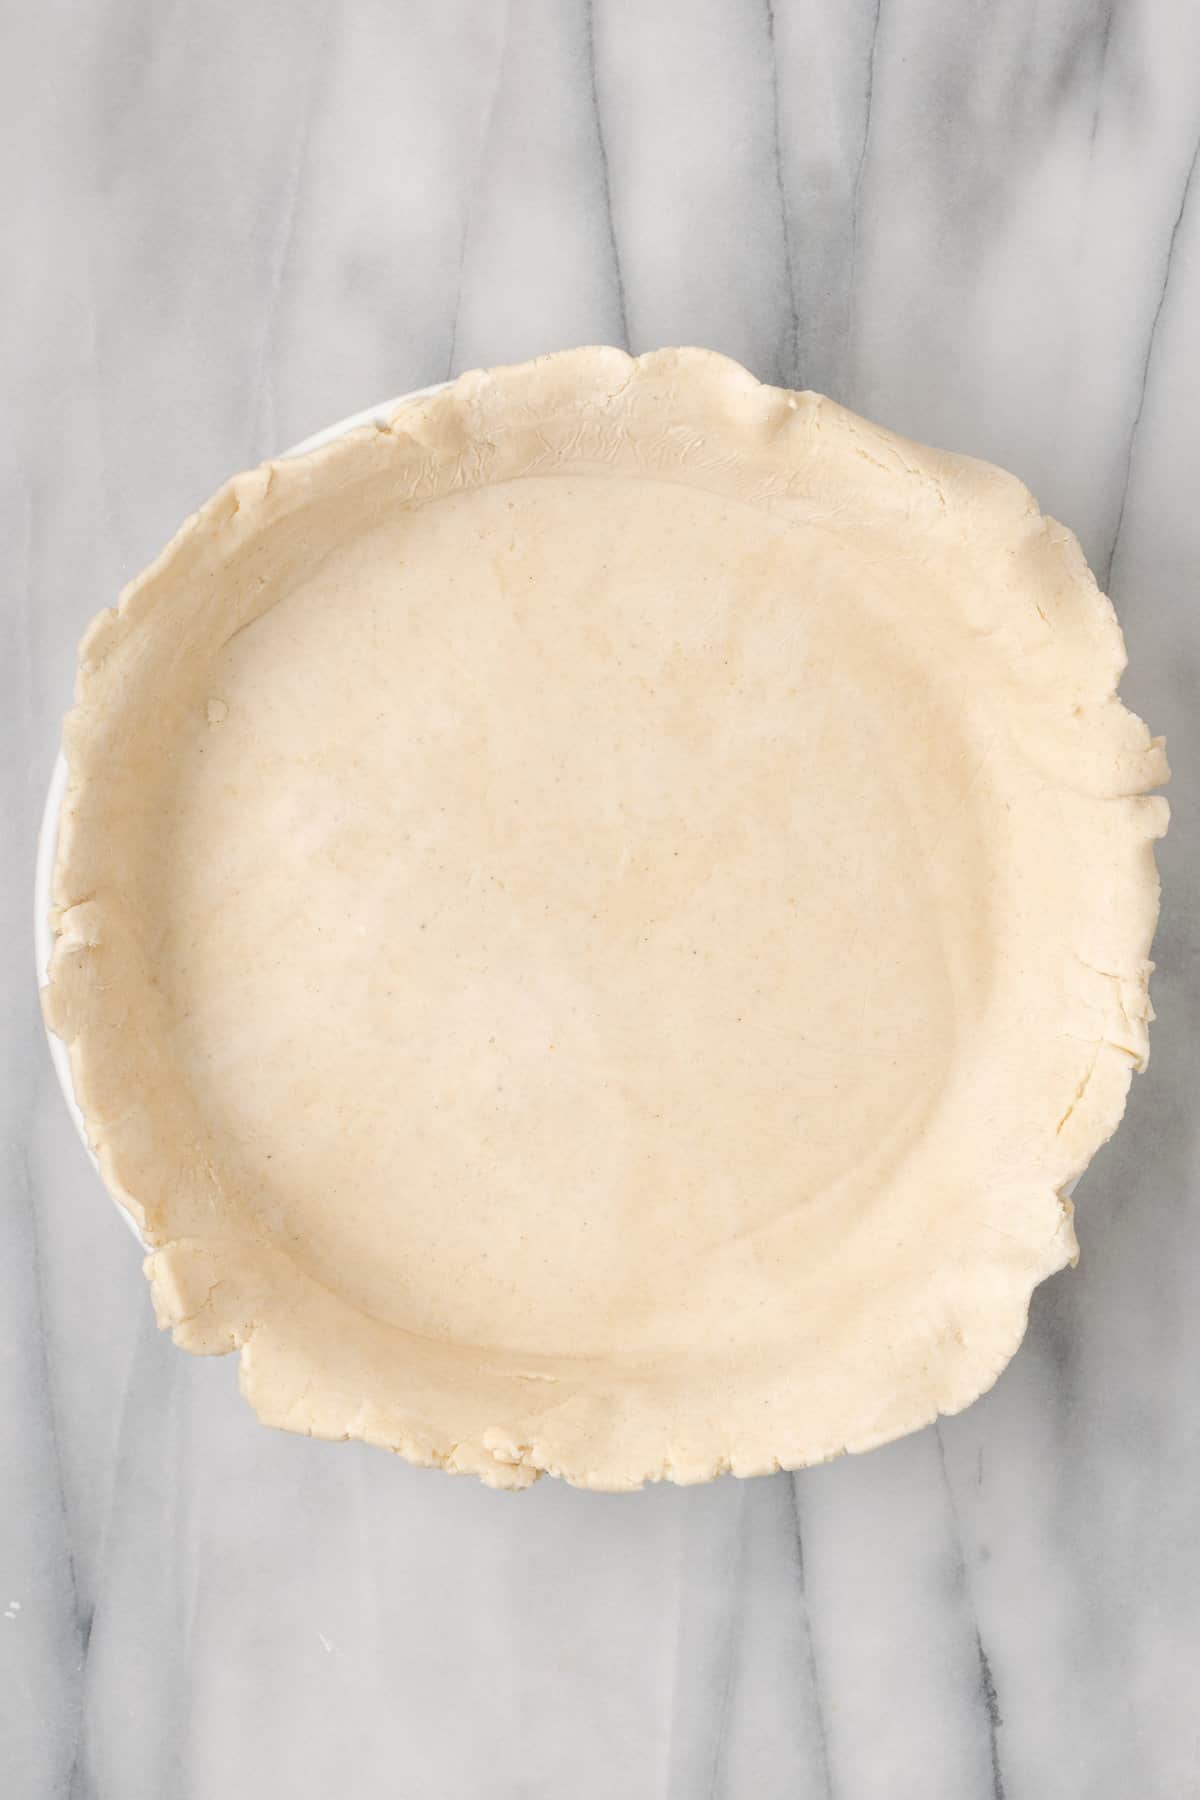
- Roll out half of the pie dough and fit it into the pie pan. While your filling is resting, roll out one batch of pie dough and line the bottom of your pie plate. Leave the rough edges hanging over.
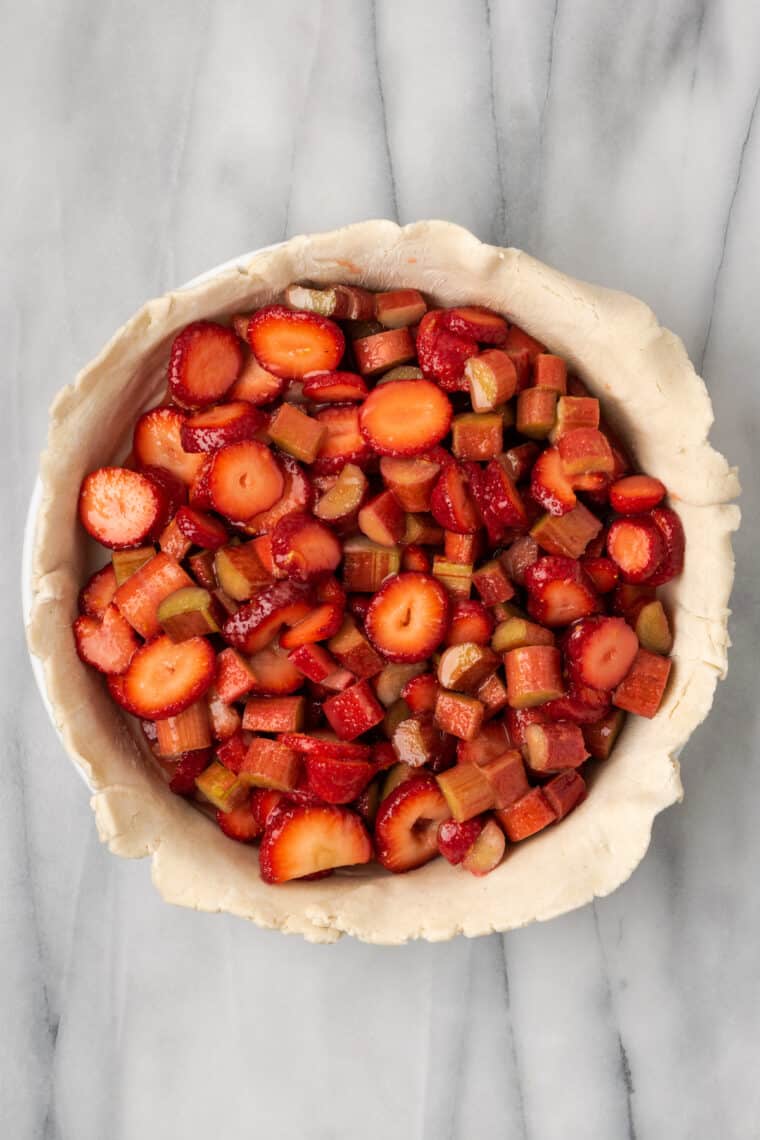
- Place the filling in the pie crust. Spoon the prepared filling into the pie shell, leaving out the liquid from the bottom of the bowl.
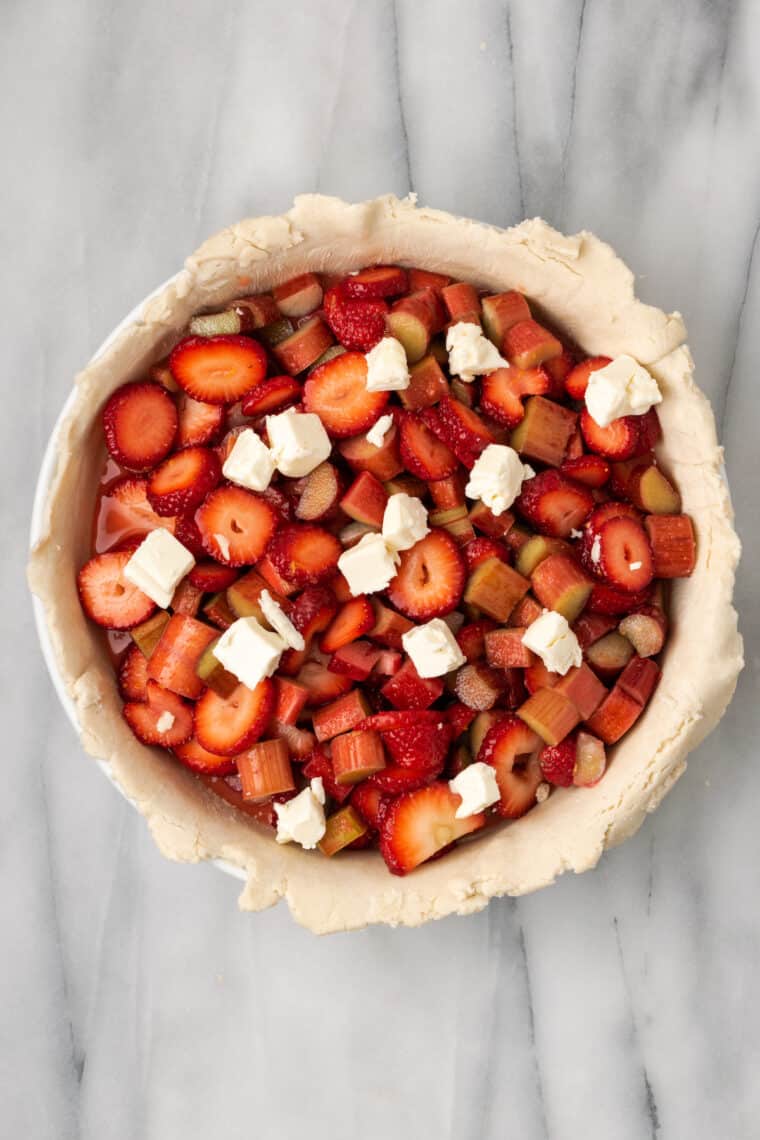
- Sprinkle cubes of butter over the filling. Sprinkle the cubed butter over the filling. Place the pie into the refrigerator while you prepare the top crust.
- Prepare the second half of the pie crust. Roll out the second batch of dough into a circle a little larger than your pie dish. Ensure that the dough is not sticking to your surface.
- Cut the dough into strips to make a lattice. Cut the pie dough into strips about 1-inch wide. If necessary, place the pie dough back into the refrigerator for about 15 minutes to chill.
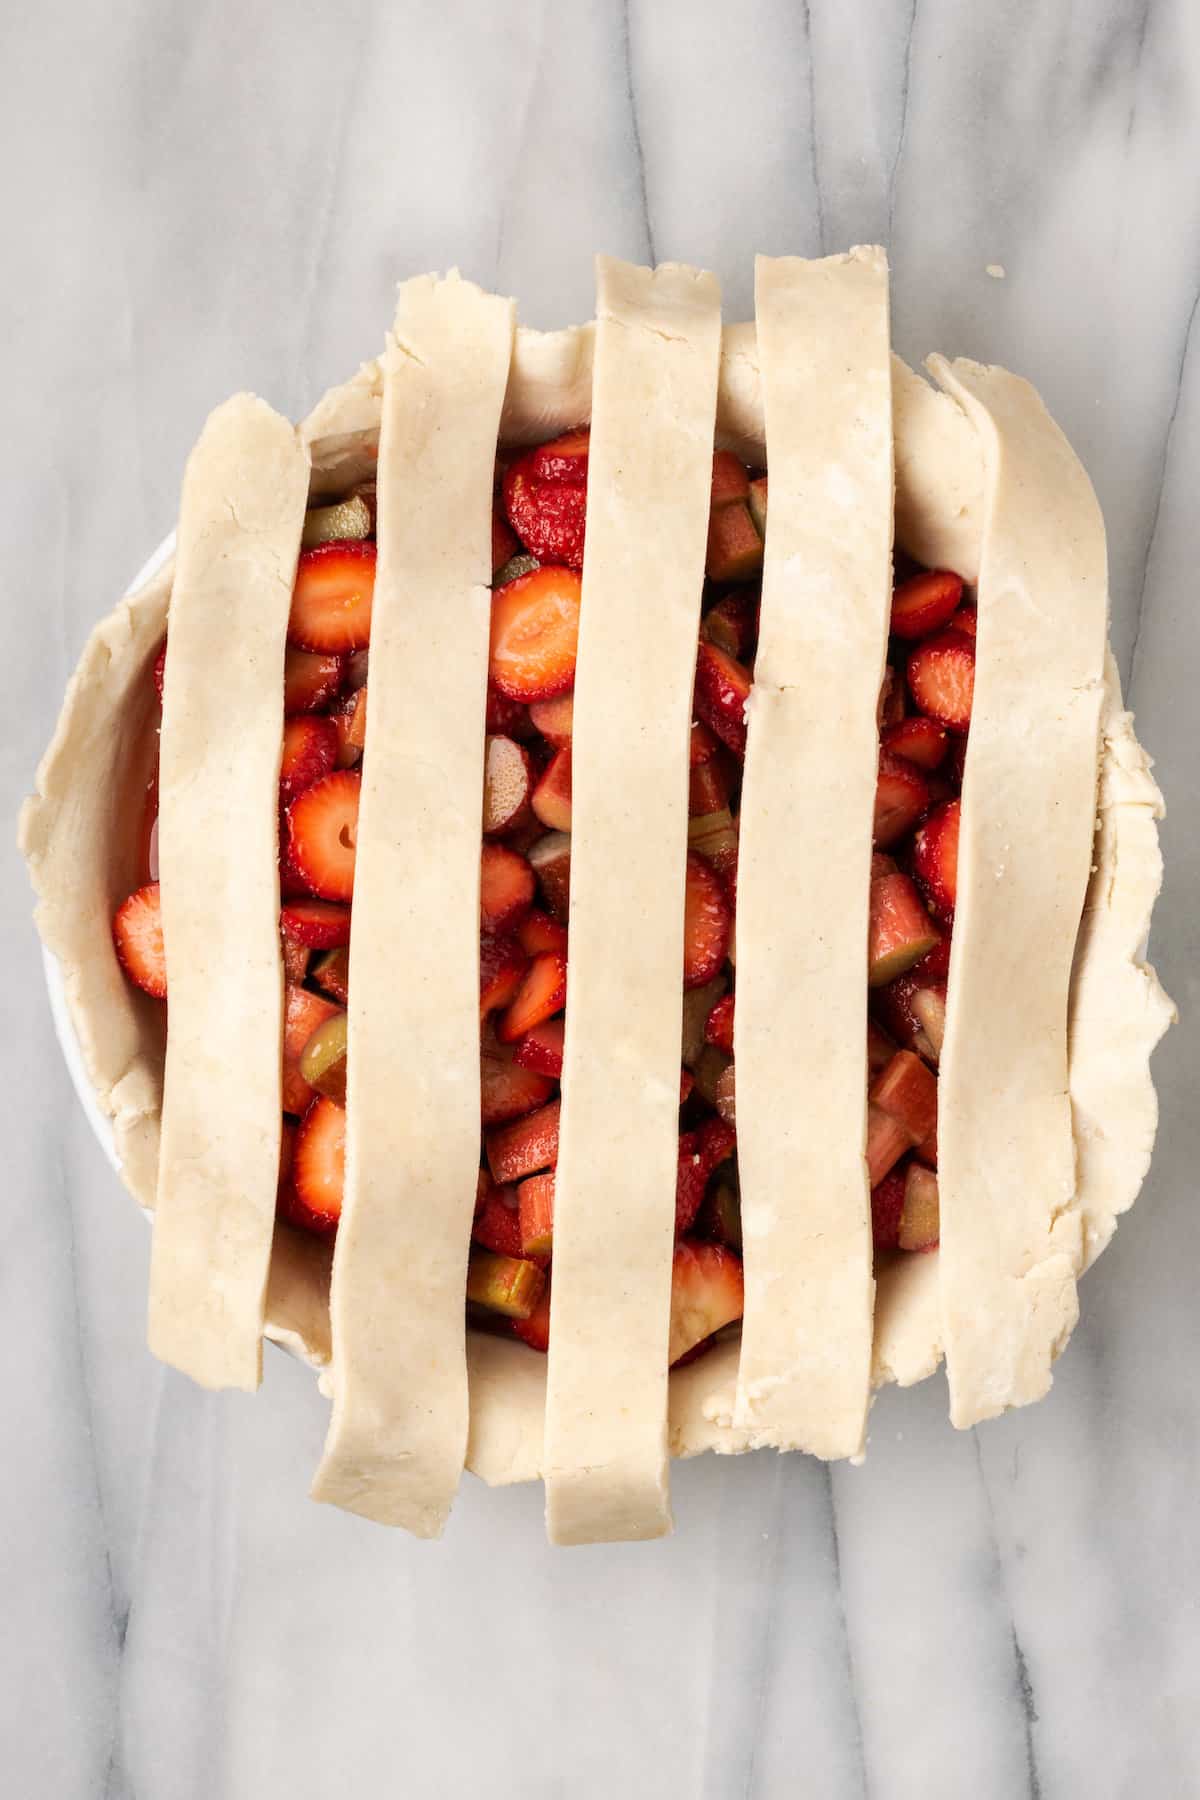
- Using the crust strips, weave a lattice on the top of the pie. Remove the prepared pie from the refrigerator. Start with the longest strip (in the middle) and place it across the middle of the pie. Then use every other strip to make parallel stripes across the top of the pie.
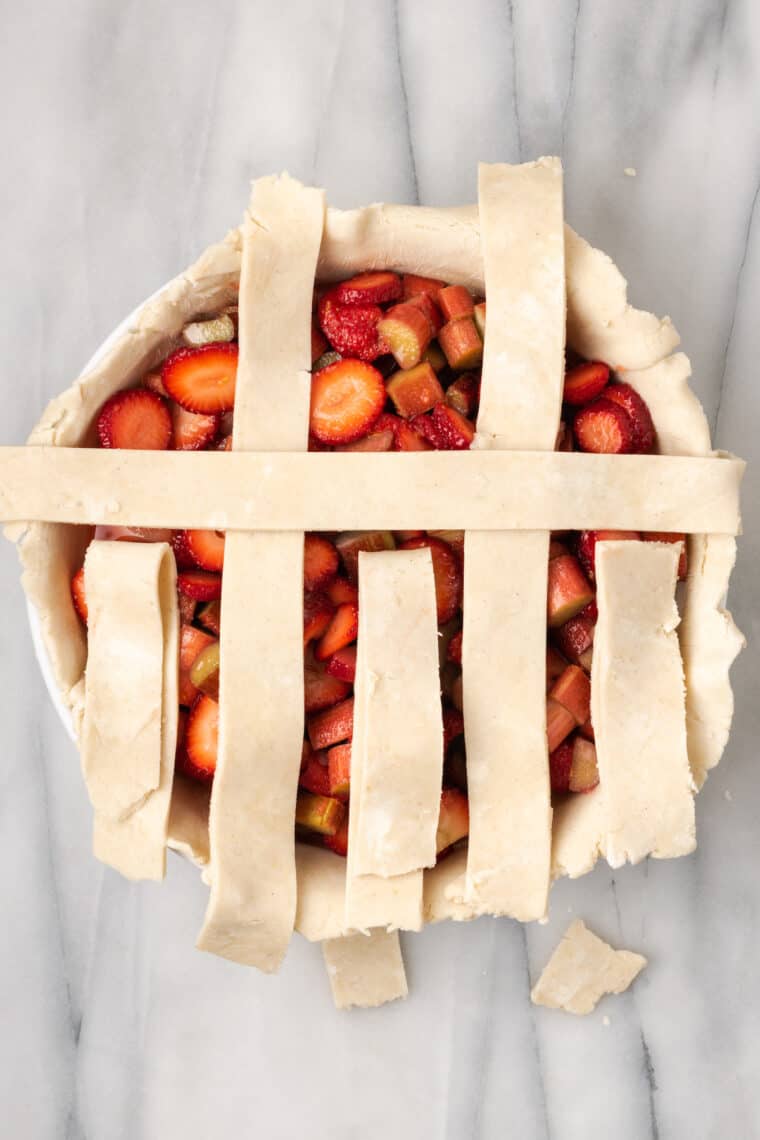
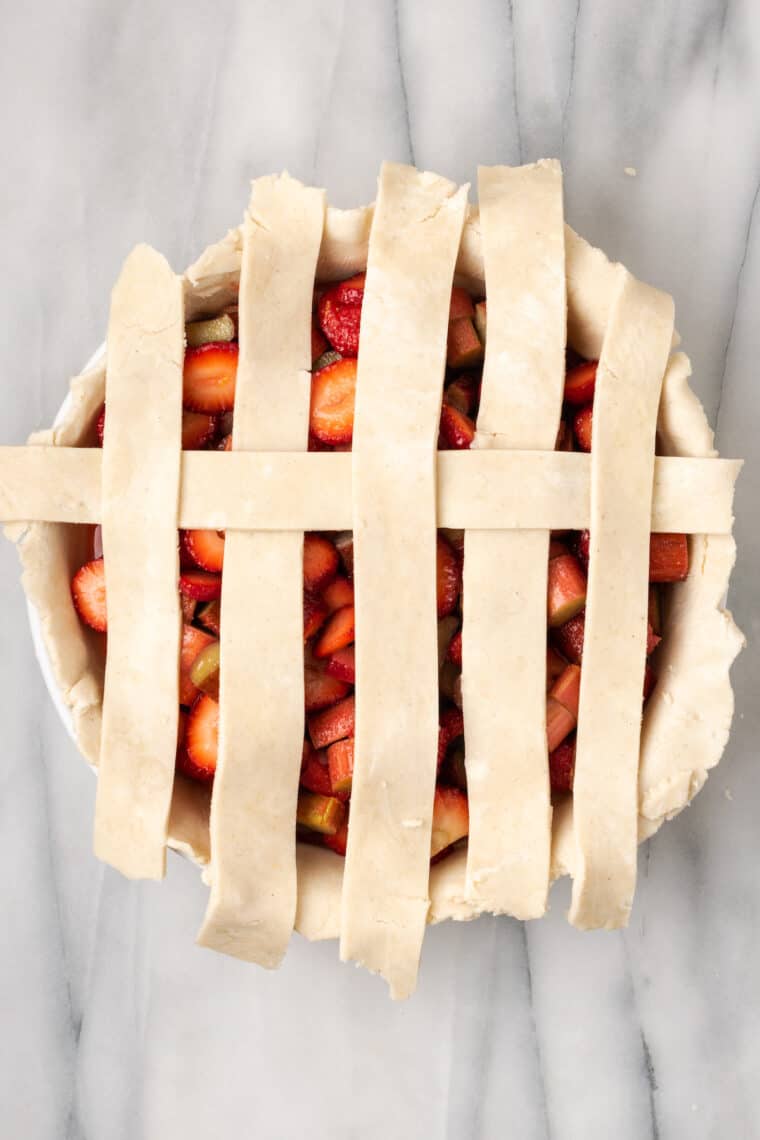
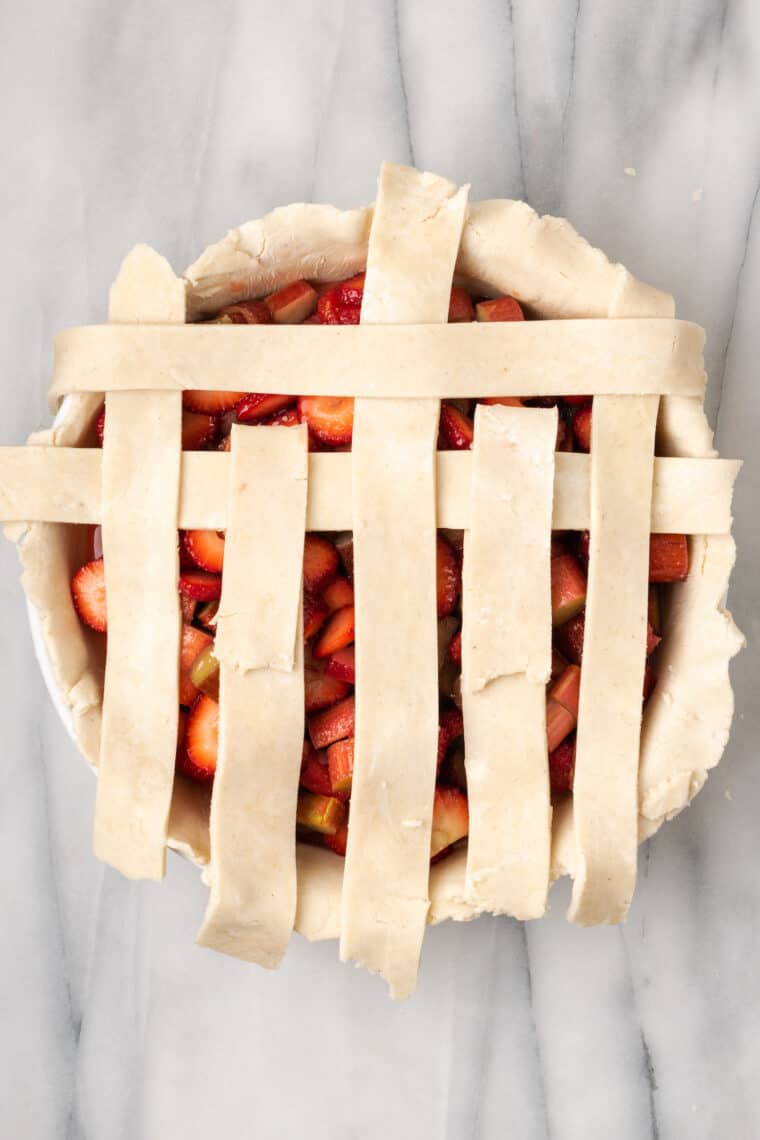
- Continue folding the lattice, folding back every other strip of dough halfway and placing a piece of dough perpendicular to the first set. Next, fold back every other strip on the pie about halfway and place a piece of dough perpendicular to the first set. Fold the strips back up, so the piece of pie dough is now going over and under all of the strips.
- Now fold the alternating pieces of dough back and repeat. Then fold the alternating pieces back and repeat. Rotate the pie and continue with the second half.
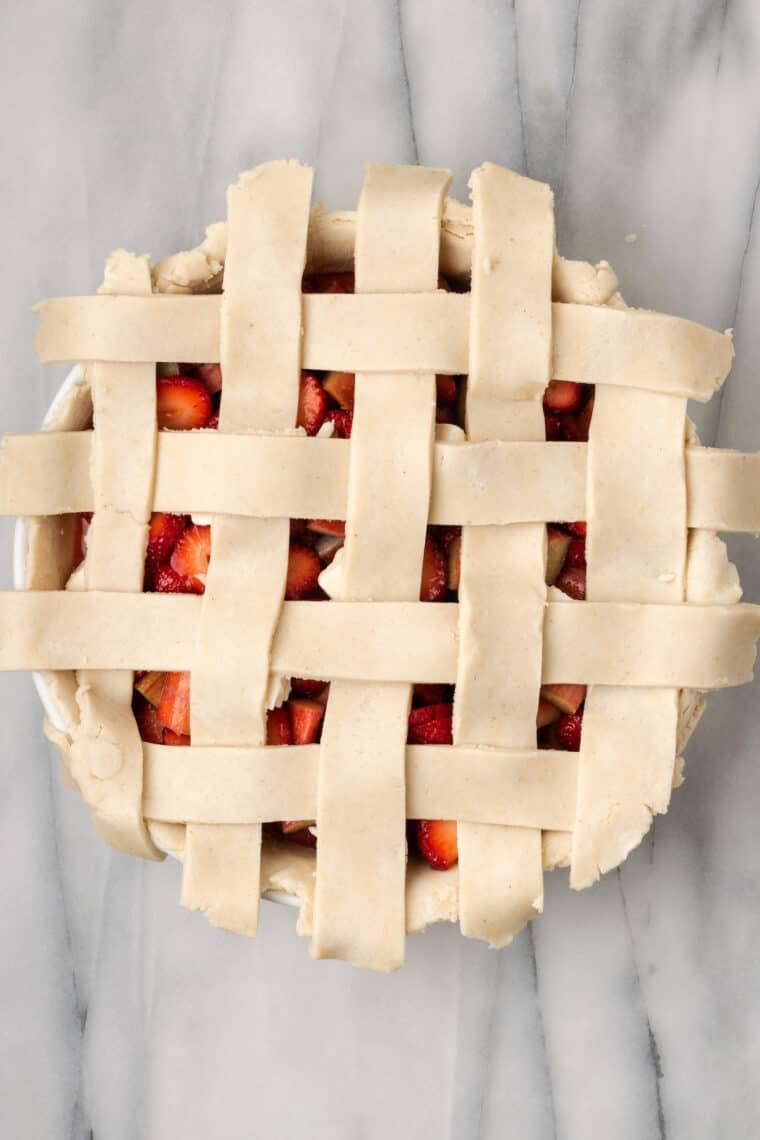
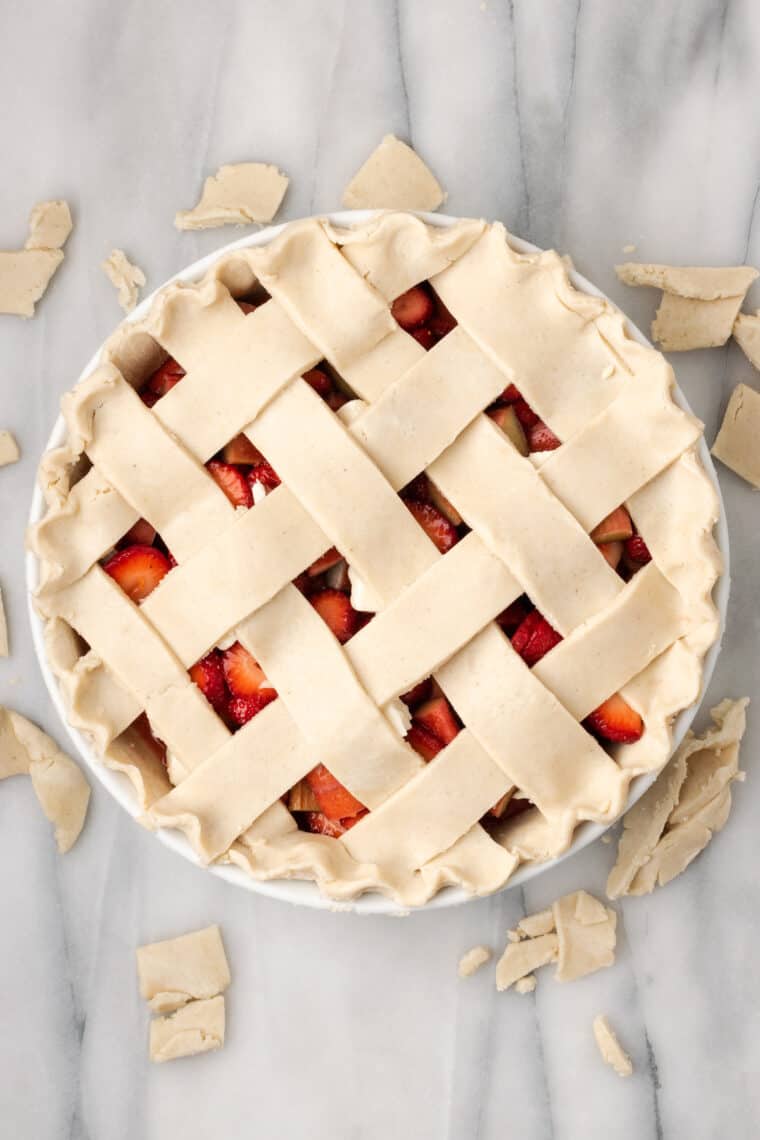
- When the lattice is finished, trim and crimp the edges of the crust. Once all of the lattice has been placed, trim the crust to the edge of your pie pan. Crimp the edge into a design if you like.
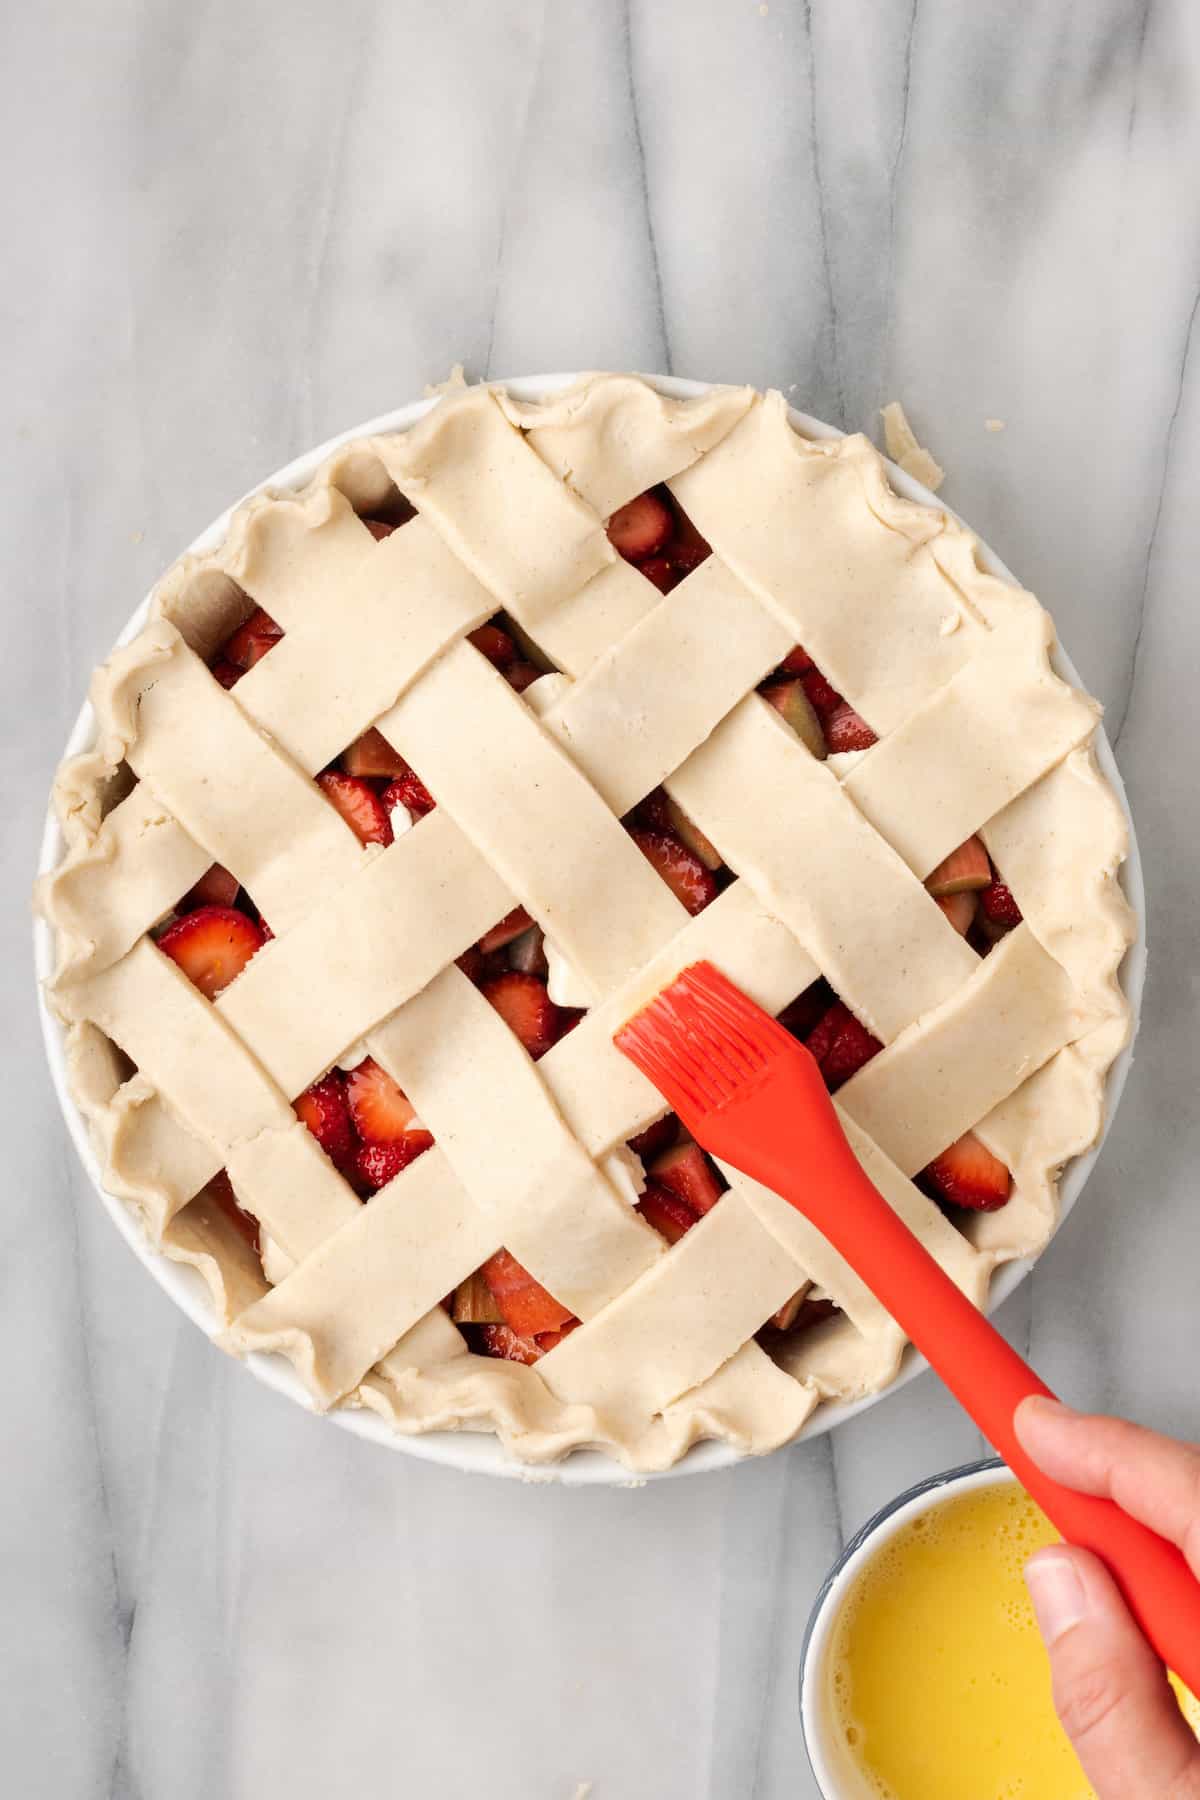
- Brush the top crust with an egg wash. Brush the top of the pie with egg wash and sprinkle with coarse sugar, if using.
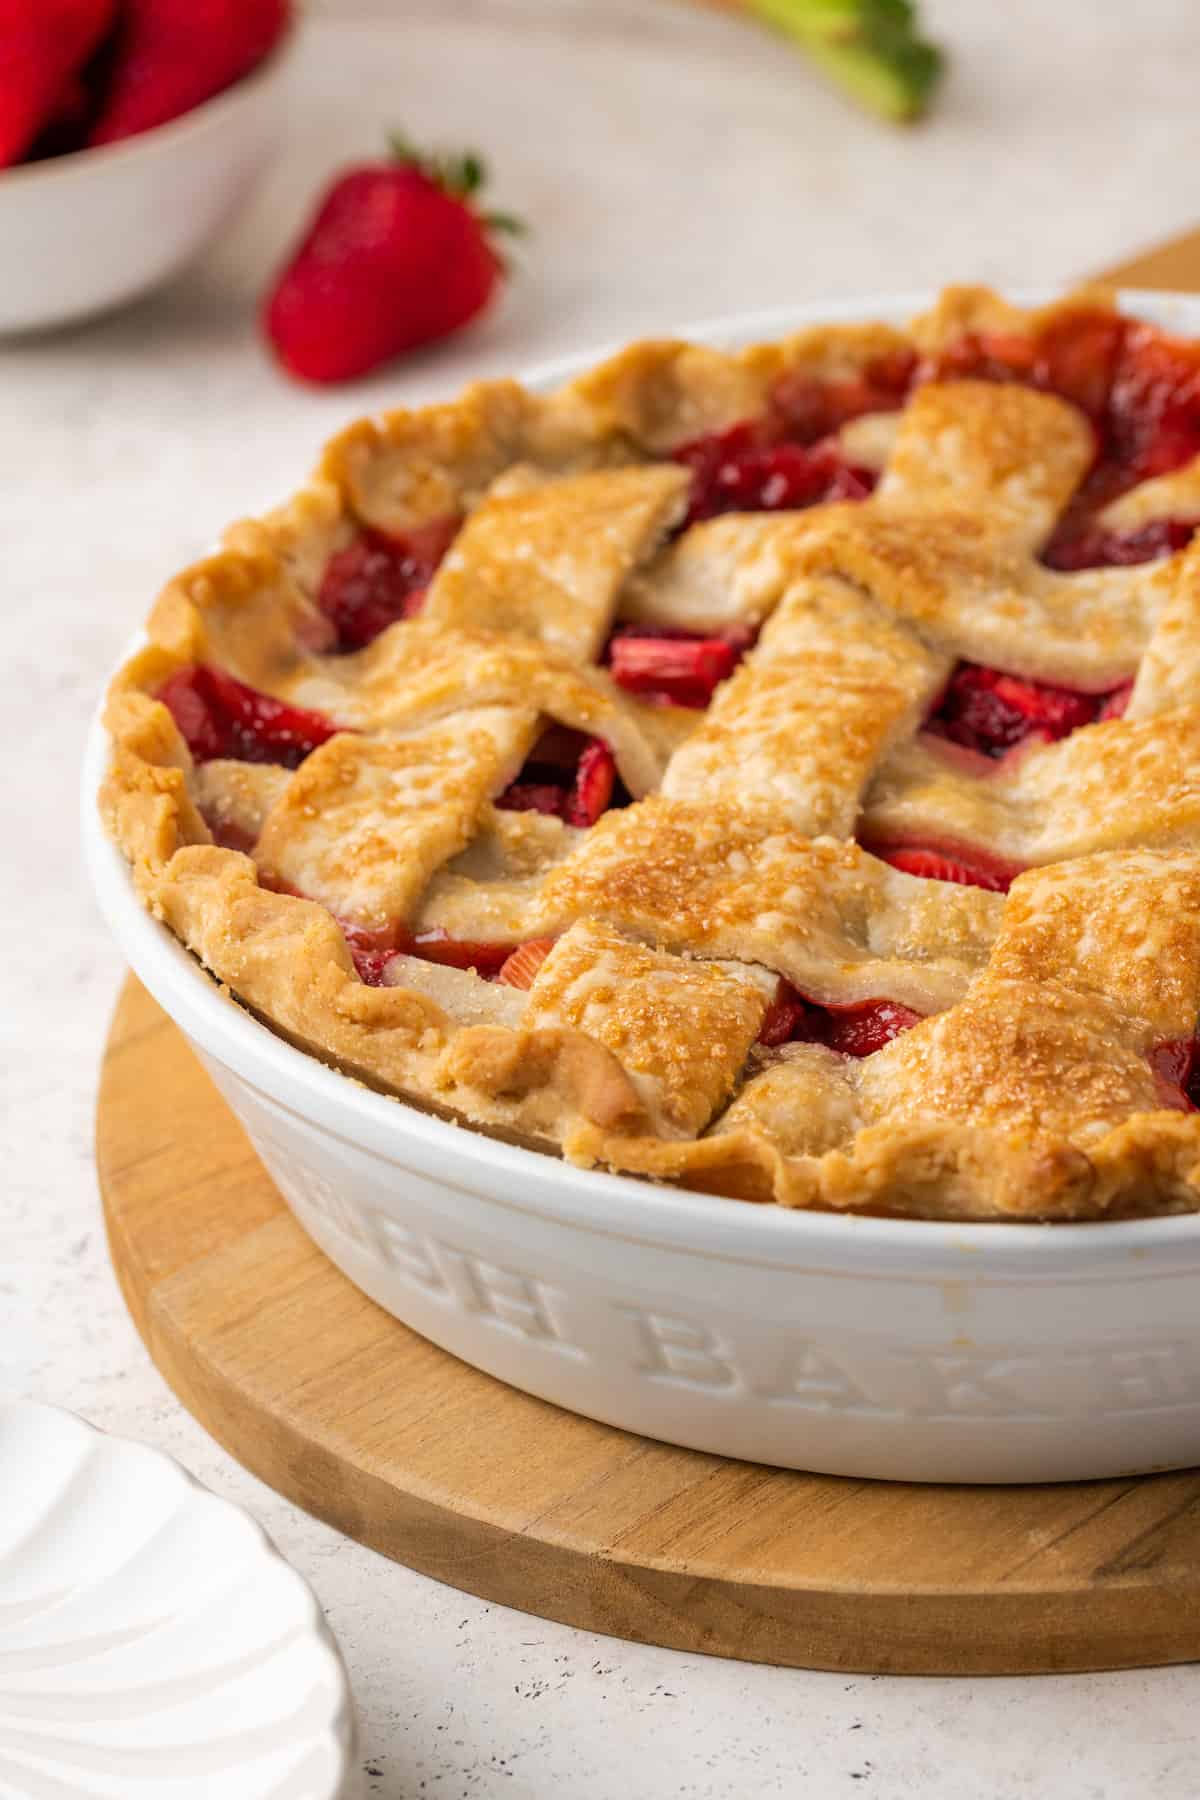
- Bake the pie. Place the pie onto a baking sheet. Bake on the lowest rack of the oven for 55-60 minutes. If the crust starts to get overly brown, lay a piece of aluminum foil loosely over the top and continue to bake.
- Cool the pie completely so the filling can set before serving. Remove the pie from the oven and let it cool for 3-4 hours (or overnight) before slicing.
Tips for Success
Pie, especially gluten-free pie, can seem intimidating to make, but it doesn’t have to be! Here are a few tips to help you make this strawberry rhubarb pie:
- Use a pre-made pie crust. I will always encourage you to make your own pie crust from scratch, but if you’re new to making pie, using a store-bought gluten-free crust can take away some of the worry.
- Make the top of the pie solid rather than latticed. I love the look of a latticed pie! For a strawberry rhubarb pie it’s especially pretty because the pink-red filling peeks through the lattice. However, if it seems too complicated to do a lattice, you can simply roll out the top of the pie crust into a solid layer and fit it over the top of the pie. Crimp the edges to seal, and proceed with the recipe. Don’t forget to cut a few vents in the top of the pie to let the steam escape while cooking.
- Substitute frozen strawberries. If you prefer to use frozen strawberries in this recipe, you can swap them for the fresh strawberries. I recommend letting the strawberries thaw in a colander set over the sink so that the liquid can drain out. This will make for easier slicing of the strawberries and will help the filling not be too watery.
Serving Suggestions
A slice of pie and a cup of coffee is my ideal summer breakfast. Here are a few other ways to serve gluten-free strawberry rhubarb pie:
- Vanilla ice cream. Vanilla ice cream on top of warm slices of gluten-free strawberry rhubarb pie is the ultimate summery dessert! You can make my No-Churn Vanilla Bean Cheesecake Ice Cream for an utterly decadent treat that will go perfectly with this pie.
- Whipped cream. Homemade or store-bought whipped cream is always welcome with pie. Serve slices of strawberry rhubarb pie with a nice dollop of whipped cream on top.
- As part of a pie buffet. Serve strawberry rhubarb pie along with more gluten-free pies! Some of my favorites include my Gluten-Free Blueberry Pie, Gluten-Free Dutch Apple Pie, and S’mores Pudding Pie recipes.
How to Store Leftovers
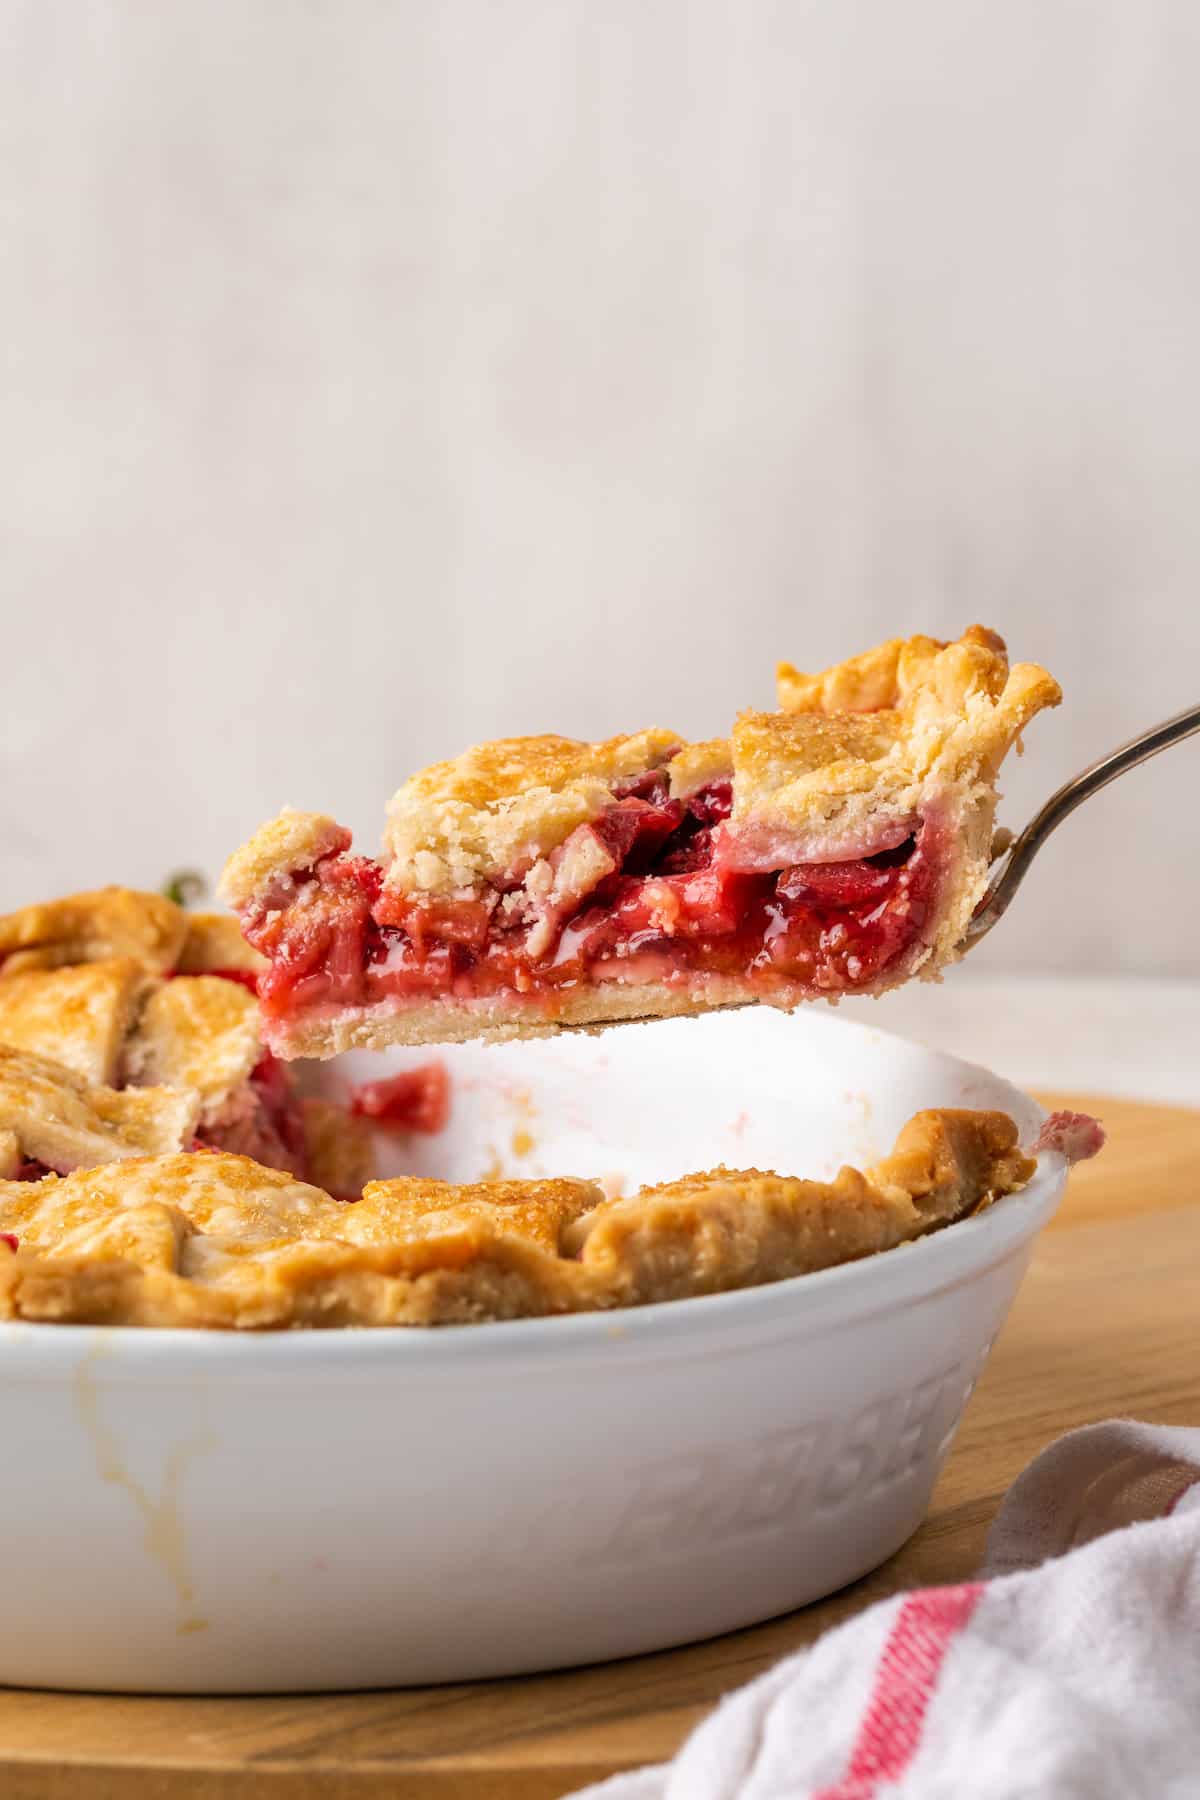
Leftover pie makes a wonderful breakfast or save it for the next night’s dessert. Here’s how to store leftover strawberry rhubarb pie:
- Counter – Strawberry rhubarb pie will keep on the counter, well-covered, for up to 2 days.
- Fridge – Store leftover pie covered with foil or in an airtight container, for up to 4 days.
- To Reheat – You can serve leftover pie at room temperature, or you can gently warm it in the oven on low heat until warm.
Can I Freeze Strawberry Rhubarb Pie?
To freeze a whole pie to bake later, wrap the uncooked pie tightly first in plastic wrap and then foil. Store in the freezer for up to 3 months. When you’re ready to bake, cook the pie on 425ºF for 15 minutes, then lower the temperature to 350℉ and cook until the filling looks set, the pie is bubbling, and the crust is lightly brown, about 45 minutes.
Gluten-Free Strawberry Rhubarb Pie
Ingredients
- 2 ½ cups/300 grams rhubarb, cut into ½-inch pieces
- 2 ½ cups/300 grams strawberries, de-stemmed and sliced
- ¾ cup/150 grams sugar
- ¼ cup/32 grams cornstarch or tapioca starch
- ¼ teaspoon salt
- 1 teaspoon vanilla extract
- ½ teaspoon lemon zest
- 2 teaspoons lemon juice
- 3 tablespoons/42 grams butter, cut into cubes
- 1 double crust pie crust
- 1 egg beaten, for egg wash (optional)
- coarse sugar, for topping (optional)
Instructions
- Preheat the oven to 375℉.
- In a large bowl, combine the rhubarb, strawberries, sugar, cornstarch, salt, vanilla, lemon zest, and lemon juice. Stir together until well mixed. Set aside for 10 minutes.
- While your filling is resting, roll out one batch of pie dough and line the bottom of your pie plate. Leave the rough edges hanging over.
- Spoon the prepared filling into the pie shell, leaving out the liquid from the bottom of the bowl.
- Sprinkle the cubed butter over the filling. Place the pie into the refrigerator while you prepare the top crust.
- Roll out the second batch of dough into a circle a little larger than your pie dish. Ensure that the dough is not sticking to your surface.
- Cut the pie dough into strips about 1-inch wide. If necessary, place the pie dough back into the refrigerator for about 15 minutes to chill.
- Remove the prepared pie from the refrigerator. Start with the longest strip (in the middle) and place it across the middle of the pie. Then use every other strip to make parallel stripes across the top of the pie.
- Next, fold back every other strip on the pie about halfway and place a piece of dough perpendicular to the first set. Fold the strips back up, so the piece of pie dough is now going over and under all of the strips.
- Then fold the alternating pieces back and repeat. Rotate the pie and continue with the second half.
- Once all of the lattice has been placed, trim the crust to the edge of your pie pan. Crimp the edge into a design if you like.
- Brush the top of the pie with egg wash and sprinkle with coarse sugar, if using
- Place the pie onto a baking sheet. Bake on the lowest rack of the oven for 55-60 minutes. If the crust starts to get overly brown, lay a piece of aluminum foil loosely over the top and continue to bake.
- Remove from oven and let cool for 3-4 hours (or overnight) before slicing.


