
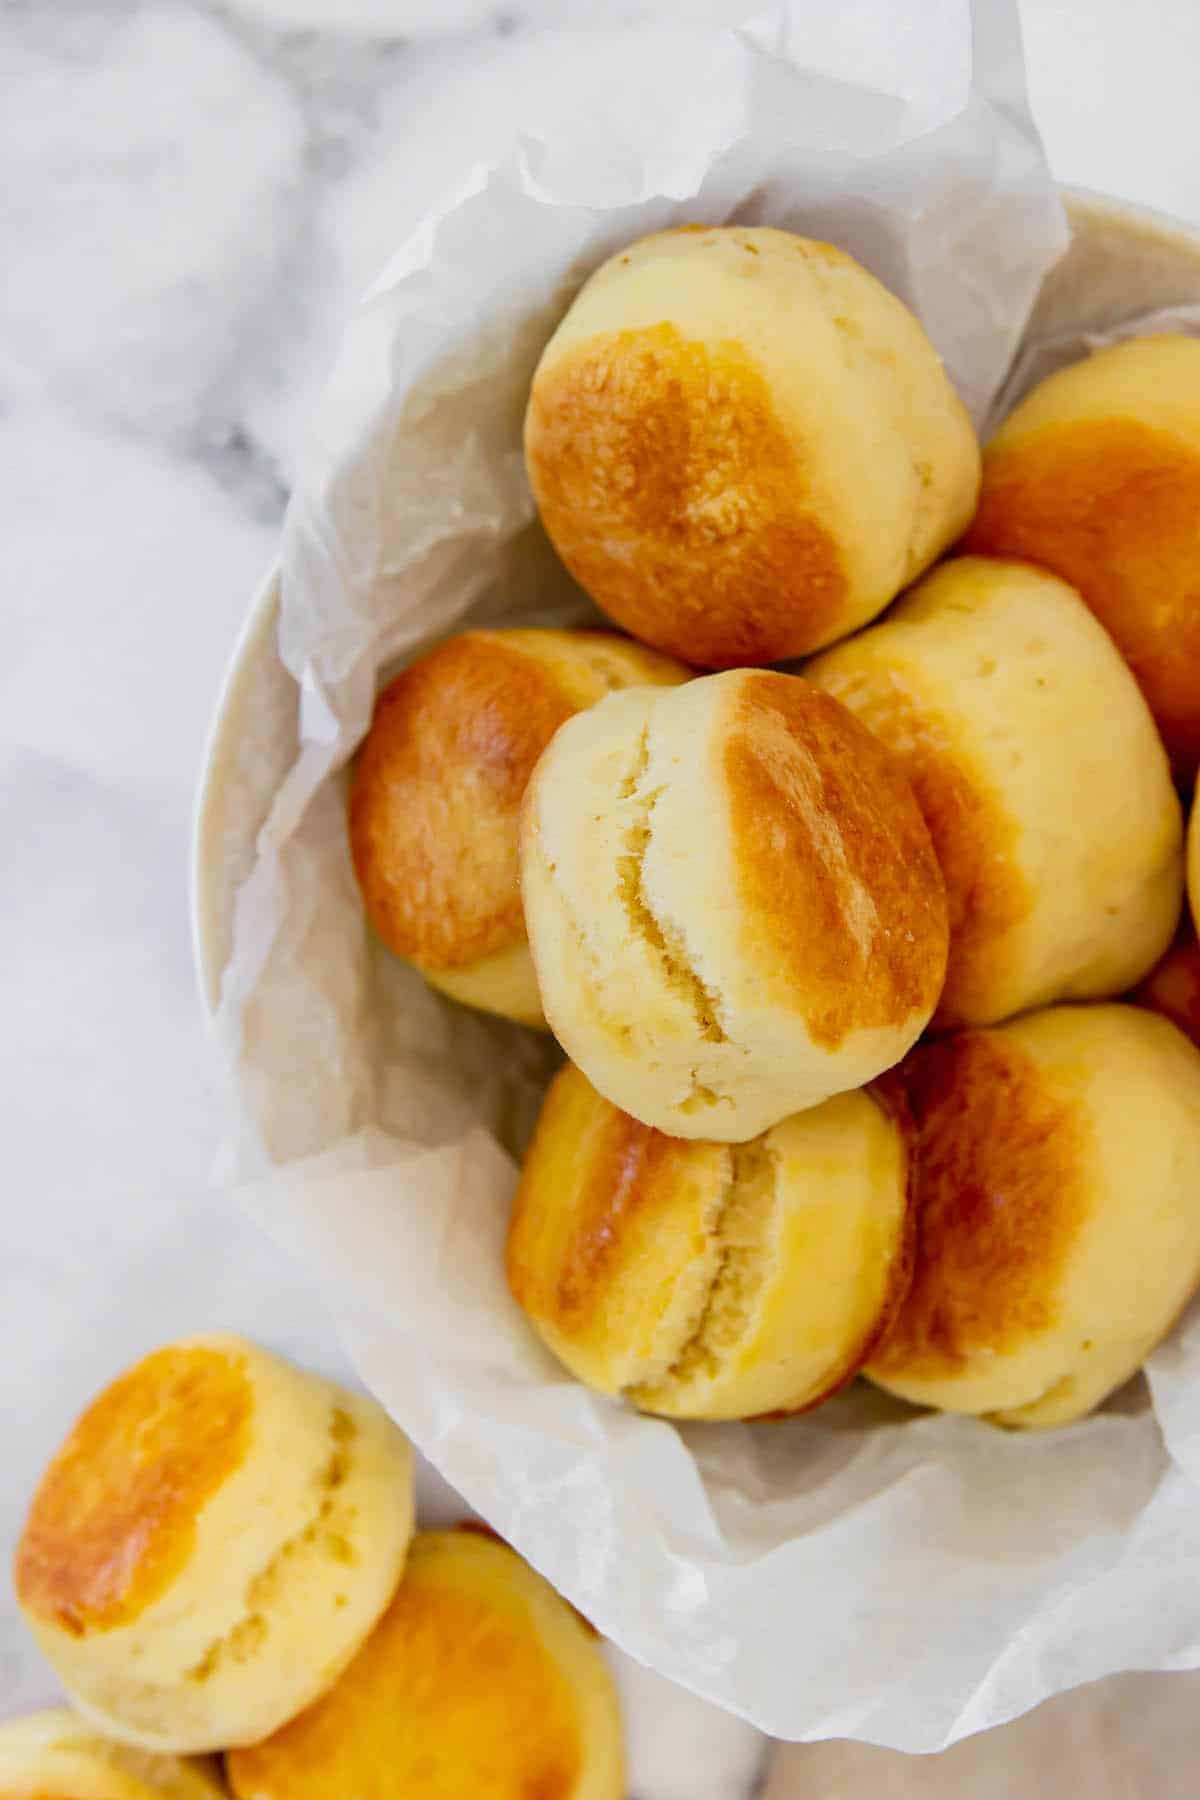
Gluten Free Buttermilk Biscuits


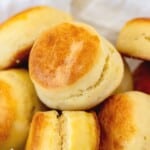

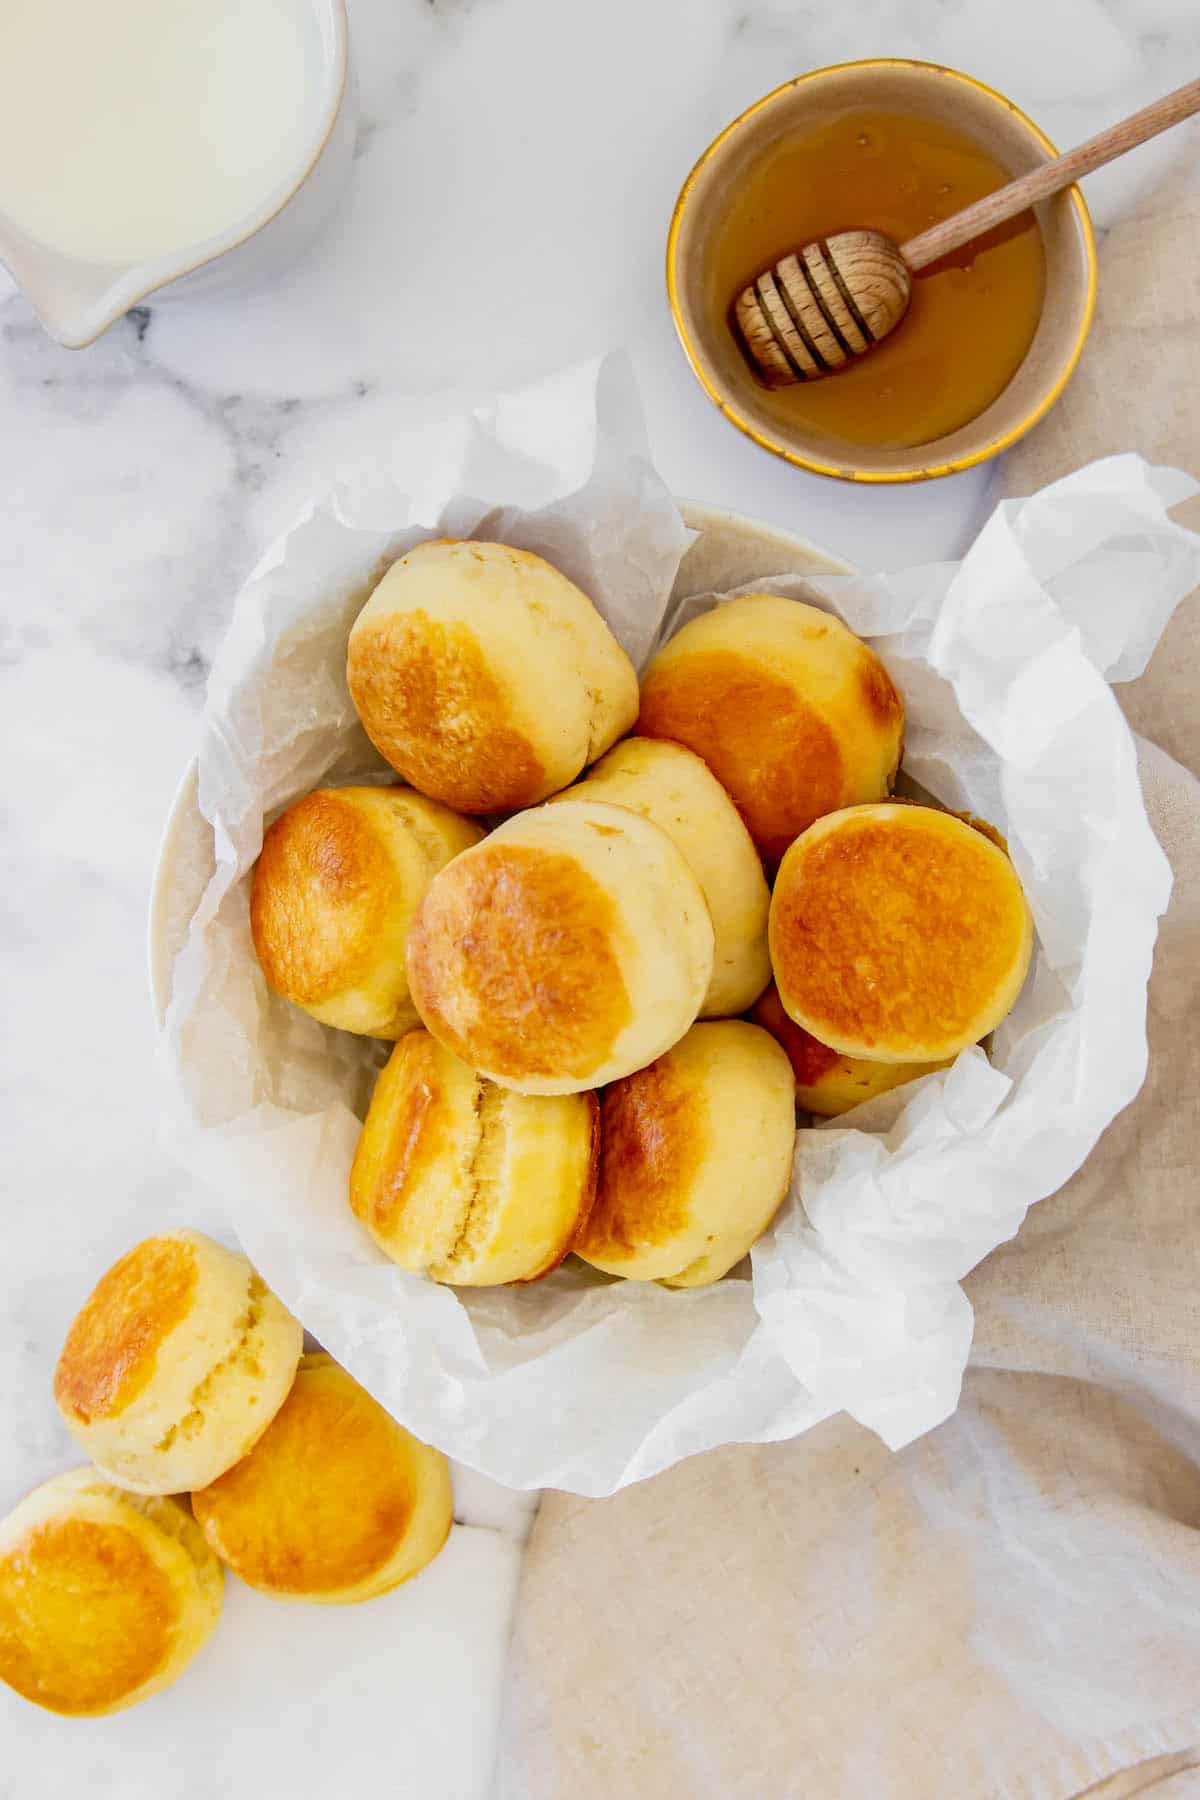
There isn’t much better than a buttery, melt-in-your-mouth biscuit fresh out of the oven. These Gluten Free Buttermilk Biscuits turn out perfectly flaky and ready to slather with butter, honey, or gravy. It’s an easy recipe that uses simple ingredients and bakes up just right for breakfast, dinner, or a holiday feast.
Delicious Details
- Cuisine Inspiration: American
- Primary Cooking Method: Oven
- Dietary Info: Gluten-free
- Skill Level: Easy
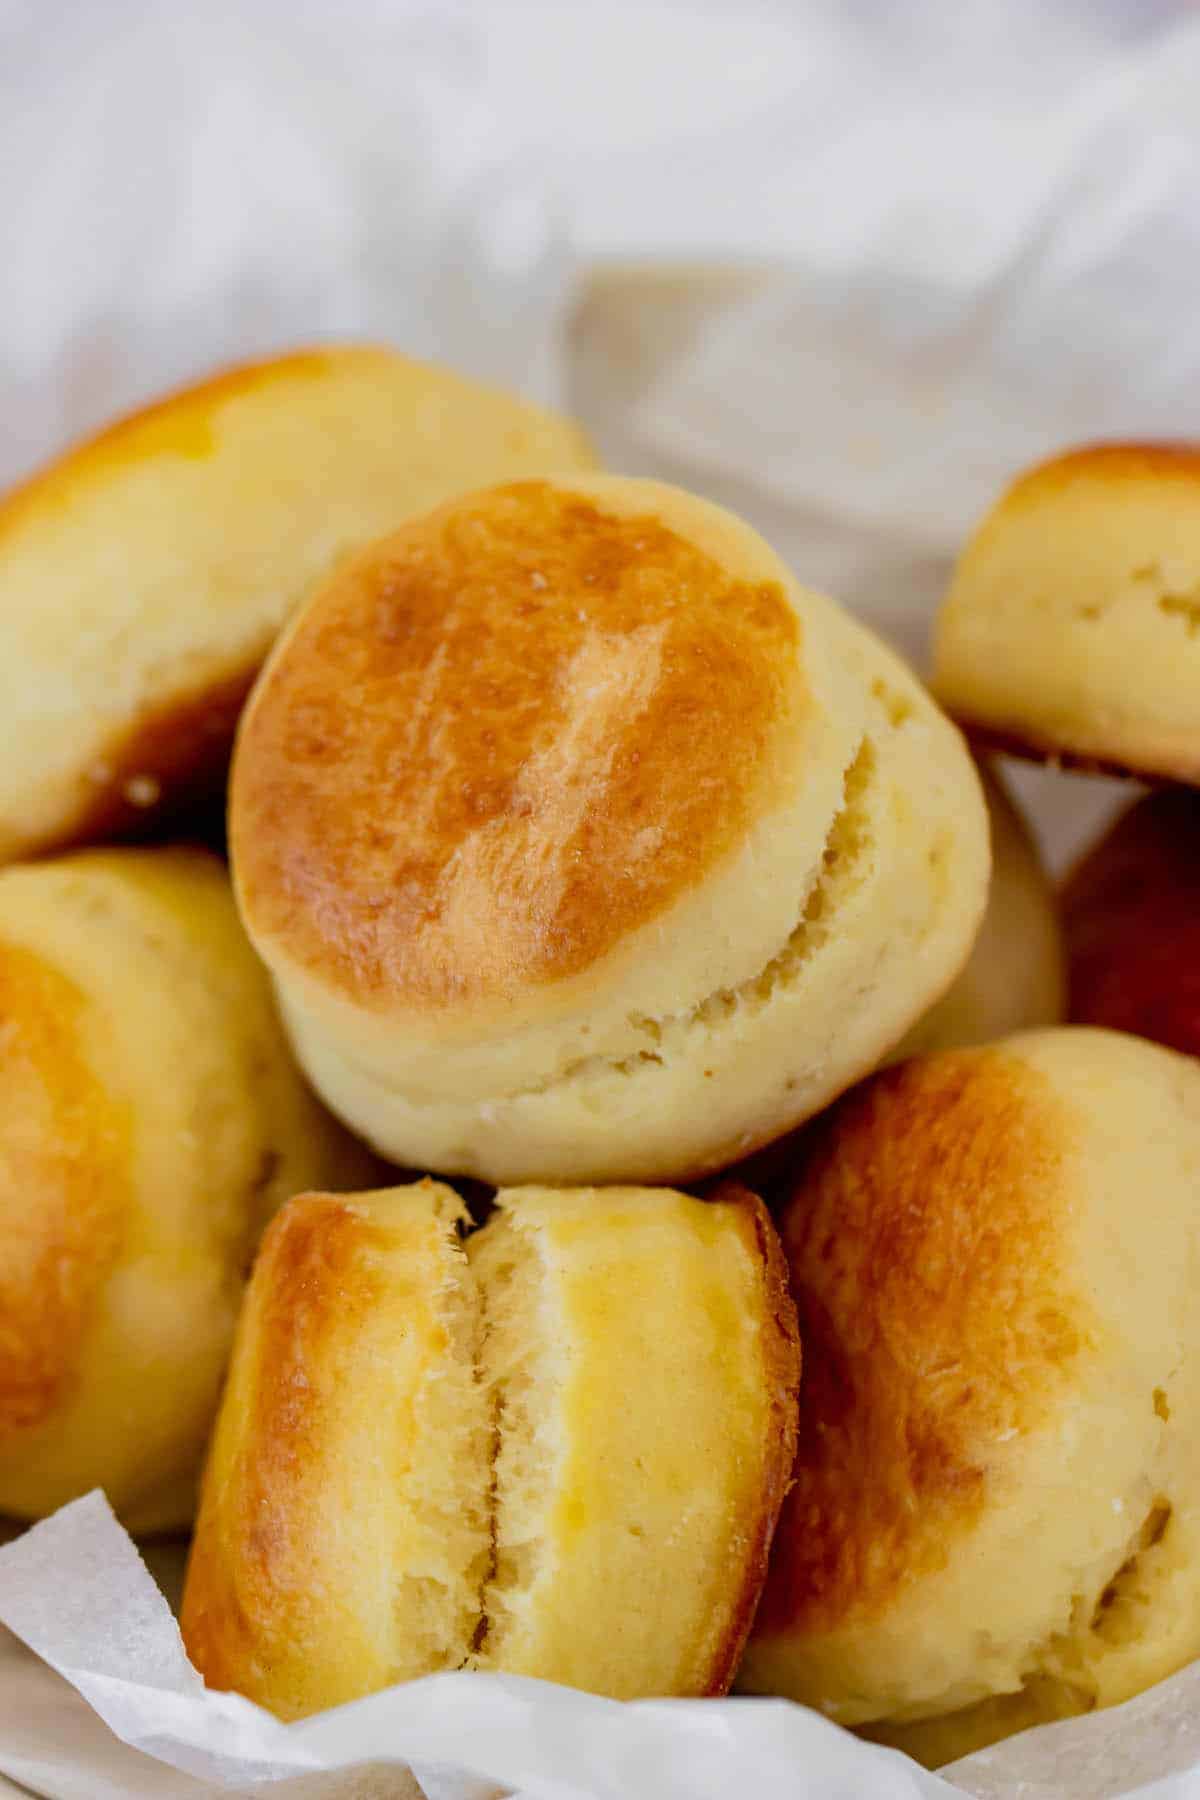
These Gluten Free Biscuits Are So Flaky!
There’s something about a Southern-style biscuit that just hits all the right notes. They’re soft and flaky on the inside with a crisp exterior, and they taste amazing with a pat of melty butter or a drizzle of honey on top. I’ll serve biscuits as a side dish for anything and everything!
- Simple perfection. The great thing about this recipe is how easy it is. The cold butter in the dough helps the biscuits bake up nice and light, while the 1:1 flour keeps them gluten-free.
- Comes together quickly. When you are missing the old days or running in to KFC or Popeye’s, you can whip up a batch of these gluten free biscuits in no time!
- So versatile. These biscuits go great with both sweet and savory flavors. They’re a must-make, especially around the holidays! Keep reading for lots of serving ideas.

What You’ll Need
Making buttermilk biscuits from scratch may seem like a big deal, but it really couldn’t be easier. You only need a handful of ingredients! Here’s a quick rundown. You’ll find the full amounts and detailed instructions further down in the recipe card.
- 1:1 Gluten-Free Flour. You can use all-purpose flour if not gluten-free.
- Baking Soda and Baking Powder. To help the biscuits rise up in the oven.
- Sugar. Just a little for the right texture – your biscuits won’t taste overly sweet.
- Salt.
- Unsalted Butter. Cold and cubed.
- Buttermilk. You can make your own by adding 2 1/2 teaspoons lemon juice or vinegar to a measuring cup, then adding whole or 2% milk with up to the 3/4 cup mark.
- Melted Butter. For brushing over the biscuits.

How to Make Gluten Free Biscuits
There’s no need to let the dough rise before you bake your biscuits. And they only take about 10 minutes to cook! First, check out this overview with photos. Then scroll down to the recipe card for all the details.
- Prep for Baking: Preheat the oven to 450ºF and line a baking sheet with parchment paper.
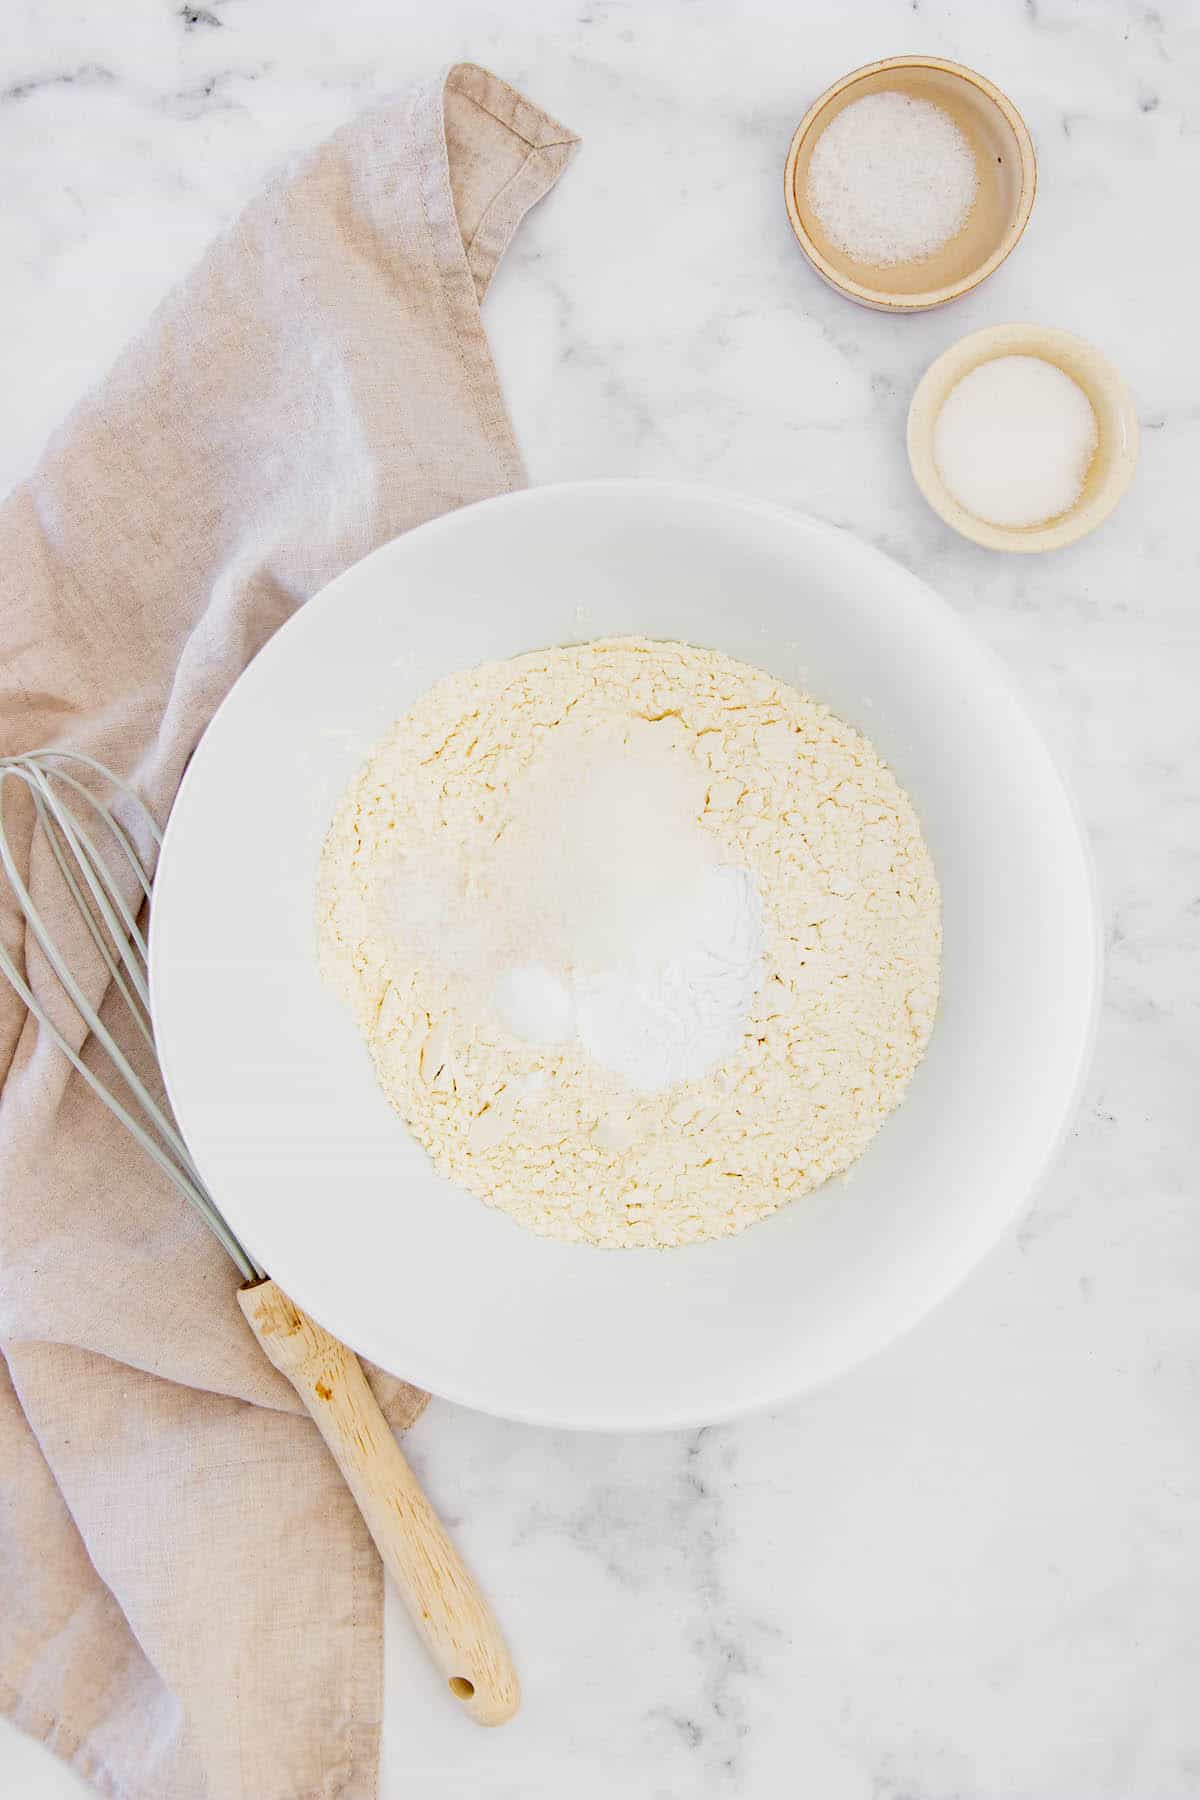
- Combine Dry Ingredients: In a mixing bowl, whisk the gluten-free flour, baking soda, baking powder, sugar and salt together.
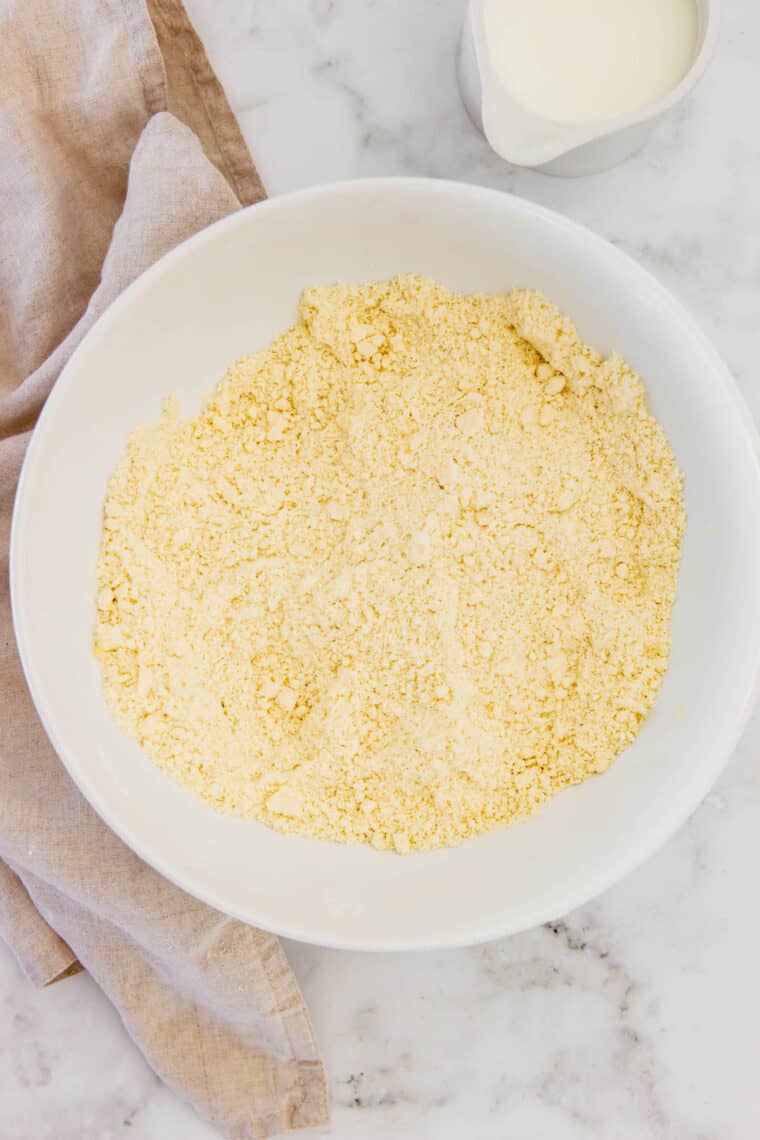
- Add Butter: Add the the cold butter and use a pastry cutter or a fork to mix the butter into the mixture until it resembles coarse sand. You can use a food processor as well.
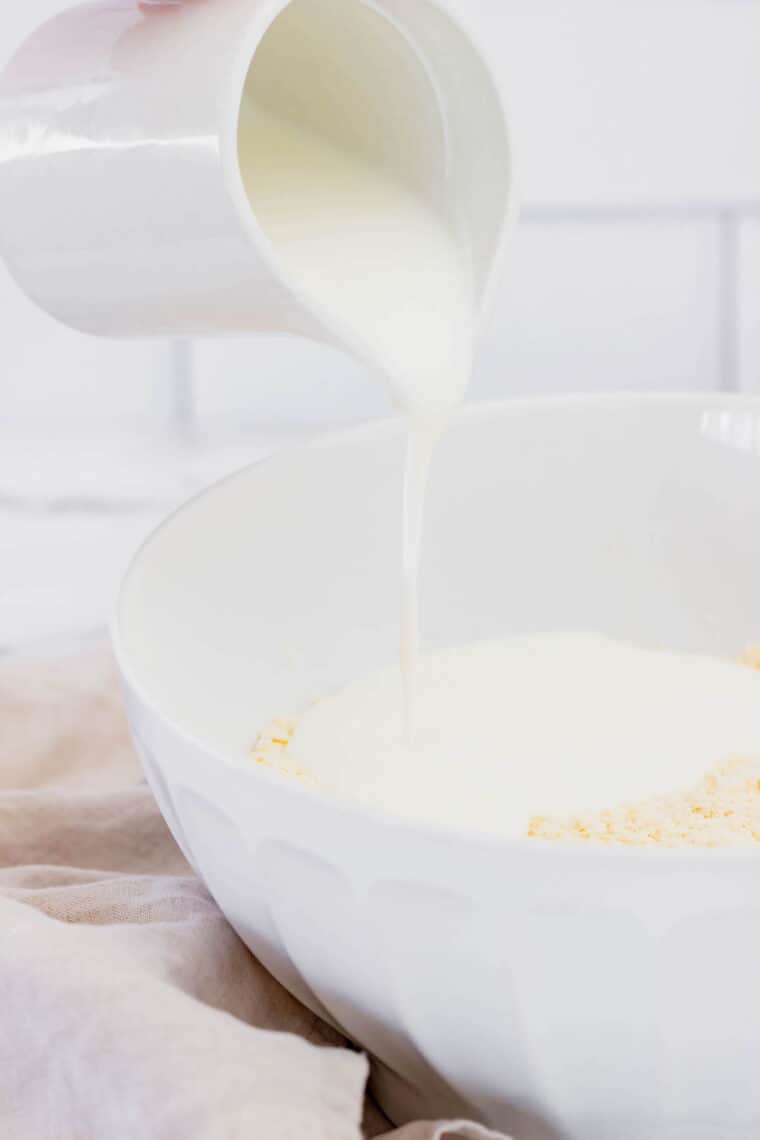
- Start to Form the Dough: Pour in the buttermilk, then use a wooden spoon or rubber spatula to gently bring everything together. It will still be a bit crumbly.
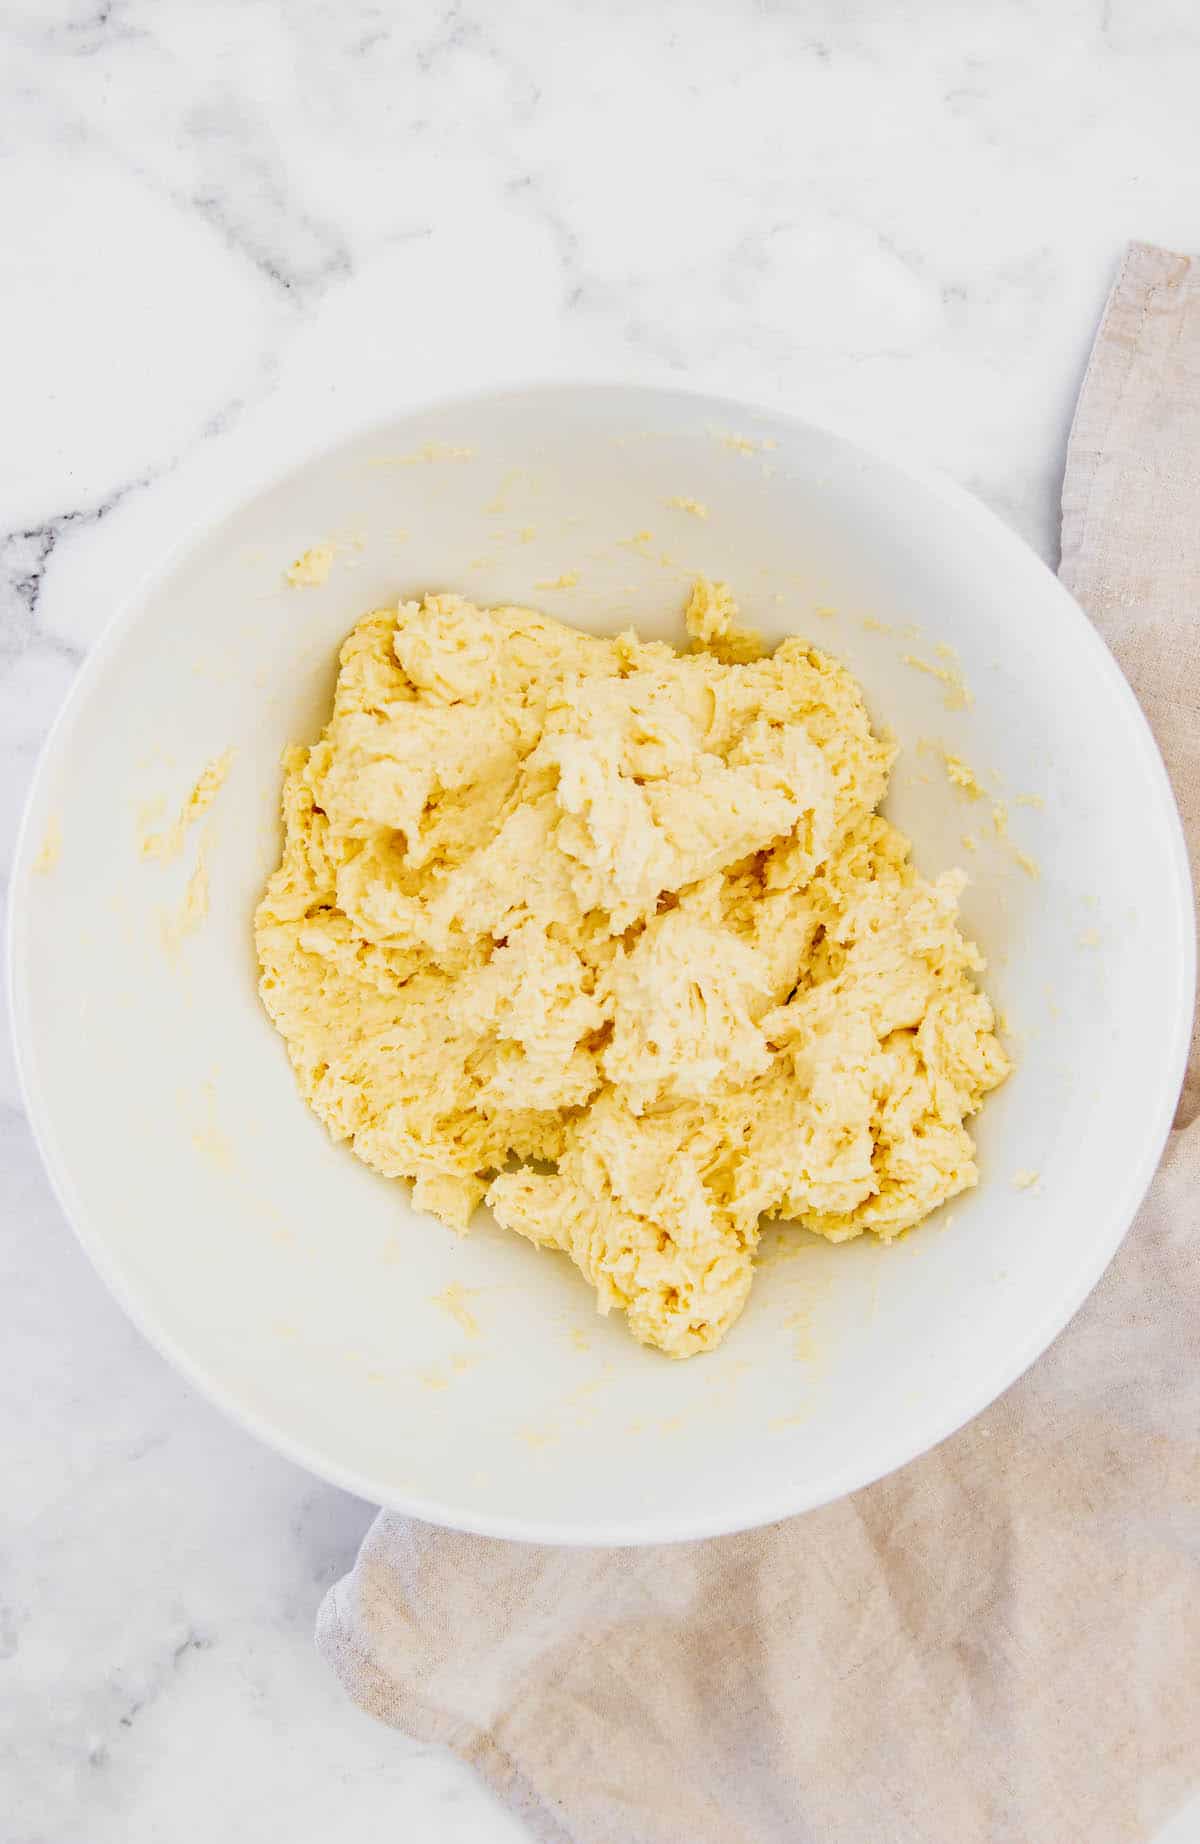
- Knead Dough: Transfer the dough to a floured surface and bring the dough together. Do not over-knead.
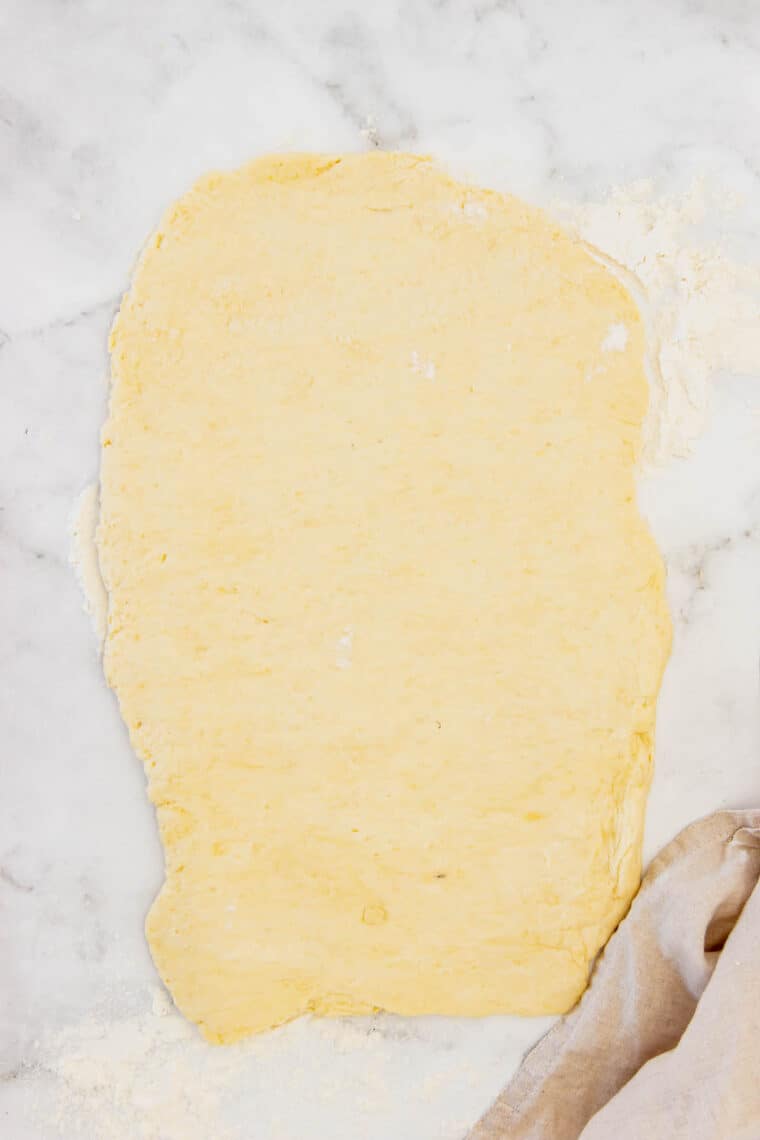
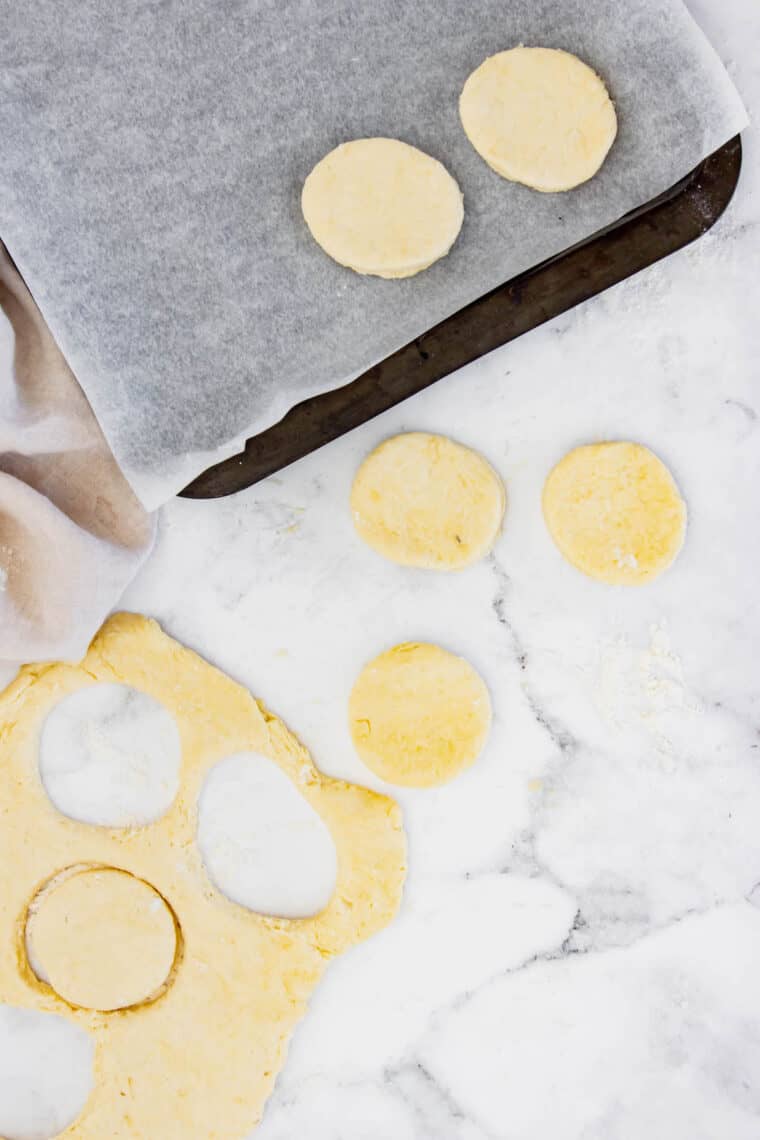
- Shape Biscuits: Flatten the dough into a rectangular shape, about 1/2 inch thick, and cut out circles with a cookie cutter. Transfer the circles to the prepared baking sheet.
- Bake: Bake for 10-15 minutes, or until golden.
- Brush with Butter: Brush the biscuits with the melted butter. Serve them with gravy for a savory option or honey for a sweeter option.
Tips for Success
Making gluten-free biscuits is such a breeze, but I do have some helpful hints to keep in mind when preparing them.
- Measure Flour Accurately: Instead of directly scooping out your flour with the measuring cup, spoon it in and level it with a knife. This will keep the flour from packing down to ensure you’re using the right amount.
- Use Cold Butter: I suggest keeping your butter in the fridge until you’re ready to use it. The colder the better. Small chunks of butter in the batter are necessary for the light and fluffy texture of the biscuits. I like to use a pastry blender for cutting in the butter.
- Avoid Over-Kneading: Stop kneading the dough once it’s moldable and can be flattened out. If you overwork the dough, your biscuits won’t have the proper texture.
- Use the Right Cutter. While the old-fashioned way was to use a glass, I like using metal cutters to make a clean cut and allow for better puffing up of the biscuits.

How to Store Gluten Free Biscuits
- Countertop. Once cooled, leftover biscuits should be stored in an airtight container and kept at room temperature. They’ll last for 2-3 days, but they might be a little drier on the third day.
- Refrigerator. If you want them to last longer, keep them in the fridge instead. Refrigerated biscuits last for up to a week.
- Freezer. Leftover biscuits stay fresh in the freezer for 2-3 months. Just wrap each one in plastic wrap or aluminum foil and store them in a freezer-safe bag or container. Thaw frozen biscuits in the fridge before enjoying them. You can warm up your biscuits in the microwave, if desired.
Make it a Meal
Buttermilk biscuits go great with literally everything, if you ask me. While a smear of butter or jam is really all they need, here are some of the ways I love to serve them:
- Top with Gravy: You can never go wrong with a classic dish like Biscuits and Gravy smothered with savory sausage gravy and a side of Waldorf Fruit Salad for brunch. And don’t forget the Gluten Free Turkey Gravy if you serve them with your Thanksgiving Turkey.
- KFC Copycat: Whether you make Gluten Free KFC Popcorn Chicken or Air Fryer Gluten Free Fried Chicken, don’t forget the Coleslaw, a scoop of Instant Pot Mashed Potatoes, and Gluten Free Brown Gravy.
- Make a Biscuit Sandwich: These biscuits make a delicious bun for all sorts of sandwiches. Try a bacon, egg, and cheese using prep-ahead baked eggs or add slices of Slow Cooker Turkey Breast and a smear of Cranberry Sauce.
- Have a BBQ Feast: Start with Barbecue Pulled Pork, and add sides like Apple Coleslaw and Butternut Squash Macaroni and Cheese.
More gluten free staples
Gluten Free Buttermilk Biscuits
Equipment
- Oven
Ingredients
- 1 3/4 cups 1:1 gluten-free flour
- 1/2 teaspoon baking soda
- 1/2 Tablespoon baking powder
- 1 Tablespoon granulated sugar
- 1/2 teaspoon salt
- 1/2 cup cold unsalted butter, cubed
- 3/4 cup buttermilk
- 2 Tablespoons melted butter
Instructions
- Preheat the oven to 450ºF and line a baking sheet with parchment paper.
- In a mixing bowl, whisk 1 3/4 cups 1:1 gluten-free flour, 1/2 teaspoon baking soda, 1/2 Tablespoon baking powder, 1 Tablespoon granulated sugar, and 1/2 teaspoon salt together.
- Add 1/2 cup cold unsalted butter, cubed, and use a pastry cutter or a fork to mix the butter into the mixture until it resembles coarse sand. You can use a food processor as well.
- Pour in 3/4 cup buttermilk, then use a wooden spoon or rubber spatula to gently bring everything together and form a loose dough. It will still be a bit crumbly.
- Transfer the dough to a floured surface and knead gently to bring the dough together. Do not over-knead.
- Flatten the dough into a rectangular shape, about 1/2 inch thick, and cut out circles with a cookie cutter. Transfer the circles to the prepared baking sheet.
- Bake at 450°F for 10-15 minutes, or until golden.
- Brush the biscuits with 2 Tablespoons melted butter. Serve them with gravy for a savory option or honey for a sweeter option.
Notes

Did you make this?
Leave a star rating to help others know that they should make this recipe.
Share a photo and tag @cupcakesandkalechips on Instagram!
Just a thought, I’ve made gluten-free biscuits from another trusted gluten-free website and one of the instructions is NOT to turn the cookie cutter or the biscuit cutter when cutting the dough. It states that you should place the cutter inti the dough and pull it out. If you twist it, you’re cinching or sealing the sides of the biscuit, which can affect the rise. Not sure if that’ll help here, but it’s worth a try. Look forward to trying this recipe. Thanks.
These biscuits made me shed a tear I was so happy with the results. I have missed them so much. Thank you. Thank you!
I am so happy to hear this! Thanks for letting me know!
I made these and they are flat. What did I do wrong?
Hi Megan, without being there, I can’t say for sure, but I can give you a few things to check. Make sure your baking soda and baking powder are fresh. Be sure you measured the flour by lightly spooning it into the measuring cups. too much flour can really lead to a dense final product with gluten free baking. Be sure your butter was really cold, and don’t overmix it both before and after you ad the liquid. You want to make sure there are still little bits of butter because that is what helps them get flaky. Hope that helps.
Like an earlier commenter, my biscuit came out no higher than when they went in. I used fresh soda, powder and lightly spooned and leveled the flour and they still didn’t rise. They taste good though and were flakey so that’s a pkus!
Interesting. Can you tell me what flour you used? I would like to troubleshoot the recipe.
Hello,
I don’t think we have cup4cup here in the U.K…or it’s not cheap 😅 Can I use gluten free flour and some xantham gum? I’m new to this as I am trying to go gluten free for 6 weeks for my daughter. I found your site and you’ve got so many great recipes!
I’m so sorry for the delayed response! Somehow I missed your comment. I have not tested this with an all purpose gluten free flour plus xanthan gum, but it might work. Do you have any measure for measure gluten free blends that contain xanthan gum?