This post may contain affiliate links. Read my disclosure policy.
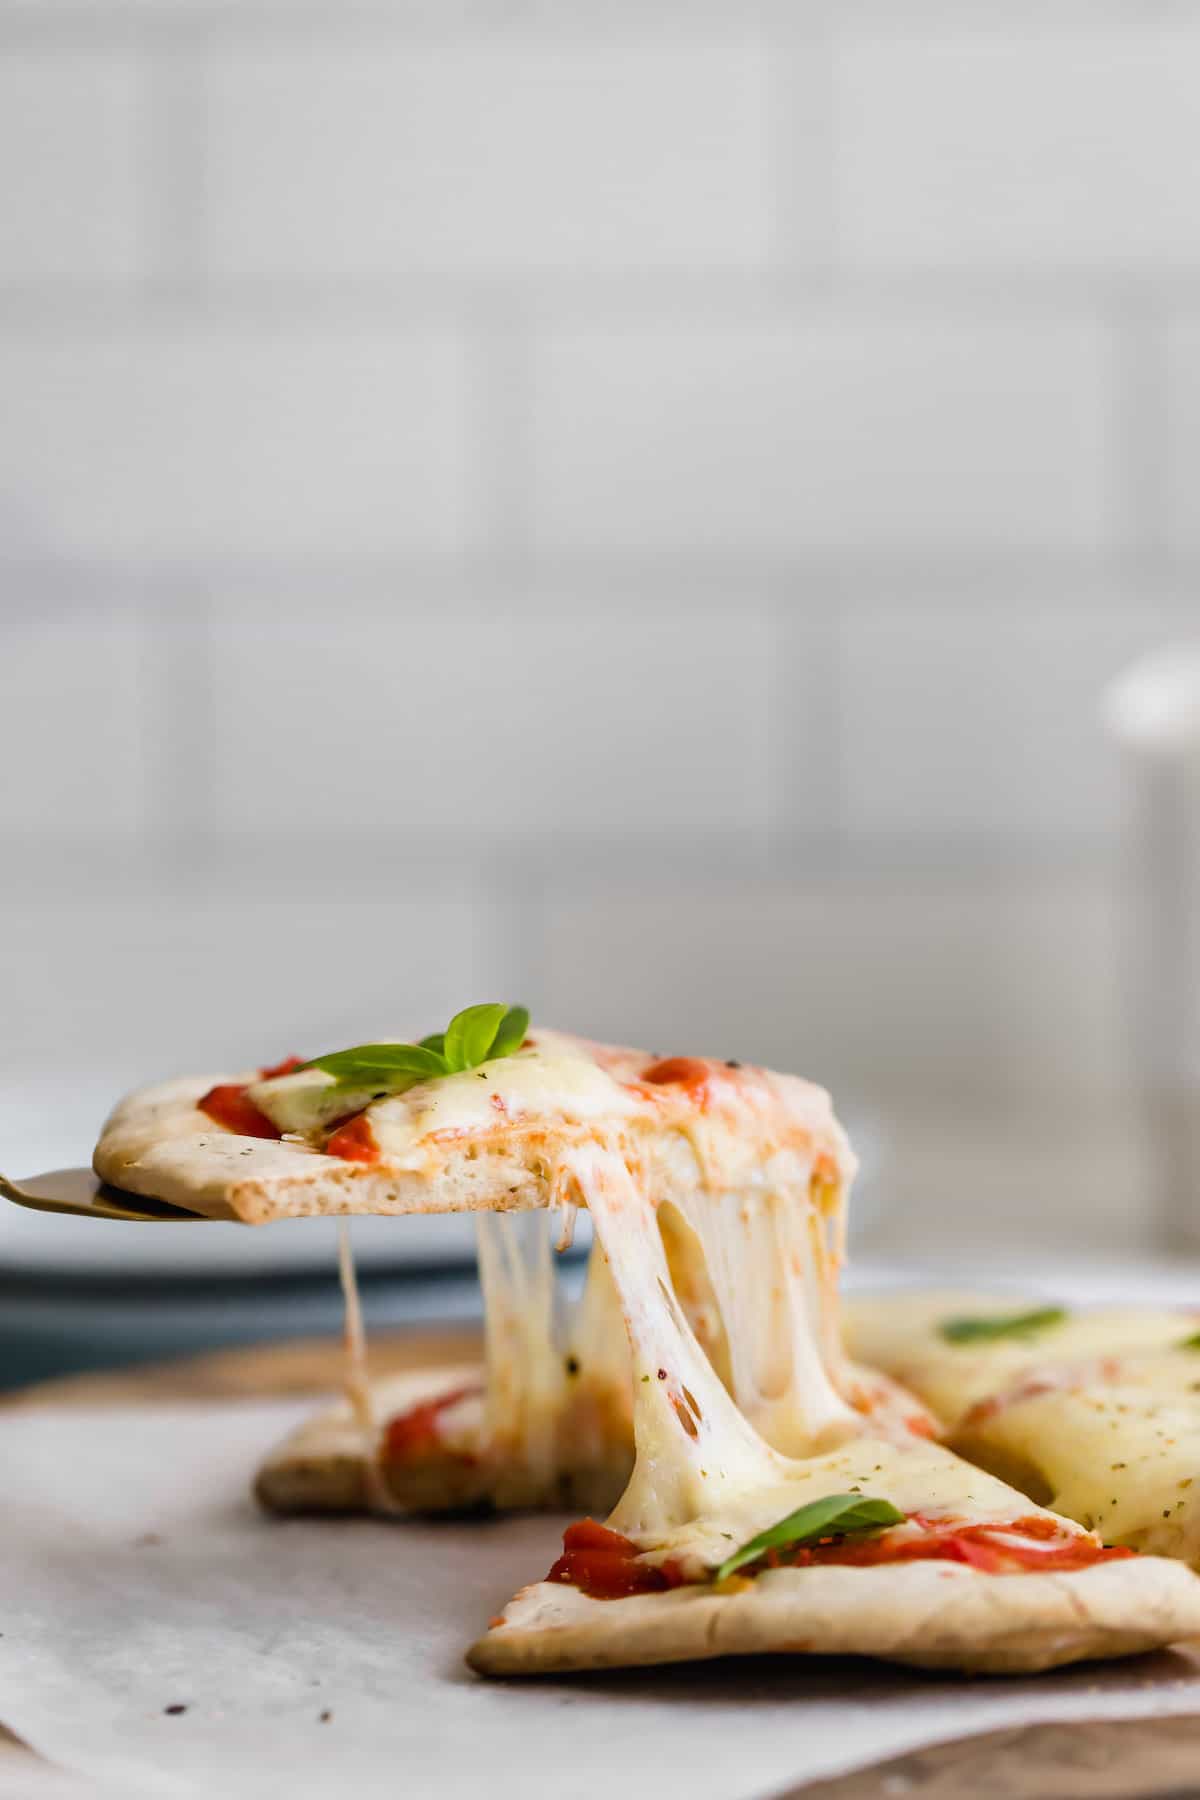
Topped any way you like it, my Gluten Free Pizza features a super easy crust that tastes perfect, holds up really well, and comes together with only a few basic ingredients! Let’s get baking!
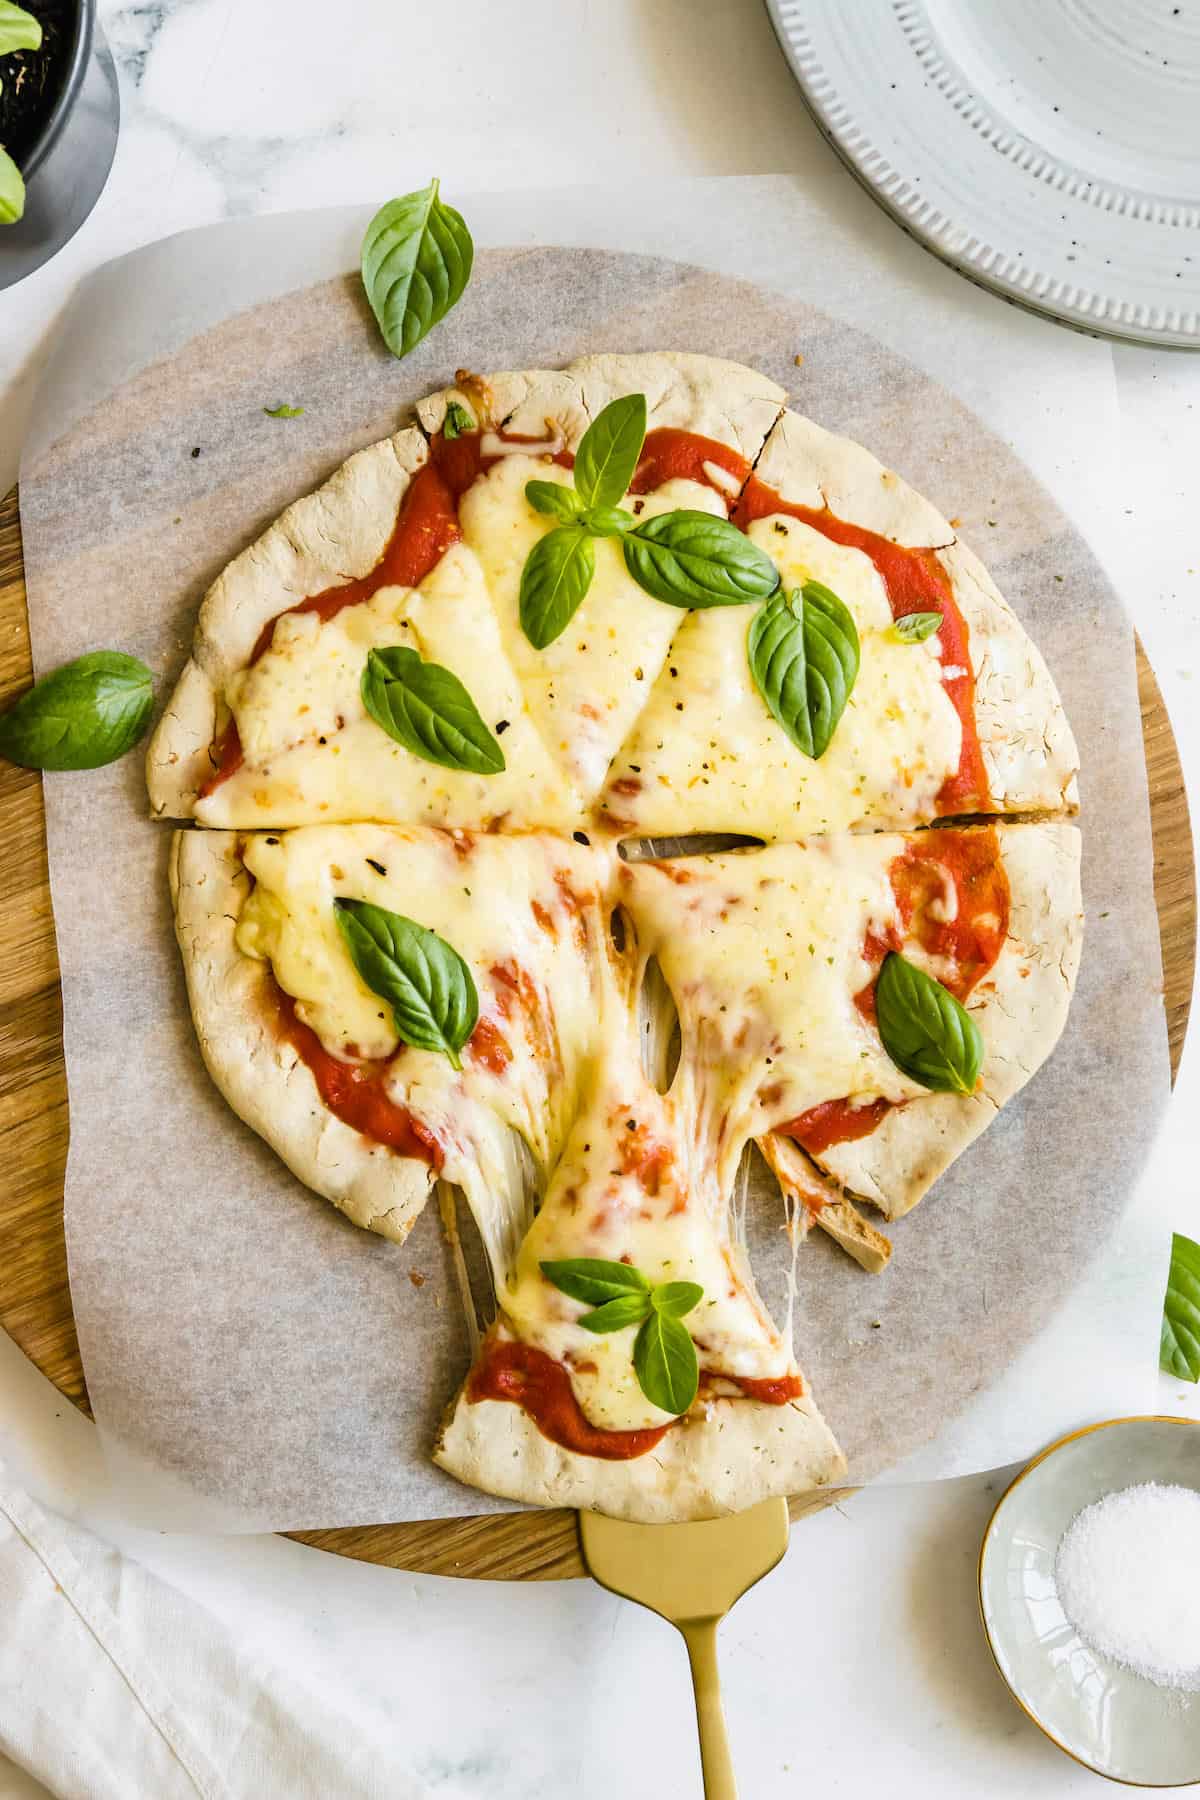
Delicious Details
- Cuisine Inspiration: Italian
- Primary Cooking Method: Oven
- Dietary Info: Gluten-free, Dairy-free option
- Skill Level: Easy
Why This is the BEST Gluten Free Pizza Dough
Just because you’re avoiding gluten doesn’t mean you have to avoid pizza! And if you’re skeptical, just wait until you try this easy recipe.
A lot of us who are gluten-free have been working with gluten-free recipes for years, and in the early days, that wasn’t always a lot of fun. But these days, gluten-free cooking has come a long way! There are gluten-free workarounds for just about everything, including pizza crust! This is my go-to recipe and here’s why:
- Just the way you remember. My version is very similar to a regular wheat-based pizza crust, using mainly flour, oil, yeast and water. I also add a little bit of baking soda and a spoonful of sugar to my dough, helping to boost the rise in the dough, and give it a little more flavor, unlike the ones that taste like cardboard. Plus it is sturdy enough to stand up to all your favorite toppings.
- No rise time. Another nice thing about this recipe is that, although I do add yeast, it’s Instant Yeast, so you don’t have to worry about letting the dough rise or punching it down. That makes this very quick and easy to make, even for a weeknight meal!
- Flexible with flour. I do share what I think works best, but I have tried this with a number of different flour blends, and even sometimes just a combo of bits that are left in the bottom of my bags. And while the consistency of the dough can vary from a super thick paste to a kneadable dough, the final crust is always amazing!
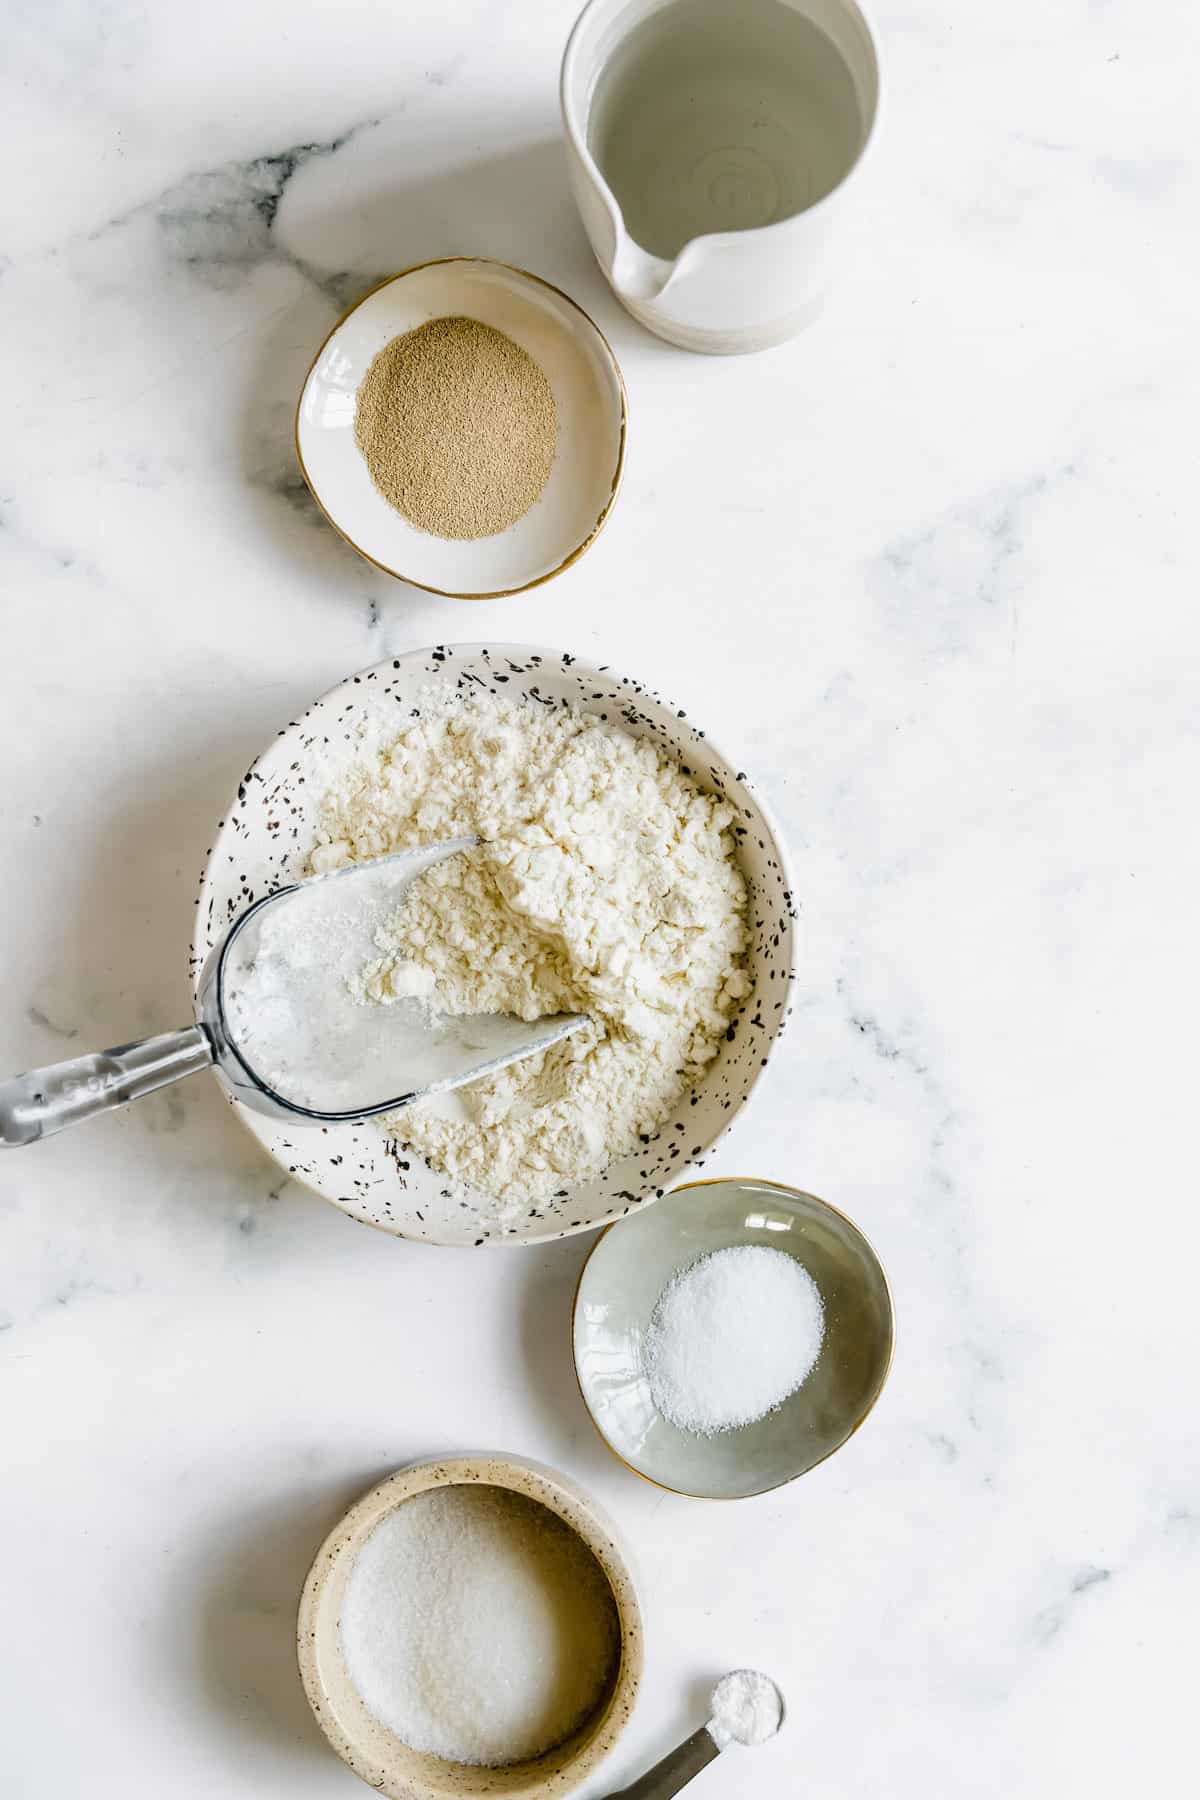
Recipe Ingredients
This yeast dough starts with one cup of warm water. It should be about body temperature or slightly warmer. Be careful not to use hot water, which will “kill” yeast, and cold water, which won’t allow it to activate.
- Warm Water: 1 cup, about body temperature (read the packet and use a thermometer for the ideal temperature).
- Instant Dry Yeast: This usually comes in little packets of about two teaspoons, so you’ll need a packet (or measure out two teaspoons, if you have a larger container). It’s also known as Rapid Rise or Fast-Acting, and doesn’t need to be proofed.
- Gluten-Free Flour: As we’ve talked about, this recipe uses two cups of gluten-free, 1:1 flour. I’ve used Bob’s Red Mill 1-to-1 and King Arthur Measure For Measure Flour successfully. But the best results are with Cup4Cup or King Arthur All-Purpose Gluten Free Flour (not the 1:1 blend) with an extra 1/2 teaspoon of xanthan gum.
- Salt: A teaspoon of salt seasons the crust perfectly!
- Sugar: I like to add one tablespoon of sugar for a little flavor boost.
- Baking Soda: ¼ teaspoon of baking soda is important for the texture of this pizza crust.
- Olive Oil: You’ll only need about a tablespoon of olive oil for this recipe.
How to Make Gluten Free Pizza
Since we’re making dough from scratch, this pizza is slightly more involved than it would be if it called for pre-made pizza dough. But the chewy texture and yummy taste is worth a few extra steps! This is seriously the easiest from-scratch pizza ever.
Make the Dough
All you have to do is mix up your ingredients, pre-bake the dough, then add your toppings and finish it in the oven. So simple, and so tasty! I like using some parchment under the dough when baking, so it doesn’t stick.
- Prep Oven & Baking Sheet: Preheat the oven to 450°F. It needs to be good and hot to properly bake the pizza, especially once the toppings are on! Position the oven rack in the bottom third of the oven, and line a baking sheet with parchment paper. For an extra crisp crust, set a pizza stone on the oven rack while it preheats.
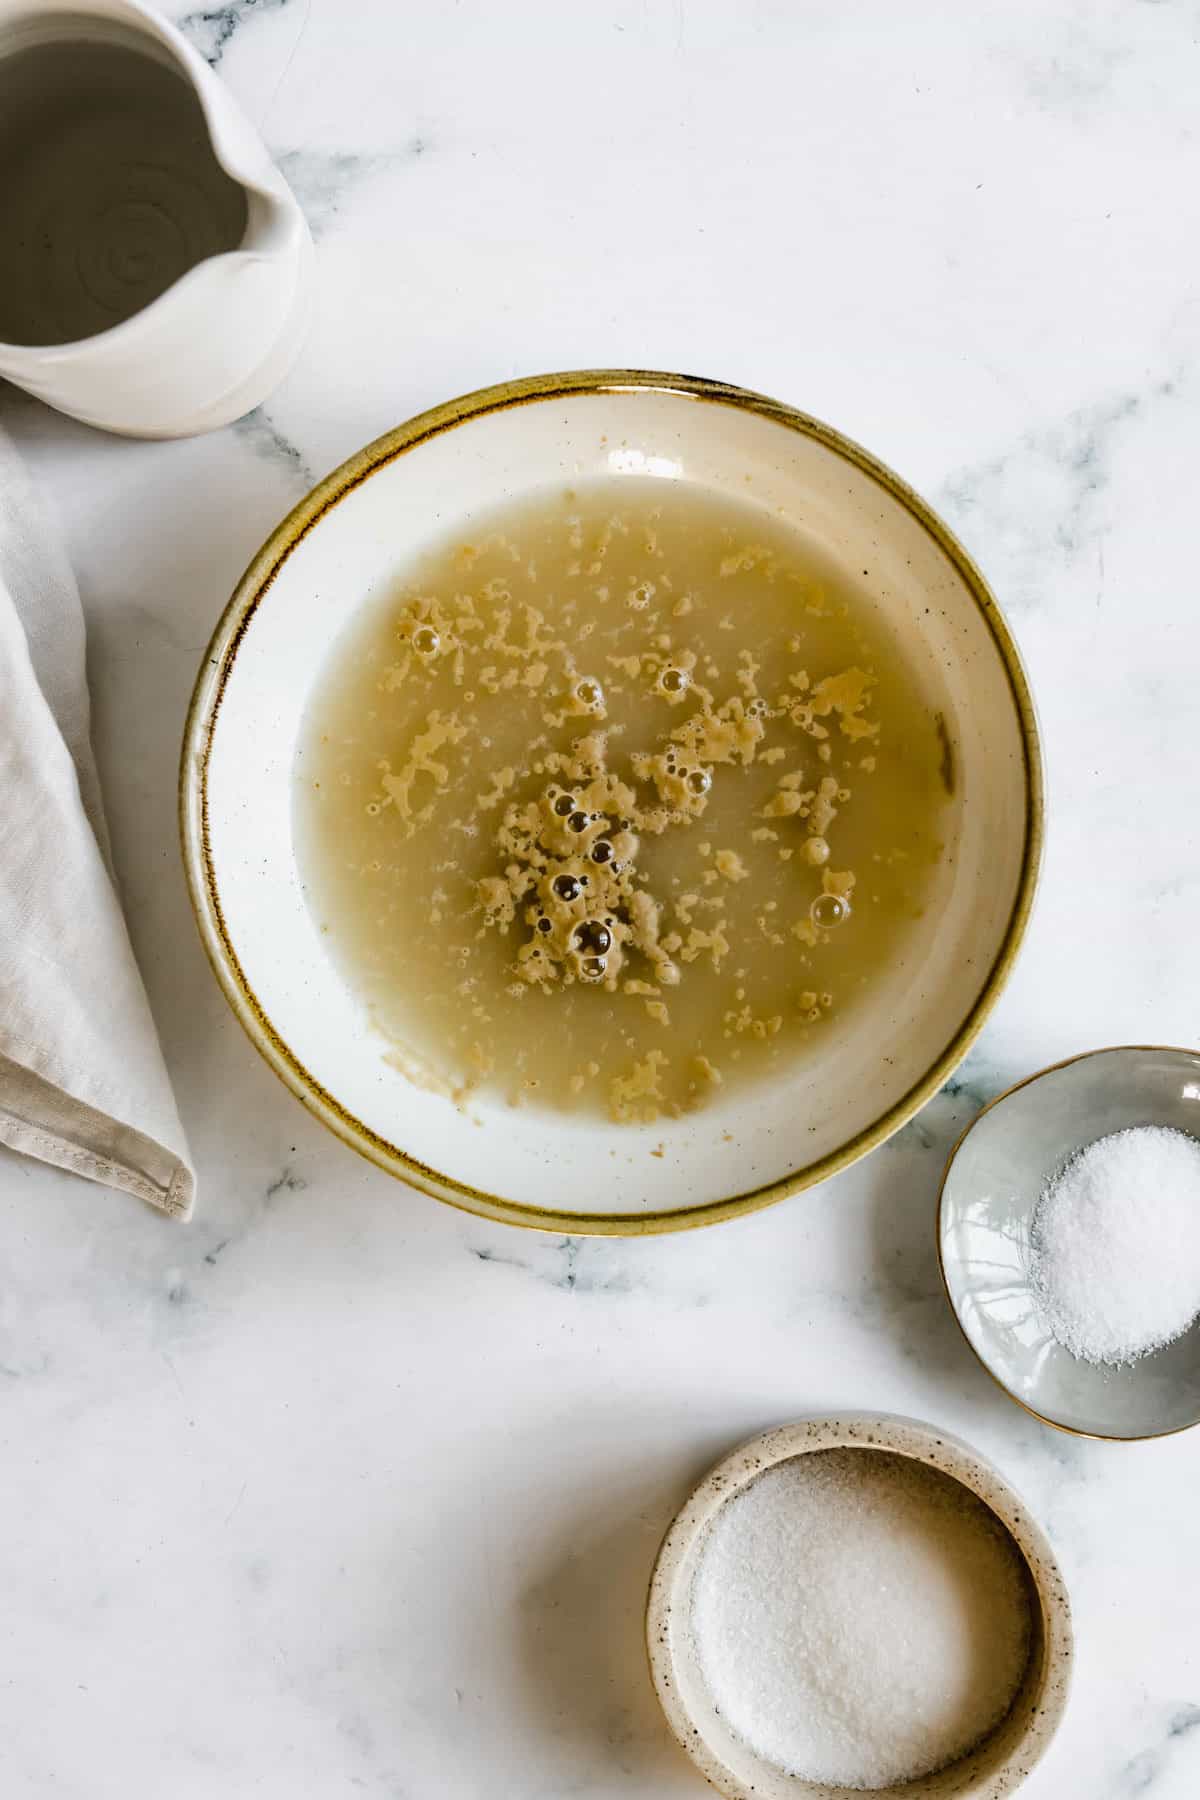
- Proof Yeast: In a small bowl or jug, combine the warm water and instant dry yeast. Stir it gently to help it dissolve, then let it sit at room temperature for about five minutes. It should become foamy. (If not, the yeast is too old to work properly, and you’ll need to start over with a newer packet/container of yeast.)
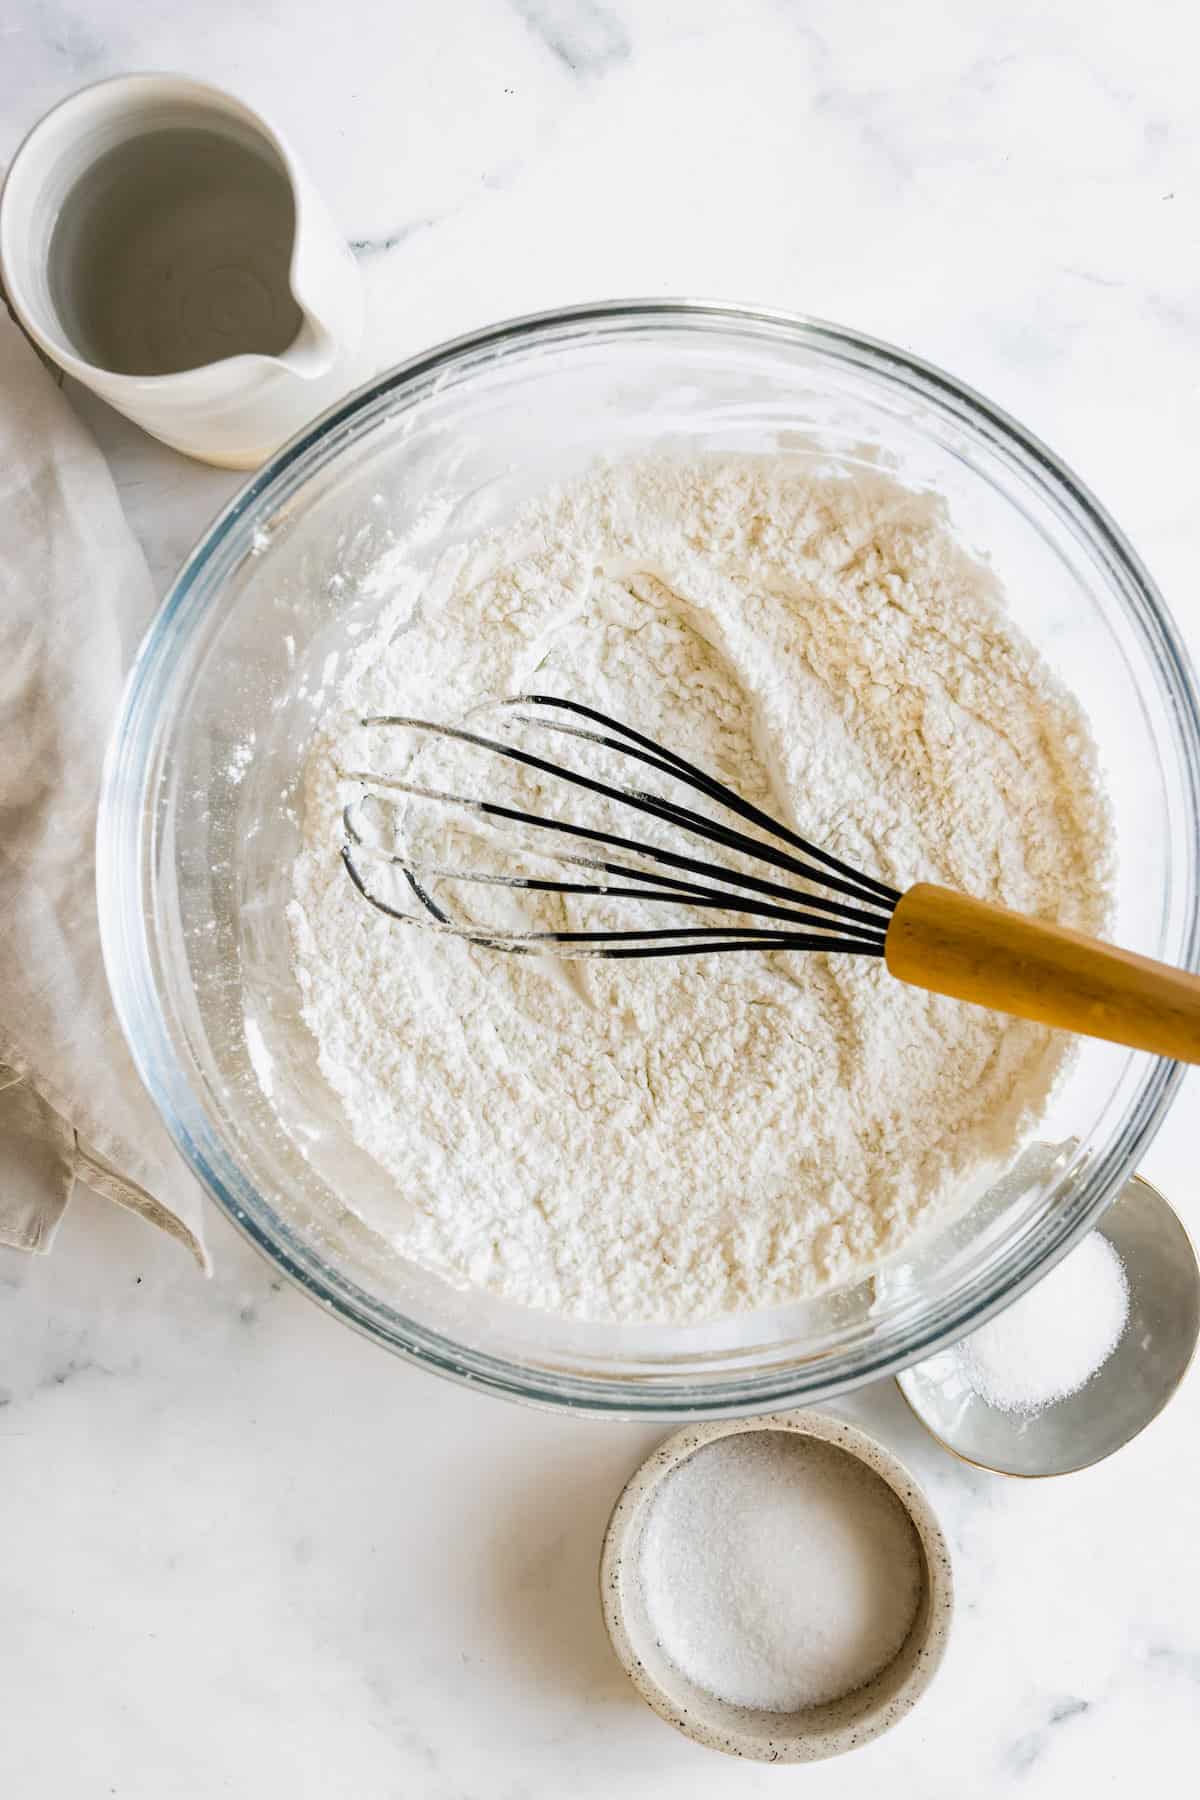
- Combine Dry Ingredients: In a mixing bowl, whisk together the flour, salt, sugar and baking soda.
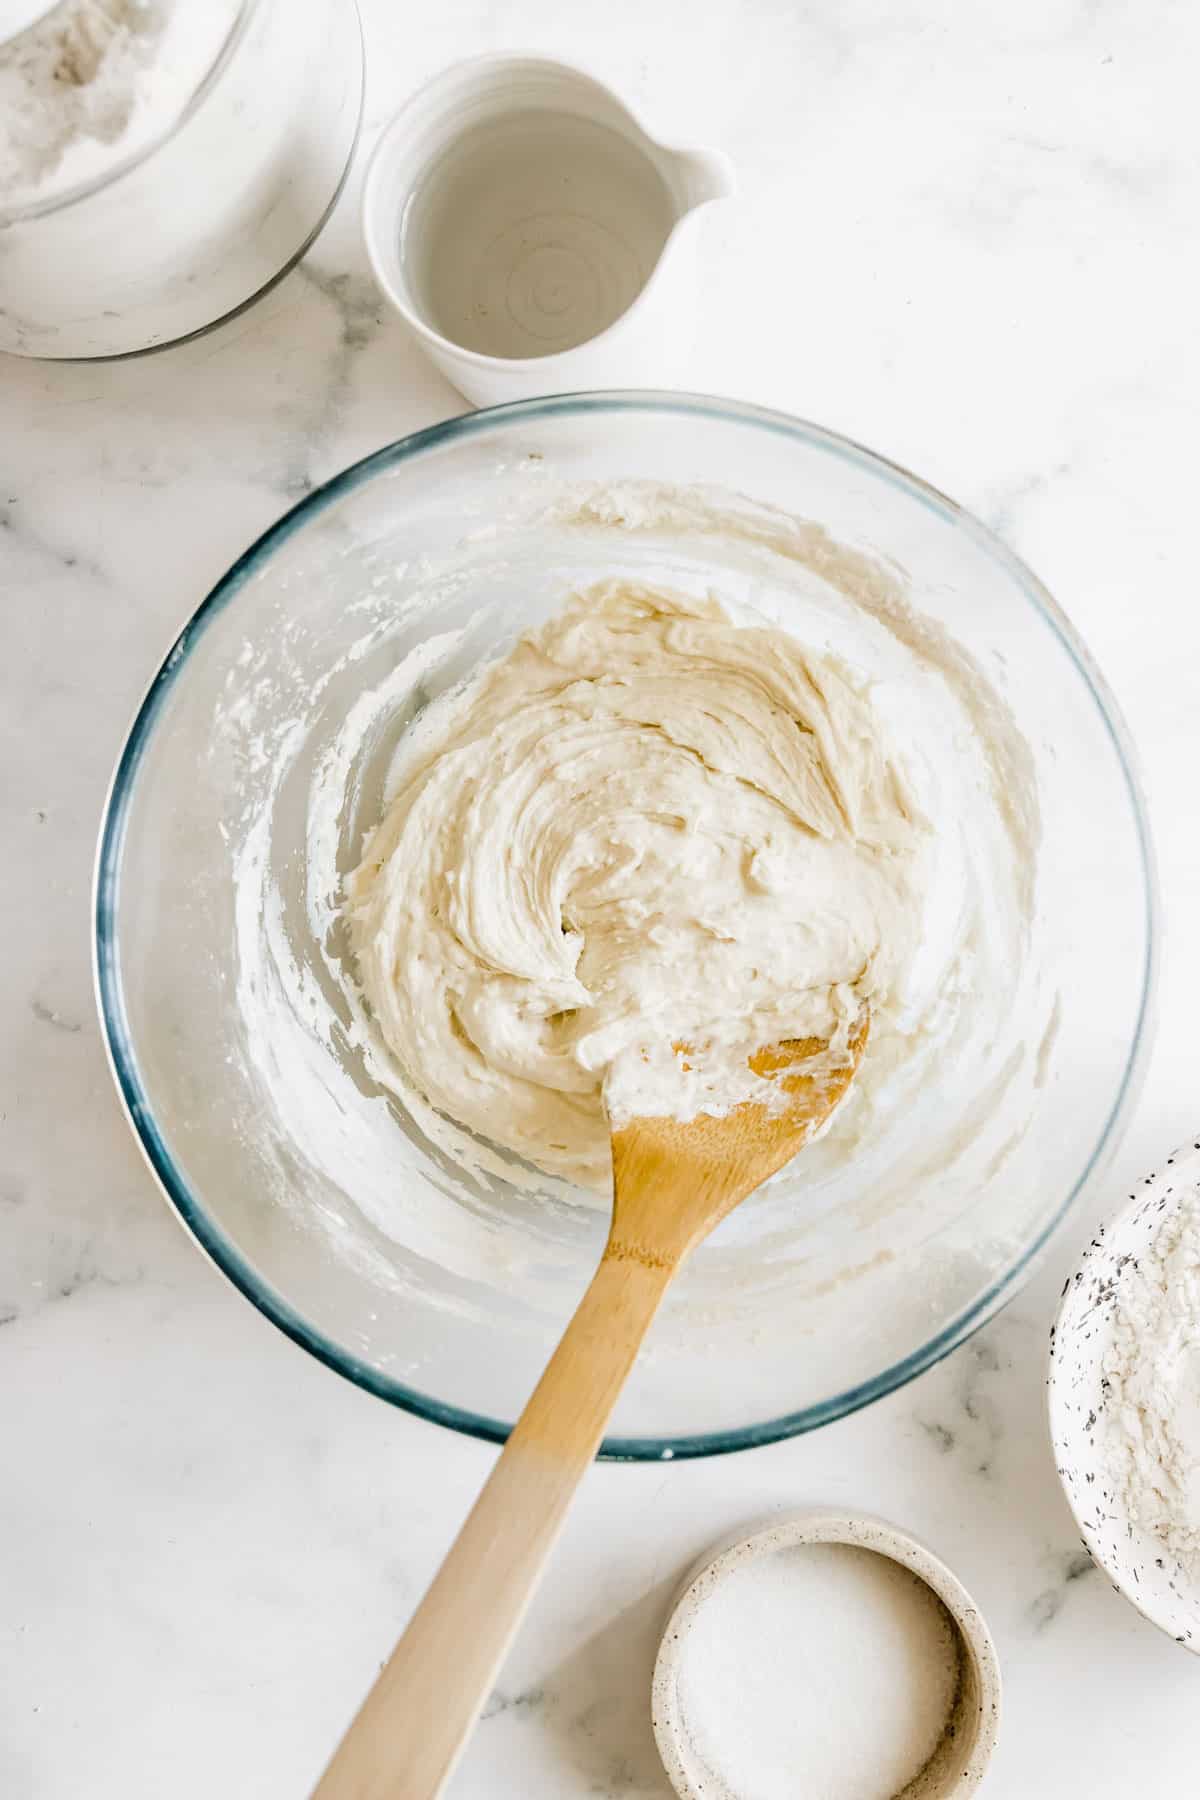
- Add Wet Ingredients: Using a wooden spoon, make a well in the middle of the dry ingredients. Pour in the yeast mixture and the olive oil, and mix together, stirring well to form a smooth dough. This may take up to 5 minutes, and it can be done in a stand mixer if preferred.
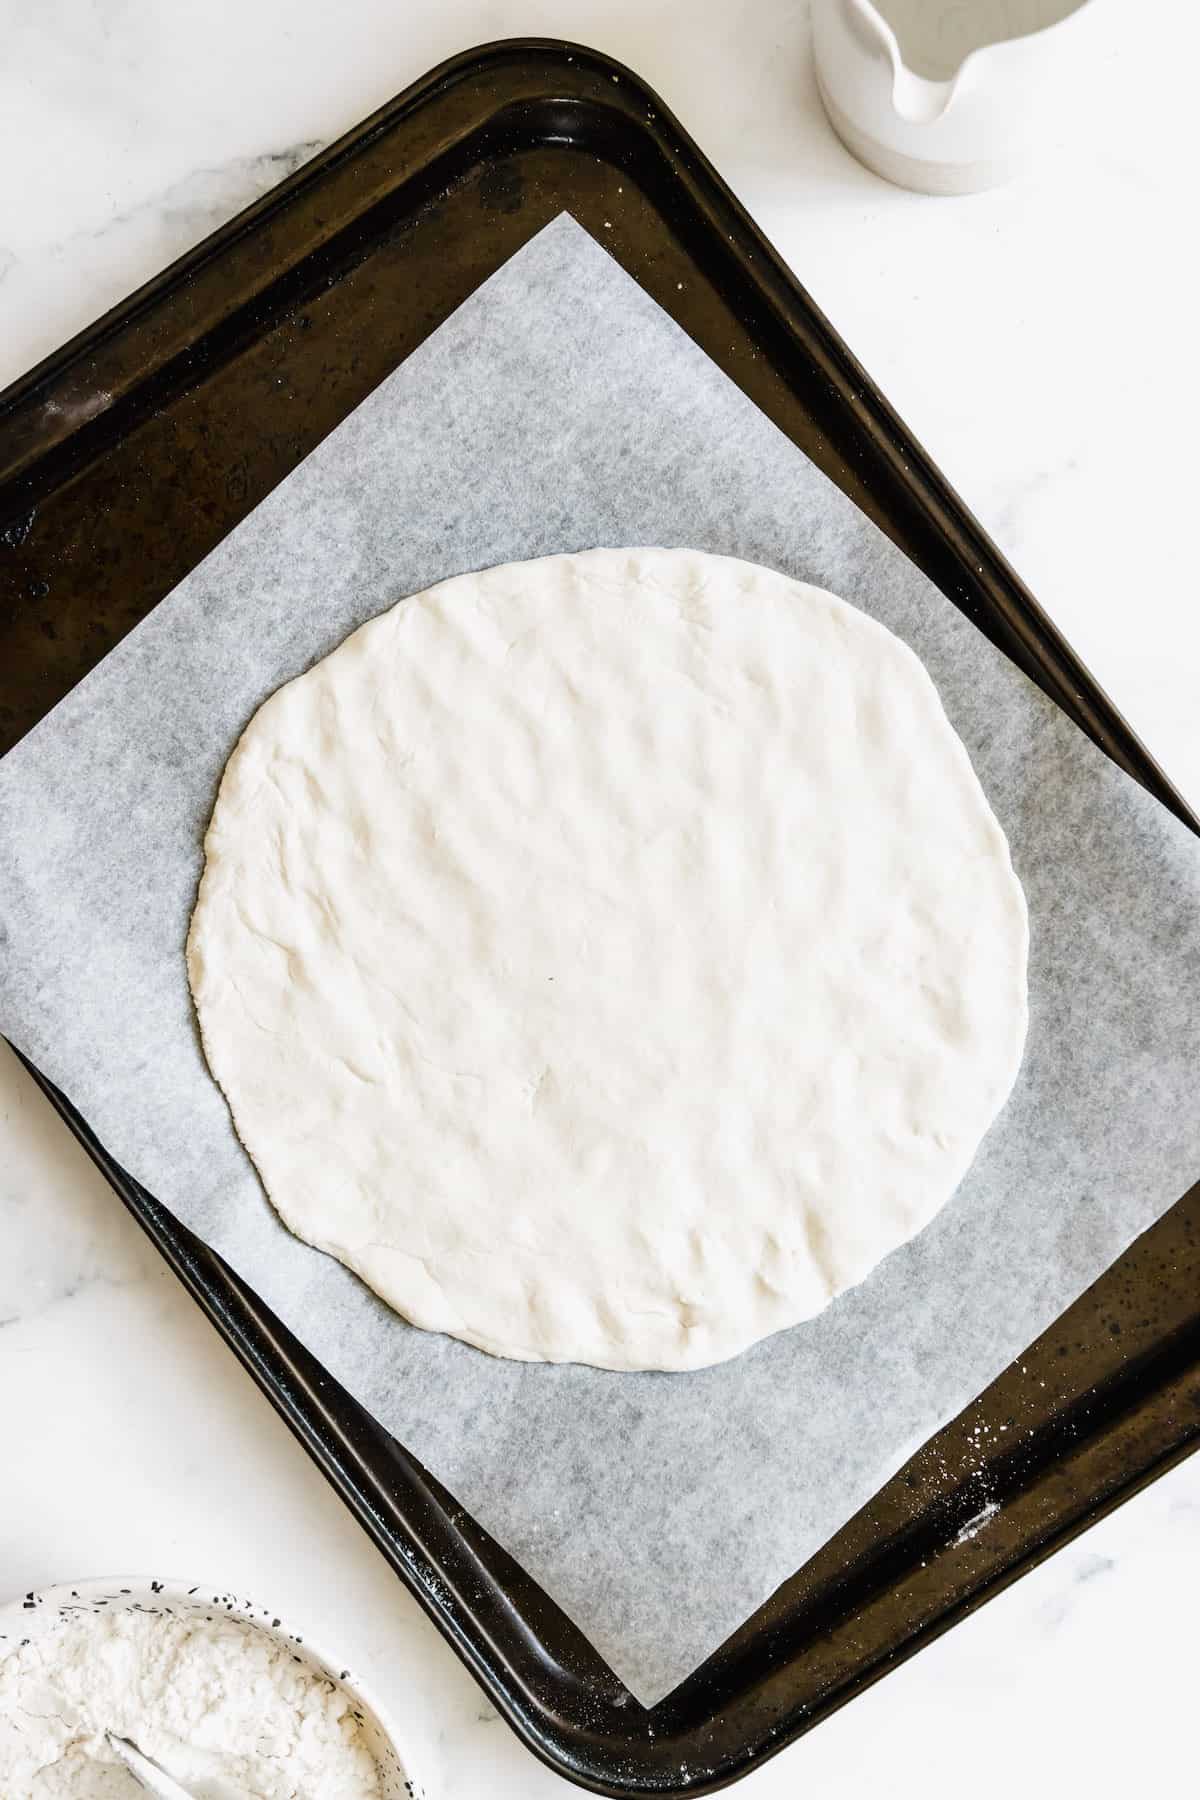
- Shape Crust(s): Once your dough is ready, place it on the prepared baking sheet. Press it into a thin, even 10-inch circle, or a couple of smaller 5-inch circles. I find that it helps to oil my hands lightly or coat them with a bit of flour before shaping the dough; gluten-free doughs are often sticky!
- Pre-Bake: You’re still not quite ready for toppings! You’ll need to pre-bake the crust for 8-10 minutes, until the top of each is dry and they’re just starting to brown.
Add Your Toppings
Now it’s time to add your toppings! Layer ‘em up, and then we’ll move on to the final bake.
- Spread Sauce & Add Cheese: I usually start with prepared pizza sauce and shredded mozzarella cheese, but you could use other cheeses like Italian blend or provolone, if desired. You can also make your own homemade marinara sauce, if you’d like!
- Add Veggies: If you’re using mushrooms, onions, peppers, or other watery veggies, I recommend sautéing them first and then patting them dry.
- Add Meats: If you choose to use meats on your pizza, make sure they’re fully cooked! (There’s no need to cook pepperoni, since it comes fully cooked. Italian sausage, ground beef and chicken usually need to be cooked.)
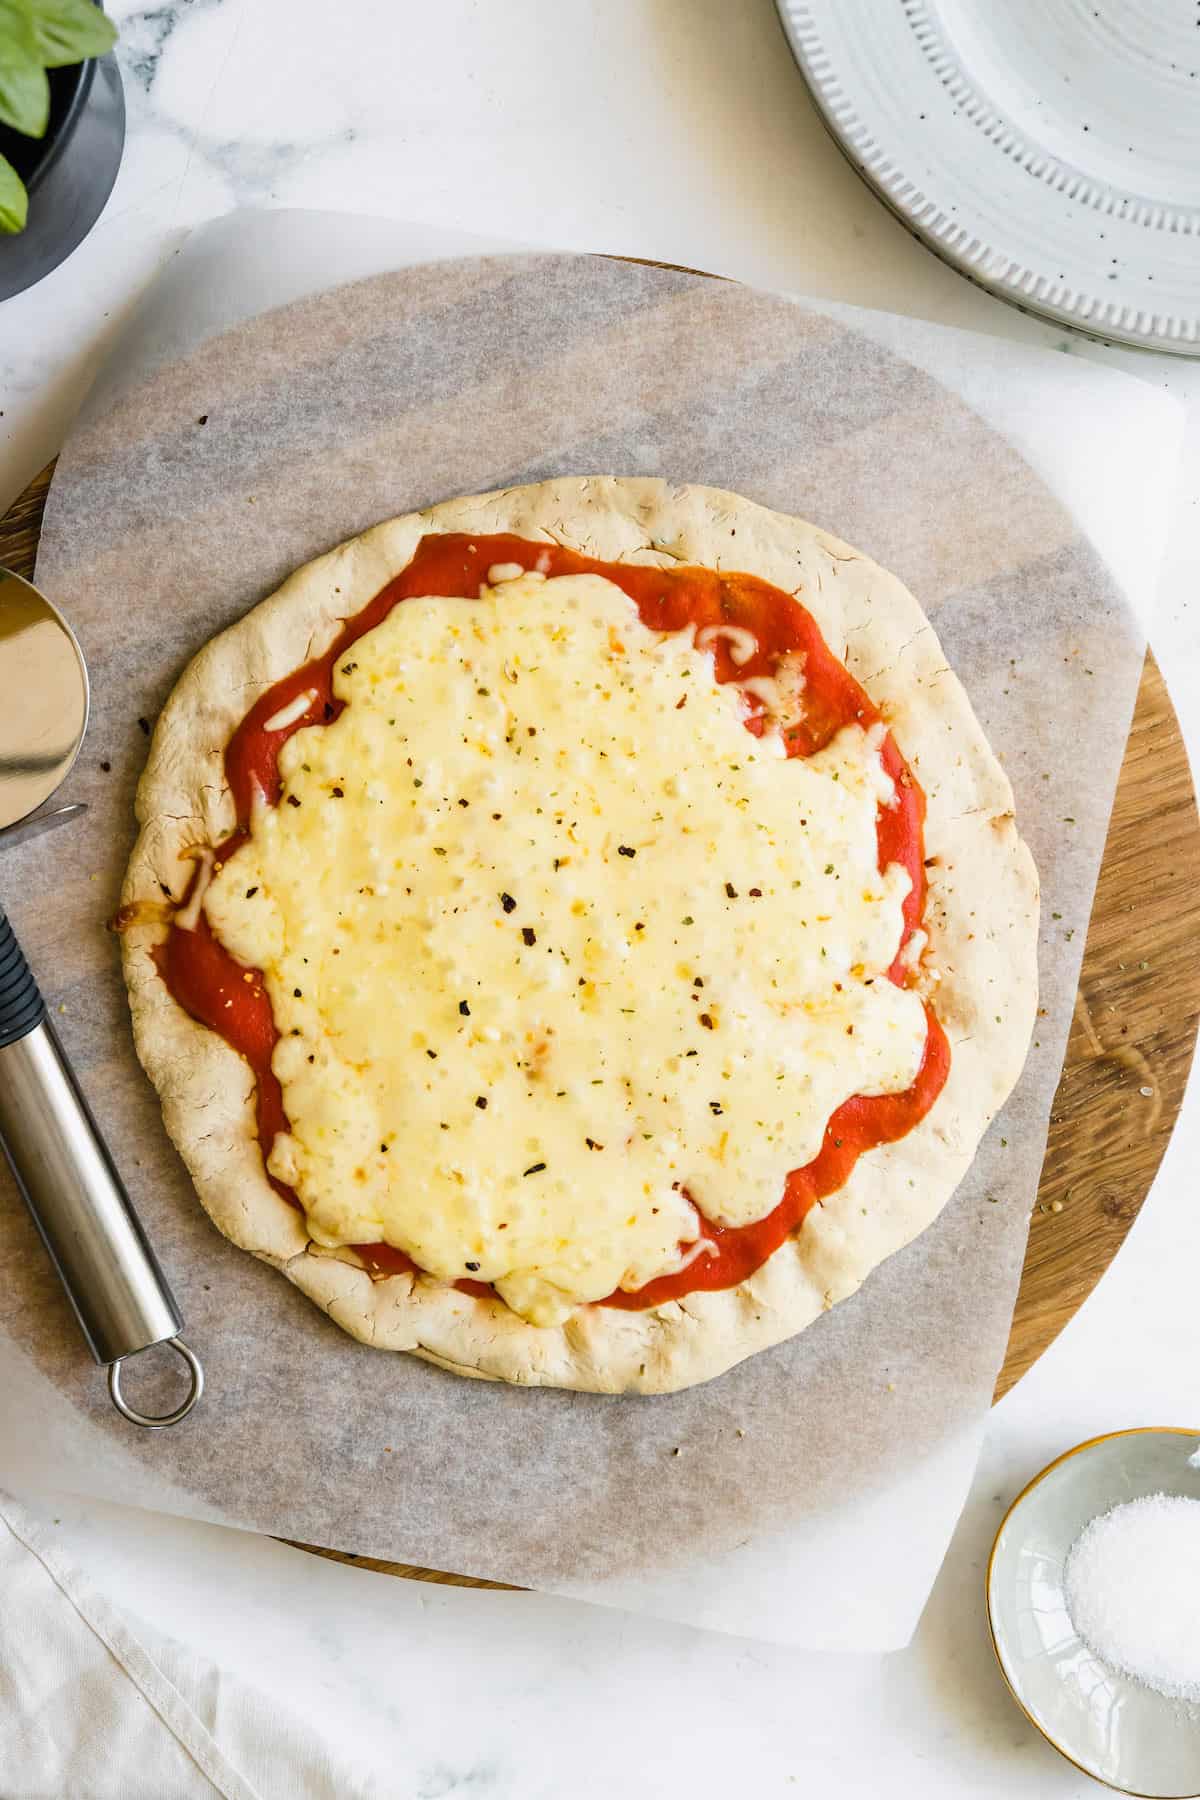
- Finish your pizza. Place it back in the oven to bake for another 10-15 minutes, until the cheese is thoroughly melted and everything is cooked through. Remove from the oven, slice and serve!
Tips for Success
Here are some simple pointers on making gluten-free pizza. I hope you’ll make this recipe soon, and let me know how it turned out!
- Fine-Tune the Dough: As you mix your dough ingredients, feel free to sprinkle in more flour or more water, in order to get a smooth, easy-to-shape dough. Keep in mind that the dough will still be very soft, more like a sugar-cookie dough than a bread dough.
- Use a Pizza Stone: You definitely don’t have to have a pizza stone to make this super easy recipe! But if you do have one, they are fun to use and lend a nice “brick oven” feel to the finished pie! Set it in the oven while it preheats then slide your dough onto it to bake.
- Make It Vegan: This delicious crust is already vegan, and you can stick to vegan toppings, as well! Many cooks recommend leaving non-dairy cheese at room temperature in order to help it melt better.
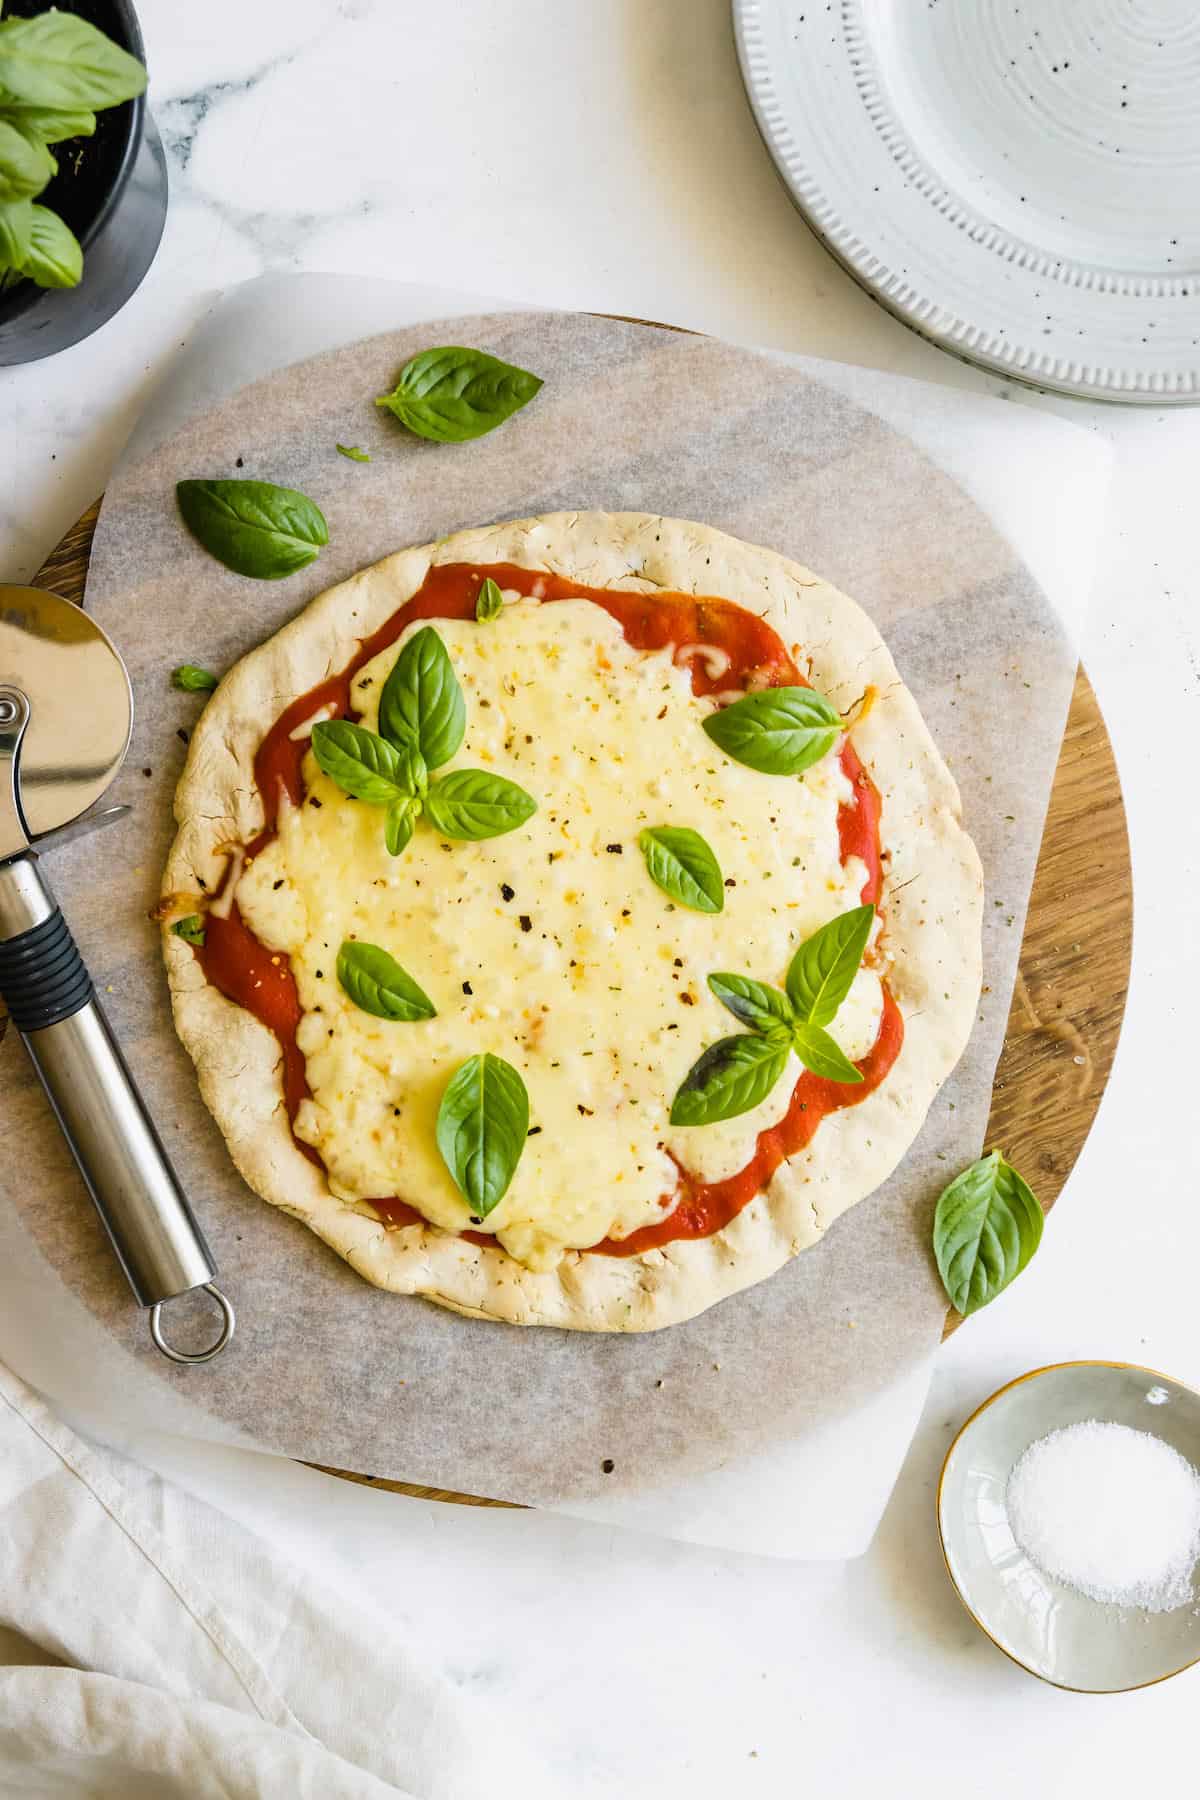
Topping Ideas
Need more topping ideas? Well, you’ve come to the right place! Here are a few of my very favorites!
- Tomato Sauce: It’s a classic that you can get form a jar or make your own.
- White Sauce: Instead of regular pizza sauce, try using a nice alfredo sauce instead!
- Pesto: You can spoon little quarter-sized amounts of pesto on the pizza, or use thinly spread pesto instead of pizza sauce.
- Vodka Sauce: For another change, try a tomato cream sauce like my homemade vodka sauce recipe.
- Fresh Basil: I love sprinkling fresh basil leaves across my pizzas! Use whole leaves, or julienne them.
- Cherry Tomatoes: Halve them and sprinkle over the pizza.
- Mushrooms: Who doesn’t love sliced mushrooms on pizza? Well, okay, lots of people. But for those of us who like them, can I just say, “yum!”
- Pepperoni: It’s a classic for a reason! I love using regular pepperoni, and sometimes turkey pepperoni.
- Shredded Chicken: This is quickly becoming my new favorite protein for pizza! You can use leftover rotisserie chicken, or even extra chicken from another dish, to make it extra easy!
- Olives: Black olives, halved or sliced, are lovely on pizza, adding a salty-savory bite.
- Arugula: If you haven’t tried this flavorful leafy green on pizza, you’re missing out! It’s so delicious and very good for you!
Running short on time? Try these toppings on a gluten free frozen pizza crust or one of my Gluten Free Pizza Hacks that start with a frozen ready-made pizza!
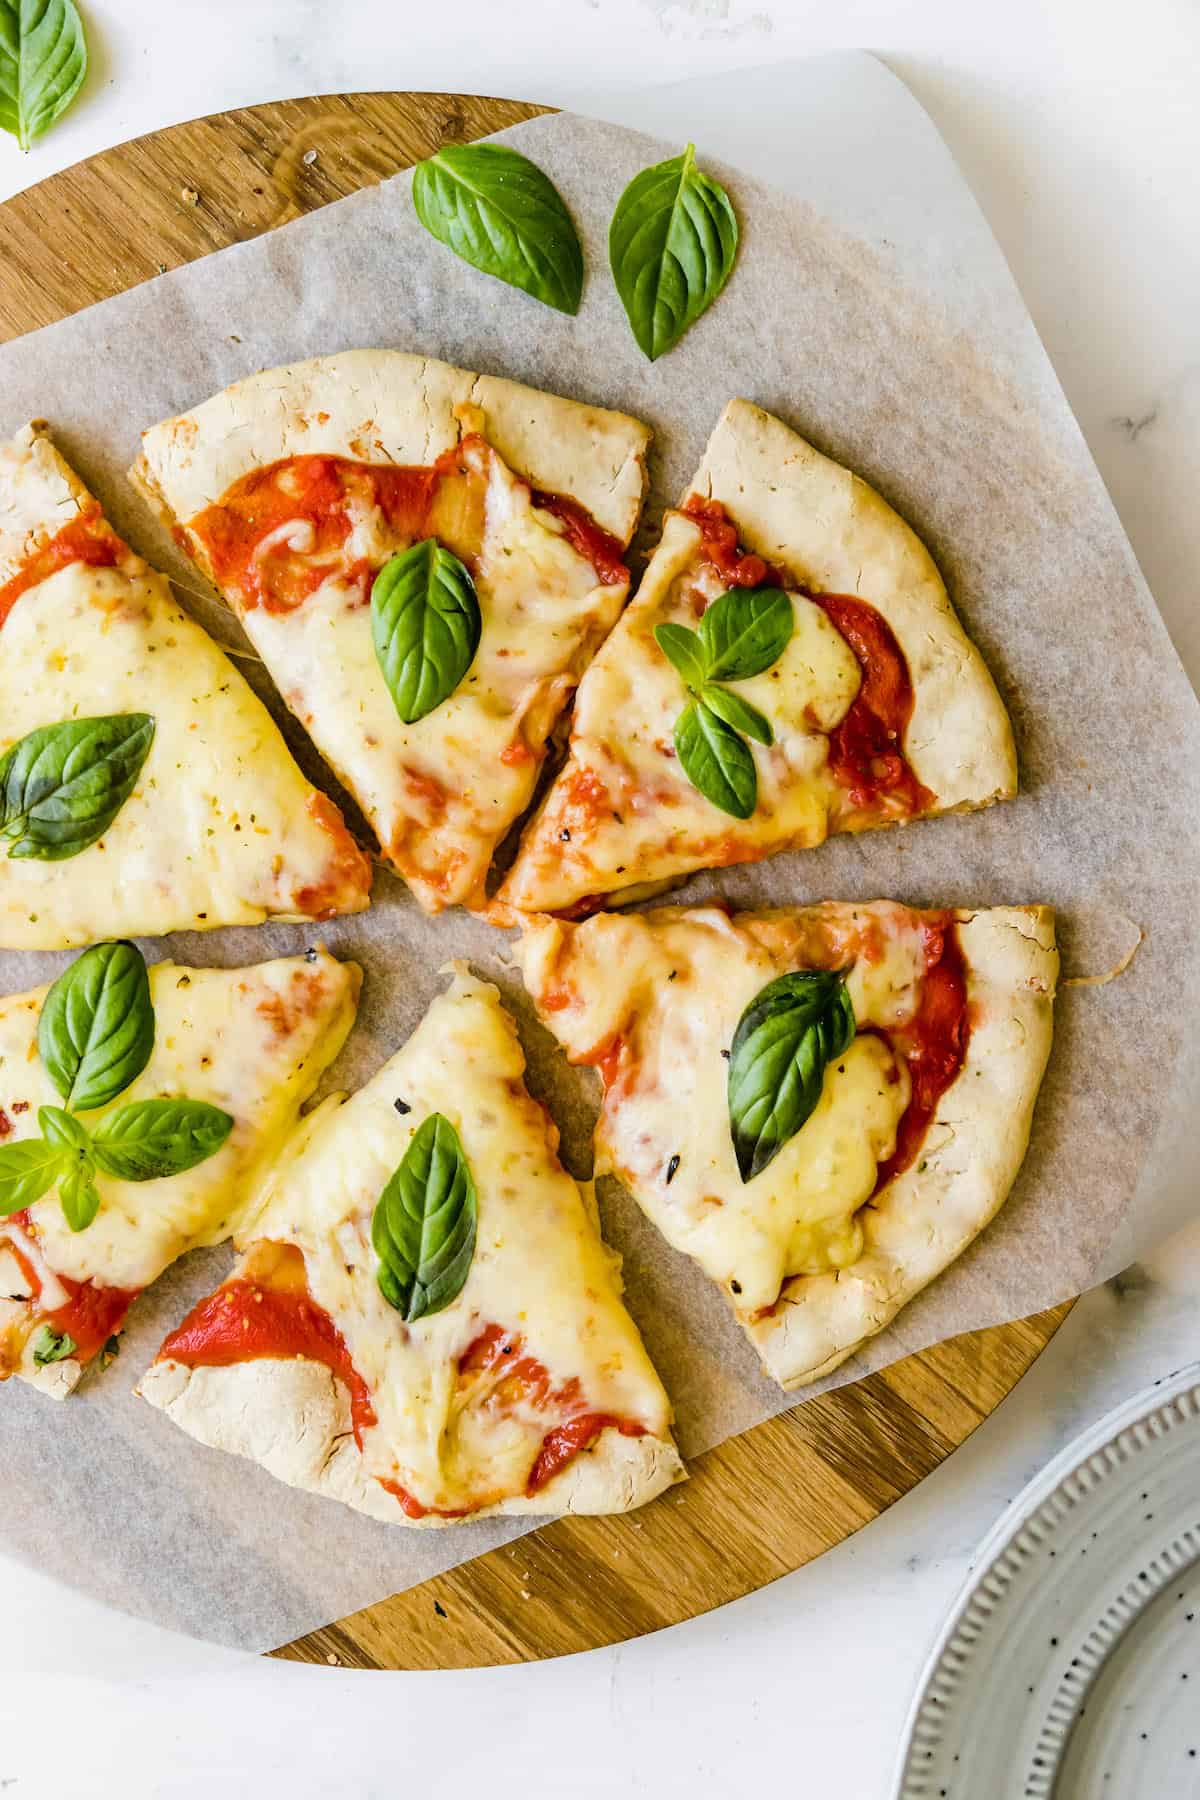
How to Store and Reheat Leftovers
To refrigerate any leftovers, place your leftover pizza slices in an airtight container or zip-top bag. I recommend storing it in a single layer so the toppings don’t go everywhere. This pizza will keep for up to 4 days in the refrigerator. Reheat it at 350°F in a toaster oven or regular oven.
Can I Freeze a Gluten Free Pizza Crust?
Yes, you can easily make your crust ahead of time and freeze it for later use! Just prepare the dough, shape it, and bake it for 8-10 minutes.
Take it out of the oven, and when it’s completely cool, wrap it well in two layers of plastic wrap (or one layer of plastic wrap and one of foil, or a layer of plastic wrap plus a zip-top bag). Freeze it for up to one month, and let it thaw out in the fridge before you make your pizza.
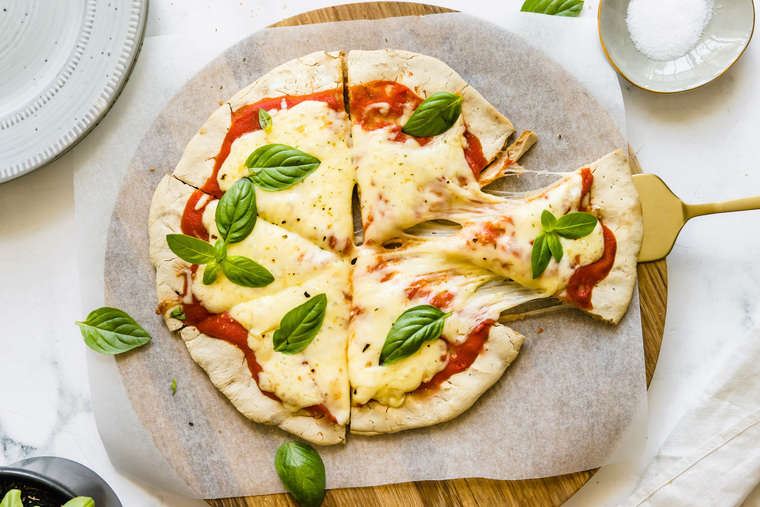
Make it a Meal
If you want to round out your meal, you might need some ideas for what to serve with your gluten free pizza. Here are my serving suggestions:
- Serve a protein. Pizza can be a side dish when you take Itlain inspiration and make Caprese Filet Mignon on the grill, Prosciutto-Wrapped Chicken Tenders in the air fryer or the oven, or Baked Balsamic BBQ Chicken Breasts.
- Toss a salad. It’s always a perfect pairing, so try classic (but lighter) Caesar Salad (with or without chicken), a hearty Italian Wedge Salad, or something different like Caprese Zoodles Salad.
- Make a veggie. If you aren’t up for a salad, try adding balsamic-flavored Roasted Mushrooms, simple Air Fryer Asparagus, or Parmesan Roasted Tomatoes. These also make great toppings.
Gluten Free Pizza Recipes
If you need ideas for what to do with your gluten free pizza dough, try these:
Gluten Free Pizza
Equipment
- Oven
Ingredients
For the Crust
- 1 cup warm water
- 2 tsp instant dry yeast
- 2 cups gluten-free 1:1 bakingflour
- 1 tsp salt
- 1 tbsp sugar
- 1/4 tsp baking soda
- 1 tbsp olive oil
Topping Ideas
- Tomato sauce
- Mozzarella
- Fresh basil
- Cherry tomatoes halved
- Mushrooms sliced
- Pepperoni
- Shredded chicken
- Olives
- Fresh arugula
Instructions
- Preheat oven to 450°F, arrange a rack in the bottom third of the oven, and line a baking sheet with baking paper.
- In a small bowl or jug, combine the warm water and instant dry yeast. Let sit for about 5 minutes to allow the yeast to dissolve and become foamy.
- In a mixing bowl, whisk together the flour, salt, sugar, and baking soda.
- Using a wooden spoon, create a well in the middle of the combined dry ingredients.
- Pour in the yeast mixture and oil and mix together.
- Stir the dough until it is smooth and well combined, about 5 minutes.
- Once dough is ready, place on the prepared baking sheet and press into a thin, even10-inchcircle (or 2 5-inch circles).
- Par-bake for 8 – 10 minutes, or until the top of the base is dry and starting to brown.
- Remove from the oven and add desired toppings.
- Return to the oven and bake for a further 10 – 15 minutes, or until golden brown.
- Remove from the oven and slice and serve.
Notes
Categories:
More Gluten Free Dinner Ideas to Try
Don’t let your dietary restrictions stop you from enjoying your favorite foods! These gluten-free recipes are so yummy, you don’t want to miss out!


We make this weekly for my nephew and comes out perfect every time!
Love to hear that!
yummy and delicious
In your description you say you add a bit of baking powder, but the recipe only contains baking soda. Which is it?
Sorry, that’s a typo in the intro. It’s baking soda. I corrected the text.
Hi.. Can you pls share recipe for homemade gf flour for this Pizza.. Thank you
I use Bob’s Red Mill 1-to-1 or King Arthur Flour Cup 4 Cup.
Love chicken pizza so much, so glad to find a gluten free recipe for it!