
Gluten Free Baking – Essentials and Recipes


You don’t have to be afraid of Gluten Free Baking! Even on a gluten free diet, you can still enjoy cakes, cookies, breads, and more. The batter and dough you make might look a little different than you are used to. But with the right ingredients, techniques, and a few tips, you can make delicious baked goods that everyone will love!
Gluten Free Baking – What You Need to Know
When I first had to go gluten free, I really thought the part of my life that included cupcakes was over. I love to create and share recipes that make it easier to live the gluten free lifestyle every day without needing a ton of special ingredients or costing you an arm and a leg. But sometimes you just need a darn cupcake!
I truly believe that gluten free baking is possible for everyone. It’s all a matter of having the right ingredients, plus a few tricks and tips. You also need to reset your expectations. Things are going to look, feel, and, and occasionally even taste a little different. You might need to experiment a little.
But with the right recipes and a little practice, you’ll be baking treats that everyone will enjoy. And they might not even realize they are gluten free!
Let’s take this one step at a time!
1 – Why is Gluten Free Baking Different?
Let’s start by talking about gluten. This is the protein in wheat flour that gives baked goods their structure. It creates elasticity in the batters and doughs that trap air from the leavening agents, usually baking powder and/or soda, yeast, or sometimes just eggs. It is these air bubbles that give the finished product its desired texture or fluffiness or chewiness, depending on what you are making.
Without gluten, you need to use a blend of flours, starches, and sometimes even an ingredient like xanthan gum to achieve similar results. Plus, you’ll need to remember a few tips.
Basic Gluten Free Baking Tips:
- Measure carefully: You’ll want to very lightly spoon your flour into the measuring cups then level with a knife. Never dip and scoop. Or consider measuring by weight with a digital scale. Packing the flour too much can lead to very dense or dry baked goods.
- Up the flavor: You may find you want to add extra vanilla, up the amount of spices, or make that chocolate flavor more intense. Gluten free flours can have a bit stronger of a flavor than plain old white flour, so extra flavoring can help cover that up as you get used to it.
- Mix it well: Because gluten free baked goods don’t have that same amount of elasticity, you’ll want to make sure you incorporate enough air. So in most cases, you will want to use an electric hand mixer or stand mixer and blend everything thoroughly until it is light and fluffy.
- Let it rest: Gluten free flours also take longer to absorb liquids. This is why they sometimes seem grainy or gritty. Letting your batter or dough rest before baking will give it time to fully absorb all of the moisture. Plus it makes yeast doughs easier to work with since they tend to be stickier.
- Check for doneness: Using a thermometer or toothpick to check when it is done baking is helpful. Gluten free flours often don’t brown as much as traditional wheat flour, so it is hard to tell when they are done by appearance. And underbaked gluten free baking recipes can be gummy. So make sure you give them enough time in the oven. Sometimes they even require a higher temperature than their gluten counterparts.
2 – Read Your Labels
Yes, you might eventually be buying lots of special gluten free flours and starches. But you’ll still be using ingredients you have always used, like baking powder, baking soda, and vanilla extract. Make sure you are familiar with my Guide to Gluten Free Label Reading when buying these items. Sometimes, depending on where or how these are manufactured, they could contain gluten ingredients or be a cross-contamination risk.
It may not be necessary to buy “special” gluten free versions of each, but you’ll want to know what to look out for so you avoid hidden gluten. When in doubt, buy certified gluten free products. And a lot of other ingredients, like eggs and butter, are the gluten free foods you already know you can enjoy.
3 – Keep it From Sticking
Whether you are starting with a mix or baking from scratch, the last thing you want is for your gluten free baking recipes to stick to the pan. Sometimes, gluten free baked goods can be a bit tender, and you don’t want to destroy them while wrestling them off or out of a baking pan.
You’ll need to avoid the nonstick baking sprays that contain flour. And greasing and flouring a pan, is out, especially since gluten free flours and starches can get gummy, which doesn’t help the sticking situation.
Non-stick tips for gluten free baking:
- Use parchment when possible. Cookie sheets, square or rectangular baking pans, and loaf pans can and should alwayd be lined with parchment paper, folding in the corners when possible and even letting it overhang a bit so you can easily pull out the cake, bread, etc. For round pans, cut a circle the same diameter as the pan, spray the pan with a flour-free baking spray, and lay the circle of parchment in the bottom of the pan.
- Nonstick cooking spray works in some cases. While I use liners for cupcakes, I try to use nonstick pans and nonstick spray (without flour) for muffins. I find sometimes muffins stick to the paper. You’ll also need to spray donut pans.
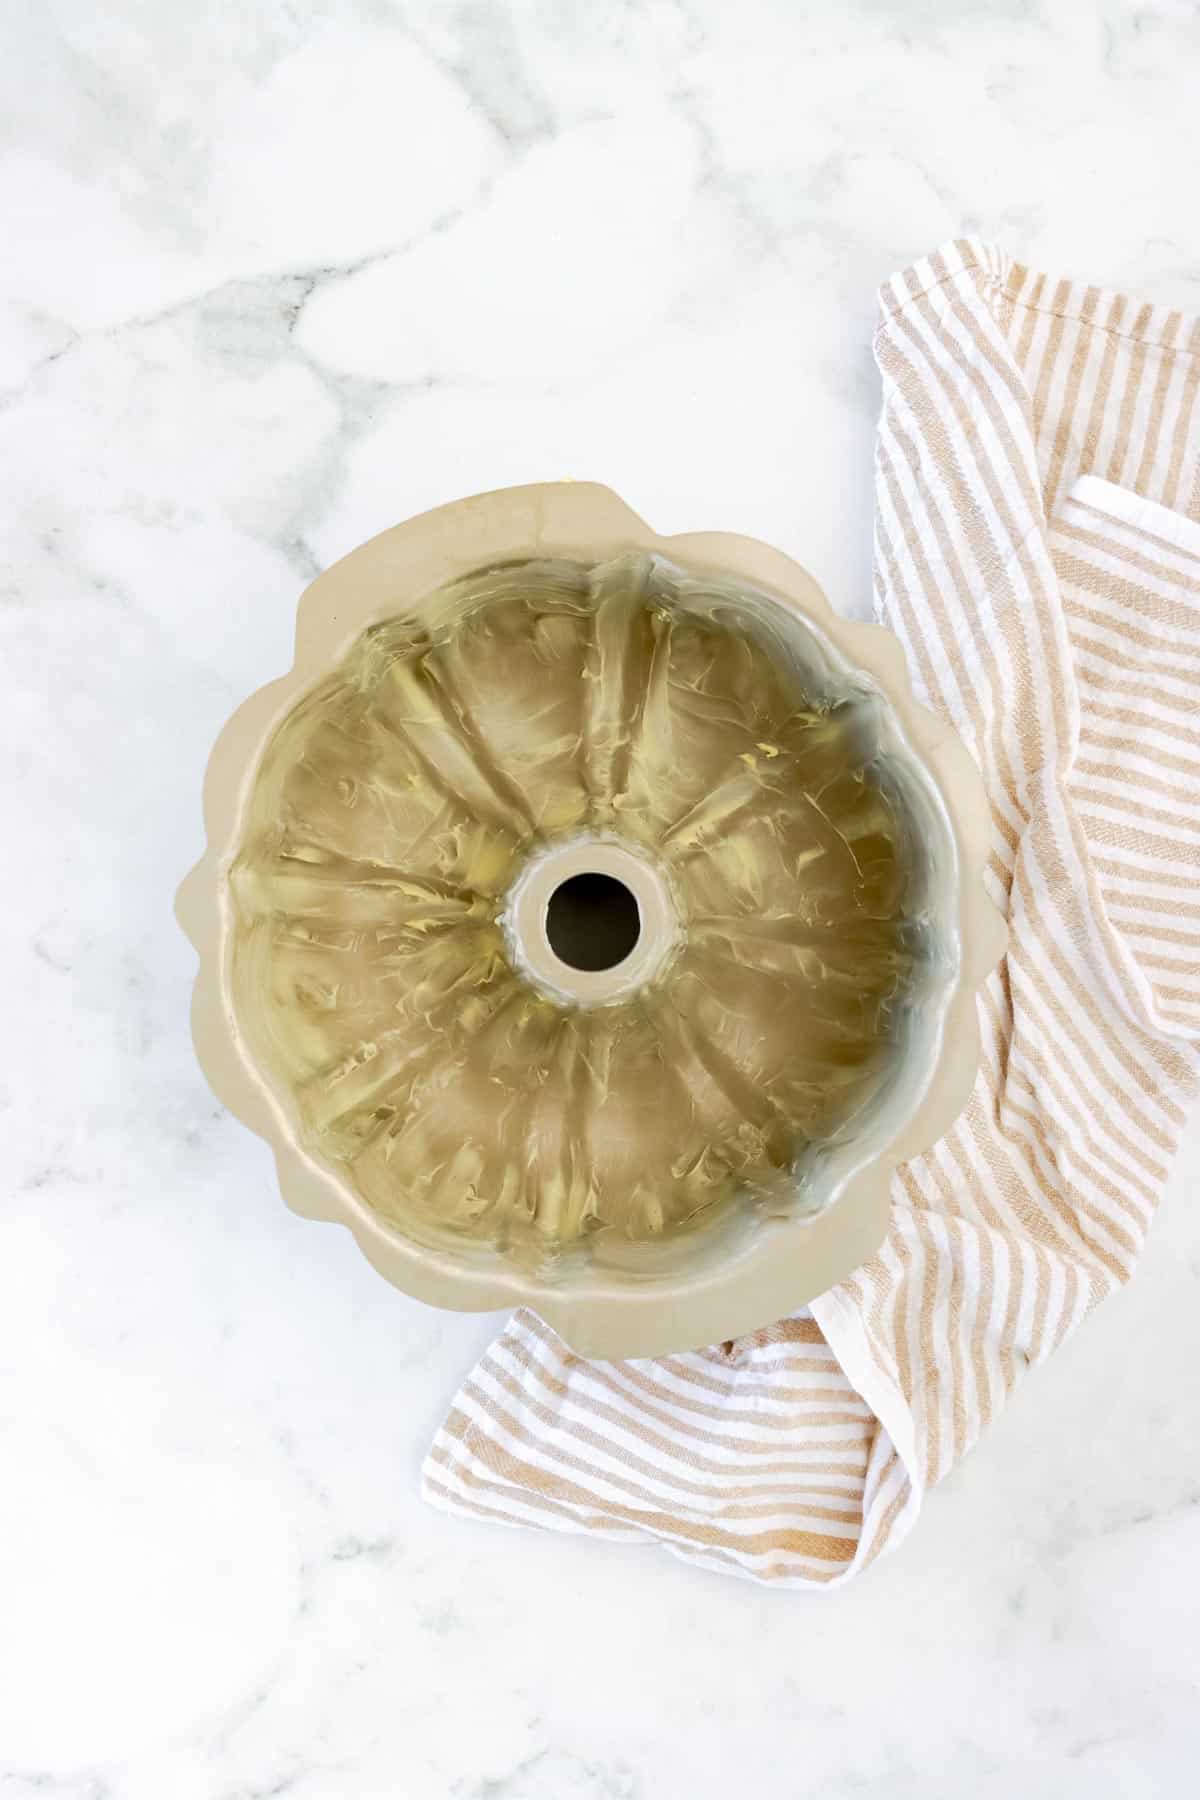
- Sometimes shortening is necessary. I don’t love using shortening, but I find it necessary for bundt pans. A nice, thick coating spread into the crevices with a pastry brush or paper towel is the only surefire way to keep a bundt cake from sticking. For chocolate bundt cakes, you can make a paste one tablespoon of vegetable shortening and one tablespoon of unsweetened cocoa powder.
3 – Start Flourless
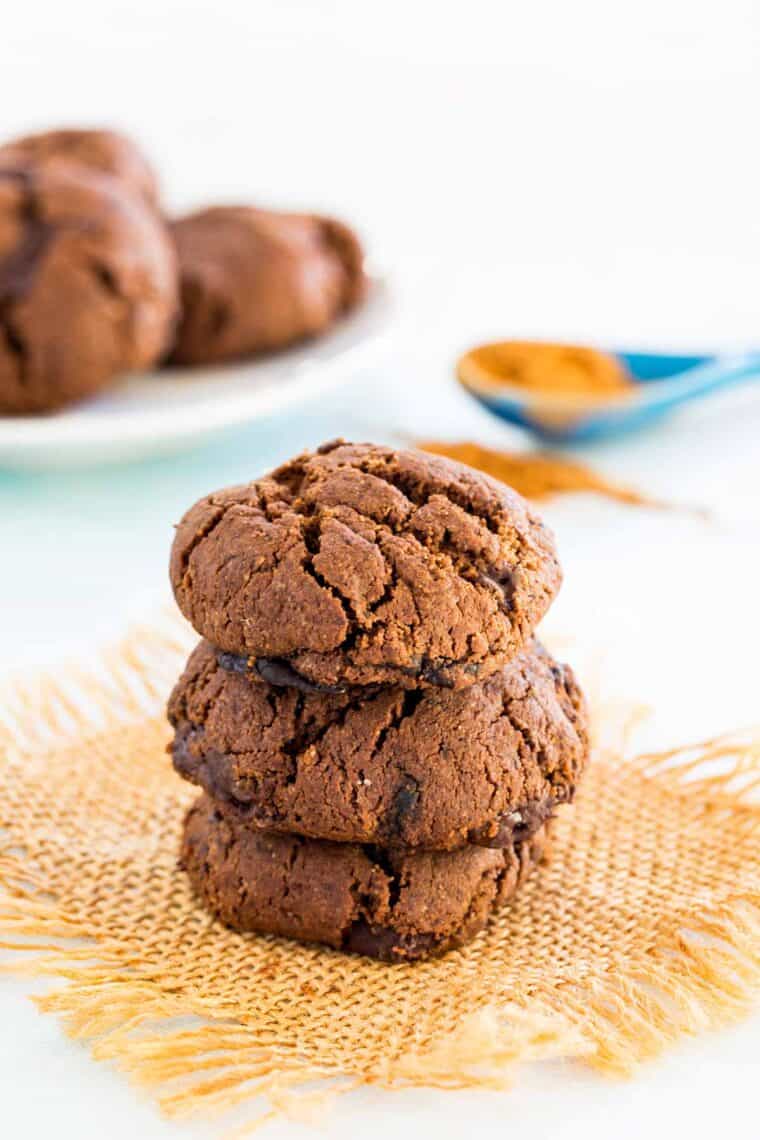
If gluten free baking does have you a little intimidated, know that you don’t have to jump in right away with gluten free flour. Flourless cookies, cakes, and more are a simple way to get started with gluten free baking without worrying about the characteristics of gluten free flours. These recipes are designed to work without any flour at all!
Here are some flourless baking recipes:
- Flourless Mexican Hot Chocolate Cookies
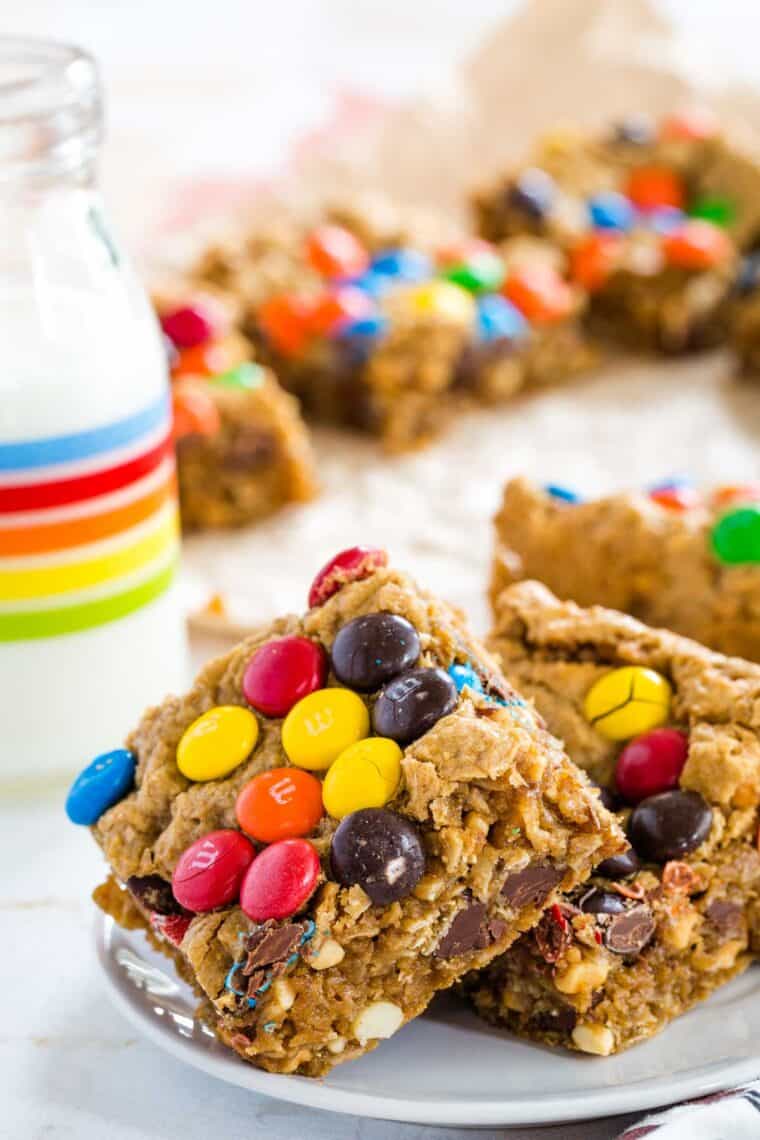
- Monster Cookie Bars
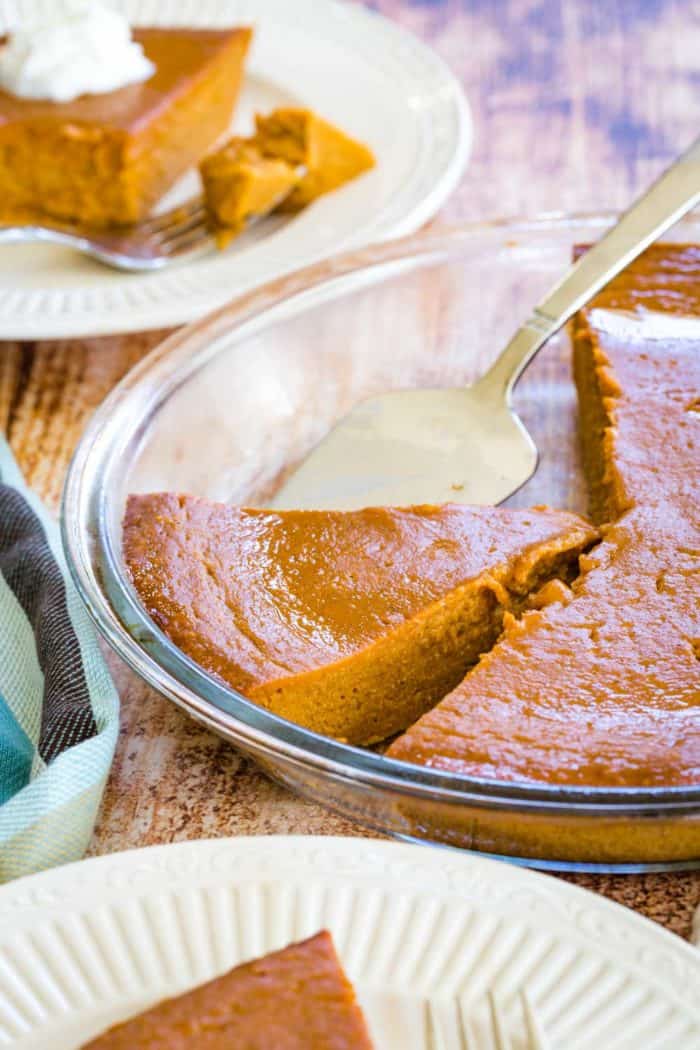
- Crustless Pumpkin Pie
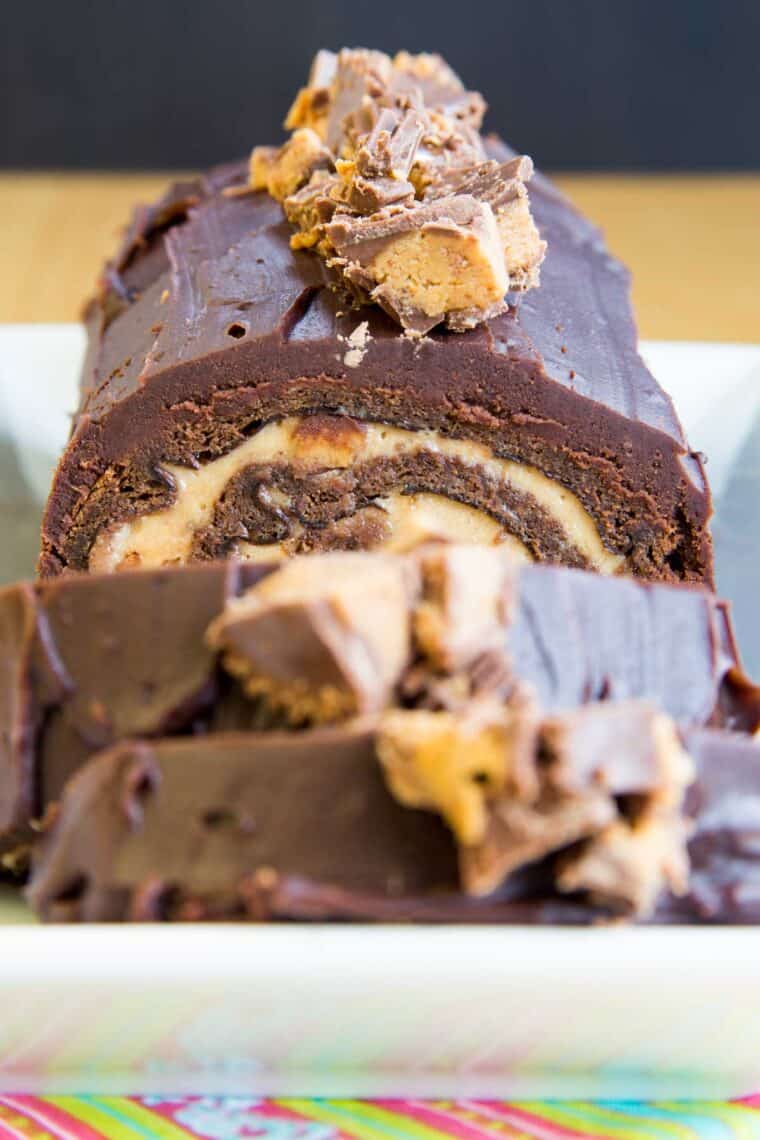
- Peanut Butter Cup Flourless Chocolate Cake Roll
4 – Add in One New Thing
Your inner baker will probably feel right at home with an ingredient list that contains things like butter, eggs, and sugar. Many recipes start with these basics, then only require you to add one additional thing to give them the right texture. Sometimes it is certified gluten free oats or oat flour you can make from blending those oats (Read Are Oats Gluten Free? for more info on that.). Other times it is almond flour or coconut flour, each of which has different properties from adding fat or texture to absorbing moisture.
Try these easy gluten free baking recipes:
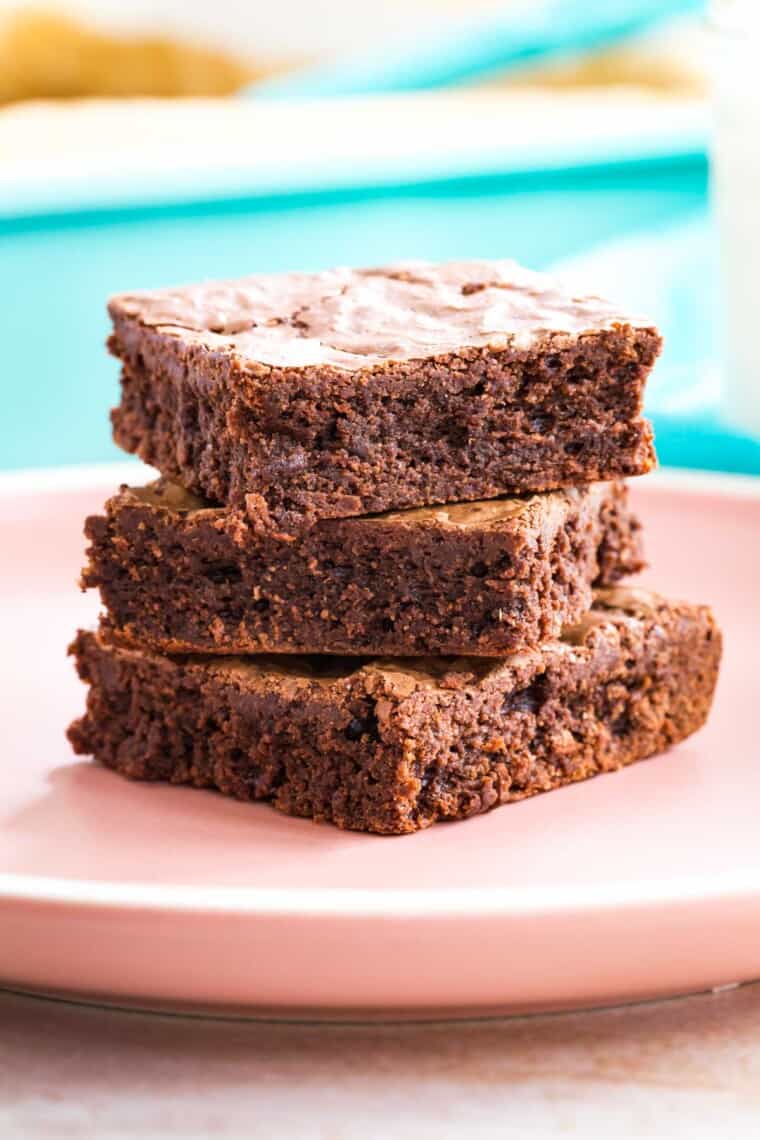
- Gluten Free Brownies made with almond flour.
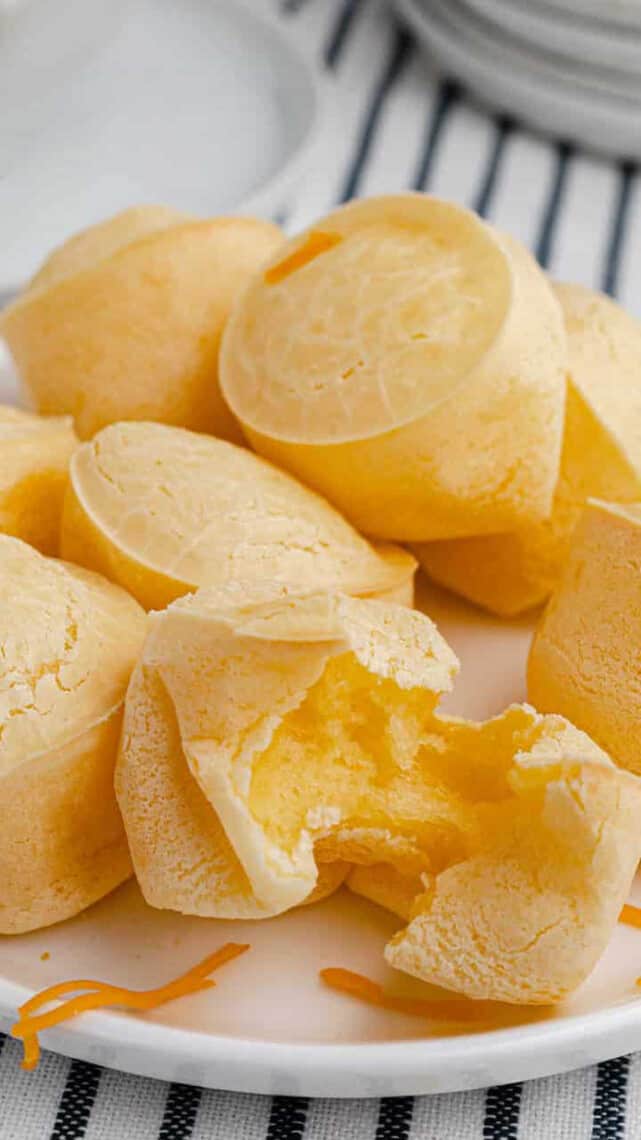
- Brazilian Cheese Bread made with tapioca starch.
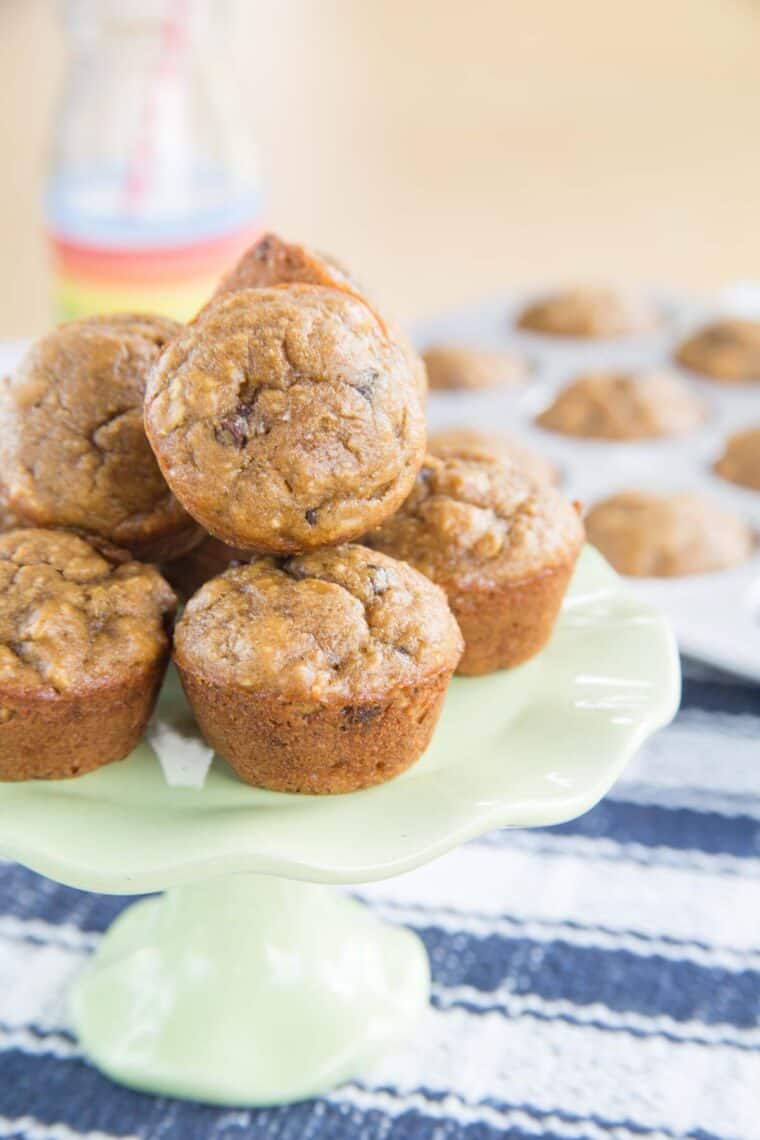
- Mini Banana Peanut Butter Muffins made with oatmeal.
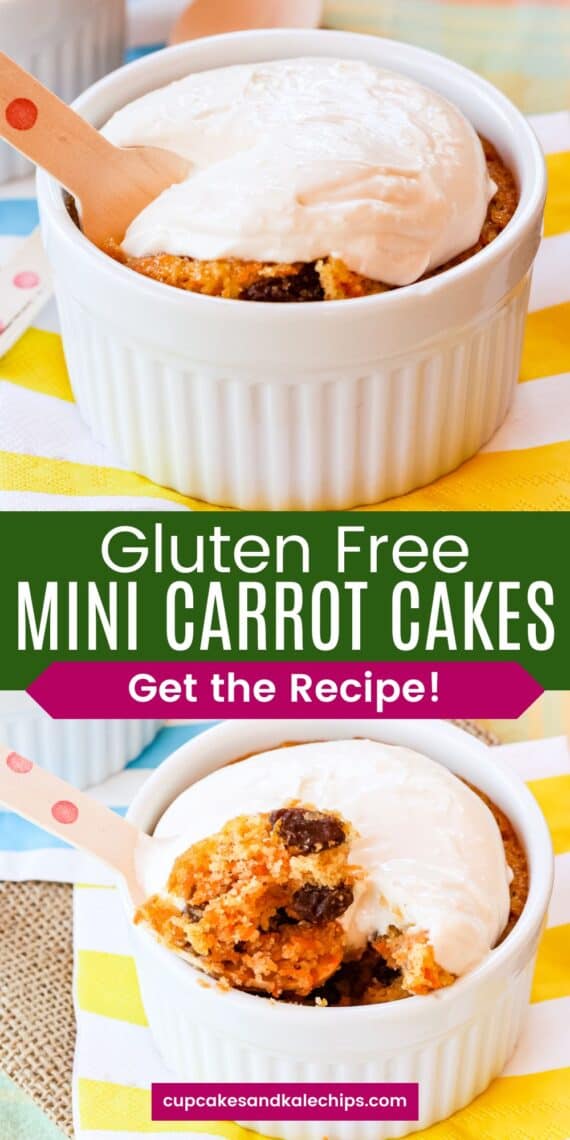
- Gluten Free Carrot Cake for Two made with almond meal.
5 – Use a 1-to-1 Baking Blend
One of the hardest things about gluten free baking is getting the right ratio of flours to starches to xanthan gum. So many companies have started making their own blends. An all-purpose blend typically does not contain xanthan gum, so you will either have to add it or use it in recipes that don’t require xanthan gum. You may see custom blends that are formulated specifically for cookies or bread.
And then there are the 1-to-1 blends. These are typically formulated to be substituted in a 1:1 ratio for all-purpose flour in any of your favorite recipes. Each brand contains a slightly different mixture, and most contain xanthan gum. Using one versus another might produce slightly different results. But they are a good starting place if you want to make your old favorite recipes without a lot of testing and fussing.
1:1 Gluten Free Flours I Recommend:
- Bob’s Red Mill 1-to-1 Baking Flour: This is the one I most commonly use, and find it works especially well in cookies and quick breads. It is not generally recommended for recipes with yeast, though I have used it on occasion.
- Cup4Cup: I’ll sometimes use this instead of Bob’s I get the Multipurpose Flour, but they also have mixes for pie crust, pizza, and pancakes and waffles.
- King Arthur Flour Measure for Measure: This is another good option, and also is a better choice for yeast doughs.
- Pillsbury Multi-Purpose Gluten Free Flour: A very versatile option and available now in many grocery stores. I have used it in cookies, breads, and more.
Recipes Using 1 to 1 Gluten Free Flour:
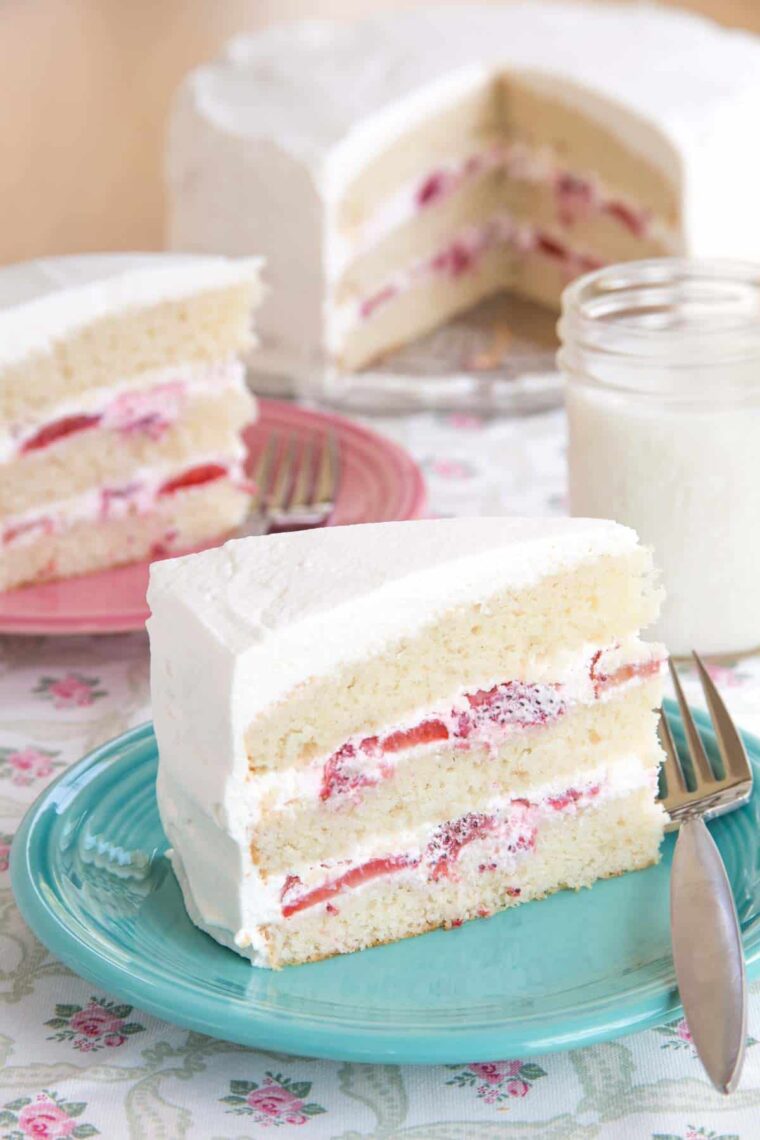
- Gluten Free Cake with Strawberries and Whipped Cream
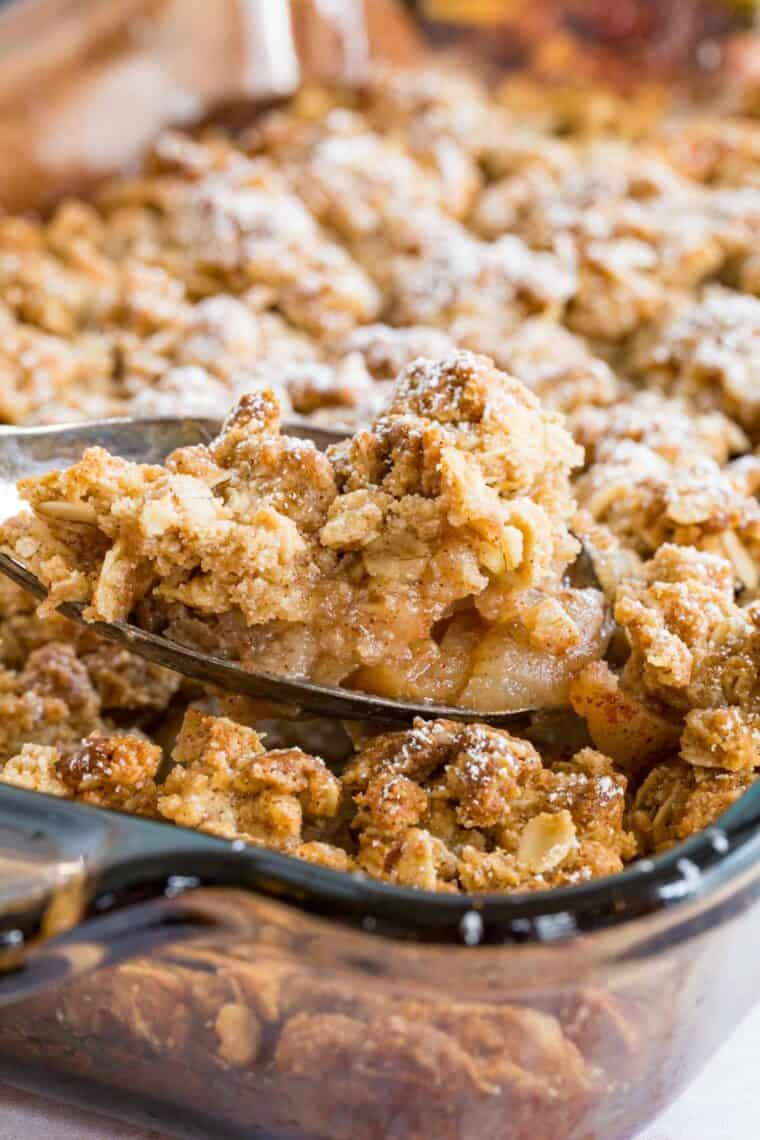
- Gluten Free Apple Crisp
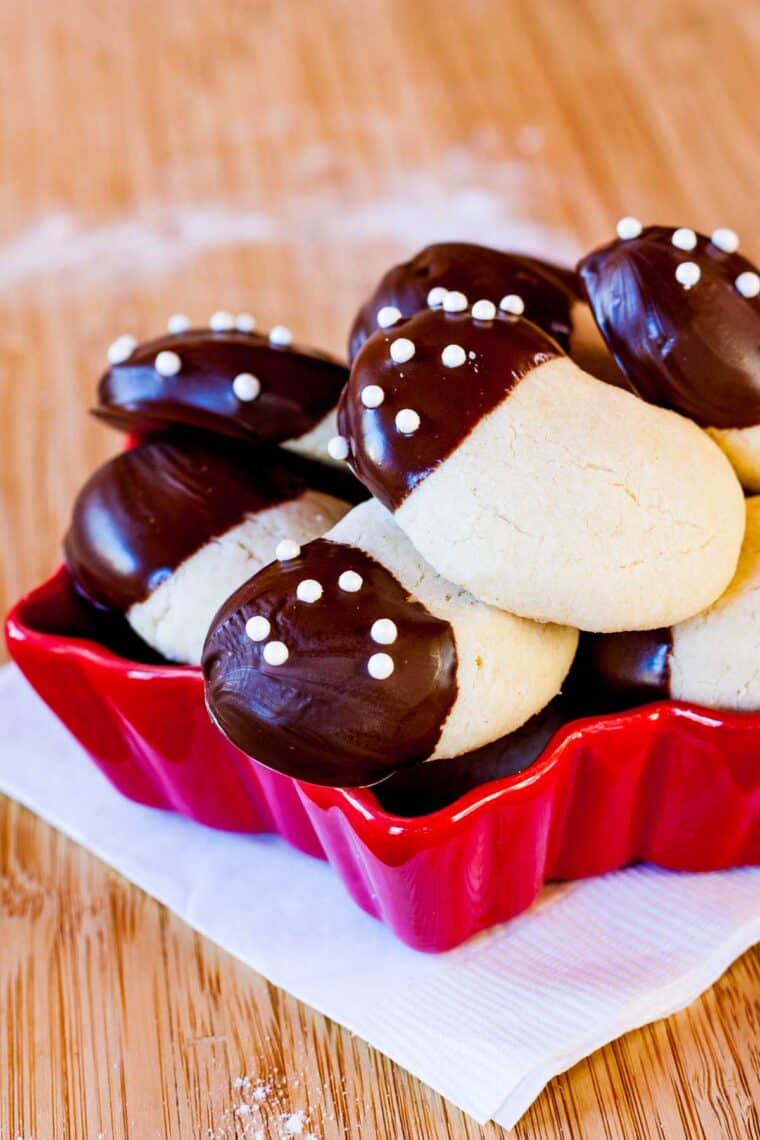
- Gluten Free Almond Crescent Cookies
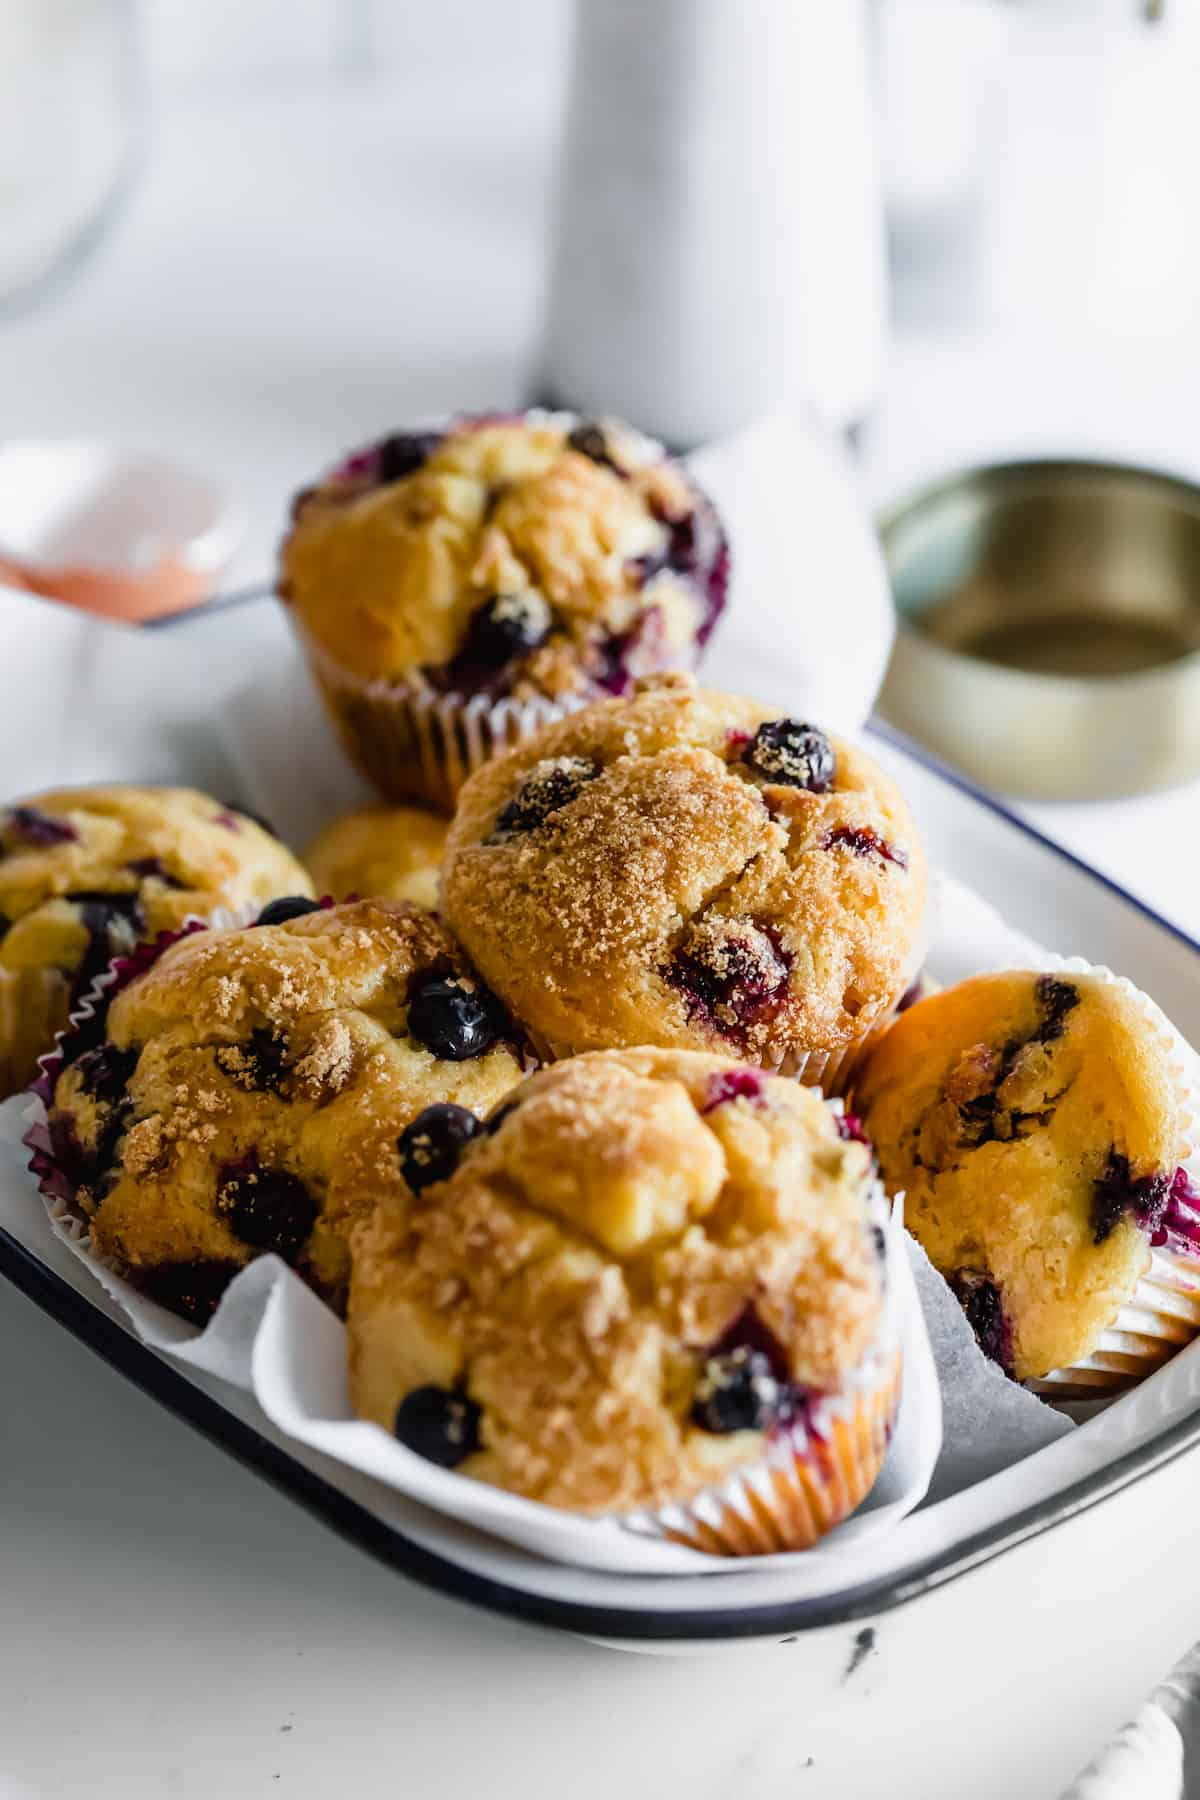
- Gluten Free Blueberry Muffins
6 – Combine Your Individual Flours and Starches
Working with individual flours and starches allows for more customization and precisely achieves the exact texture you are looking for. But this does require a bit more experimentation, and keeping more bags of ingredients on hand. The most common blend is brown rice flour, tapioca starch, and potato starch, possibly with some xanthan gum. You may also find recipes that incorporate almond or coconut flour. And some add white or sweet rice flour, sorghum flour, and more. All of the gluten free grain alternatives have different features and benefits.
The one thing to remember is that these gluten free grain flours have a limited shelf life, so be sure to buy small packages unless you will be baking a lot. And consider storing them in the refrigerator.
Gluten Free Baking Recipes Using Individual Flours and Starches:
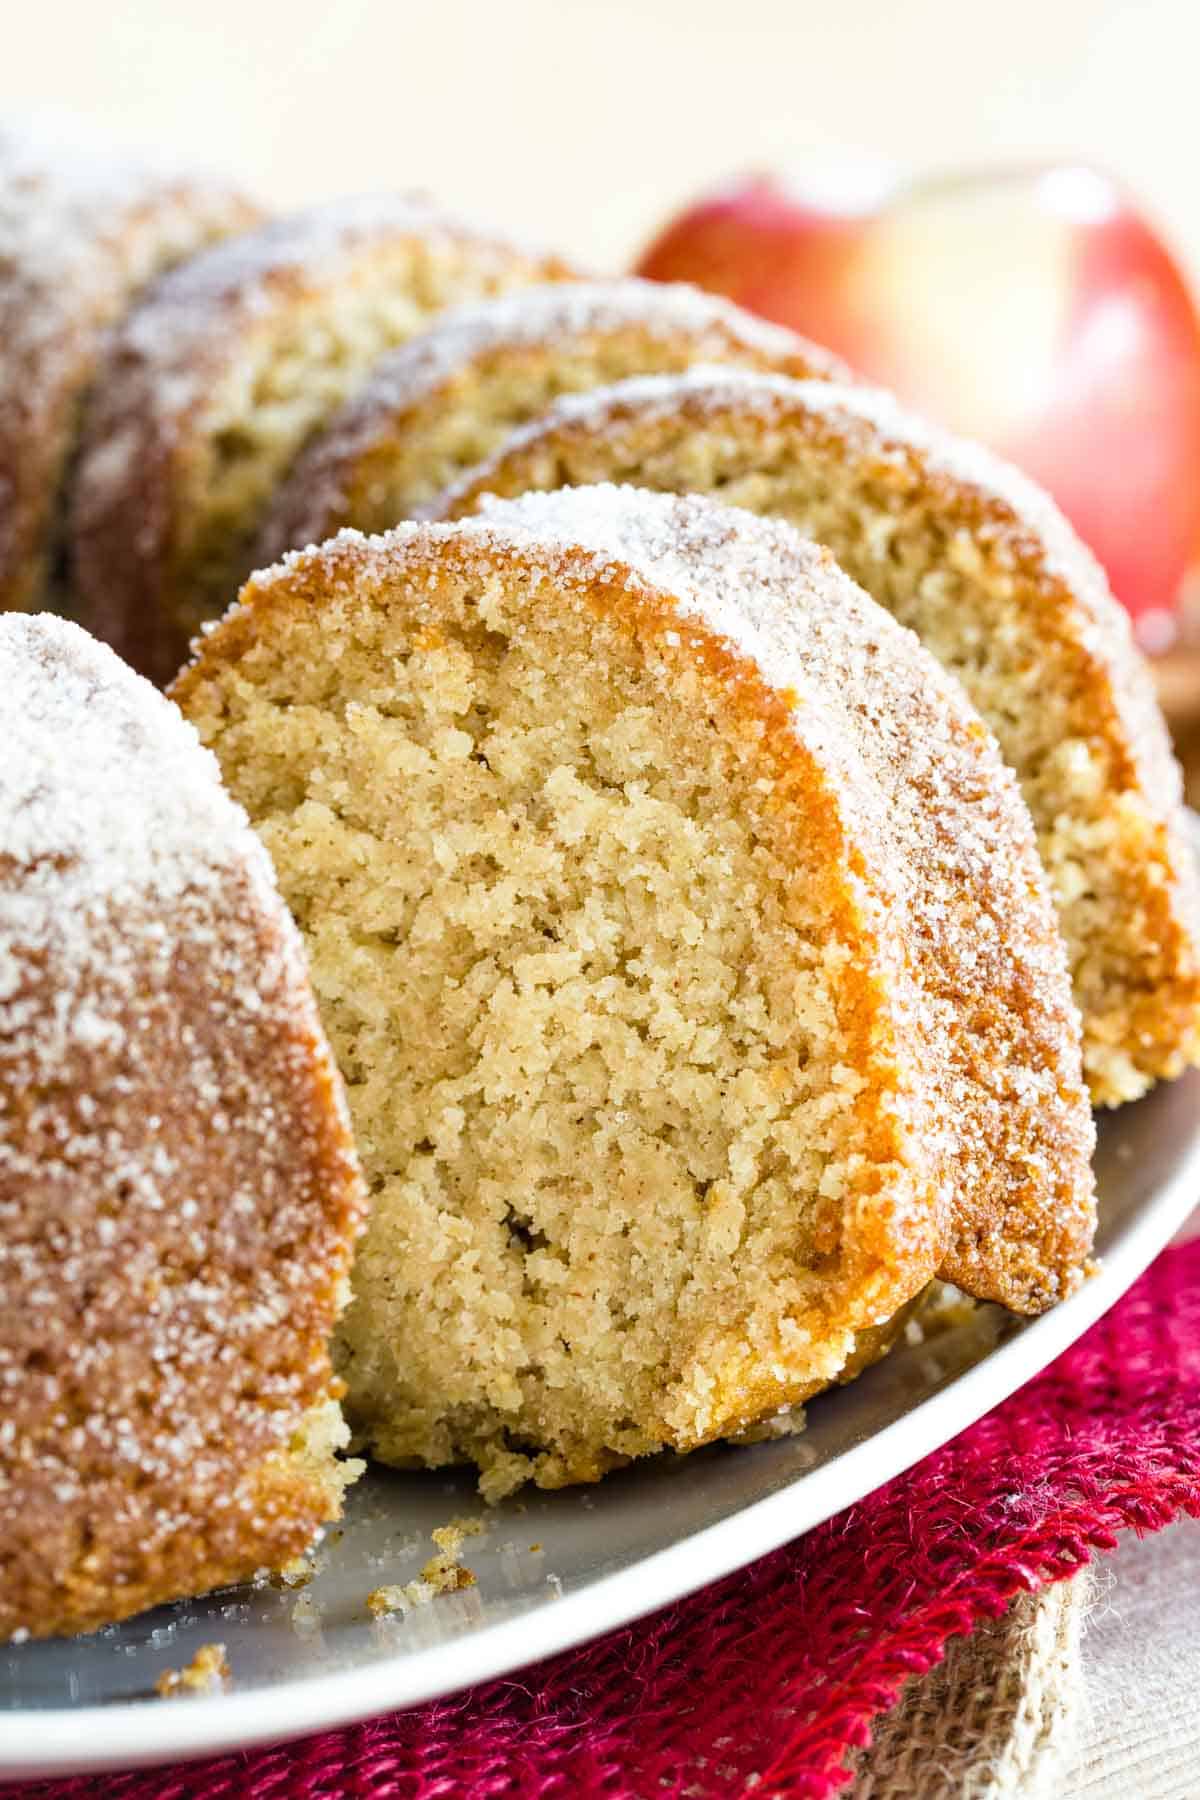
- Gluten Free Apple Cider Donut Cake
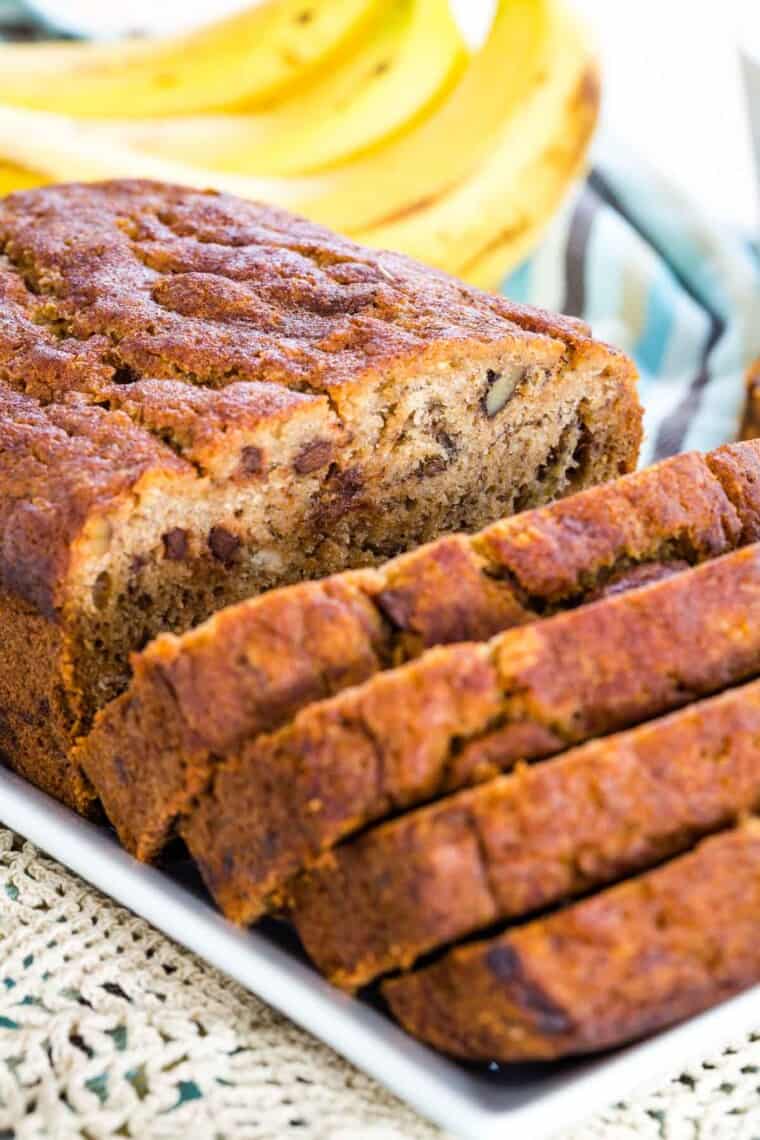
- Gluten Free Banana Bread
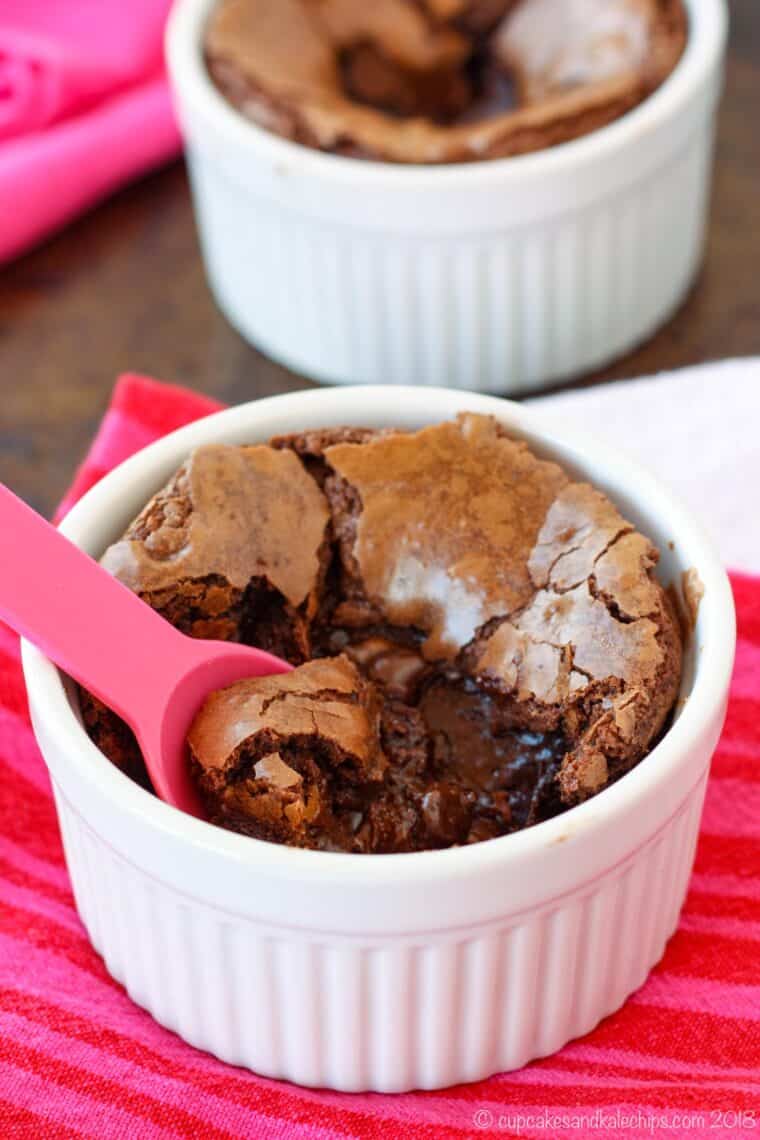
- Deep Dish Gluten Free Brownies for Two
- Gluten Free Cranberry Orange Crumb Cake

7 – Try Gluten Free Baking with Yeast
Baking with yeast always presents its own challenges, and this is especially true when you combine yeast with gluten free flour. As mentioned, without gluten, it is harder to trap that air. Gluten free “dough” is almost like a thick, sticky batter, so rolling or shaping requires a different approach and sometimes a lot more flour. However, you often don’t need to proof the dough twice, especially. But you do need to make sure you mix it long enough for the dough to absorb all of the moisture.
Also, don’t expect to just substitute a traditional recipe with a 1-to-1 flour. Yeast dough recipes have to be developed specifically for the gluten free flour since they often behave quite differently.
Gluten Free Baking Recipes with Yeast
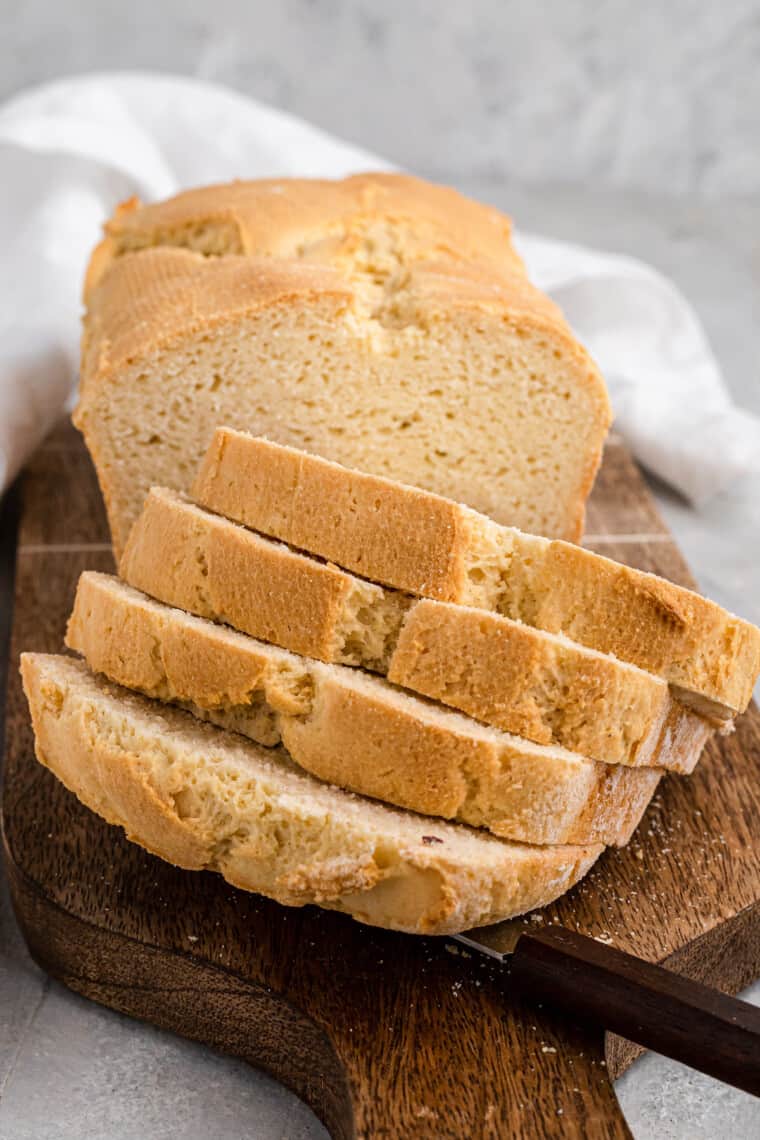
- Gluten Free Sandwich Bread
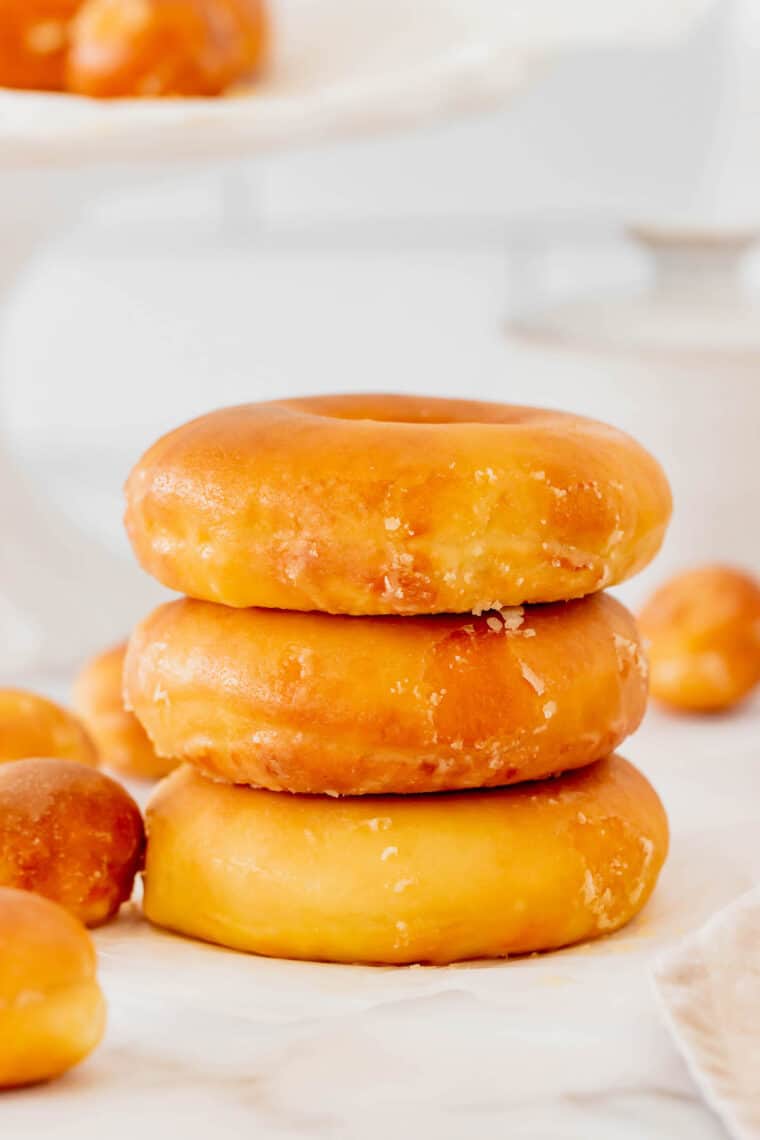
- Air Fryer Gluten Free Donuts
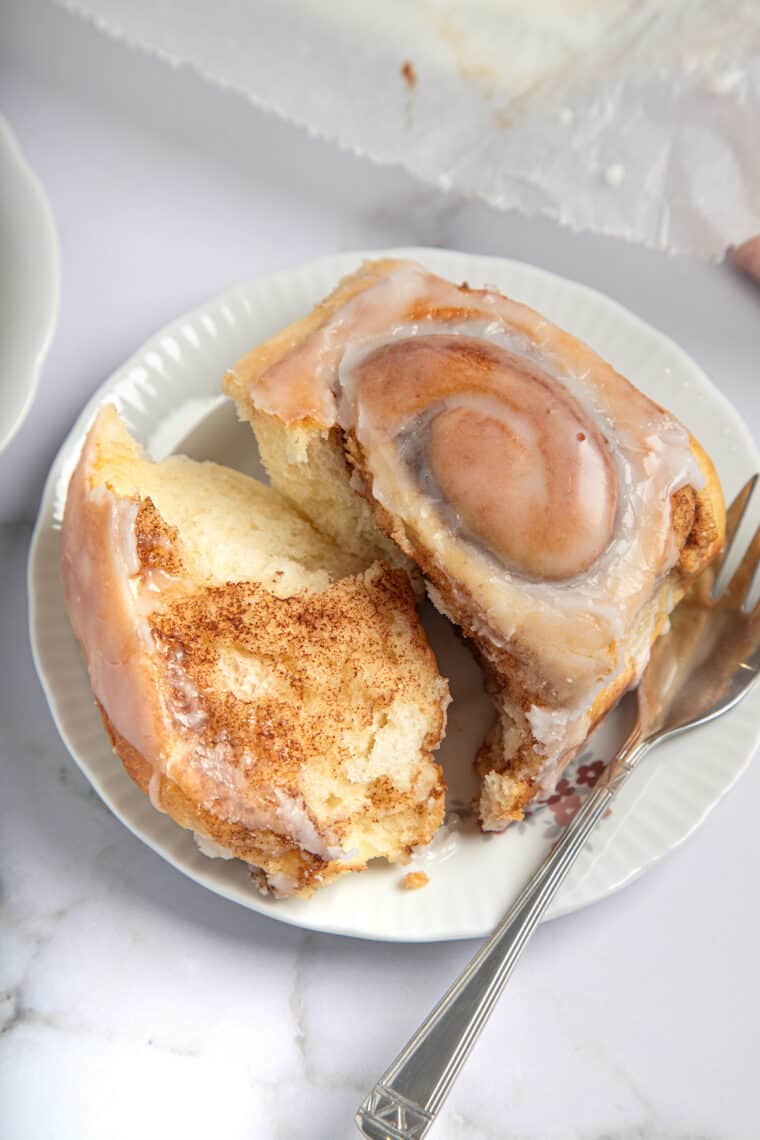
- Gluten Free Cinnamon Rolls
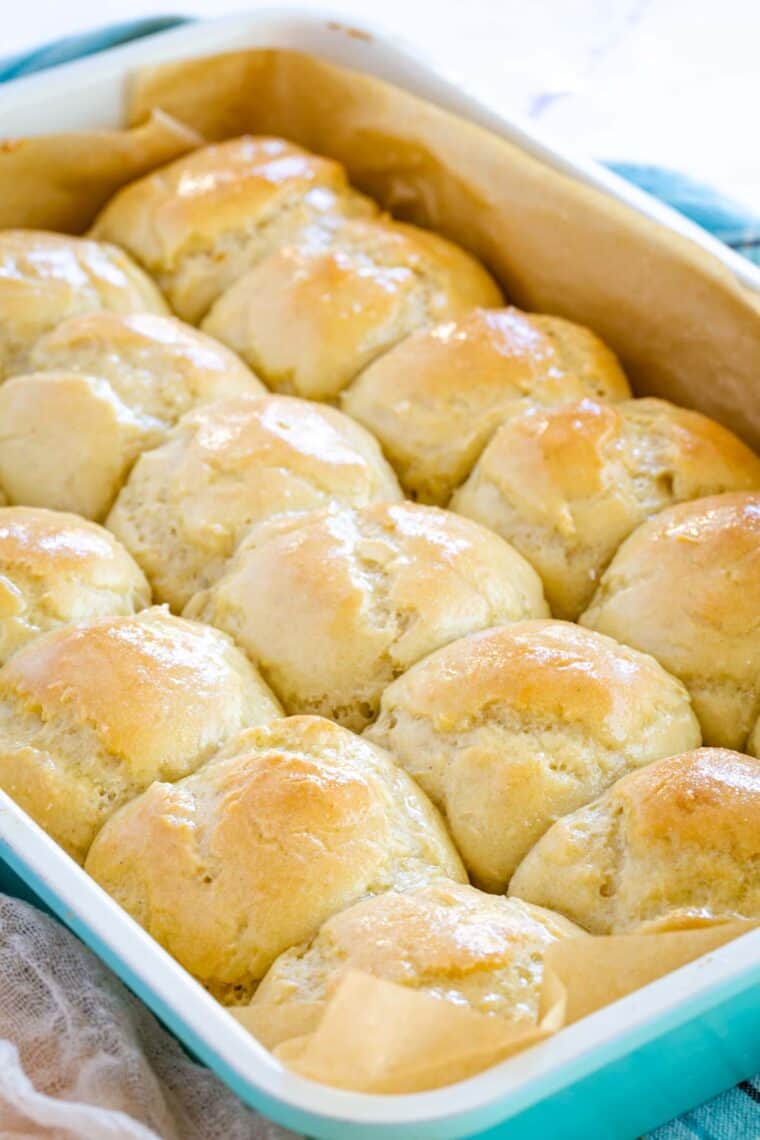
- Gluten Free Dinner Rolls
8 – Make Extra and Freeze
The last tip is that many gluten free baking recipes are freezer-friendly. Making some extra treats and keeping them in the freezer is a great way to always have something on hand when the sweet tooth strikes. This is especially true if you are the only gluten free person in the family, and you want to be able to have a cupcake for a birthday celebration, a muffin for brunch, or just some cookies and milk!
Happy gluten free baking!