
Gluten Free Glazed Air Fryer Donuts


This easy Air Fryer Gluten Free Donuts recipe makes the best homemade glazed donuts in the world! They are golden, light, and fluffy and the glaze is smooth and sweet. And guess what? They’re fried without any oil!
Craving chocolate? Try these Gluten Free Chocolate Donuts, baked and covered with chocolate icing!
Easy Gluten Free Glazed Donuts
Move over, Krispy Kreme!
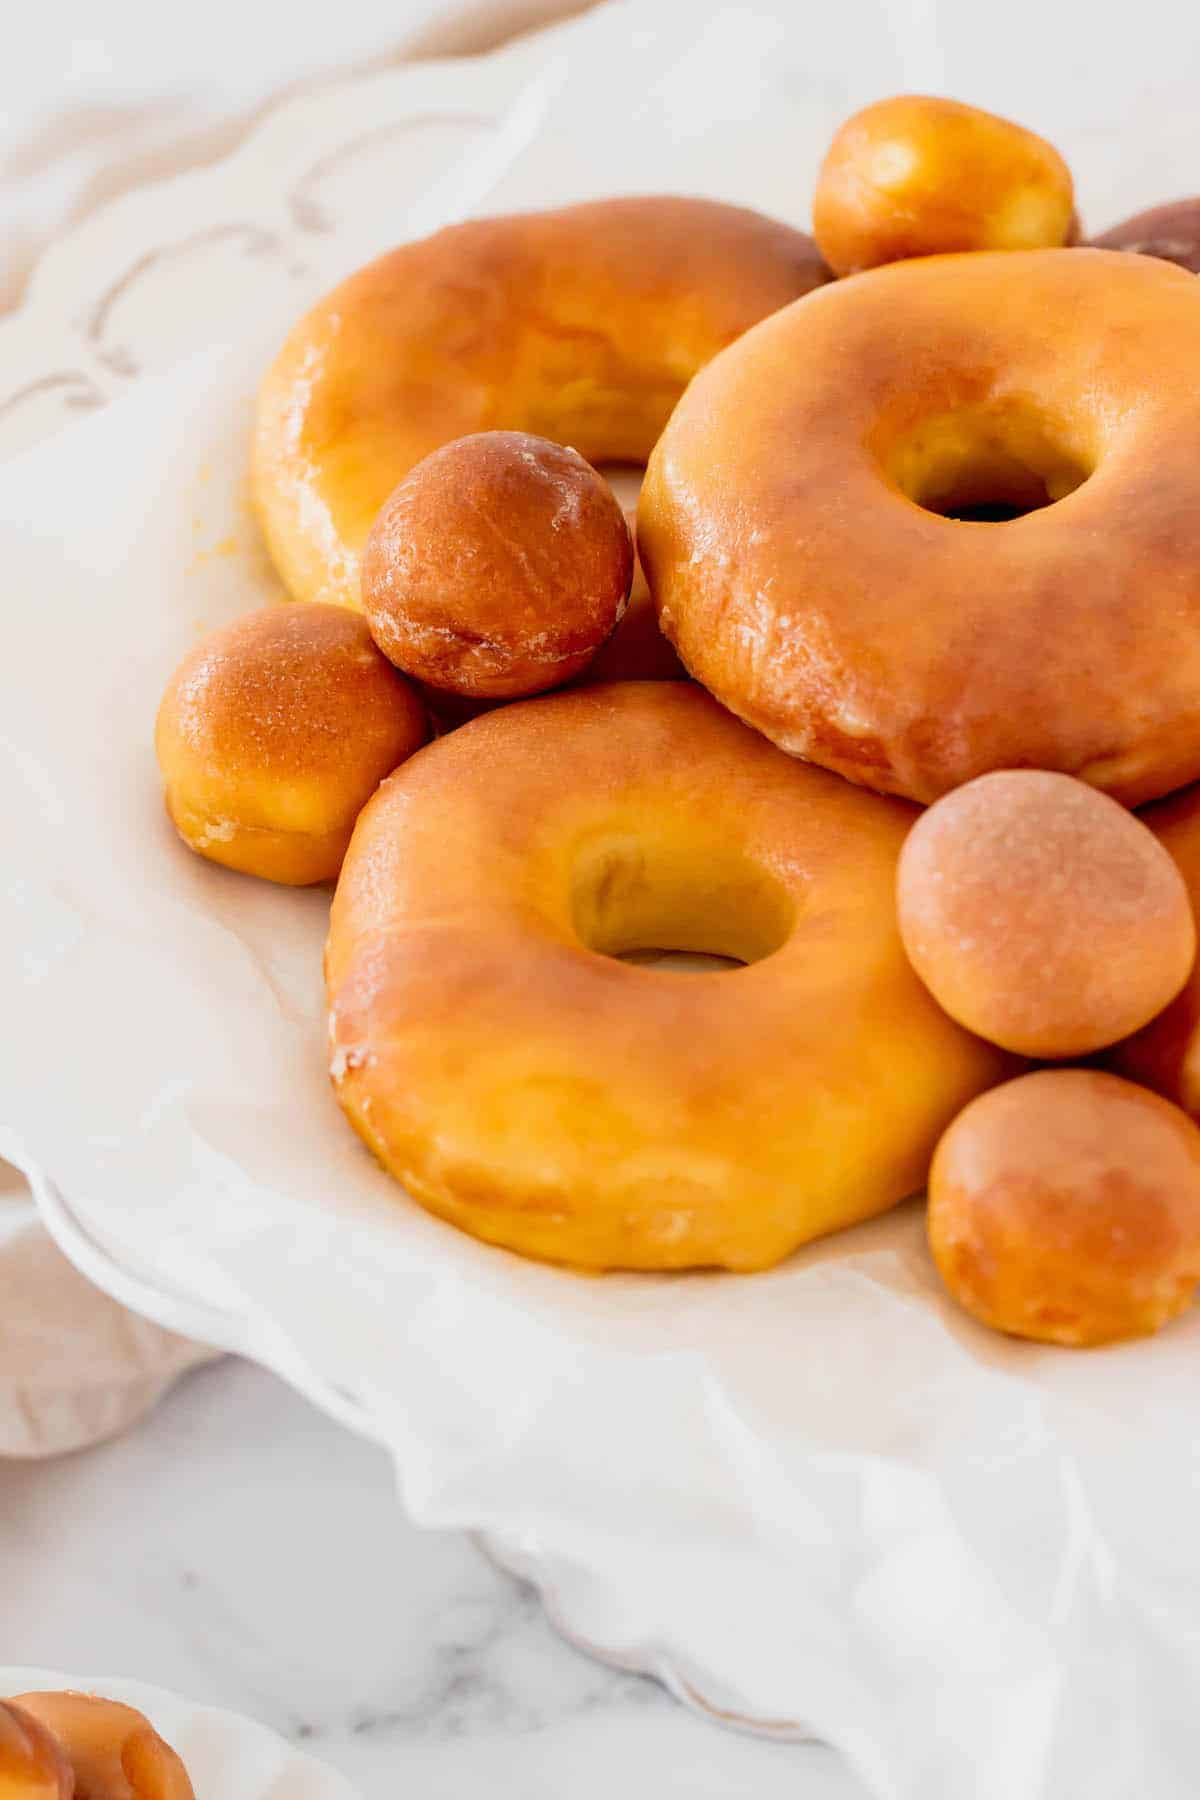
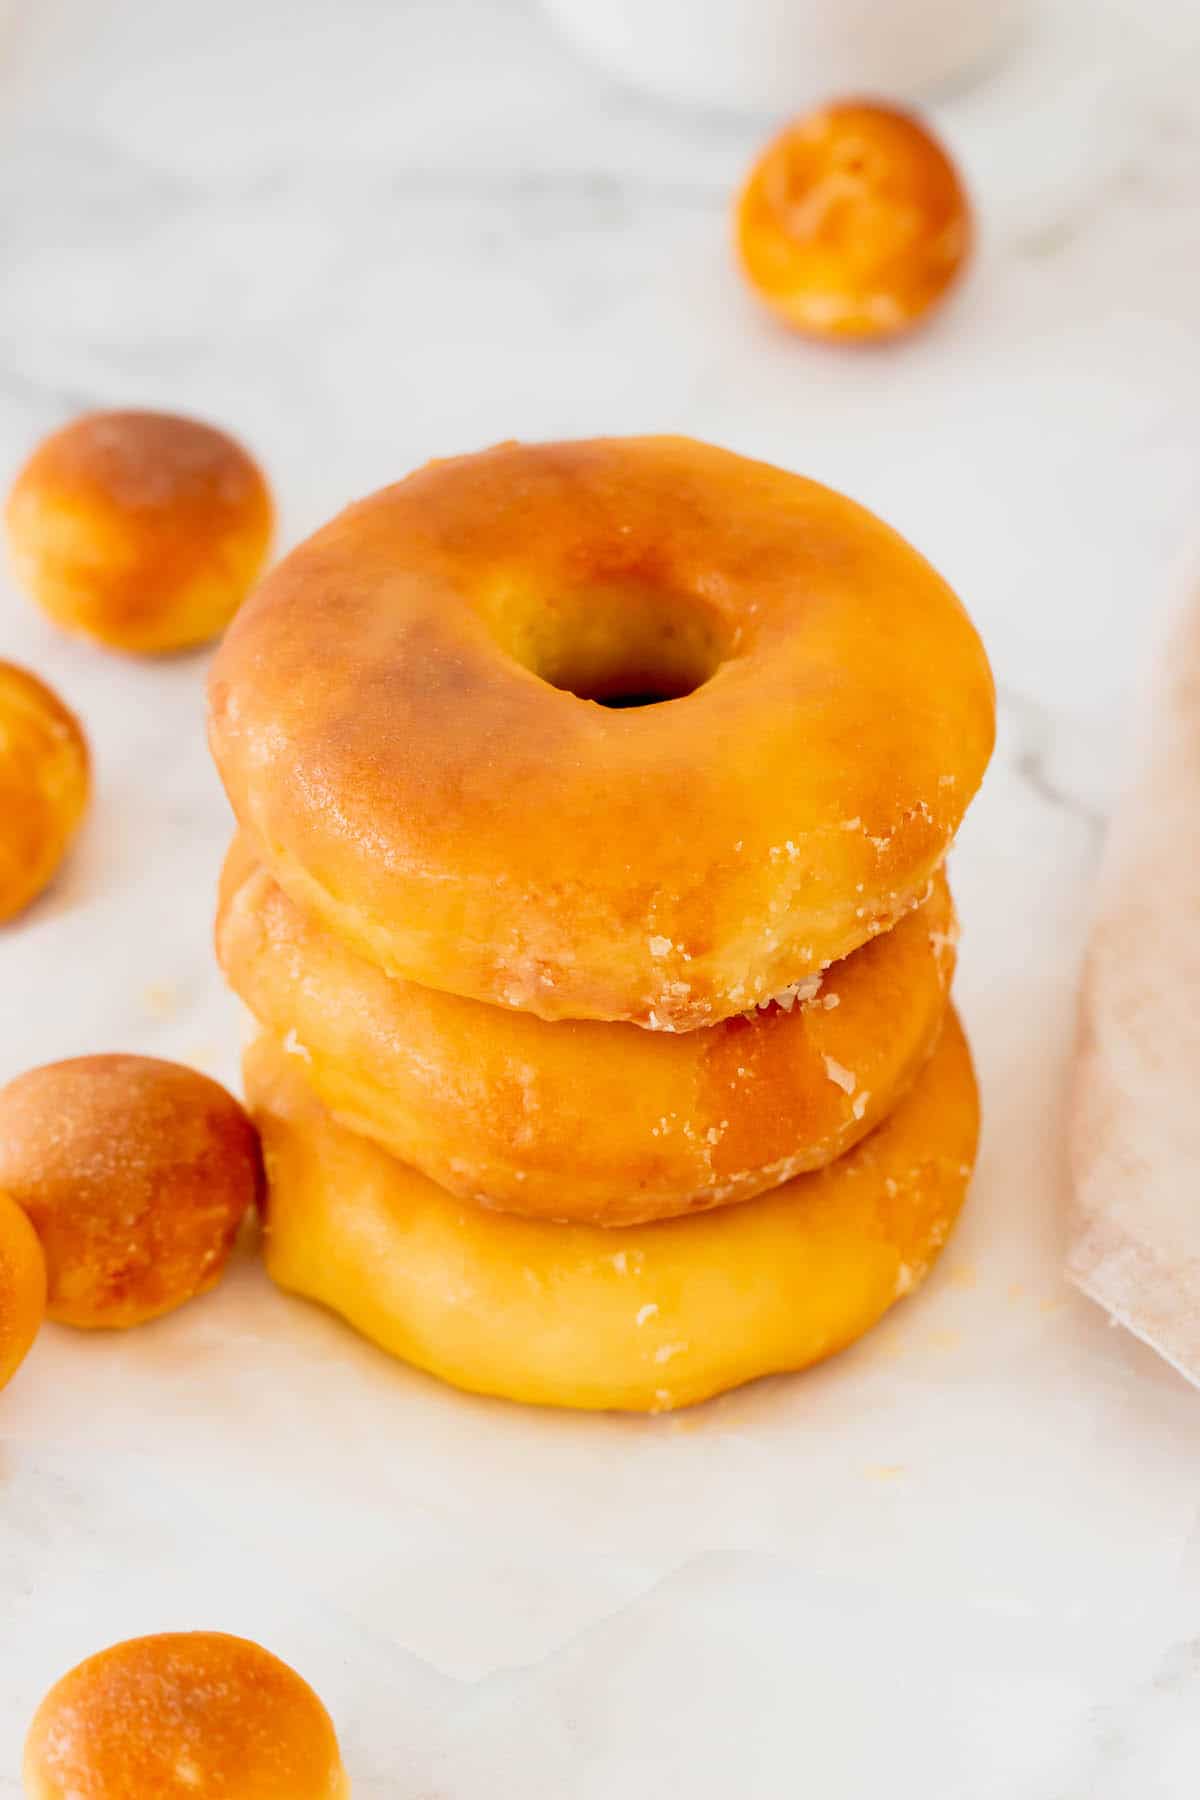
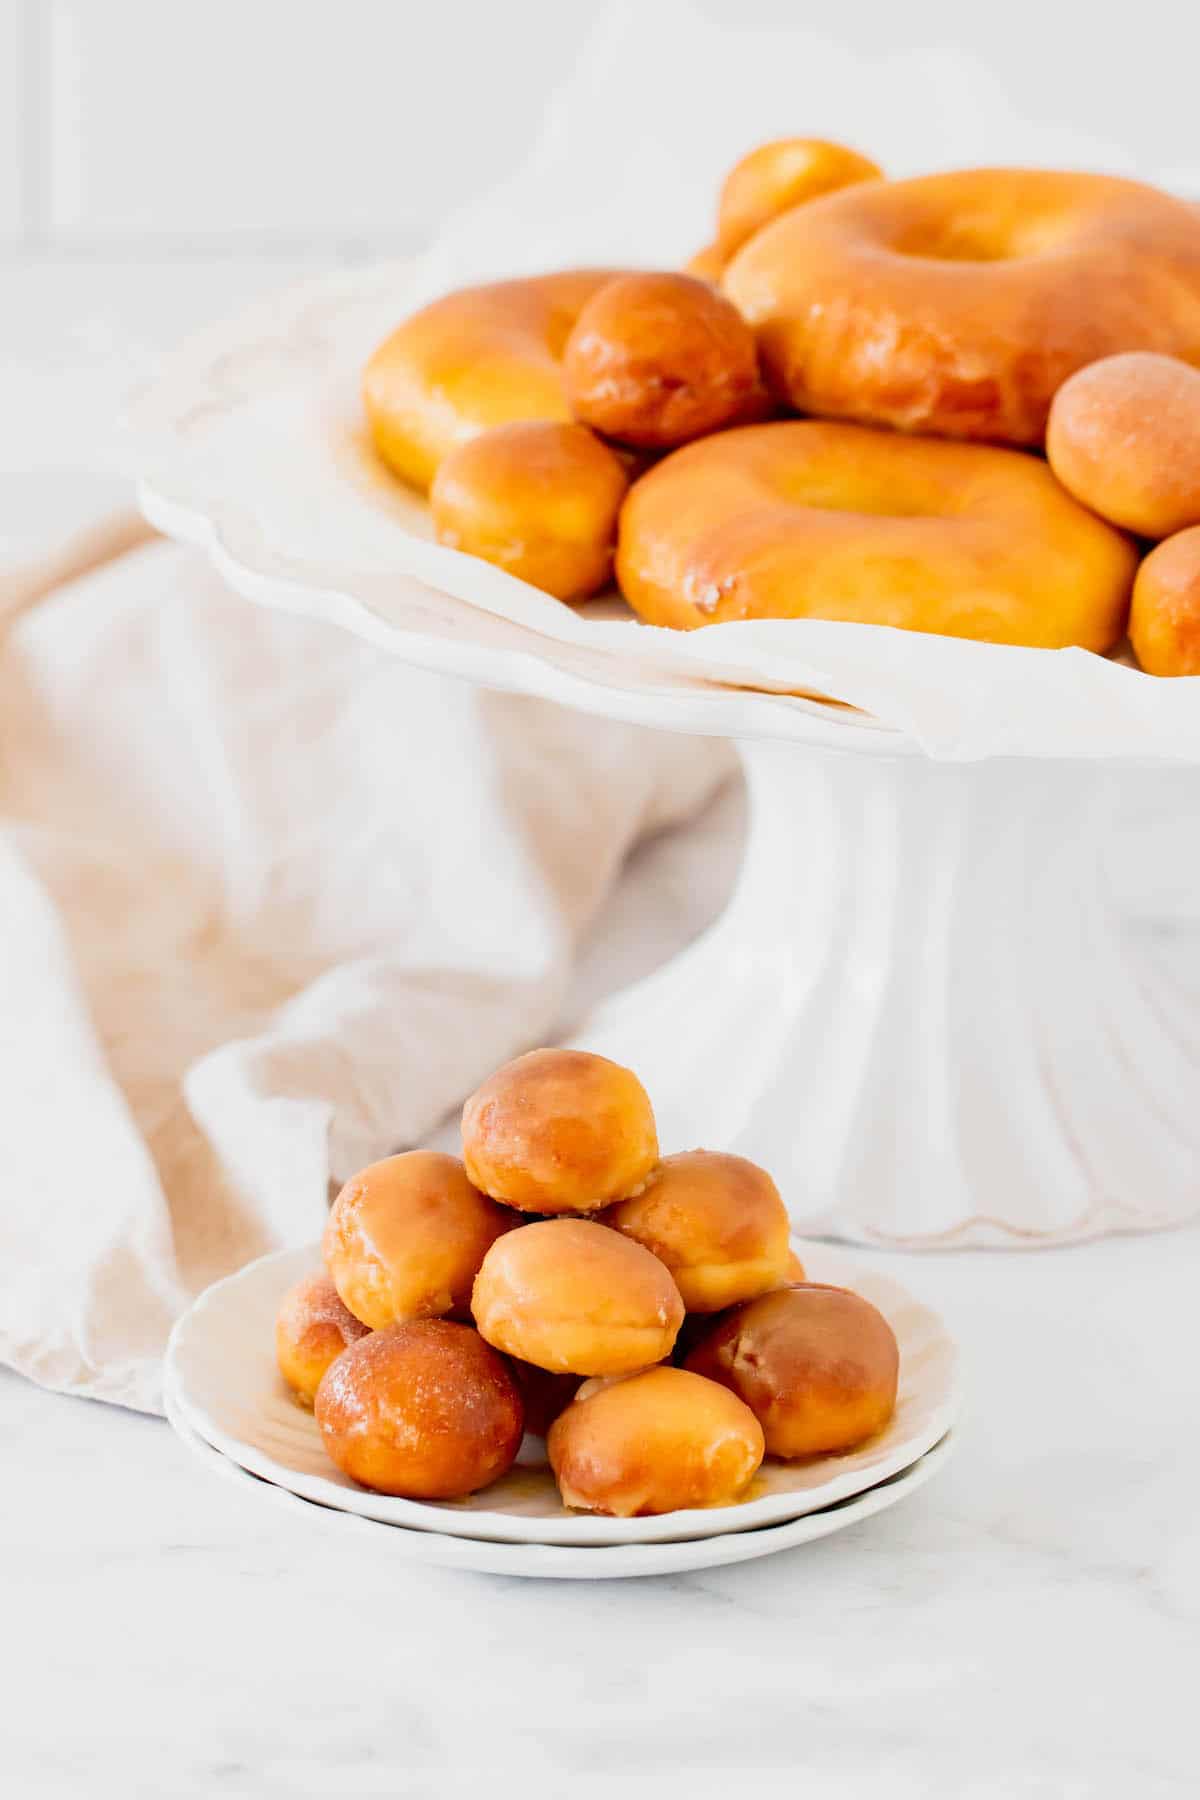
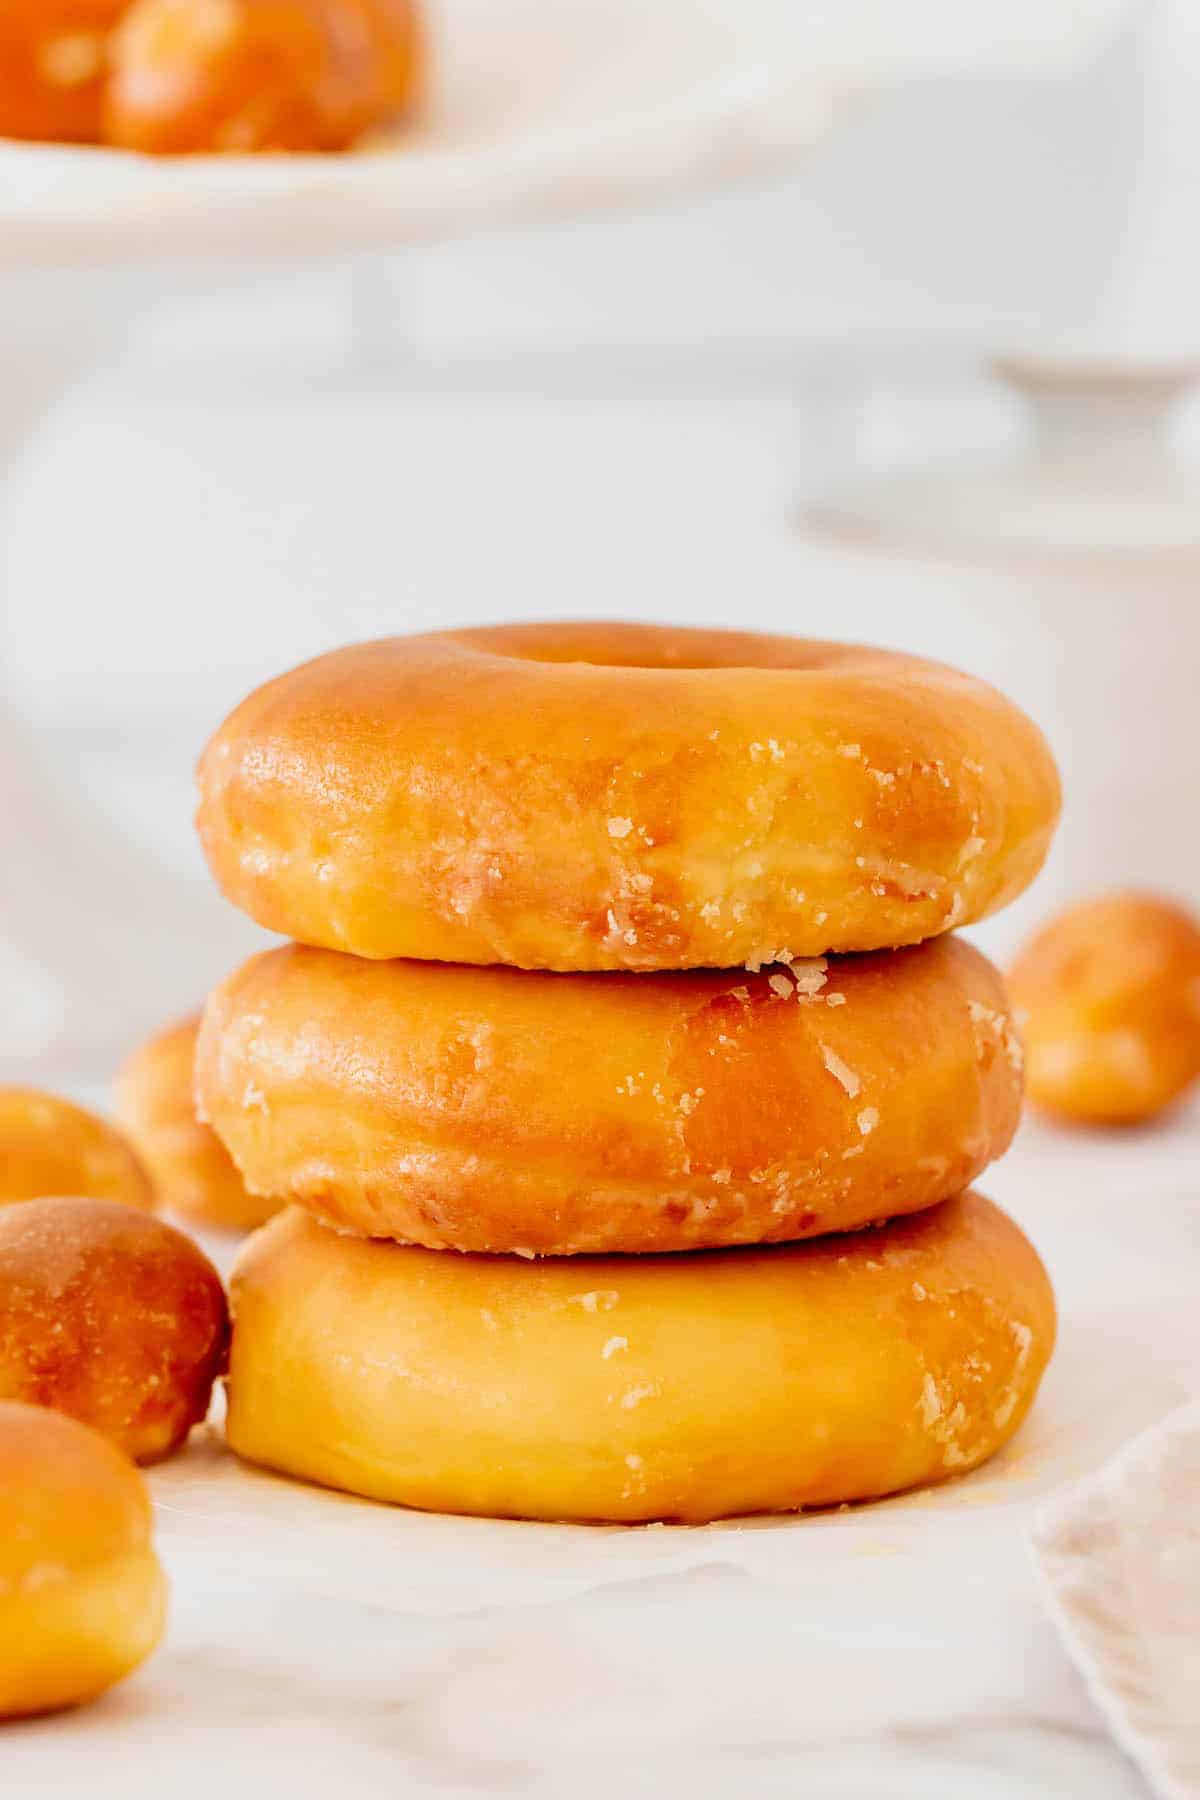
Soft on the outside and fluffy on the inside, these donuts have got it all. They’re made with gluten-free yeast dough and covered in a classic vanilla glaze. Waking up to one of these donuts will make anyone a morning person! They’re that good.
The key to a perfect homemade donut is adding the right amount of flour and the rising time of the dough. For this recipe, you’ll want to have a slightly wet and tacky dough that you work a little on the board to make it smooth. Then cut out your donuts and let them rise under a damp cloth before air frying them. While a double rise is necessary with traditional baked goods, it isn’t necessary for fluffy, tender gluten free donuts that no one will be able to resist!
Why Use an Air Fryer for Donuts?
A deep-fried feel without any oil involved? That alone is reason enough to use an Air Fryer for homemade donuts! The Air Fryer’s convection technology fries up flawless donuts every time.
The outside of these donuts is perfectly crisp, while the inside is tender and fluffy. So you’re getting the feel of traditional deep-fried donuts without all the extra calories. Plus, you don’t have to stand in front of a bubbling pot of hot oil to make these. Air Fryer Donuts truly are the easiest way to make homemade donuts.
What You’ll Need
You really don’t need much to make these donuts. The dough is simple, and the glaze only uses 4 ingredients!
For the Donuts
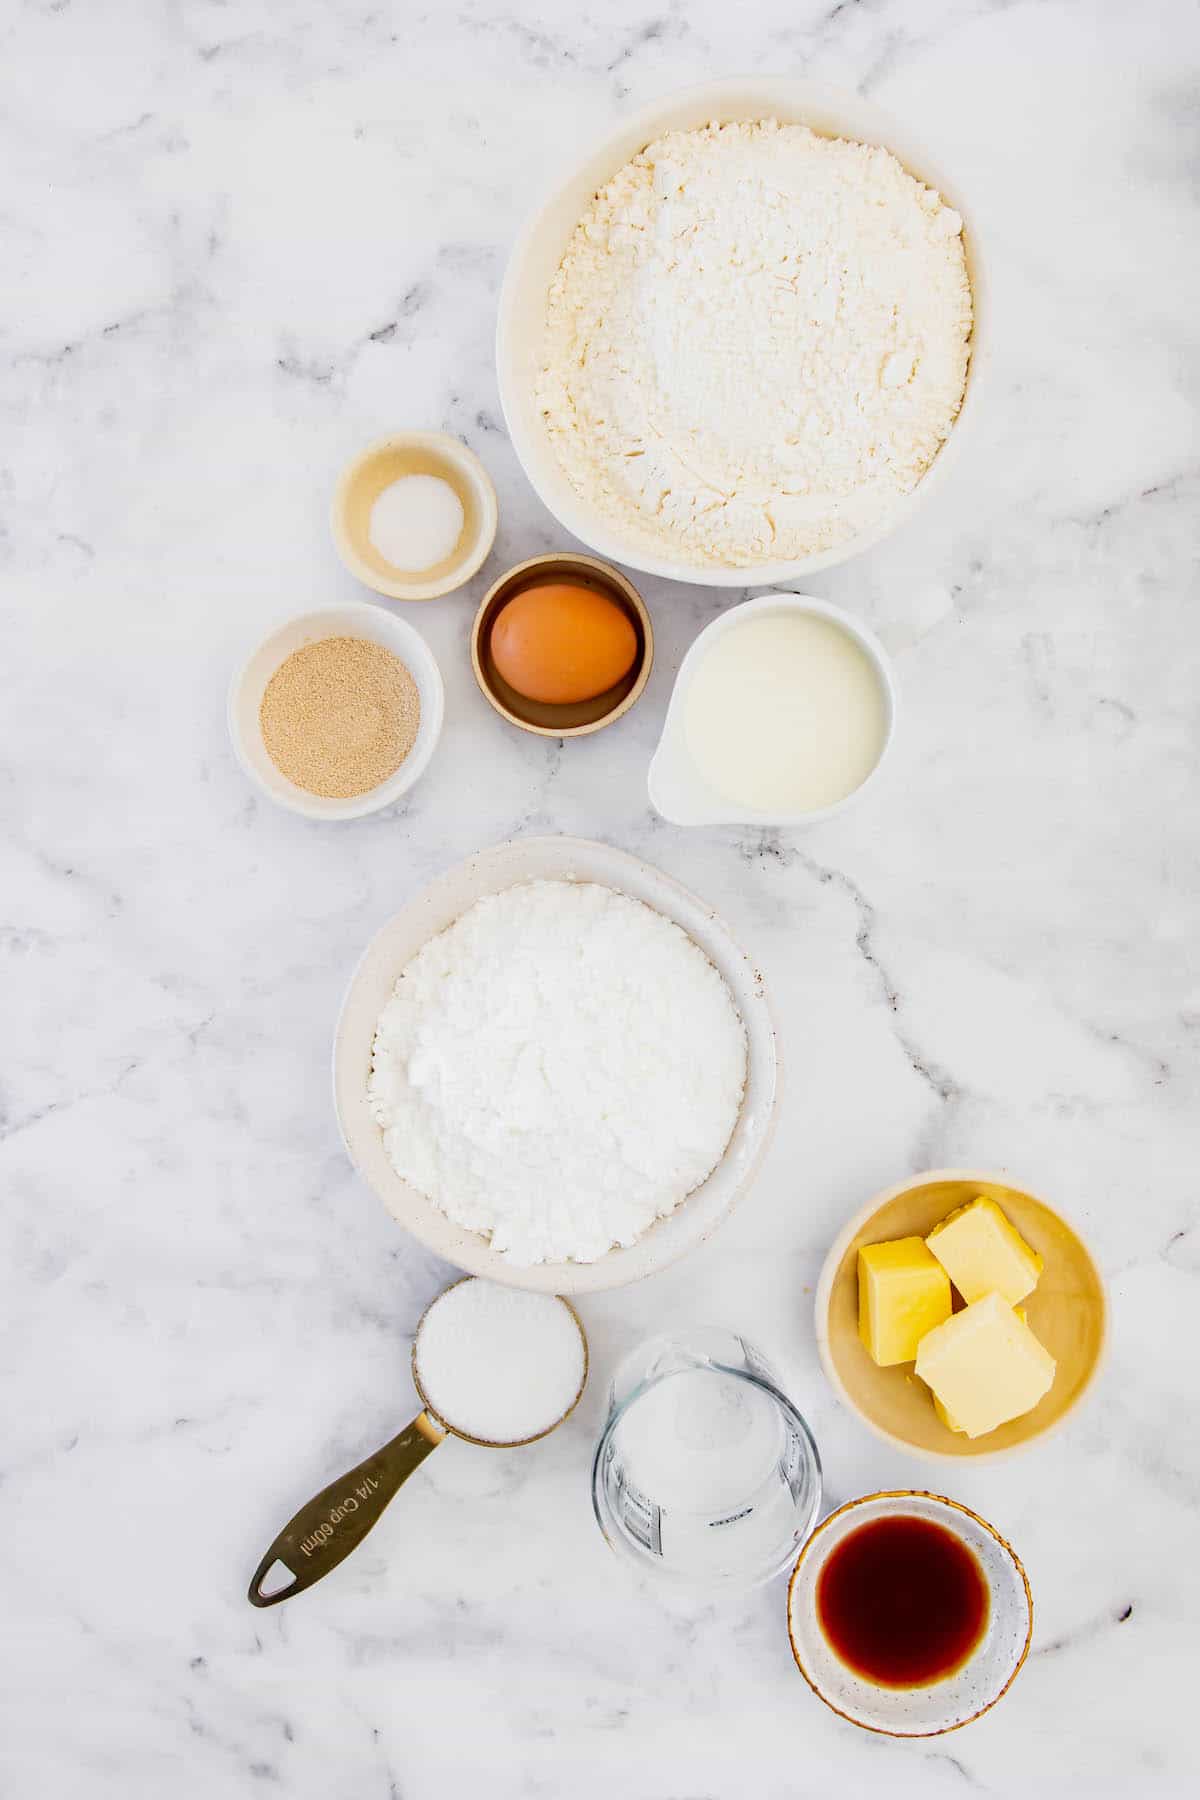
- 1:1 Gluten-Free Flour: This recipe has been tested with King Arthur Measure for Measure Gluten Free Flour. You should expect similar results with Bob’s Red Mill 1-to-1 Gluten Free Baking Blend. Or regular all-purpose flour, if not gluten-free.
- Granulated Sugar
- Instant Yeast: Not active dry yeast.
- Salt
- Milk: Or a milk substitute. You’ll want it warm, about 110°F.
- Unsalted Butter: Melted, some for the dough and some for brushing over the donuts.
- Egg: Or flaxseed, for vegan.
For the Glaze
- Unsalted Butter: Melted.
- Vanilla Extract
- Powdered Sugar
- Milk: A little bit of milk will help bring your glaze to the right consistency.
How to Make Gluten Free Donuts in the Air Fryer
Making homemade donuts is just a matter of preparing the dough, letting it rise, then firing up your Air Fryer. It’s super simple!
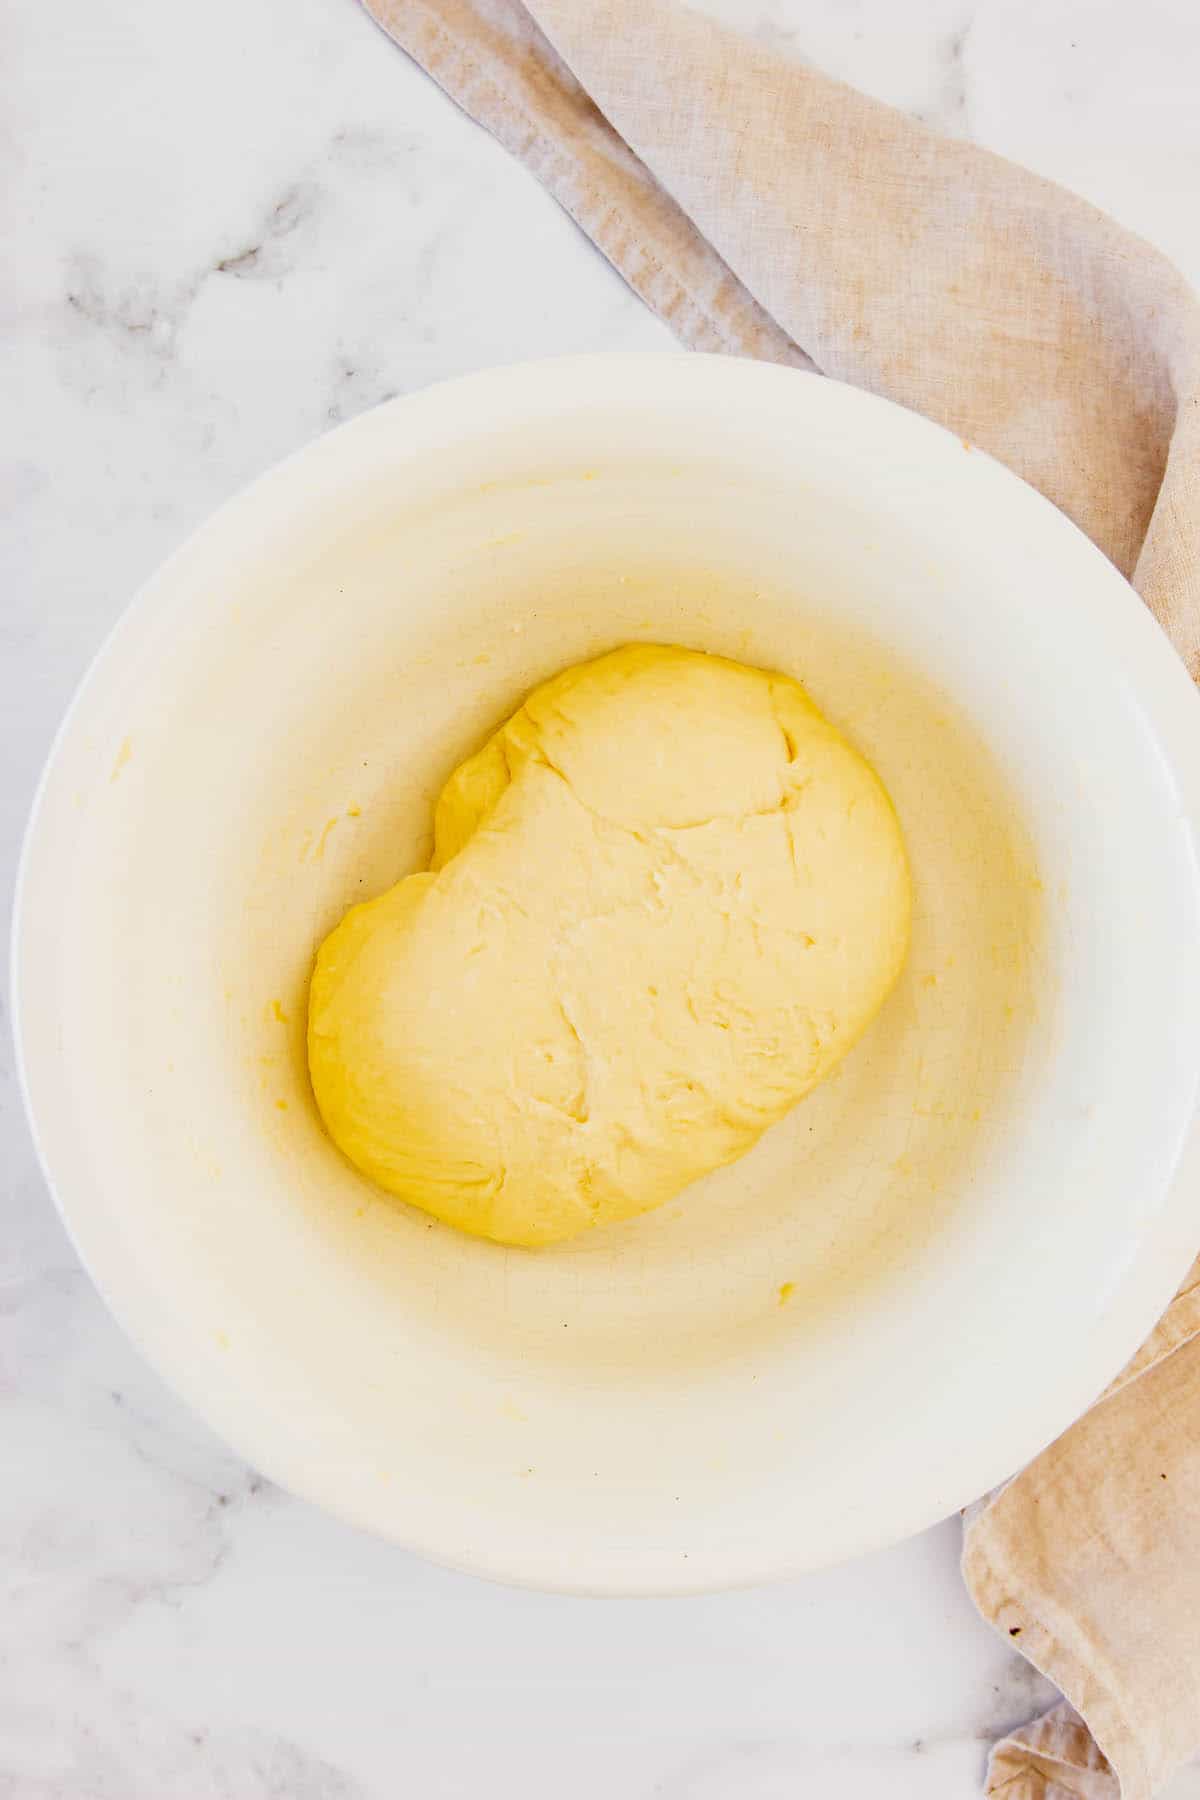
Make the dough: In a stand mixer fitted with a dough hook, add 2 1/2 cups of the flour, sugar, yeast, salt, milk, melted butter, and egg. Start the mixer at low speed and mix together until combined. Add 1/4 cup of the remaining flour and continue mixing for another 5-7 minutes. The dough should be sticky, but not wet, though it might still stick to the side of the bowl a bit. If needed, mix in a little more flour a tablespoon at a time but don’t let it get too thick or dry. It should still be tacky.
Note: If you are using regular all-purpose flour, you’ll want to cover the bowl and let it rise until doubled in size at the point. You can do this with gluten free flour, but it doesn’t make a huge difference in the final results, and, in fact, the single-rise donuts do tend to turn out fluffier.
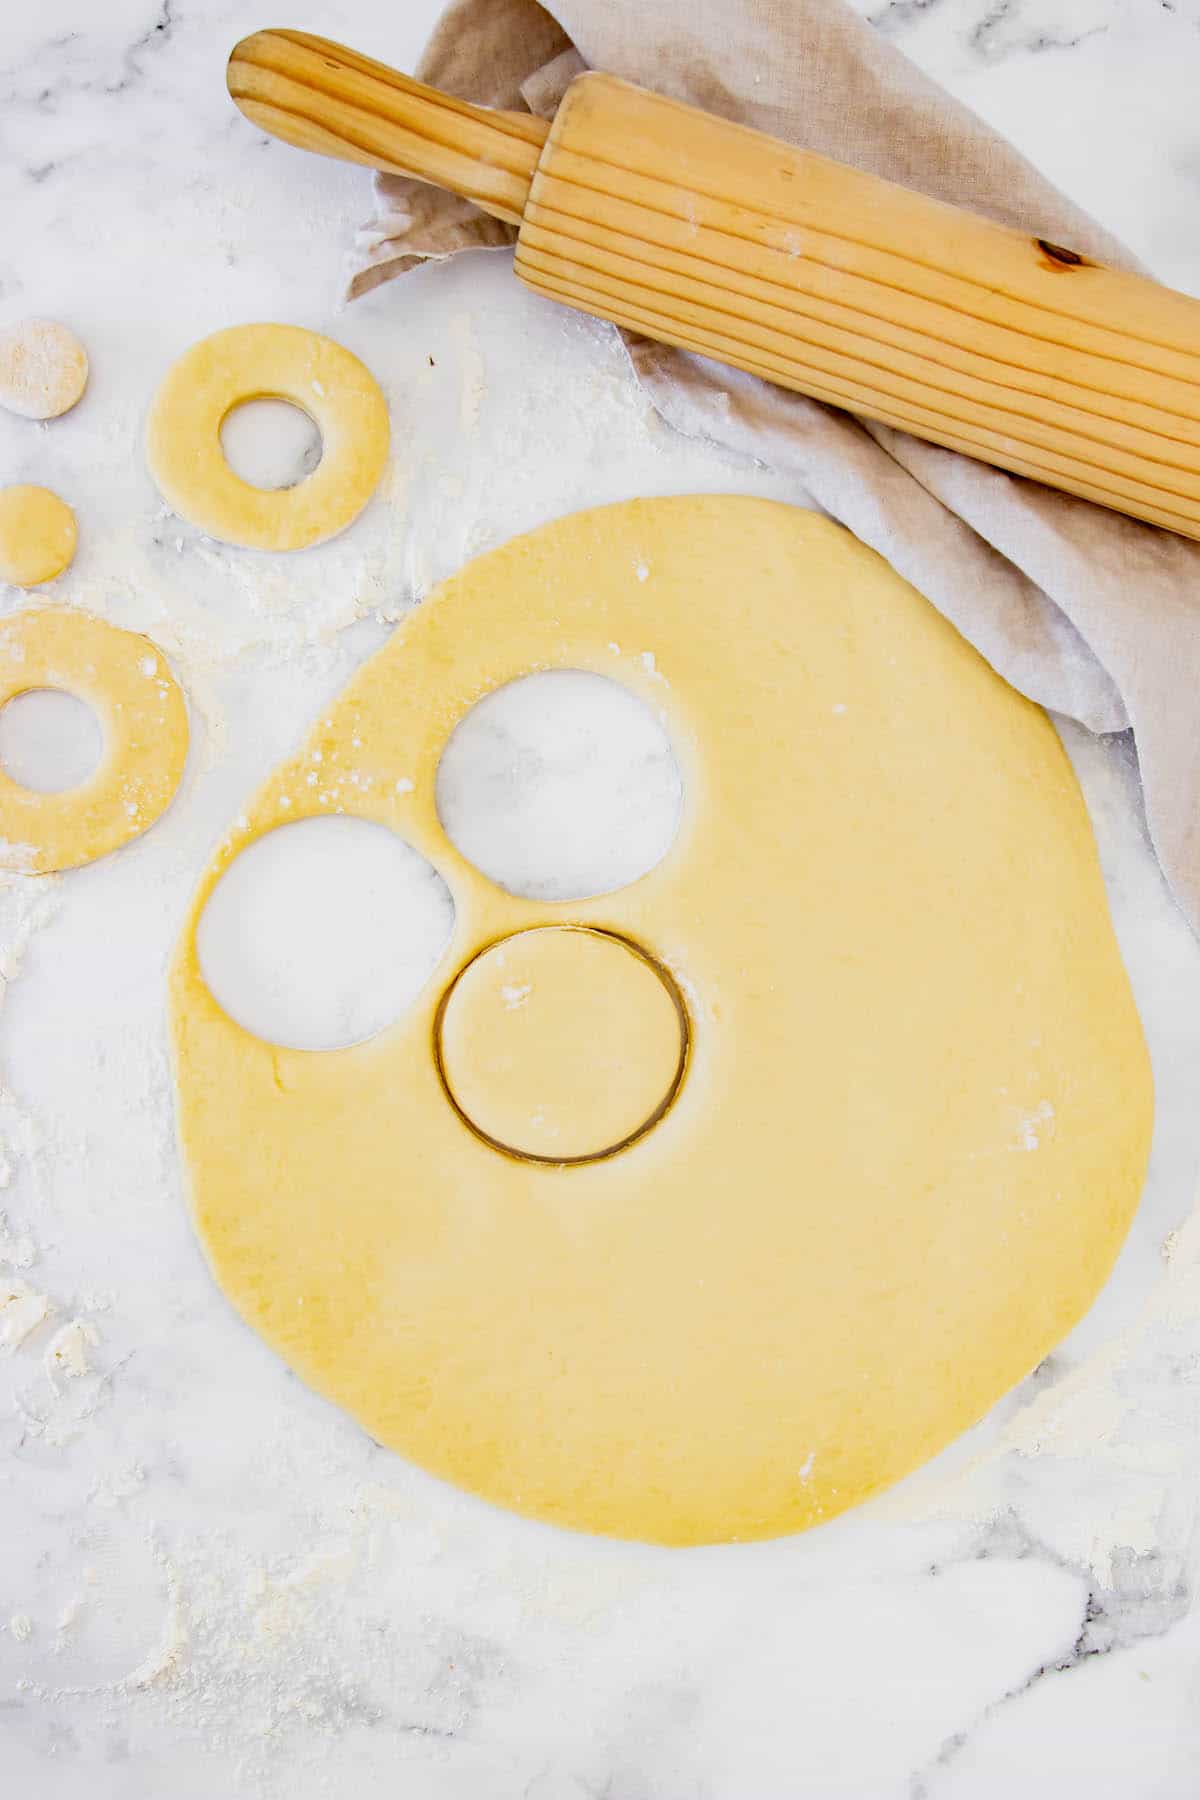
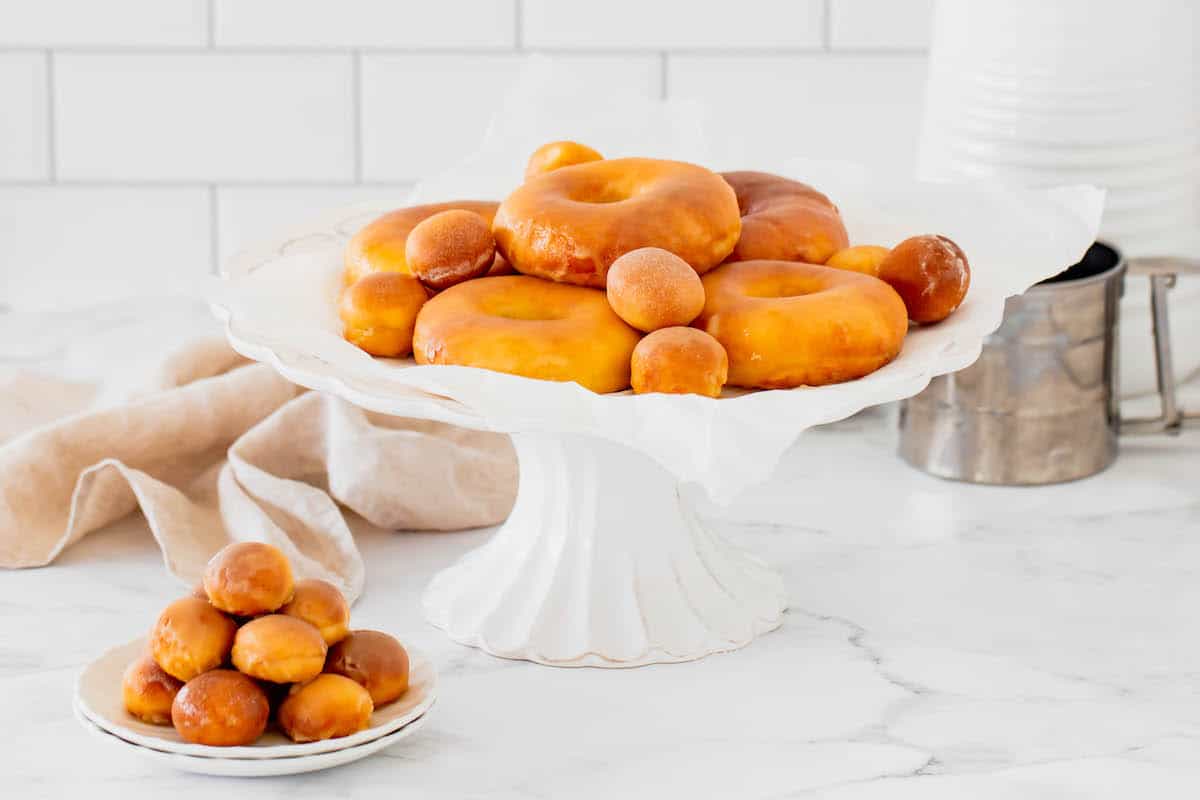
Shape Donuts: Scoop the dough out onto a floured surface, then dust the top of the dough with flour. Gently knead and work the dough just until it is smooth and pliable but still tacky. Roll the dough out into a rectangular shape and cut out the donuts using a round cookie cutter about 3 inches in diameter. Use a smaller round cutter to cut the center out. Place the donuts and the centers onto a parchment-lined baking sheet.
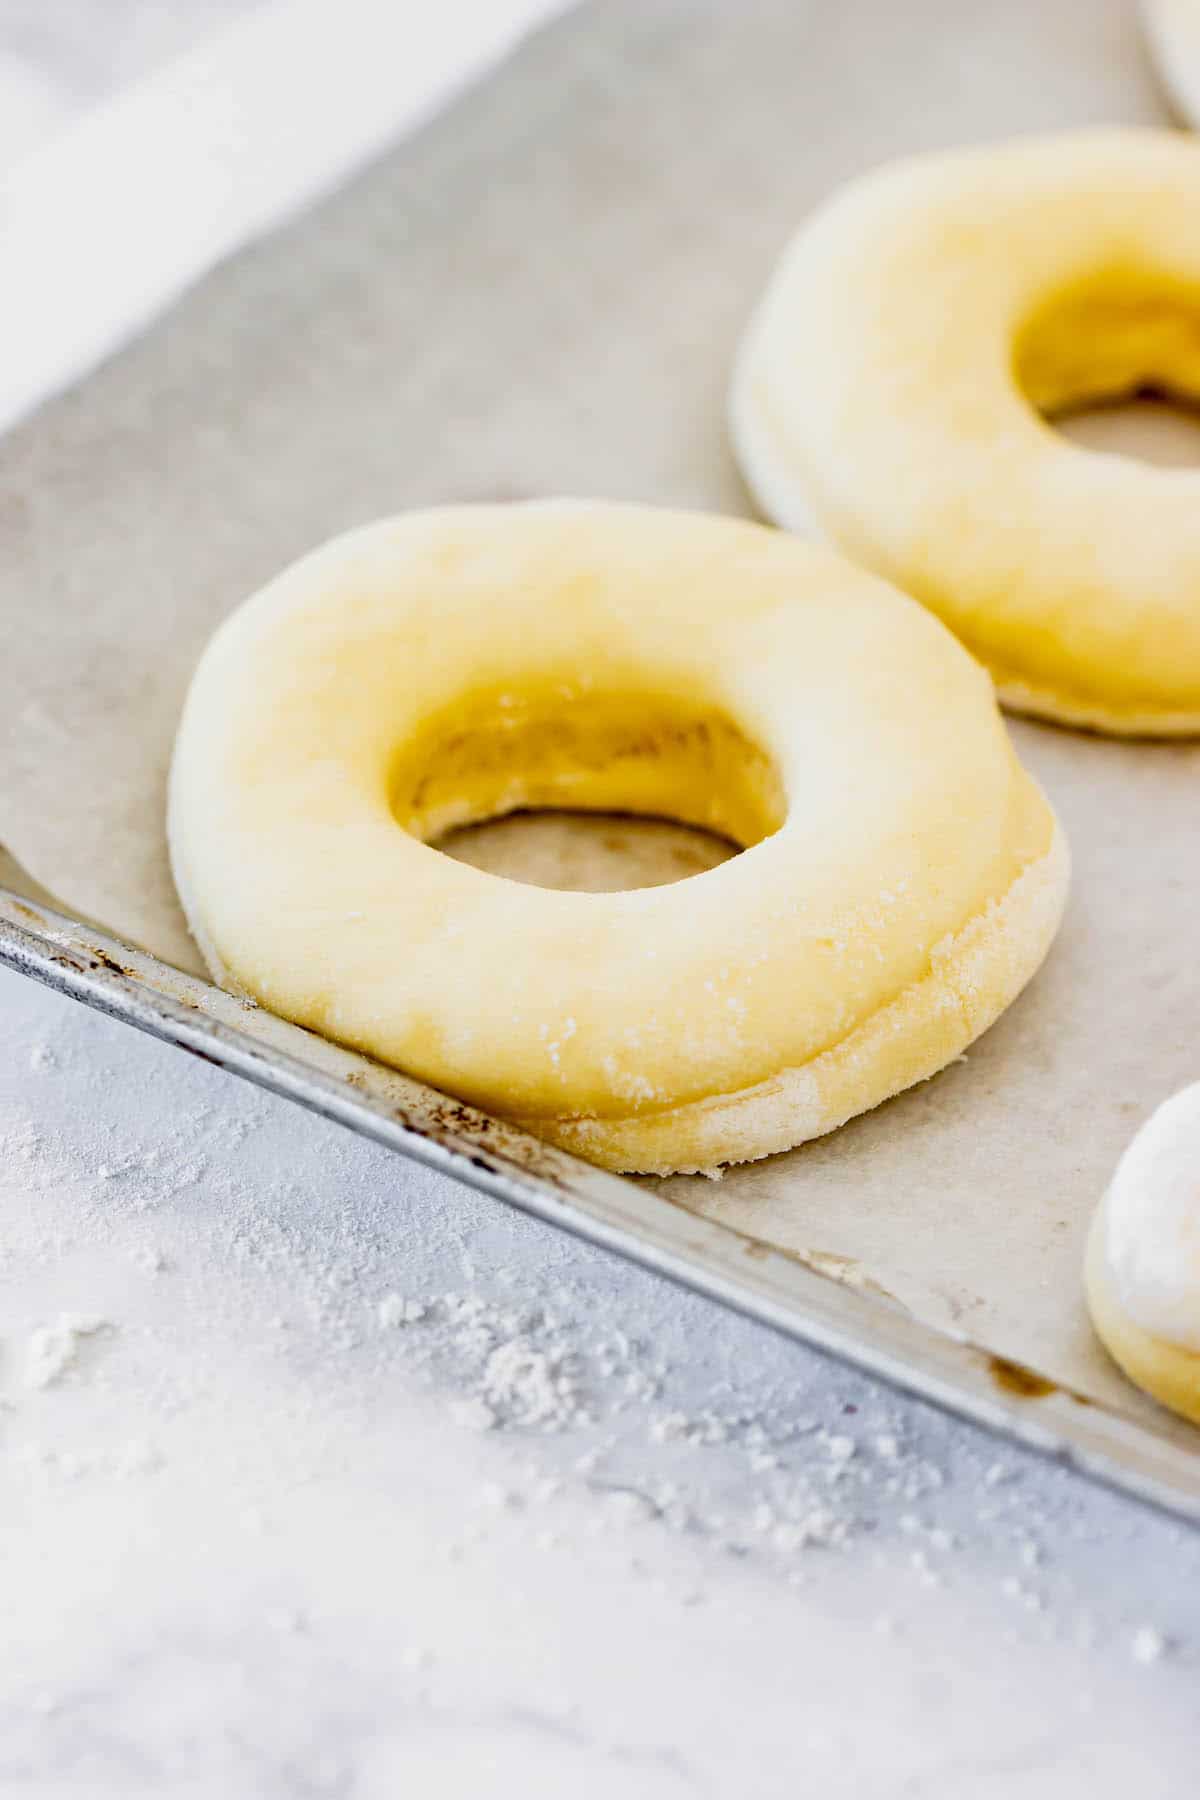
Let the Donuts Rise: Place the baking sheet in a warm area. I like to use an oven that I’ve set at “Keep Warm” and then turned off when I put the donuts inside. Loosely cover with a damp cloth and let rise until puffy, about 25-35 minutes. You do not want them to overproof. You’ll know this is happening if you start to see the surface of the dough split.
Prep Air Fryer: Preheat the Air Fryer to 350ºF and spray the basket with non-stick spray.
Brush with Butter & Fry: Lightly brush the donuts with butter and cook them for 5 minutes, or until golden.
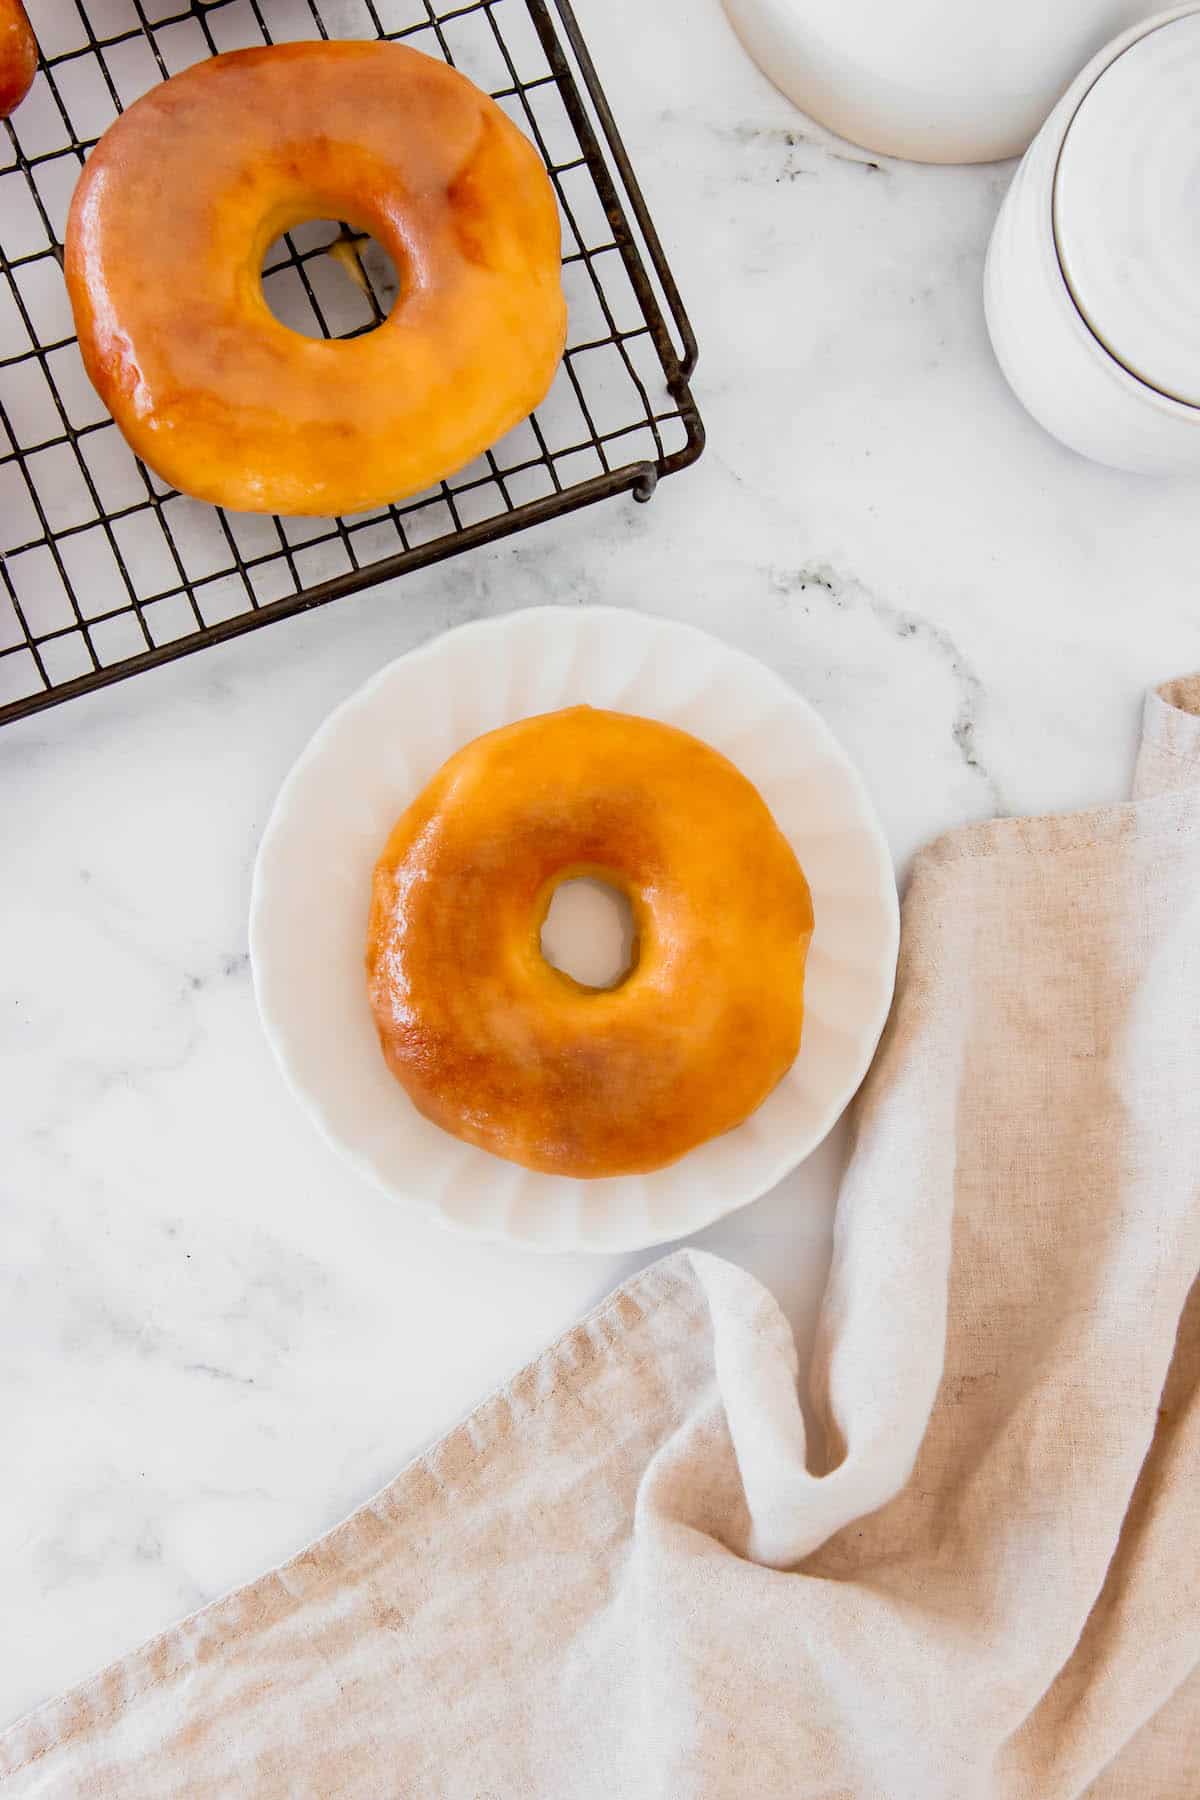
How to Make & Use the Donut Glaze
This glorious glaze comes together in a snap while your dough is frying. Here’s how to make it and put it on your donuts!
- Combine Ingredients: Combine all the ingredients for the glaze in a small bowl, adding more milk if needed.
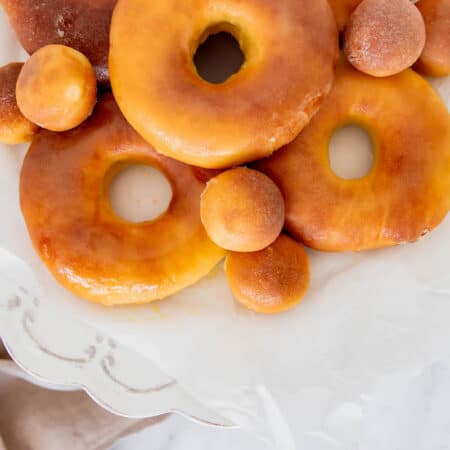
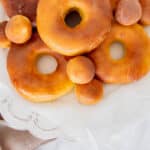
- Dip Donuts: Use a fork to dip the warm donuts into the glaze, then place them on a wire rack to allow excess glaze to drip off.
Tips for Success
For guaranteed perfection, follow these quick tips for making donuts in the Air Fryer.
- Measure Flour Accurately: Instead of scooping out your flour with the measuring cup itself, add spoonfuls of flour to the cup and level it with a butter knife. This way, your flour won’t pack down and cause you to use too much.
- Don’t Add Too Much Flour: Gluten free doughs would always be a bit wetter than you expect. Too wet, and then you let it rice, it will not have a smooth surface, but too much flour leads to very dense donuts. The dough should be very soft, but smooth. It will hold together, but you have to handle it carefully.
- Flour Work Surface: Before you roll out the dough and shape the donuts, make sure you sprinkle flour generously over your work surface. This will prevent the dough from sticking to the surface when you try to lift it.
- Enjoy Right Away or Warm Slightly: The donuts have the best texture while they are still warm. When baking with gluten free yeast doughs, the final product will be light and fluffy while still warm, but can get dense as it cools. So if your donuts have cooled, pop them in the microwave for a few seconds, just enough to “fluff” them up again.
How to Store Gluten Free Donuts
As mentioned, these donuts are best served about 10 minutes after the glaze is added. But they can be stored and saved for later as well! Leftover donuts will stay good for a day or two at room temperature, and are even better if you give them a few seconds in the microwave. Just make sure they’re stored in an airtight container.
Variation Ideas
This recipe gives you those classic, bakery-style glazed donuts. But there are tons of ways to dress them up and make them different!
- Coat with Cinnamon Sugar: Instead of coating your donuts with the homemade glaze, you can cover them in a mixture of cinnamon and sugar. If the cinnamon sugar isn’t sticking to the donuts, brush them with a little more butter before dipping them in.
- Top with Chocolate: You can also give them a dip in this Easy Fudge Sauce or try the glaze from these Gluten Free Chocolate Donuts.
- Make Maple Glaze: Try adding maple extract into the glaze instead of vanilla extract or pure maple syrup instead of milk. This will give your glaze an irresistible maple flavor!
- Add Bacon: The sweet and savory combo of soft donuts and crispy bacon just works. So load up your donuts with some crumbled bacon and go to town! This is especially yummy with the maple glaze.
- Make Donut Sundaes: Top them with a scoop of your favorite ice cream, like Toffee Nutella Ice Cream or Caramel Apple Ice Cream for the fall. Don’t forget the whipped cream and a cherry!
- Add Sprinkles: On the other hand, you could simply add some sprinkles over your donuts to avoid turning on the stove. I love doing this with festive sprinkles for holidays and celebrations!
Things You’ll Need
- A stand mixer with a dough hook is going to make this donut dough super easy.
- Of course, you’ll need an air fryer. I have this Cosori air fryer and use is all the time.
- Remember, this recipe uses Instant (aka “Rapid Rise”) Yeast.
- A set of round cutters will help you cut out those donuts.
Air Fryer Glazed Donuts
Equipment
Ingredients
For the Donuts
- 3 cup 1:1 gluten-free flour, divided (King Arthur Measure for Measure or Bob's Red Mill 1-to-1)
- 1/3 cup granulated sugar
- 2 1/2 teaspoons instant dry yeast
- 1/4 teaspoon salt
- 1 cup warm milk, about 110°F
- 1/3 cup unsalted butter, melted
- 1 large egg
- 1 Tablespoon unsalted butter, melted for brushing over donuts
For the Glaze
- 1/4 cup unsalted butter, melted
- 1 tsp vanilla extract
- 2 cups powdered sugar
- 1-2 Tablespoons milk
Instructions
For the Donuts
- In a stand mixer fitted with a dough hook, add 2 1/2 cups of the flour, sugar, yeast, salt, milk, melted butter, and egg. Start the mixer at low speed and mix together until combined.
- Add the 1/4 cup of the remaining flour and continue mixing for another 5-7 minutes. The dough should be sticky, but not wet, though it might still stick to the side of the bowl a bit. If needed, mix in a little more flour a tablespoon at a time but don't let it get too thick or dry. It should still be tacky.
- Add the remaining flour and continue mixing for another 5-7 minutes, or until the dough is smooth and no longer sticks to the bowl.
- Scoop the dough out onto a floured surface, then dust the top of the dough with flour. Gently knead and work the dough just until it is smooth and pliable but still tacky.
- Roll the dough out into a rectangular shape and cut out the donuts using a round cookie cutter about 3 inches in diameter. Use a smaller round cutter to cut the center out. Place the donuts and the centers onto a parchment-lined baking sheet.
- Place the baking sheet with the donuts in a warm place and loosely cover with a damp cloth. Let rise until puffy, about 25-35 minutes.
- Preheat the Air Fryer to 350ºF and spray the basket with non-stick spray.
- Lightly brush the donuts with butter and cook for 5 minutes, or until golden.
- While they are frying, make the glaze and dip the donuts while they are still warm. Enjoy right away!
For the Glaze
- Combine all the ingredients for the glaze in a small bowl, adding more milk if needed.
- Use a fork to dip the warm donuts into the glaze and place them on a wire rack to allow excess glaze to drip off.
Notes
Did you make this?
Leave a star rating to help others know that they should make this recipe.
Share a photo and tag @cupcakesandkalechips on Instagram!
Are you able to make the dough ahead of time? Have you tried this and have the dough still roll and proof well?
I do not recommend that as gluten free doughs can easily overproof. It might work, but I have not tried it to know for sure.
I followed the instructions step by step and they turned out more like bagels, not sure how you got it to look fluffy as pictured using gluten free flour. they taste fine but not really like donuts, more like bagels with icing.
Hi, out of curiousity, what flour did you use? The biggest issue is lightly spooning the flour and carefully handing the soft dough.