This post may contain affiliate links. Read my disclosure policy.
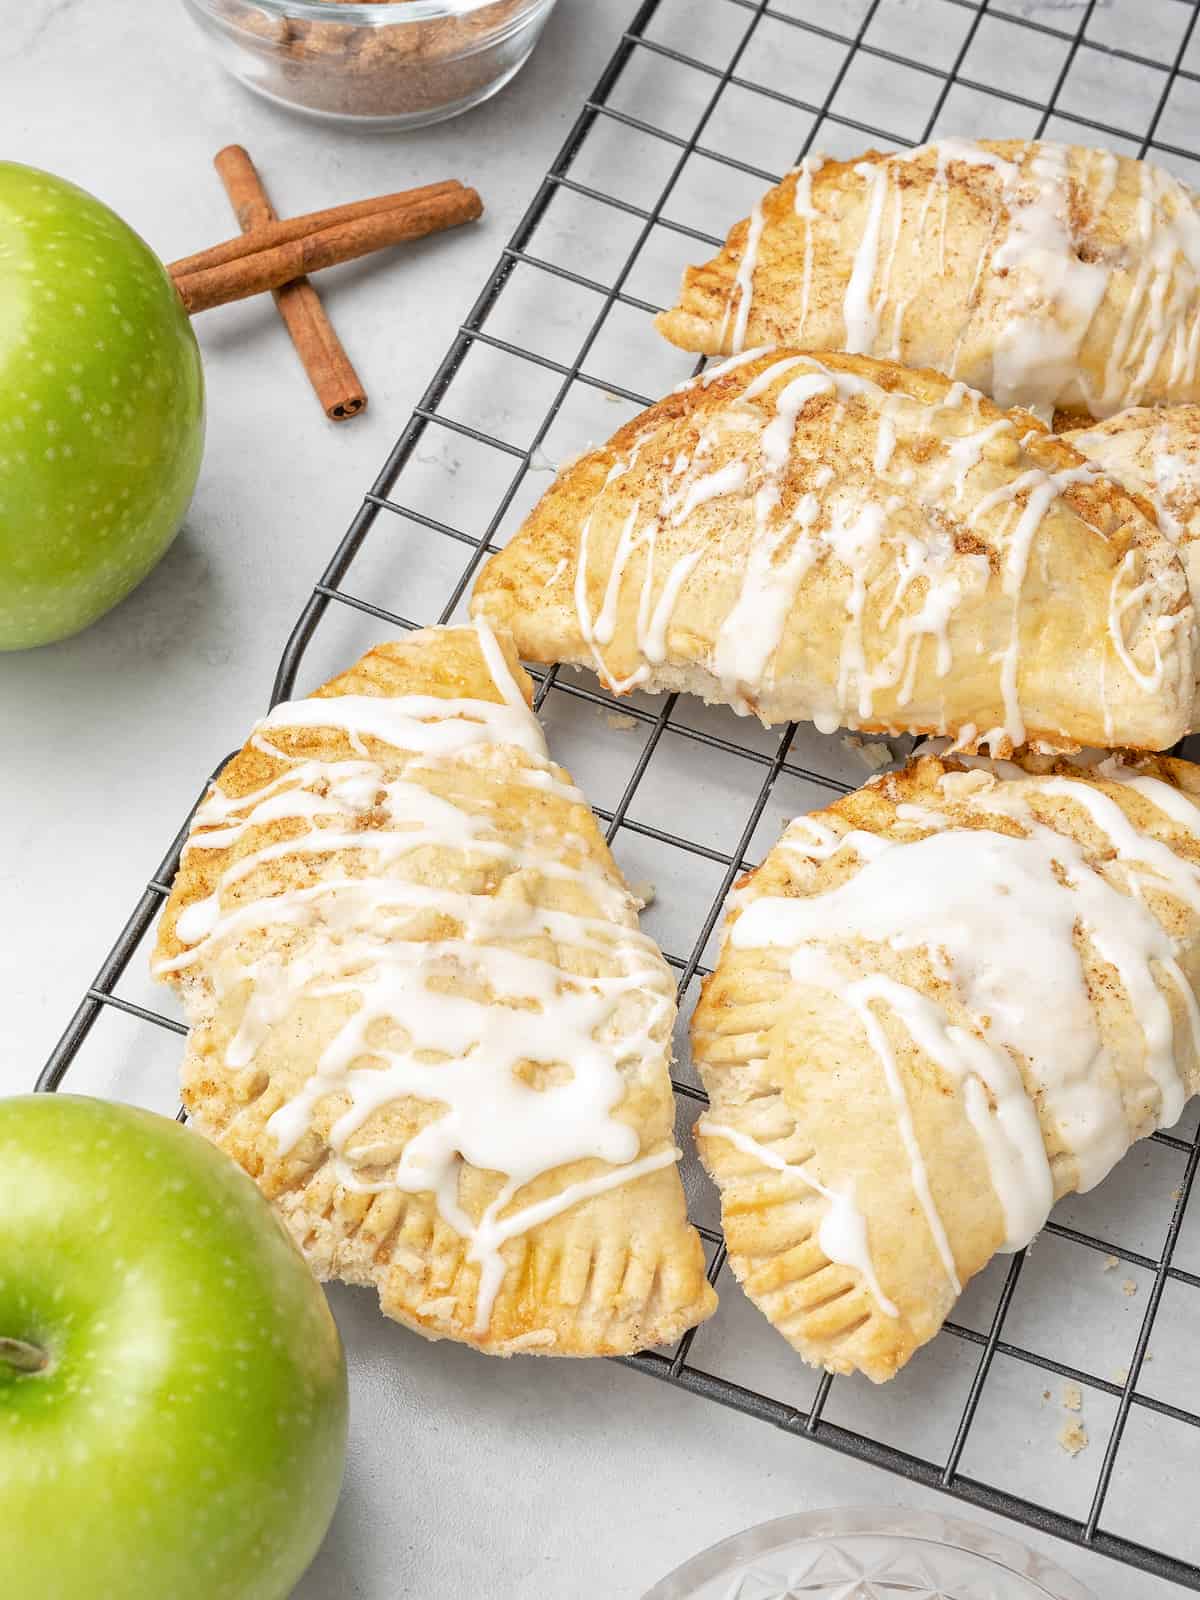
Golden and buttery Gluten Free Apple Turnovers are made with a blissful burst of tender, sweet and spiced apples in every bite. A simple and classic homemade pastry recipe that you can make in under an hour!
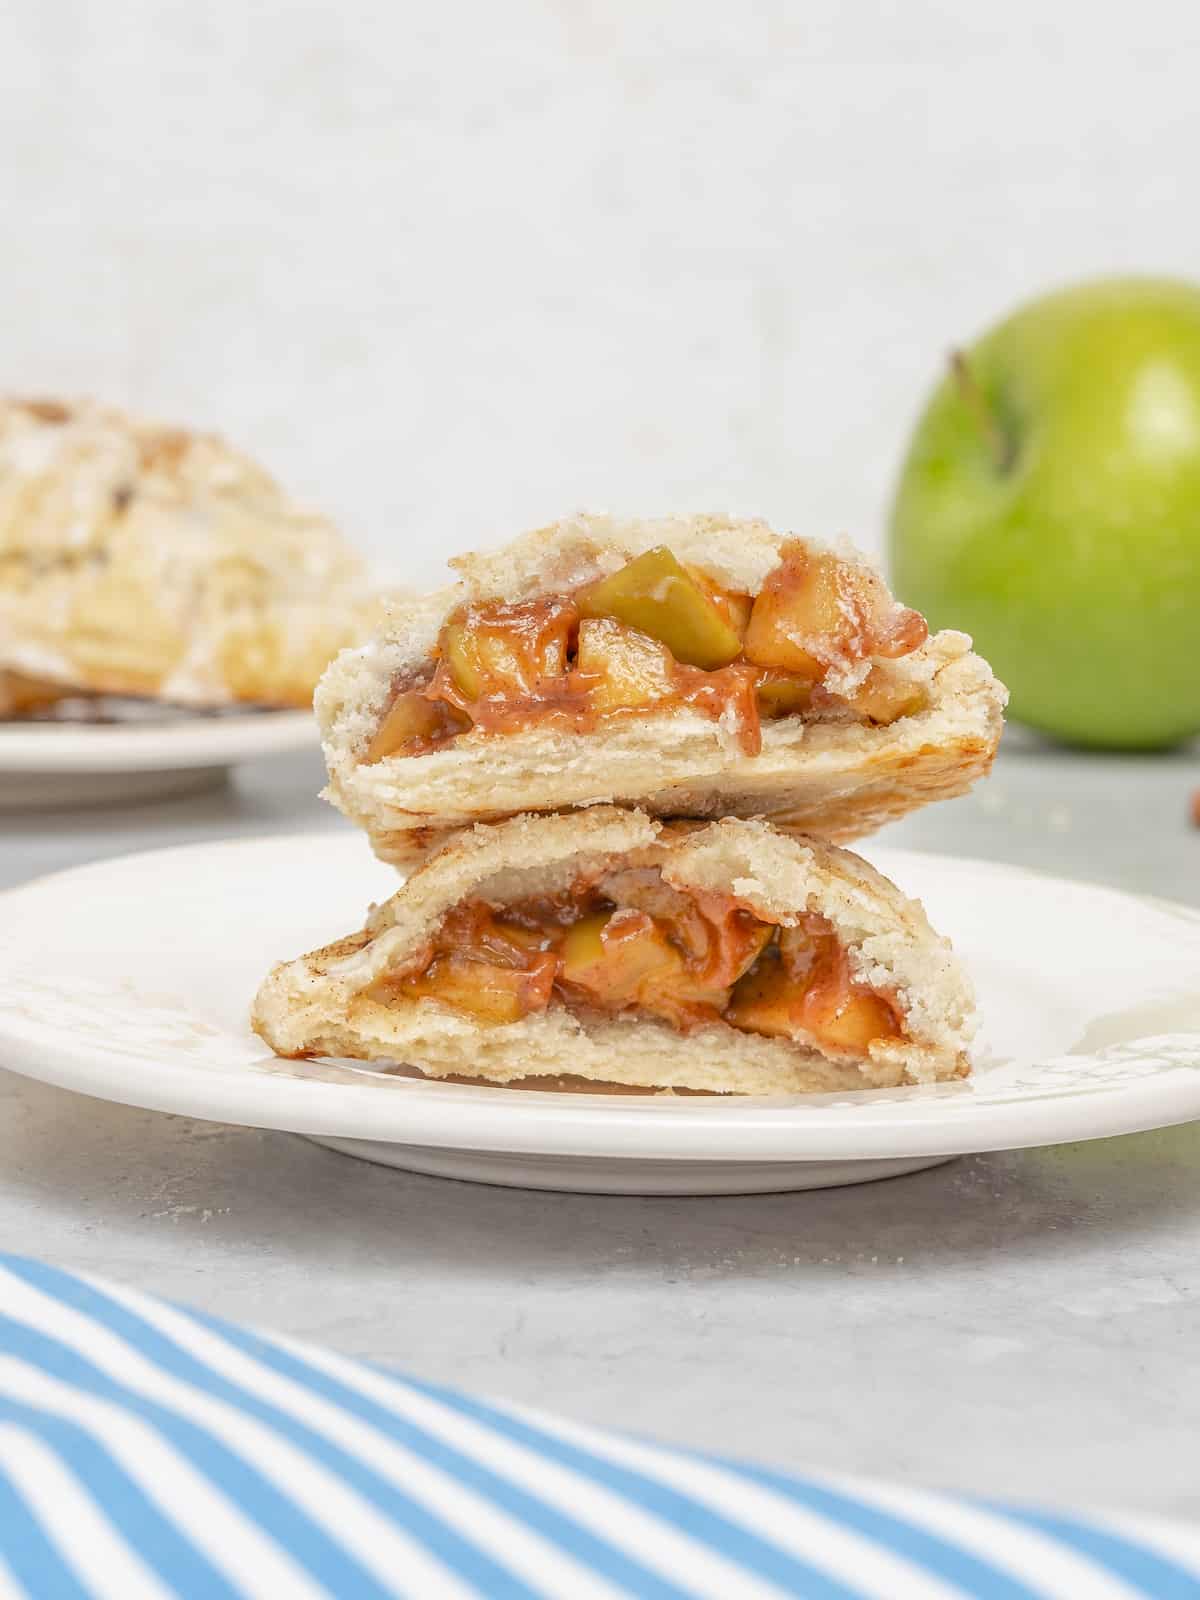
Table of Contents
- The Ultimate Apple Turnover Recipe
- What Is the Difference Between Apple Pie and Apple Turnover?
- The Ingredients
- How to Make Gluten-Free Apple Turnovers
- Can They Be Made in Advance?
- Tips for Success
- Topping Ideas
- Storage and Reheating
- Can You Freeze Apple Turnovers?
- Shop the Recipe
- More Easy Apple Dessert Ideas
- Get the Recipe
The Ultimate Apple Turnover Recipe
There are a few things in life that I’d describe as blissful. Brownies are high on the list, so is homemade ice cream. Then, there are these homemade apple turnovers. Search “blissful” in the dictionary, and I’m pretty sure you’ll find a picture of these fruit-filled pastries front and center.
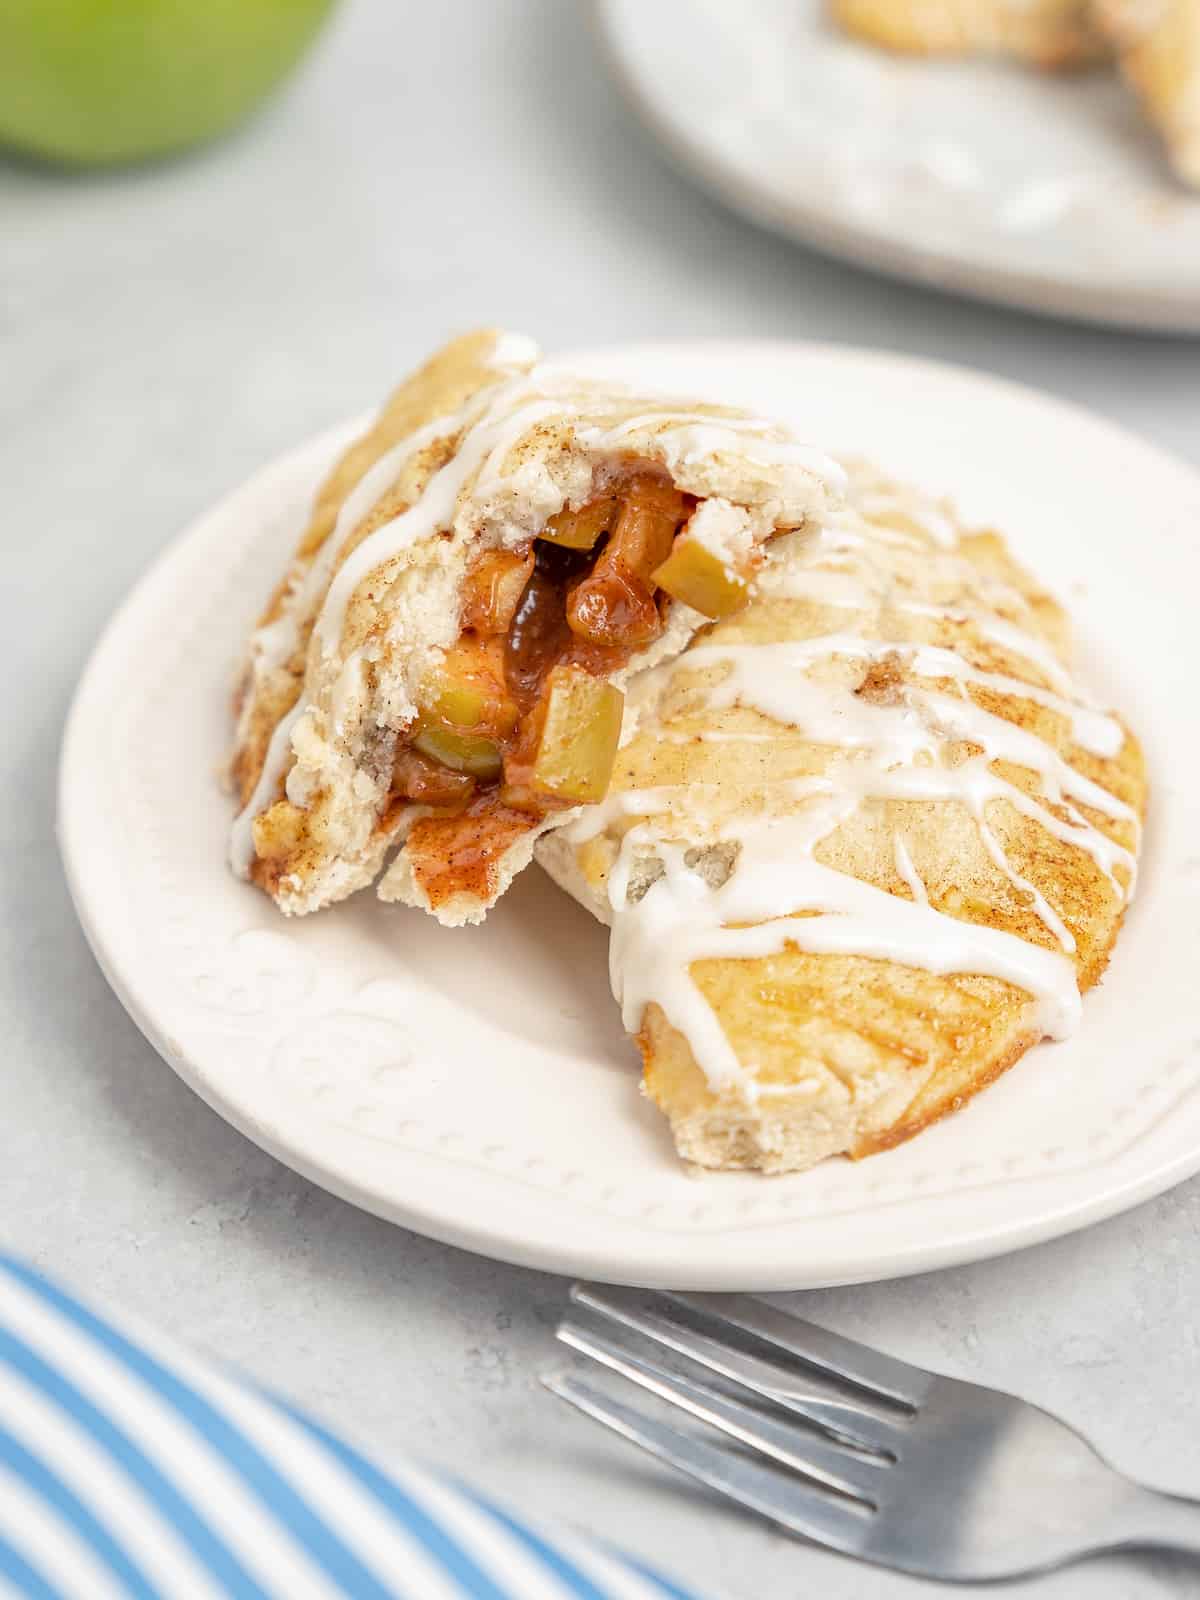
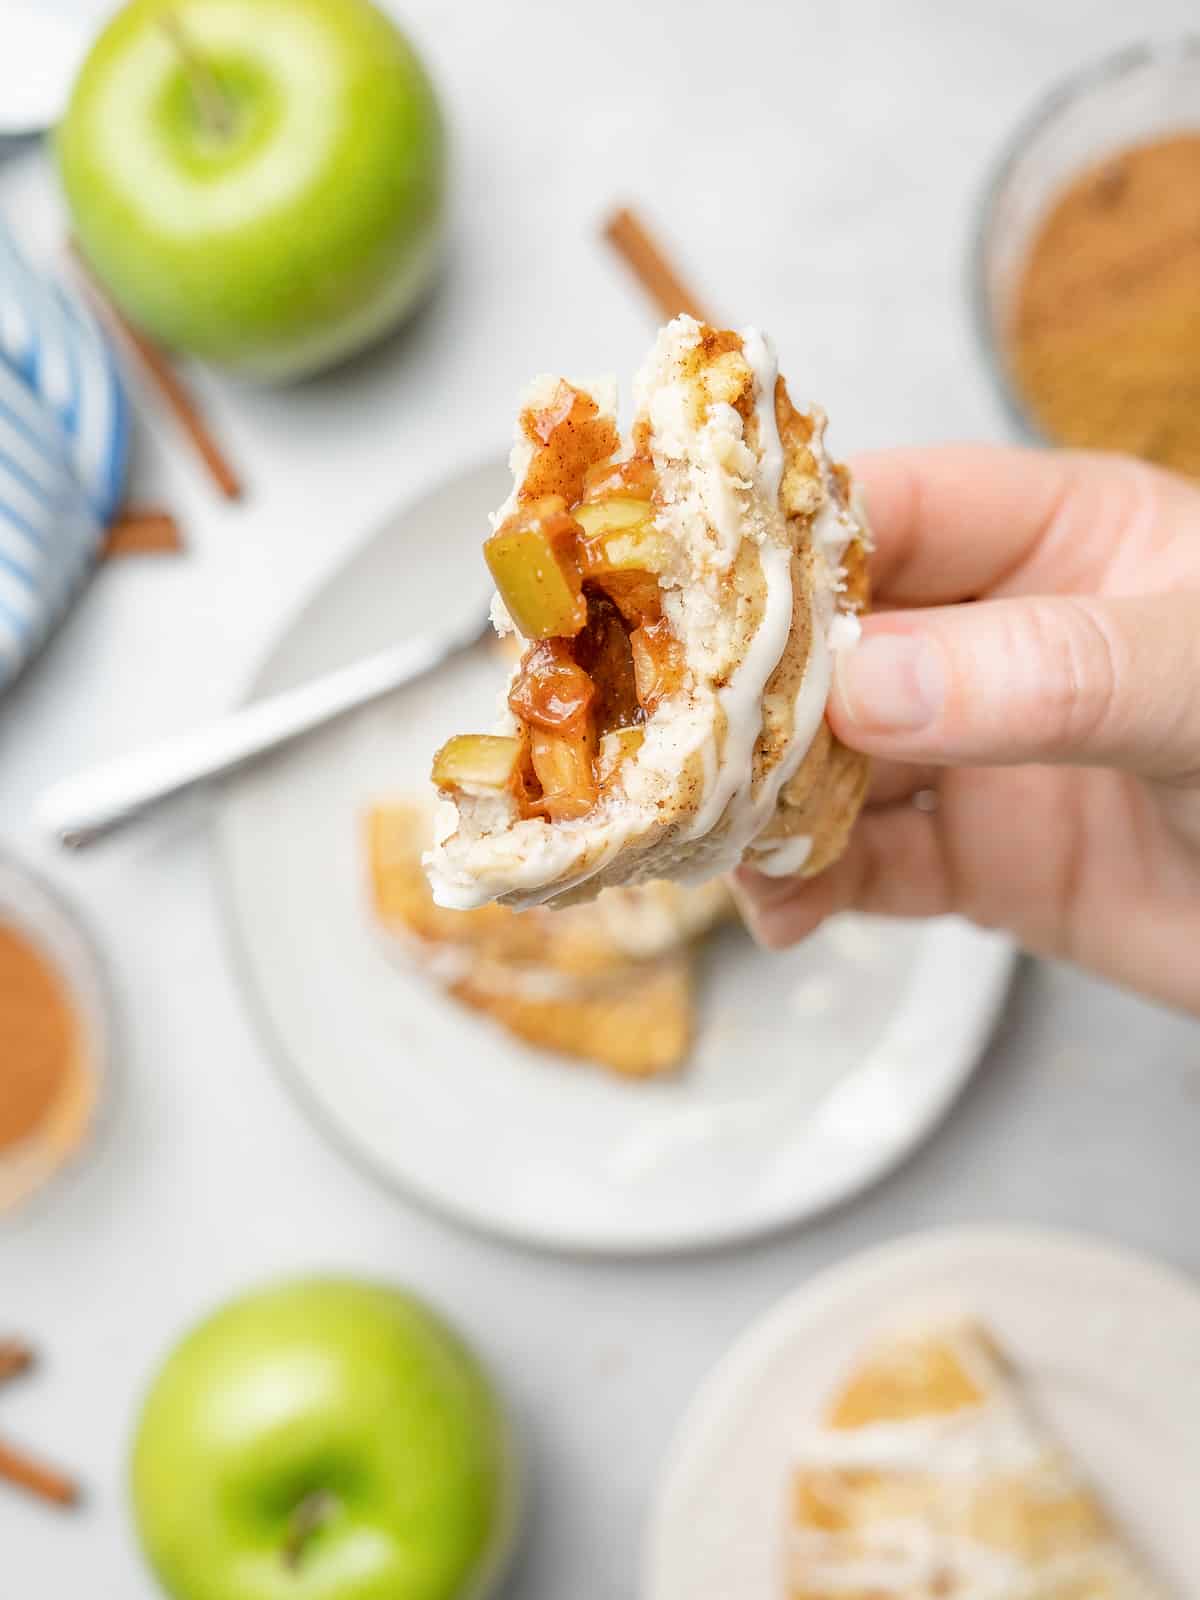
These gorgeous gluten free pastries are so easy to make. They bake up perfectly golden, delectably flaky, mouthwateringly buttery – and then there’s the filling! Tender, juicy Granny Smith apples that are sweet and just a little tart, cooked in a mixture of brown sugar and spices. It’s like biting into a little pocket of homestyle apple pie, and you can take it with you!
Every time I make these, it’s like visiting my very own patisserie without leaving the house. Gluten free turnovers make a cozy breakfast treat with tea or coffee, an afternoon snack to treat yourself, or a delightful stand-in for apple pie as dessert (topped with that homemade ice cream, of course).
What Is the Difference Between Apple Pie and Apple Turnover?
The main difference is in how they’re made. Apple pie is a filling that’s baked in a pie shell, often with a double crust. As in, a crust to line the pie pan, and another to cover the filling.
Meanwhile, an apple turnover looks a bit like a hand pie. Turnovers are made by filling pastry dough with pre-cooked apple filling, folding it over and sealing the edges before baking. All the flavor of an apple pie, folded into a calzone-style puff pastry!
The Ingredients
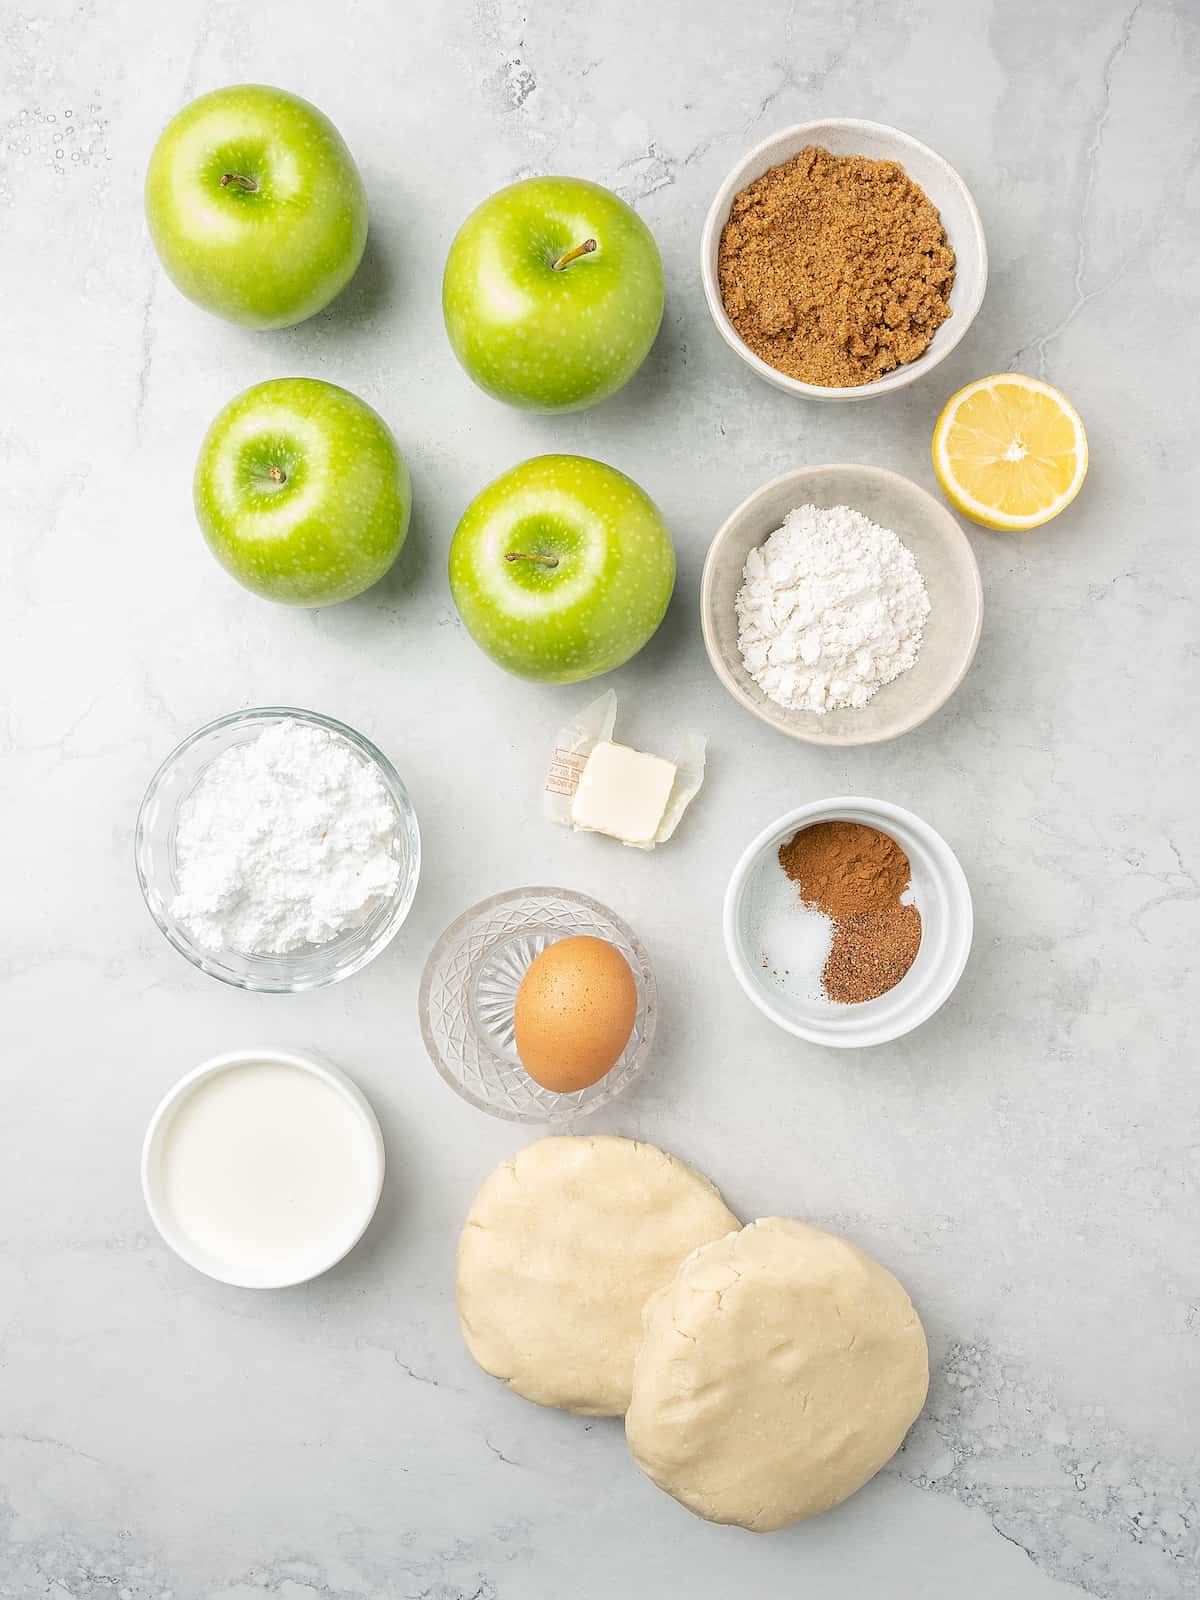
Apple turnovers call for only a few ingredients to yield major flavor. I’ve included the full ingredient amounts in the recipe card further down. Here you’ll find an outline of what you’ll need:
- Apples: I love the sweet-tart taste and tender bite of Granny Smith apples in my turnovers. These are my go-to baking apples, as they hold their structure well after a stint in the oven. For more recommendations, see below.
- Light Brown Sugar: Brown sugar adds a hint of caramelized flavor to the apples. Alternatively, use granulated sugar.
- Butter: I prefer to bake with unsalted butter. If you use salted butter, you may want to consider adjusting or omitting the salt that comes later in the recipe so the filling doesn’t become overly salty.
- Gluten Free Flour: To thicken the apple filling. I use King Arthur Measure for Measure. In place of flour, cornstarch or tapioca starch can also work.
- Spices: Ground cinnamon and ground nutmeg, along with a pinch of salt.
- Lemon Juice: Fresh is best. A squeeze of lemon brightens the flavors of the apples with a bit of acidity.
- Egg: You’ll need one egg whisked together with a bit of water for an egg wash.
- Gluten Free Pie Dough: Your preferred brand of pie dough sheets, thawed according to the package directions. I also recommend making the pie crust yourself! I have an easy and awesome recipe for The Best Gluten Free Pie Crust that works great here.
- Powdered Sugar and Whipping Cream: For the sweet glaze.
What Kind of Apples Are Best for Baking?
You know that saying, “if you can’t stand the heat, stay out of the kitchen”? Turns out, the same applies to apples when baking.
Not all apples handle the heat. The best apples for baking are the ones that keep their structure and flavor after some time in the oven, without becoming bland and mushy. Granny Smith apples are a baker’s favorite, other good varieties are Braeburn, Jonagold, Honeycrisp, and Pink Lady apples. All of these will work in this apple turnover recipe!
How to Make Gluten-Free Apple Turnovers
Another reason I adore this apple turnover recipe? You can have these homemade pastries ready to go in the time it takes to preheat the oven. Let’s get started:
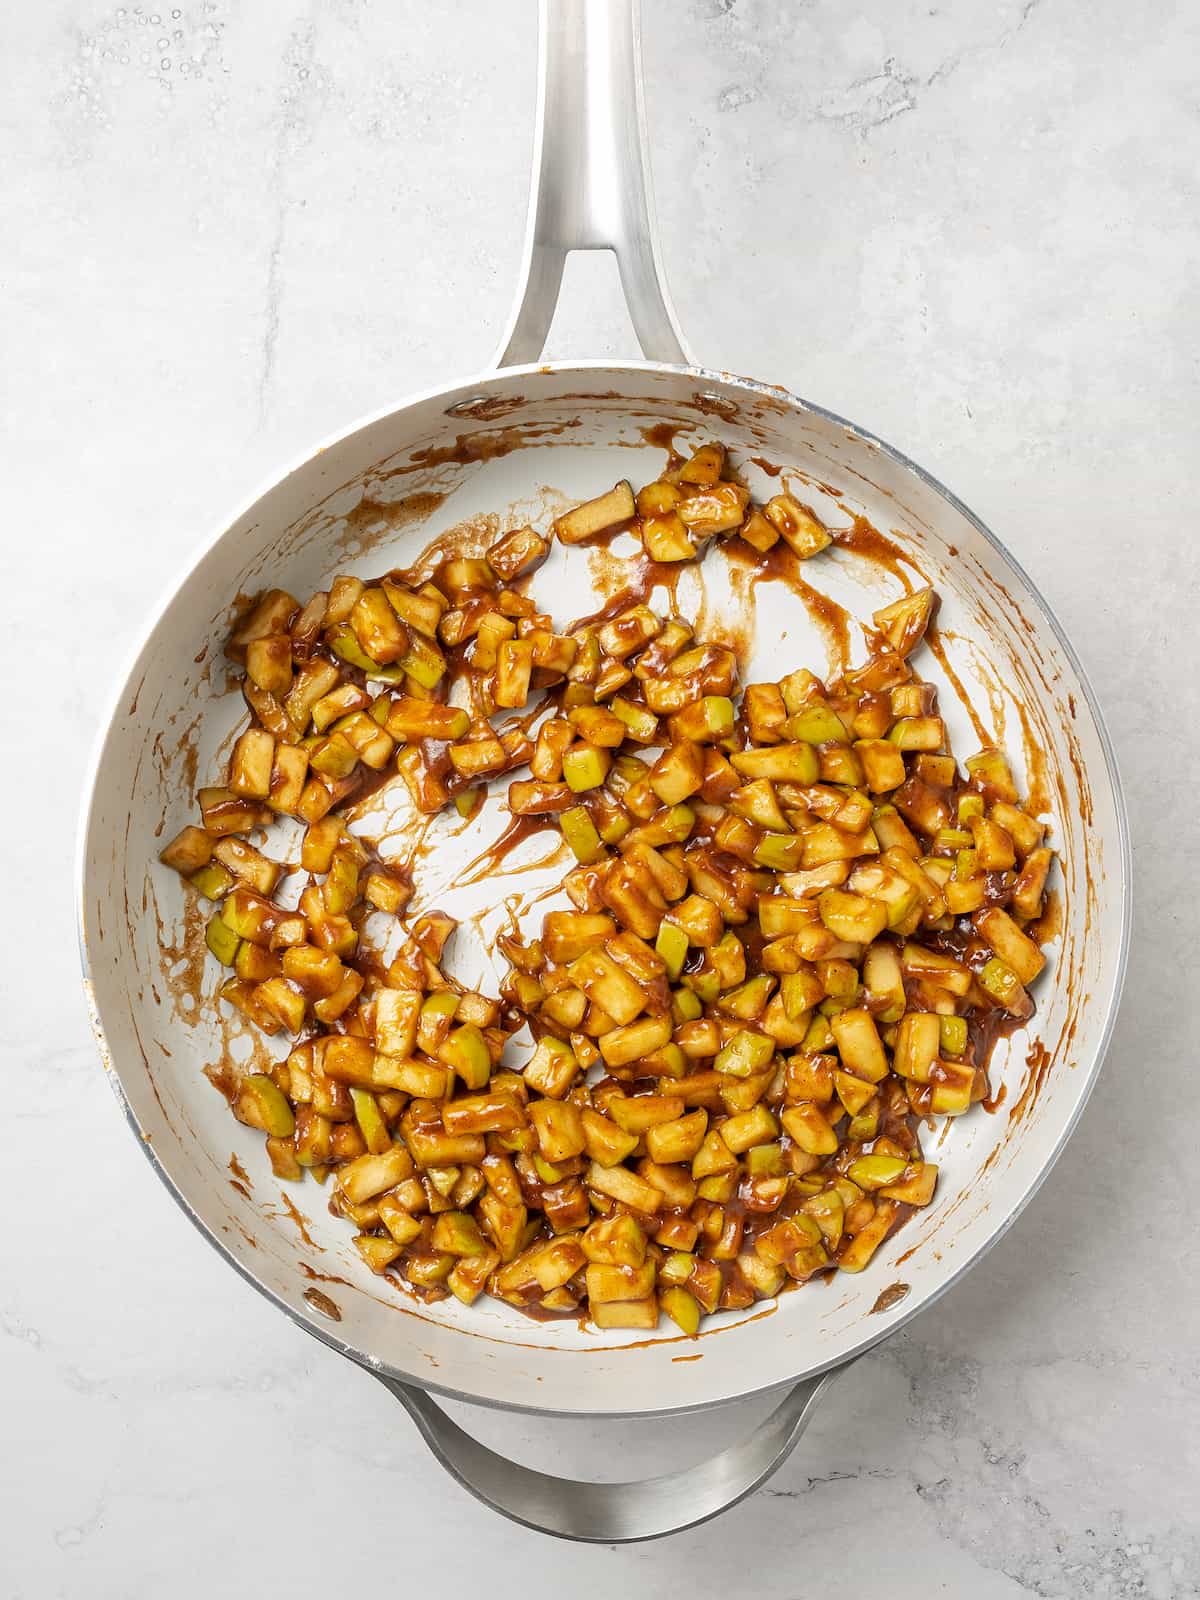
Prepare the Apple Filling: Heat the apples in a saucepan with melted butter, along with the sugar, flour and spices. Cook until the apples are soft. Don’t forget to stir often, this prevents the filling from burning! Right before you take the pan off the heat, you’ll stir in the lemon juice. Set the filling aside to cool.
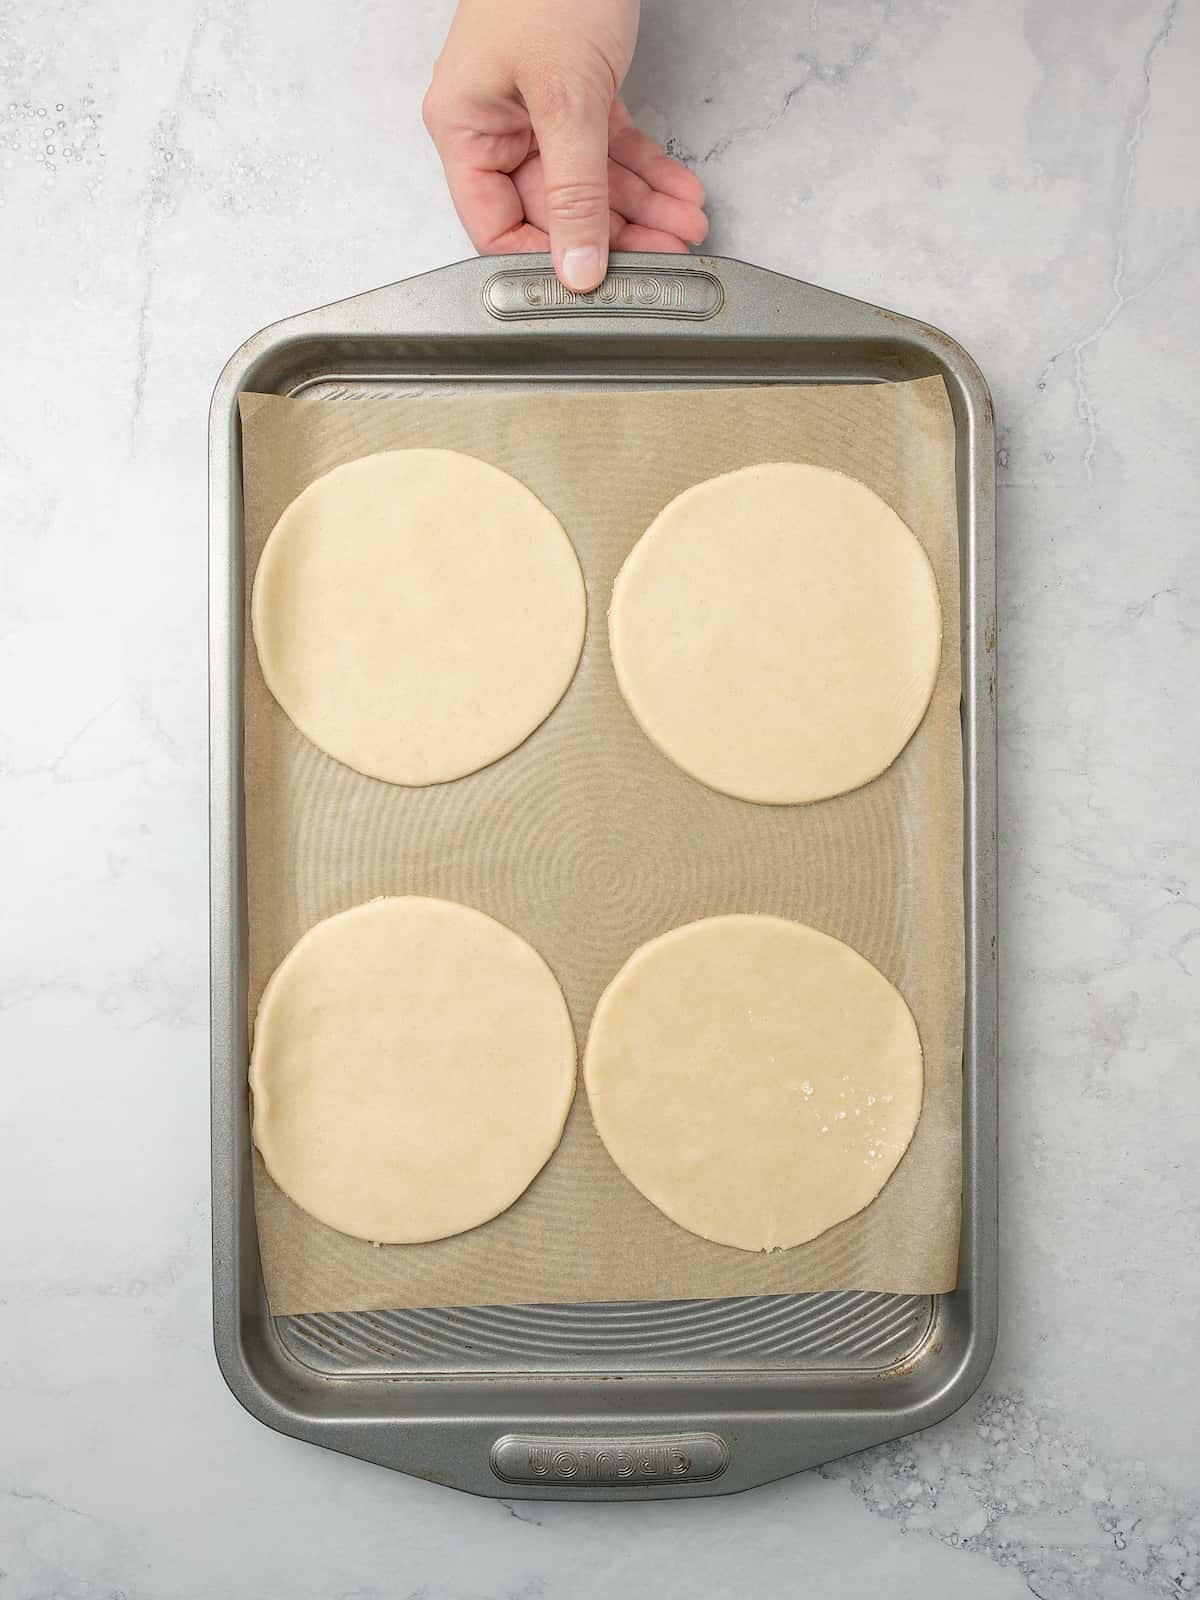
Prepare the Pie Crust: Roll out your pie crusts one at a time, leaving the second crust to stay cold in the fridge. After the first crust is rolled flat, use a circle cutter to cut 3 circles from the dough. Next, roll out the scraps and make a 4th circle. If you use a 5” circle cutter, each pie crust should yield 4 dough rounds, for 8 turnovers in total.
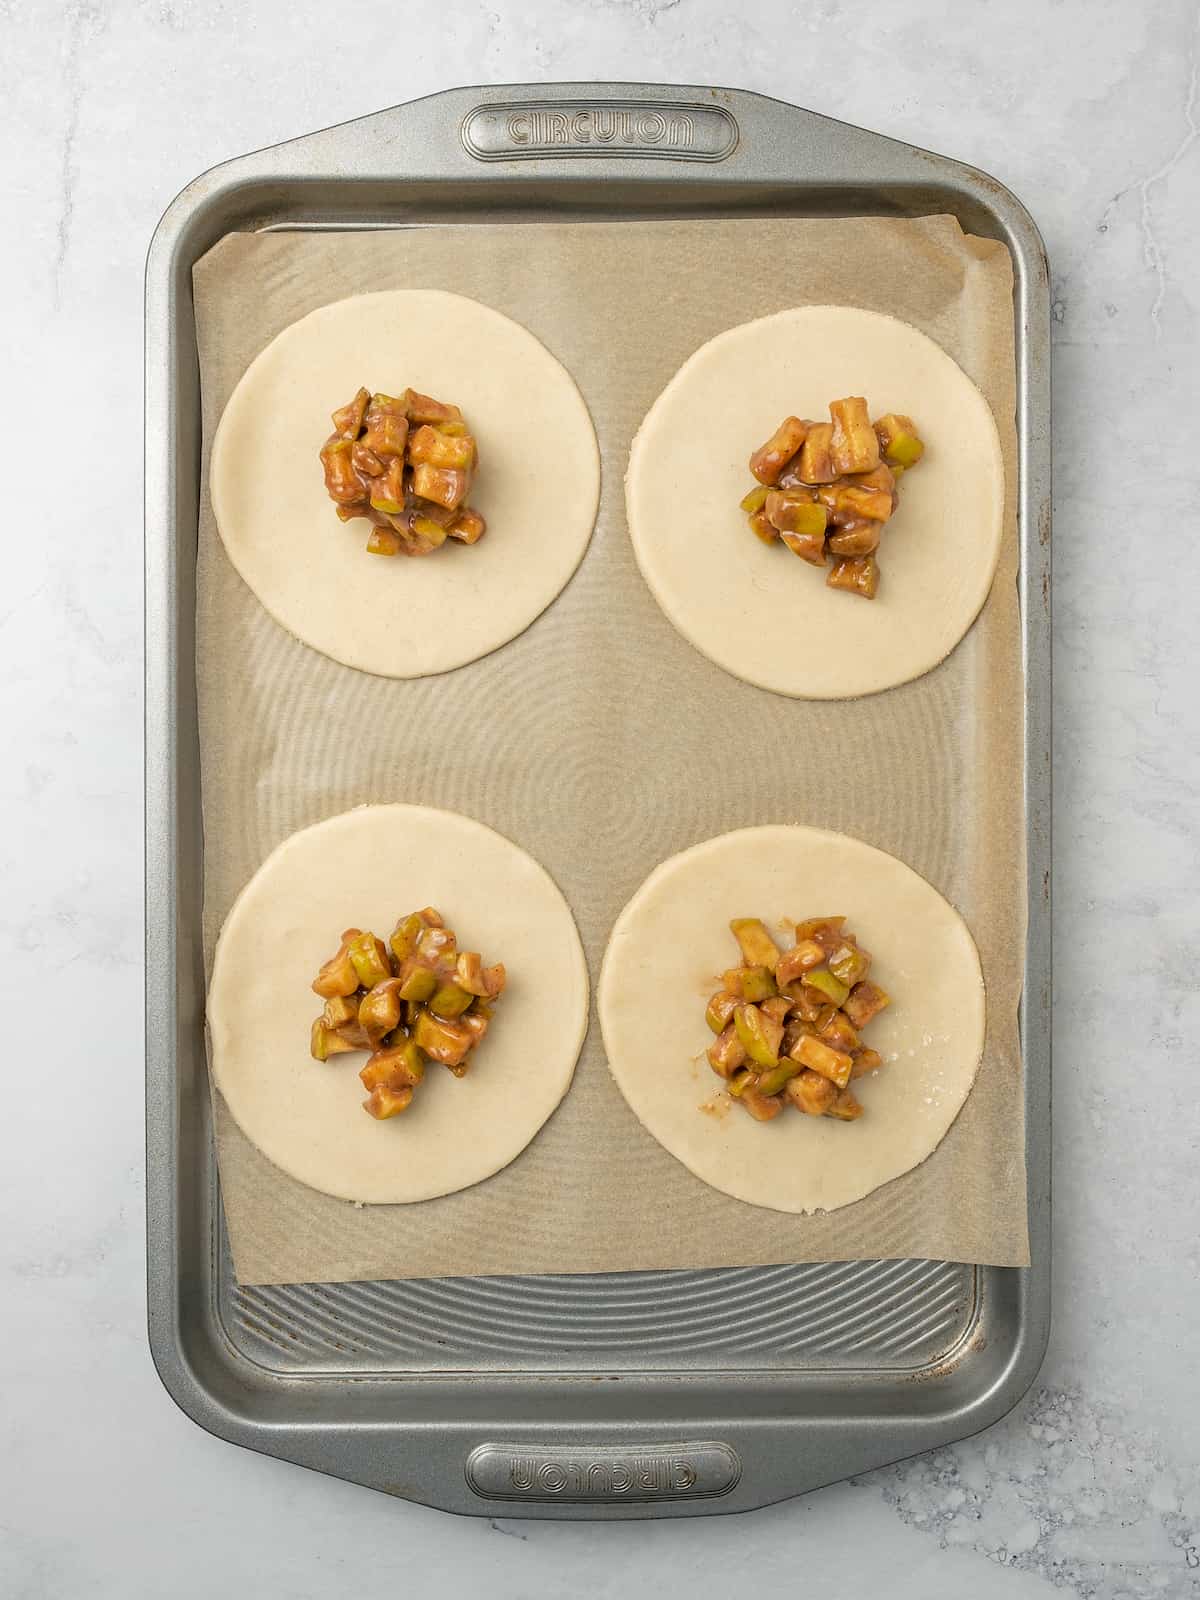
Assemble the Turnovers: Place a spoonful or two of the apple filling over one half of each dough circle. Be sure to leave at least a half-inch border between the filling and the edge. Brush the edges of the pastry dough with an egg wash, then fold the dough over and bring the edges together to seal. Use a fork to tightly crimp along the edges. Afterwards, repeat the rolling and filling process with the remaining pie crust from the fridge.
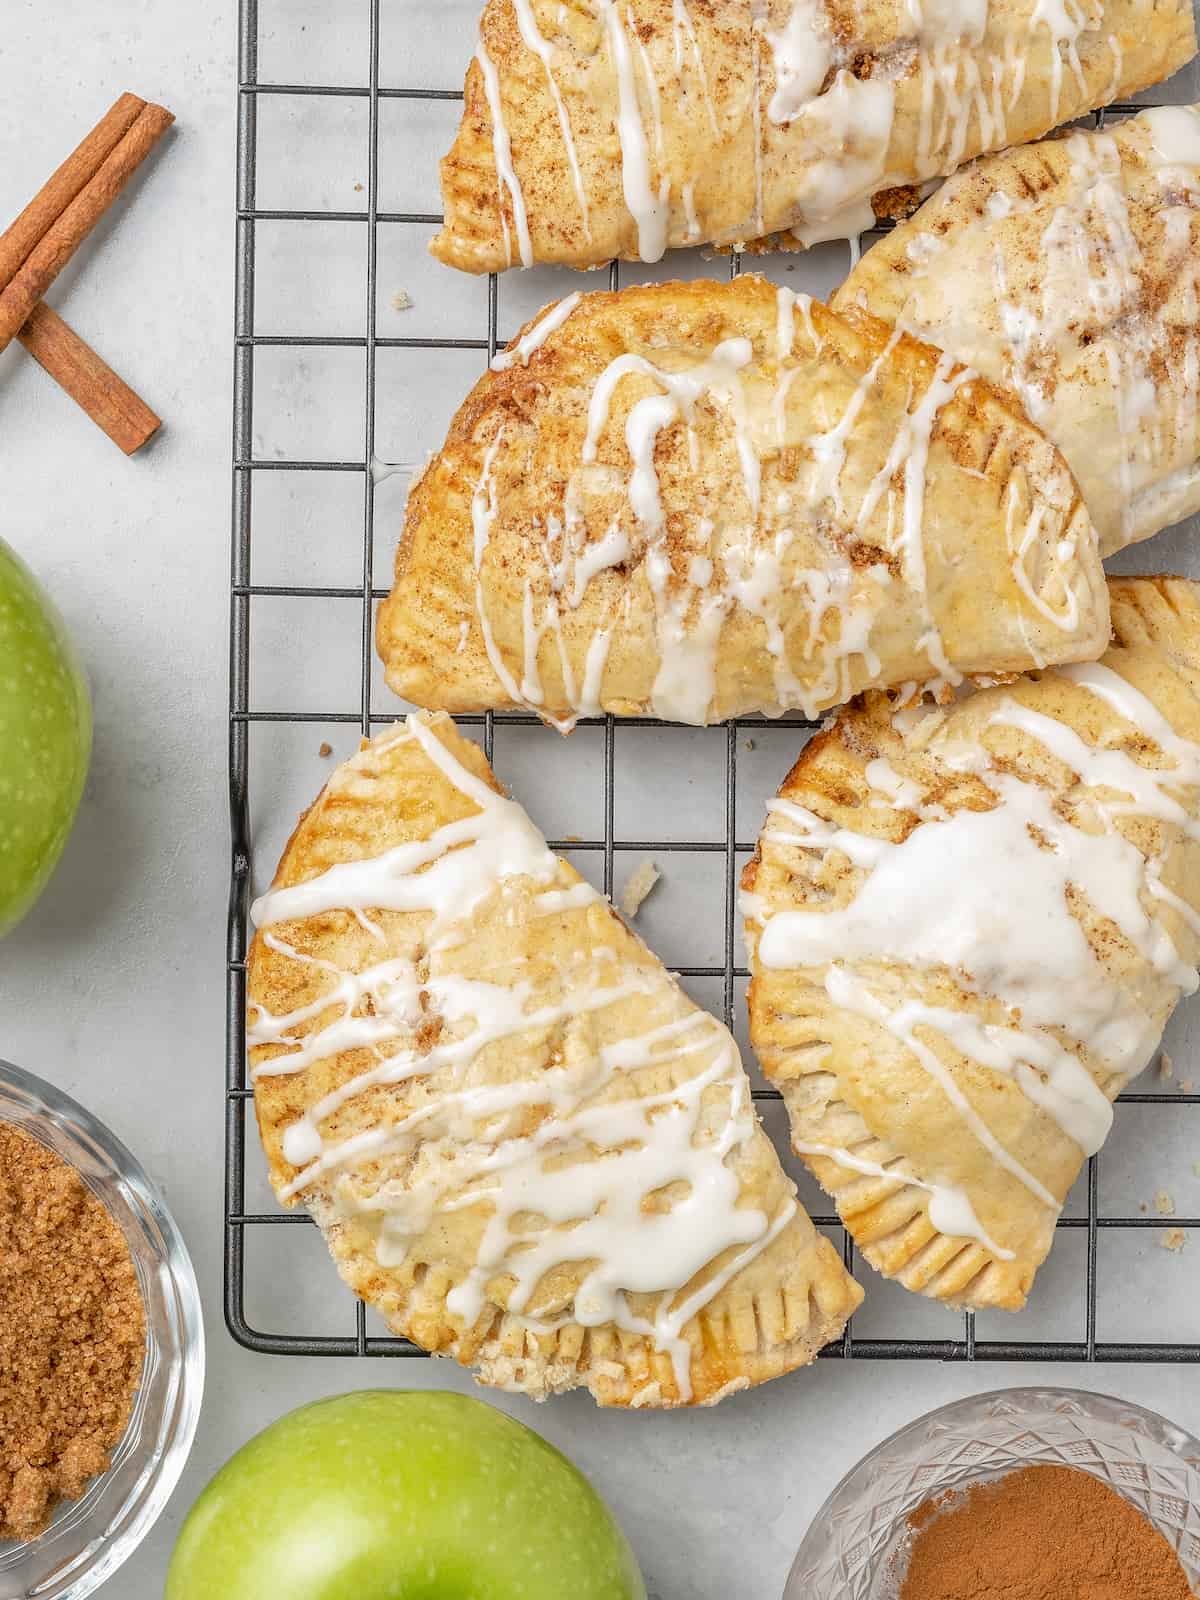
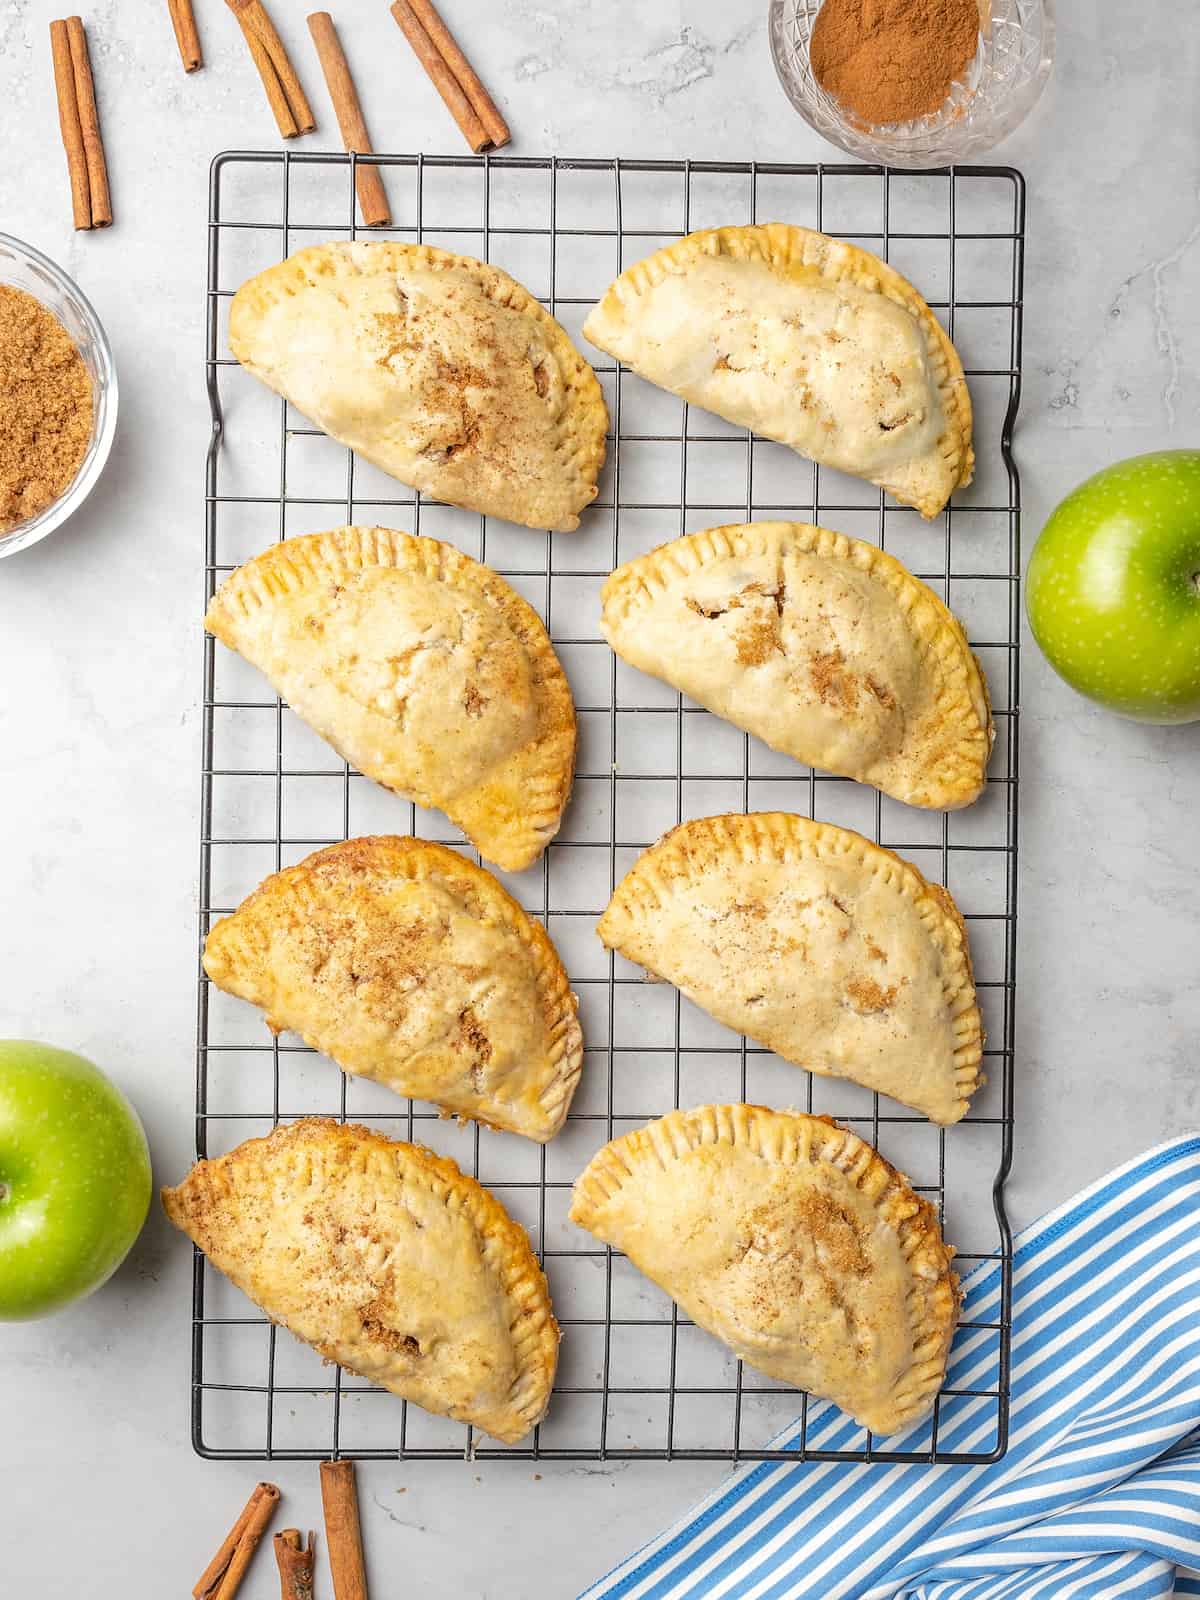
Bake: Once your apple turnovers are sealed and ready, it’s time to bake them! Transfer the finished apple turnovers to a parchment-lined baking sheet. Give the tops a sprinkle of sugar, and then bake the turnovers for about 20 minutes at 350ºF, or until the pastry is golden.
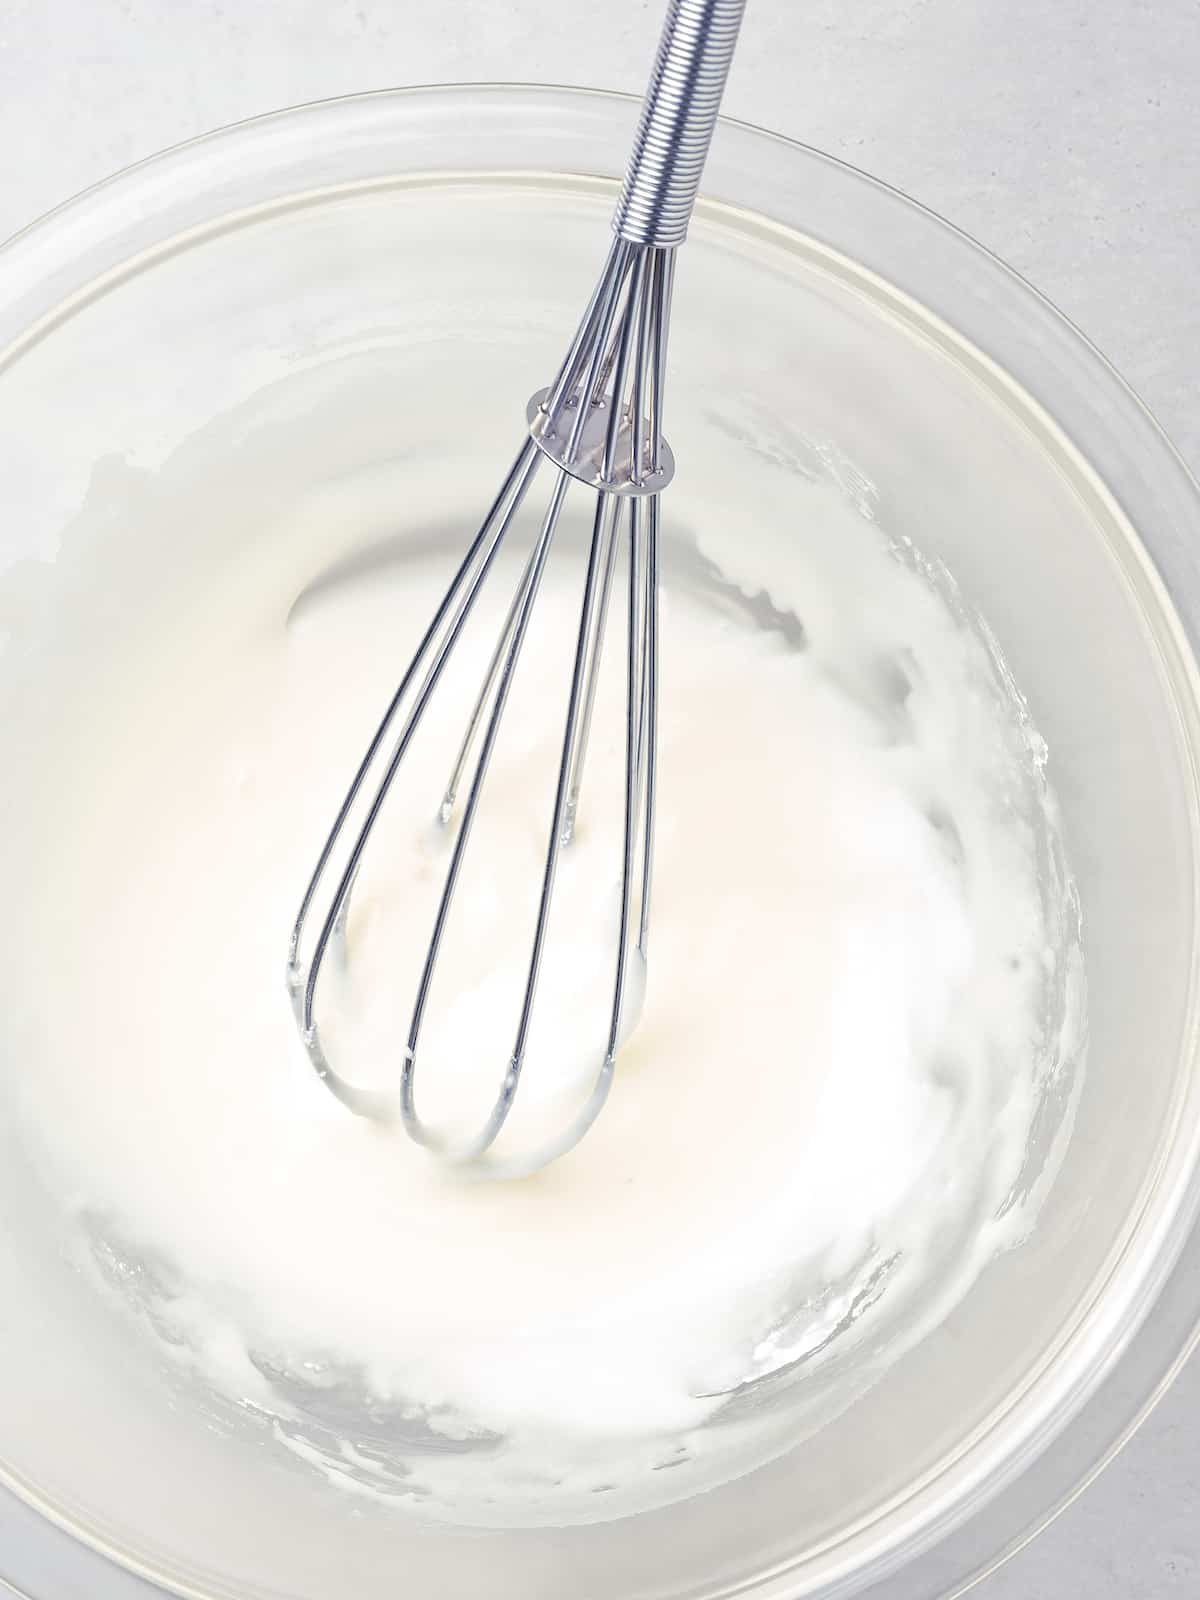
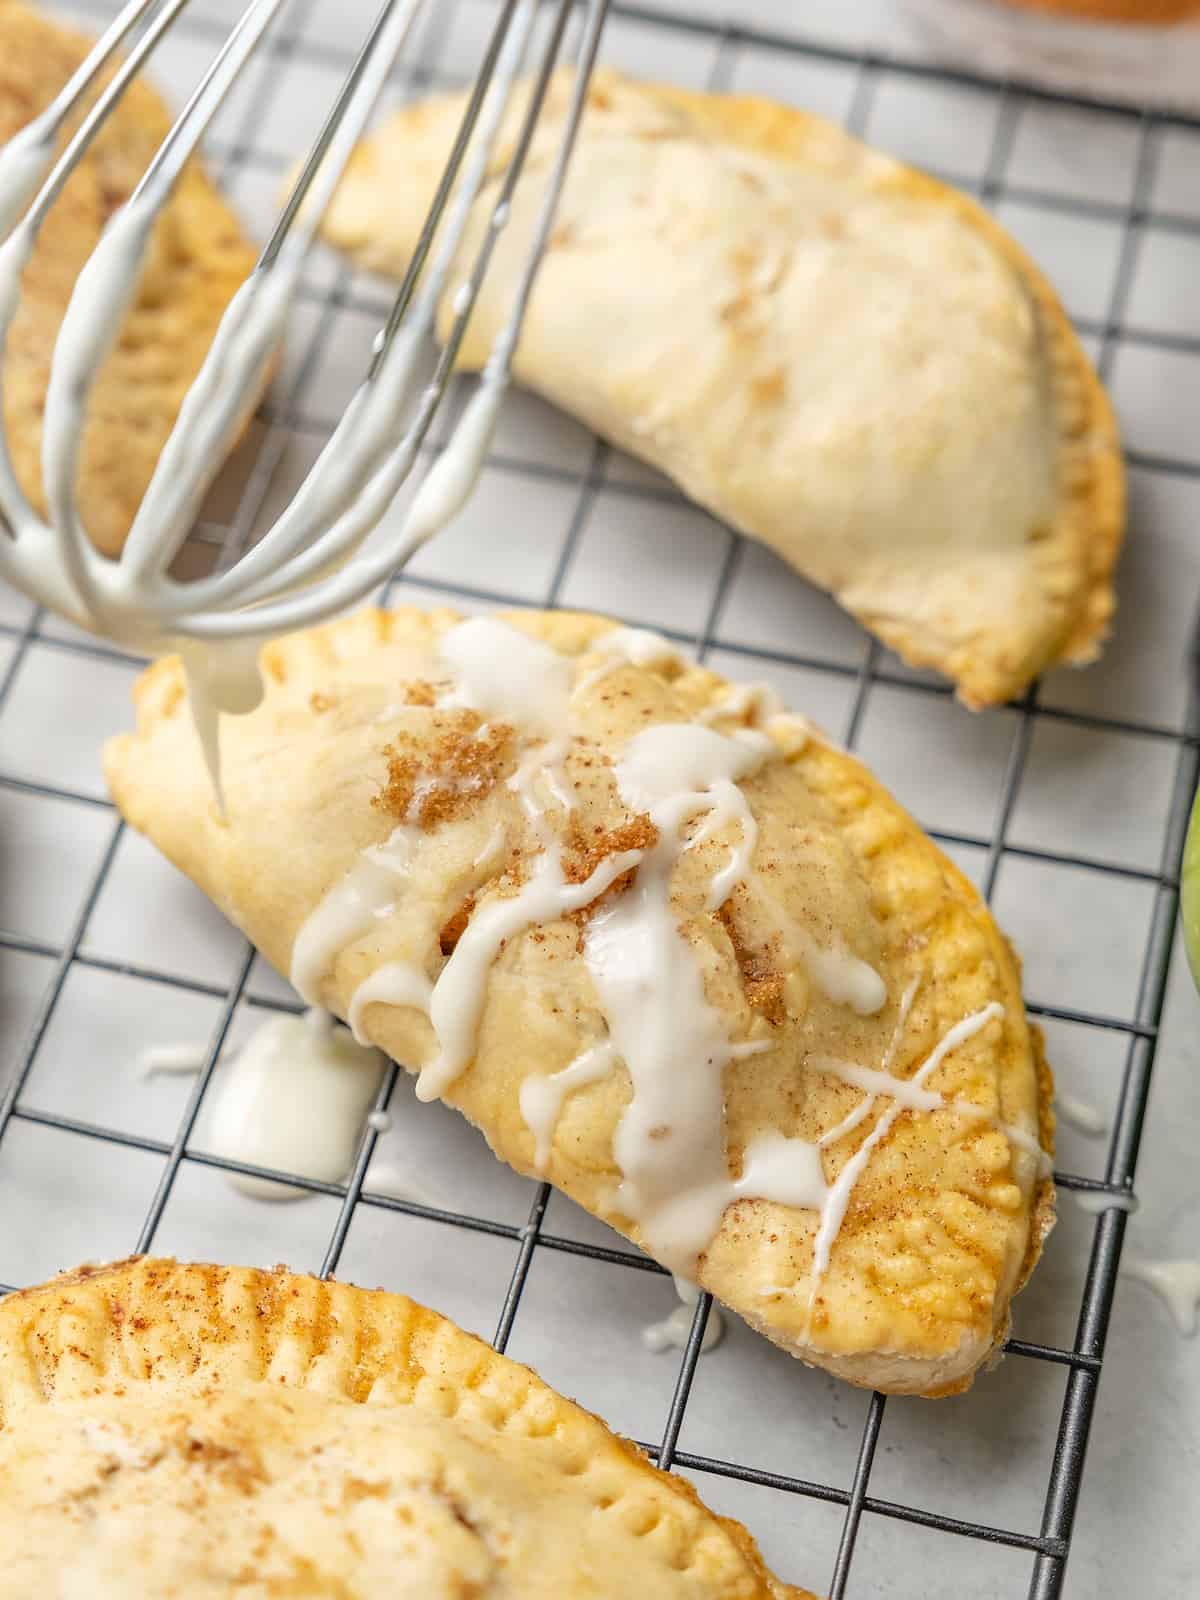
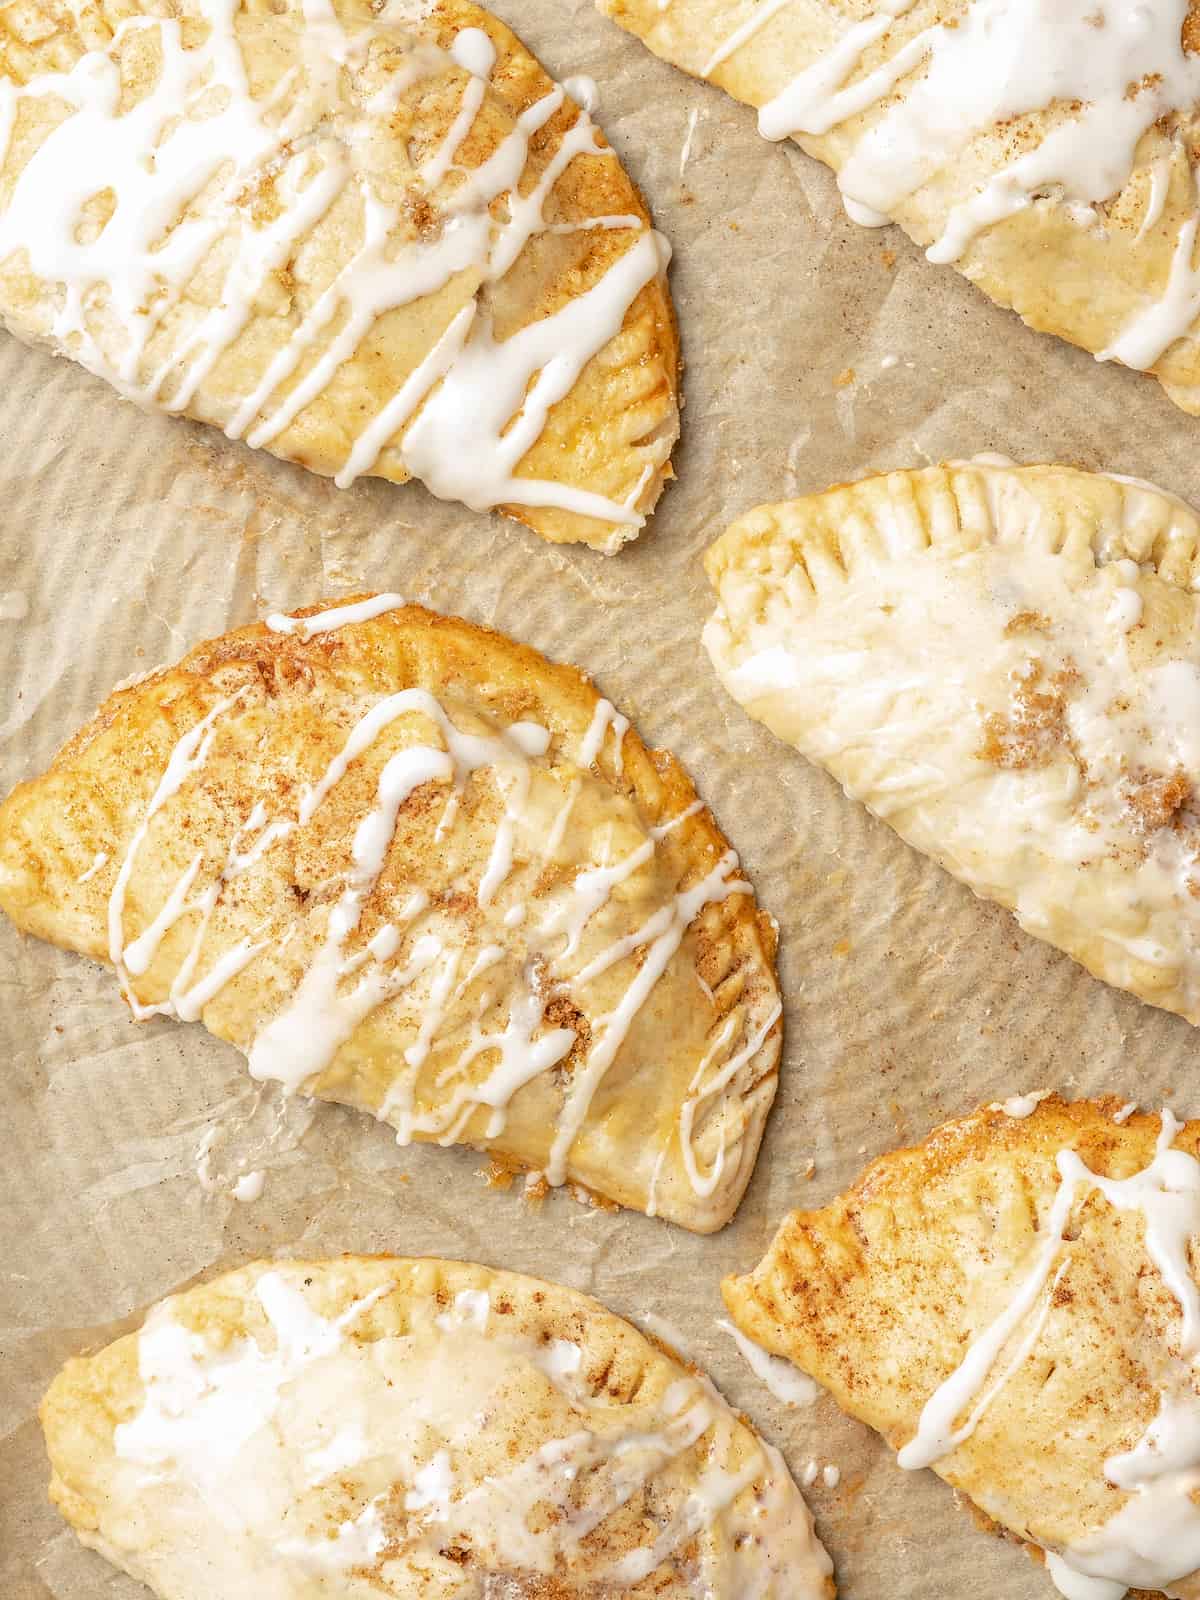
Finish and Serve: Whisk together a simple glaze of powdered sugar and heavy cream, and drizzle it over the turnovers while they’re still warm. Serve and enjoy!
Can They Be Made in Advance?
Unbaked turnovers can be frozen after they’re assembled and before they’re brushed with the egg wash. Pre-freeze the turnovers in a single layer on a baking sheet until solid, and then transfer them to a freezer bag for storage. Frozen turnovers can be baked straight from the freezer: just set them out on a lined baking sheet, brush with egg wash, and bake, with a few extra minutes added to the baking time.
Tips for Success
I’m sure you’ll find that making your own apple turnovers is way easier than you think! Here are a few extra tips to ensure 100% success:
- Choose Your Pie Dough: This recipe will work with store bought gluten free pie dough, though I highly recommend giving it a shot with my homemade Gluten Free Pie Crust! If you use frozen pastry dough, be sure to give it enough time to thaw completely so that it won’t tear when you unfold it.
- How to Fix Dry Pastry Dough: If you notice that the pastry dough is getting dry and starts to crack while rolling it out, a quick fix for crumbly dough is to sprinkle it with a bit of cold water and work it through with your hands.
- To Help with Sticking: Sandwiching your dough between two sheets of parchment paper while you roll it helps keep it from sticking. If the dough becomes to soft, you can always place it back in the fridge to firm it up again.
- My Filling Is Leaking!: The small slits that you make on top of the turnovers before baking will help prevent leaking and bursting. The odd leak is totally normal, but nonetheless a pain! There are some ways to minimize leaky apple turnovers. First, take care to brush the full edge with egg wash so there aren’t any gaps. Next, make sure to firmly crimp the edges closed, ideally with a fork. As a last resort, you can pop the turnovers into the fridge for about 15-20 minutes prior to brushing the tops with egg wash and baking. Note that the turnovers may take slightly longer in the oven if you’re going to bake them straight from the fridge.
- Don’t Overfill: As a followup to the tip above, make sure you don’t overload your turnovers with apple filling, as this can also lead to the pastry breaking open.
Topping Ideas
These gluten-free apple turnovers might be blissful all on their own, but that never stops us from finding new ways to enjoy them! You can dress up your pastry with all kinds of delicious toppings:
- Topped with a scoop of vanilla ice cream for an easy apple dessert
- Drizzled with caramel sauce in place of glaze (or try my 5-Minute Hot Fudge Sauce)
- Sprinkled with cinnamon sugar or pumpkin spice (also this Mexican Chocolate Spice Mix)
- Dusted with powdered sugar
- Topped with chopped pecans, or crushed Candied Spiced Nuts
Storage and Reheating
Unglazed apple turnovers will keep for 2-3 days when stored airtight at room temperature. Glazed gluten-free apple turnovers are best stored in the fridge. If you know you’ll have leftovers, it’s a good idea to leave the glaze off for easy reheating, or for freezing (see below).
Reheat homemade apple turnovers in the oven at 350ºF until warmed through.
Can You Freeze Apple Turnovers?
Apple turnovers hold up well in the freezer for up to 3 months. Keep in mind that if you used previously frozen pastry when making your apple turnovers, they’ll need to be baked before you freeze them.
Once the baked apple turnovers are cooled completely, leave off the glaze and store them in a freezer-safe container. I like to use parchment paper to separate any layers. Thaw the turnovers in the fridge and then reheat them in the oven before icing and serving.
Shop the Recipe
APPLE PEELER: I love this one from OXO and have been using the same one for over 15 years.
PARCHMENT PAPER: Once you’ve made those turnovers, you don’t want them to stick.
DOUGH CUTTER: You’ll need a 5-inch size for this recipe, but the others will come in handy for cookies, biscuits, and donuts.
WHISK: A nice big one will make it easy to stir and drizzle the glaze.
More Easy Apple Dessert Ideas
- Gluten Free Apple Crisp
- Apple Crisp Yogurt Parfaits
- Gluten-Free Dutch Apple Pie
- No-Bake Gluten Free Cheesecake Bars with Apples and Cinnamon
- Gluten-Free Apple Cider Donut Cake
Gluten Free Apple Turnovers
Ingredients
- 4 cups Granny Smith apples chopped small, about 4 medium apples
- 2/3 cup light brown sugar
- 1 tbsp butter unsalted
- 2 tbsp gluten free flour (I use King Arthur Measure for Measure)
- 1 tsp ground cinnamon
- 1/2 tsp ground nutmeg
- 1/4 tsp salt
- 1 tbsp fresh lemon juice
- 1 egg + 1 tbsp water
- 14 oz gluten free pie dough (2 sheets), thawed according to package instructions. Or use 1 recipe for Gluten Free Pie Crust.
For the Glaze
- 1/2 cup powdered sugar
- 2-3 tbsp heavy whipping cream
Instructions
- Preheat the oven to 350°F
- In a medium saucepan, over medium heat, melted the butter. Add in apples, brown sugar, flour, cinnamon, nutmeg and salt. Cook the mixture until the apples are soft, about 15 minutes. To keep the mixture from burning, stir frequently. Stir in lemon juice and remove from heat. Allow to cool completely.
- Separate the two pie crusts that come in the package and unroll them. Place one back in the refrigerator to keep cool. Use a rolling pin, roll the first sheet of pie crust into a 12" circle. Using a 5" circle cutter, cut 3 circles out of the pie crust. Gather the remaining scraps and roll them out until you have enough to make another circle. Your goal is to make 4 rounds of dough from each pie crust.
- Place cooled apple mixture over half of each round, leaving at least a 1/2" border.
- Beat together 1 egg and 1 tbsp water. Brush egg wash on edges of the pastry, bring the edges together and crimp tightly along the edges with a fork to seal. Repeat the process with the second sheet of pie dough to make a total of 8 turnovers.
- Place turnovers on a baking sheet lined with parchment paper and sprinkle with a pinch of brown sugar and cinnamon. Make 2-3 cuts on top with a sharp knife for the steam to escape.
- Bake for 20-23 minutes, or until golden brown.
- While turnovers are still warm, stir together powdered sugar and heavy whipping cream and drizzle glaze over turnovers.
- Serve warm.
Notes
- You can either use store bought gluten free pie dough or my recipe for The Best Gluten Free Pie Crust.
- If the dough dries out and begins to crack when rolling, sprinkle with a little cold water and work into the dough with your hands.
- Roll out the dough between two pieces of plastic wrap or parchment paper to prevent sticking.


