
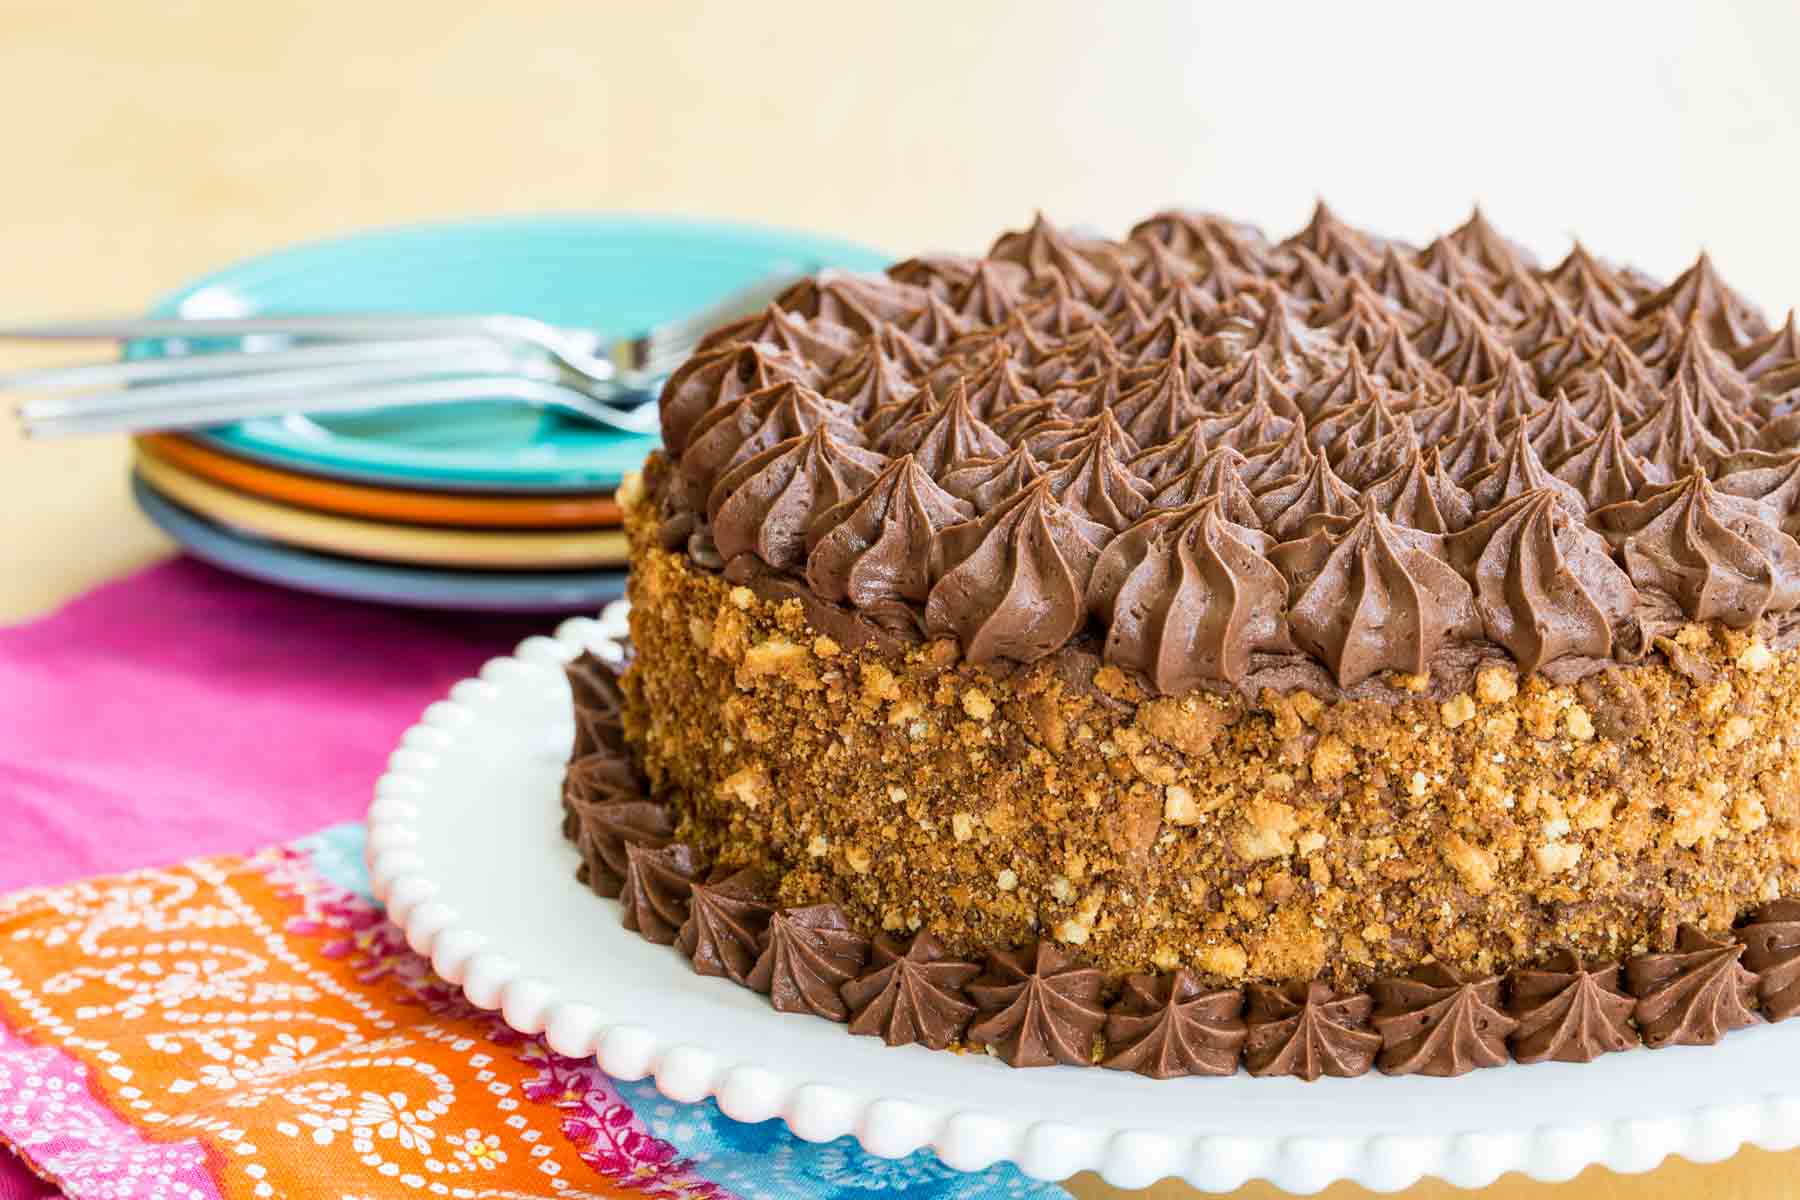
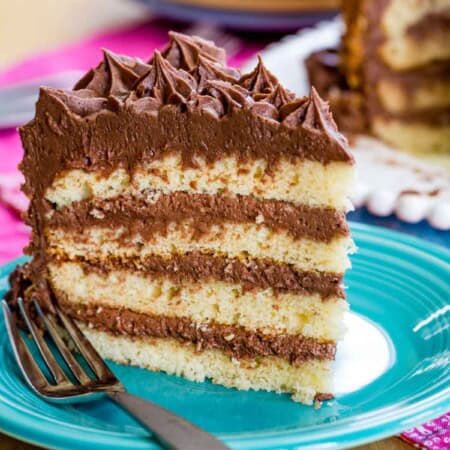
Gluten Free Birthday Cake with Chocolate Frosting

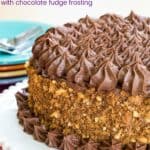
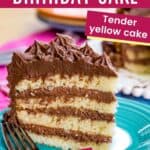

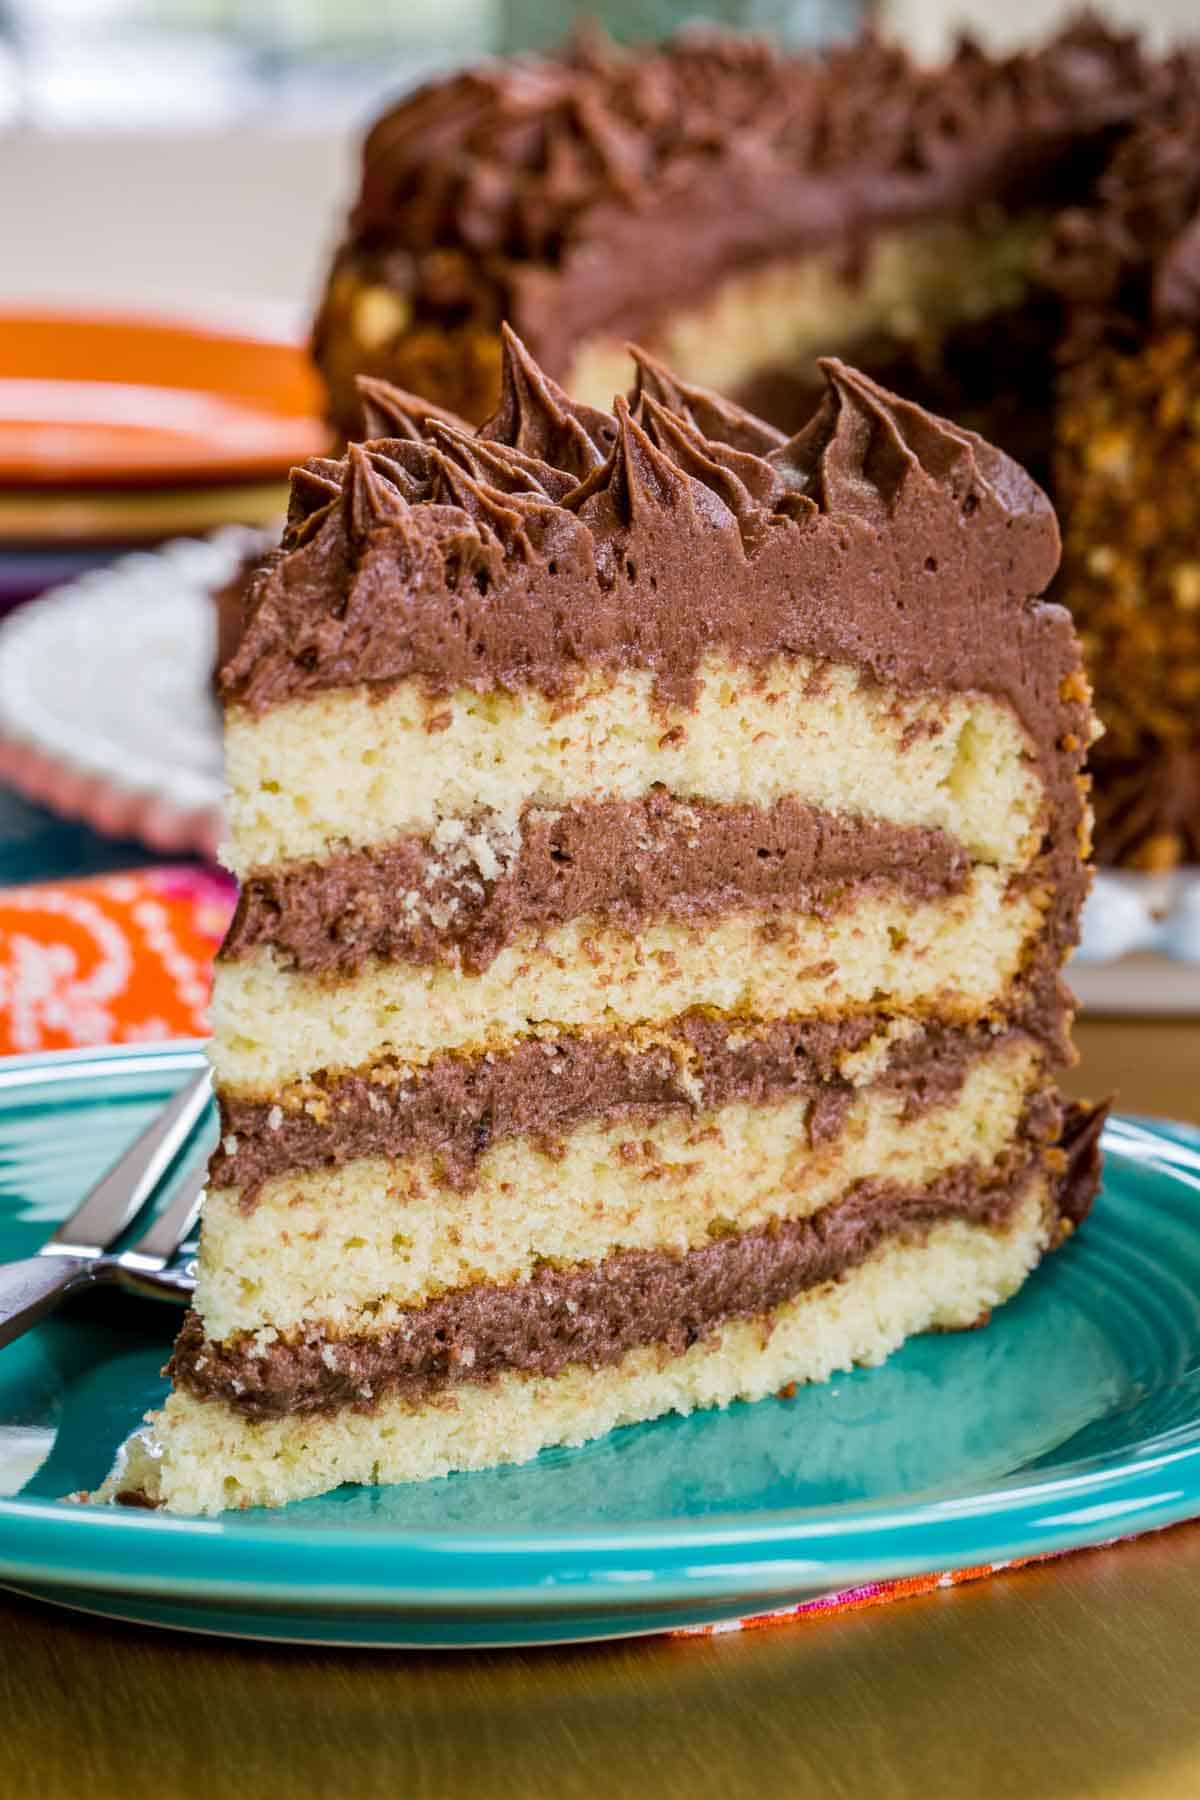
Celebrate your big day with a Gluten Free Birthday Cake! There is nothing more classic than four layers of yellow butter cake sandwiched with plenty of fudgy chocolate buttercream frosting. This incredible dessert will make any occasion extra special and delicious.
Looking for more gluten free birthday desserts? Have a slice of this cake with a scoop of gluten free Birthday Cake Ice Cream, or try Gluten Free Funfetti Cupcakes.
Why You’ll Love This Gluten Free Birthday Cake
Delicious Details
- Cuisine Inspiration: American
- Primary Cooking Method: Oven
- Dietary Info: Gluten-free
- Skill Level: Moderate
I call this a birthday cake, but in my opinion, it’s an “anytime you want cake” cake. One of my all-time favorite local restaurants, when I lived in New Jersey, was Old Man Rafferty’s. My favorite thing to order for dinner was the Poached Pear Salad, not just because it was super tasty, but also because it left me room to preruse the dessert case. When a restaurant’s menu begins with a page that says “Life is uncertain… eat dessert first,” then you know they had some serious desserts.
But my favorite was Golden Fudge Cake. I’m not going to turn down chocolate cake, but I’m truly a fan of yellow cake separated by thick layers of fudge frosting. So when I went gluten free, I had to make my own version so I can still enjoy it. I still make it as my own gluten free birthday cake, and here’s why you’ll love it too:
- Wonderful cake texture. It’s a yellow cake, but not quite the same as a super moist box mix style. It is made with butter, making it a bit more dense, along the lines of a pound cake. Unlike some wheat-free cakes, this gluten free yellow cake recipe is not grainy, spongy, or crumbly. Itus tender but had enough structure to stand up to that thick, rich frosting.
- Extra fudgy frosting. Speaking of the frosting, it is more than just a basic chocolate buttercream. It’s truly a chocolate fudge frosting with a texture almost like chocolate fudge candy since it is made with chocolate chips and not just cocoa powder.
- Not too sweet. While totally indulgent, the cake itself is not super-sweet, which makes it the perfect balance against that chocolate frosting. Plus, in the frosting, the addition of buttermilk gives it that bit of tang, tempers some of the sweetness, and keeps it from being cloying.
Just made this cake and I’m so happy with how it turned out! This is the third gluten-free cake recipe I’ve tried this week and by FAR the best. I used a different icing, but the cake is amazing. You’d never know it’s not a “normal” cake! -Elizabeth
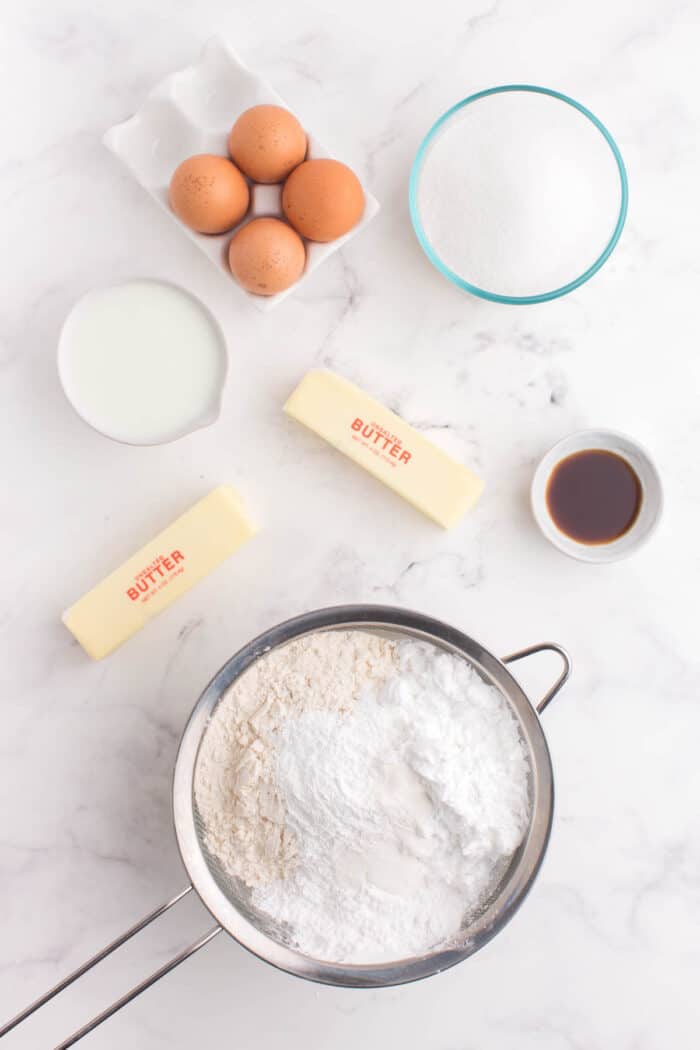
Gluten Free Yellow Cake Ingredients and Substitutions
This recipe is adapted from Gluten Free Yellow Cake from King Arthur Flour. Here is a rundown of the ingredients and what you can substitute. Scroll down to the recipe card for the full quantities.
- Gluten Free Flour. I used a combination of brown rice flour, potato starch, and tapioca starch, but you can also use the gluten free all-purpose or 1:1 gluten free flour from King Arthur Flour or Bob’s Red Mill. If you use a 1:1 blend, you can omit the extra xanthan gum, as these mixes usually already contain it.
- Baking Powder. Be sure yours is gluten free.
- Xanthan gum. Often used in gluten free baking to mimic the proteins from gluten. You only need to add this if your flour does not contain it.
- Salt.
- Unsalted butter. Let it soften to room temperature
- Sugar. This recipe has not been tested with sugar substitutes.
- Eggs. Bring these to room temperature too. If needed, you can try one of the egg substitutes for baking.
- Vanilla extract: Gives the yellow cake the perfect flavor. Make sure yours is gluten free.
- Buttermilk. You’ll also want it at room temperature. If you don’t have buttermilk, you can add 1 tablespoon of white vinegar or lemon juice to a measuring cup then add enough milk to reach 1 cup total of liquid.

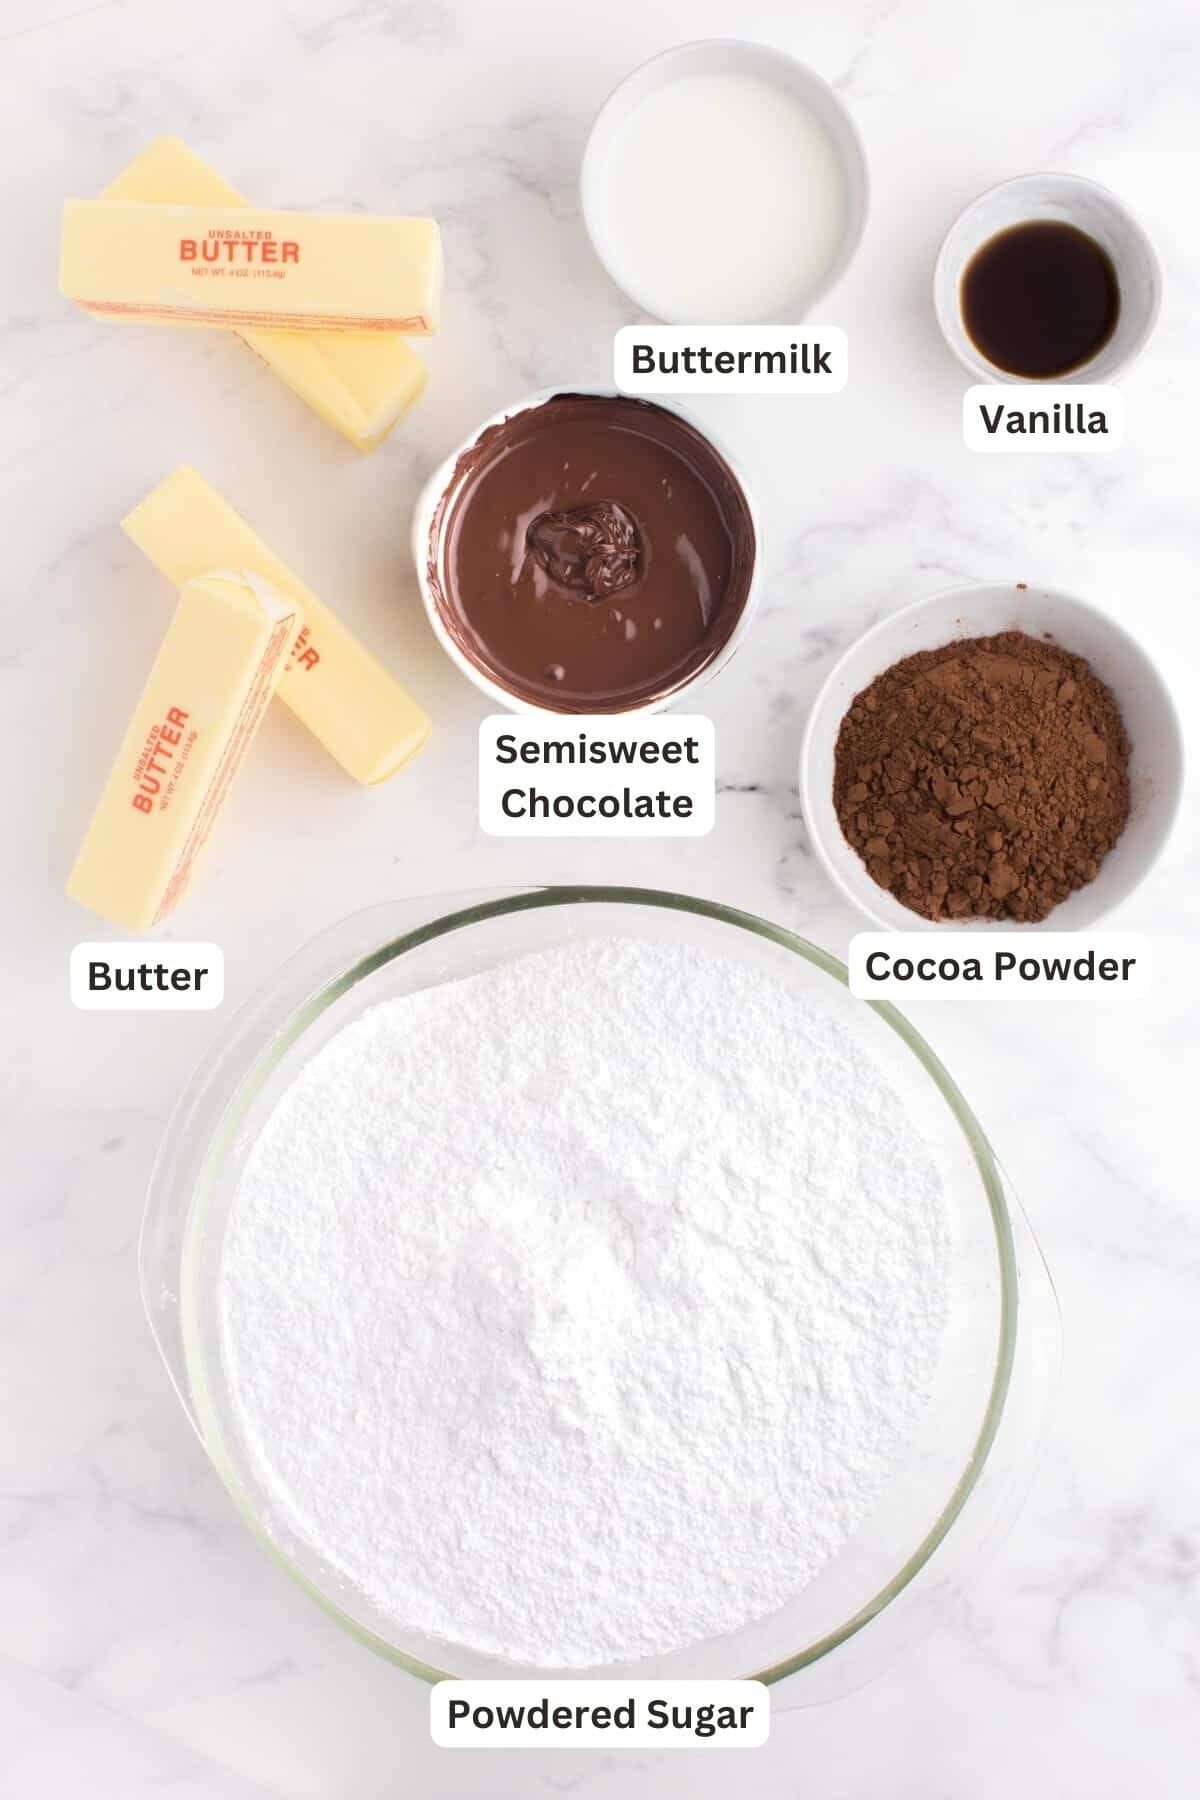
Chocolate Fudge Frosting Ingredients
Let’s talk about what you need to make this rich chocolate frosting which is the Chocolate Buttermilk Frosting I borrowed from Evil Shenanigans. If you just want a layer of frosting and don’t plan to pipe on any decorations, you can cut the recipe in half. Again, the full amounts are in the recipe card further down.
- Powdered sugar. You’re going to sift it with the cocoa, so no need to do that in advance.
- Cocoa powder.
- Semisweet chocolate. Melted and cooled, this helps make the chocolate frosting not just chocolate, but extra fudgy.
- Unsalted butter. Make sure to let it come to room temperature so it blends smooth and easy.
- Vanilla extract.
- Buttermilk – Again, you’ll want it at room temperature so it doesn’t cause the frosting to seize. If you don’t have buttermilk, you can add 2 teaspoons of white vinegar or lemon juice to a measuring cup, then add enough milk to reach 2/3 cup total of liquid.
How to Make a Gluten Free Birthday Cake
Start by preheating your oven and lining two 9-inch round cake pans with parchment paper. Now we’ll get started on the overview of making the cake. The detailed instructions can be found in the recipe card.
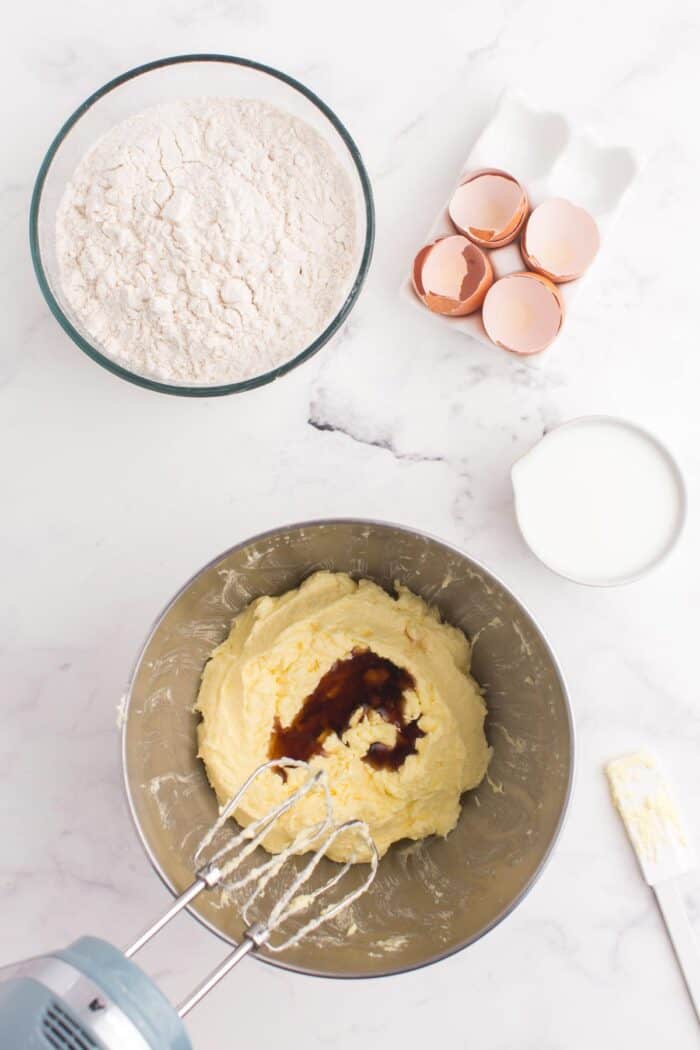
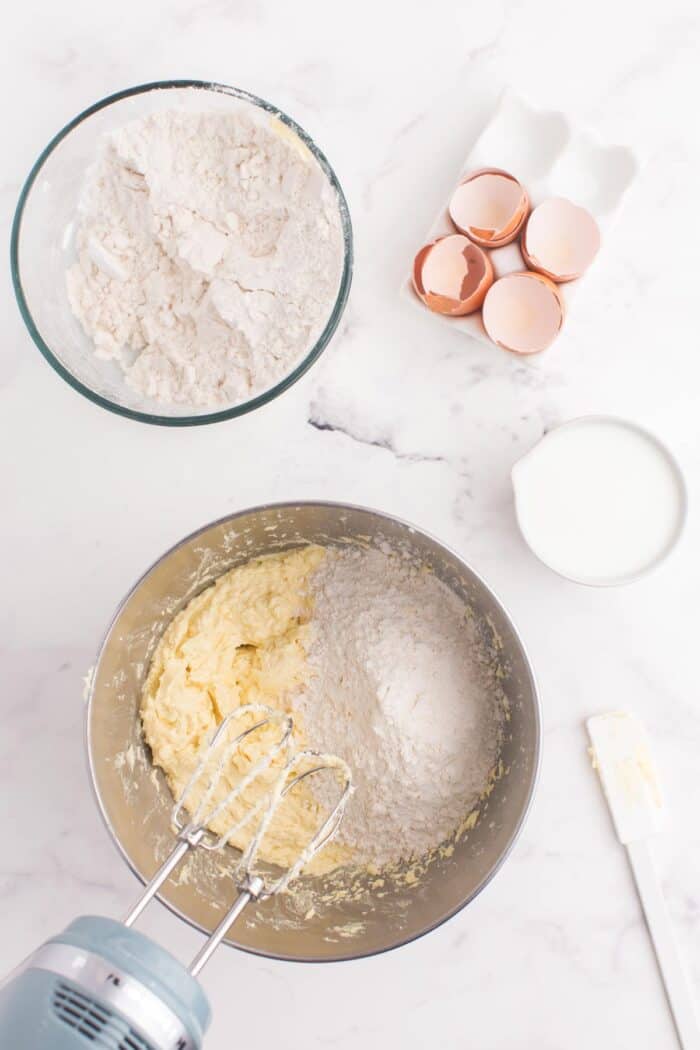
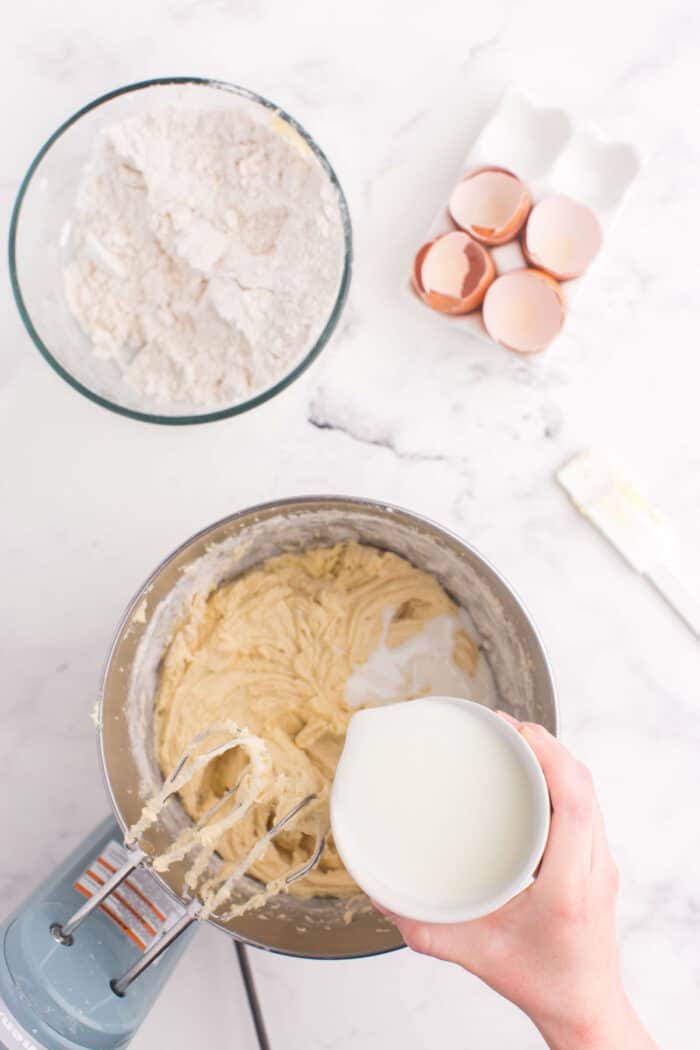
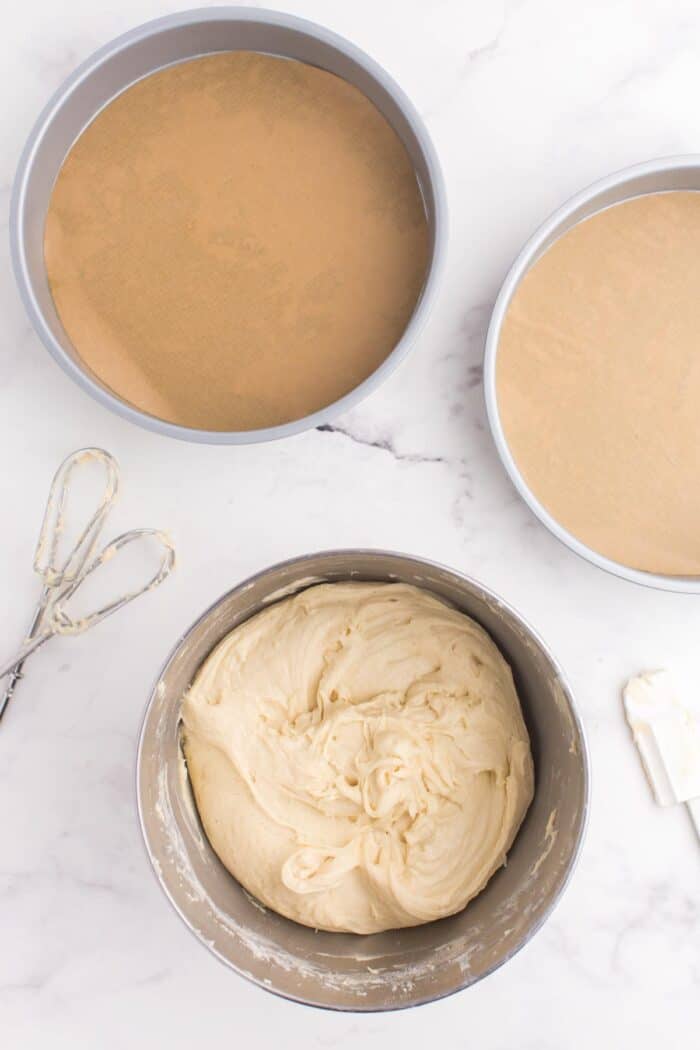
- Make the cake batter. Sift together the dry ingredients. In a large bowl or bowl of an electric stand mixer, cream the butter and sugar, then Beat in the eggs one at a time, then add the vanilla. Alternate adding the buttermilk and dry ingredients. The batter will be thick. This is perfectly normal.
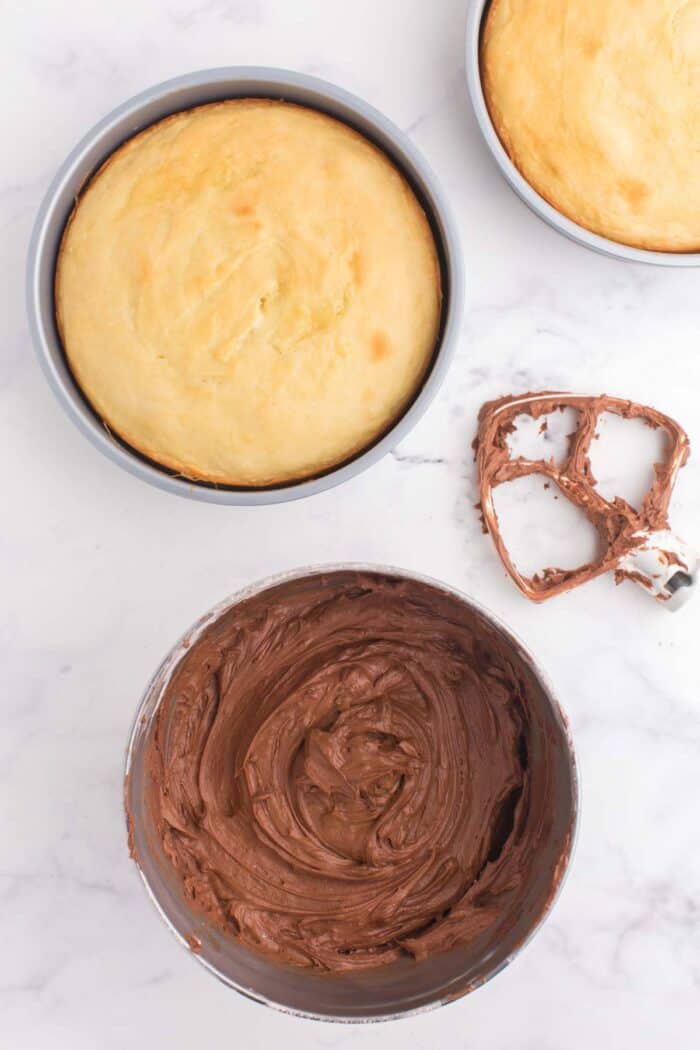
- Bake and cool the cakes. Divide the batter between the pans and bake at 350°F for about 25 minutes. Let cool in the pans for 5 to 10 minutes before removing from the pans and cooling completely on racks. While it is cooling, go ahead and prepare the frosting.
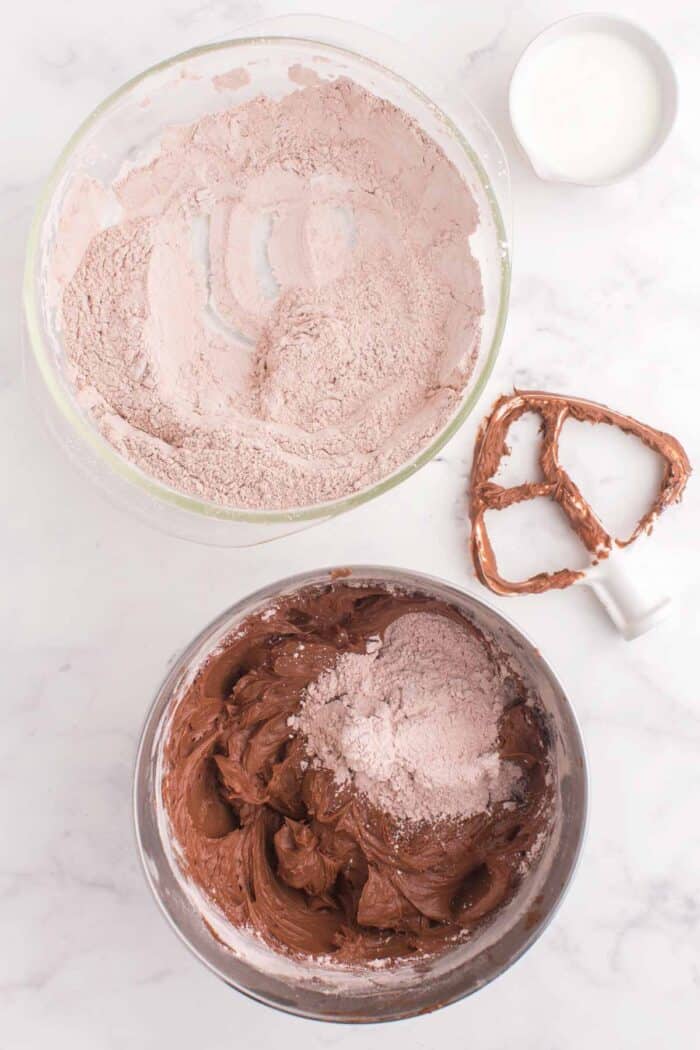
- Make the frosting. Sift together the powdered sugar and cocoa powder. In a large bowl or the bowl of a stand mixer, cream the butter and melted chocolate, then blend in the vanilla and powdered sugar mixture. Slowly add buttermilk to achieve desired consistency.
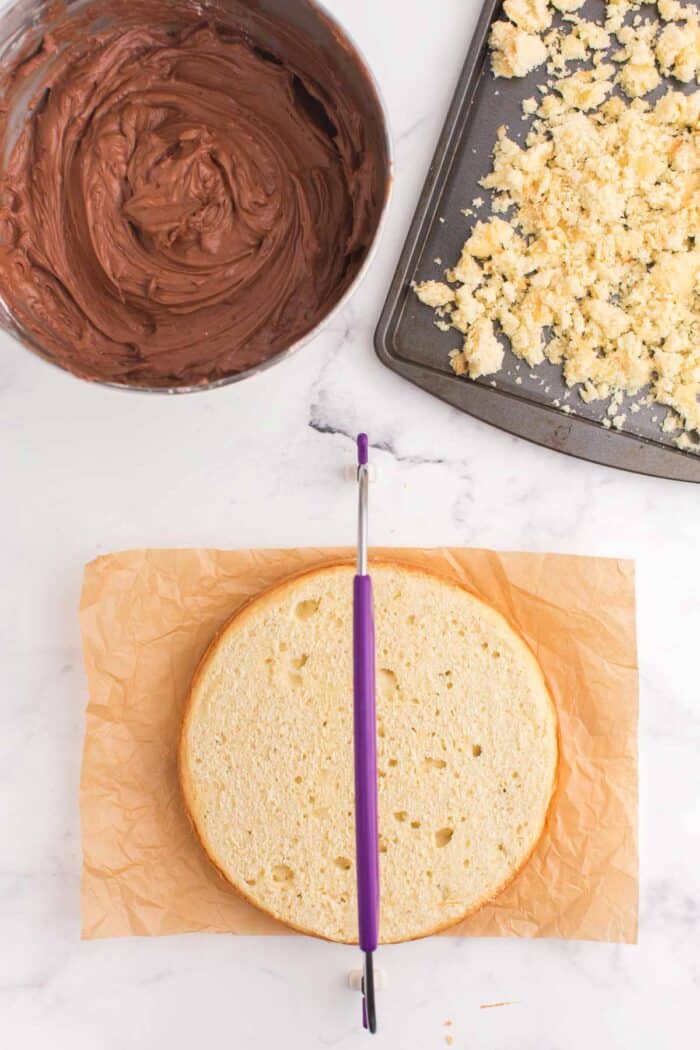
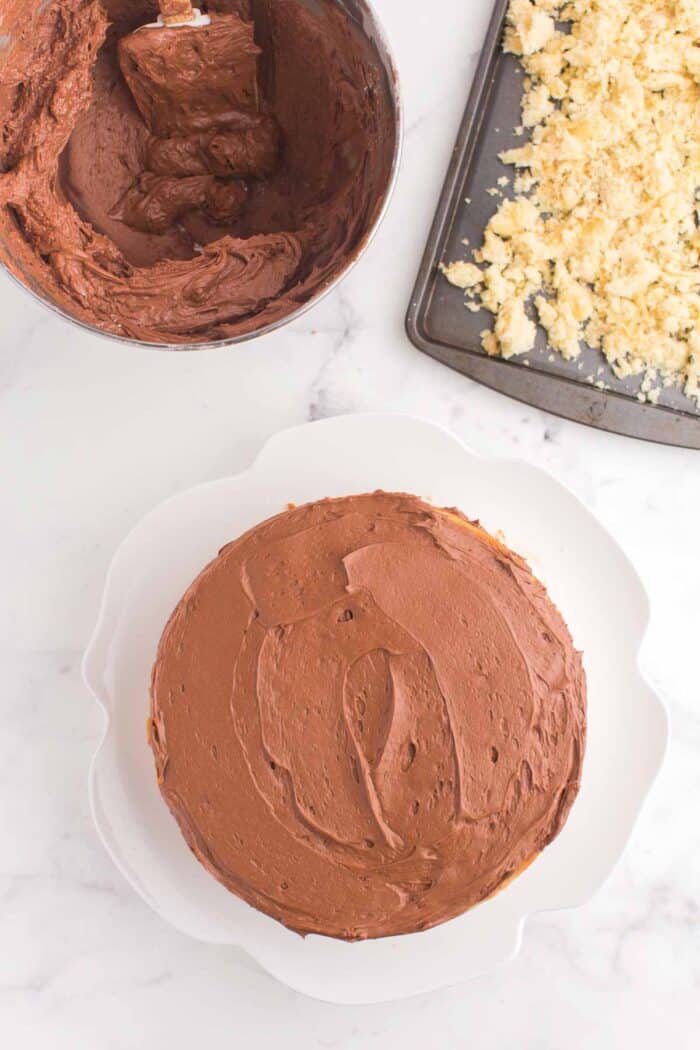
- Trim your cake. Trim the tops of your cakes to make a flat surface. If you want to make the cake crumb coating, save the trimmings.
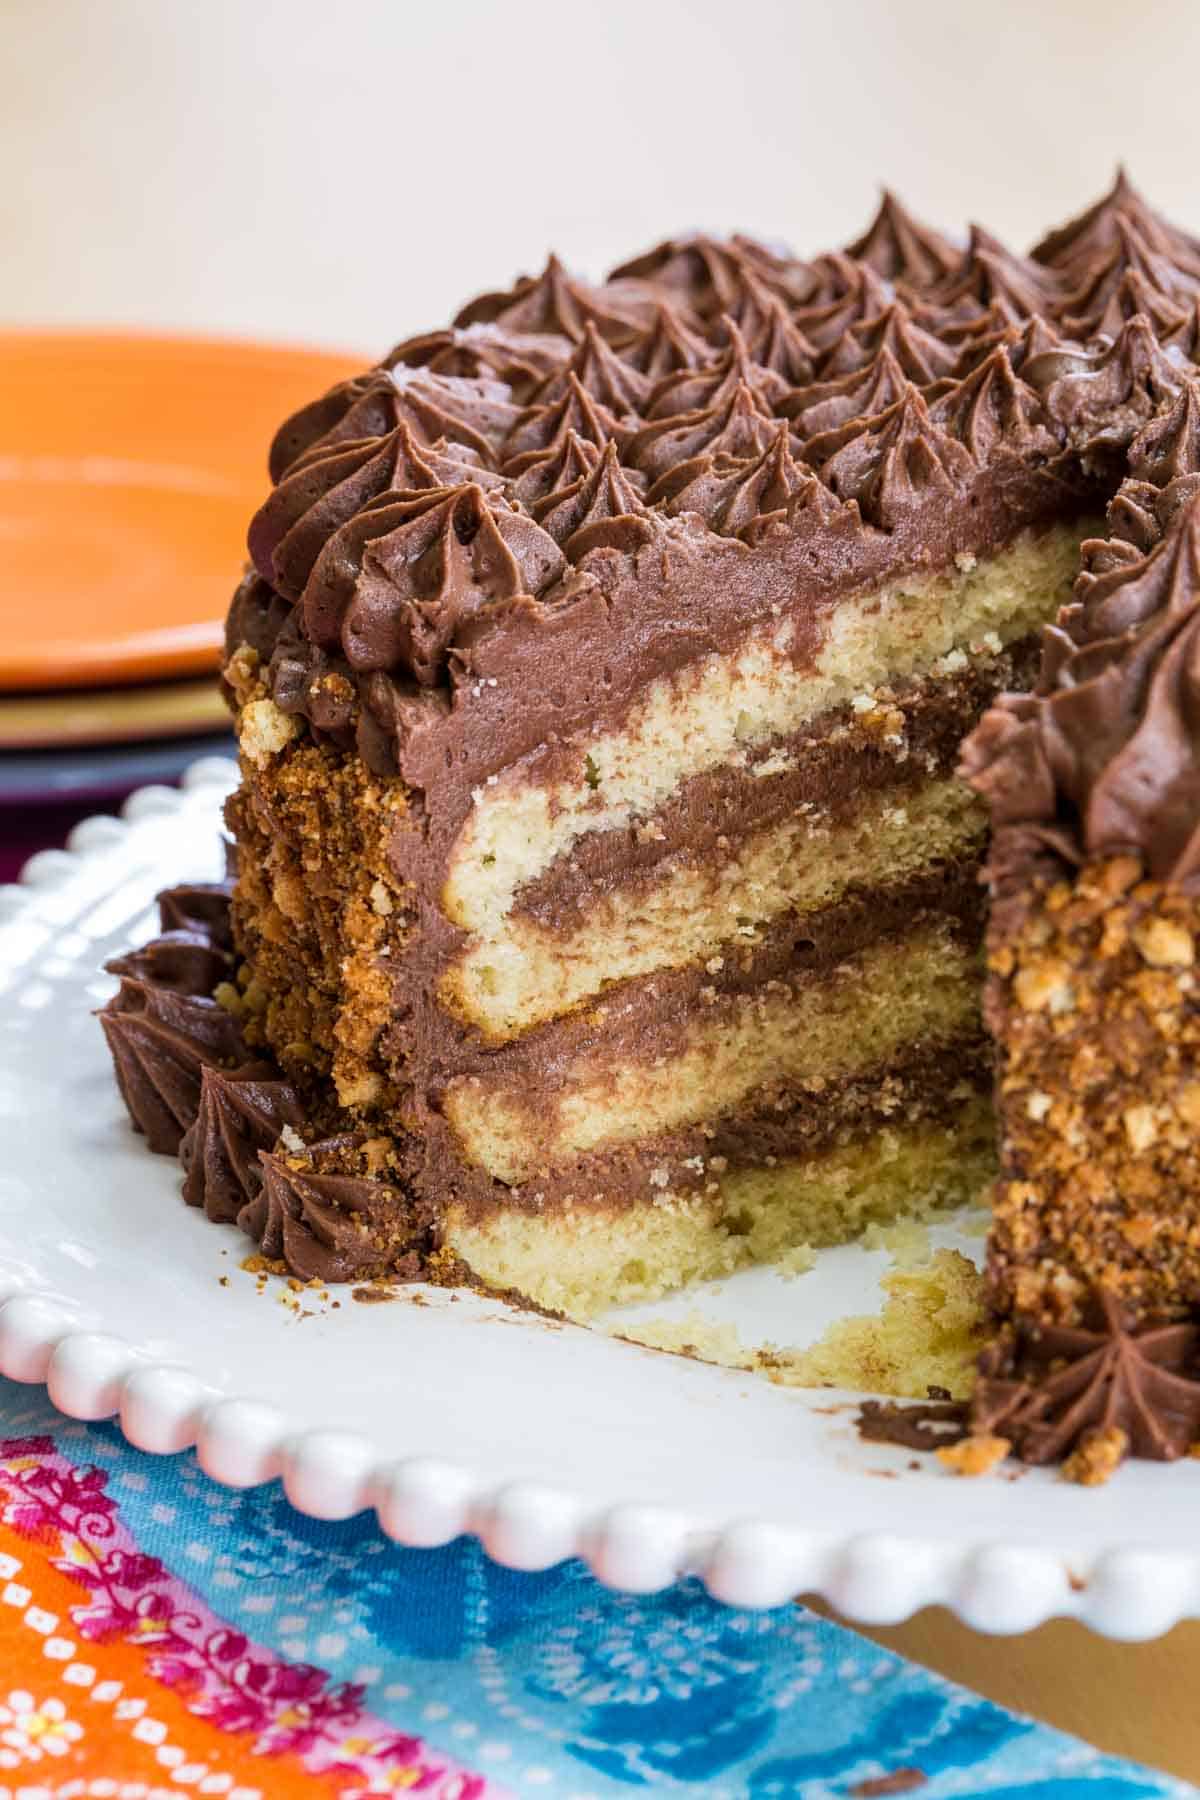
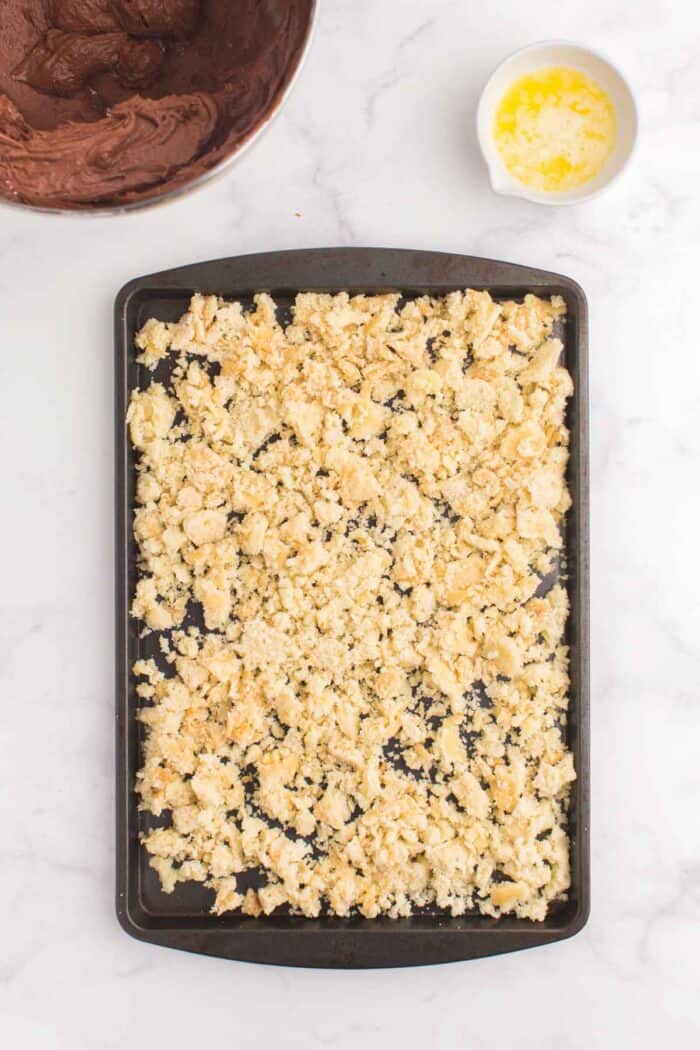
- Make the cake crumb coating. This step is optional but gives a delicious buttery, toasty flavor and a bit of texture. To make it, crumble the cake trimmings you set aside and toss them with melted butter on a baking sheet. Pop them in the oven at 350°F for 20-30 minutes, tossing every 5-10 minutes until they are dried out and crispy, but not burnt.
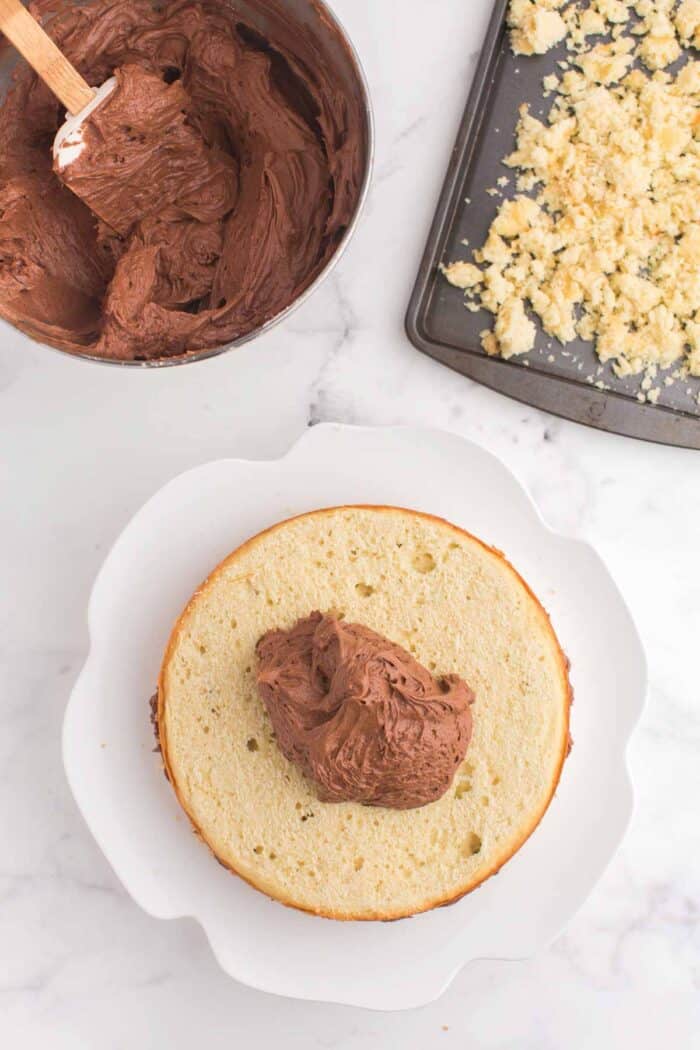
- Frost the cake. Cut each cake in half. Place one layer on a cake platter and spread 1 cup of frosting on top. Repeat with the additional layers, putting the final layer on top. Cover the entire cake in frosting.
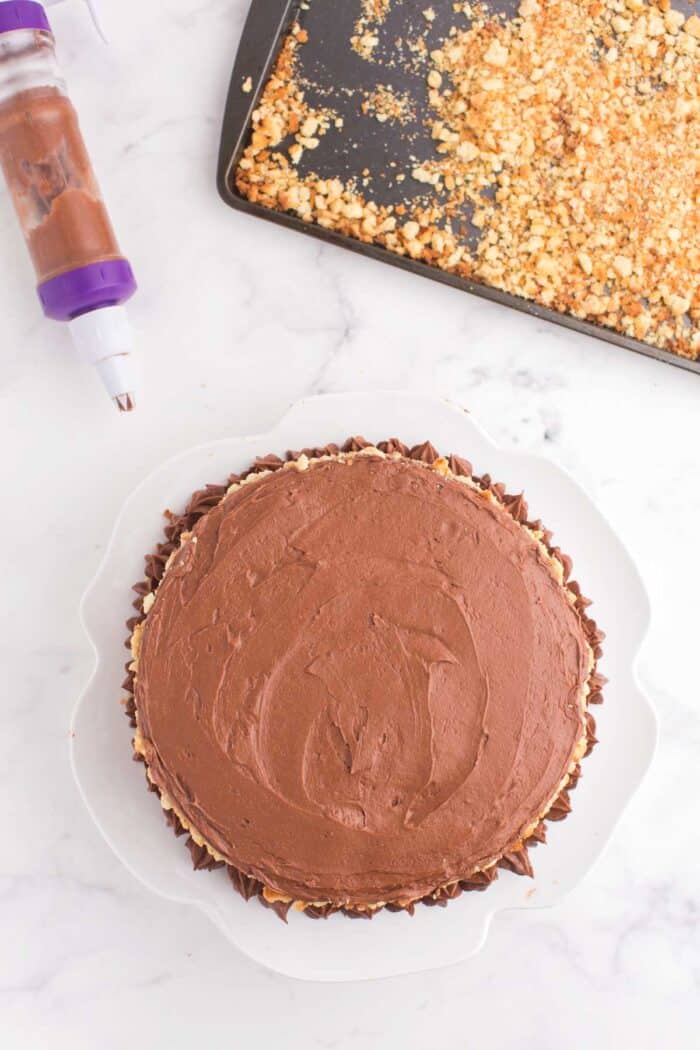
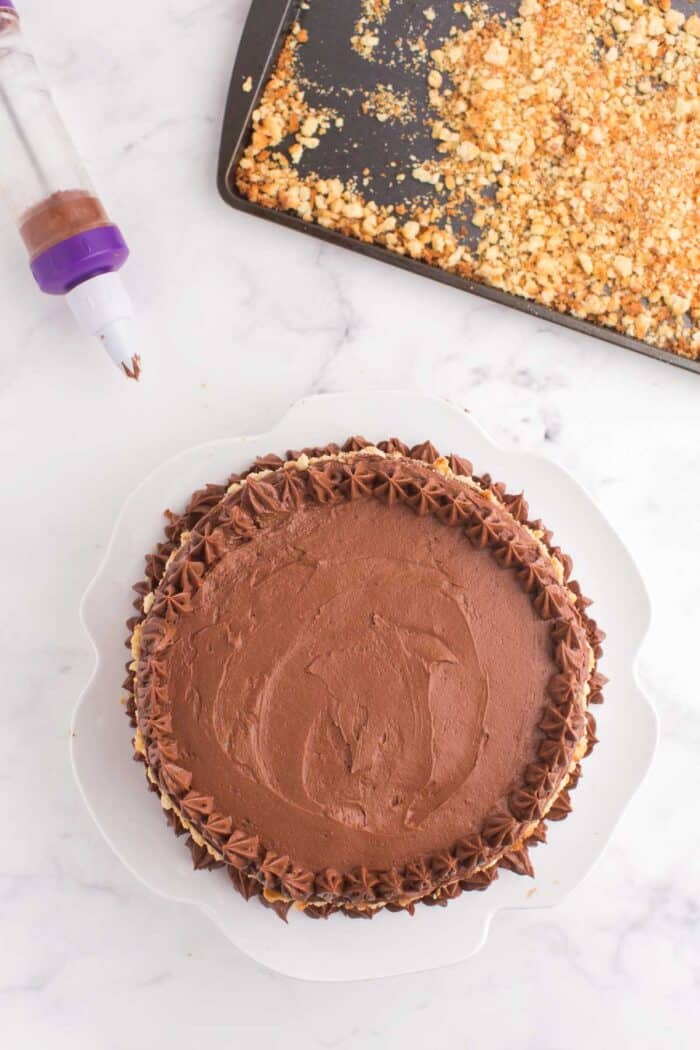
- Decorate the cake. Here is the optional step. After the toasted cake crumbs have cooled, press them on the sides of the cake. Then use extra frosting to pipe on any decorations.

Tips for Success
- Use parchment paper. I definitely recommend lining your pans with parchment paper so they come out easily. If they stick and start to break, they will be harder to slice in half to make the four layers.
- Cut even layers. You can use a serrated knife to cut your cake, but a cake leveler tool can be very helpful for making straight, even layers.
- Give it a crumb coat. Whether you make your cake fancy or not, using an offset spatula for an initial thin coating of frosting before you add the rest will ensure you seal in those crumbs and get a nice finish.
- You don’t have to be an expert to make a gorgeous cake. I am not a pro with a pastry bag, but it’s easy to make a cake look totally beautiful with a simple Dessert Decorator tool. Just load it up with frosting and pipe stars all over the top and around the edge.
- Customize your cake. If you are not a chocolate fan, frost it with my luscious Vanilla Buttercream or you can even try Lemon Frosting. And if you prefer to skip coating it with those cake crumbs, you can decorate with sprinkles, just check that your sprinkles are gluten free.
- It never hurts to serve it a la mode. Try a scoop of Gluten Free No-Churn Chocolate Chip Cookie Dough Ice Cream.

Storing Gluten Free Birthday Cake
Serve immediately, though you can keep it at room temperature for several hours. Longer than that, and I recommend storing it in the refrigerator for up to two days. Bring the cake to room temperature before serving.
Want to freeze the cake? You can freeze the individual, unfrosted cake layers wrapped tightly in plastic wrap. If you want to freeze the entire cake or leftover slices, I recommend putting them on a plate or platter and freezing uncovered. Then wrap the frozen cake tightly in several layers of plastic wrap before returning to the freezer. If wrapped well, you can keep it for up to two months.
Gluten Free Birthday Cake with Chocolate Frosting
Ingredients
For the cake (*See Note):
- 2 cups brown rice flour (or substitute all of the flours and starches with 3 cups of all-purpose or 1:1 gluten free flour)
- 2/3 cup potato starch
- 1/3 cup tapioca flour or starch
- 3 teaspoons baking powder
- 2 teaspoons xanthan gum (omit if you use a flour blend that contains it)
- 1 teaspoons salt
- 3/4 cup (1 1/2 sticks) unsalted butter, at room temperature
- 1 1/2 cups sugar
- 4 eggs
- 1 Tablespoon pure vanilla extract
- 1 cup buttermilk, at room temperature
For the frosting (**See Note):
- 1/2 cup cocoa powder
- 6 cups powdered sugar (can use more if needed to achieve desired consistency)
- 8 oz. semi-sweet chocolate melted and cooled slightly
- 2 cups (4 sticks) unsalted butter, at room temperature
- 2 t pure vanilla extract
- 2/3 cup buttermilk, at room temperature
For the buttery crumb coating:
- 1 Tablespoon melted butter
Instructions
For the cake (*See Note):
- Preheat the oven to 350°F. Spray with cooking spray or lightly grease two 9″ round cake pans, and line with parchment paper.
- Sift or whisk together the flours, xanthan gum, salt, and baking powder. Set aside.
- In a separate bowl, use an electric mixer or stand mixer to cream the butter and sugar.
- Add 1 egg, and beat for a minute or so at high speed, until fluffy. Then add the remaining eggs, one at a time, beating after each addition.
- Scrape down the sides of the bowl.
- Add the vanilla and beat until smooth.
- Reduce the mixer speed to low and alternately beat in the milk and dry ingredients, adding about 1/3 of each at a time, and ending with the dry ingredients. Scrape down the sides of the bowl after each addition.
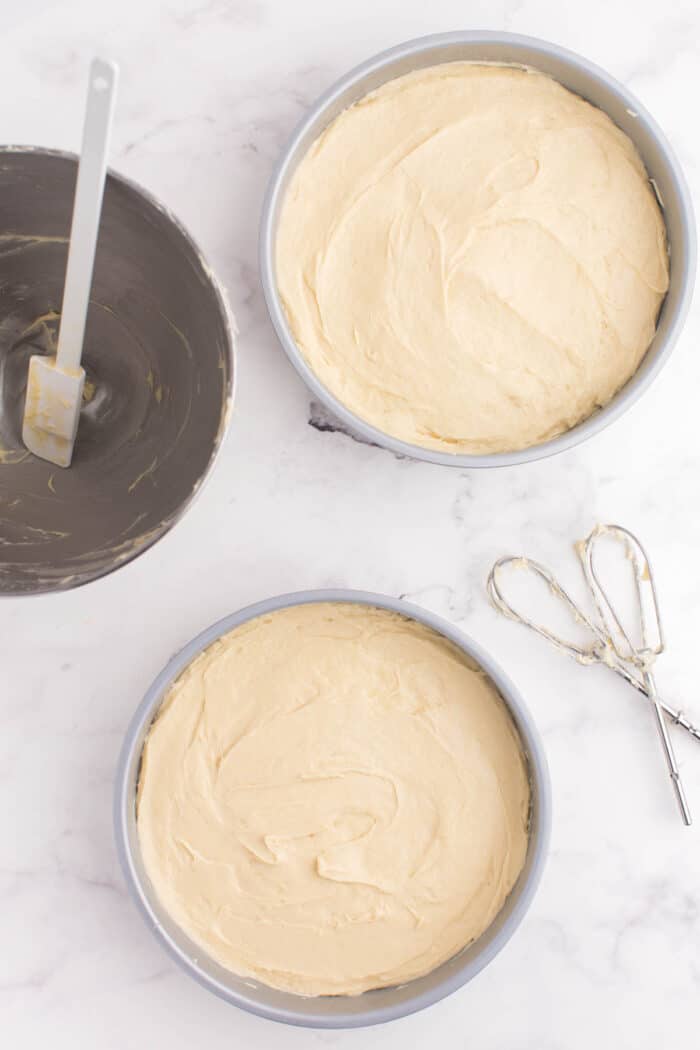
- Divide the batter between the prepared pans. It will be quite thick. Spread evenly. Bake the cake for about 25 minutes, about 3 to 4 minutes past the point where the cake springs back when touched lightly in the center, and a cake tester (or toothpick) inserted into the middle comes out clean.
- Remove from the oven, and cool for at least 5 to 10 minutes before turning out of the pan to cool on a rack (I left the cakes in the pan overnight).
For the frosting (**See Note):
- Sift together the cocoa powder and powdered sugar to remove any lumps. Set aside.
- In a large bowl, using an electric mixer or the paddle attachment of your stand mixer, cream together the melted chocolate and butter until smooth.
- Add the vanilla, reduce speed to low, and gradually add the flour and cocoa powder mixture until fully combined.
- Slowly add the buttermilk until the frosting reaches your desired consistency. You may need slightly more or less.
For the buttery crumb coating:
- Preheat the oven to 350°F.
- Using a serrated knife or wire cutter, trim the top of each cake off to make a flat surface.
- Take the tops that you cut off, crumble into smaller pieces into a cake pan or baking sheet.
- Drizzle the melted butter over the crumbs and toss to coat.
- Place in the oven, and bake for 20-30 minutes, or until browned and dried out, stirring and continuing to break the crumbs down smaller as they get crispy, about every 5-10 minutes.
Assembling the cake:
- Using a serrated knife or wire cutter, cut each cake in half.
- Take one layer and place on a plate or platter. Spread 1 c frosting evenly on top of the layer.
- Repeat with the remaining three layers.
- Scoop a small amount of frosting into a separate bowl, and put a thin layer on the top and sides of the cake.
- Finish frosting the top and sides, reserving some frosting for decoration, if desired.
- Press the crumbs into the sides of the cake.
- Brush the excess crumbs off the platter, and pipe or decorate with the reserved frosting, as desired.
Notes
Did you make this?
Leave a star rating to help others know that they should make this recipe.
Share a photo and tag @cupcakesandkalechips on Instagram!
Is it 1 1/2 cups or 1 1/2 sticks of butter? 1 1/2 cups would be 3 sticks. Thanks!
I fixed it. It’s 1 1/2 sticks.
Nice one!
Just made this cake and I’m so happy with how it turned out! This is the third gluten-free cake recipe I’ve tried this week and by FAR the best. I used a different icing, but the cake is amazing. You’d never know it’s not a “normal” cake!
Oh yay, I am so happy to hear this and thrilled you enjoyed the cake!
Can you just use whole milk? I currently have buttermilk.
I haven’t tried it, but there are some easy tricks to make buttermilk from regular milk. You just need to add an acid – https://iambaker.net/how-to-make-buttermilk/
This looks so good, as good as any non-gluten-free cake for sure! The crumbs were a nice touch and really gives your cake some texture. Thanks for sharing, I’ll definitely have to try this!
That frosting … YUM! And so pretty!
It’s hard to not just eat it from the bowl!
My brother has Crohn’s disease and only eats gluten free. He always complains about the gluten free cakes so I’ll have to pass this onto him!