This post may contain affiliate links. Read my disclosure policy.
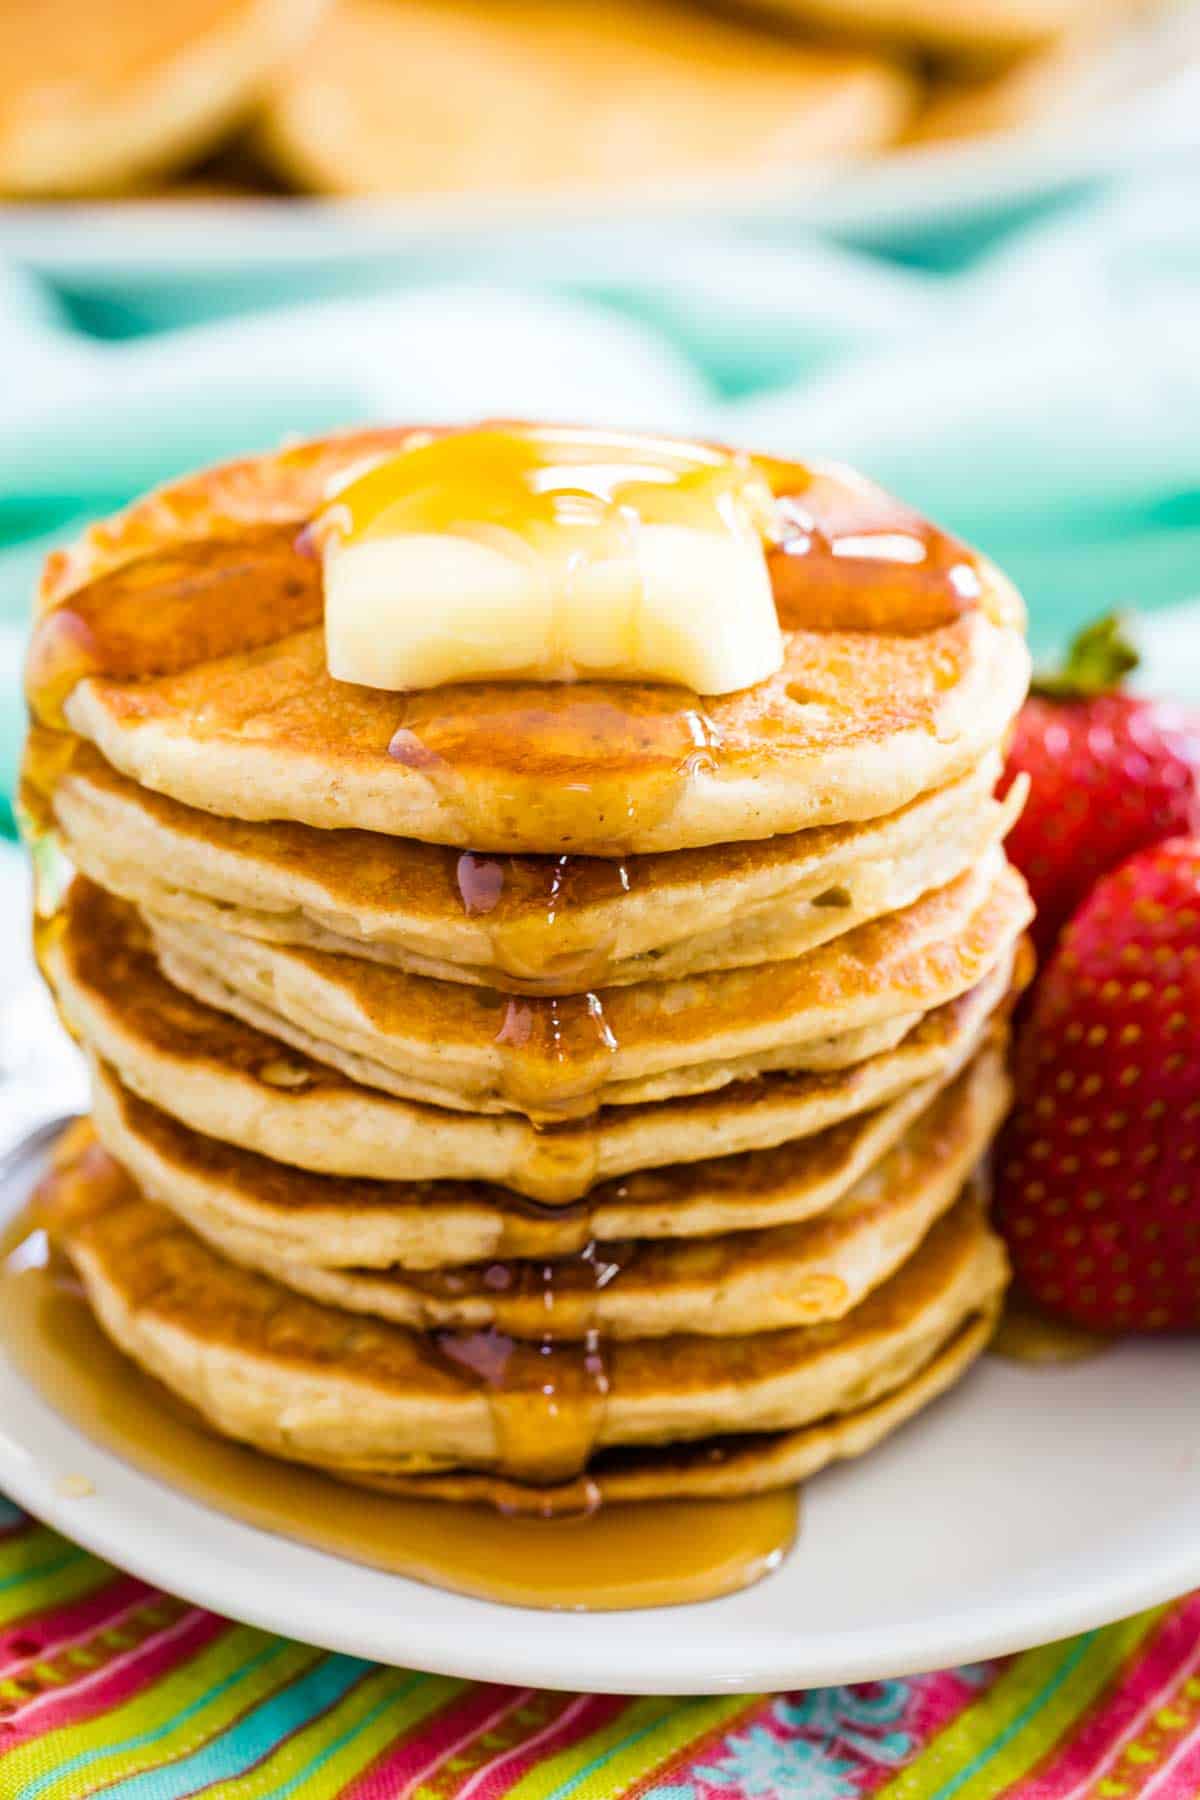
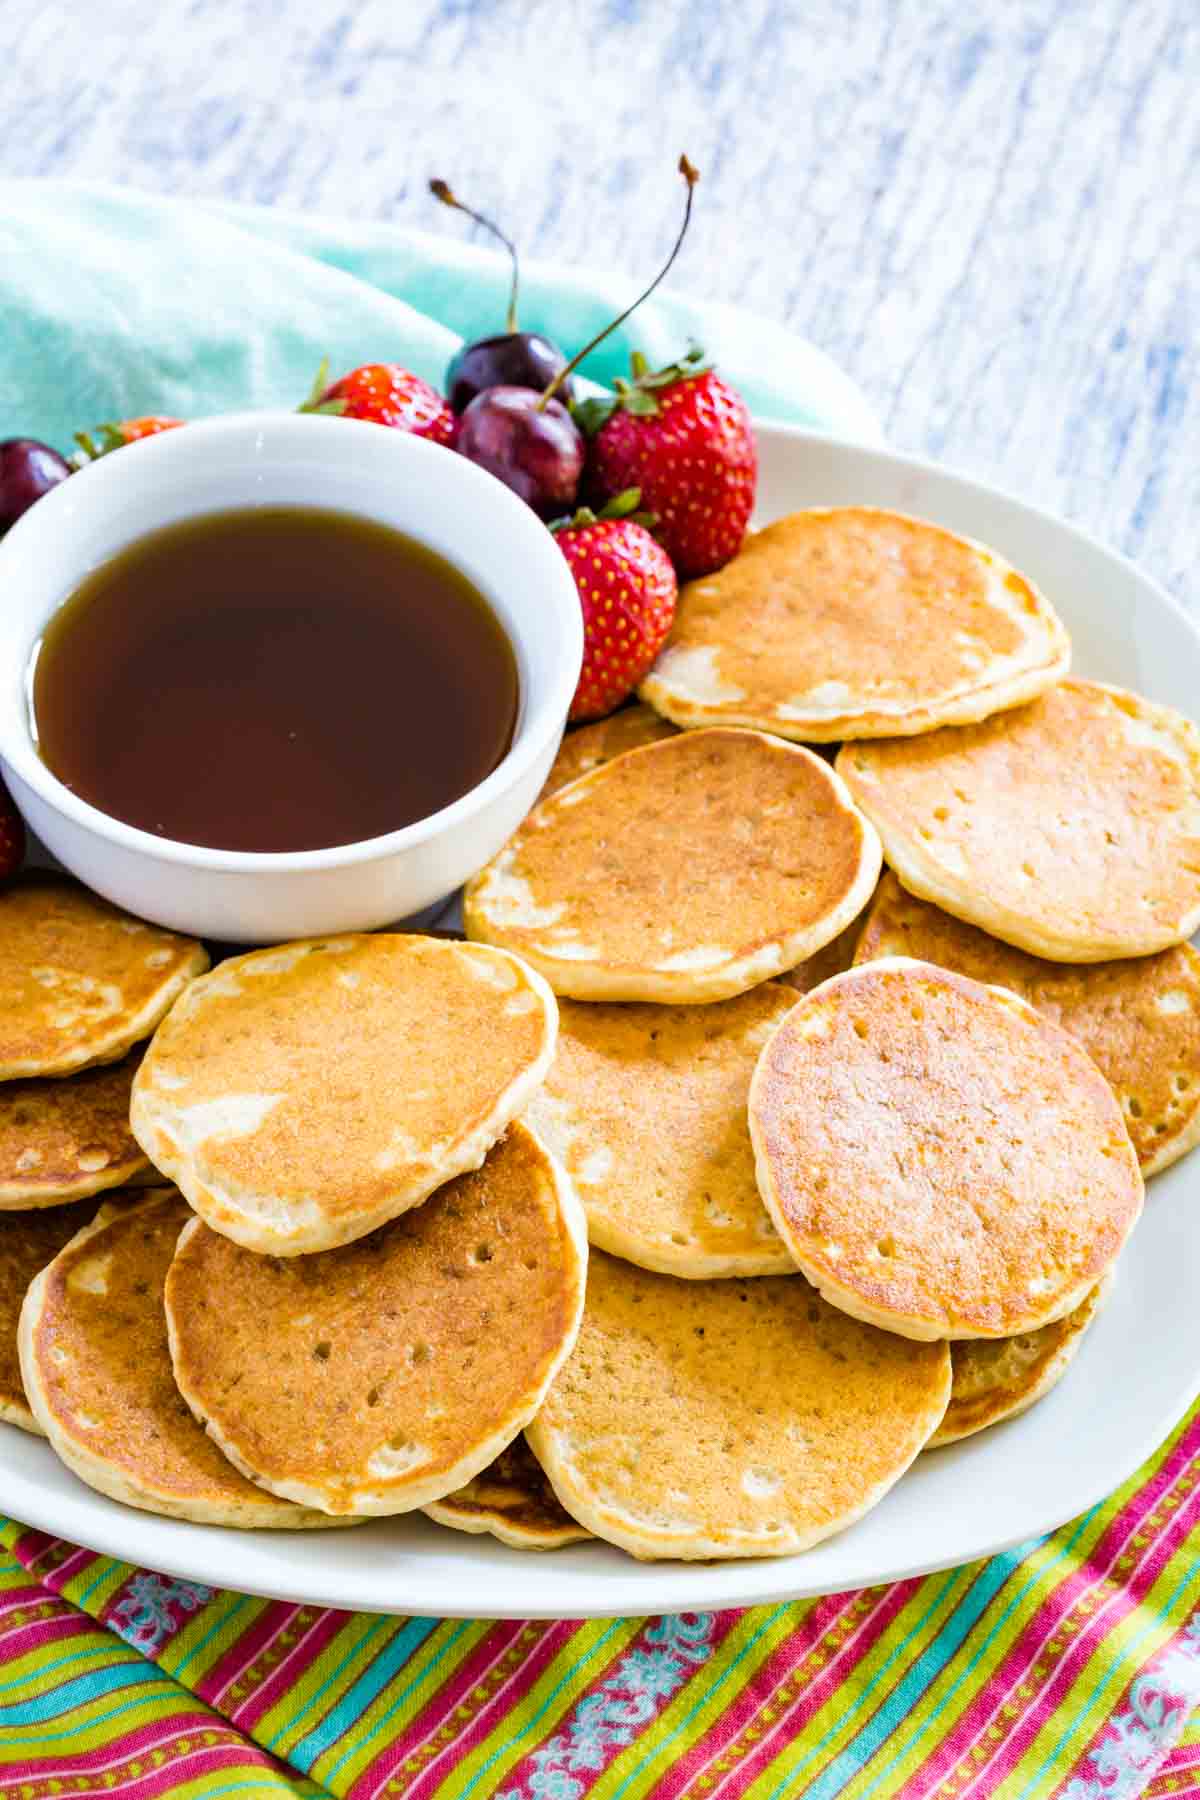
Adorable Gluten Free Silver Dollar Pancakes are what you’ll want to make for this weekend’s breakfast! Tender and light with perfectly crisp edges, these mini pancakes are bite-sized morsels that will be your new favorite.
Perfectly Bite-Sized Silver Dollar Pancakes
We love pancakes, and a batch of lightly sweet, steaming hot cakes is a weekend staple. Silver dollar pancakes are so fun to make because they’re tiny, and cook up very quickly. Enjoy a stack of mini pancakes or let little fingers pick them up to dunk in maple syrup.
Cuisine Inspiration: American
Primary Cooking Method: Stovetop
Dietary Info: Gluten-free, Nut-free, Dairy-free option
Skill Level: Easy
Why You’ll Love This Mini Pancakes Recipe
Here’s why you’ll defnitiely enjoy this silver dollar pancakes recipe:
- Small. If you’re familiar with the old silver dollar that was minted in the U.S., you’ll have an idea about how large you’ll make these pancakes. I love that they’re small enough that you can eat a pile without feeling overly full. And they’re great for brunch with a bunch of other dishes. You can satisfy your pancake craving and still have room for other options.
- Quick to make. Because these are tiny pancakes – you’ll use just 1 tablespoon of batter per pancake – they’ll cook fast, meaning that you’ll have pancakes ready to go in minutes.
- Simple ingredients. Pancakes are one of those dishes that call for super simple ingredients including butter, milk, and flour. Yet when you put them all together they create an irresistible result!
- Gluten-free. This pancake recipe is easily made gluten-free when you use gluten-free all-purpose flour. The rest of the ingredients are all naturally gluten-free.
What You’ll Need
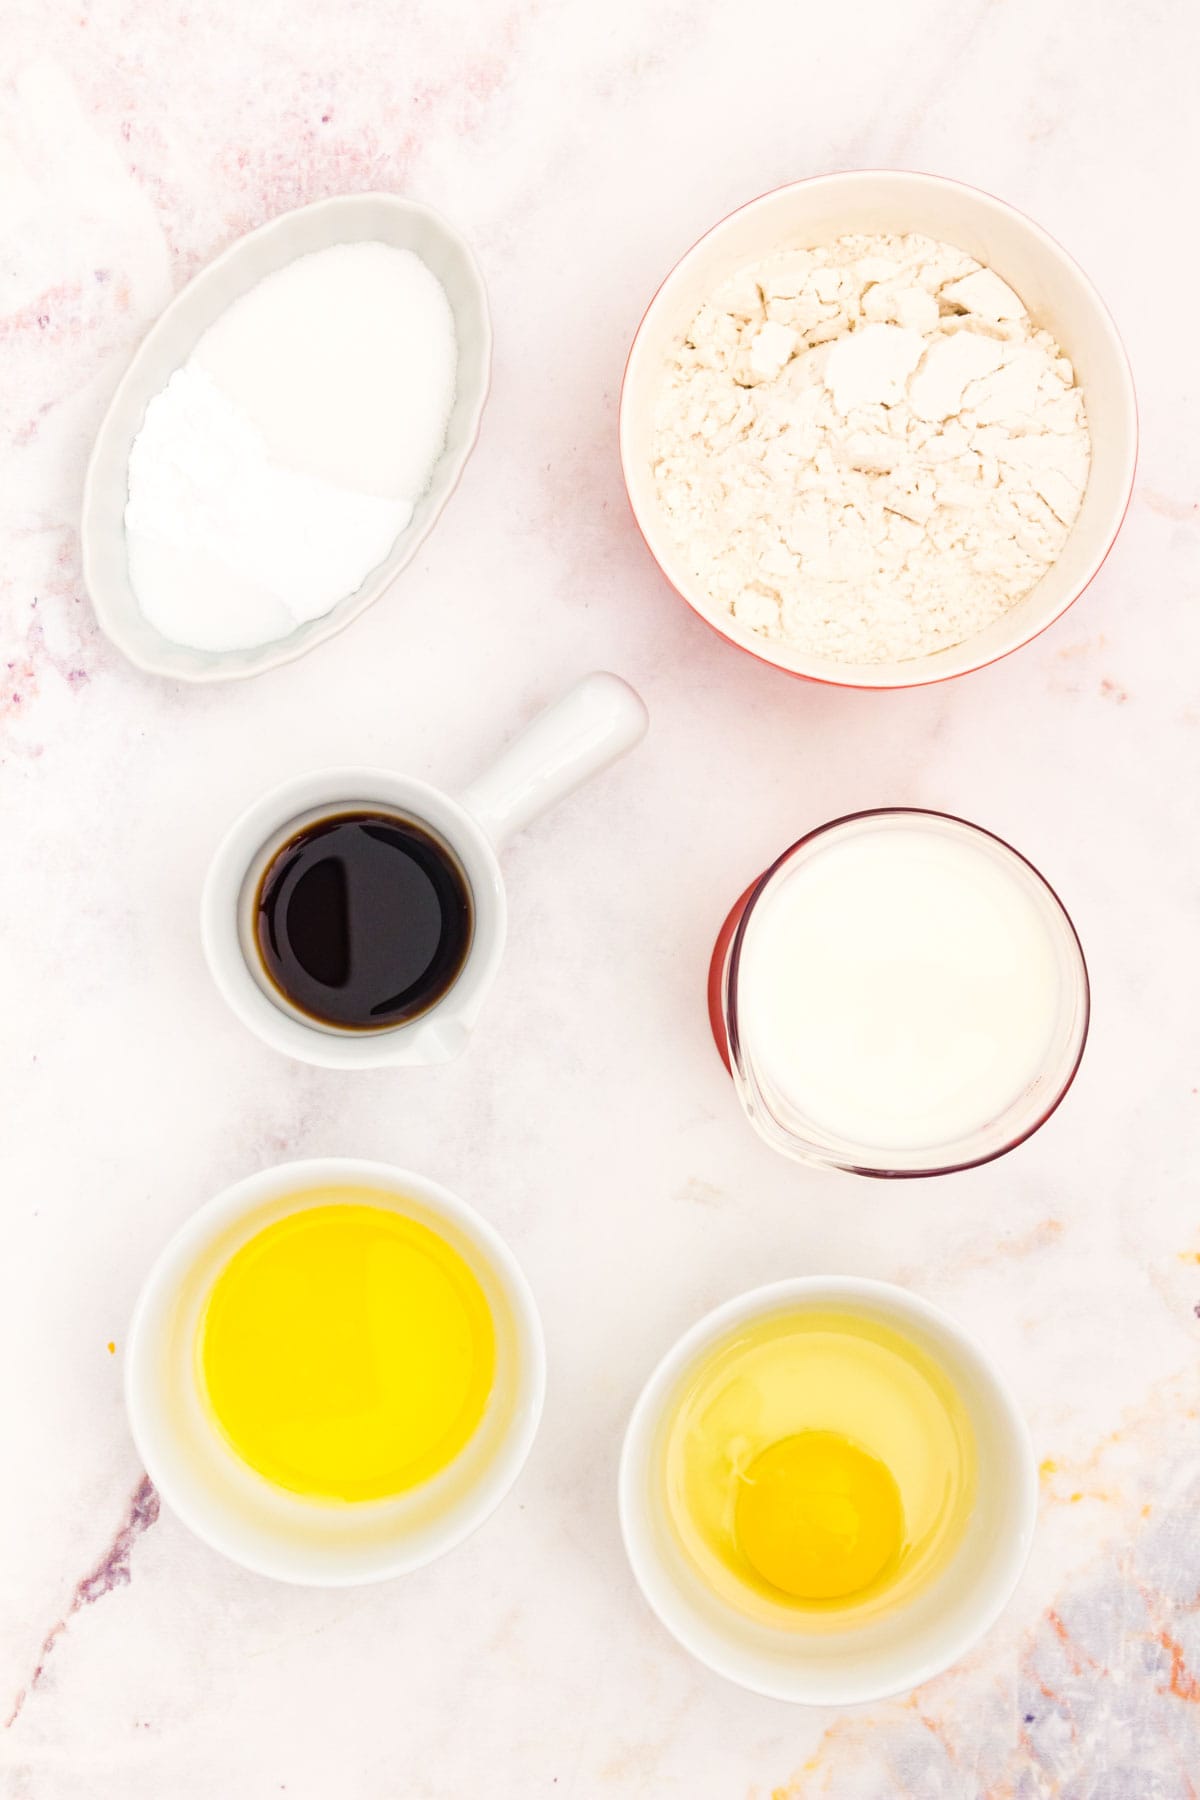
A simple list of ingredients is all it takes to make these adorable pancakes. Here’s a rundown of everything you’ll need. Don’t forget to check the recipe card at the end of this post for the full ingredient amounts.
- Gluten-free Flour Blend: I recommend using Bob’s Red Mill 1-to-1 baking blend.
- Sugar
- Baking Powder and Baking Soda: You’ll need both leavening agents in this recipe to give the pancakes their fluffiness.
- Salt
- Milk – I like to use whole milk for richness but 2% milk will also work well.
- Egg
- Butter – You can use salted or unsalted butter.
- Vanilla Extract
- Oil – You’ll need oil or cooking spray to grease the pan.
How to Make Silver Dollar Pancakes
You’ll note that the technique for making silver dollar pancakes is the same as making regular pancakes, you’ll just make them a bit smaller. Make sure to let the batter rest before you cook the pancakes for the best results. For detailed instructions, be sure to scroll down to the recipe card.
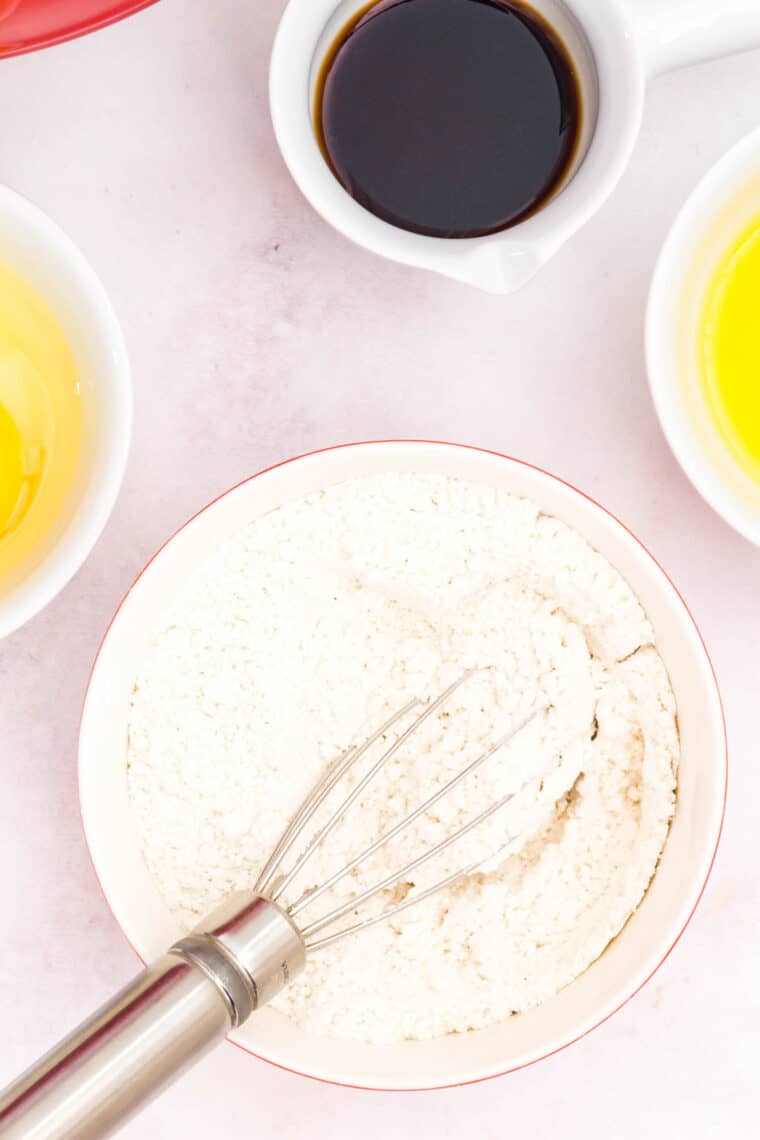
- Prepare the dry ingredients. Whisk together the gluten free flour, sugar, baking powder, baking soda, and salt.
- Whisk the wet ingredients. In a large bowl, whisk together the milk, egg, melted butter, and vanilla extract
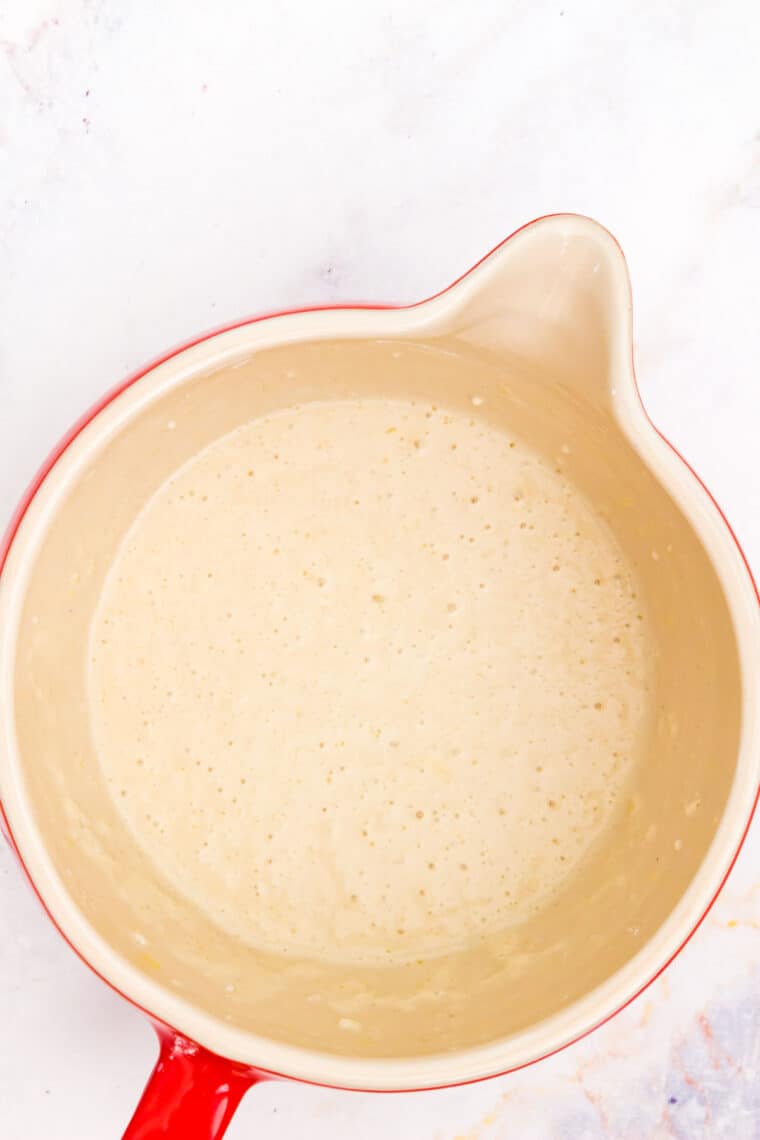
- Combine. Add the flour mixture to the wet ingredients and stir together until just combined.
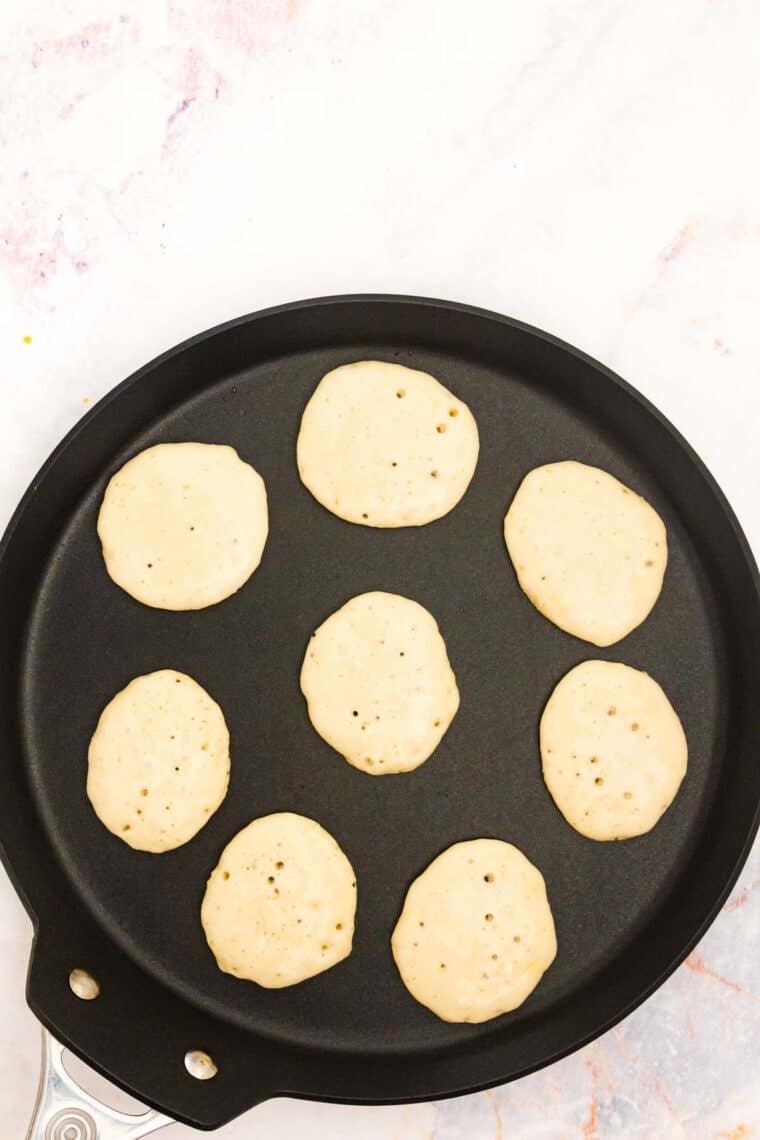
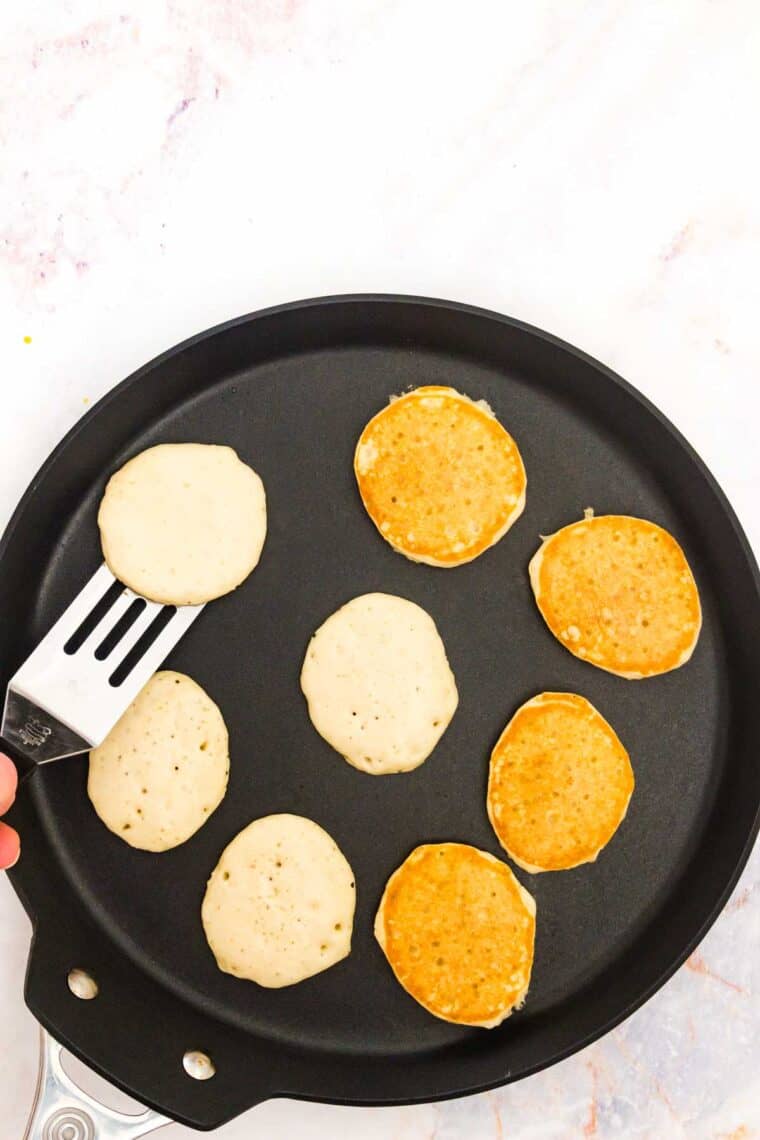
- Cook. Heat a skillet and cook the pancakes (use 1 tablespoon of batter per pancake), flipping once after they start to bubble.
Tips for Perfect Silver Dollar Pancakes
- Some lumps are OK. You will probably have some lumps remaining in the pancake batter after you’ve made it, and this is fine! It is better to have slightly lumpy pancake batter than over blended batter which can lead to flat pancakes.
- Rest the batter. Gluten-free flour benefits from a short rest after they’ve been added to a batter. Make sure you leave time to rest the pancake batter for the 20 minutes specified in the instructions so that the flour can absorb some of the liquid.
- Add more milk. If your batter seems too thick to pour after it rests, add a little more milk, 1 tablespoon at a time. Be careful to go slowly, though, because you don’t want to make the pancake batter too runny!
- Properly heat your pan. Pancakes love a hot pan! To test if your pan is ready to use, flick a few drops of water onto the pan. If they sizzle nicely, go ahead and cook the pancakes.
- Use an electric griddle. If you have an electric griddle, you should absolutely use it to make these pancakes. It will cook the pancakes evenly, creating a better final result.
- Cook the pancakes in butter. For a richer taste and wonderfully buttery edges, use melted butter in your pan or griddle to cook the pancakes rather than oil.
- Make these pancakes dairy-free. It’s so easy to make these pancakes dairy-free as well as gluten-free. Substitute your favorite non-dairy butter for the butter and use a non-dairy milk of choice for the milk.
How to Store & Reheat Leftovers
Pancakes keep very well for another time. You have several options for how to store and reheat them, which I’ll outline below:
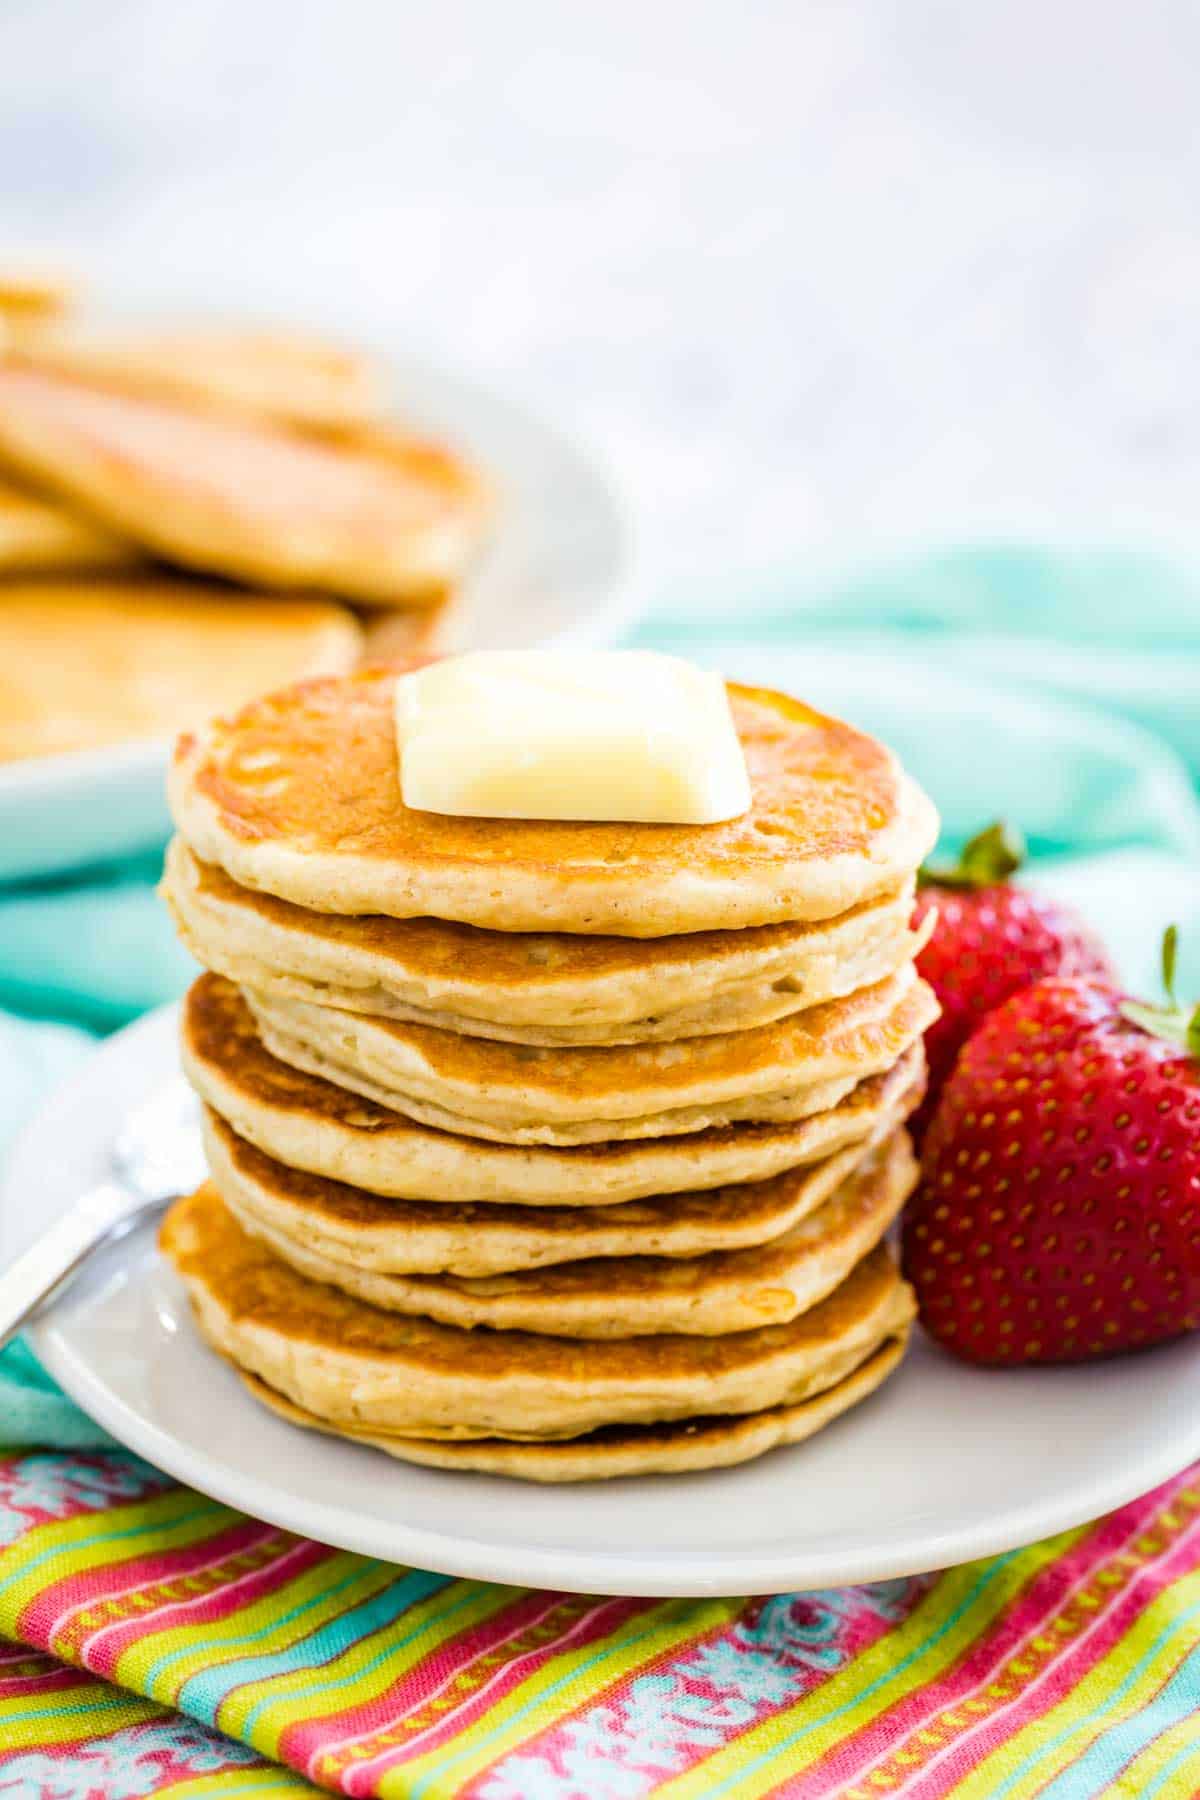
- Fridge – Store leftover, cooled pancakes in a zip-loc bag, with a piece of parchment in between each pancake so that they don’t stick together, in the fridge for up to 3 days.
- Freezer – To freeze leftover pancakes, place them in a freezer-safe, sealable bag with a piece of parchment paper in between each pancake, and freeze for up to 3 months. Defrost the pancakes in the fridge before using.
- To Reheat – Place up to 2 pancakes on a microwave-safe plate and heat them in the microwave in 30-second intervals until warm. I find that about 45 seconds for 1 pancake and 1 minute for 2 pancakes is perfect.

Make It A Meal
Pancakes make a wonderful weekend breakfast, especially when you add some scrambled eggs or bacon alongside. Or top them with fresh fruit and a generous drizzle of maple syrup! Here are a few suggestions for how to round out your pancakes into more of a hearty meal:
- Eggs. Add some eggs alongside your short stack, like fried or baked eggs or Hawaiian Scrambled Eggs.
- A gluten-free casserole. Serve silver dollar pancakes with a hearty gluten-free breakfast casserole, like my Cheesy Hashbrown Potato Casserole or Gluten Free Bisquick Breakfast Casserole.
- Smoothie: My Chocolate Pumpkin Smoothie would be wonderful served with silver dollar pancakes. Or try my Strawberry Banana Coconut Milk Smoothie for something lighter.
- Fruit. Top your pancakes with fresh raspberries or blueberries for a juicy treat. You could also make a batch of Apple Pie Filling to go on top of your pancakes. Or serve them with a fruit salad, like my refreshing Watermelon Berry Fruit Salad.
- Serve them as savory snacks. You could also serve silver dollar pancakes as a savory preparation! Top them with cream cheese or lox, slices of cucumber, or a small piece of ham.
Gluten Free Silver Dollar Pancakes
Ingredients
- 1 cup 1-to-1 gluten free flour blend (Bob’s Red Mill 1-to-1 baking blend is recommended)
- 1 tablespoon granulated sugar
- 1 teaspoon baking powder
- ½ teaspoon baking soda
- ¼ teaspoon salt
- 1 cup milk
- 1 large egg
- 2 tablespoons unsalted butter , melted and cooled
- 1 teaspoon vanilla extract
- Oil or cooking spray
Instructions
- In a medium bowl, whisk together the gluten free flour, sugar, baking powder, baking soda, and salt.
- In a large bowl, whisk together the milk, egg, melted butter, and vanilla extract
- Add the flour mixture to the wet ingredients and stir together until just combined. The batter will still be slightly lumpy. Cover the bowl with plastic wrap and let rest for 20 minutes.
- Heat a skillet over medium heat or a griddle to 375°F, and lightly coat the pan with oil or cooking spray. Add about 1 Tablespoon of batter or a small cookie scoop full for each pancake, leaving some space between each one. Cook until you see that the edges are turning golden-brown and bubbles are appearing at the surface, about 2-3 minutes. Flip and cook until the other side is golden, about 1-2 minutes.
- Remove the pancakes from the pan and repeat with the remaining batter.


