This post may contain affiliate links. Read my disclosure policy.
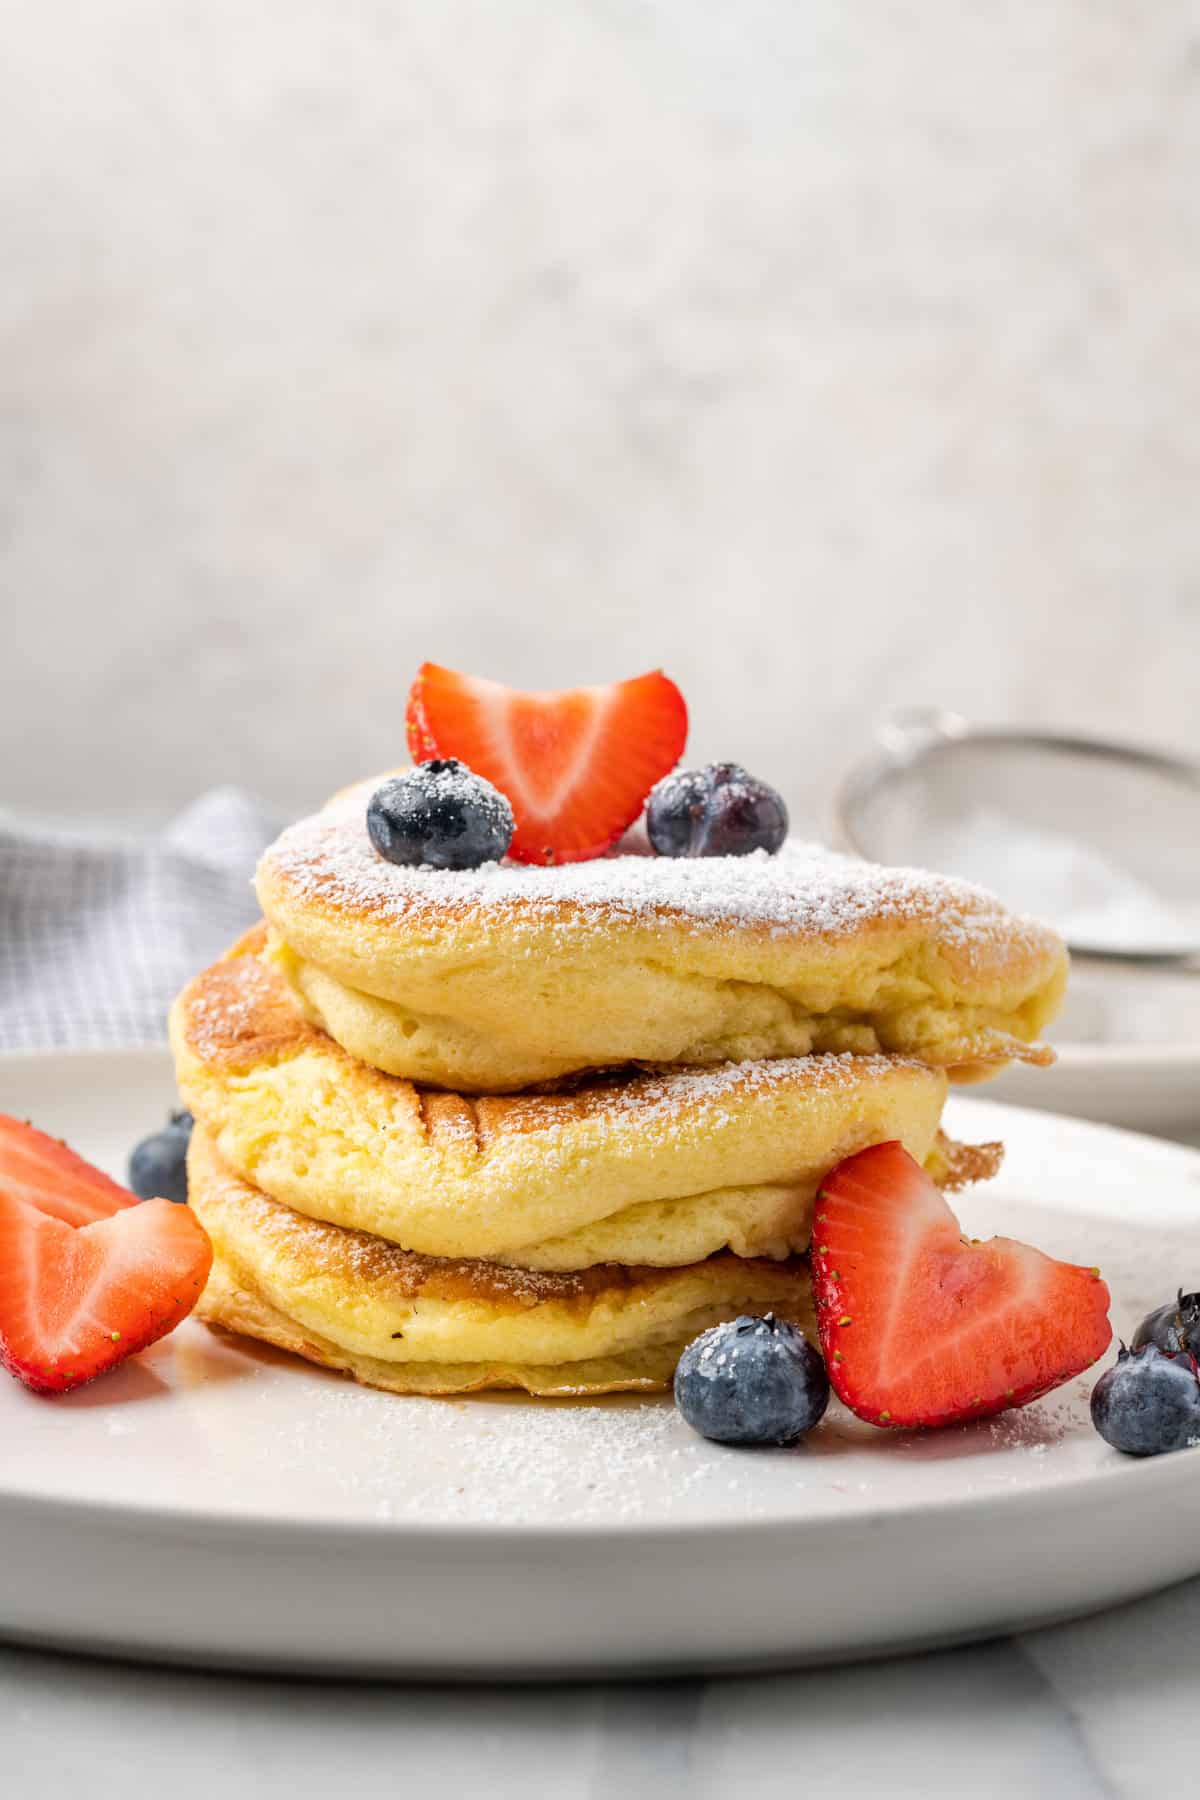
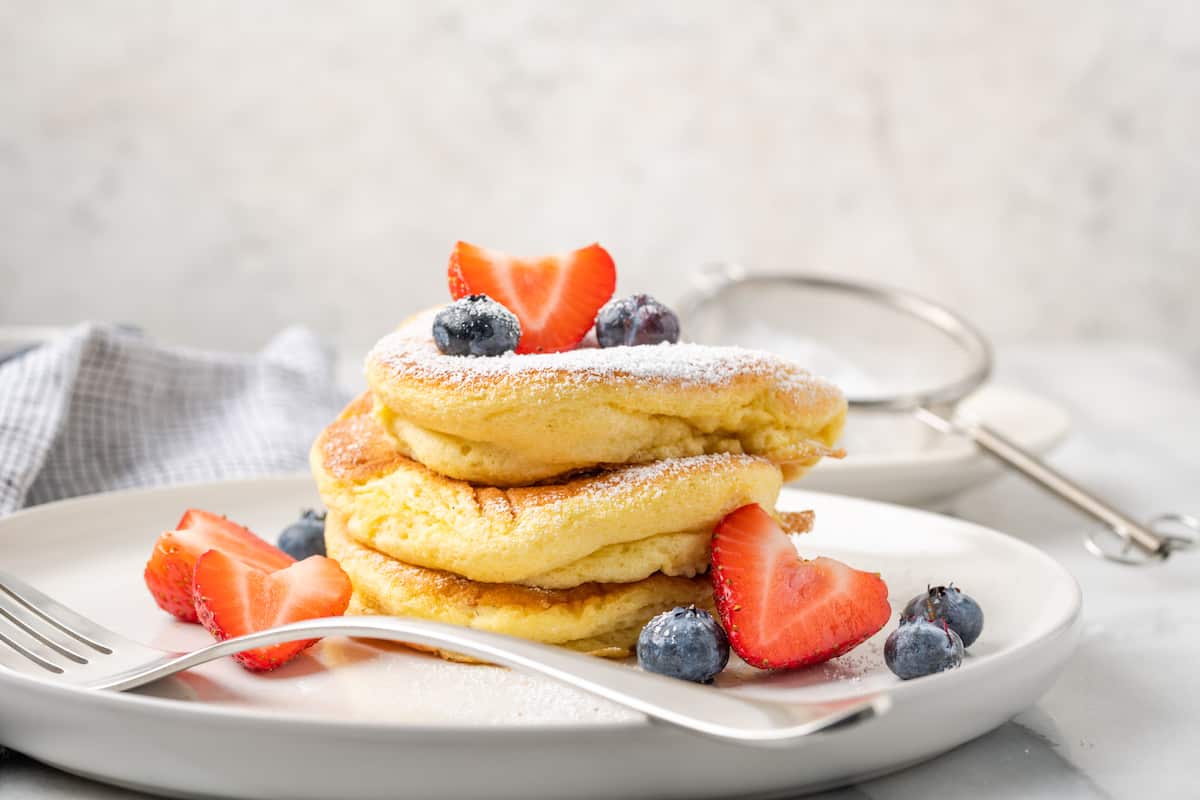
These puffy, fluffy Gluten-Free Souffle Pancakes are a pancake lover’s dream! You’re sure to wow everyone at the breakfast table when you present them with these light-as-air, tender little morsels that go perfectly with whatever topping you choose.
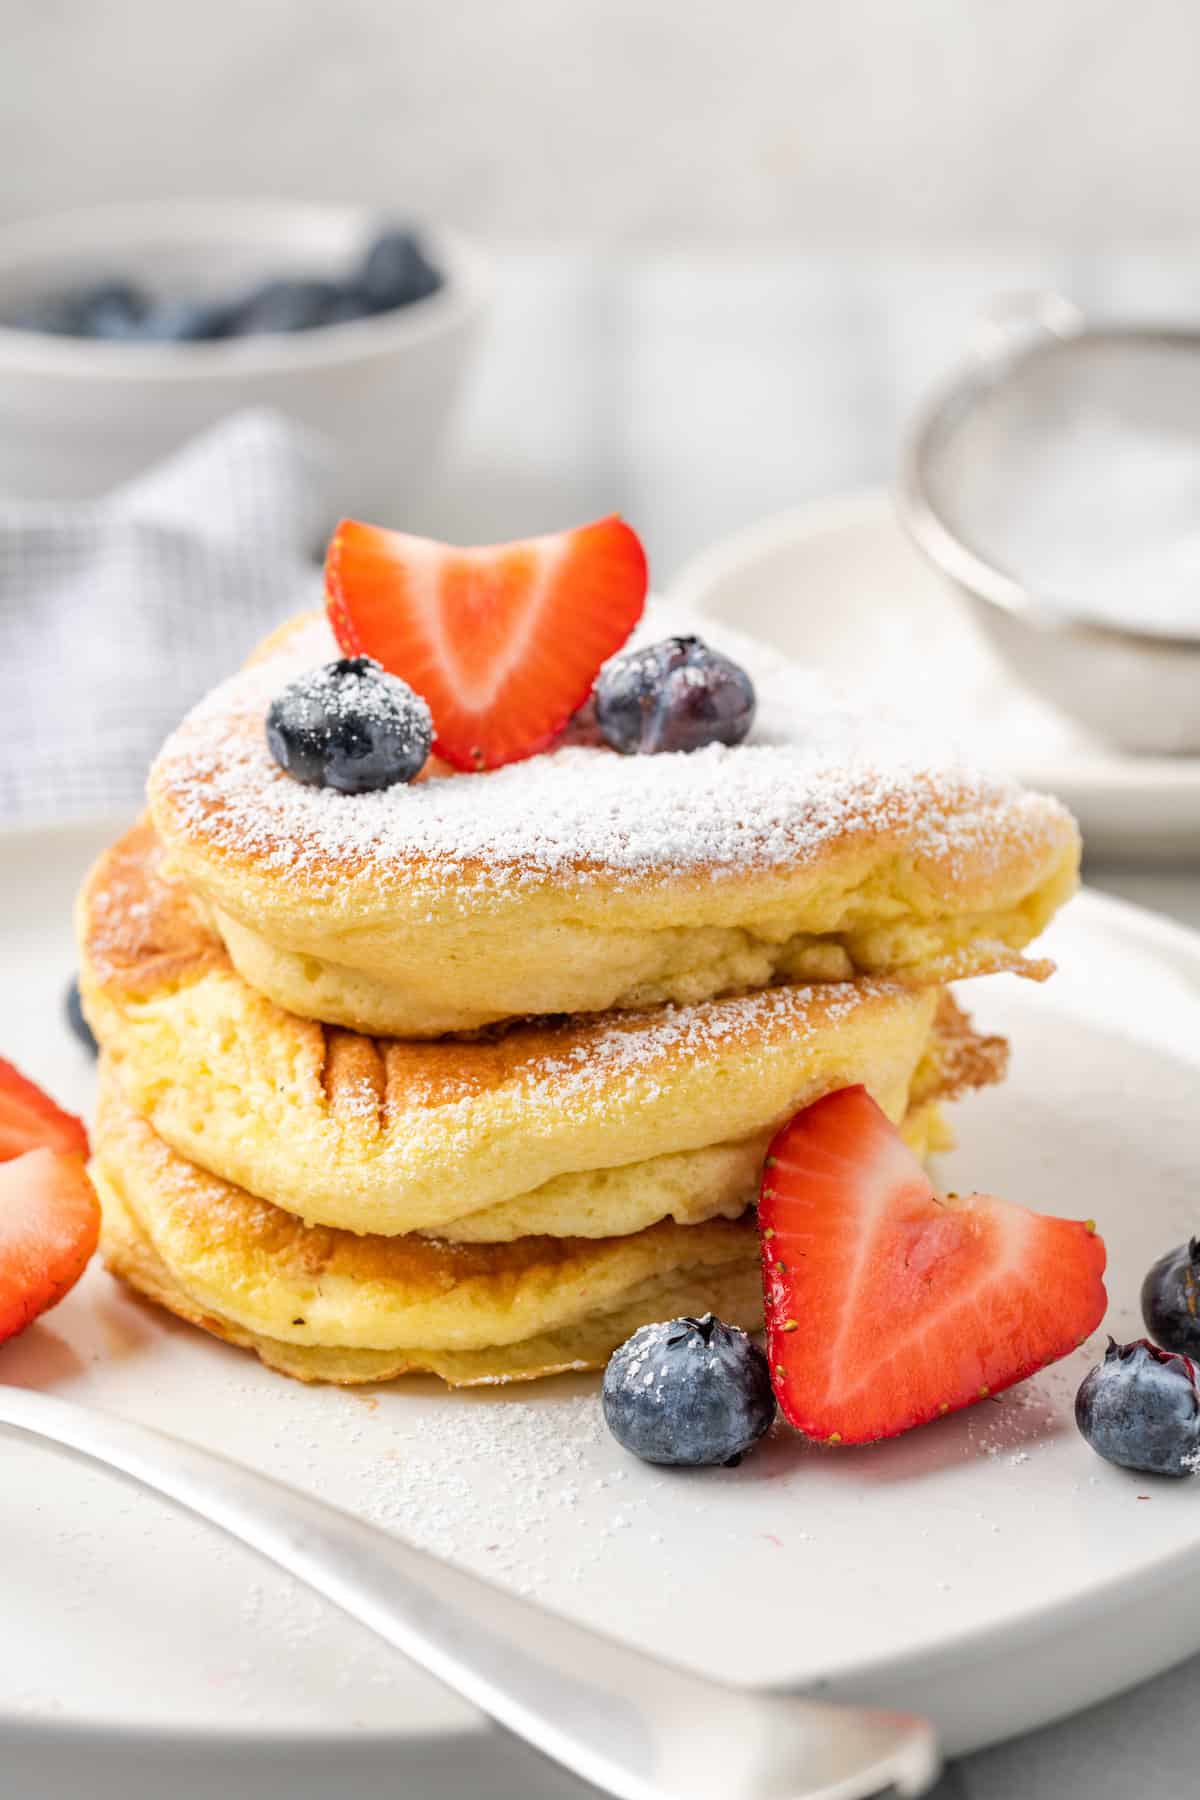
Table of Contents
- Easy Gluten-Free Souffle Pancakes Recipe
- Why You’ll Love This Recipe
- What Are Souffle Pancakes?
- What You’ll Need
- How to Make Japanese Souffle Pancakes
- Topping Ideas
- Tips for the Fluffiest Pancakes
- How to Store and Reheat Pancakes
- Can I Freeze These?
- Make it a Meal
- Get the Recipe
- More Gluten Free Pancake Recipes to Try
Easy Gluten-Free Souffle Pancakes Recipe
If you love pancakes as much as I do, you’re probably always looking for new versions and varieties to try. Buttermilk pancakes, pumpkin pancakes, banana pancakes made with whole grain flour – the list goes on. It’s hard to go wrong when you make pancakes.
A lovely pancake to add to your pancake repertoire is the souffle pancake which is, as its name suggests, somewhat similar to a souffle. A souffle is a baked egg dish where egg whites are beaten, folded into their yolks, and then puff up when they meet the oven’s heat. In these souffle pancakes, the principle is the same: you beat egg white until glossy, add a little gluten-free flour, and then cook them on an oiled skillet to make the lightest, melt-in-your mouth pancakes that are amazing dusted with powdered sugar and loaded with fresh fruit.

Why You’ll Love This Recipe
Pancakes are in regular rotation around here but sometimes I want to try something a bit different. These souffle pancakes more than fit the bill, and of course, they’re entirely gluten-free! Here’s why we love them:
- Unique and pretty. Souffle pancakes make a pretty presentation, there’s no way around it. With all the air whipped into the egg whites, the batter is lofty and light, which results in puffed-up little pancake rounds.
- Tender texture. Because there’s so little flour in this recipe, souffle pancakes use eggs to give them structure. The resulting tender texture nearly dissolves in your mouth with each bite.
- Versatile. I have given a ton of topping ideas below – just know that you can serve these souffle pancakes with a variety of different options depending on what you’re in the mood for. I love that they work so well with so many flavors.
What Are Souffle Pancakes?
Souffle pancakes can also be known as Japanese souffle pancakes because they originated in Japan. Souffle pancakes are similar to pancakes in that you’ll fry them on the stove. They even cook up into that familiar round pancake shape.
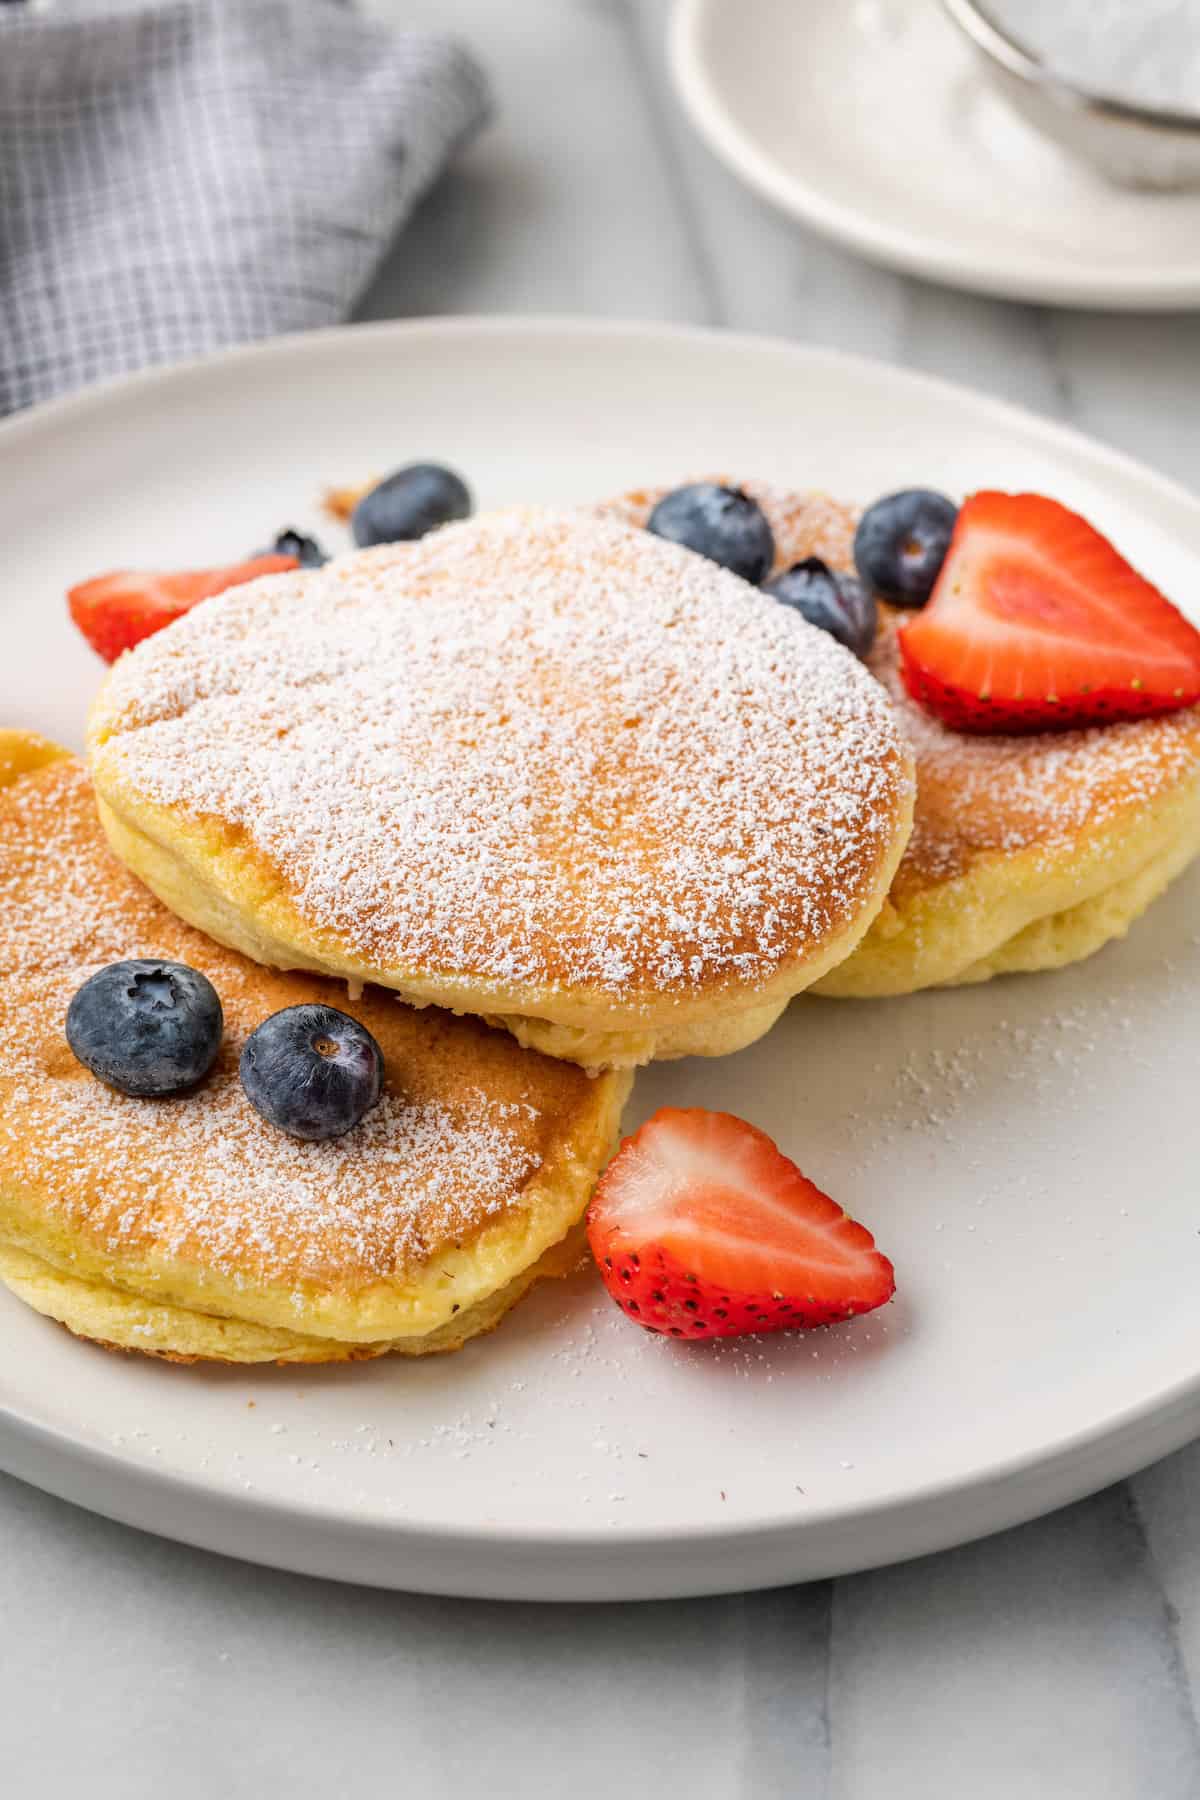
But there is a major difference in both the overall appearance and method of making souffle pancakes versus gluten-free pancakes. In the looks department, a souffle pancake turns out as a small, very puffy pancake rather than the flatter disc shapes we’re accustomed to with traditional pancakes. In terms of method, a souffle pancake recipe calls for very little flour (thus lending itself very well to being adapted to gluten-free!), and relies instead on whipped egg whites for structure. Think of these as light-as-air gluten-free pancakes with a twist!
What You’ll Need
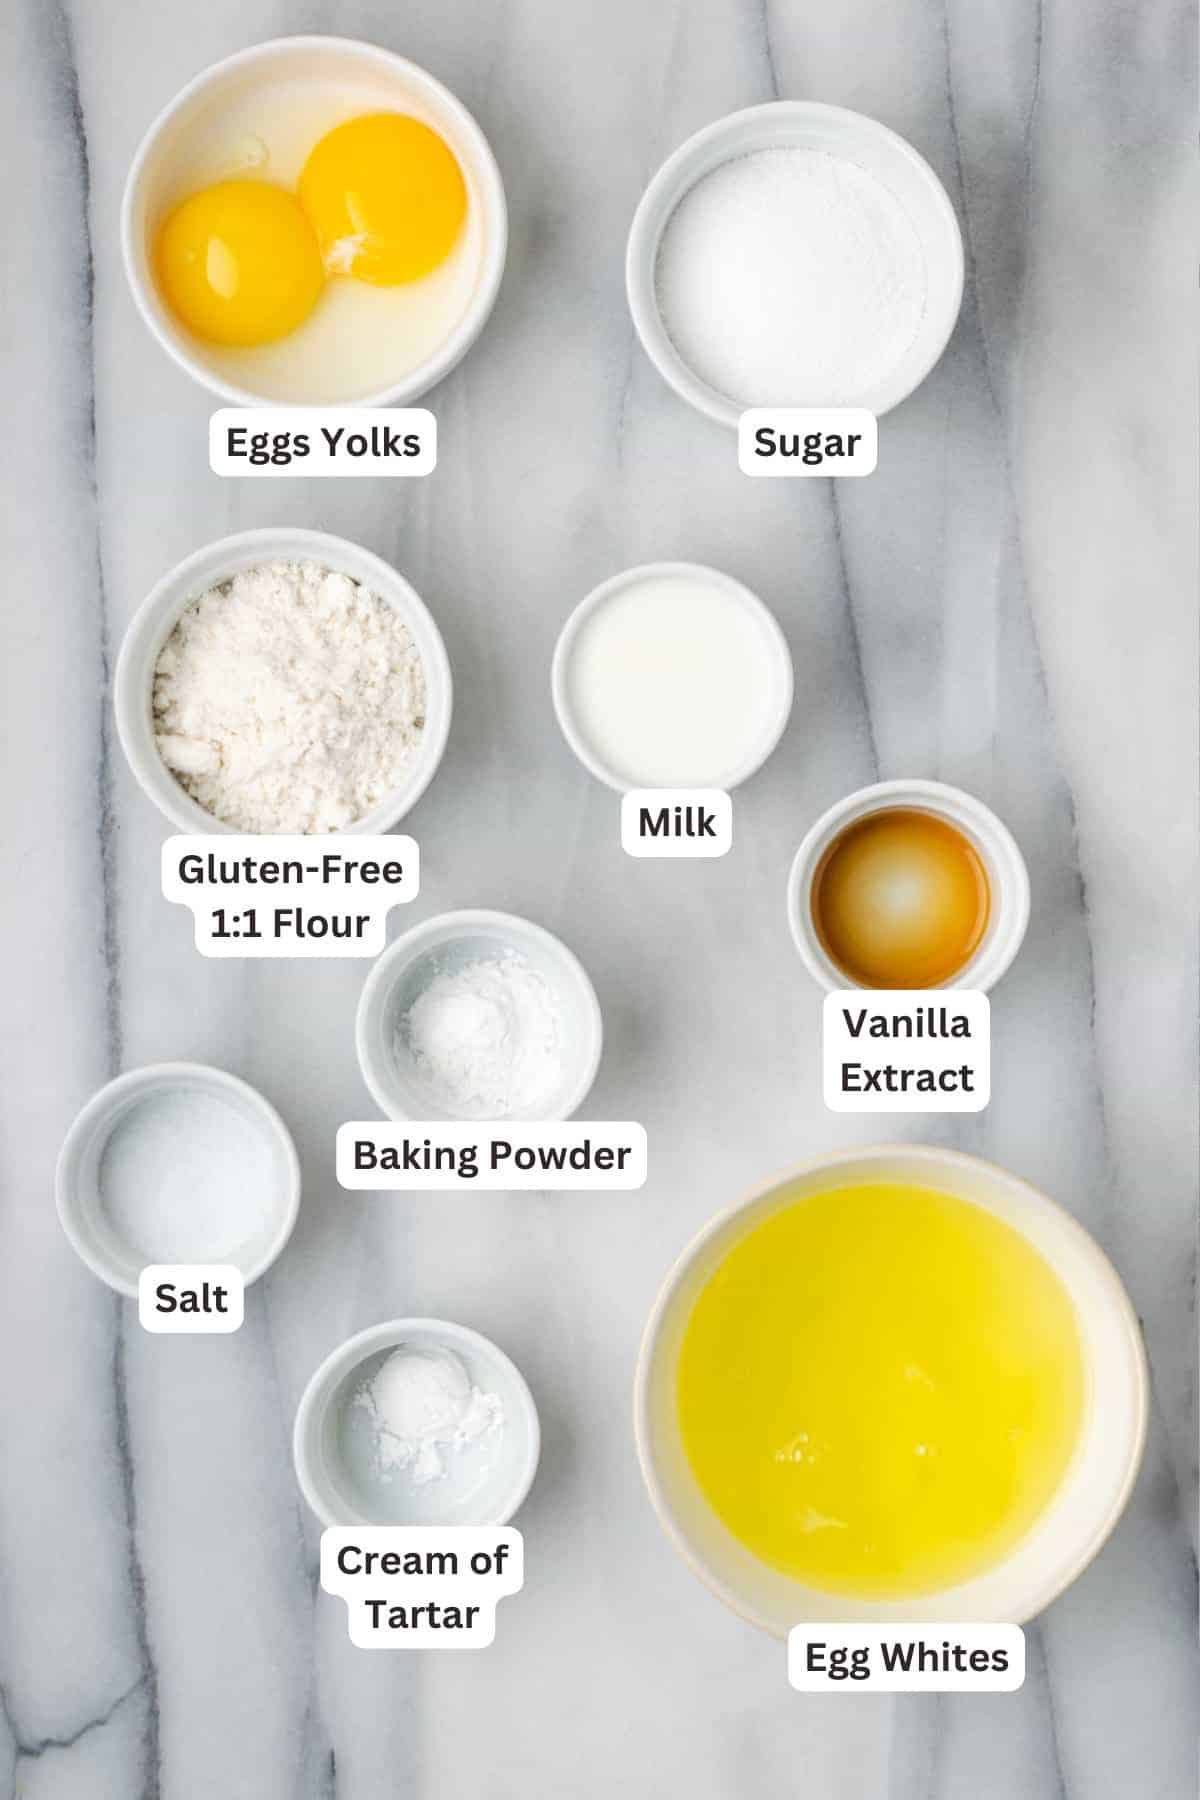
Simple pantry ingredients and a few fridge staples come together to make these pancakes something special. Here’s a quick rundown of all you’ll need. Be sure to check the recipe card at the bottom of this post for the full ingredient amounts and instructions.
- Egg Yolks: Use large eggs to make this recipe. You’ll reserve the whites to use as well.
- Sugar
- Whole Milk: Feel free to substitute your favorite plant-based milk for the whole milk.
- Vanilla Extract: You can omit the vanilla if you don’t have any on hand but it adds a nice depth of flavor to the pancakes. Use pure vanilla extract for the best flavor.
- Gluten-Free Measure for Measure Flour: I like to use King Arthur brand flour but any 1:1 gluten-free flour will work.
- Baking Powder
- Salt: Use fine or table salt, not Kosher salt.
- Egg Whites: Keep your egg whites cold in the fridge until ready to use.
- Cream of Tartar: This is used to help the egg whites hold together and create soft, airy peaks when whipping them.
- Water: Used to cook the pancakes.
- Vegetable Oil: To cook the pancakes. You can swap melted butter for a richer flavor.
How to Make Japanese Souffle Pancakes
Follow along with my tips and photos below to create souffle pancake perfection!
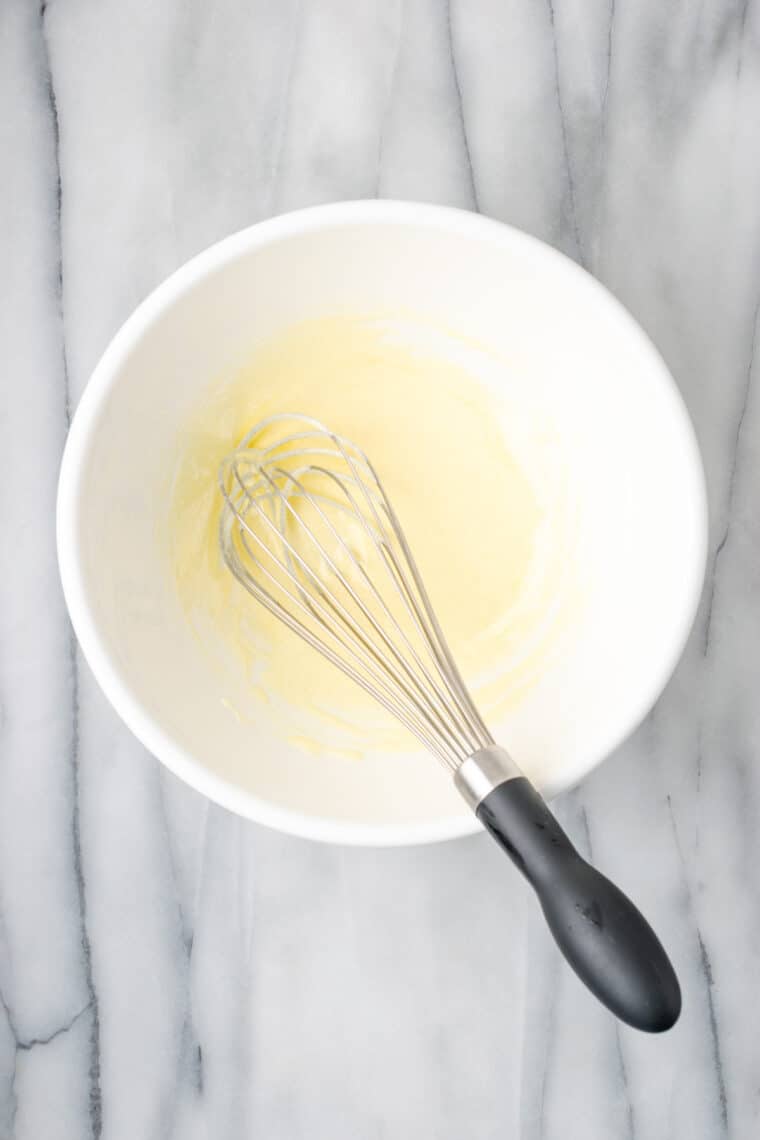
- Combine the egg yolks and sugar. Place the egg yolks and sugar to a large mixing bowl. Whisk until pale and frothy.
- Add the milk and vanilla extract. Whisk in the milk and vanilla to the egg yolk mixture and whisk until combined.
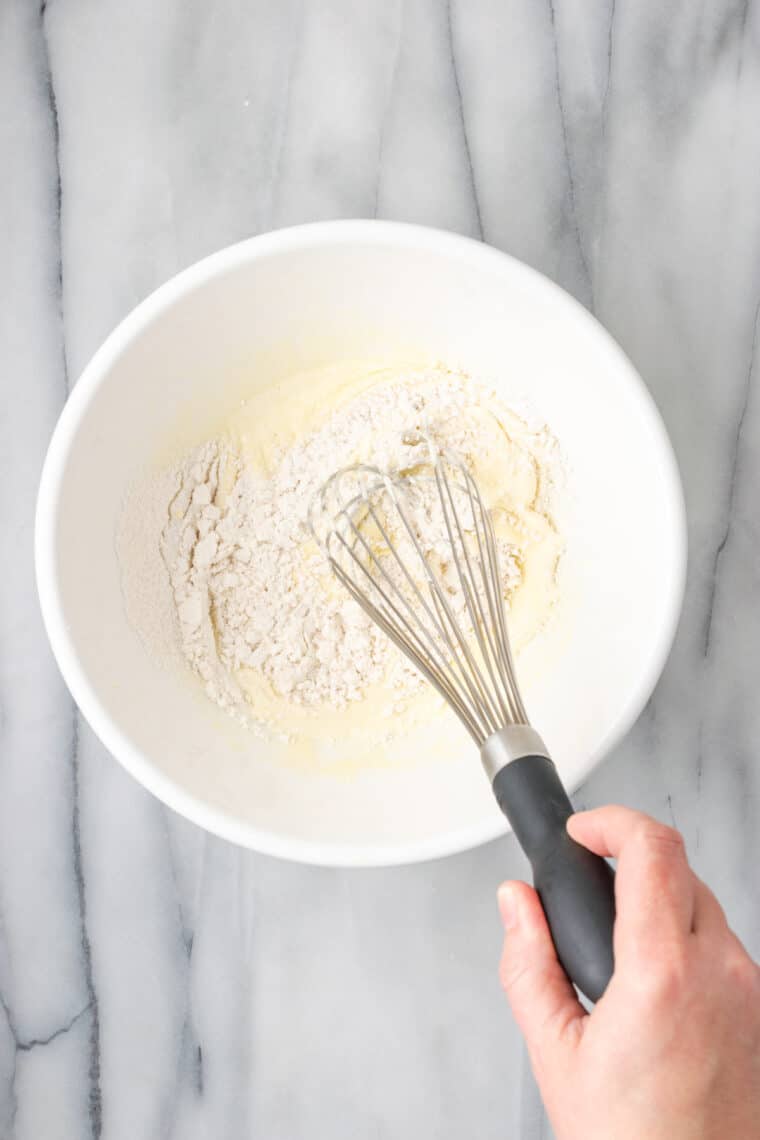
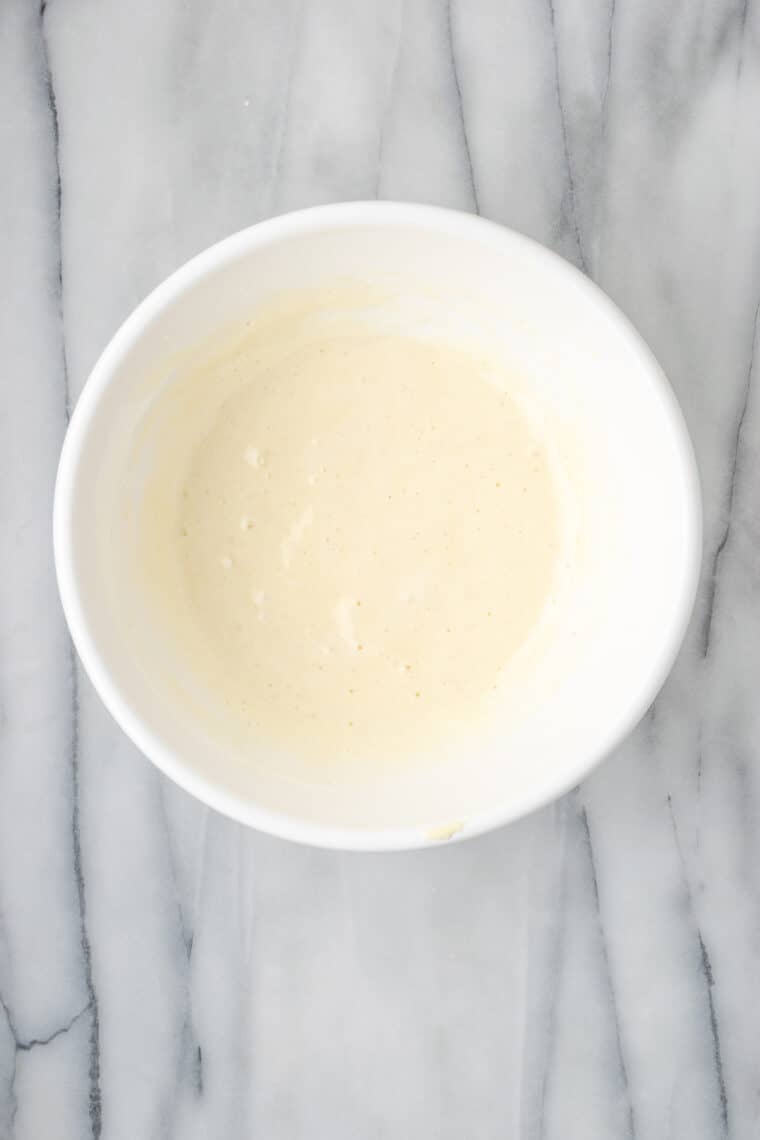
- Sift in the dry ingredients. In a large sifter, sift the gluten-free flour, baking powder, and salt into the egg mixture, then whisk until smooth.
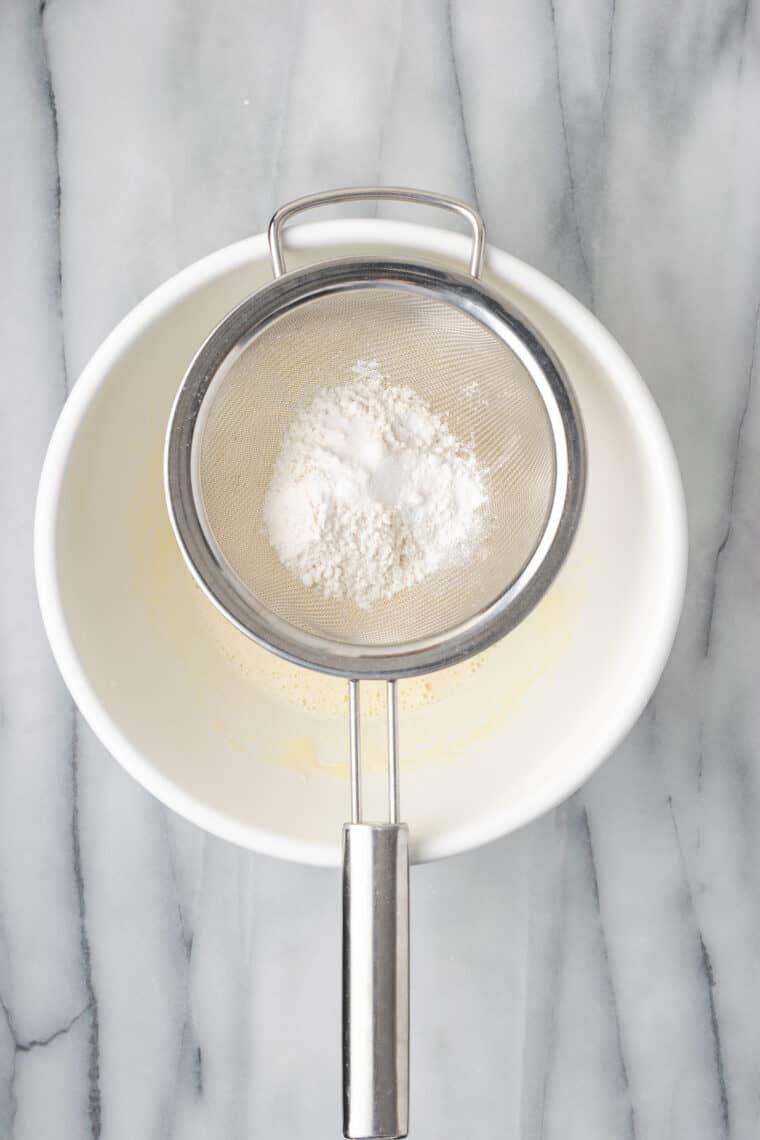
- Sift in the dry ingredients. In a large sifter, sift the gluten-free flour, baking powder, and salt into the egg mixture, then whisk until smooth.
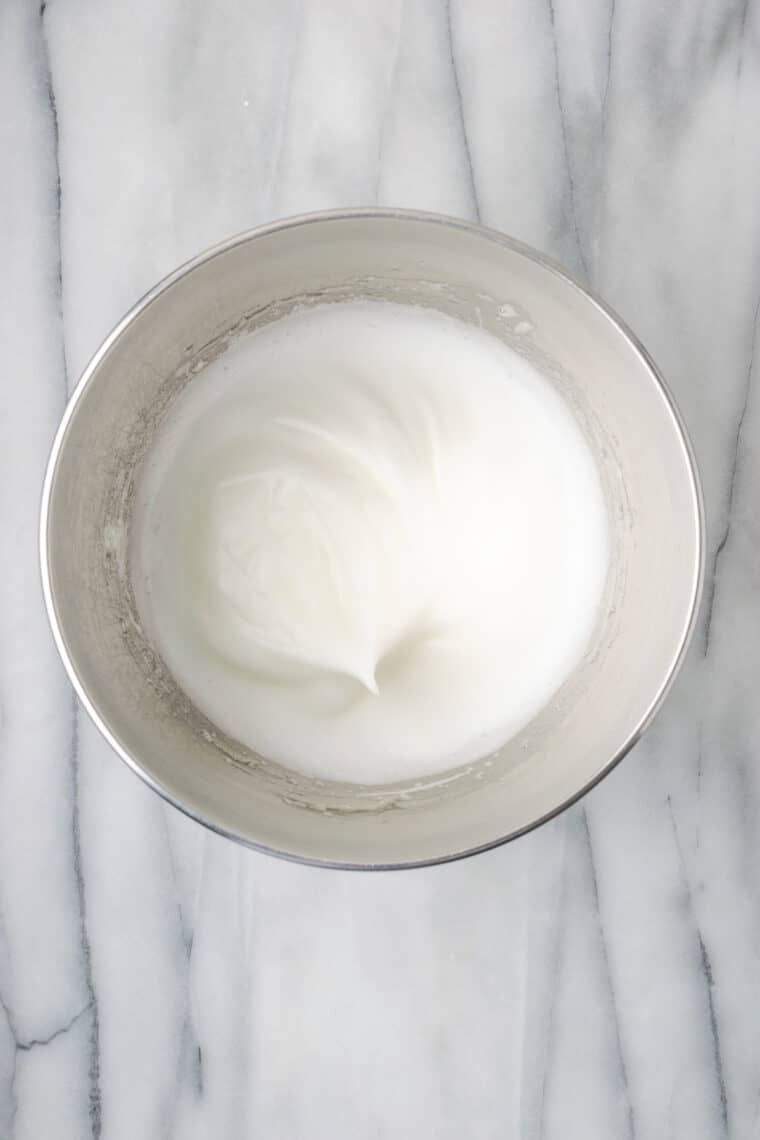
- Beat the egg whites. Place the cold egg whites and cream of tartar in the bowl of a stand mixer fitted with the balloon whisk attachment. Whisk first on medium-low speed for 1 minute, then slowly increase the speed to medium-high. Beat until the egg whites reach stiff peaks. This should take about 5 minutes.
- Add a bit of the egg whites to the egg yolks. Add 1⁄3 of the beaten egg whites to the egg yolk mixture. Whisk it all together until combined to help loosen up the batter to make it easier to fold in the remaining egg whites.
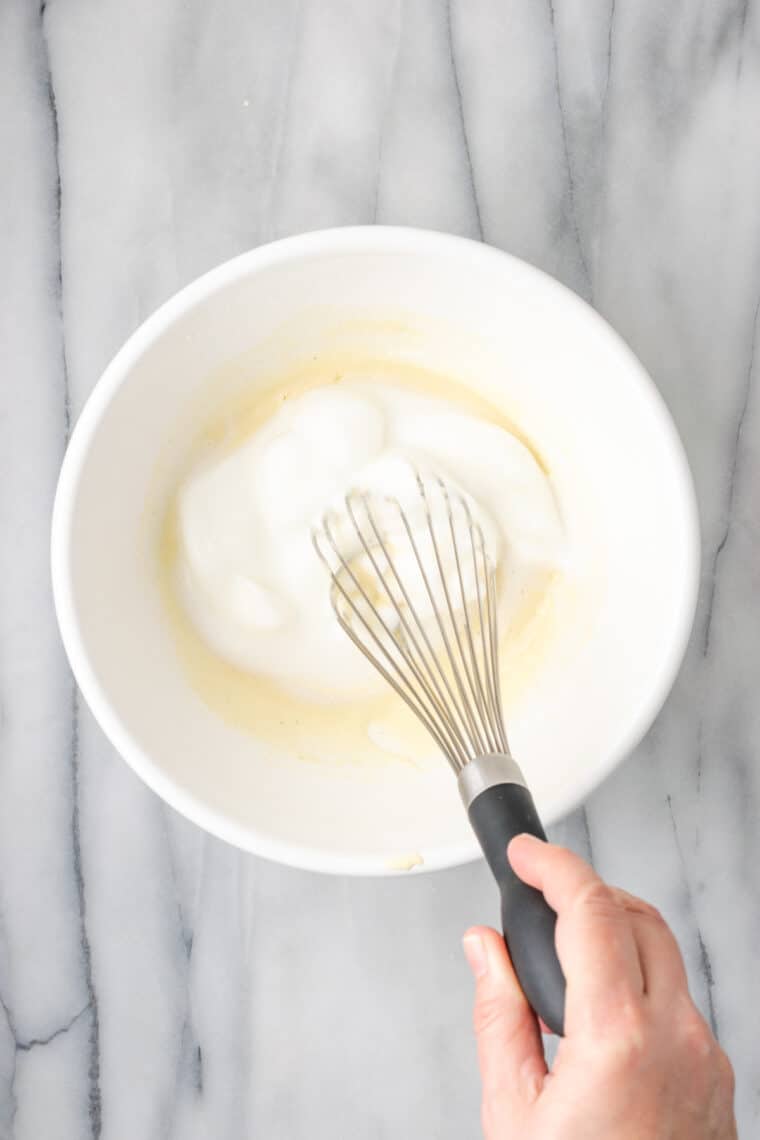
- Fold the egg whites carefully into the batter. Take about half of the remaining egg whites and gently fold them into the batter with a rubber spatula. Take care not to deflate the air. Repeat with the remaining egg whites.
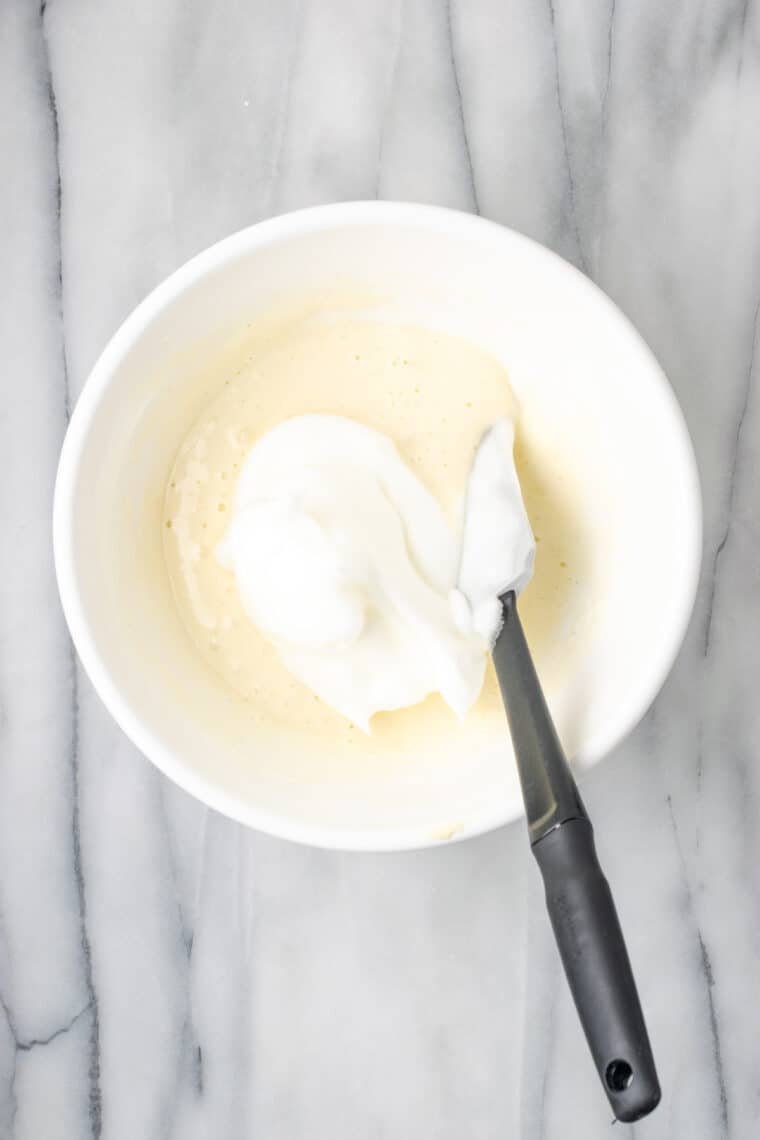
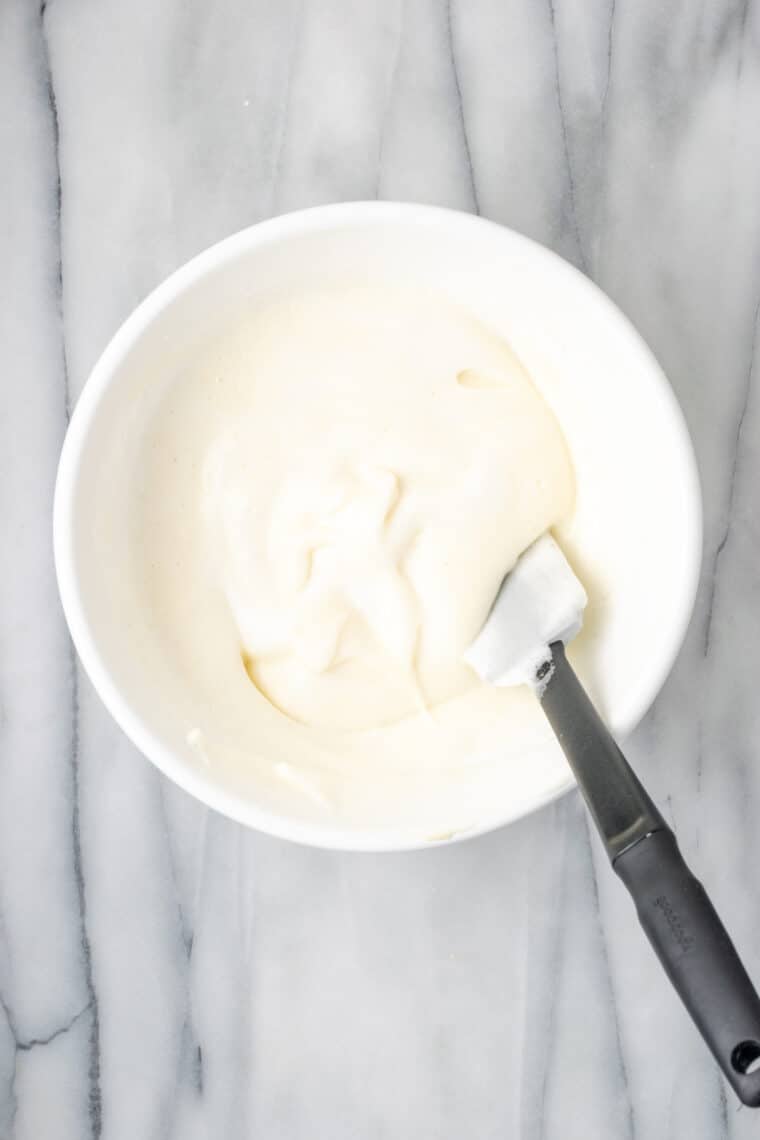
- Prepare the pan. Heat a 12-inch non-stick skillet on the lowest heat setting. Rub a small amount of oil on the pan to create a very thin layer of oil.
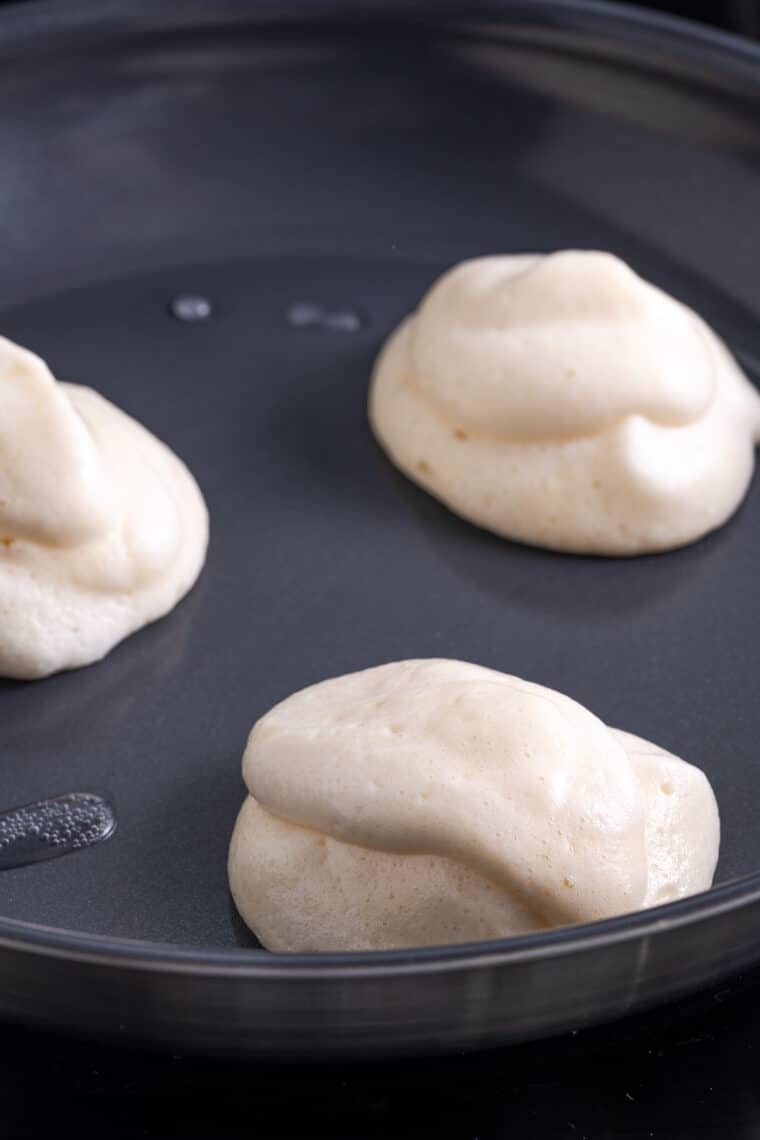
- Scoop out the pancake batter. Portion out three pancakes spread apart in the pan. Each dollop of batter should be 3-4 tablespoons and should form a mound. Place the remaining batter in the refrigerator while waiting.
- Add water to the pan. Add a few drops of water to the space between each pancake. Immediately cover the pan with a lid and cook for 5 minutes without removing the lid.
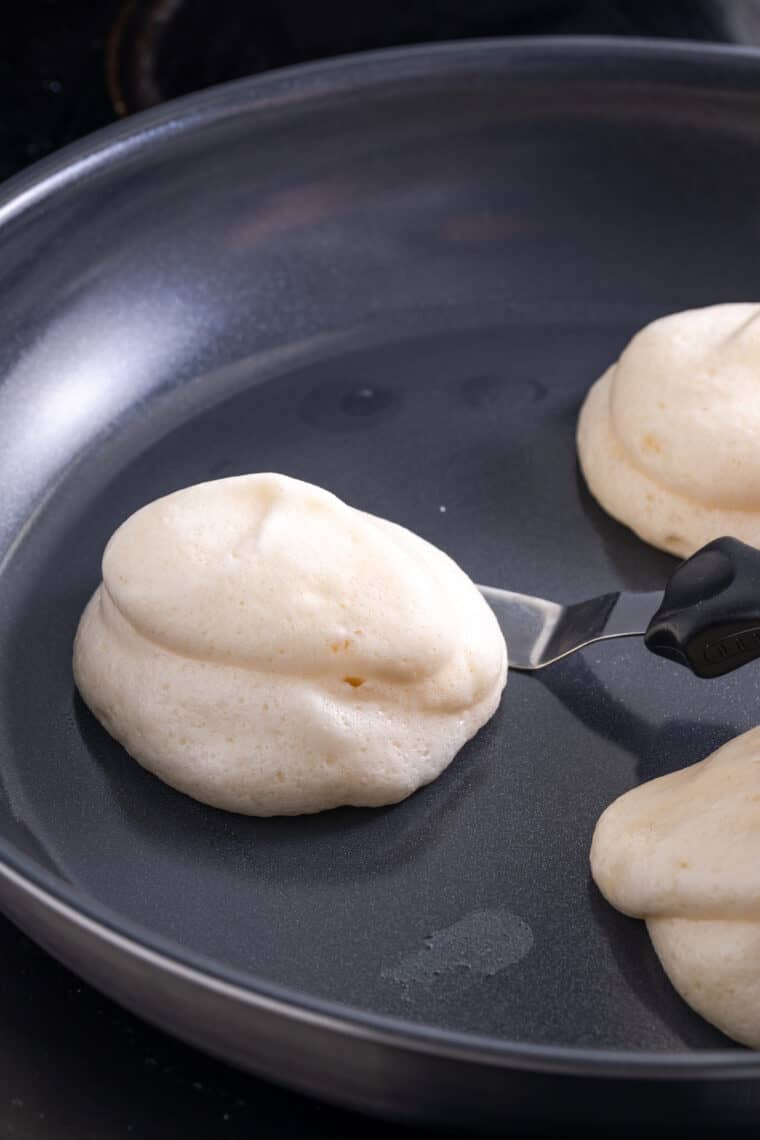
- Add more batter and water to the pan. After 5 minutes, open the lid and add another 2 Tablespoons of batter on top of each mound. Add more water droplets if they have evaporated and then replace the lid. Continue to cook for another 5 minutes.
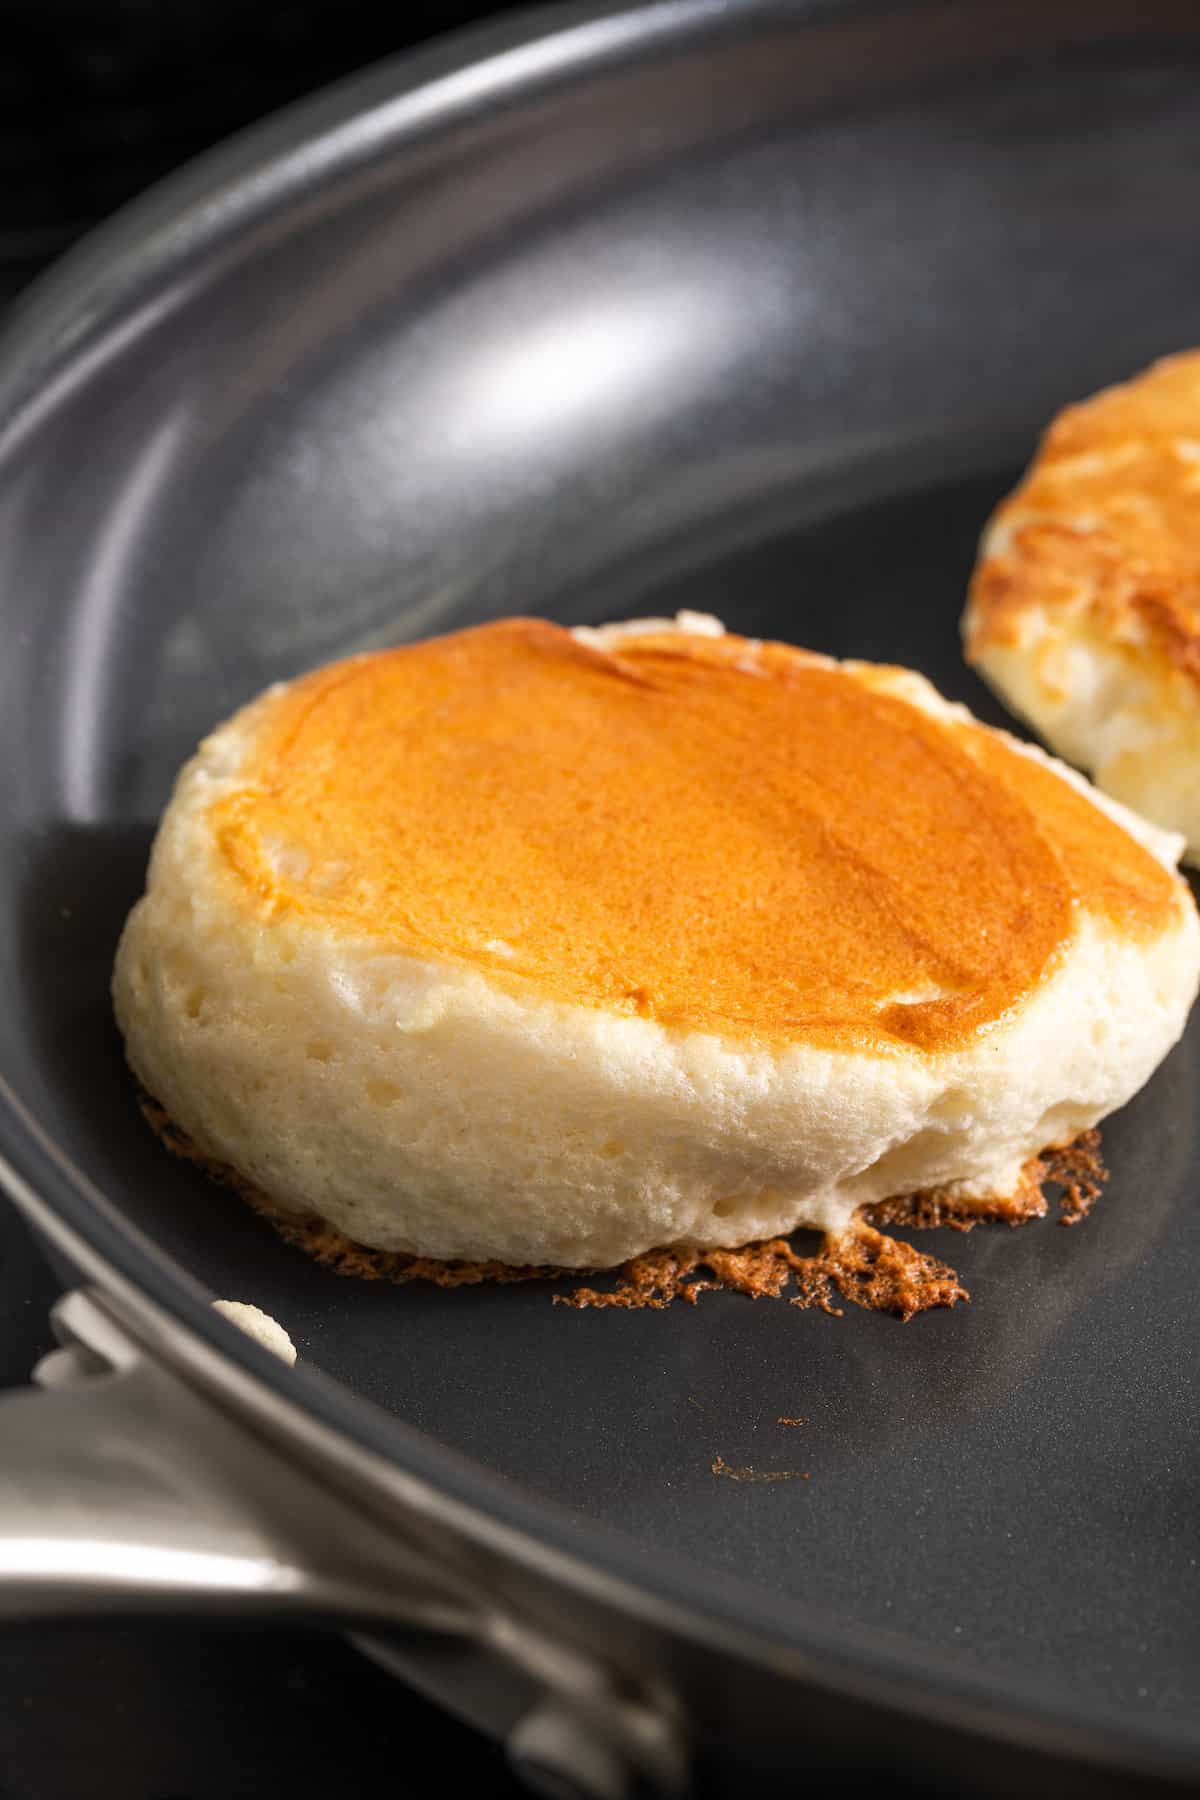
- Flip the pancakes. Use an offset spatula to scoot under the pancake. It should be easy to remove from the pan. If you encounter any resistance then the pancakes need to cook longer, check again after 2 minutes. Once you have the spatula under the pancake, gently flip it over.
- Add more water to the pan and cover it. Once you’ve flipped all three pancakes, add a few more drops of water and replace the lid.
- Cook the pancakes. Cook the pancakes undisturbed for 5-8 minutes. You should notice the pancakes puffing up to be as much as 2 inches thick. Once they are very puffed, they are done.
- Remove pancakes and serve. Remove from the pan and serve immediately.
- Repeat with the remaining batter. Watch the timing on the second batch since the pan is hotter it may take less time to cook.
Topping Ideas
You have lots of options when you serve these pancakes, ranging from the very simple to the more complex. Here are a few of my favorite topping ideas to get you started:
- Powdered sugar and whipped cream. My first recommendation is to serve these souffle pancakes with plenty of powdered sugar and whipped cream! The puffy pancakes and softly whipped cream create a cloud-like appearance and texture.
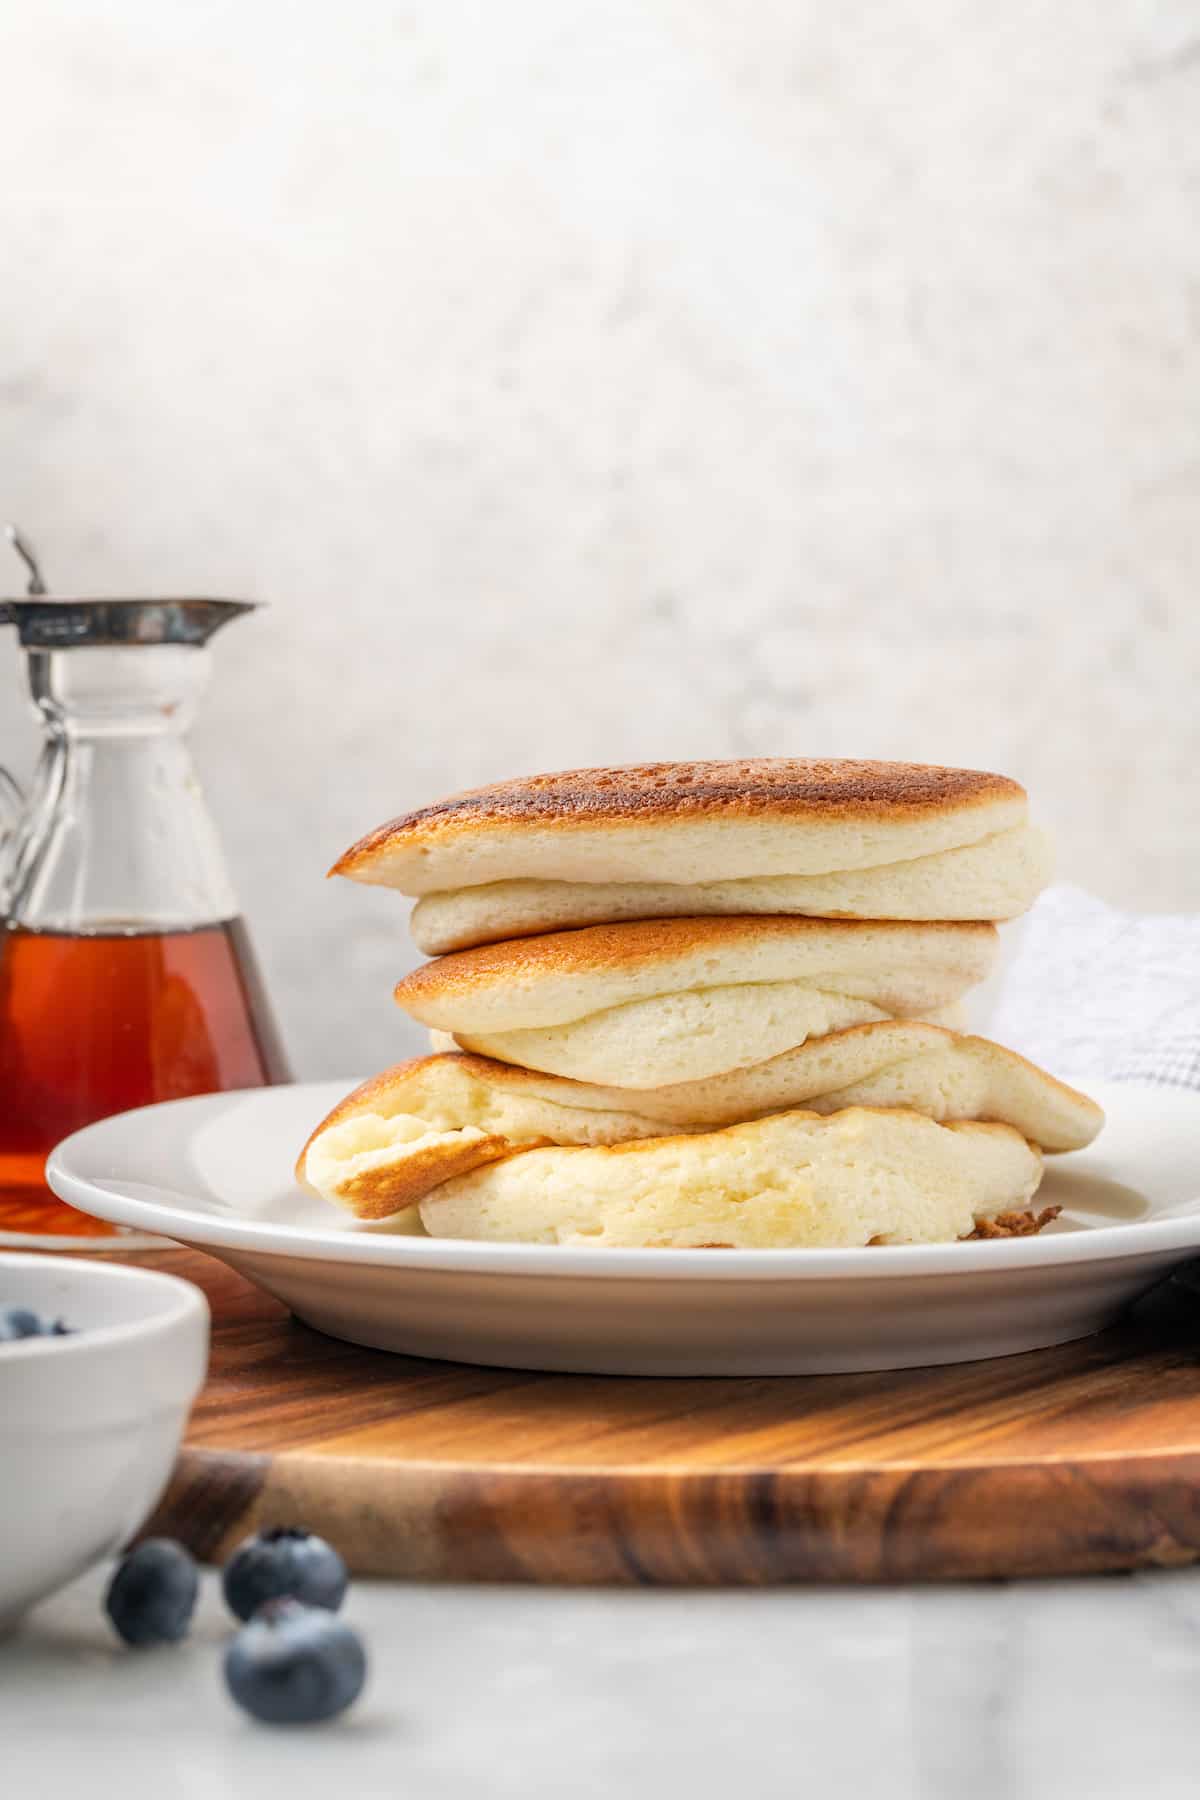
- A drizzle of maple syrup. Yes – maple syrup is a classic topping for pancakes and gluten-free pancakes are no exception. My favorite easy topping method is to drizzle maple syrup over a stack of souffle pancakes and top with a few blueberries to finish things off.
- Add fruit. Sliced fruit, like strawberries, or a combination of blueberries and raspberries would be utterly gorgeous on top of these pancakes. You could keep things simple and add fruit only, or pile on the whipped cream first and then top it all off with whatever fruit you like.
- Make them savory. This may be unexpected, but you could also go the savory route with these pancakes. Try topping them with a little crumbled feta cheese and chopped fresh tomatoes.
- With Nutella. Need I say more? A swipe of creamy, chocolate-hazelnut spread would really take these pancakes over the top.
- A little peanut or almond butter. I sometimes will spread a little peanut butter or almond butter on my gluten-free pancakes. This adds flavor as well. And a drizzle of honey would be lovely too.
Tips for the Fluffiest Pancakes
Pancakes are pancakes, but as noted, souffle pancakes are a little bit different. Add in the gluten-free angle and you might be intimidated when starting to make this recipe. But you don’t need to be! These tips will definitely help.
- Separate your eggs while cold. Cold eggs separate easier, making it less likely you’ll end up with yolk in your white. To achieve the highest, loftiest meringue you want to avoid any streaks of yolk in the whites. Egg whites perform best when they are completely free of any egg yolk, and you’ll have better results if you can keep them as clean as possible.
- But whip them at room temperature. When you whip egg whites that have come to room temperature, you’ll get much more height out of the meringue, which is essential in this recipe. The egg whites create a wonderful puff in each souffle pancake and the more air you’ve whipped into them, the fluffier each pancake will be.
- Leave enough space in between the pancakes when you cook them. Gluten-free pancakes, just like regular pancakes, need enough room to spread out in the pan. You definitely don’t want them to run into each other! So follow the instructions on the recipe card to ensure there is enough room for each souffle pancake to puff and cook properly.
- Serve souffle pancakes immediately after cooking. Each souffle pancake will come off the pan beautifully puffed, but it will start to deflate very soon after cooking. For the best presentation, serve the pancakes as soon as possible when you pull them off the griddle.
How to Store and Reheat Pancakes
Souffle pancakes are best eaten as soon as they are made. But if you do end up with leftovers, here’s how to store them.
- Fridge – Pancakes may be kept in an airtight container or an air-tight plastic bag with a piece of waxed paper in between each pancake. Store the souffle pancakes in the fridge for up to 3 days.
- To Reheat – You can reheat the pancakes in the microwave on a microwave-safe plate for 30-45 seconds until they are warm and heated through.
Can I Freeze These?
I don’t recommend freezing these pancakes because they will be deflated by the time you are ready to freeze them. However, if you don’t mind that and have leftovers you would like to freeze, place the pancakes in a freezer-safe bag. Use a piece of waxed paper in between each pancake in the bag, then place the bag in the freezer and store for up to 3 months. Defrost the pancakes in the fridge before heating.
Make it a Meal
You can keep things super simple and just serve souffle pancakes for breakfast, especially with the topping ideas outlined above. But I do love to round out my plate with something more, like bacon, sausages, or fried or scrambled eggs. Here are some other easy recipes to try when serving these pancakes:
- Serve with eggs. My Hawaiian Scrambled Eggs with cheese, tomatoes, and ham, would be a great complement to these gluten-free pancakes!
- Add a fruit salad. Try my colorful Berry Fruit Salad or Sunrise Tropical Fruit Salad recipes.
- Sip a smoothie. I have quite a few smoothie recipes to choose from on my site. Some of my favorites include my Strawberry Banana Smoothie, Cherry Vanilla Almond Smoothie, and an Orange Creamsicle Smoothie.
Gluten-Free Souffle Pancakes
Ingredients
- 3 egg yolks
- ¼ cup/50 grams sugar
- 2 tablespoons/30 ml whole milk or sub plant-based milk
- ½ teaspoon vanilla extract
- ¼ cup/41 grams gluten-free measure for measure flour (I used King Arthur Measure for Measure)
- ¾ teaspoon baking powder
- ¼ teaspoon salt
- 4 eggs whites, cold
- ¼ teaspoon cream of tartar
- water, for cooking the pancakes
- vegetable oil, for cooking the pancakes
- powdered sugar, whipped cream, fruit, for serving optional
Instructions
- Add the egg yolks and sugar to a large mixing bowl. Whisk until pale and frothy.
- Add the milk and vanilla to the egg yolk mixture and whisk until combined.
- Sift the gluten-free flour, baking powder, and salt into the egg mixture. Whisk until smooth.
- Add the egg whites and cream of tartar to the bowl of a stand mixer fitted with the balloon whisk attachment. Whisk first on medium-low speed for 1 minute, then slowly increase the speed until you reach medium-high. Beat until the egg whites reach stiff peaks, it should take about 5 minutes.
- Add 1⁄3 of the beaten egg whites to the egg yolk mixture. Whisk it together until combined. This will loosen up the batter to make it easier to add the remaining egg whites.
- Add half of the remaining egg whites and gently fold them into the batter with a spatula. Take care not to deflate the air. Repeat with the remaining egg whites.
- Heat a 12-inch non-stick skillet on the lowest heat setting. Rub a small amount of oil on the pan to create a very thin layer of oil.
- Portion out three pancakes spread apart in the pan. Each dollop of batter should be 3-4Tablespoons and should form a mound, do not spread them around into a circle.
- Place the batter into the refrigerator while waiting.
- Add a few drops of water to the space between each pancake. Immediately cover the pan with a lid and cook for 5 minutes without removing the lid.
- After 5 minutes, open the lid and add another 2 Tablespoons of batter on top of each mound. Add more water droplets if they have evaporated and replace the lid. Continue to cook for another 5 minutes.
- Use an offset spatula to scoot under the pancake. It should be easy to remove from the pan. If you encounter any resistance then the pancakes need to cook longer, check again after 2 minutes. Once you have the spatula under the pancake, gently coax it into rolling over.
- Once you’ve flipped all three pancakes, add a few more drops of water and replace the lid.
- Cook undisturbed for 5-8 minutes. You should notice the pancakes puffing up to be as much as 2 inches thick. Once they are very puffed, they should be done.
- Remove from the pan and serve immediately. They will naturally start to slowly deflate as soon as you remove them from the pan.
- Repeat with the remaining batter. Watch the timing on the second batch since the pan is hotter it may take less time to cook.


