
Reese’s Peanut Butter Cup Poke Cake




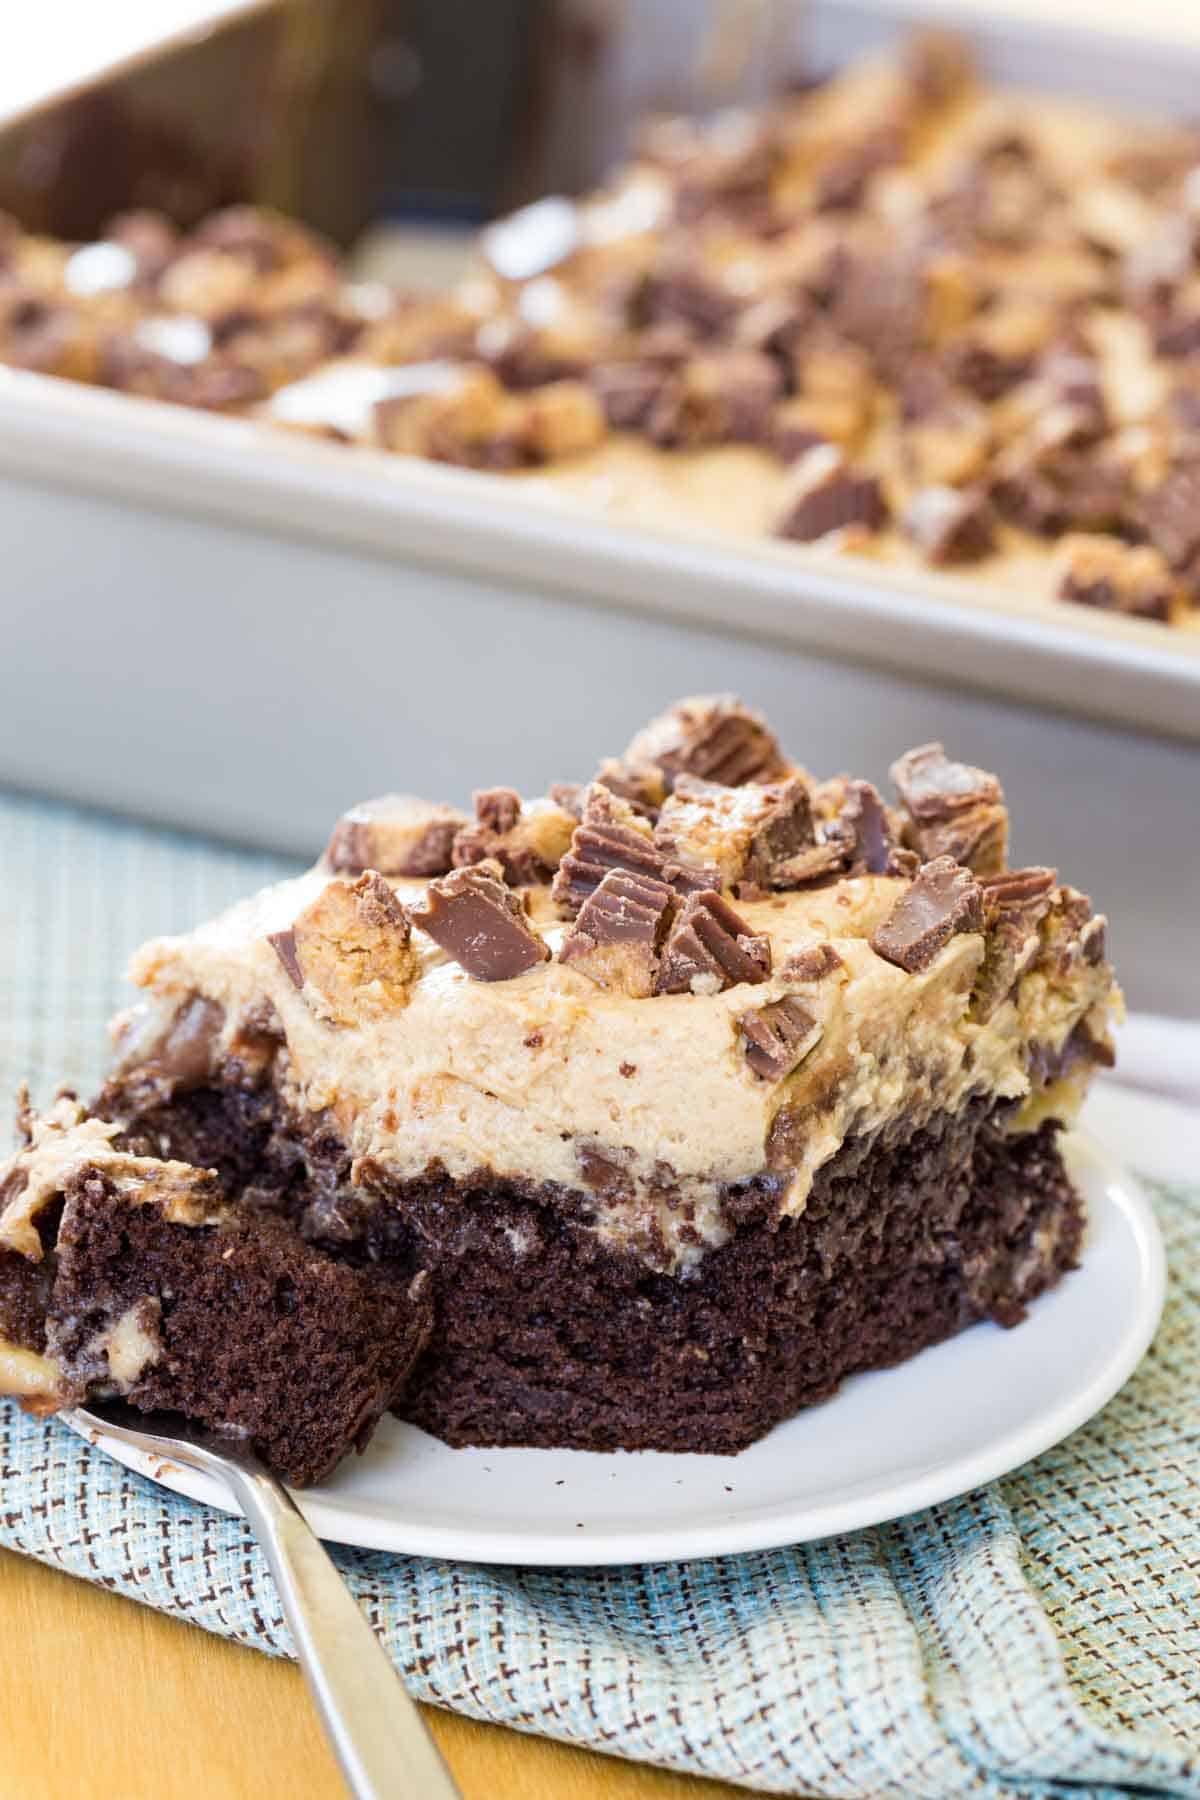
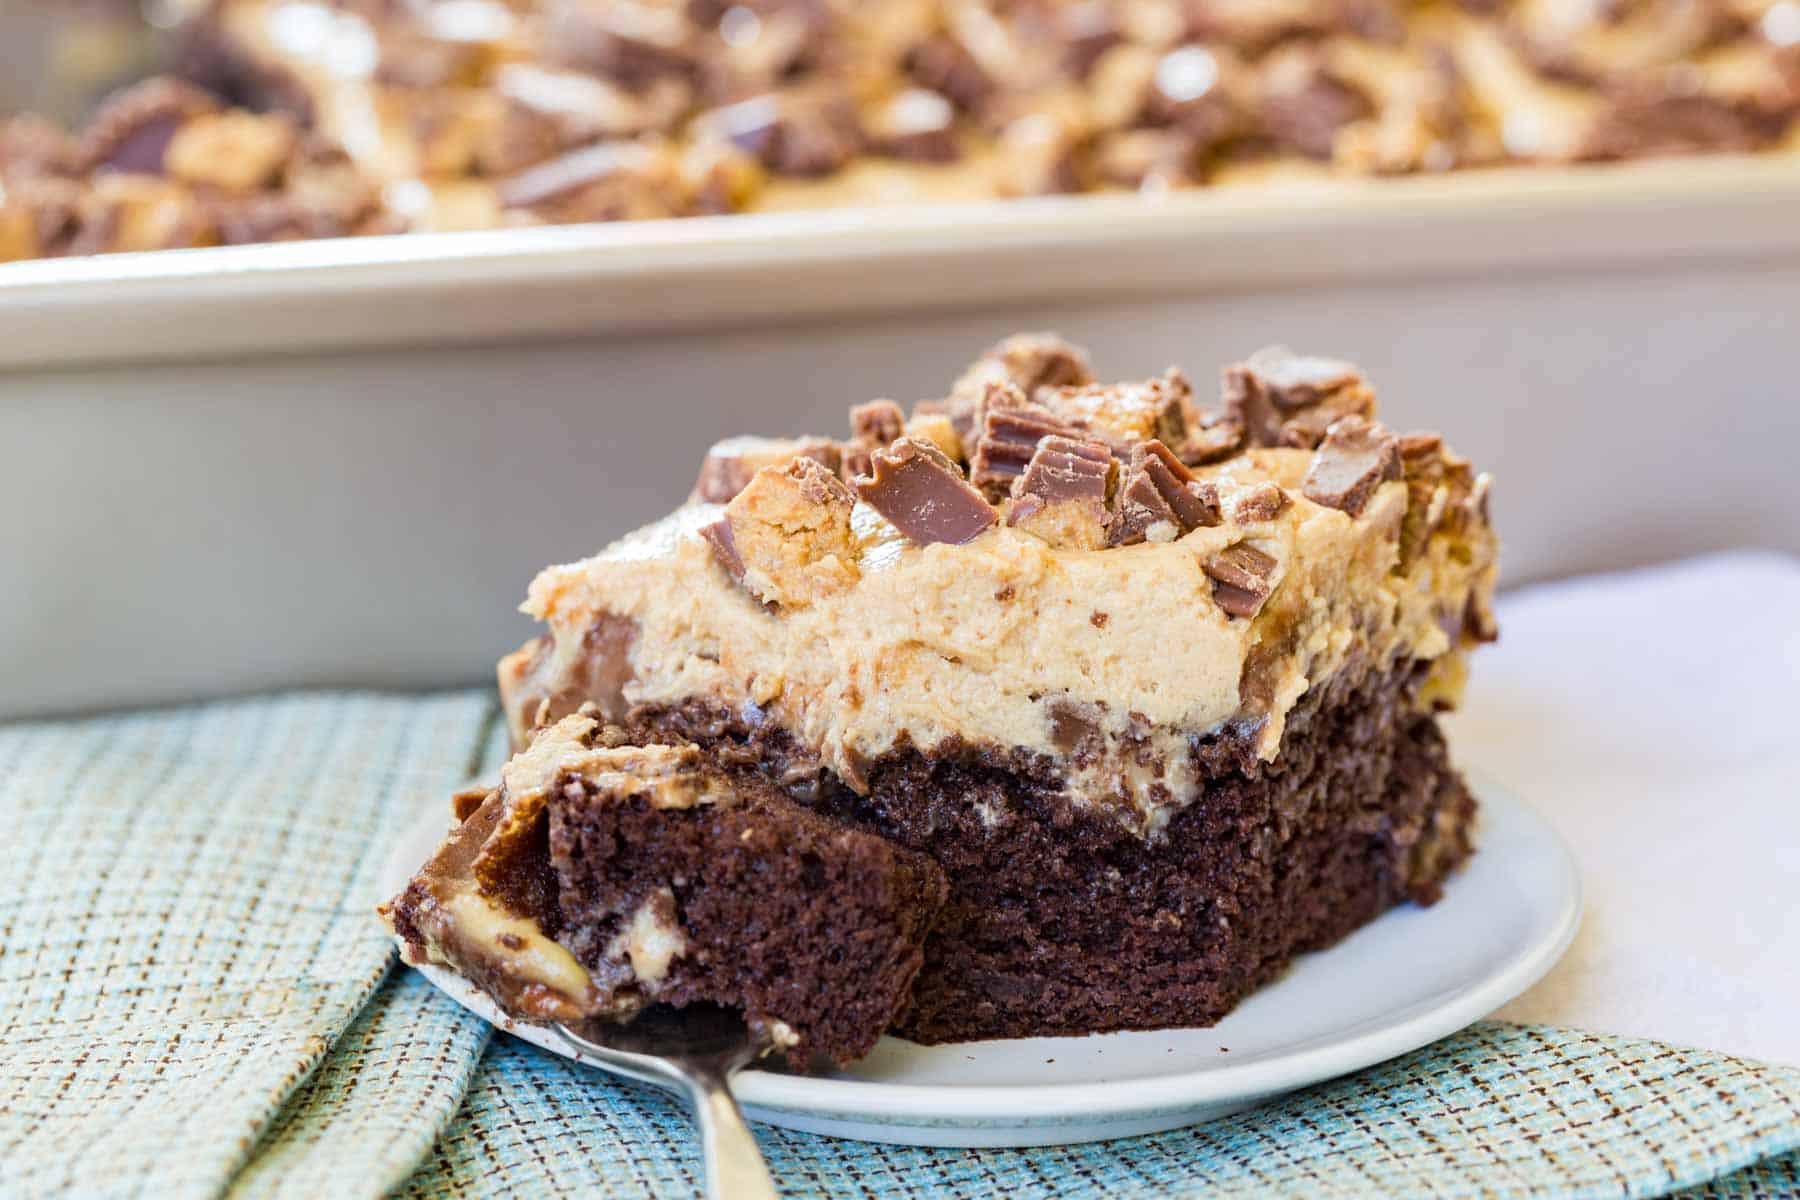
Calling all peanut butter cup fans, this is the ultimate Reese’s Cake! This indulgent poke cake starts with rich chocolate cake, then gets covered with peanut butter filling and topping, plus plenty of Reese’s Peanut Butter Cups. It’s easy to make and always a hit at family parties and potlucks with friends. And yes, I’ll even show you how to make it gluten free!
Want more Reese’s cake ideas? Try Flourless Reese’s Chocolate Cake Roll or Reese’s Ice Cream Cake.
Delicious Details
- Cuisine Inspiration: American
- Primary Cooking Method: Oven
- Dietary Info: Gluten free option
- Skill Level: Easy
I love to bake from scratch. Making treats like Christmas cookies, strawberries and cream cake, and even pumpkin cheesecake flourless chocolate cake roll brings me great joy. But while I do think there is something to be said for breaking out the flour, butter, and sugar, I am still truly a fan of a box of cake mix.
I started baking using a cookbook called The Cake Mix Doctor, which has recipes that start with a cake mix, so they work well for novice bakers, or anyone who may be short on time, but still wants to bake a dessert to impress.
That’s why I love a good poke cake. They take a basic cake mix or simple sheet cake recipe and dress it up into something that’s not only a little extra-special, but can also easily feed a crowd of dessert lovers. And if, like me, Reese’s are your favorite candy, then this Reese’s peanut butter cake should be right up your alley.
The Reese’s Cake Recipe For Chocolate and Peanut Butter Lovers
- Chocolate and peanut butter in every bite. There are four layers of chocolate and peanut butter goodness. And since this is a poke cake, the peanut butter infuses into the chocolate, making the cake extra moist and delicious. A sprinkle of Reese’s Peanut Butter Cups finishes it off with more of this classic flavor combination!
- So simple to prepare. Shortcuts like cake mix, vanilla pudding mix, frozen whipped topping, and premade frosting mean this is perfect for beginning bakers or if you need to whip up an epic dessert but are short on time.
- Feeds a crowd. This makes one seriously big, thick cake. So it’s easy to share with all your friends and family for the holidays or if someone wants a Reese’s birthday cake. There’s enough for everyone at the party!
- Can be made gluten free. I give you tips below on how to use a gluten free mix or from-scratch recipe to turn this into a gluten free Reese’s cake so that everyone can enjoy it.
Why is it called Poke Cake?
If you’ve never had a poke cake before, it is an easy dessert that can feed a crowd, making it an ideal option to bring to a party or a potluck.
It is called a poke cake because you bake your cake mix in a 9×13 inch pan, and, after it cools a bit, you poke holes in the cake with the handle of a wooden spoon. Then top it with an assortment of fillings, frostings, or toppings to soak into those holes, infusing moisture and flavor into every crevice of the cake.
If you love this recipe, get more poke cakes from The Poke Cake Cookbook by Jamie Sherman of the blog Love Bakes Good Cakes. Jamie gives you 75 different combinations, including this Reese’s version, as well as these…
- You’ll find Death By Chocolate Poke Cake in the cookbook, but it’s also on Jamie’s blog, Love Bakes Good Cakes.
- RecipeGirl shared a review of the cookbook, as well as this Snickerdoodle Poke Cake.
- And another sneak peek is over on Barbara Bakes with this Turtle Poke Cake.
Rese’s Cake Ingredients and Notes
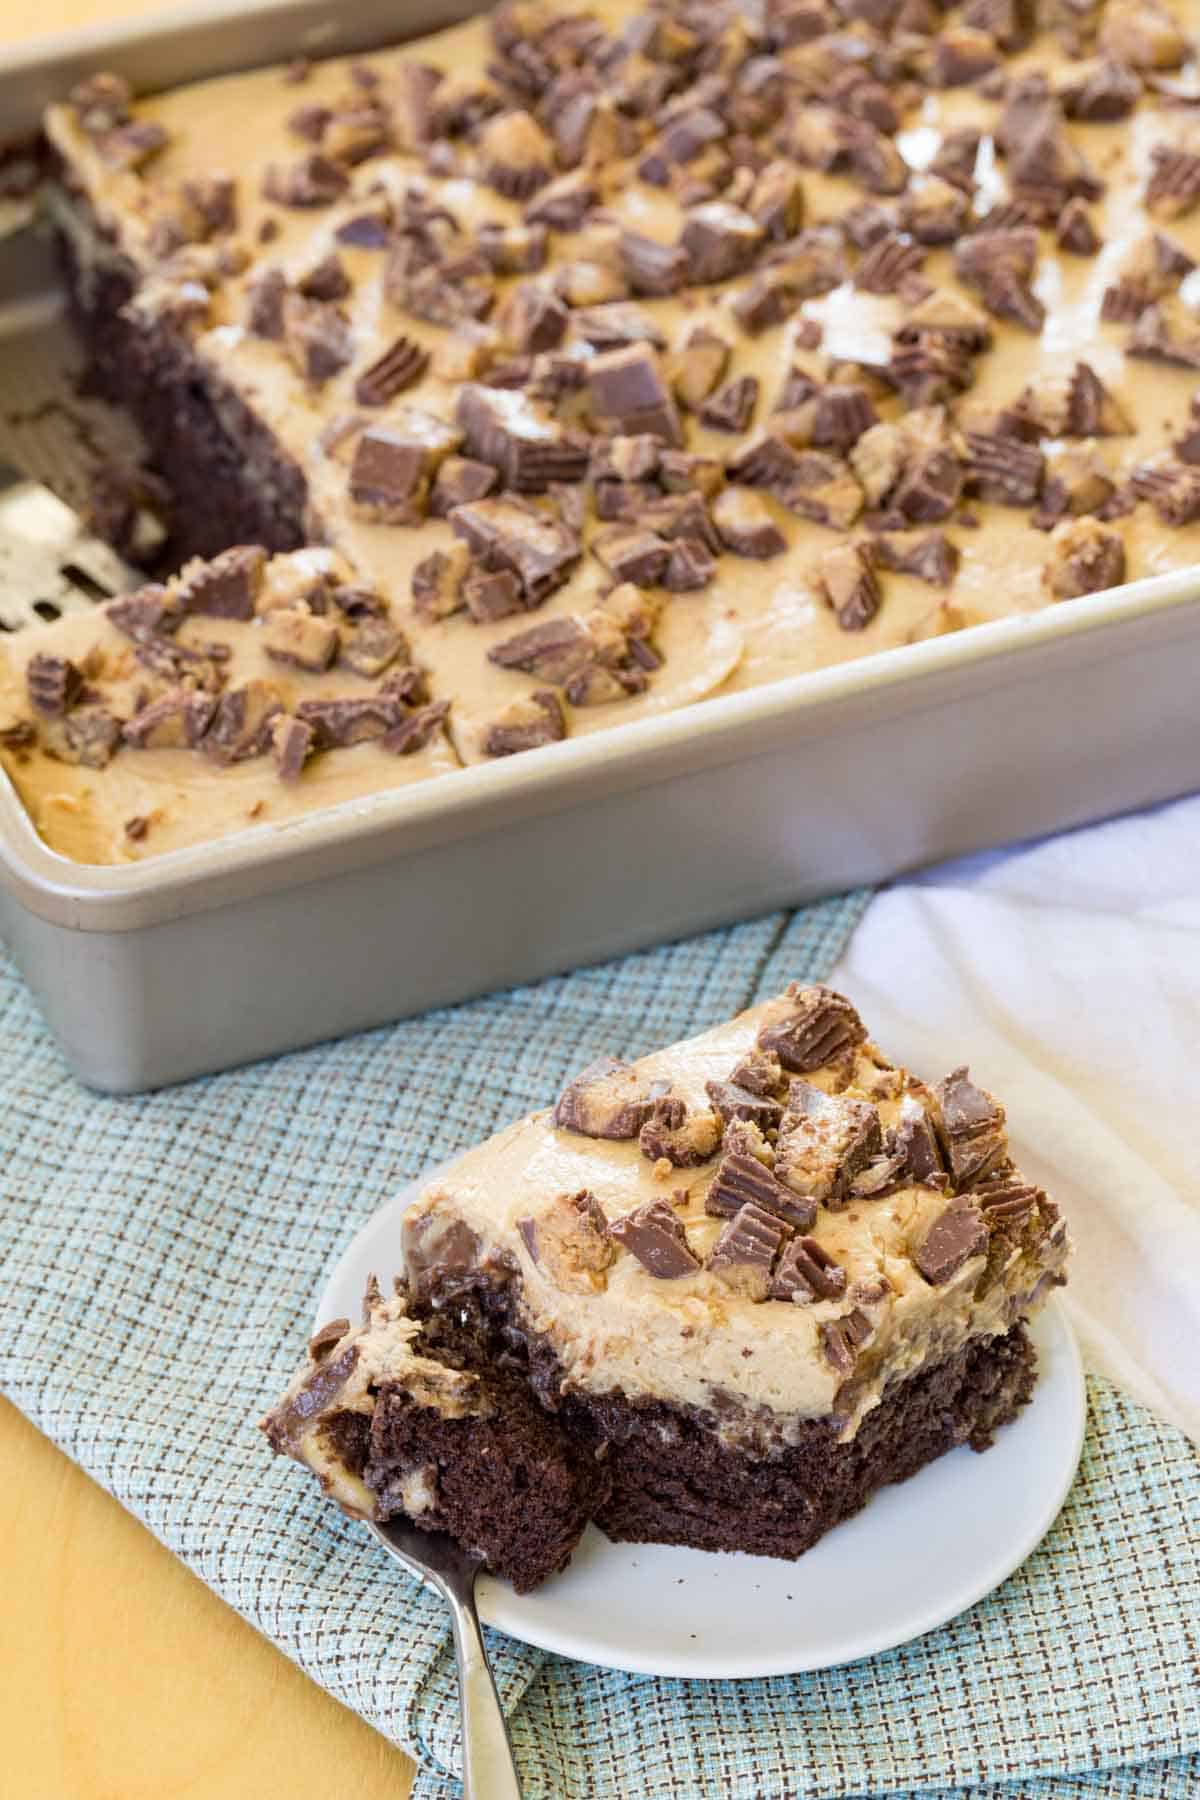
But let’s get back to the Reese’s Poke Cake. Here is a quick overview of the ingredients you’ll need. The full amounts and detailed instructions are in the recipe card at the bottom of the post. You can also keep reading for how you can make this into a gluten free Reese’s cake.
- Chocolate cake mix – plus the ingredients to prepare it. Use your favorite brand or even a recipe to make a 9×13-inch chocolate cake. See my tips below for how to make it gluten free.
- Vanilla instant pudding mix – you’ll need one small box.
- Milk – dairy milk is preferred to make the pudding set up thicker.
- Peanut butter – creamy is generally used, but you can add some texture if you want to use crunchy.
- Chocolate frosting – use your favorite brand.
- Frozen whipped topping – such as Cool Whip, thawed.
- Reese’s Peanut Butter Cups – chop them up for scattering over the top.
Make it a Gluten Free Reese’s Poke Cake
My gluten free readers may be asking how they can enjoy this Reese’s peanut butter cake. The only thing you have to swap is the cake, as you can find gluten free versions of all of the other ingredients. Here’s what to do:
- Use my recipe for Gluten Free Chocolate Cake, following the instructions to bake it in a 9×13-inch cake pan.
- Use a box mix that makes a 9×13-inch cake, such as the ones from Cup4Cup or Namaste, and bake as directed. Then follow the recipe as-is.
- You can also use a mix for a square cake, like the Betty Crocker gluten free chocolate cake mix. You’ll have too much of the toppings for one cake, so you can either just use as much as you need. Or you can make two cakes, but in that case, I would suggest doubling the whipped topping and peanut butter mixture to make sure you have enough to cover the cake.
- Check your labels. Many brands of pudding mix and whipped topping are generally considered gluten free, but be sure to confirm on the labels or brand websites when you purchase them. Do take care that not all canned frosting is gluten free, so be sure to read labels. And buy a bag of Reese’s that states they are gluten free (See: Are Reese’s Gluten Free?).
Tips for Making the Peanut Butter Cup Cake
Here are a few things to remember when you make a Reese’s poke cake:
- Use the right pan: You’ll follow the box cake mix instructions for a 9×13-inch pan, like this one from OXO. Be sure to use one that is fairly deep (this one is 2.3 inches) so that the cake doesn’t overflow once you add all the toppings.
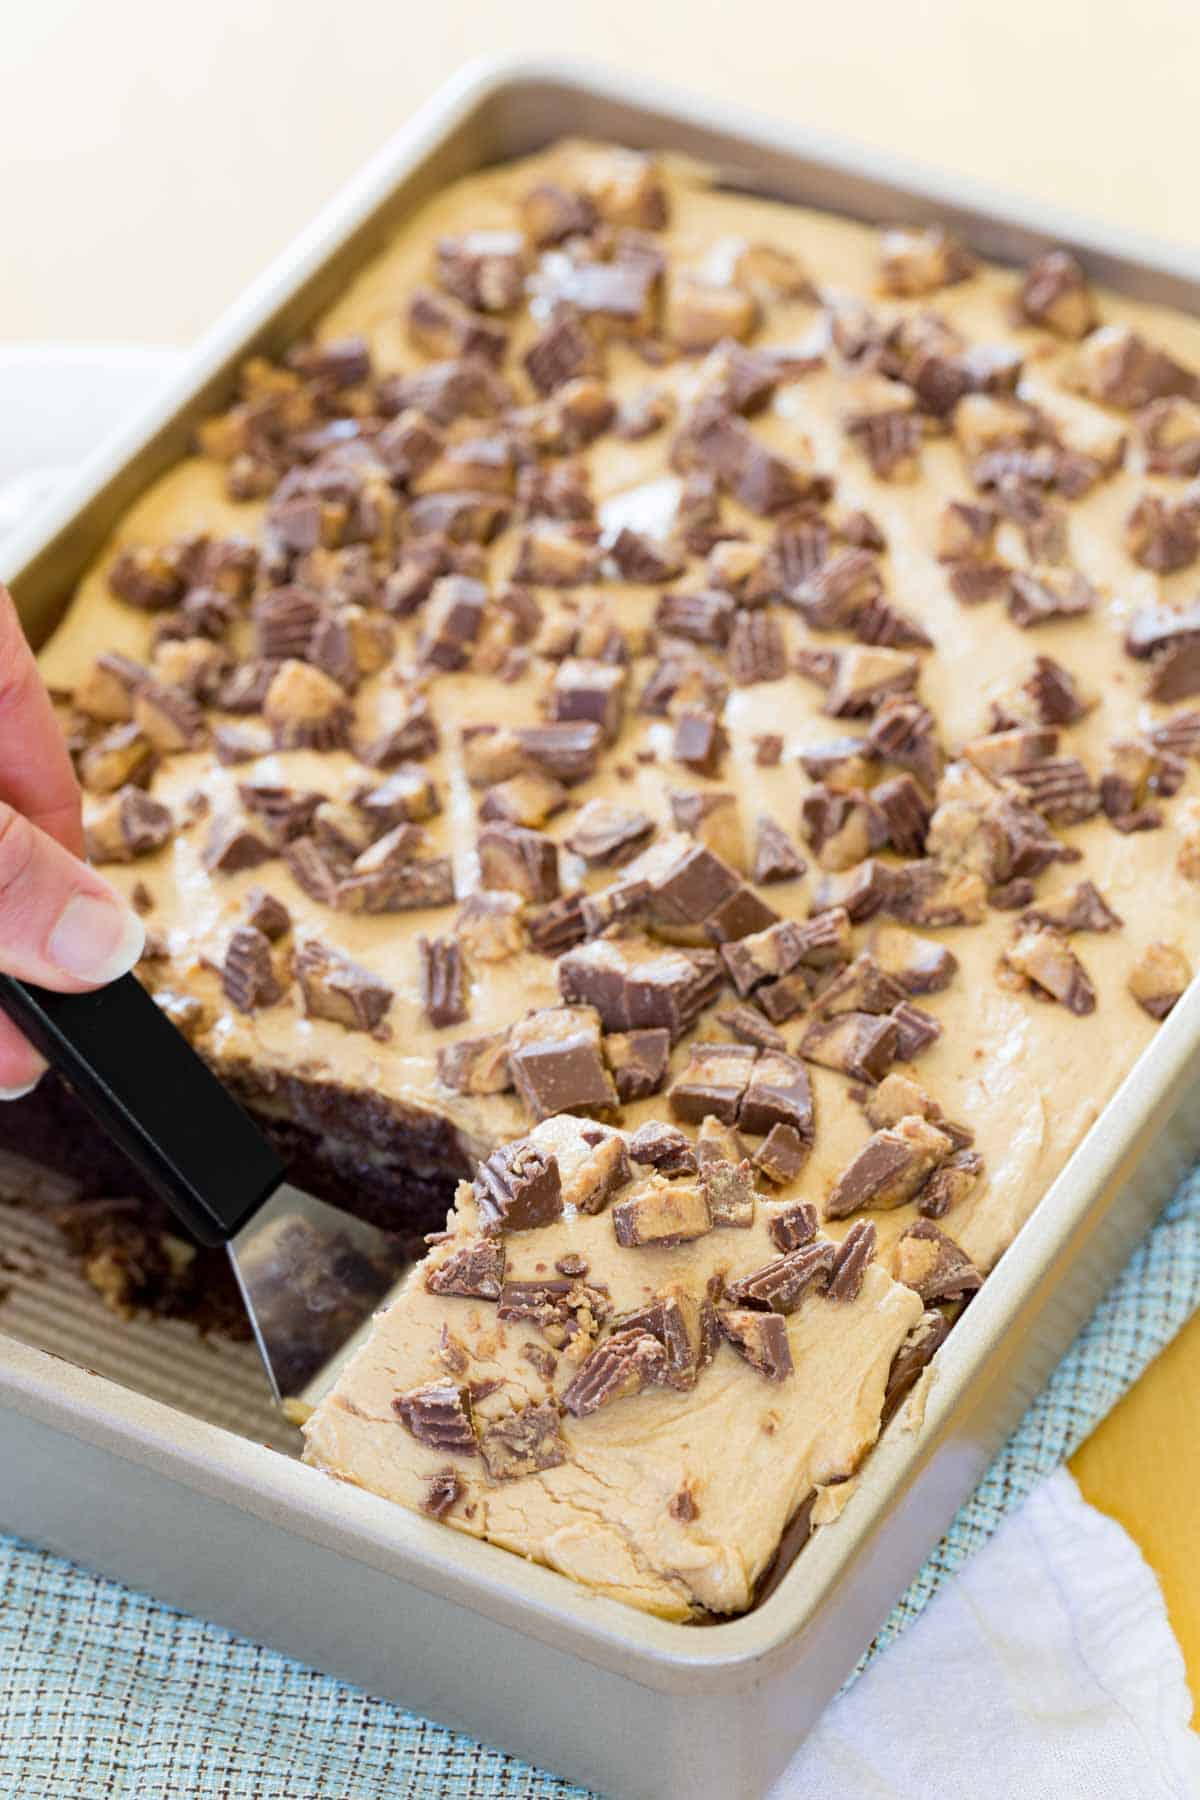
- Poke plenty of large holes: After the cake cools, poke holes in the cake with the back end of a wooden spoon with a round handle. Poke enough so the pudding can really sink in. Again, this helps minimize overfilling the pan. Avoid using a skewer, as this does not make large enough holes for the filling to fully soak in.
- Work quickly: As soon as you prepare vanilla pudding and mix it with peanut butter, pour it over the cake. If you find that it is too thick to pour, thin it out with a little extra milk, stirring in a tablespoon at a time till it stays thick but becomes pourable.
- Spread the frosting evenly: Warm the chocolate frosting slightly in the microwave until melted, then pour it over the top and spread it with an offset spatula.
- Don’t hold back on the toppings: Blend whipped topping and more peanut butter, then frost the cake and cover with a generous sprinkle of chopped peanut butter cups.
Reese’s Poke Cake FAQs
No. Pour it over the cake right away so it can sink into the holes. Instant pudding starts thickening as soon as it’s mixed, so poke the cake and have it ready before you whisk the mixture together.
If the pudding is still too thick to pour, whisk in a tablespoon of milk at a time until it’s thin enough to soak in. It is a thick mixture, so poke the holes with the handle of a wooden spoon. A small skewer makes holes that are too small.
Yes, you can make it a day ahead. The cake needs to chill for at least 4 hours before serving anyway. Store it covered in the refrigerator.
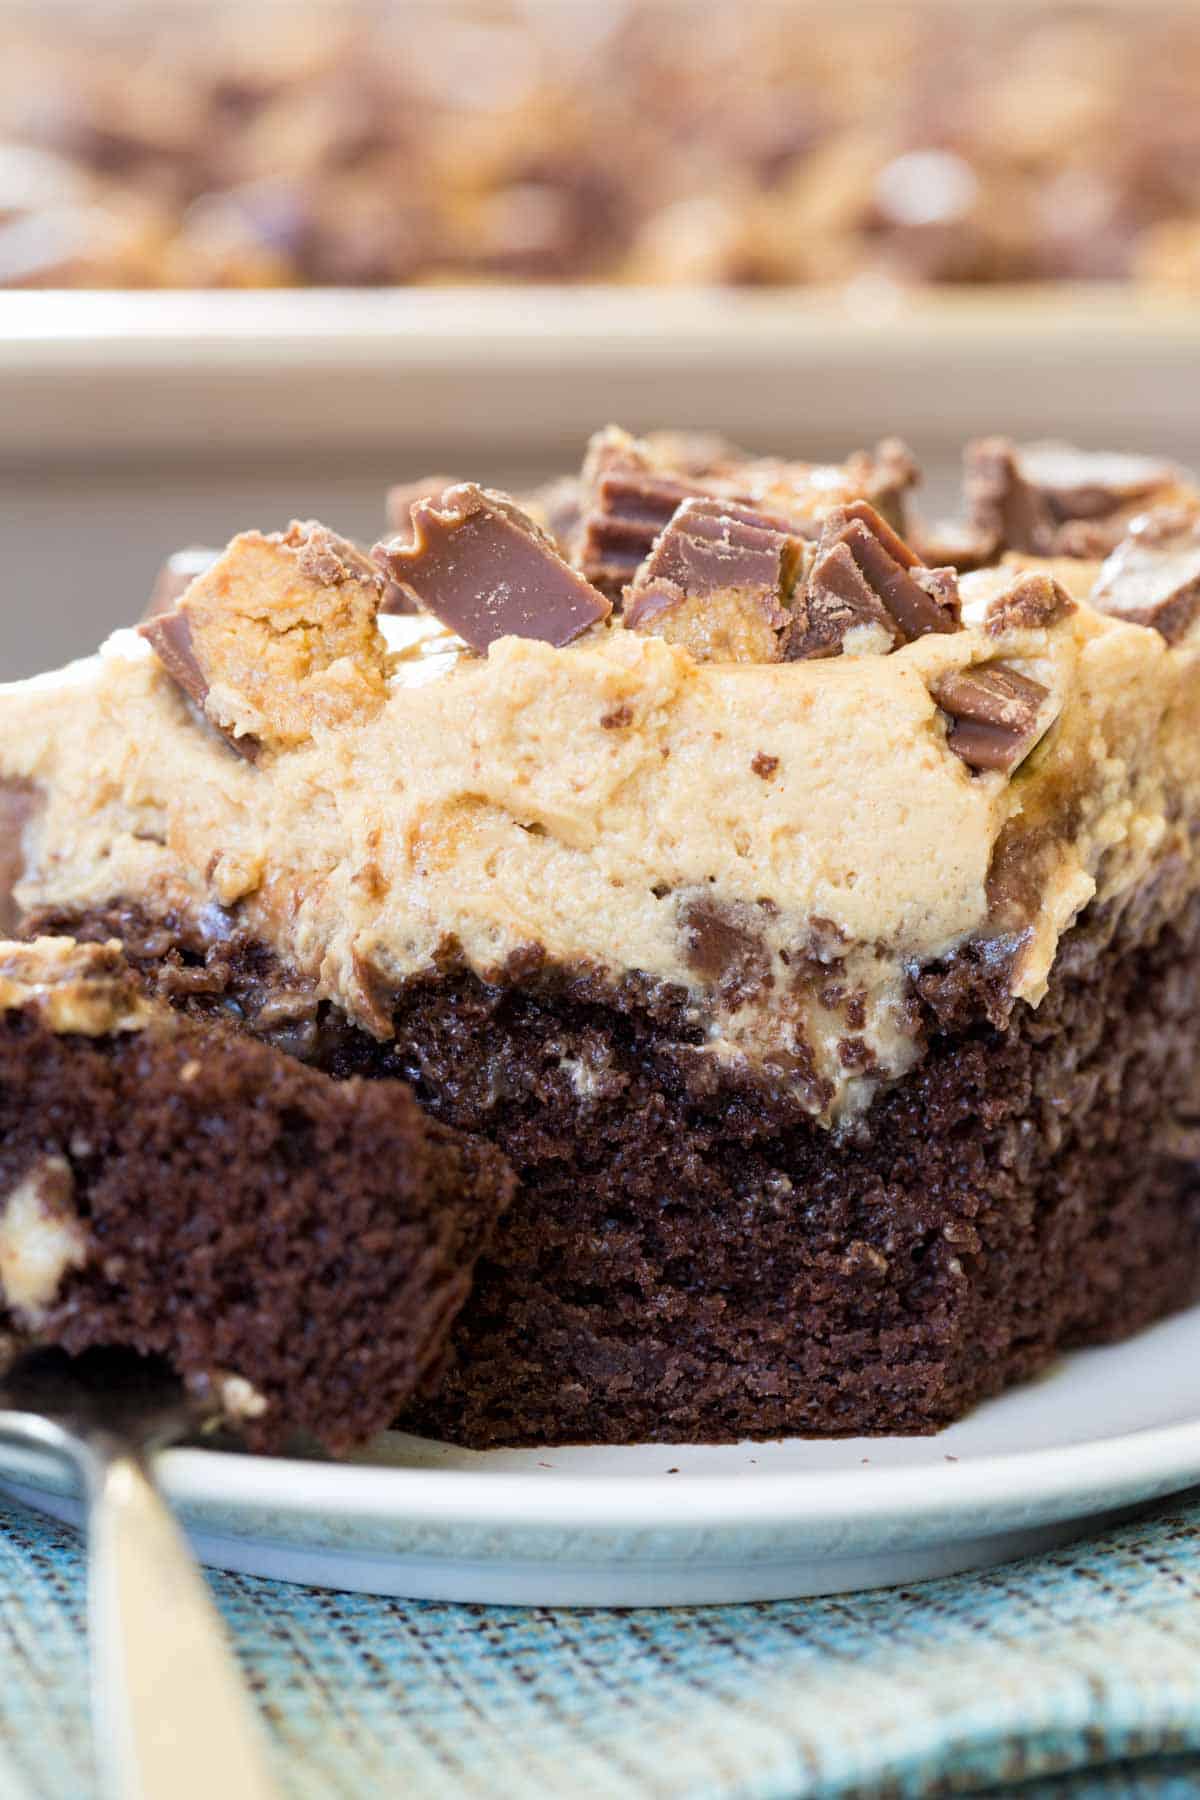
The cake can be kept covered in the refrigerator for up to 3 days. By then the cake has soaked up a lot of moisture and can be pretty soft, but you can still eat it.
A 9×13-inch pan, and a deep one if you have it. The OXO pan I use is 2.3 inches deep, which keeps the cake from overflowing once the fillings and toppings go on. Poking plenty of holes helps too, so the pudding soaks in instead of piling up on top.
You can cut it into up to 24 slices. It’s a big, thick cake and it’s rich, so you don’t need to cut huge pieces.
Yes, you can use crunchy peanut butter. I like creamy, but crunchy adds some texture if that’s what you prefer.
Yes. The cake is the part you swap. Bake my Gluten Free Chocolate Cake in a 9×13-inch pan, or use a gluten free chocolate cake mix that makes a 9×13 cake. Then read the labels on everything else, including the frosting, pudding mix, whipped topping, and peanut butter, because gluten free status varies by brand and can change. Look for a bag of Reese’s that states it’s gluten free on the package, and see Are Reese’s Gluten Free? for more.
I haven’t tried it, but I think you could bake cupcakes, make a hole in the center of each one, and fill it. Use much less filling than the cake recipe calls for, or it will get sloppy.
I haven’t tried it, but one reader swapped in yellow cake and said her kids loved it.
More Reese’s Desserts
Halloween Dessert Favorites
Reese’s Poke Cake
Ingredients
- 15.25 oz chocolate cake mix plus ingredients to prepare the cake
- 3.4 oz vanilla instant pudding mix
- 2 cups cold milk
- 1 1/2 cups creamy peanut butter , divided
- 16 oz chocolate frosting
- 8 oz whipped topping , thawed
- 25 mini Peanut Butter Cups , unwrapped and roughly chopped
Instructions
- Prepare and bake a 15.25 oz chocolate cake mix according to the package instructions, baking in a 9×13-inch cake pan.
- Let the cake cool 15-20 minutes, then poke holes in the cake every 1/2 to 1 inch with the round end of a wooden spoon (not a skewer, since you want holes large enough for the pudding to soak in).
- Empty a 3.4 oz vanilla instant pudding mix into a medium bowl, and add 2 cups cold milk. Whisk briskly for 2 minutes or until the pudding mix is dissolved.
- Divide the 1 1/2 cups creamy peanut butter, setting aside 1 cup for later. Whisk in 1/2 cup of the peanut butter to the pudding mixture until combined and smooth. If it looks too thick to pour, add a little more milk, about a tablespoon at a time, until it is still thick but pourable.
- Working quickly, pour the pudding mixture over the cake, filling the holes as much as possible.
- In a microwave-safe bowl, microwave 16 oz chocolate frosting for 15-20 seconds, or until it can be poured easily. Drizzle it over the cake and spread evenly with the back of a spoon or an offset spatula.
- Let the cake cool completely.
- In a large bowl, whisk together the remaining 1 cup of peanut butter and 8 oz whipped topping. Spread over the cake.
- Unwrap and roughly chop 25 mini Peanut Butter Cups. Scatter over the top of the cake.
- Refrigerate for at least 4 hours before serving. Store covered in the refrigerator.
Notes
Did you make this?
Leave a star rating to help others know that they should make this recipe.
Share a photo and tag @cupcakesandkalechips on Instagram!
This is a delicious cake – very rich, but WOW! I took it to a potluck and people were almost ready to lick the pan clean. Highly recommended.
This cake was easy to make and it was very delicious. Took it to work and coworkers loved it! I added some Reese’s pieces to it.
Oooh, great idea to add the Reese’s Pieces!
Apparently I cant figure out this recipe. It’s not making sense
I’m sorry, can you be a little more specific with your question so I can help.
Can i make it a 2 layer cake
I don’t think making it into 2 layers would work very well, Evelyn. Layer cakes have frosting between the layers, and I’m not sure that you could pick up a layer after it’s been poked with holes and filled.
I tried making it a two layer- I used 2 nine inch rounds. I layered the cakes then poked and filled the holes. It was pretty difficult to get the pudding deep enough into the holes. I think next time I would stick to one layer.
I hope you like the flavor, but yes, this would be a hard cake to layer.
can you substitute a yellow or white cake mix instead of the chocolate?
Absolutely, Terry! Have fun and play around with the flavors in this dessert.
This cake turned out fantastic! I brought it to a big picnic dessert competition and won 2nd place. I thought it should have won first! Thank u!
Such fantastic news, Christine. Congratulations, and thank you for rating the recipe!
Made this cake and it is delicious. However, it is VERY rich. I have decided that the next time I will omit the chocolate frosting. I really don’t think it is needed. If chocolate is wanted maybe try drizzling chocolate syrup over the pudding.
Hi Krista! Thanks for your feedback. You’re right that the poke cake is very rich. I suppose I should add a disclaimer. 😉 I’m glad you enjoyed it, though!
guess it depends, I found I would prefer without the chocolate frosting, but the hubby is gonna love it and will probably finish mine for me.
it is yummy
Can I use a devils food cake mix for this recipe?
Yes, that would be fine.
I love Reese Cups & i love making poke cakes, i look at a recipe and then put my twist on it, im going to try this but put little miniature reese cups in the holes and then do the recipe the way you made ypurs or at least thst how im goimg to start, ?? ill let you know how it turns out, ive been thinking about making this for a long time & im going to make a Cherry delite poke cake but haven’t quit figured that one out yet ?? Thanks for Posting your recipe ❤️
Hi Ellen! I love that you like to customize recipes to your own tastes. I hope the poke cake turns out well for you!
I’d like to bake the cake a few days in advance and freeze it. Then defrost and put the frosting on. Do you recommend this and, if so, should I freeze it before I add the pudding, or after? thanks very much!
Kelly, my suggestion is to bake the cake and let it cool completely. Then poke the holes in it, wrap tightly in plastic wrap and a layer of aluminum foil, then freeze. On the day you’re going to serve it, remove from the freezer, unwrap and let it come to room temperature (thawing in the fridge will cause too much condensation). Then fill with pudding and frost. Hope it turns out well for you!
I made this for my pb cup loving son and it was a hit! Anyone ever tried converting this to cupcakes?
I’m so glad to hear that your son enjoyed the poke cake, Jen! I’ve never tried to make poke cupcakes, but it sounds like a great idea! I think you would need to make smaller holes though. Maybe you could try using a plastic straw. Let us know how they turn out and good luck!
Maybe poke one hole in center of cupcake and fill with one peanut butter cup.