
Gluten Free Pierogi


Cheesy and tender gluten free Pierogi make a wonderful side dish or meatless main meal! Choose from a savory potato and cheese filling or try a smooth and creamy pot cheese (aka farmers cheese) filling – both traditional options for this classic Polish dish based on an old family recipe.

Delicious Details at a Glance
Cuisine Inspiration: Polish, Eastern European
Primary Cooking Method: Stovetop
Dietary Info: Gluten-free, Nut-free
Skill Level: Moderate
What Are Pierogi?
Pierogi are filled dumplings that originated in Asia and Eastern Europe. They can also be known as varenyky in Ukrainian (“pierogi” is a Polish word). Pierogi can be sweet or savory, and filled with a variety of preparations including potato, beef, different cheeses, mushrooms, sauerkraut, and more. Savory pierogi are often served with sour cream and onions.
Why You’ll Love This Gluten Free Pierogi Recipe
If you love pierogi, you are going to love this gluten free pierogi recipe! They are just like regular pierogies – in fact it’s based on the recipe I used to make for my Polish and Ukrainian family. But I’ve adapted it to be gluten free. Here’s why you’ll love these pierogi:
- Easy to make gluten free. When you use gluten free flour you can easily make gluten free pierogi! The rest of the ingredients are already naturally gluten free.
- Adaptable. You can use the dough recipe and fill it with whatever you like! See my filling suggestions below for some ideas.
- Cheesy comfort food. There’s a lot of wonderful cheese in either filling you use in this pierogi recipe, making it a perfect comfort food meal.
- Side dish or dinner. You can serve a plate of warm pierogi as a side dish with dinner or round them out into a vegetarian main meal along with a salad.


Recipe Ingredients
Here’s a rundown of everything you need to make pierogi. Scroll to the recipe card at the end of this post for the full ingredient amounts.
For the Pierogi Dough:
- Gluten-Free Flour: I use Bob’s Red Mill but other brands should work fine.
- Tapioca Starch: Tapioca starch is a gluten free flour that helps bind dough.
- Xanthan Gum: Xanthum gum helps give gluten free baked goods stretch and binds the dough.
- Salt
- Egg: An egg helps hold the dough together.
- Sour Cream: I like full-fat sour cream in this recipe.
- Water

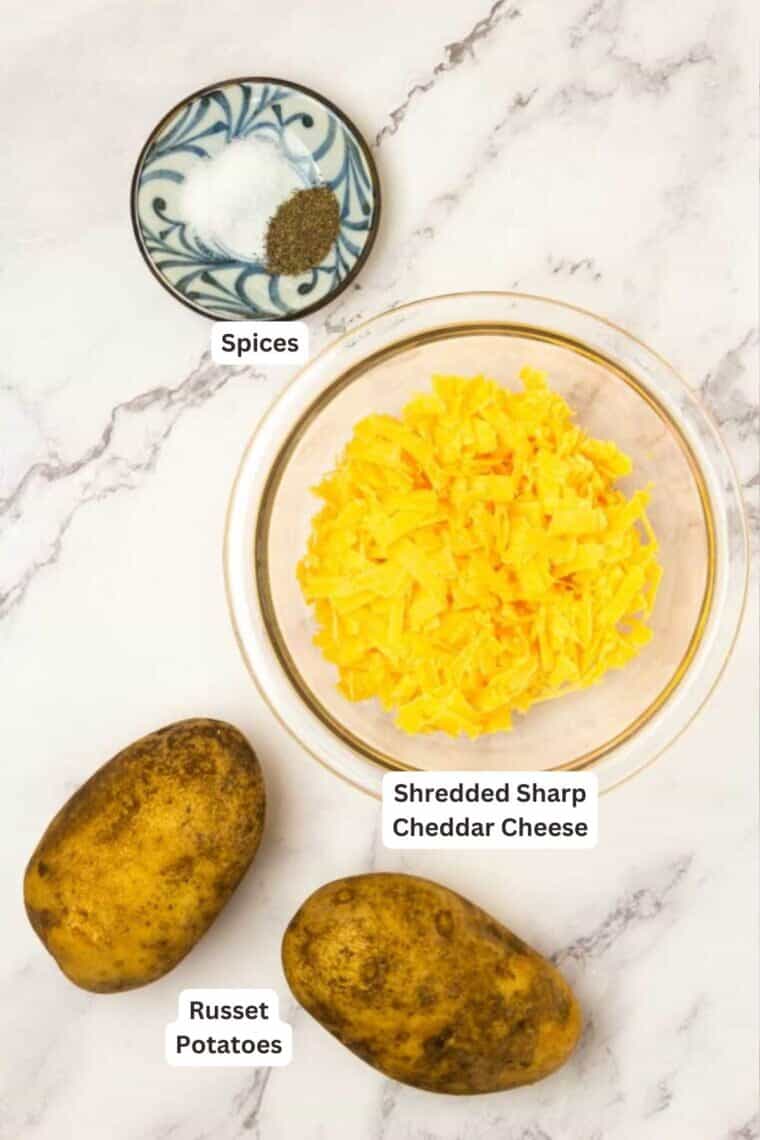
For the Potato Cheese Filling:
- Russet Potatoes: Or you can use an equivalent amount of another variety of potato.
- Cheddar Cheese: I like sharp cheddar but you can choose what you like.
- Salt and Pepper
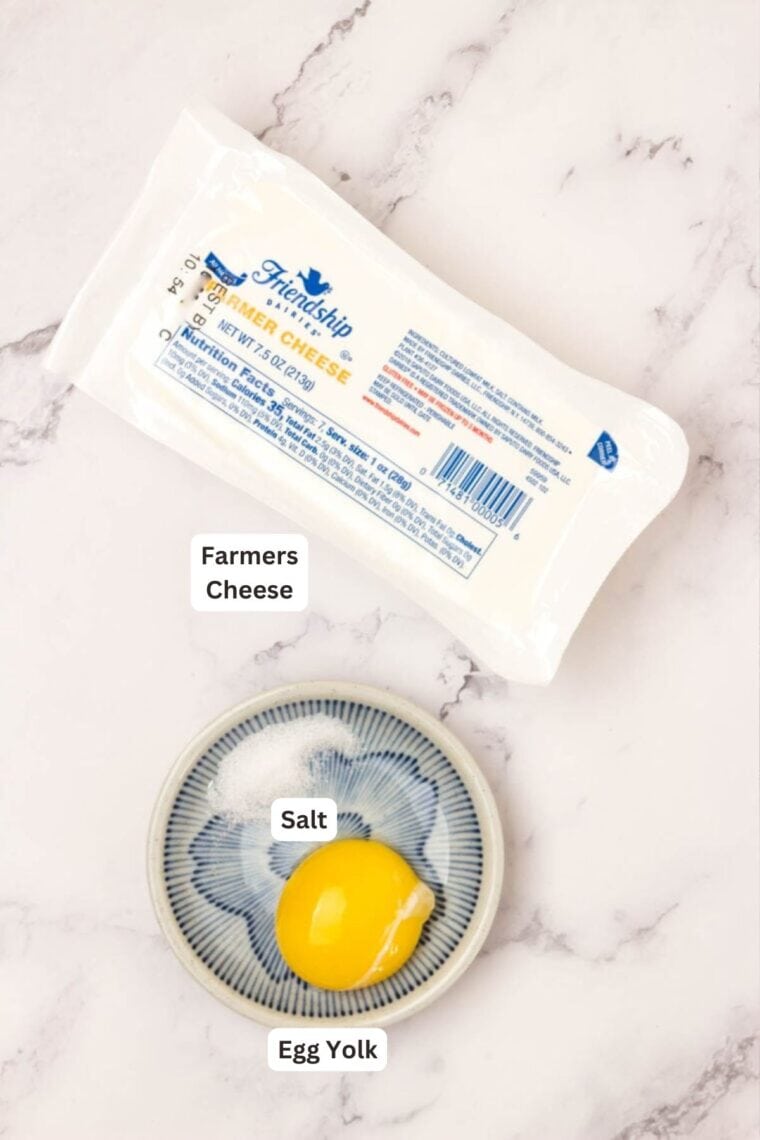
For the Pot Cheese Filling:
- Farmers Cheese: Also known as pot cheese. You can use cottage cheese if you can’t find farmers cheese, but you’ll want to drain some of the excess liquid.
- Egg Yolk
- Salt
How to Make Pierogi
Follow along with my detailed method below for how to make pierogi. I’ll also show you how to make both fillings. You can choose one or make both! The full instructions will be in the recipe card at the end of this post.
For the fillinga:
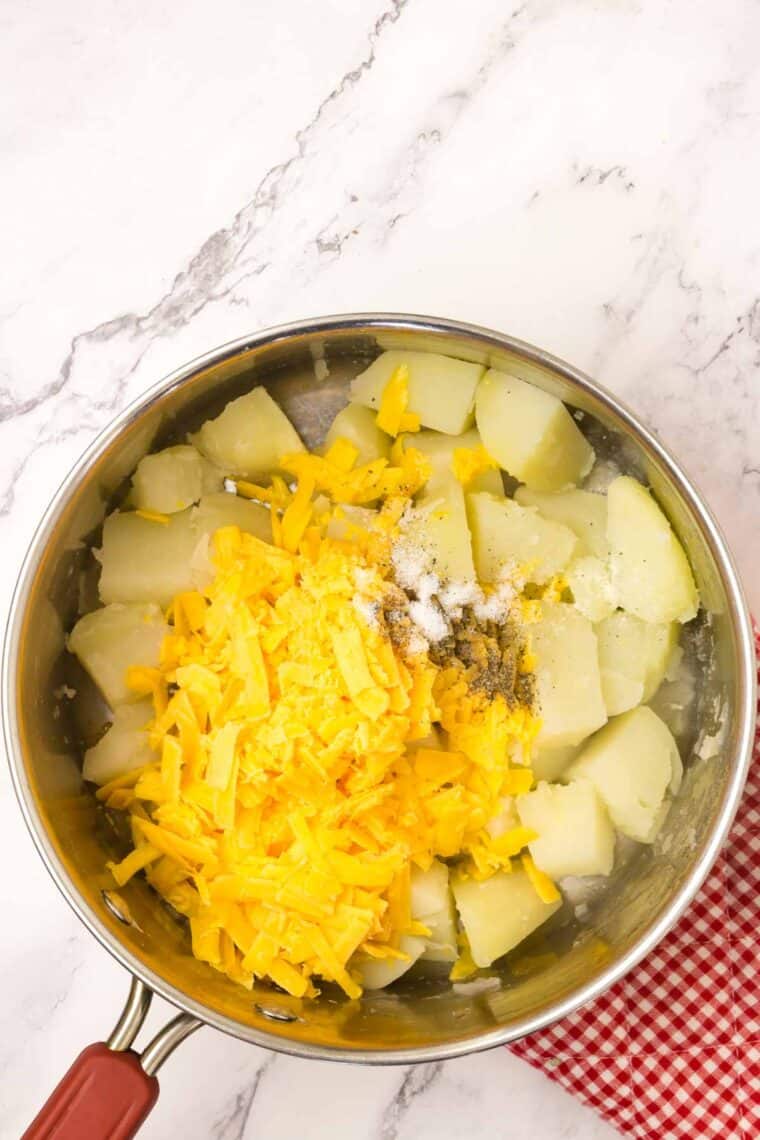
- Make potato filling. Boil the potatoes and drain them, then add the cheese, salt, and pepper.
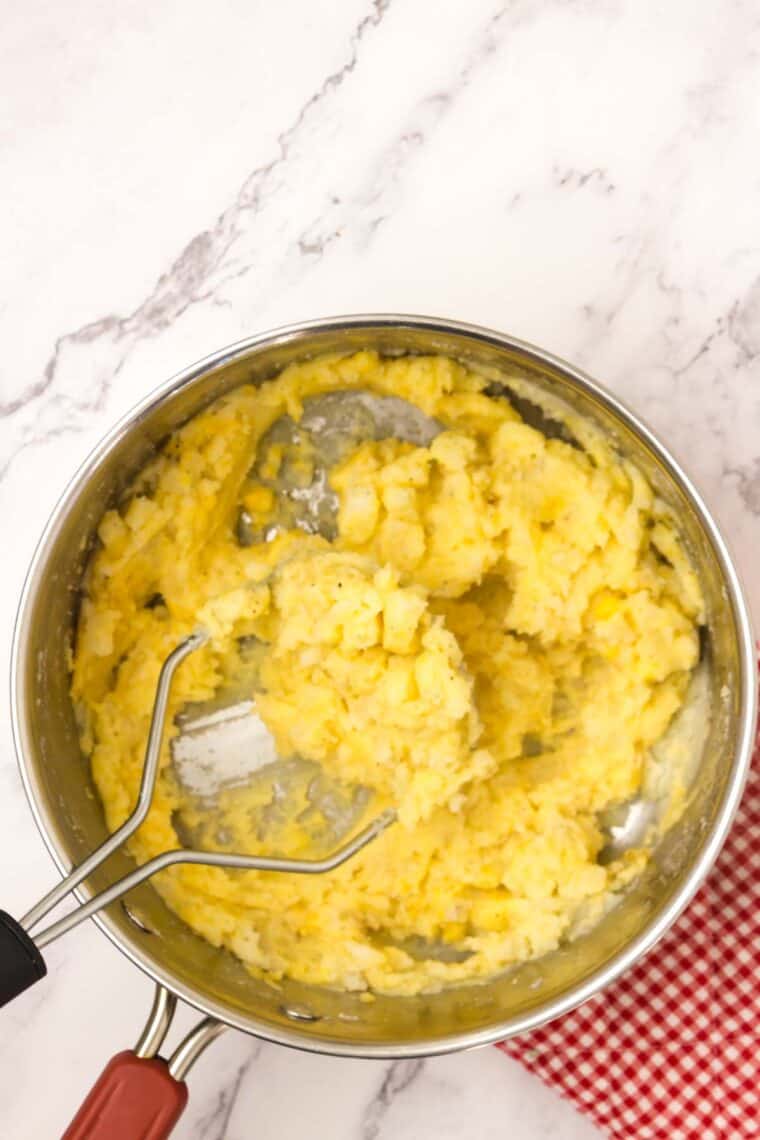
- Mash. Using a potato masher, mash and stir the potatoes to mix well.
- Cool. Place the potato mixture in the refrigerator until cooled completely.

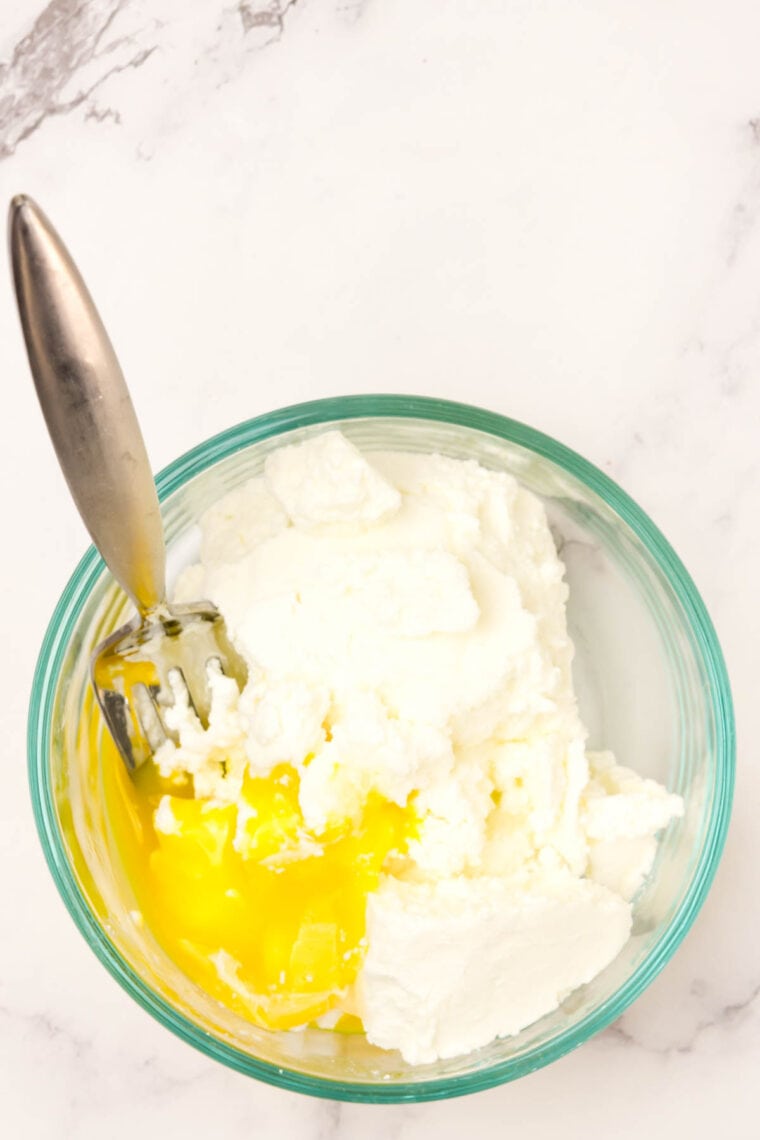
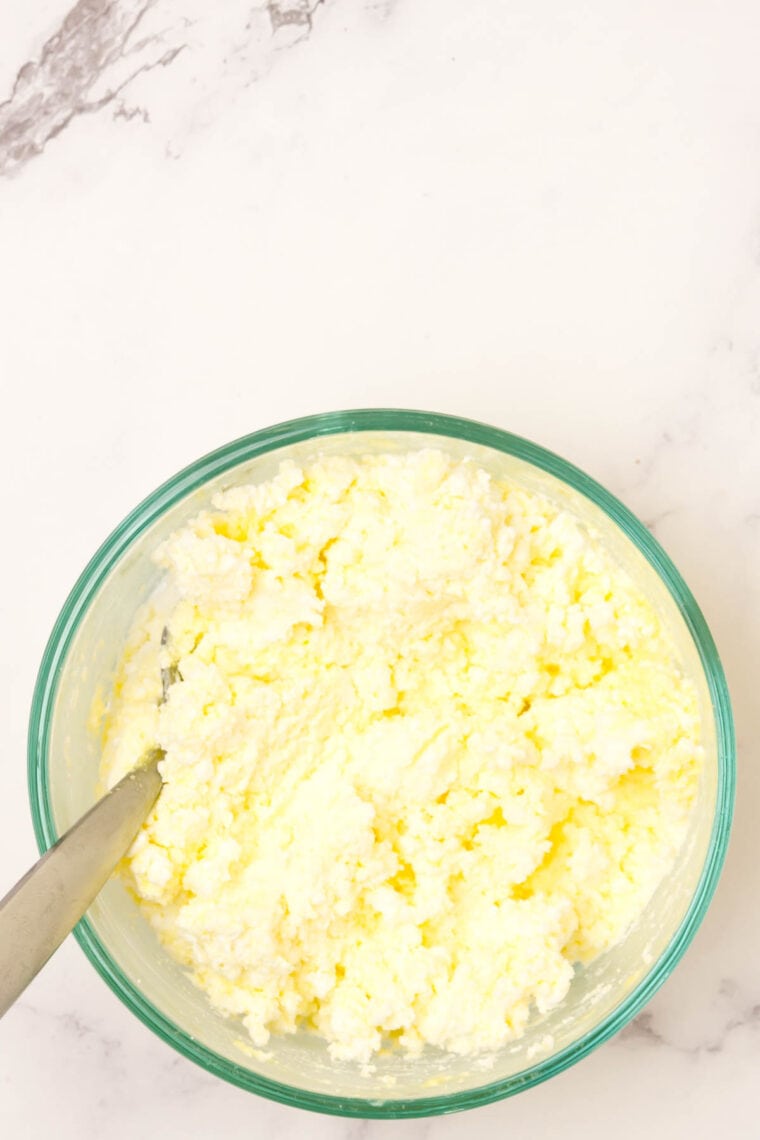
- Make the pot cheese filling. Mix together the farmers cheese, egg yolk, and salt and refrigerate.
For the pierogi:
Now it’s time to make the dough and form the pierogi.
- Combine dry ingredients. Whisk together the gluten free flour, tapioca starch, xanthan gum, and salt.
- Add eggs. Work the eggs and sour cream into the flour with your hands until it is crumbly.
- Form dough. Slowly pour in the water while working it into the flour mixture with your hands.
- Knead. Once the dough comes together, knead it until it is fairly smooth and elastic.
- Rest. Form the dough into a ball and rest in the refrigerator for about 10 minutes.


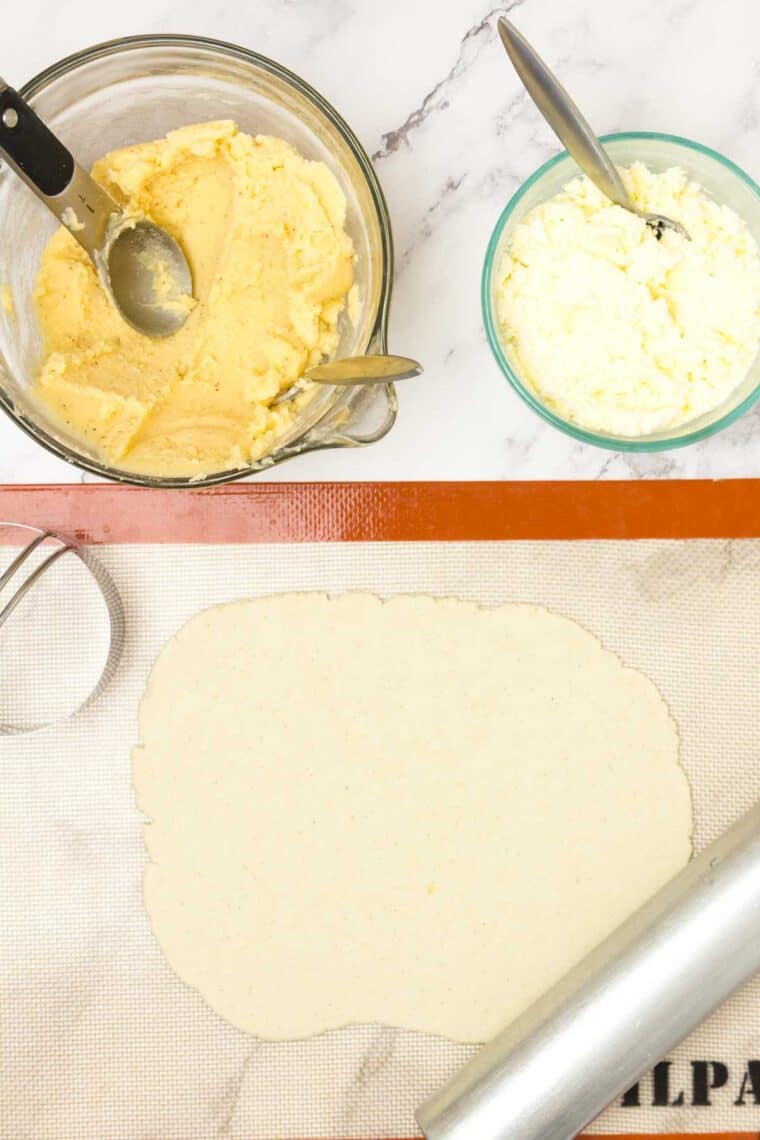
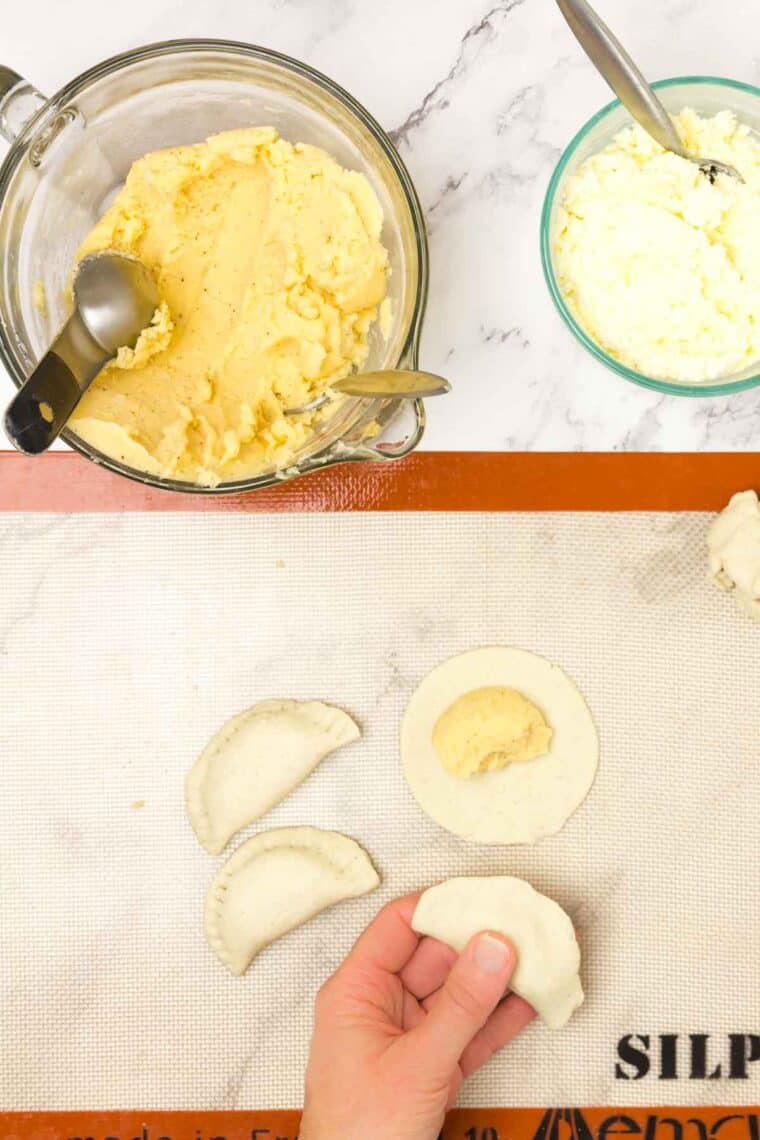
- Roll. Roll out the dough into circles.
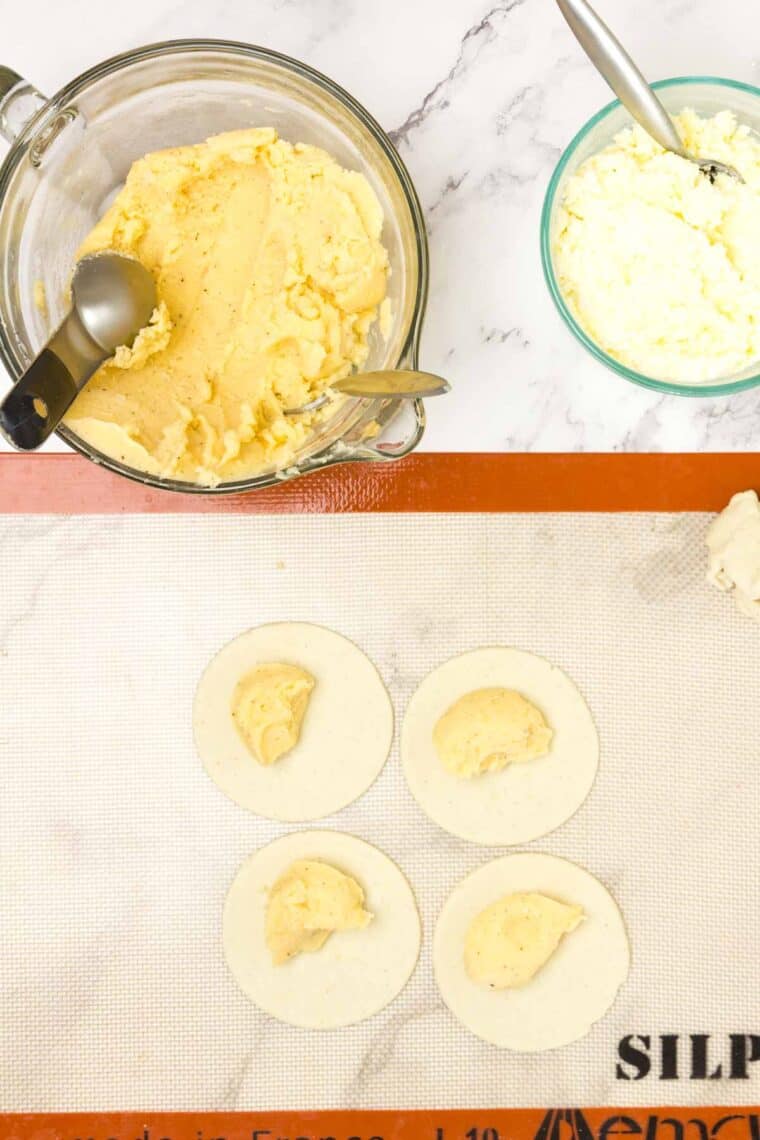
- Form. Add the your filling of choice to the dough and press the edges together with your fingers. Repeat until the dough is used up.


- Boil the pierogi. Bring a shallow pan of water to a gentle simmer and add about 4-8 pierogi at a time. Place the pierogi in a baking pan or on a sheet pan sprayed with cooking spray until ready to cook.


- Cook for serving. You can cook the pierogi in butter in a skillet until heated through. But I prefer for bake them in the oven with butter until hot.

Pierogi Variations – Other Filling Ideas
Pierogi takes well to other fillings, and you can experiment to see what you like best! Here are some filling suggestions:
- Make them sweet! You can make pierogi with a fruit filling, like blueberries, and sweetened mascarpone cheese.
- Goat cheese: Try a combo of caramelized onions and goat cheese.
- Bacon: Add chopped bacon to the potato cheese filling I’ve detailed in this post.
- Vegetables: You can add wilted baby spinach or chopped, roasted red peppers to the potato or pot cheese filling.
- Mushrooms: Cooked mushrooms or eggplant is amazing in pierogi!
- Different cheese: Try ricotta or even cottage cheese.

Tips for Success
- Make them in advance. You can easily cook off a big batch of pierogi and store them for another time. Follow my freezing instructions below to store potato and cheese pierogi so you can have them anytime you wish.
- Do one batch of dough at a time. If you make more than one batch of pierogi, work with one batch of dough at a time. It dries out easily and gets harder to handle and knead if you are working with more.
- Use one egg yolk. If you are doubling the pot cheese filling, you can use 2 packages of farmers cheese and one whole egg. You don’t have to use two yolks.
- Prepare the filling in advance. The fillings can be made up to a day in advance and refrigerated until needed. I do not recommend making the dough the night before, as it can dry out.
- Add water slowly. When making the dough, add the water slowly so that you don’t add too much moisture. I tested this recipe with Bob’s Red Mill 1:1 gluten free flour, but if you use a different brand of all-purpose gluten free flour it may need more or less water, so go slowly.

Proper Storage
Here’s how to keep any leftover pierogi:
- Fridge – Store cooled pierogi in an airtight container in the fridge for up to 5 days.
- Freezer – Place cooked pierogi on a baking sheet and place it in the freezer for a few hours until completely frozen. Then transfer the pierogi to a sealable, freezer-safe bag and store them in the freezer for up to 3 months. Thaw the pierogi in the fridge before reheating.
- To Reheat – In a skillet over low heat, warm the pierogi in a little butter or olive oil until heated through. Or you can place the pierogi in a microwave-safe dish and heat it in 30-second intervals in the microwave until hot.

What to Serve with Potato and Cheese Pierogi
Pot cheese or potato and cheese pierogi can be served as a side dish with kielbasa or another protein, or you can make a meatless meal out of them! Here are some of my favorite ways to serve pierogi:
- Sour cream. This is the traditional and easiest way to serve pierogi: with a big spoonful of sour cream!
- With salad. Serve pierogi with a vegetable-heavy salad, like my Roasted Asparagus Salad, Winter Fruit Feta Salad, or Easy Greek Salad would be perfect.
- Add vegetables. Make a flavorful side of veggies to serve with pierogi, like Balsamic Roasted Vegetables or Air Fryer Broccoli for a pop of green.
- In soup. You can serve them alongside a bowl of soup, such as my Cream of Mushroom Soup or Butternut Squash Soup with Sage and Thyme.
- With other Eastern European favorites. For Easter in my Ukrainian family, we enjoy pierogi with Hrudka, a sweet cheese, and Syrnyk, a cheese made from eggs.

Pierogi
Ingredients
For the potato cheese filling (makes enough for about 2 dozen):
- 1 pound Russet potatoes
- 1 cup shredded sharp cheddar cheese (about 4 oz.)
- ½ teaspoon salt
- ¼ teaspoon pepper
For the pot cheese filling (makes enough for about 2 dozen):
- 1 7.5 oz. package farmers cheese
- 1 egg yolk
- ⅛ teaspoon salt
For the pierogi (makes enough for about 2 dozen):
- 1 ½ cups (222 grams) 1:1 gluten free flour (I use Bob’s Red Mill but other brands should work fine, see Notes.)
- ½ cup tapioca starch
- 1 teaspoon xanthan gum
- ½ teaspoon salt
- 1 large egg
- ¼ cup sour cream
- About 1/3-1/2 cup warm water
Instructions
For the potato cheese filling:
- Wash and peel the potatoes, and cut them into large chunks. Place in a pot and cover with cold water. Cover and bring to a boil, and boil for 10-12 minutes or until the potatoes are fork tender.
- Drain the water off, return the potatoes to the pot, giving them a few minutes for the excess moisture to evaporate off.
- Add the cheese, salt, and pepper to the potatoes, and cover the pot for a few minutes to allow the cheese to melt.
- Using a potato masher and spatula, mash and stir the potatoes to incorporate the cheese. It’s fine if there are still a few lumps.
- Place potato mixture in the refrigerator until cooled completely, and ready to use.
For the pot cheese filling:
- Combine the farmers cheese, egg yolk and salt in a bowl and stir until well mixed.
- Cover and keep in the refrigerator until ready to use.
For the pierogi:
- Whisk the gluten free flour, tapioca starch, xanthan gum, and salt together in a large bowl, and make a well in the middle.
- Place the eggs and sour cream into the well. Using your fingers, gradually work the flour into the eggs and sour cream until you have a crumbly mixture.
- Slowly pour in the water while working it into the flour mixture with your hands, starting with about 1⁄4 cup, then adding more gradually as you bring the dough together. You will think you haven’t added enough, but as you work the dough, it will come together. So it is better to add the water very slowly.
- Once the dough comes together, knead it until it is fairly smooth and elastic, and slightly damp, but not loose. You can wet your fingers to work in a little more water at a time, as needed.
- Form the dough into a ball, cover with plastic wrap, and let rest in the refrigerator for about 10 minutes (do not let it rest more than about 30 minutes).
- Using about a quarter of the dough a ta time, roll it out very thin on a silicone baking mat, about 1/8″ thick. You can lightly dust the surface with a little tapioca starch, only if needed. Cut circles about 3-3 1/2 in. in diameter.
- Place about 1 tablespoon of the desired filling offset from the middle of the circle, fold the circle over, and press the edges together with your fingers, then use a fork to seal completely. Place the formed pierogi on a parchment-lined sheet pan.
- Repeat with the remaining dough, gathering the scraps to roll a second time to get a full 2 dozen. Do not roll more than twice, as the dough gets dry and tough.
- Bring a shallow pan of water to a gentle simmer(do not boil).
- Depending on the size of your pan, add about 4-8 pierogi at a time, stirring gently to keep them from sticking to the bottom and each other. Do not overcrowd your pan. Simmer for about 15 minutes. They will be floating when they are done.
- Remove from the simmering water, and place in a baking pan or on a sheet pan sprayed with cooking spray, and top with some small bits of butter to keep them from sticking.
- Continue until you have boiled all of the pierogies. You can cook and serve them immediately or store in the refrigerator for up to 3 to 4 days, or freeze them for up to 2 months.
Cooking and serving pierogi:
- Stovetop: Melt butter in a pan and saute onions, if desired. Add the pierogi and saute until heated through. You can cook them until browned and crispy, if desired, or keep them soft and just lightly golden.
- Oven: Preheat the oven to 350°F. Place the pierogi in a baking pan and top with slices of butter. Add sliced onion, if desired. Baked at 350°F for 20-30 minutes, gently tossing after 10-15 minutes, until heated through.
Notes
- Each filling makes enough for about 2 dozen pierogi, and the dough makes enough for about 2 dozen, as well. If you want to make each filling or make more than 2 dozen, I recommend working with one batch of dough at a time. It dries out easily, and gets harder to handle and knead if you are working with more.
- If you are doubling the pot cheese filling, you can use 2 packages of farmers cheese and one whole egg. You don’t have to use two yolks.
- The fillings can be made up to a day in advance and refrigerated until needed. I do not recommend making the dough the night before, as it can dry out.
- While you do need to use the tapioca starch and extra xanthan gum to get a stretch dough that can be handled and rolled, you can likely use different brands of 1:1 flour, just adding the water slowly and adjusting to reach the right consistency.

Did you make this?
Leave a star rating to help others know that they should make this recipe.
Share a photo and tag @cupcakesandkalechips on Instagram!