This post may contain affiliate links. Read my disclosure policy.
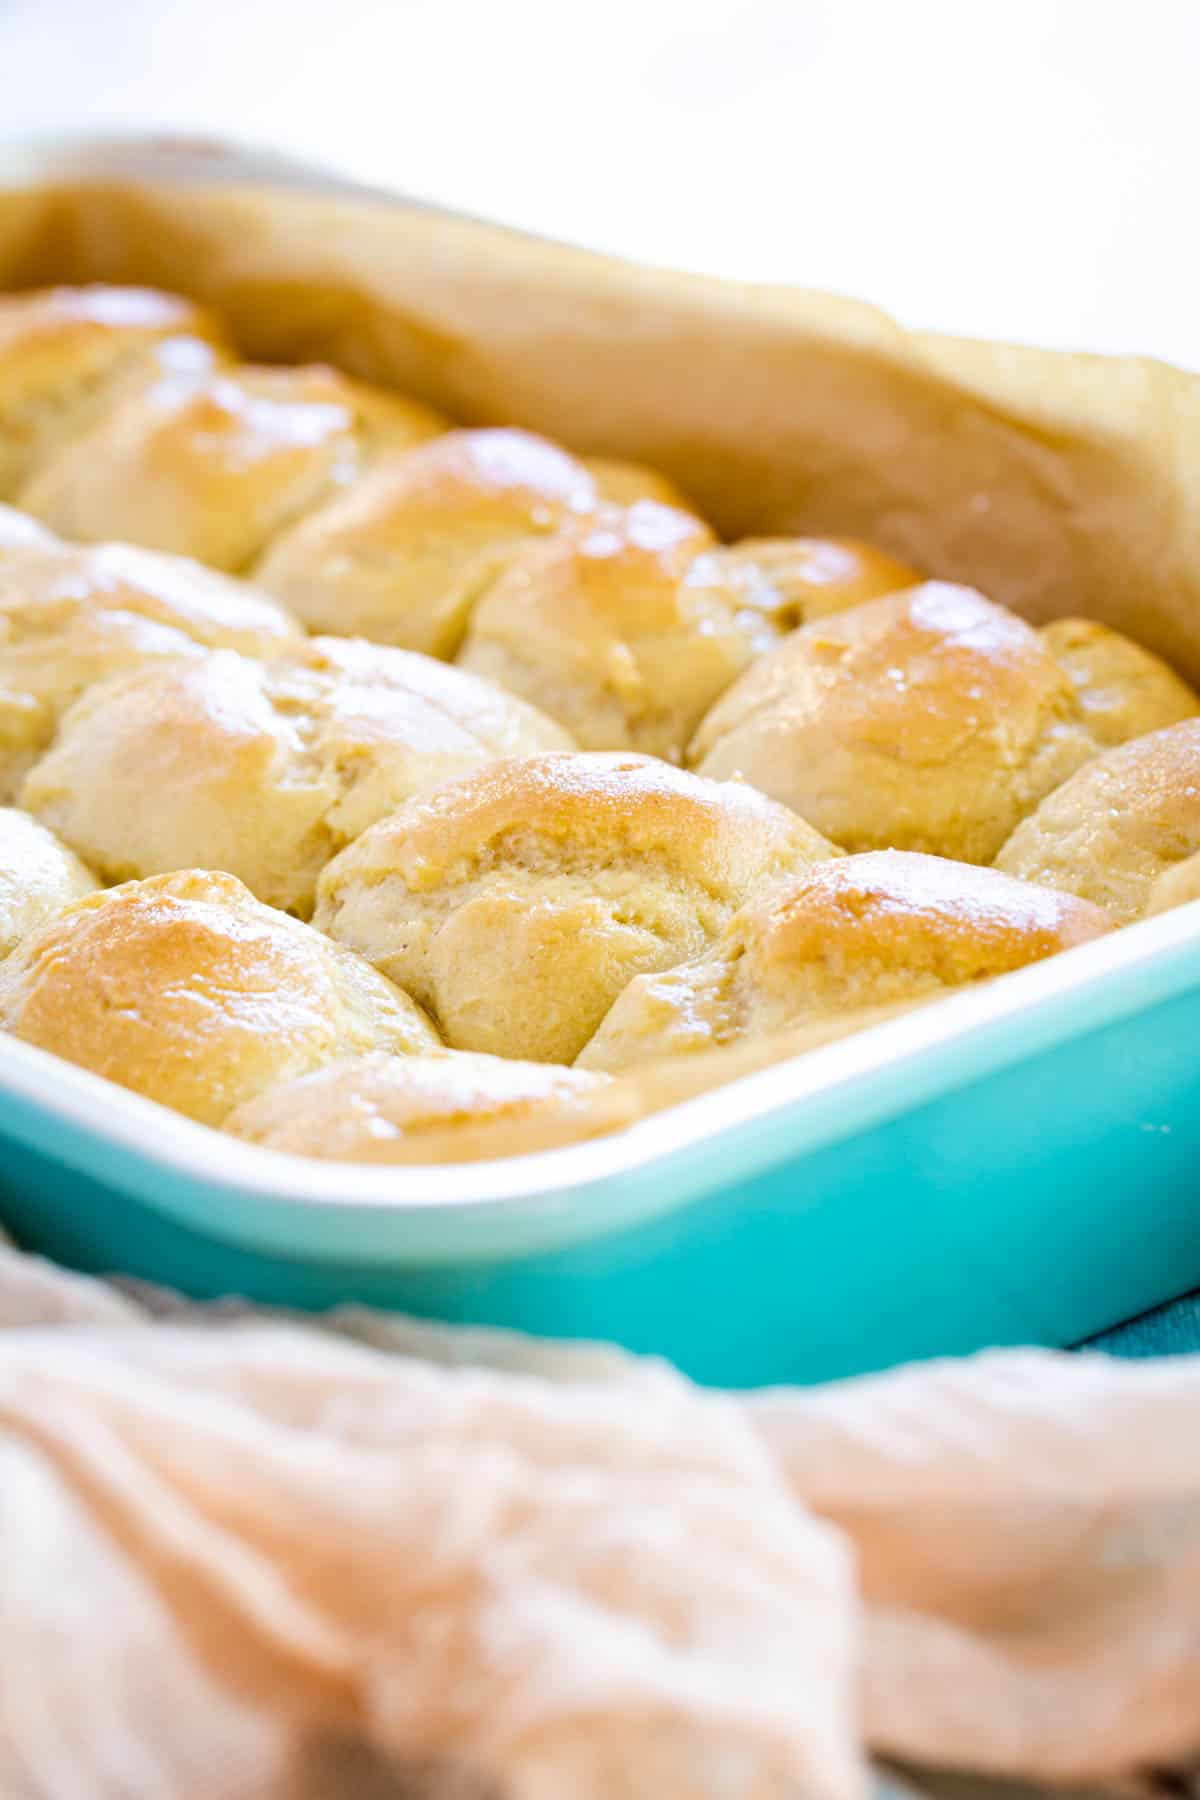
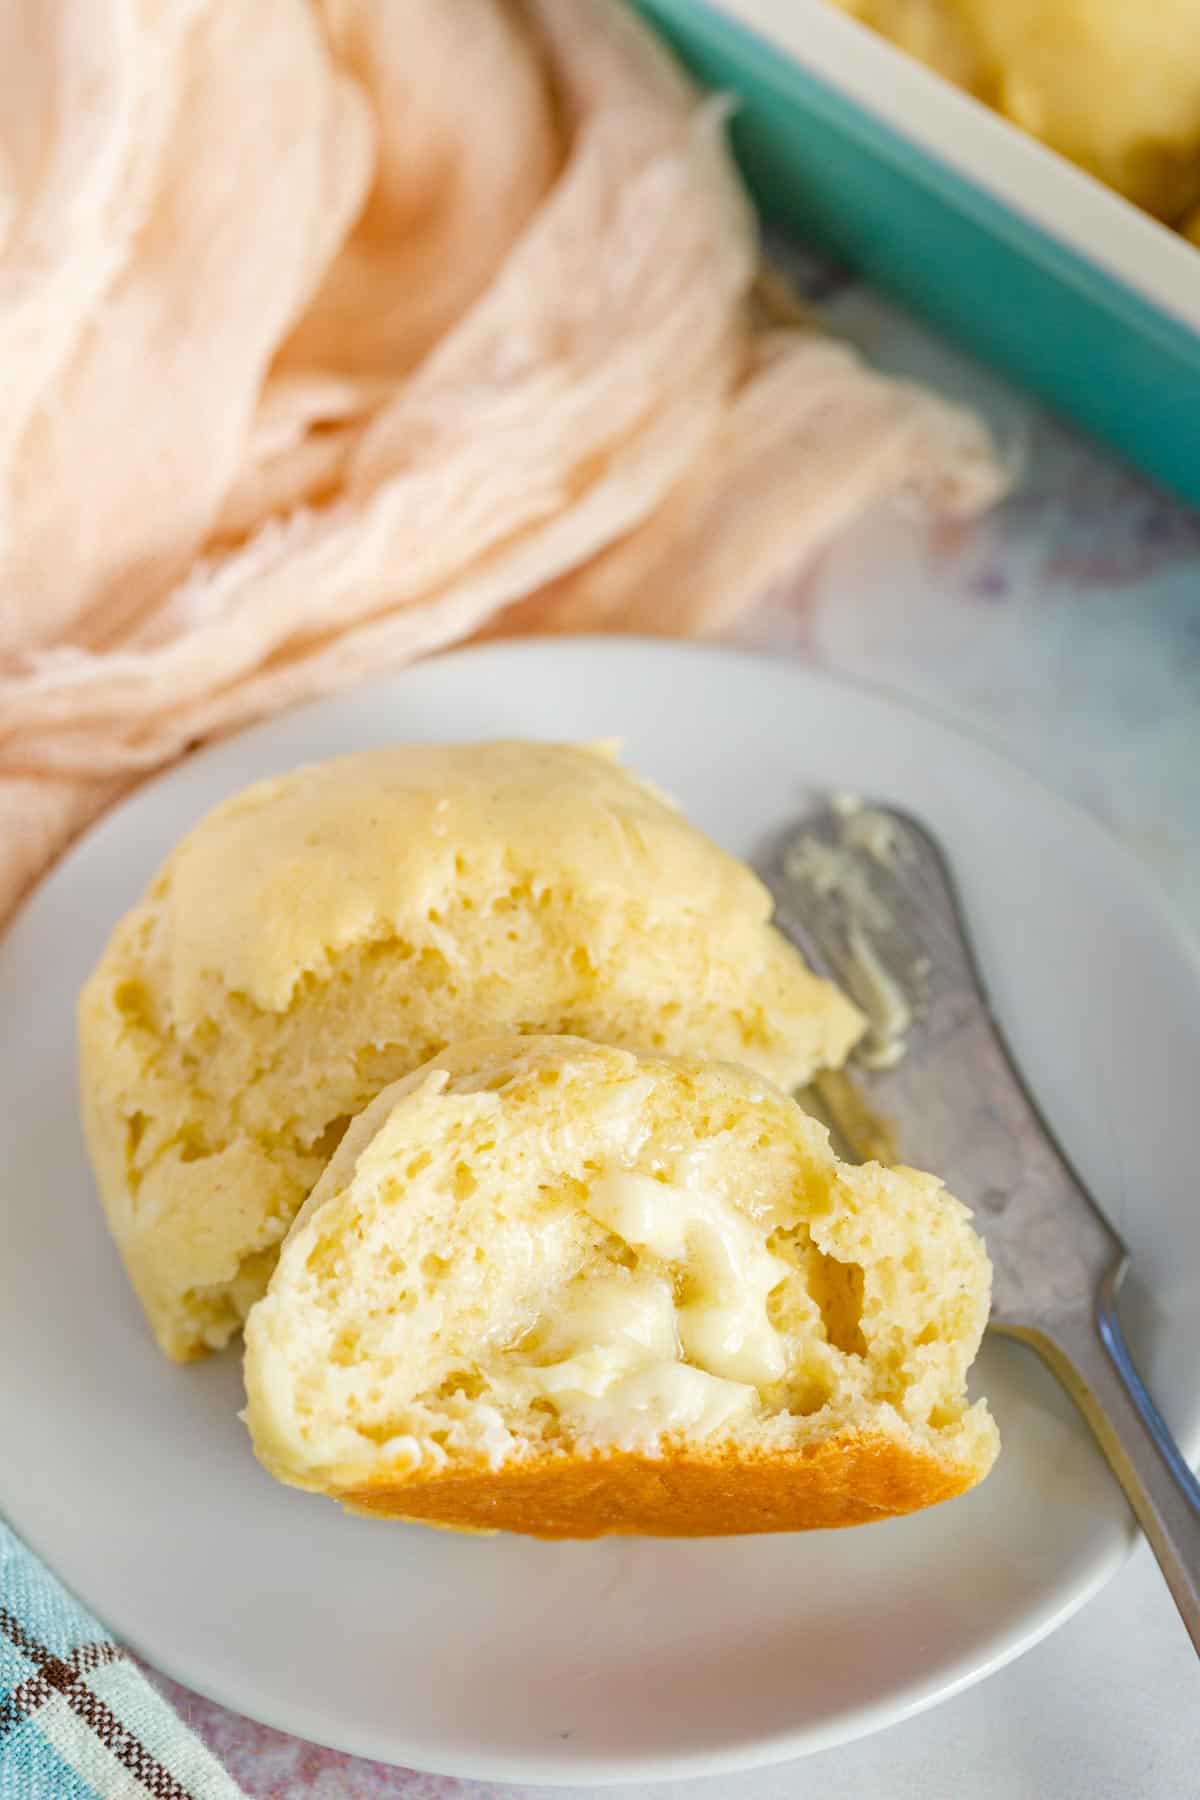
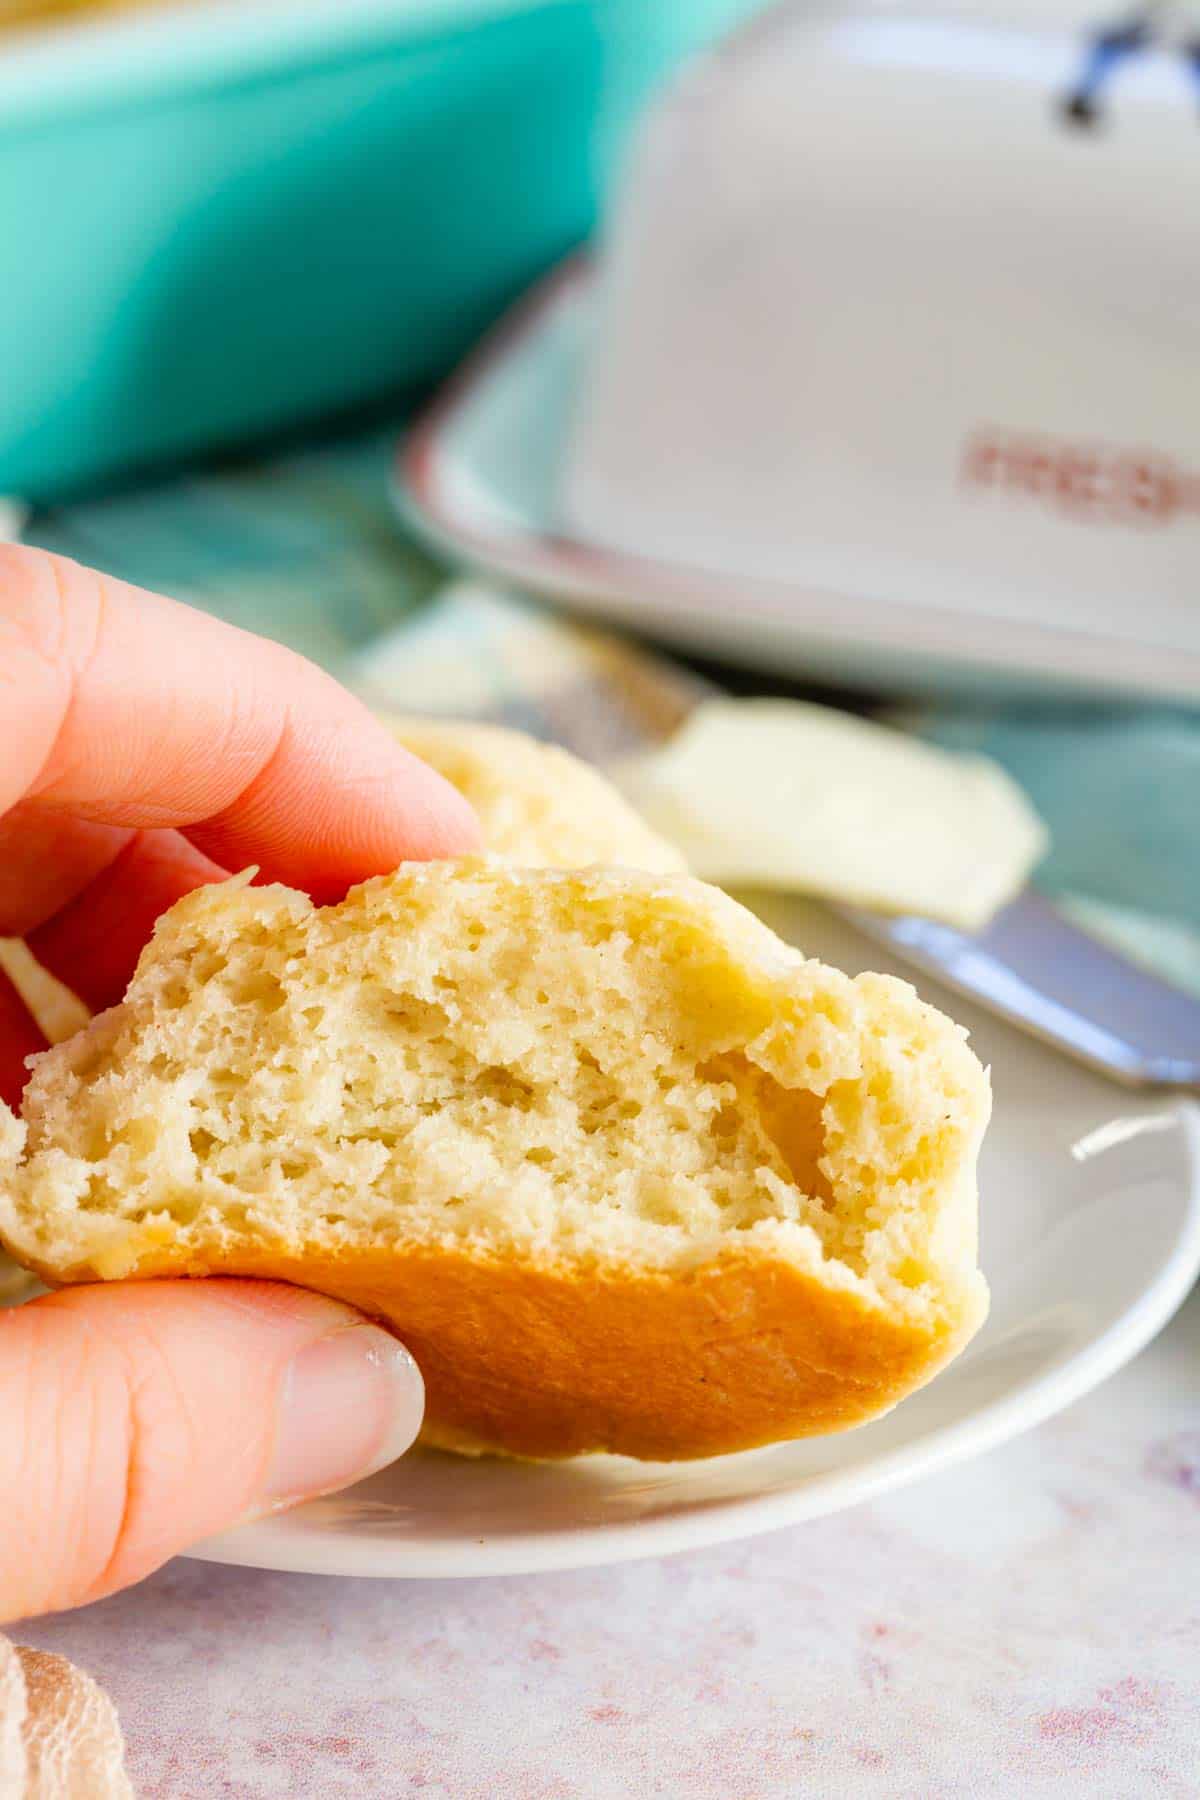
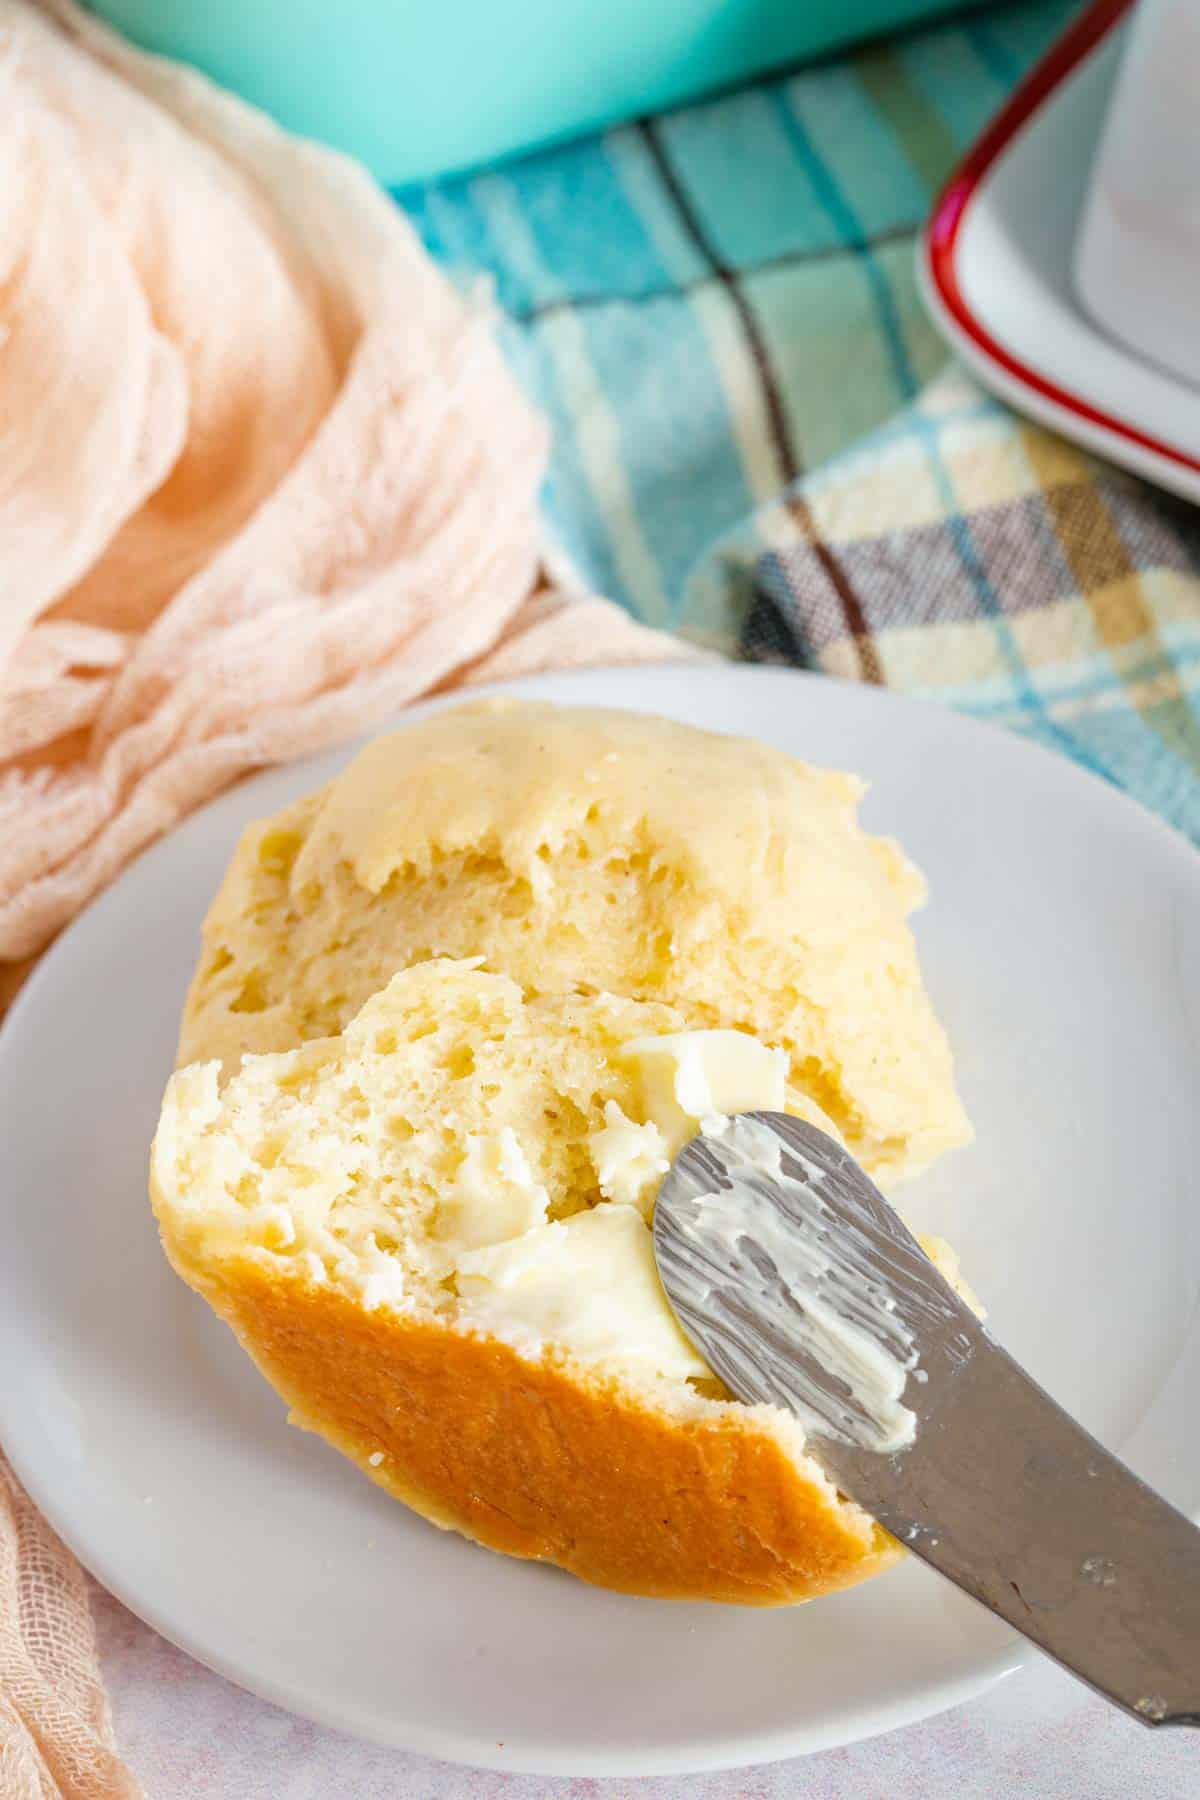
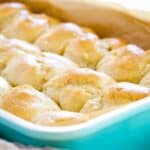
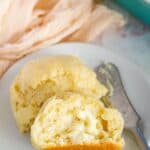
Whether it’s a holiday or a Sunday dinner, the meal isn’t complete without Gluten Free Dinner Rolls. With this recipe, you’ll end up with light and fluffy rolls you can slather with butter to enjoy with your favorite meals.
Why You’ll Love These Gluten Free Dinner Rolls
Fluffy, golden dinner rolls are a hallmark of holiday gatherings right alongside Herb Roast Turkey or a Pineapple Glazed Ham. But if you’re eating gluten-free, you might miss out on the carby deliciousness. Not anymore! This recipe for light and delicious rolls is just as tasty as any gluten-containing roll.
- Better than storebought. Those gluten free dinner rolls youget in a package at the grocery store just don’t cut it. Either they are grainy and practically disintegrate or they are hard and dense. These dinner rolls are nothing like that. Trust me. I tested this recipe over and over, and it was this final version that had my family pretty much completely fooled.
- Light and airy. The combination of a 1:1 gluten free flour with some extra tapioca starch gives the dough that stretch. Being gentle when lightly scooping the flour and keeping the dough a bit sticky ensures you don’t get a dense, dry roll. And beating it with a mixer until light gives it the elasticity to trap the bubbles from the yeast.
- Flexible. You can adjust the size and make larger rolls or smaller rolls, depending on what you prefer.
Ingredients in Gluten Free Dinner Rolls
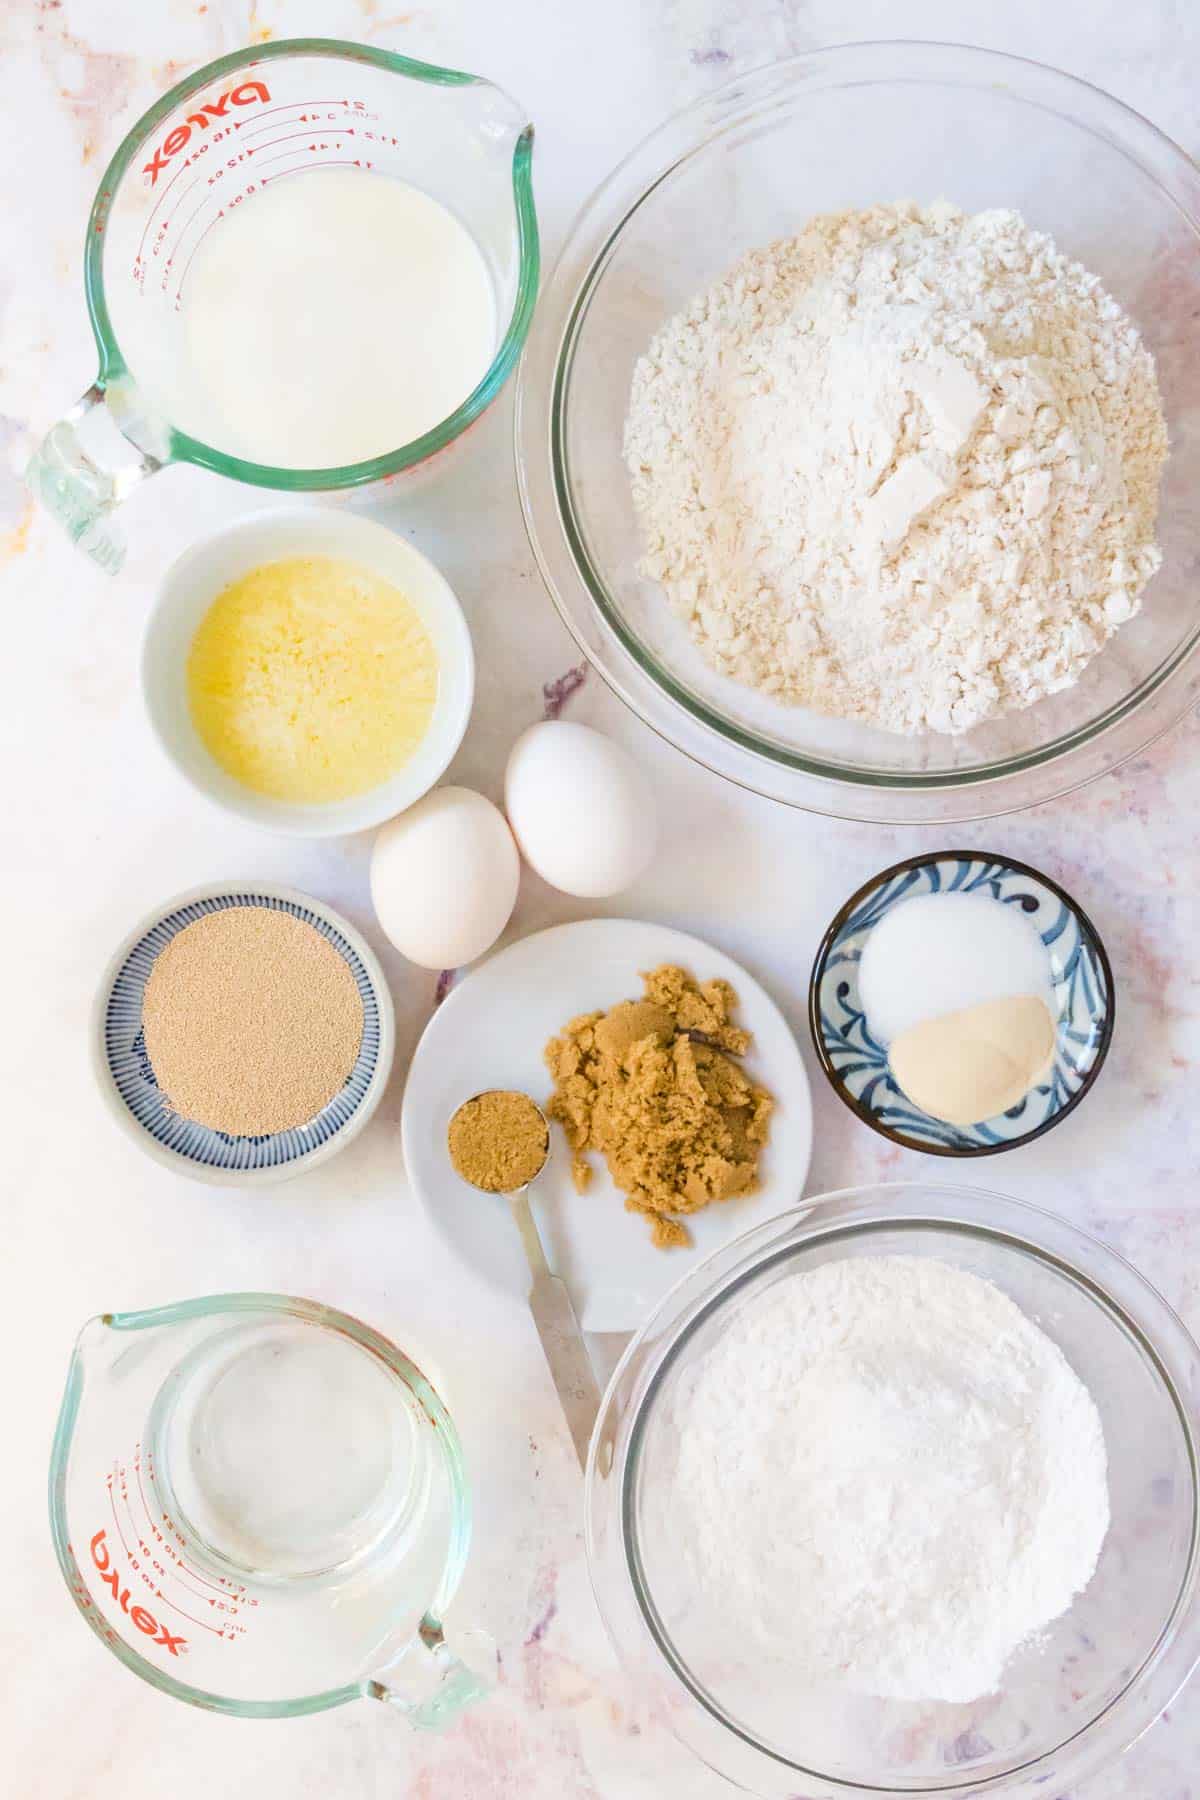
If you keep gluten free flour on hand, you might just have everything you need to make these gluten free rolls right away! Here is a quick overview. Be sure to scroll down to the recipe card for the full amounts.
- Warm water: You’ll want it about 90-110°F to be the perfect temperature to bloom the yeast.
- Active dry yeast: Just one packet or 2 1/4 teaspoons. You don’t need instant yeast for this recipe.
- Light brown sugar: Helps feed the yeast and gives a hint of sweetness and caramelization so the rolls brown.
- 1-to-1 gluten free flour: I tested this with King Arthur Flour Measure for Measure Gluten Free Flour. Pillsbury Multi-Purpose Gluten Free Flour is another option to try. Generally, Bob’s Red Mill 1-to-1 and Cup4Cup are generally not recommended for yeast doughs, though I have used them for pizza crust.
- Tapioca flour/starch: This adds a little extra elasticity to the dough.
- Xanthan gum: A little extra beyond what is in the flour blend for structure.
- Salt
- Melted butter: Unsalted, and let it cool a bit. You’ll want some more to brush on top of the rolls, too.
- Eggs: Let them come to room temperature.
- Milk: You’ll also want this at about 90-110°F so it keeps the yeast alive.
How to Make Gluten Free Rolls
Since gluten free yeast doughs don’t usually need a second rise time, you can easily put these together for dinner tonight, or even in the middle of preparing a holiday feast.
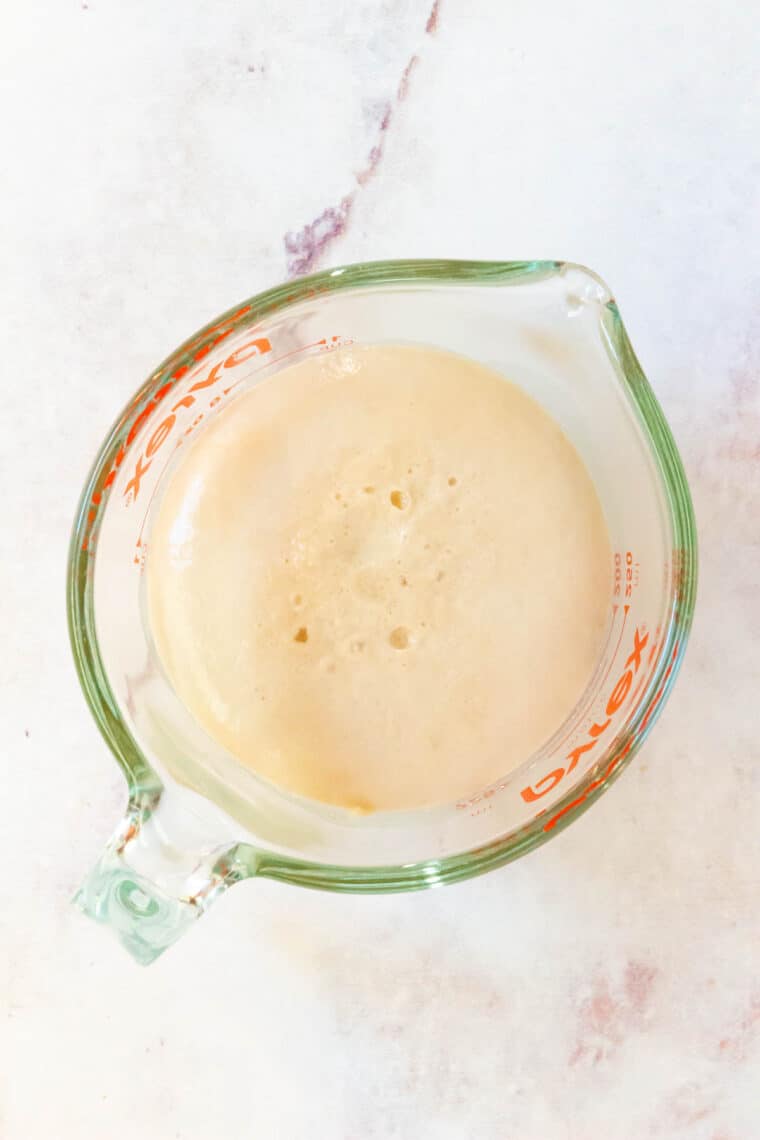
Preparations. Line a 9×13-inch baking pan with parchment paper. Stir the yeast and a teaspoon of the brown sugar into the warm water and set it aside for 5-10 minutes until it is bubbly. In the bowl of a stand mixer, combine the rest of the brown sugar, flour, tapioca starch, xanthan gum, and salt, and stir it all together.
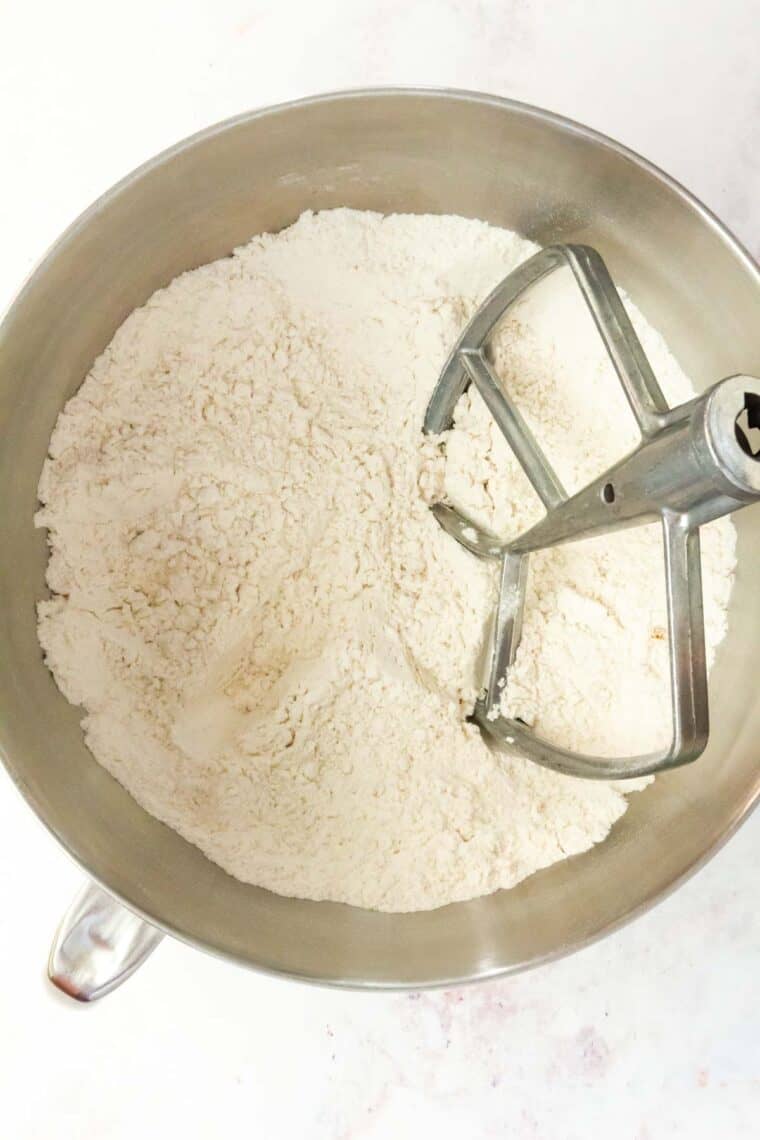
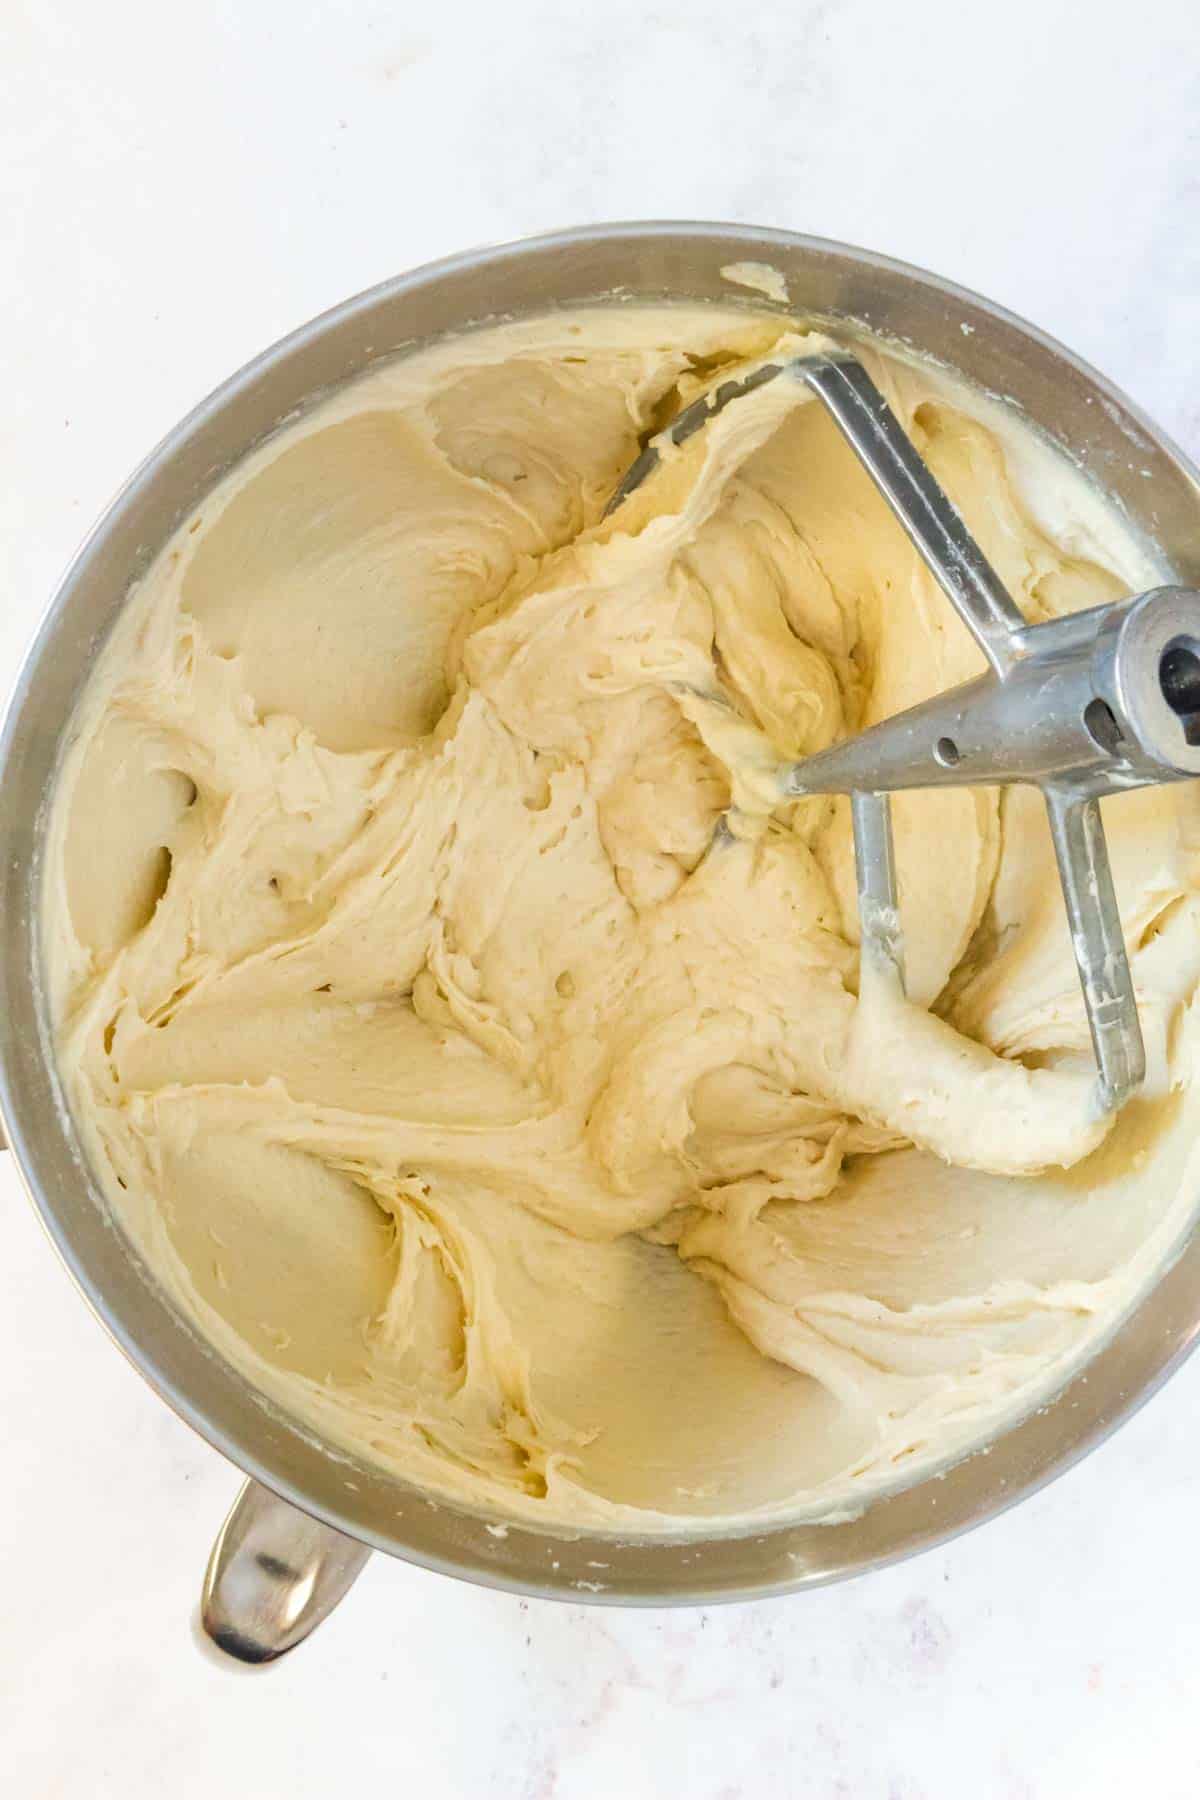
Make the dough. Once the yeast is activated, pour it into the flour mixture along with the butter, eggs, and milk. Start the mixer on low until it all comes together, adding another tablespoon or two of flour if it looks wet. It will be sticky, but it shouldn’t be liquidy. Then increase the speed to medium-high and mix for about 6 minutes until it sticks to the side and looks airy.
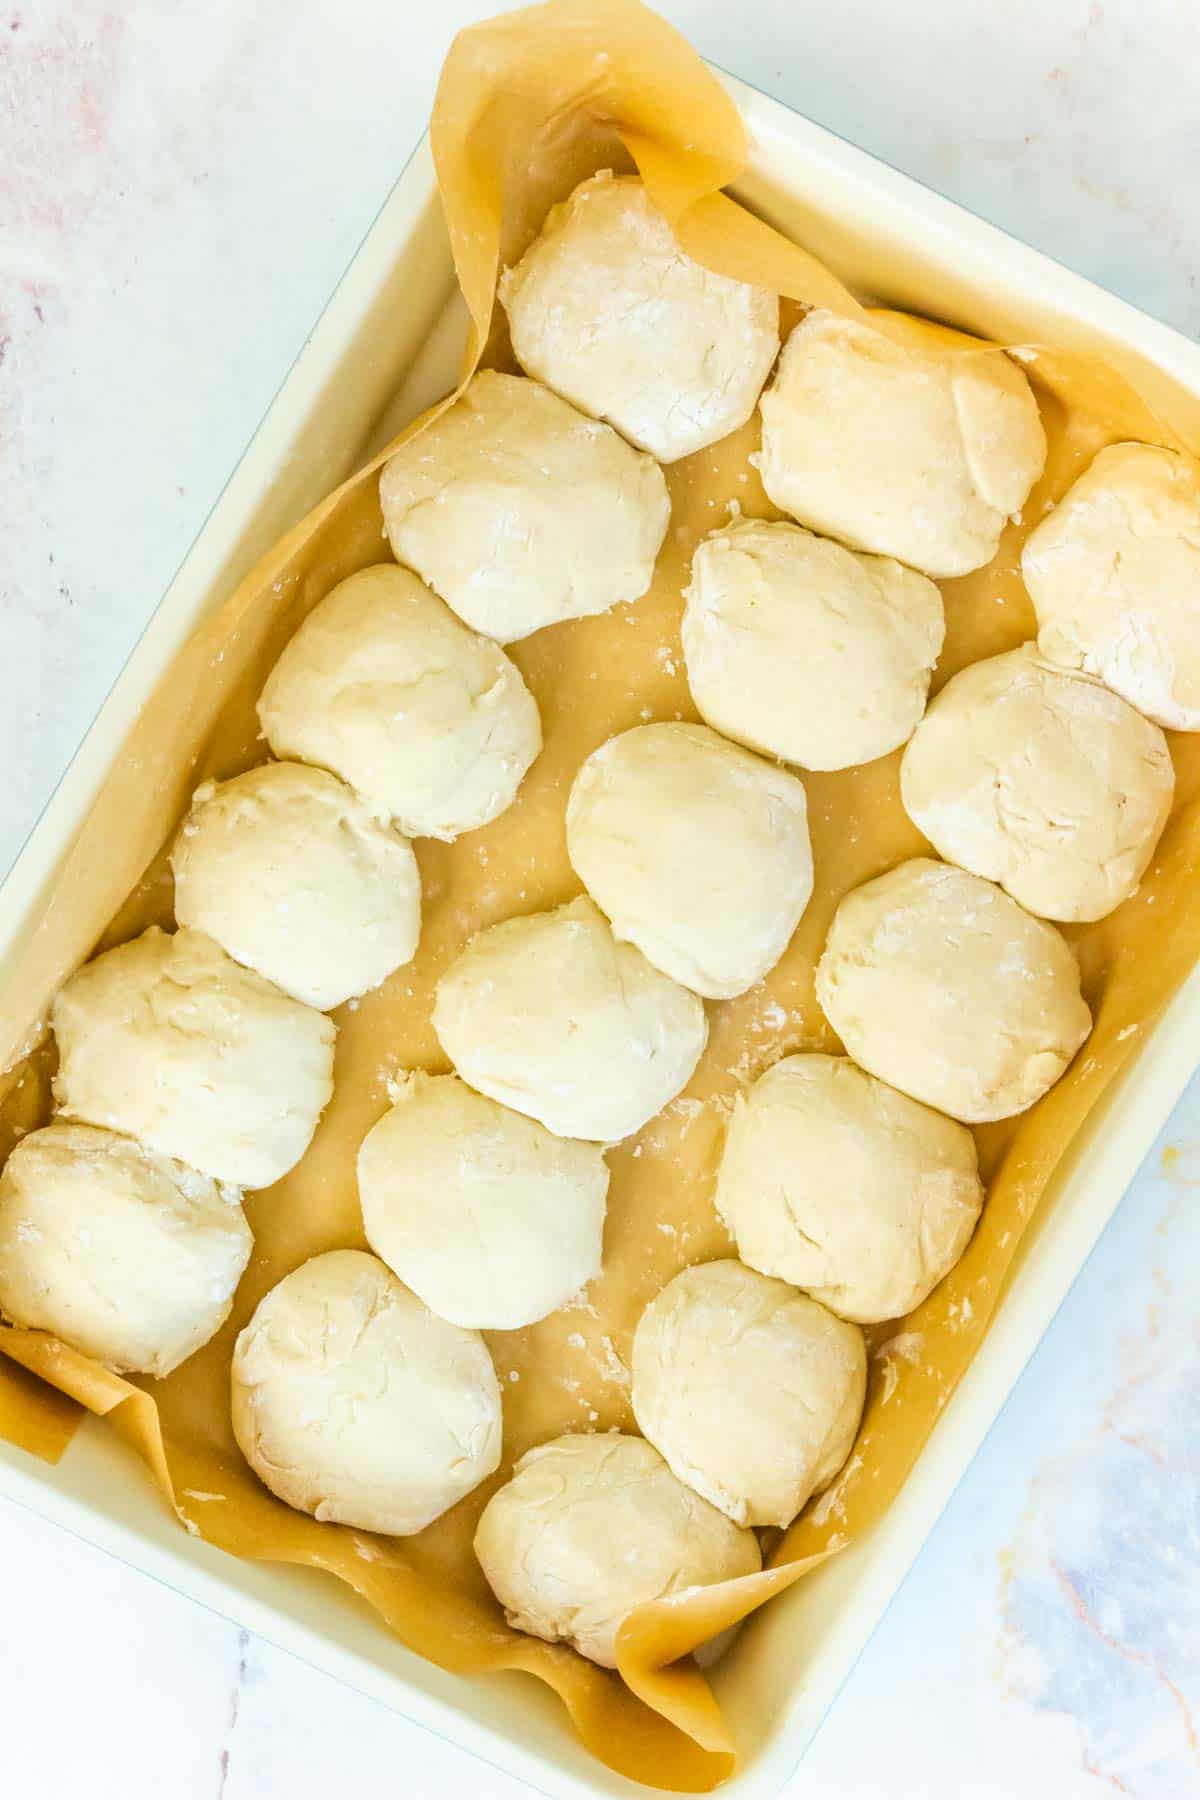
Form the rolls and proof. Form the dough into 12 to 16 rolls, depending on your preferred size. Because the dough is sticky, you’ll need to flour your hands and the surface well, preferably with tapioca starch. If you want a more smooth surface on your rolls, after shaping them, you can pat them down with slightly damp hands. Or you can use a scoop and scoop balls of dough right into the pan. Now let them rise for 20 to 25 minutes.
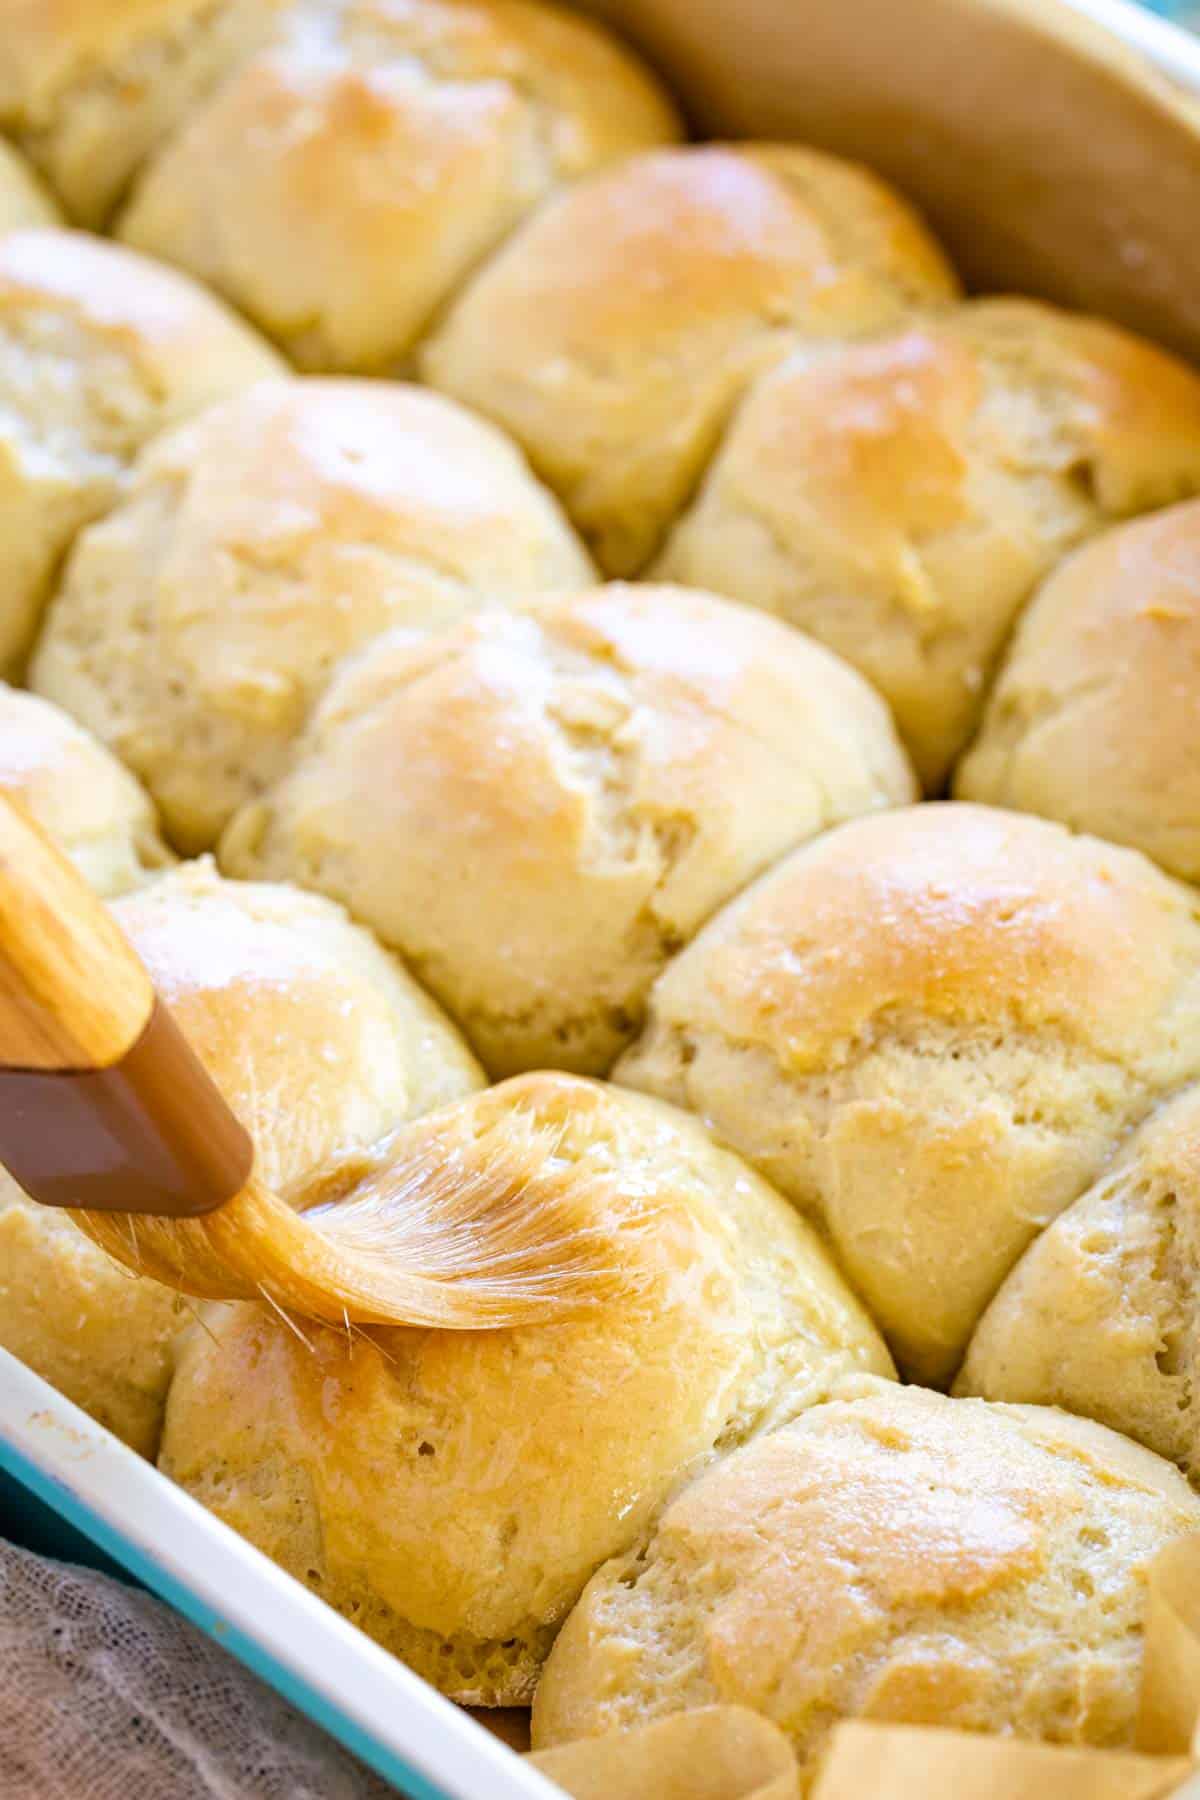
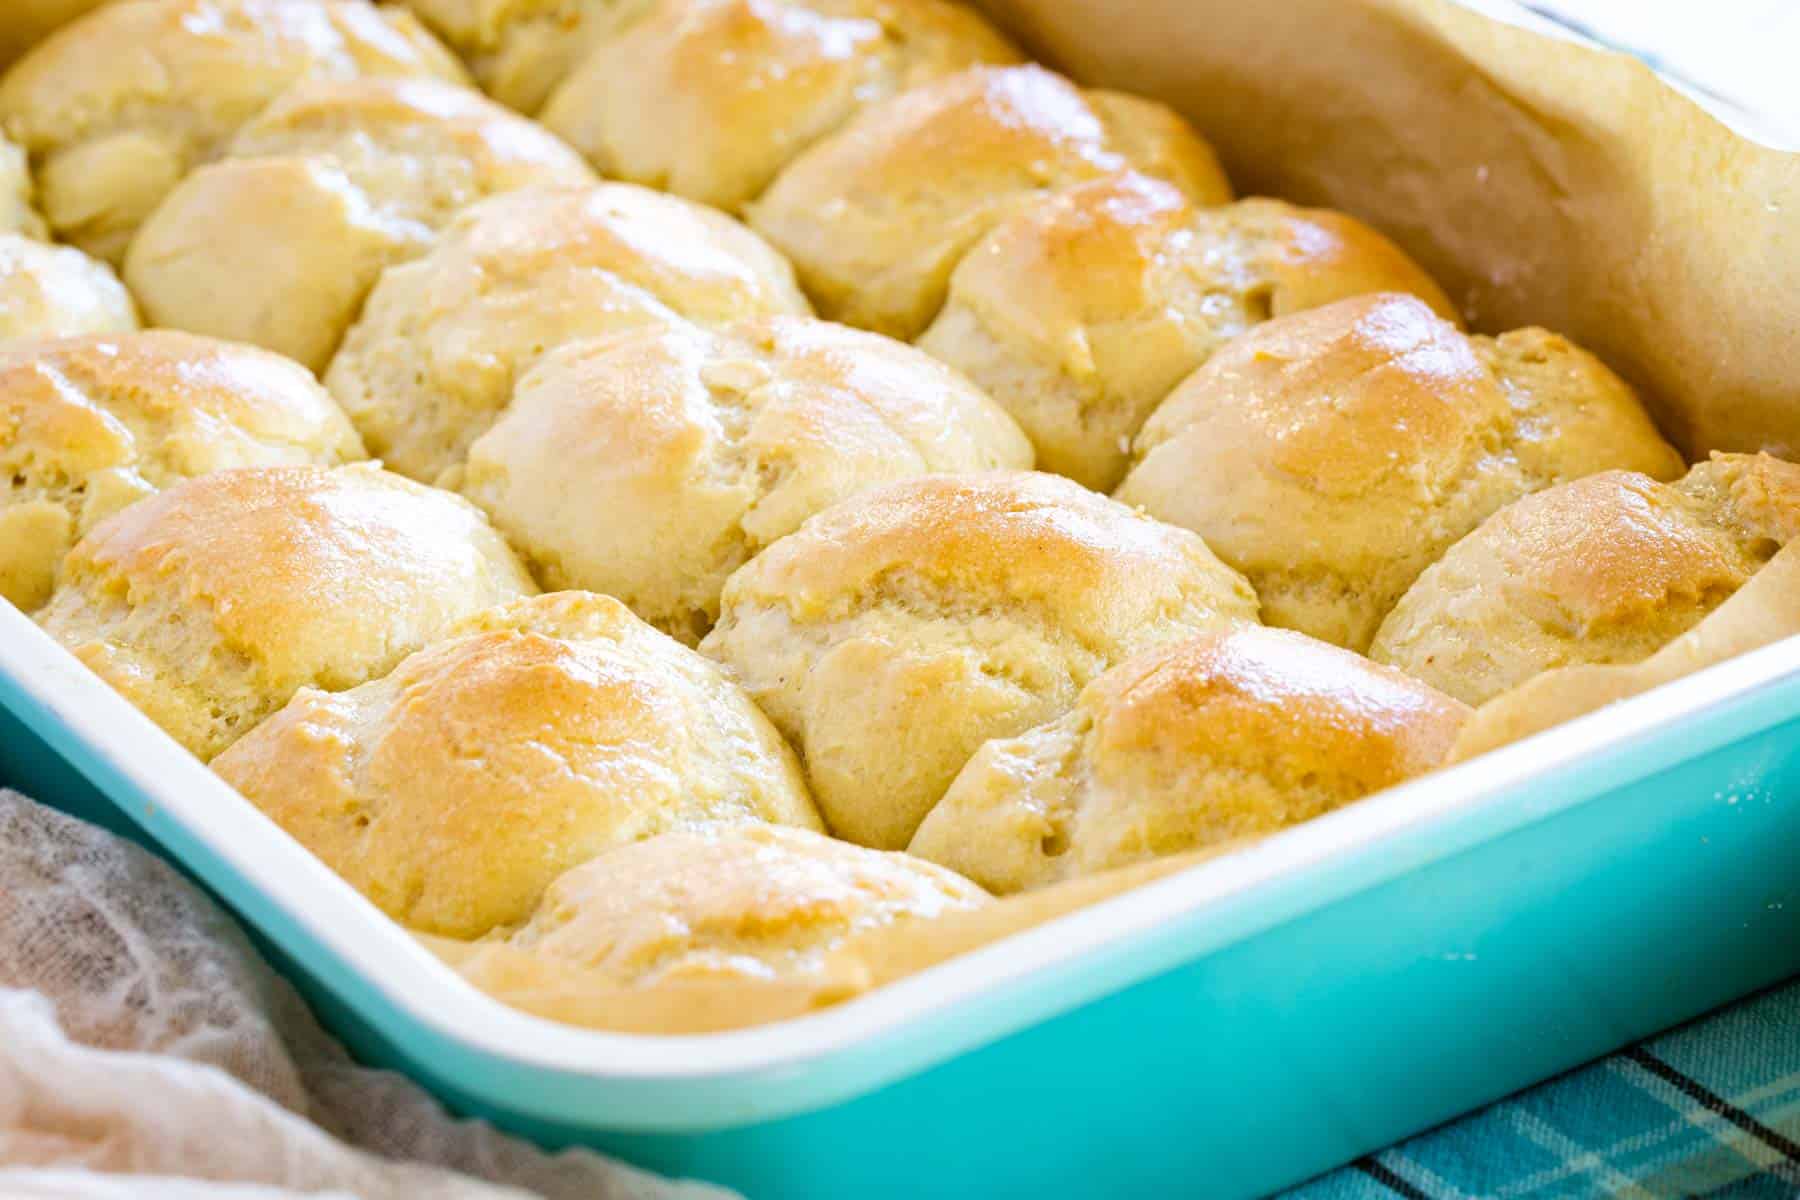
Bake dinner rolls. While the rolls are rising, preheat the oven to 350°F. Bake for 25-30 minutes or until golden-brown on top. Remove from the oven and brush with more melted butter. Enjoy while they are still warm.
Tips for Success
Gluten free baking does take some getting used to, especially when working with yeast. But with a few tips, you’ll end up with perfect results when you make this gluten free dinner roll recipe.
- Make sure your yeast is active. First, check the date on the package before using. Then make sure your water is between 90 and 110°F so you don’t kill the yeast. Then if it doesn’t get frothy and bubbly within 10 minutes after you mix in the water and sugar, it might be dead and you’ll need to start over with fresh yeast.
- Spoon the flour lightly or use a scale to measure it by weight. If you are using measuring cups, very lightly spoon it into the cup, then level with a knife. Never dip the measuring cup into the flour and scoop it up as this will pack in too much flour. You can always add more.
- If you forget to take the eggs out of the fridge, place them in a bowl and run warm water in for 5 minutes to let them come to room temperature.
- Beating the dough with an electric mixer ensures that all of the ingredients are well combined, the flour is hydrated, and your buns have a nice amount of fluffiness and air to them.
- The dough will be quite sticky. Flouring a work surface and your hands will help. I used a scoop to get the number of portions of dough I wanted right onto the floured surface, then lightly formed them into balls. You could also scoop the dough right into the pan, but then you might not know how many you’ll end up with.
Storage Suggestions
Store leftover dinner rolls in an airtight container in the fridge for up to three days. I recommend serving them warm, so you can reheat them in the oven by wrapping the rolls in tin foil and heating them in a 350°F oven for 5-10 minutes. Or microwave them for 30 seconds to 1 minute.
Can I Freeze Dinner Rolls?
Yes, these gluten free rolls freeze well. Allow them to cool completely, then freeze in an airtight container or zip-top bag for up to three months. When you’re ready to serve, thaw the rolls at room temperature for a few hours. You can warm them in a 350°F oven wrapped in tin foil for 5-10 minutes or until warmed through. Or microwave them for 30 seconds to 1 minute.
Make it a Meal
I do love to scoop up some Chicken Corn Chowder or Cream of Mushroom Soup, or even the sauce form this Baked Pumpkin Penne with these gluten free dinner rolls. But the best thing to do is to serve them alongside a Sunday Bottom Round Roast or a holiday meal with my other favorite side dishes.
- Maple Cinnamon Mashed Sweet Potatoes
- Roasted Brussels Sprouts and Butternut Squash
- Gluten Free Stuffing
- Corn Pudding Casserole
Also, if you want to make them extra special, set out a bowl of Cranberry Orange Butter for spreading.
Shop the Recipe
GLUTEN FREE FLOUR – this recipe has been tested with King Arthur Measure for Measure Gluten Free Flour. Other brands may give you different results.
TAPIOCA FLOUR – also known as tapioca starch, is essential in addition to the baking flour blend.
PARCHMENT PAPER – whenever possible, I line my baking pans with parchment paper to make my gluten free baked goods easier to remove.
STAND MIXER – a paddle attachment on a KitchenAid Mixer makes it easy to max this dough.
Gluten Free Dinner Rolls
Ingredients
Rolls
- ½ cup warm water (90-110°F)
- 1 packet active dry yeast (or 2 1/4 teaspoons)
- 3 Tablespoons brown sugar, divided
- 3 cups 1-to-1 gluten-free flour, about 12.4 oz (I used King Arthur Measure-for-Measure) plus additional if needed
- 1 cup tapioca flour, about 4 oz.
- 1 teaspoon xanthan gum
- 1 ½ teaspoons salt
- ¼ cup unsalted butter, melted and cooled
- 2 eggs, at room temperature
- 1 cup milk, warmed to 90-110°F
- 2 Tablespoons unsalted butter, melted
Instructions
- Grease or line a 9×13-inch baking dish.
- In a small bowl, combine the water, yeast and 1 teaspoon brown sugar. Let this sit for 5-10 minutes, until frothy and bubbly.
- In a mixing bowl, combine the remaining 2⅓ tablespoons brown sugar, both flours, xanthan gum, and salt until uniform.
- Add the melted and cooled butter, eggs, and milk. Mix on low speed until the dough starts to come together. Add more all-purpose flour if necessary (I added another 2 tablespoons). It will be sticky. Turn the mixer to medium-high and mix the dough for about 6 minutes, or until it sticks to the sides of the mixing bowl and looks airy.
- Divide the dough into 12-16 equal portions on a work surface floured with tapioca starch. Roll each piece of dough into a smooth, round ball using floured hands.
- Place the buns into the prepared pan. They will almost be touching. You can smooth them with slightly damp hands, if desired.
- Cover the pan with a dish towel or greased plastic wrap and place somewhere warm to proof for 20 to 25 minutes, until the buns are puffy.
- Preheat the oven to 350°F.
- Bake the rolls for 25-30 minutes, until golden brown and firm in the center.
- When the rolls come out of the oven, brush generously with the melted butter. Serve warm.







You never say when to add the yeast.So I added it at the end. Recipe not good without this instruction! Also, it was literally like cake batter even after adding 3 T flour. A nightmare to make into rolls . I checked amounts carefully.
I’m sorry you were not happy with this. However, the yeast is in Step 2, and that could have led to the subsequent problems in the recipe. Did you use the recommended flour? The dough is moist, but that’s the only way to keep the rolls fluffy. I give multiple tips for how to handle the sticky dough.
Have you tried making these dairy and egg free? If so, what did you use?
I’m sorry, I have not. I’m not really experienced with dairy- and egg-free baking. In some cases I know a dairy free substitution would work, but I’m not sure about this recipe.
What size scoop do you use?
I use a lrge cookie/cupcake scoop. It holds about 1/4 cup.
This is perfection. The rolls turned out perfectly and are the closest thing I’ve had to “regular” rolls in the 7 years I’ve been gluten free! The method is so simple, too! I’ll definitely be making these again and again.
I am so happy to hear this! Thanks for letting me know!
Taste was great! I made two attempts- first one did NOT rise at all. Second attempt, they did rise but not as much as they should have. I did make sure to use a warm place with no drafts. I used the King Arthur measure for measure flour as suggested. And they do not keep well. Very dry the next day.
Hi Kim, I am sorry to hear this. I found they don’t actually need to rise a ton before baking to still turn out fluffy. The key is to be very gentle with measuring the flour or do it by weight. Try popping them in the microwave or covered and back in the oven the next day – I actually rewarmed mine a week later and they were great! It definitely revives them as gluten free breads and rolls can get dry or dense once they are cooled and sit overnight.