
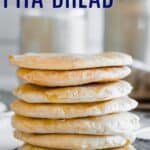
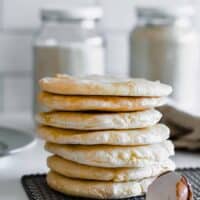
Gluten Free Pita Bread


I can’t wait to show you how easy it is to make lightly chewy Gluten Free Pita Bread from scratch. If you love scooping up hummus with pita or stuffing it with your favorite fillings, and are missing out on this classic Middle Eastern flatbread, you don’t have to search endlessly in grocery stores anymore. Whip it up yourself in under 30 minutes and enjoy it with anything and everything!

Delicious Details
- Cuisine Inspiration: Middle Eastern
- Primary Cooking Method: Oven
- Dietary Info: Gluten-free
- Skill Level: Easy
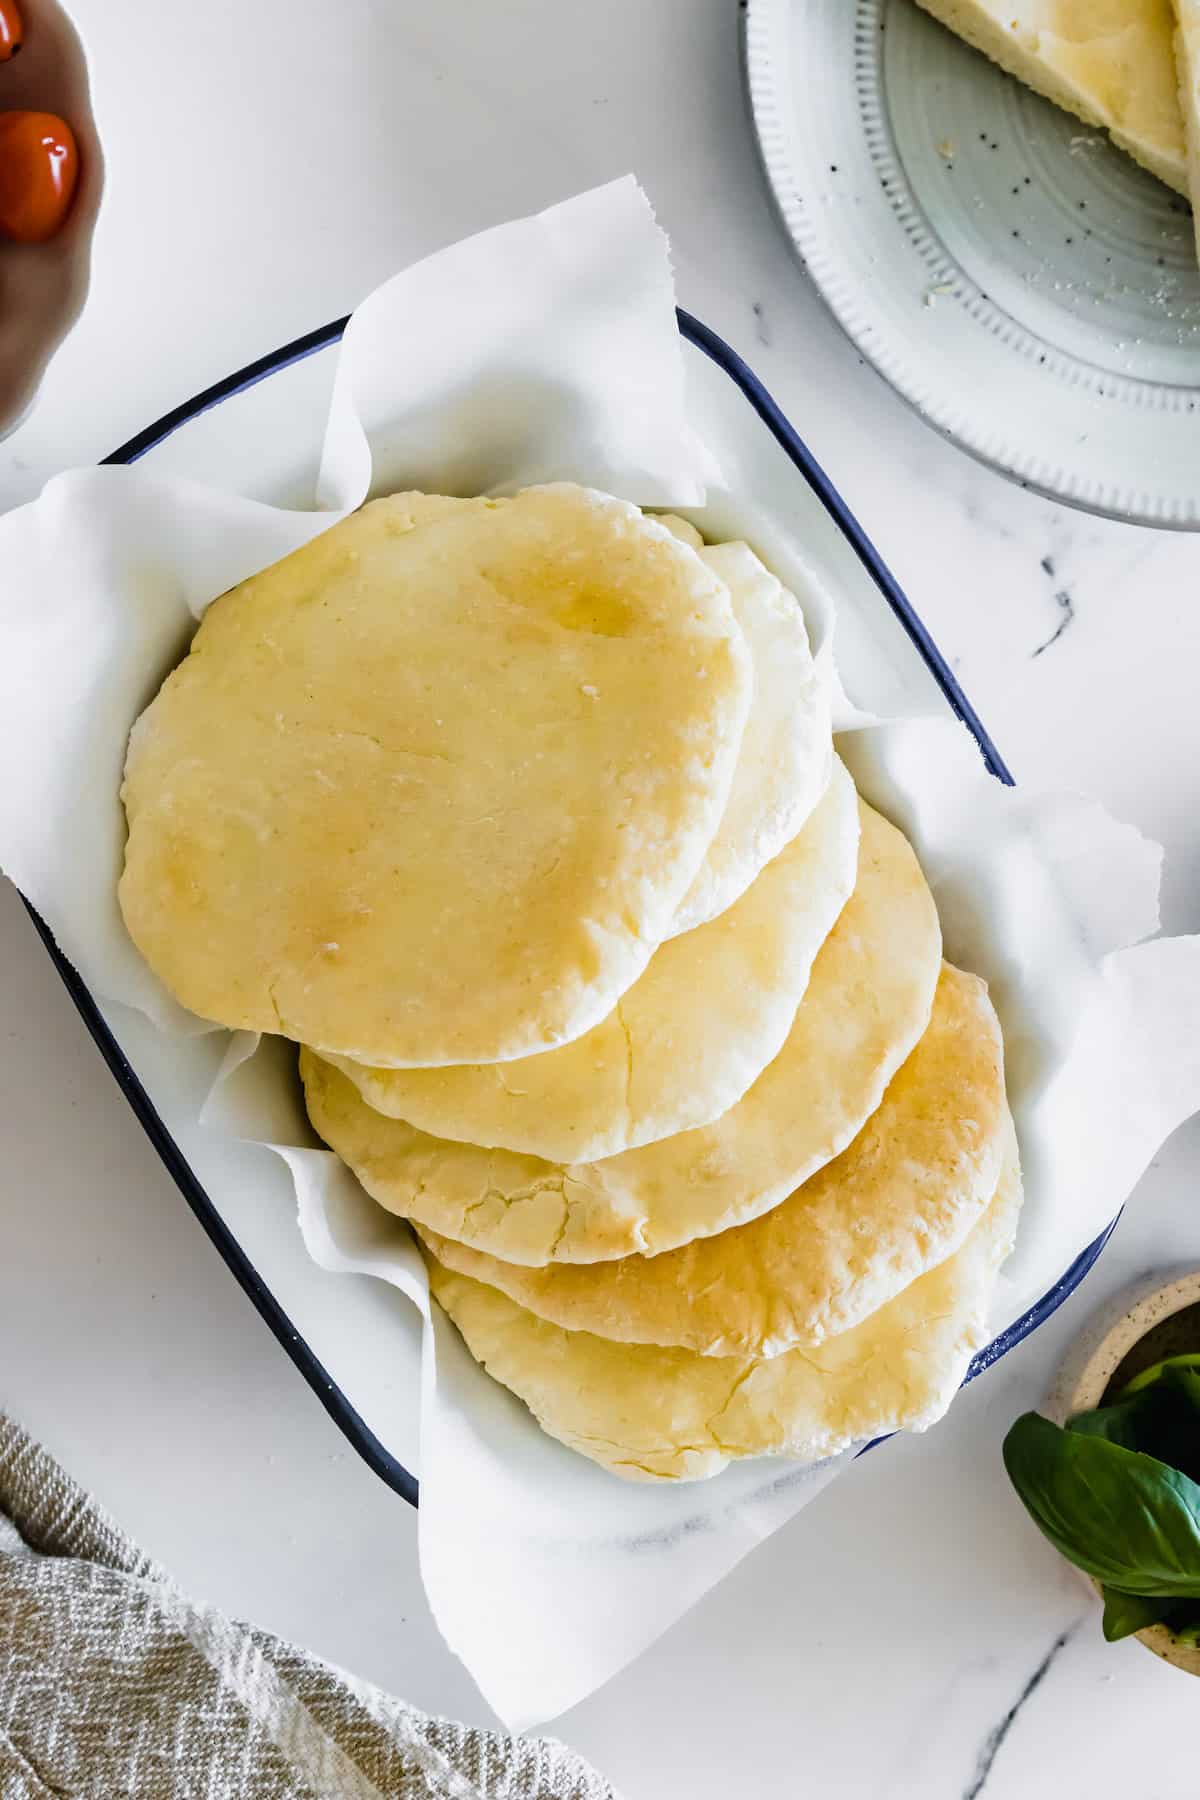
Does pita bread even need an introduction? You are probably already familiar with this dough-based flatbread with a round shape and a pillowy soft texture. The cool thing about the original Middle Eastern pita bread is that it’s actually hollow! That means you can stuff all sorts of yummy fixings inside it. Greek- and Mediterranean-style pita is thicker and not hollow, but it’s still perfect to scoop up homemade hummus or make wraps with Greek chicken and more.
The downside, though, is that your traditional pita bread is NOT gluten free. And gluten free pita isn’t always available in grocery stores. That’s why I’m sharing this classic pita bread recipe that’s also gluten-free!
Easy Gluten Free Pita Bread Anyone Can Make
Here’s why you’ll love it!
- Simple ingredients. Eight ingredients are all you need to make perfect gluten-free pita bread. And it’s truly the basics, so you may already have everything in your fridge and pantry.
- Takes about 30 minutes. There’s no yeast or rise time for this flatbread. Just mix, shape, and bake.
- Works for everyone. Now, even GF folks can enjoy pita however they please. And if you aren’t gluten-free, you can just use all-purpose flour instead of gluten-free flour. Either way, if you stick with this recipe, you’re guaranteed to bake up the very best pita bread every time!
⭐️⭐️⭐️⭐️⭐️ Review
Perfect! I loved these pita breads. They were puffy, soft inside and I will make more… I used King Arthur flour, which is my go to, but…thank you. I can’t wait to make more of your recipes. So many good one to chose from. -N
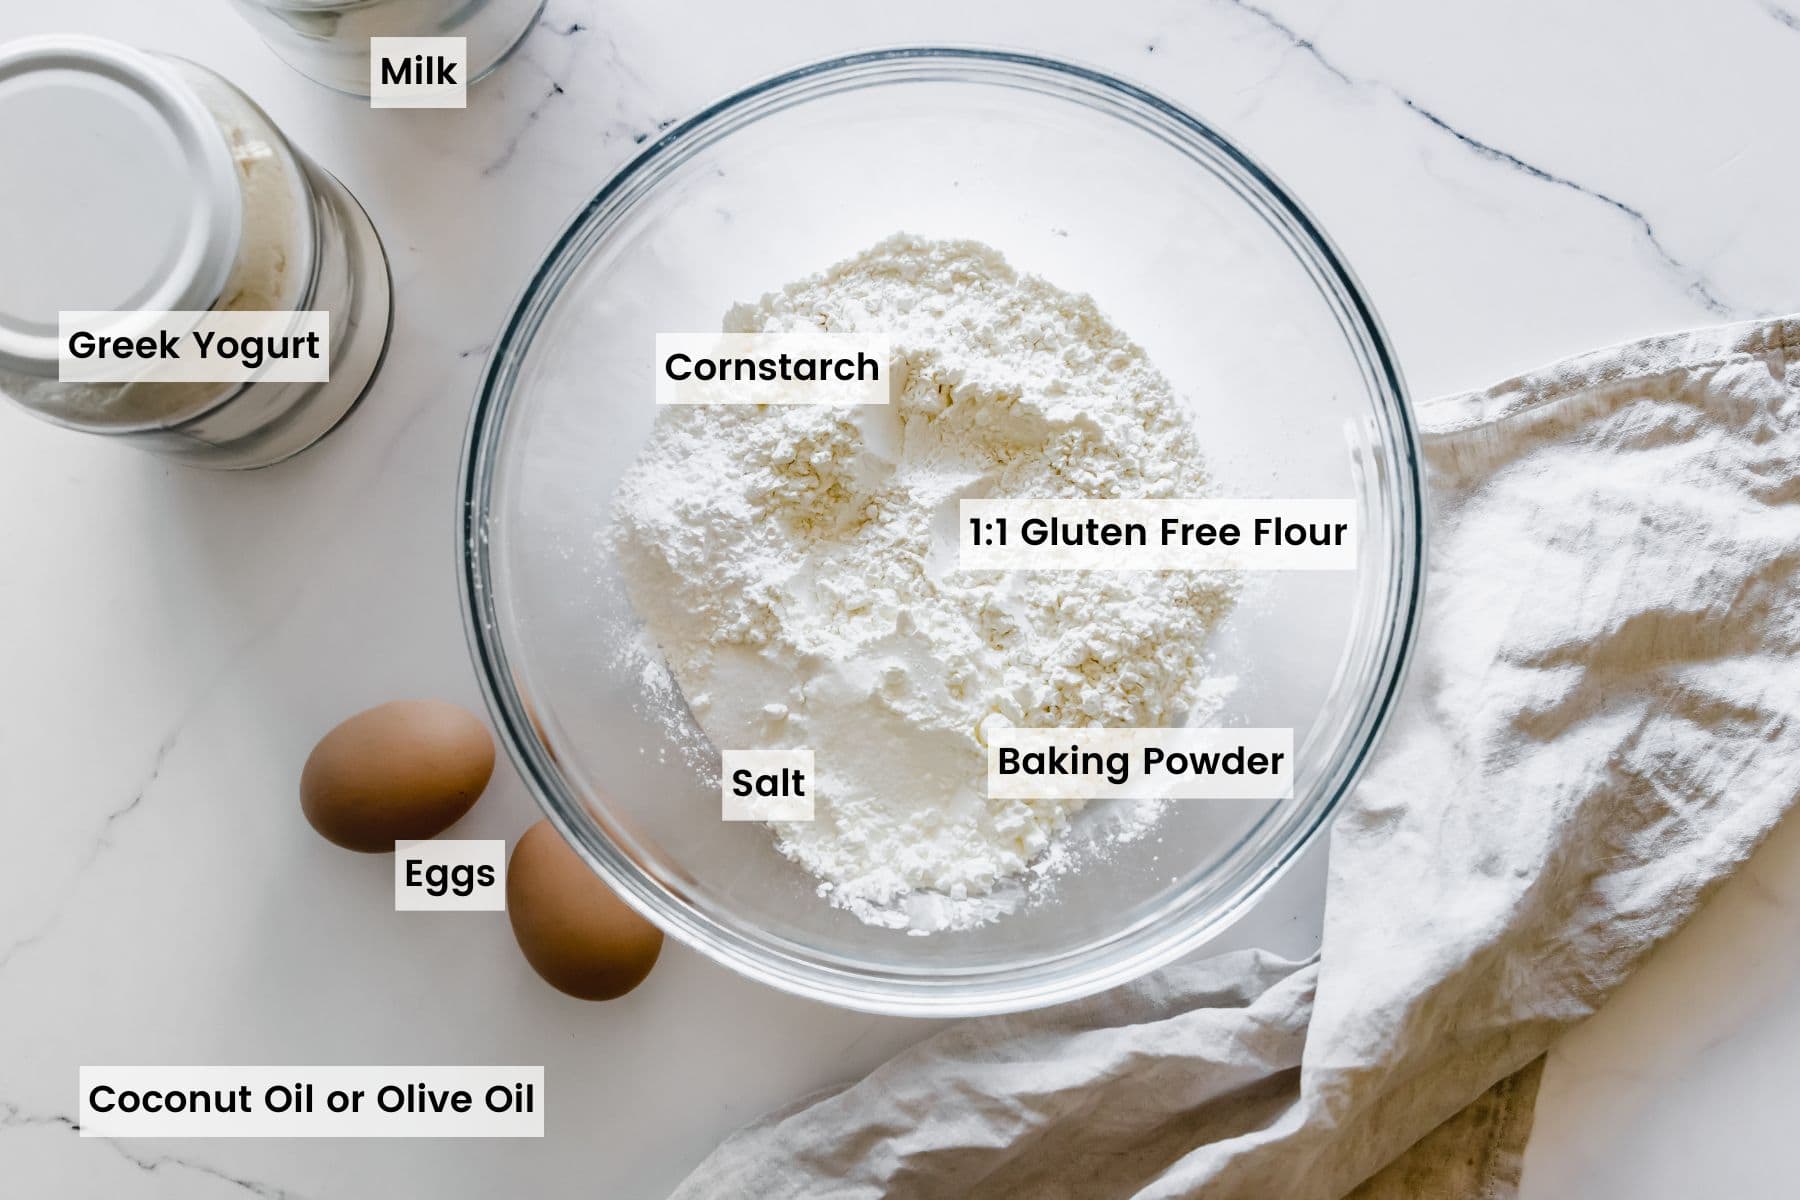
Recipe Ingredients
With only a handful of kitchen staples in the ingredient lineup, this gluten free pita bread recipe is always convenient. Here’s a quick overview. You’ll find the full amounts and step-by-step instructions in the recipe card at the bottom of the post.
- Gluten-Free 1:1 Flour: Double-check that the label says that it is a 1-to-1 blend to make sure it’s the right kind of flour. Readers have said Cup4Cup gives the best results. I have used King Arthur Measure for Measure.
- Cornstarch: To give the dough its lighter texture.
- Baking Powder: Not baking soda.
- Salt
- Milk: Use whatever kind of milk you have on hand.
- Eggs.
- Plain Greek Yogurt: For extra soft and fluffy bread.
- Coconut Oil: Melted. You can also use olive or vegetable oil, if that’s what you have on hand.
🍴 In the Cupcakes & Kale Chips Kitchen…
- Pans and parchment. Here is yet another recipe where I break out my favorite baking combination of Nordicware sheet pans lined with pre-cut sheets of parchment paper. The pans are light but sturdy, and the parchment prevents sticking, it perfectly sized, and won’t curl up while you are tryign to transfer the pita to the pan.
How to Make Gluten Free Pita Bread
Making pita is nice and simple, and it takes less than 30 minutes total! Take a look at the photos here, then follow the detailed instructions in the recipe card.
- Prep for Baking: Preheat the oven to 400°F and line a baking sheet with parchment paper.
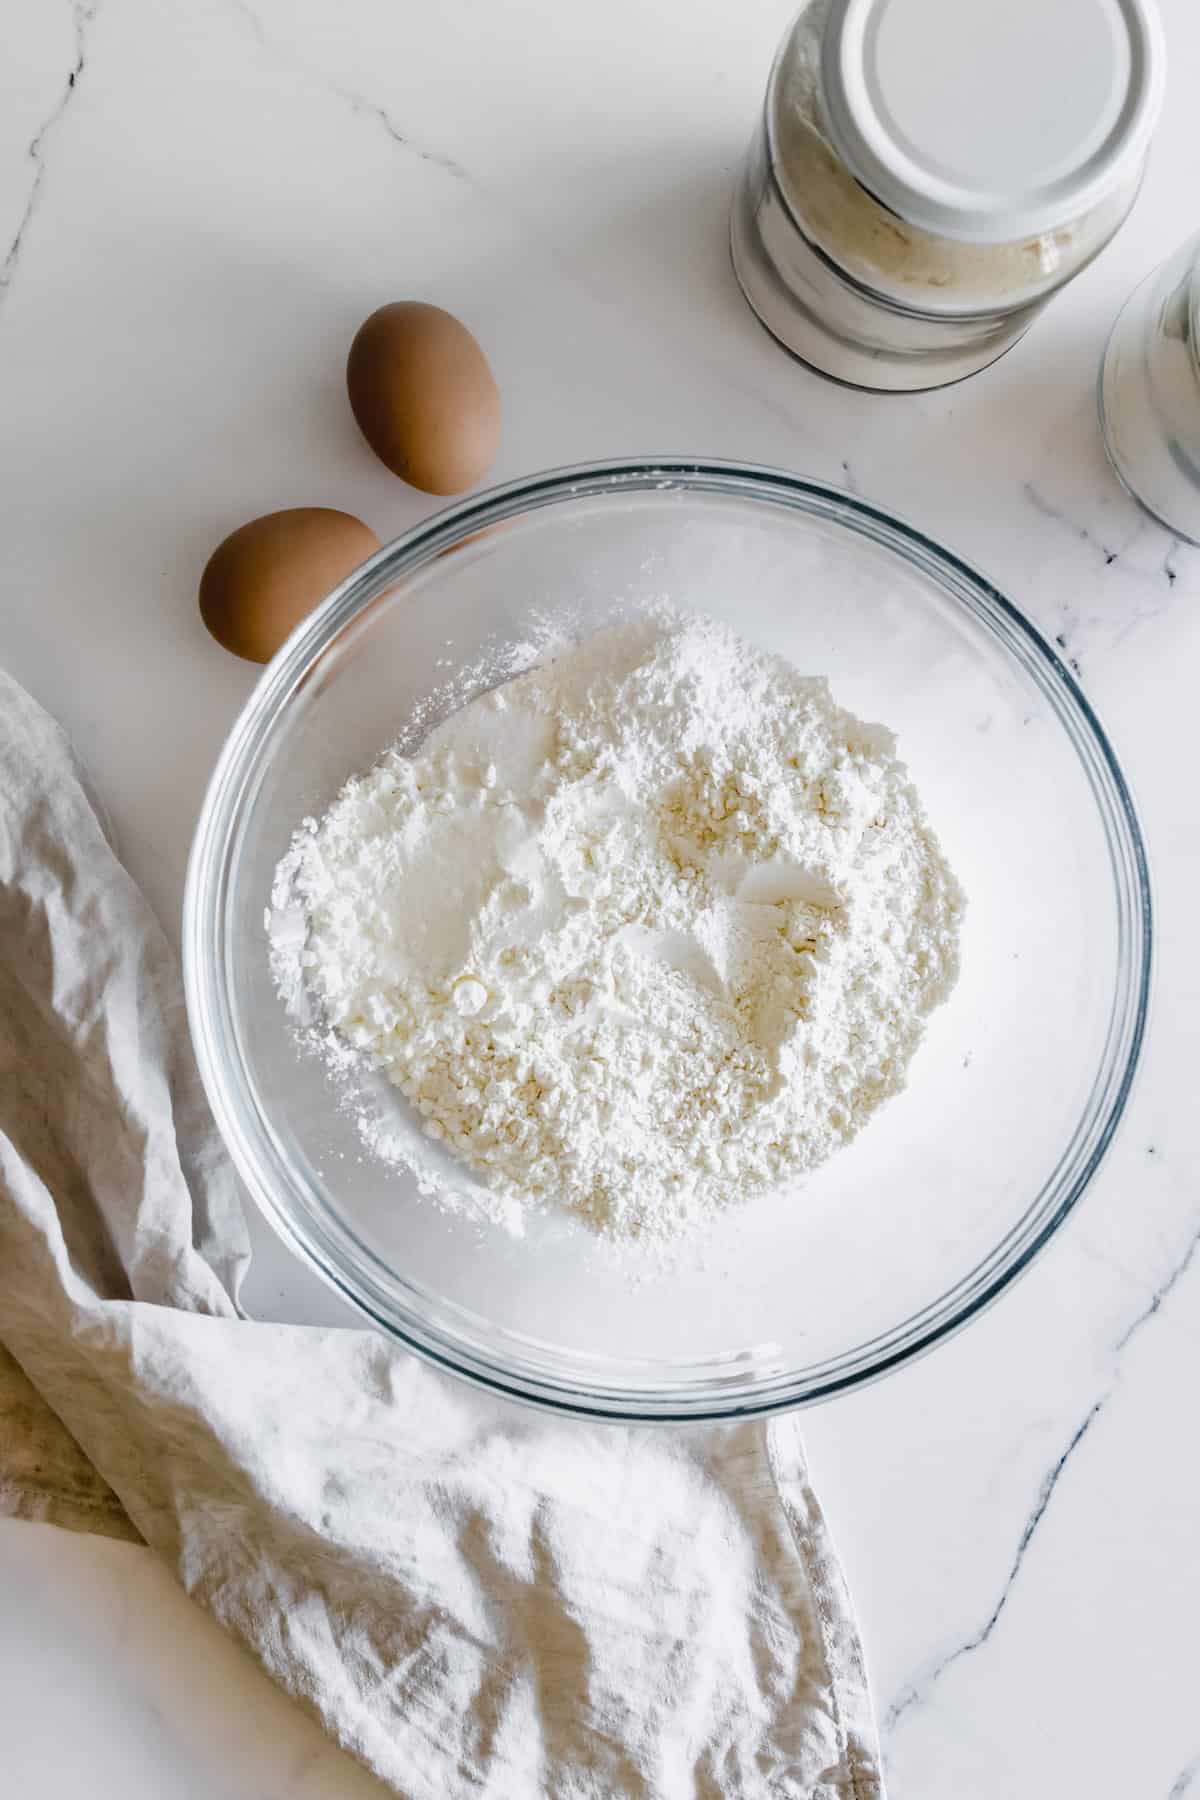
- Mix Dry Ingredients: In a large mixing bowl, whisk together the flour, cornstarch, baking powder and salt.
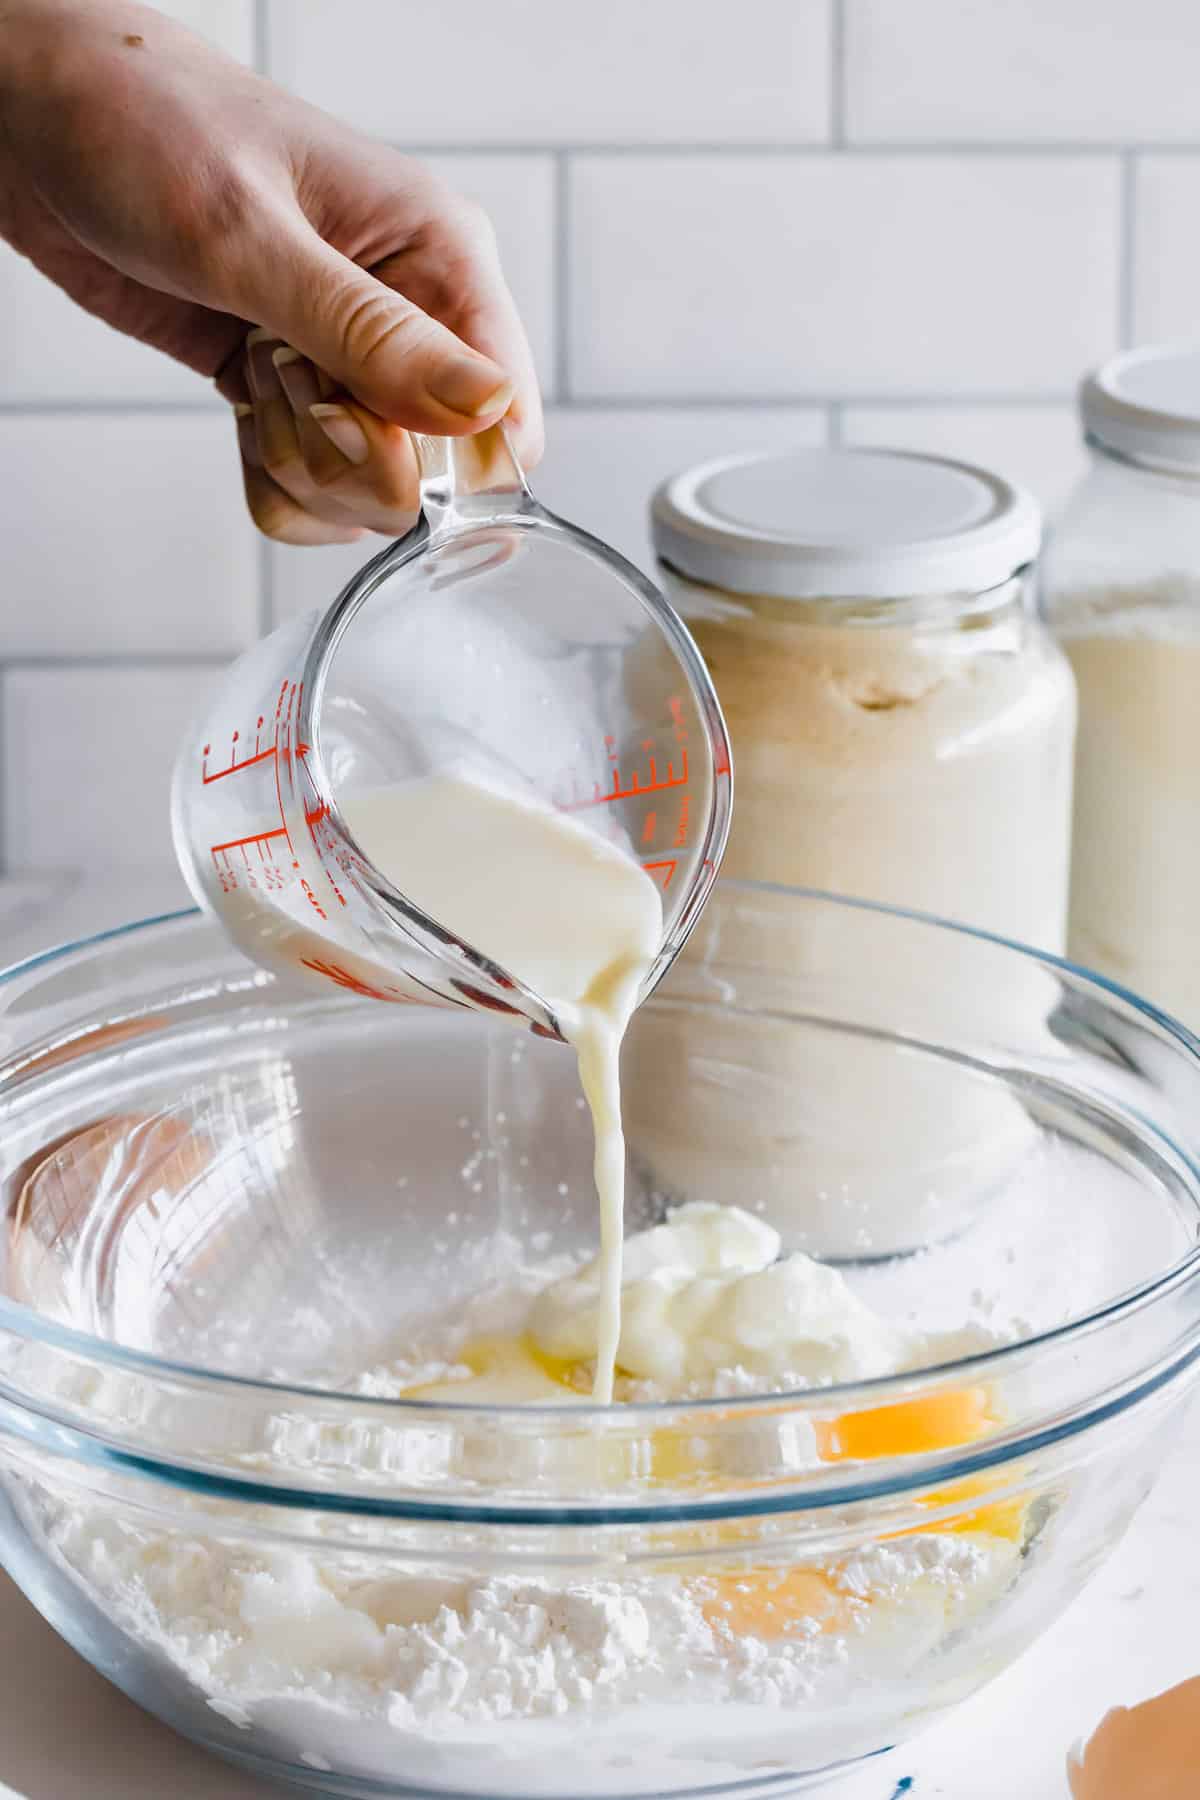
- Mix Wet Ingredients: In a separate bowl, whisk together the coconut oil, eggs, milk and yogurt.
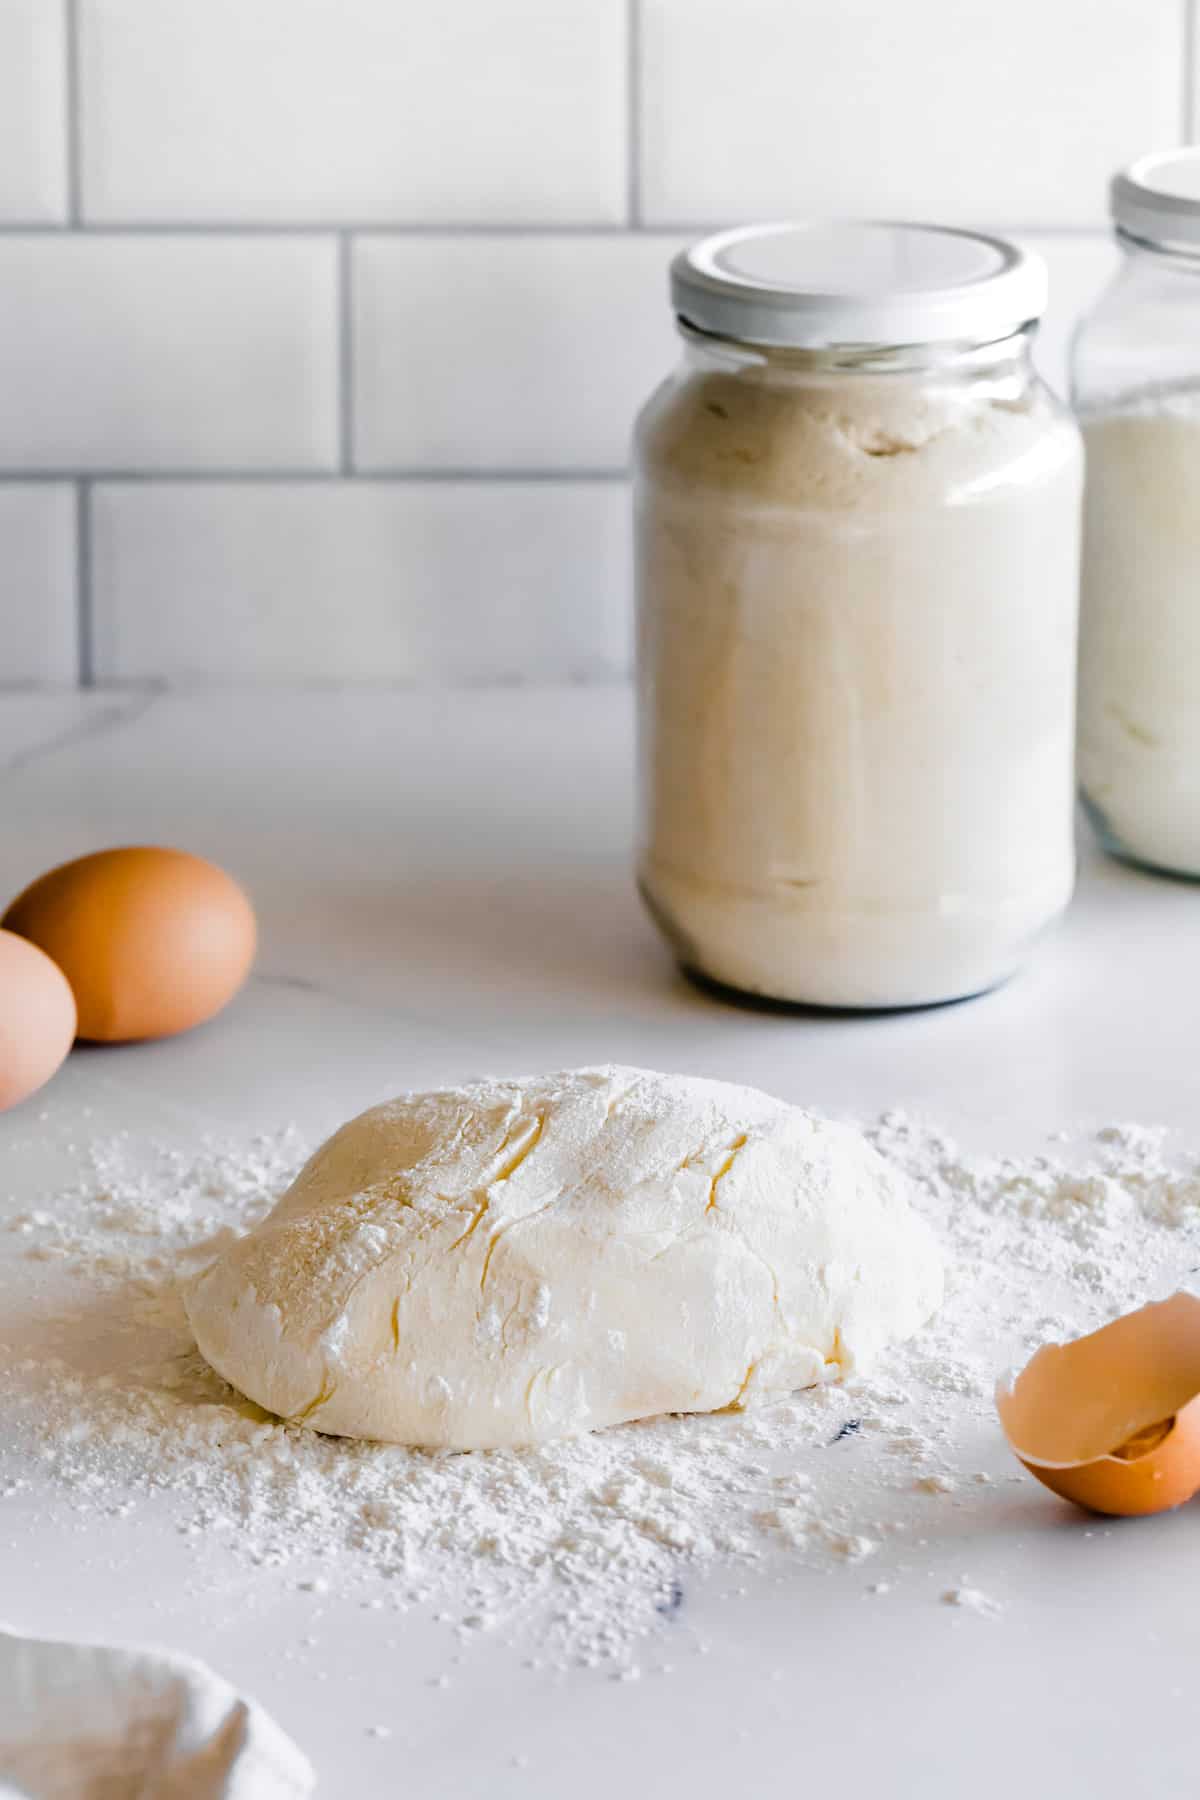
- Combine Dry & Wet Mixtures: Add the dry ingredients to the wet ingredients and mix to combine. The dough will be sticky. Be sure not to overmix it.
- Form Dough Discs: On a floured surface, roll a scoop of dough (about 1/4 cup) into a ball and then flatten it to be about ⅛-¼-inch thick.
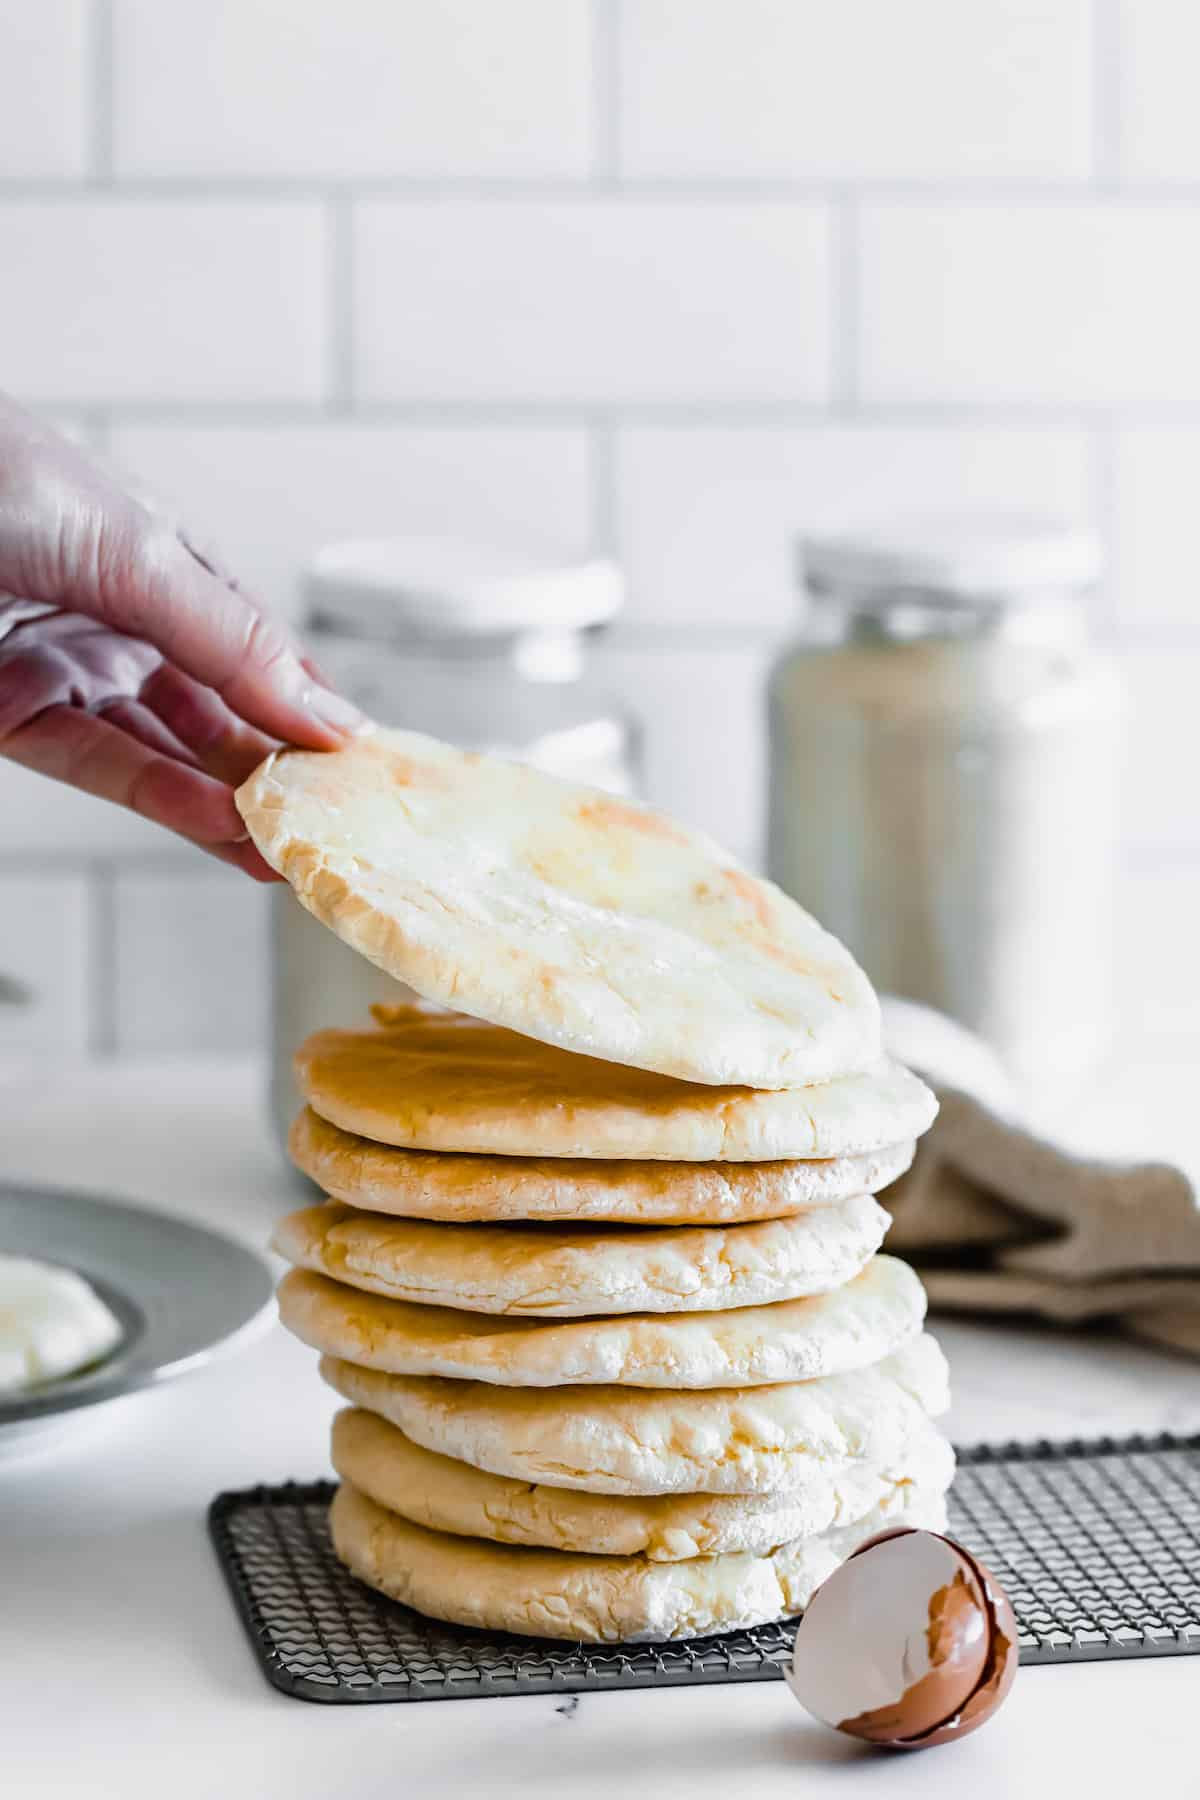
- Bake: Transfer the dough disks onto the prepared baking sheet and bake them for 10 minutes.
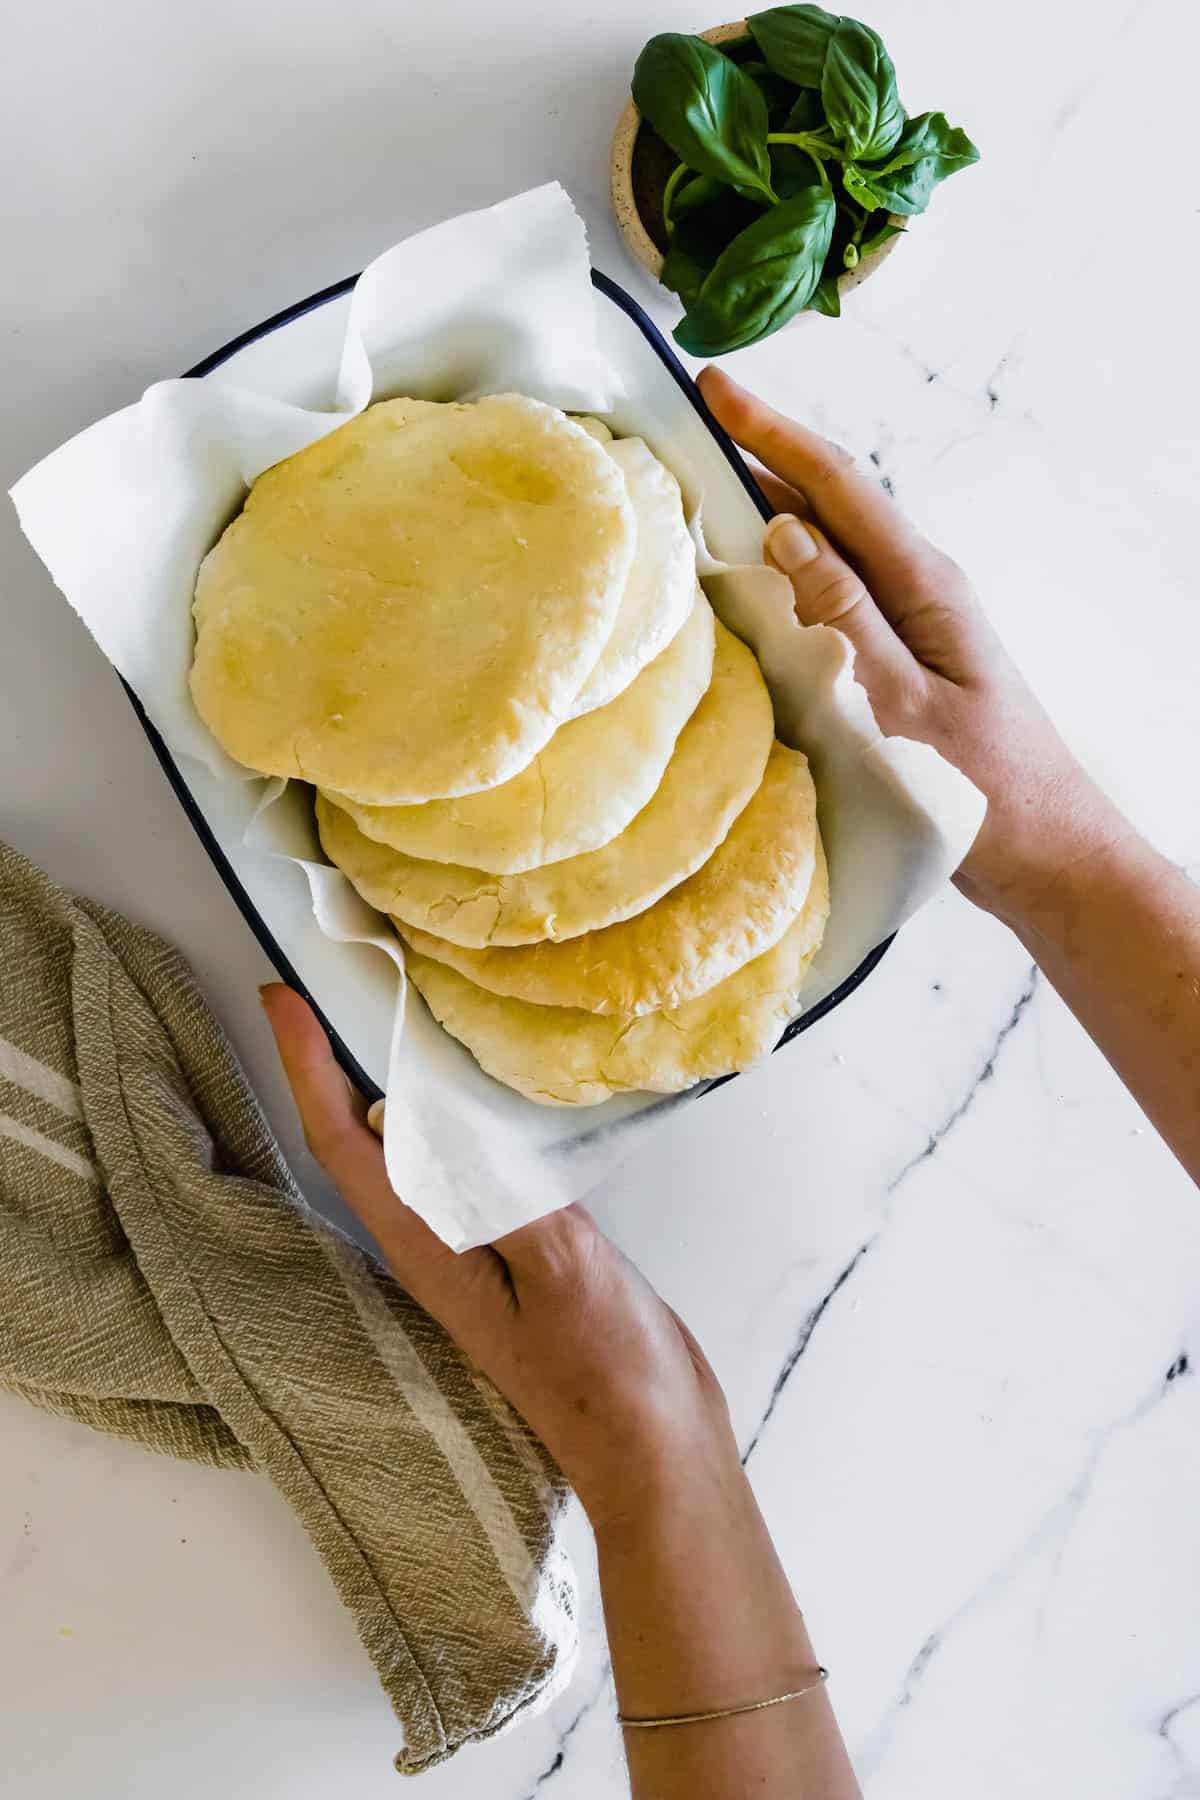
- Flip & Let Cool: Flip the discs over and bake them for another 3-5 minutes. Allow it to cool before enjoying.

Tips for Success
Want some extra hints and tricks for making pita bread from scratch? I’ve got you covered.
- Don’t Overmix Dough: Avoid overmixing your pita dough, as this will result in a less fluffy final product. Once everything is just combined and the texture of the dough is sticky, you’re all set to flour your workspace and roll it out.
- Flour Surface Generously: Because of the dough’s tacky texture, it really helps to maintain a well-floured workspace and rolling pin to prevent sticking.
- Make them Mini: Want to make mini versions of this tasty flatbread? Simply cut the discs of dough to your desired size and shave a few minutes off the bake time.
- Look for the Puff: Fully cooked pita bread will puff up pretty significantly, so be sure to keep an eye on it as it bakes. If you overcook it, it won’t be so soft and tender.
How to Store Homemade Pita
Store leftover pita bread in an airtight container at room temperature. It will stay fresh for up to 7 days. To revive your pitas after storing them, microwave them for 15 seconds or pop them in the toaster oven for a few minutes.
Can I Freeze Gluten Free Pita Bread?
Yes! Pita bread can be frozen for up to 2 months. Just wrap it tightly in two layers of plastic wrap, then place it in a freezer-safe container and store. Thaw frozen pitas in the fridge and pop them in the microwave or toaster oven as directed above before enjoying.
Make it a Meal
If meal planning is stressful for you, worry no more. Just sit back, relax, and take your pick of these delicious pairing ideas!
- Serve with Chicken Souvlaki: Picture some tender, perfectly seasoned Grilled Chicken Souvlaki wrapped up in a soft piece of pita bread, and while we’re at it, why not add some Tzatziki Sauce into the mix? Bliss!
- Have some Meatballs. Specifically, Greek Meatballs drizzled with tahini, along with a light Tomato Cucumber Feta Salad.
- Stuff with Chicken Salad: This Chicken Salad with Grapes and Walnuts or Greek-inspired Tzatziki Chicken Salad makes a tasty lunch when it’s nestled inside a pocket of pita bread.
- Pair with Falafel: My super easy Falafel is sure to impress your guests, especially when it’s sitting next to some fresh pita bread. Don’t forget the Greek Salad for a marvelous Mediterranean meal!
More gluten free dough recipes to try
- Gluten Free Buttermilk Biscuits are light and fluffy.
- Gluten Free Pizza Crust is a must-have staple recipe.
- Air Fryer Gluten Free Glazed Donuts are a special treat with much less oil.
- Summer won’t be complete without Gluten Free Hamburger Buns when you are grilling.
- And of course, it’s always helpful to know how to make Gluten Free Pie Crust.
Gluten Free Pita Bread
Ingredients
- 2 cups 1:1 gluten-free flour (recommended: Cup4Cup or King Arthur Flour Measure for Measure)
- 1/4 cup cornstarch
- 1 1/2 teaspoons baking powder
- 1 teaspoon salt
- 1/2 cup milk
- 2 large eggs
- 1/4 cup plain Greek yogurt
- 1 Tablespoon melted coconut oil , olive oil, or vegetable oil
Instructions
- Preheat oven to 400°F and line a baking sheet with parchment paper.
- In a large mixing bowl, whisk together 2 cups 1:1 gluten-free flour, 1/4 cup cornstarch, 1 1/2 teaspoons baking powder, and 1 teaspoon salt.
- In a separate bowl, whisk together 1/2 cup milk, 2 large eggs, 1/4 cup plain Greek yogurt, and 1 Tablespoon melted coconut oil (or olive or vegetable oil).
- Add the dry ingredients to the wet ingredients and mix to combine. The dough will be sticky. Be sure to not overmix as this will result in a less fluffy final product.
- On a floured surface, roll a scoop of dough (about 1/4 cup) into a ball, and then flatten to about ⅛-¼-inch thick.
- Transfer dough disks onto the prepared baking sheet and bake at 400°F for 10 minutes.
- Flip and bake for a further 3-5 minutes. Allow to cool before enjoying.
Notes

Did you make this?
Leave a star rating to help others know that they should make this recipe.
Share a photo and tag @cupcakesandkalechips on Instagram!
Tasted like a biscuit. Best with butter and jam.