
Gluten Free Buttermilk Waffles


These Gluten Free Buttermilk Waffles are light and fluffy on the inside with a crisp, golden outside. Made with just a handful of ingredients and so quick to prepare, they’re an easy, kid-approved breakfast for any day of the week.

Delicious Details
- Cuisine Inspiration: Dutch
- Primary Cooking Method: Waffle Iron
- Dietary Info: Gluten-free
- Skill Level: Easy
These buttermilk waffles came out so perfectly, you would NEVER know they were gluten free! They’re fluffy and light with a crisp exterior. The flavor is perfectly subtle without the buttermilk being too overpowering, and they’re slightly sweet from the sugar added in the batter. These are the type of waffles you can eat with absolutely nothing on them (ask me how I know!).
I’ve shared a few less conventional waffle recipes before, like polenta waffles and banana waffles, but these gluten free buttermilk waffles are our weekend go-to. If I ask the kids what they want for breakfast, it’s usually a toss-up between these and buttermilk pancakes.
Why We Love These Buttermilk Waffles
- Super easy to make. As long as you have a waffle iron, you can make these buttermilk waffles! The ingredients list is short and sweet, consisting primarily of pantry staples, and the batter is quick and easy to prepare. I can easily have these on the table in less than 30 minutes.
- Fluffy inside, crispy outside. These gluten free waffles have the perfect light, fluffy interior with a crisp, golden exterior. The buttermilk is a major factor in achieving that texture, along with the melted butter to create the crispy outside.
- Family-approved. While these are gluten free buttermilk waffles, they are one of those recipes that gets enjoyed equally by everyone. No one ever thinks about them being gluten free because they’re just so good. They get devoured by the non-gluten-free members of the family as soon as I make them.

Key Ingredients
These gluten free waffles are made with buttermilk, gluten free flour, and a handful of pantry staples. Scroll all the way down for the full recipe card with measurements.
- Gluten free flour – I use King Arthur’s Measure for Measure flour and recommend it the most. However, though I haven’t tested it, I’m sure other gluten free 1:1 flour blends would work.
- Granulated sugar – Adds just the right amount of sweetness to the waffles.
- Baking powder & baking soda – Both leavening agents help create the perfect lift in these waffles, with the baking soda reacting to the buttermilk to add more rise than baking powder alone.
- Salt – A pinch of salt enhances the flavor of the waffles. Even though it’s a small amount, it makes a big difference in the flavor so don’t skip it.
- Buttermilk – Buttermilk adds a tangy flavor to the waffles and also makes the crumb lighter and more tender than regular waffles.
- Butter – Salted or unsalted butter are both fine here to add richness to the waffles.
- Eggs – Help bind the batter together.
- Vanilla extract – Adds a light flavor to the waffles.

How To Make Gluten Free Buttermilk Waffles
These homemade waffles are so quick and easy to prepare. They can be on the table in less than 30 minutes. The printable instructions can be found in the recipe card below.
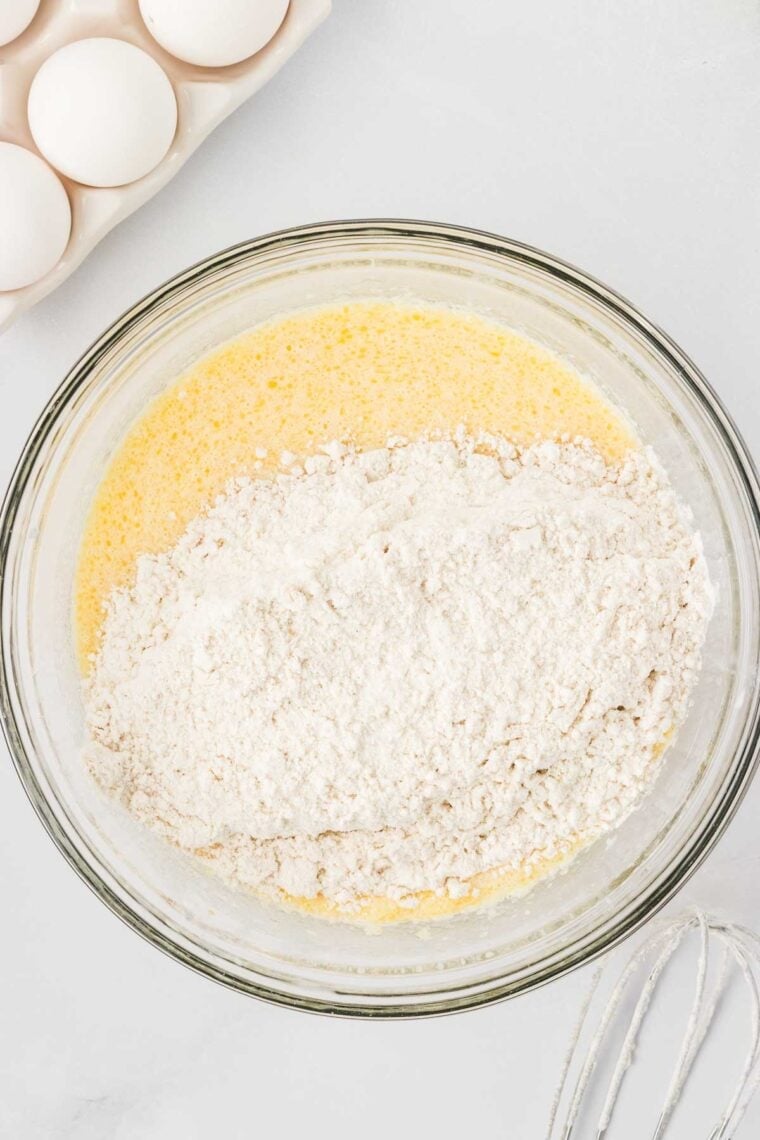
- Whisk the dry ingredients. Combine the gluten free flour, sugar, baking powder, baking soda, and salt in a bowl.
- Stir the wet ingredients. Whisk together the buttermilk, melted butter, eggs, and vanilla in a separate bowl.


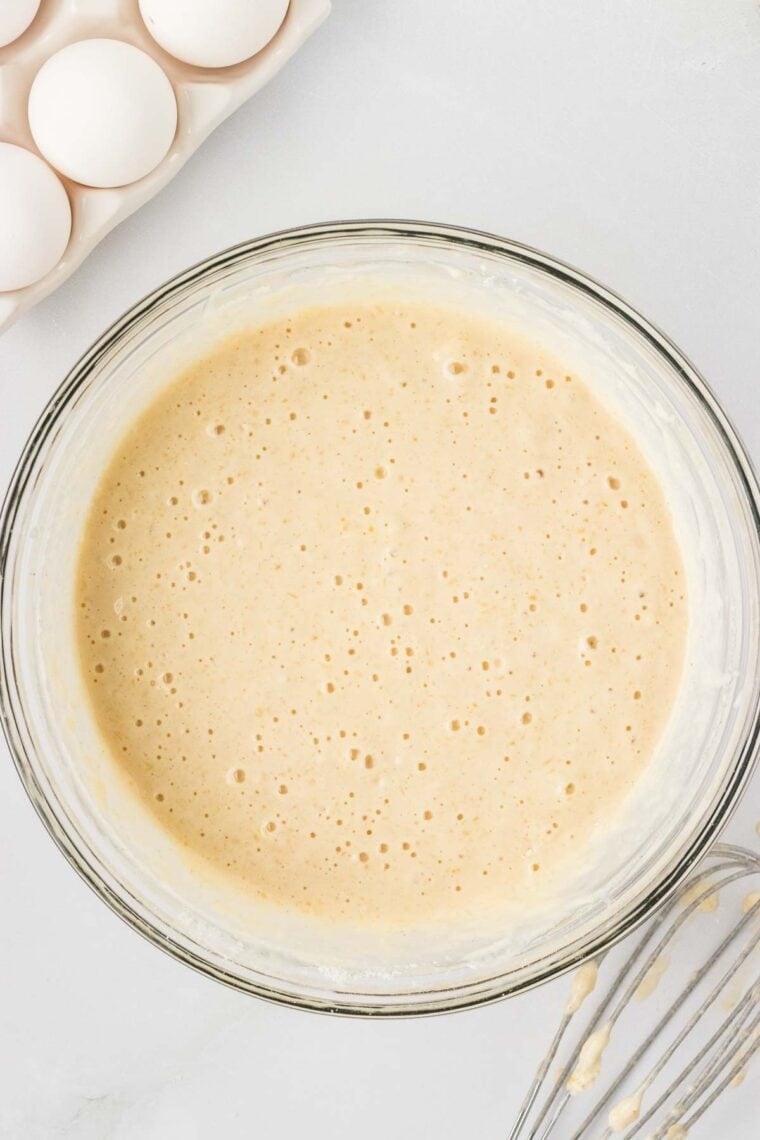
- Make the batter. Add the dry ingredients to the wet mixture. Mix until the batter comes together and there are no streaks of dry ingredients.
- Let rest. Cover the bowl. Let the batter rest for 10 minutes.
- Prep the waffle iron. While the batter is resting, preheat the waffle iron according to the manufacturer’s instructions. Coat with cooking spray.
- Cook the waffles. Pour in just enough batter to fill the mold. I used ¾ cup of batter per waffle, but each waffle iron is slightly different. Close the lid and let it cook until the waffle is perfectly golden brown.


- Repeat. Once the waffle is done, transfer it to a wire rack and repeat the process with the remaining waffle batter.
Why Does The Buttermilk Waffle Batter Need To Rest?
This step allows the buttermilk to activate in the batter with the baking soda and for the flour to fully hydrate before cooking, resulting in a more tangy flavor and a softer, less grainy interior.

Tips & Tricks
Here are a few general tips for making these gluten free buttermilk waffles.
- DIY buttermilk substitute. If you don’t have buttermilk on hand, you can still make these buttermilk waffles with a buttermilk substitute. Just add 2 Tablespoons lemon juice or white vinegar to a measuring cup, then add milk up to the 2 cup line. Let it sit for about 5 minutes before using.
- Preheat the waffle iron. To ensure that the waffles cook properly and get a nice golden crust, the waffle iron should be fully preheated before adding the batter. It takes a few minutes for mine to preheat, so I do this while the batter is resting.
- Keep warm. To keep the waffles warm while others are being made, you can set them on a wire rack over a baking sheet in an oven preheated to the lowest temperature (usually 225F).
- Serve immediately. Buttermilk waffles will start to soften as they cool, so it’s best to enjoy these waffles fresh from the waffle iron. If they sit too long, they will become soggy. So start plating and enjoying them as soon as you can!
How To Store & Reheat Leftovers
- Fridge: Store leftover gluten free buttermilk waffles in the fridge n an airtight bag for 3-4 days.
- Freezer: Once cooled, place the waffles in a freezer-safe bag. Freeze for 2-3 months.
- Reheat: To reheat you can microwave (for soft waffles) or toss in the toaster to bring back that crispy exterior!

Topping Ideas
I absolutely adore fresh fruit with waffles, but you can do more decadent toppings as well! Waffles are so easy because you can dress them however you want! Some popular pairings are:
- Macerated blueberries and strawberries (try the blueberry topping from my blueberry crepes)
- Apple pie filling
- Lemon curd
- Chocolate chips and whipped cream
- Nutella and peanut butter
- Bananas, chocolate chips, peanut butter
- Syrup and butter
More Gluten Free Breakfast Ideas

Gluten Free Buttermilk Waffles
Ingredients
- 2 ¼ cup gluten free 1:1 flour (270 grams, recommended King Arthur Flour Measure for Measure)
- ¼ cup granulated sugar (50 grams)
- 2 teaspoons baking powder (8 grams)
- 1 teaspoon baking soda (5 grams)
- ½ teaspoon salt (3 grams)
- 2 cups buttermilk (496ml)
- 6 Tablespoons melted butter , salted or unsalted (90 ml)
- 2 large eggs
- 2 teaspoons vanilla extract (10ml)
Instructions
- In a medium bowl, whisk together 2 ¼ cup gluten free 1:1 flour, ¼ cup granulated sugar, 2 teaspoons baking powder, 1 teaspoon baking soda, and ½ teaspoon salt. Set aside.
- In a large bowl, whisk together 2 cups buttermilk, 6 Tablespoons melted butter, 2 large eggs, and 2 teaspoons vanilla extract. Once incorporated, add the dry ingredients to the wet mixture, and mix until the batter comes together and there are no visible streaks of dry ingredients.
- Cover and let the mixture rest for 10 minutes while you prepare your waffle iron.
- Preheat your waffle iron to the desired temperature (following the manufacturer’s instructions), and coat it with cooking spray.
- Once the waffle maker is ready, pour in just enough waffle batter to fill the mold (I used ¾ cup of batter per waffle), close, and let it cook until perfectly golden brown.
- Once done, remove the waffle from the waffle iron to a wire rack and repeat the process for the remaining waffle batter.

Did you make this?
Leave a star rating to help others know that they should make this recipe.
Share a photo and tag @cupcakesandkalechips on Instagram!