This post may contain affiliate links. Read my disclosure policy.
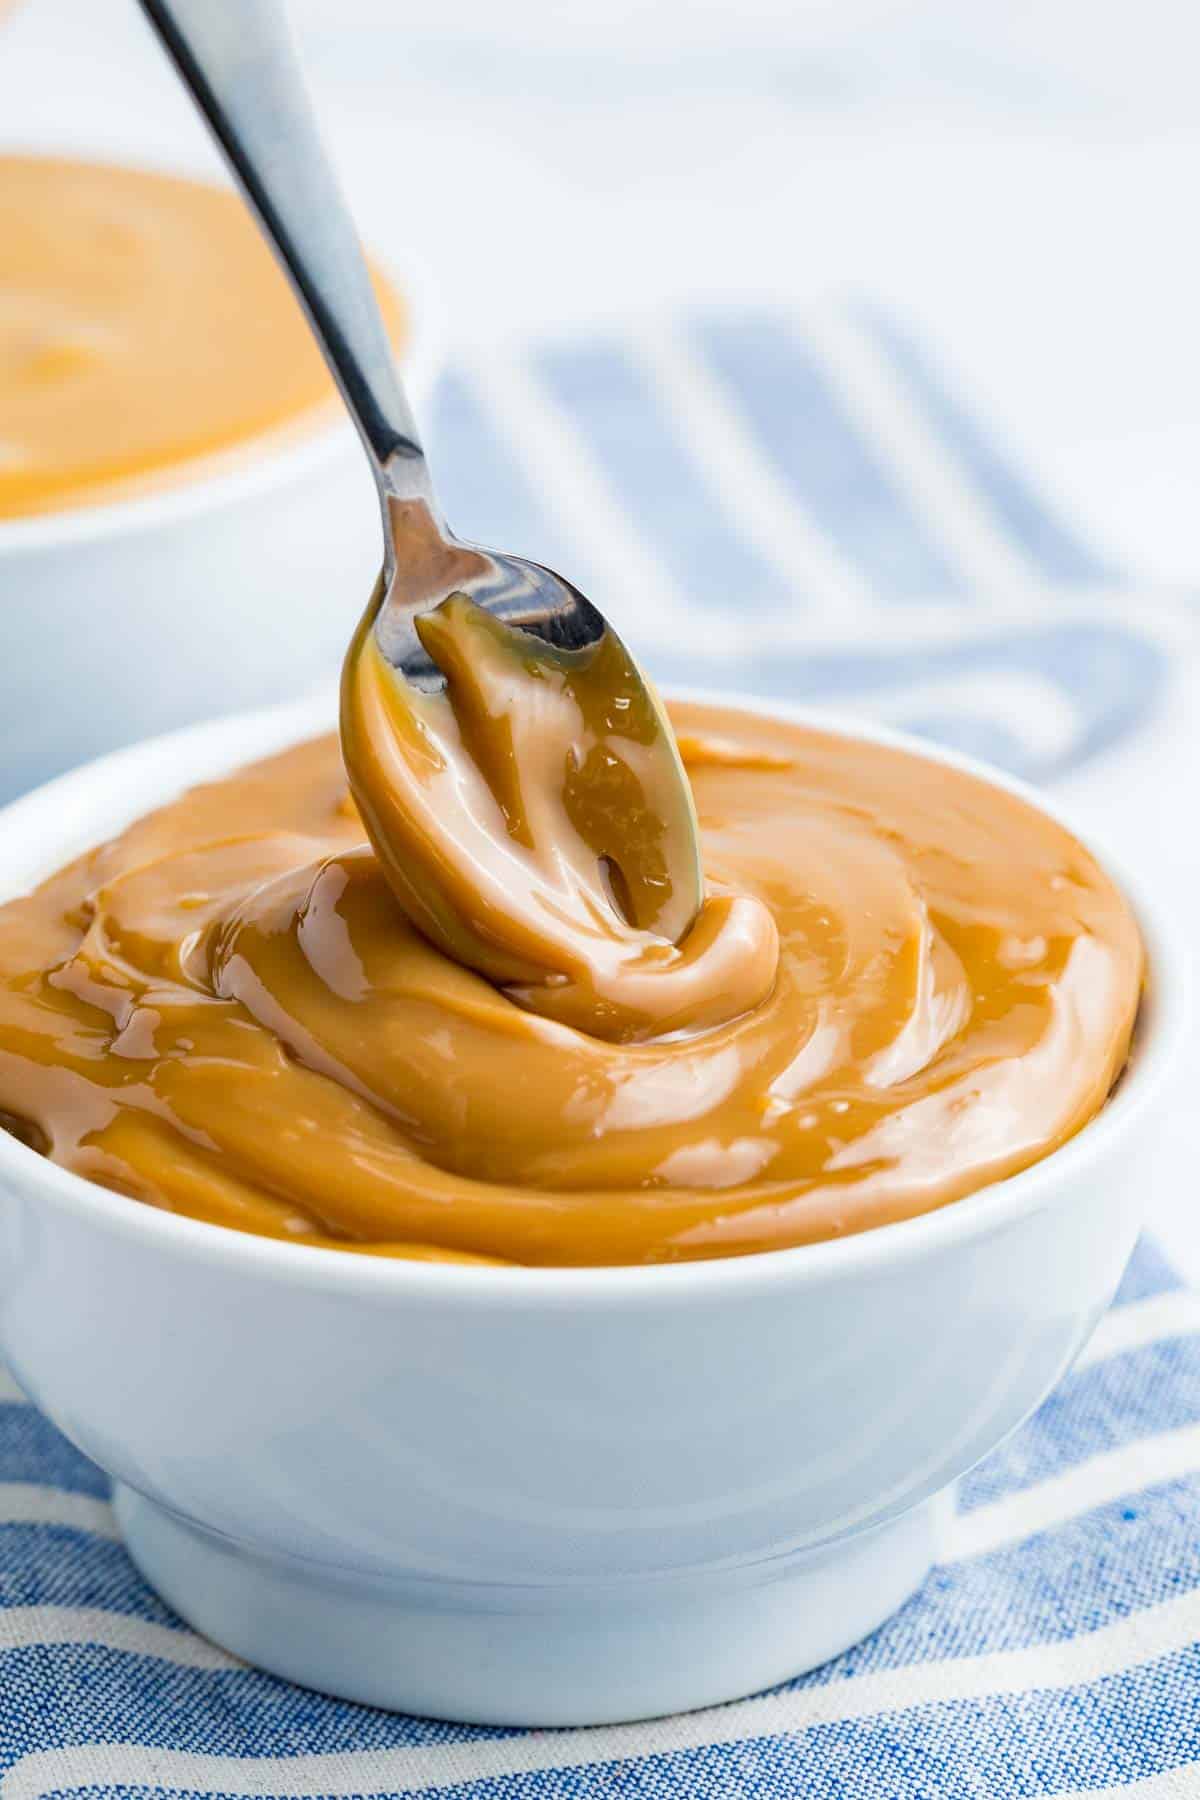
This homemade Dulce de Leche recipe needs just one ingredient to make and creates a lusciously versatile sauce that’s perfect in or on ice cream, pastries, and more. Learn how to make dulce de leche at home – hint: it’s easy and I’ll share several ways you can make it, plus all the tips I learned along the way!
Why You’ll Love Homemade Dulce de Leche
Delicious Details
- Cuisine Inspiration: Latin American
- Primary Cooking Method: Stovetop or Oven
- Dietary Info: Gluten-free
- Skill Level: Easy
If you’ve traveled to Spain or Central or South America chances are you may have sampled dulce de leche, a rich sauce that’s made from simmering milk and sugar until it becomes thick and golden brown. You can buy pre-made dulce de leche, or easily make it yourself. And, once you have made it yourself I know you won’t buy it again! Here are a few reasons I love making it at home:
- It’s gluten free. When I make dulce de leche at home I know exactly what’s going into it. Fortunately, condensed milk is always gluten free so I don’t have to worry about any extra ingredients that may be a pre-made jar of dulce.
- Easy. Wondering how to make dulce de leche? I’ve outlined several methods that you can try in this post, and each one involves minimal effort.
- So versatile. I love using homemade dulce de leche in all sorts of sweets, from tucking it in between gluten free cookies, swirling it into ice cream, and using it to top ice cream, waffles, pancakes, and much more.
What Is Dulce de Leche?
Dulce de leche is a thick, candy-like, saucy spread made from sugar and milk. It is especially popular in Latin America, France, Poland, and the Philippines, and can be called various names depending on the country and ingredients. In my version of “milk candy,” I keep it super easy by cooking sweetened condensed milk long and slow (you won’t need to do any mixing because the milk is already sweetened when you buy it) until it turns into dulce de leche.
Is It The Same As Caramel?
No, dulce de leche is not the same as caramel. The major difference between the two comes from the ingredients. Caramel is made with sugar and water while dulce de leche is made from milk and sugar. The flavor profile of dulce de leche is also a bit different from caramel as it has a more mellow taste that’s similar to butterscotch.
Recipe Ingredients
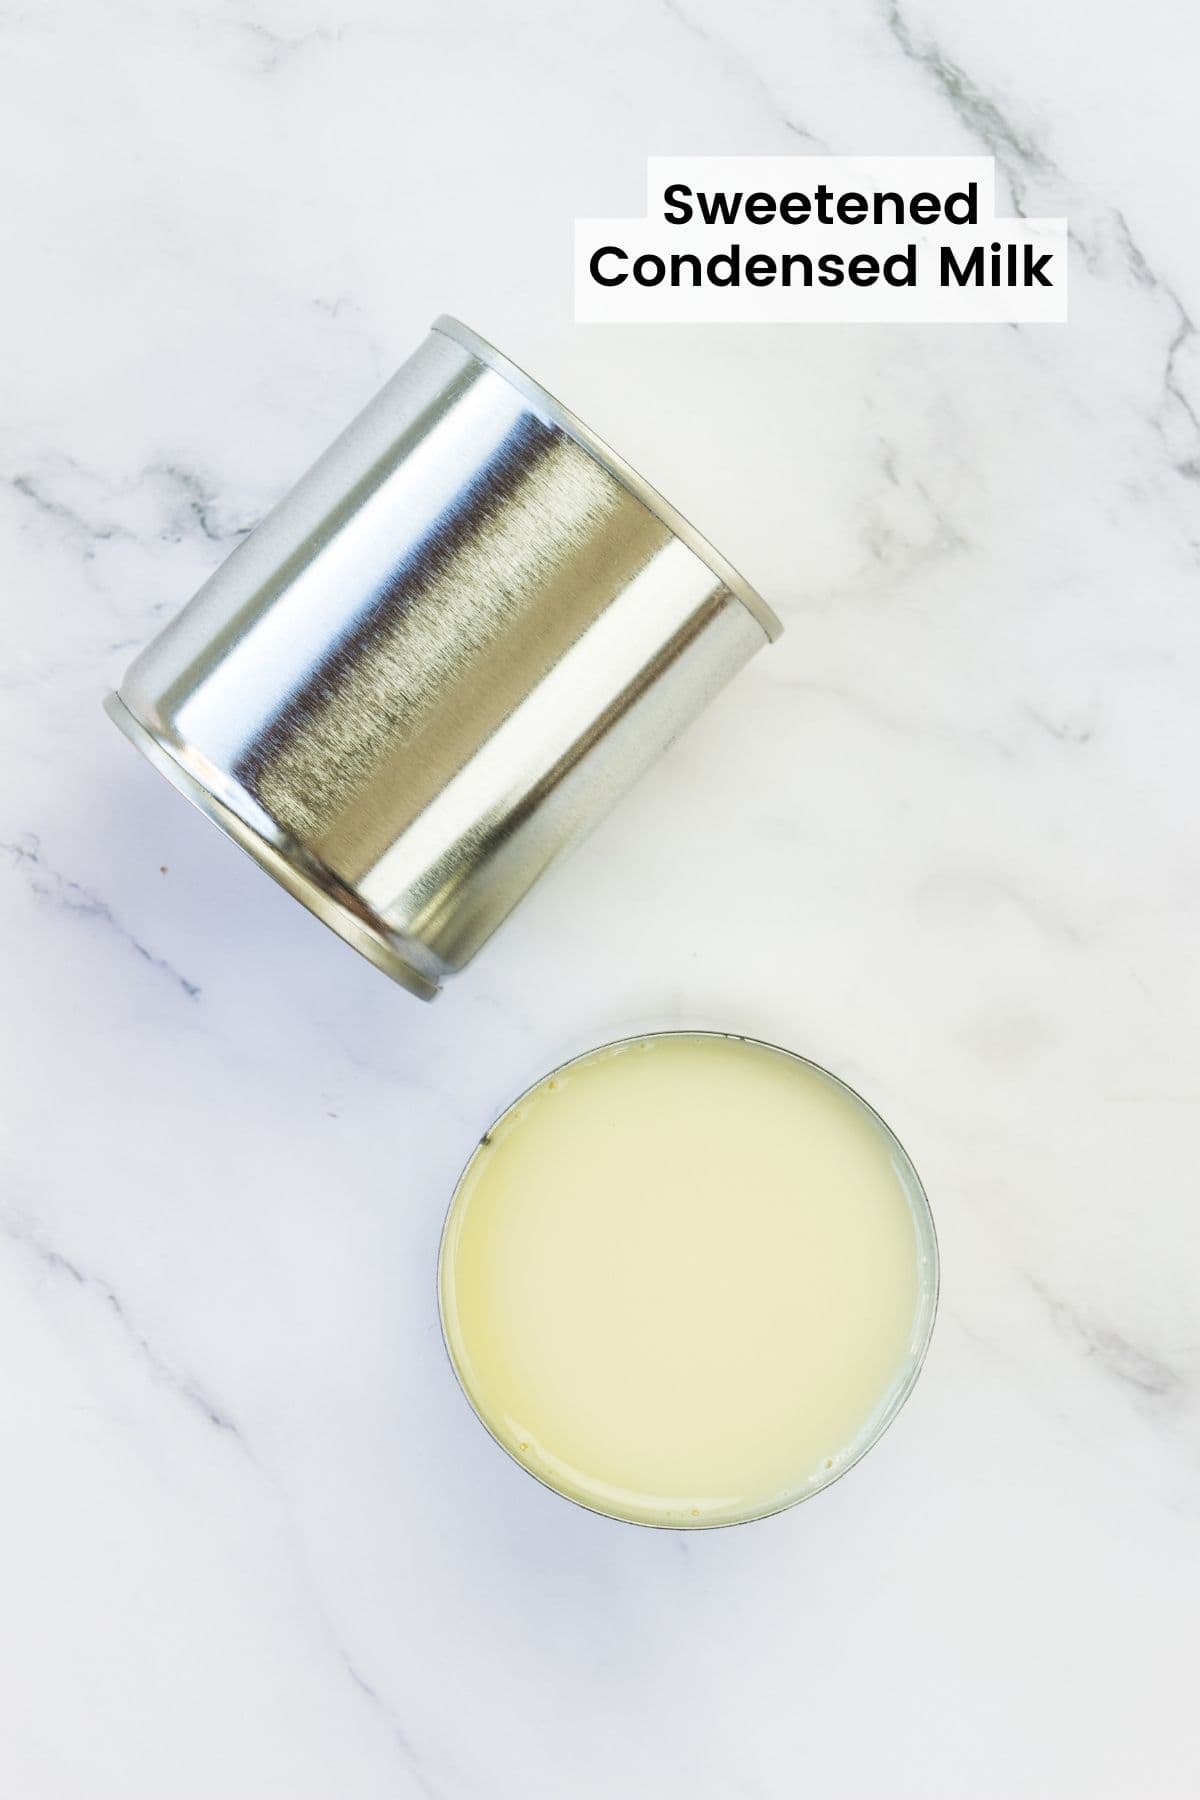
You’ll need just one ingredient to make this homemade dulce de leche recipe! Check the recipe card for the full ingredient amounts.
- Sweetened Condensed Milk: Make sure you choose sweetened condensed milk, otherwise your dulce de leche will not turn out beautifully sweet and thick. Also, make sure to pick up a can of condensed milk rather than evaporated milk for this recipe.
How To Make Dulce de Leche
You can make homemade dulce de leche in a few ways, and I will give my best tips for each method below. Choose the one that works best for you depending on how much you want to make at one time. Find the detailed instructions in the recipe card at the end of this post.
Pot of Water
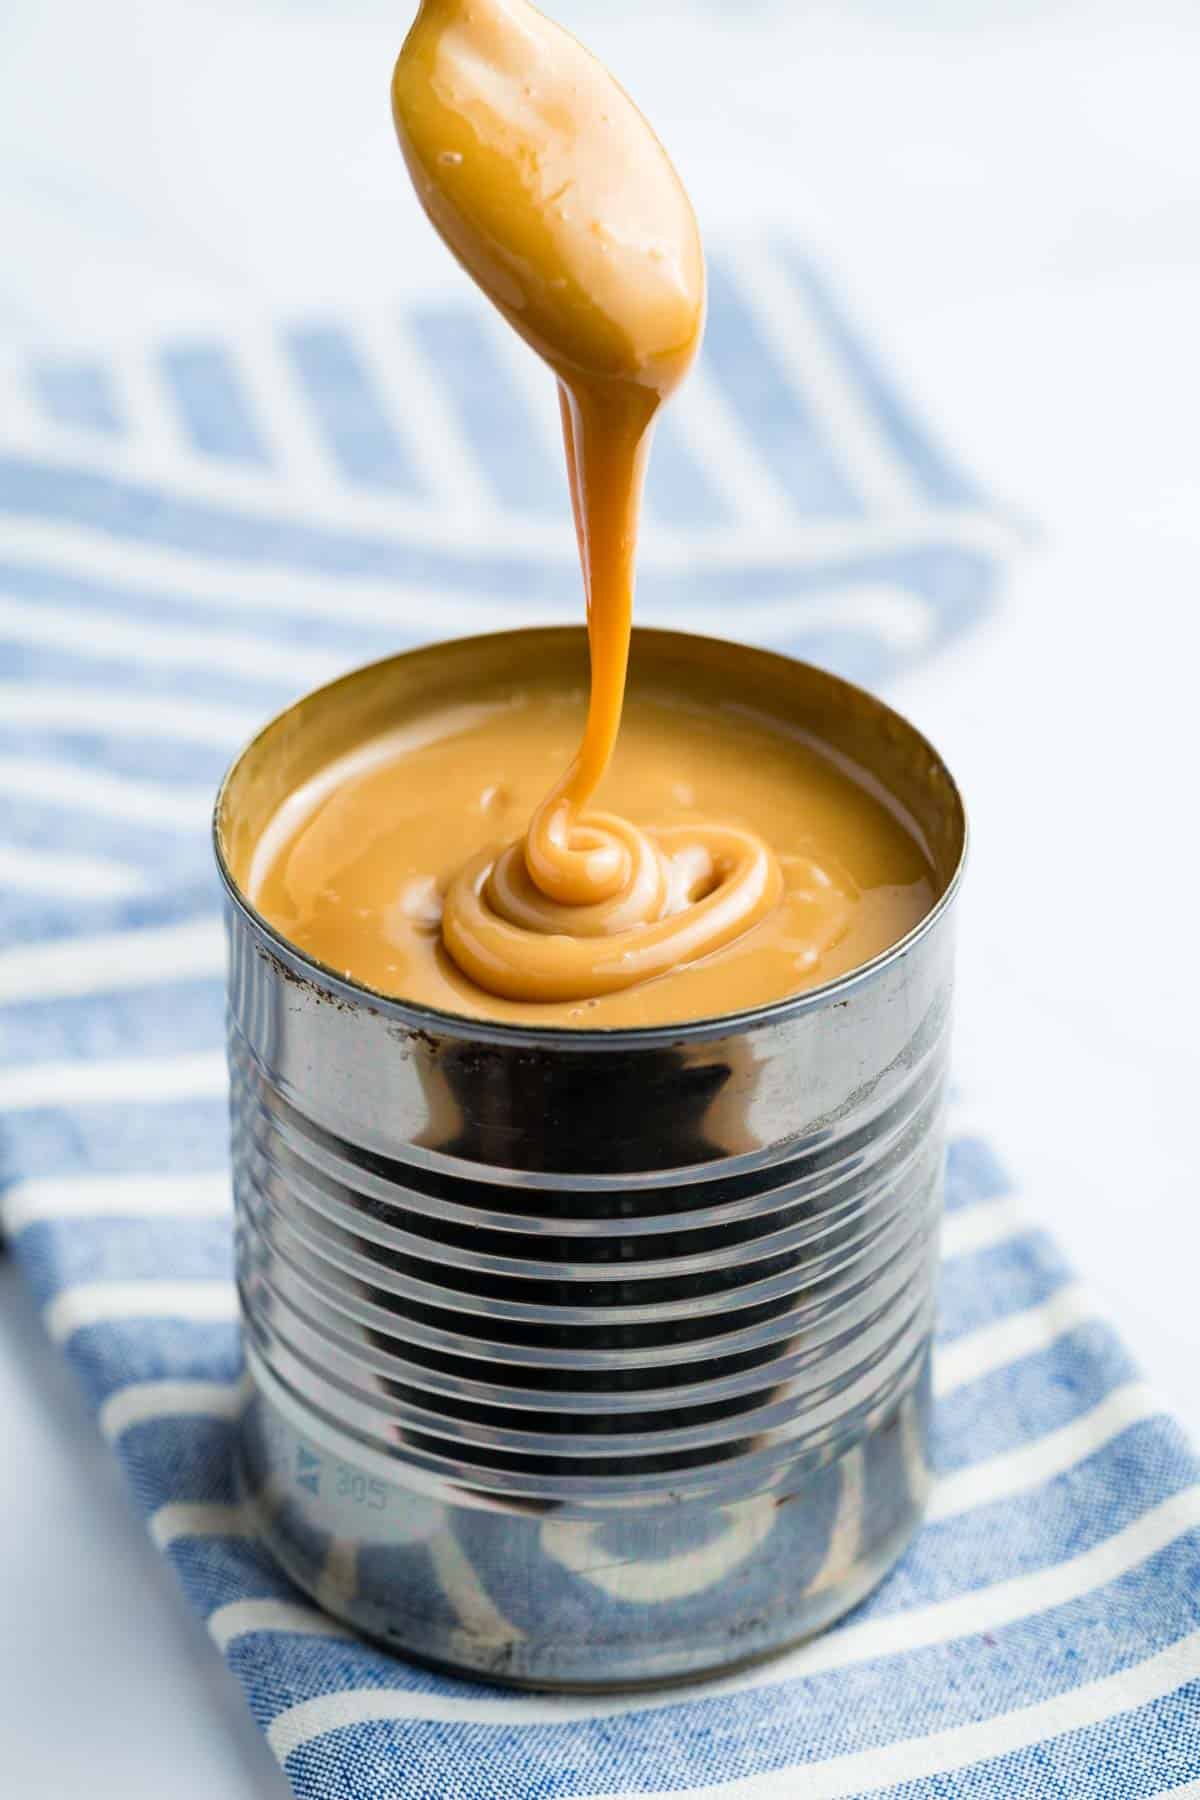
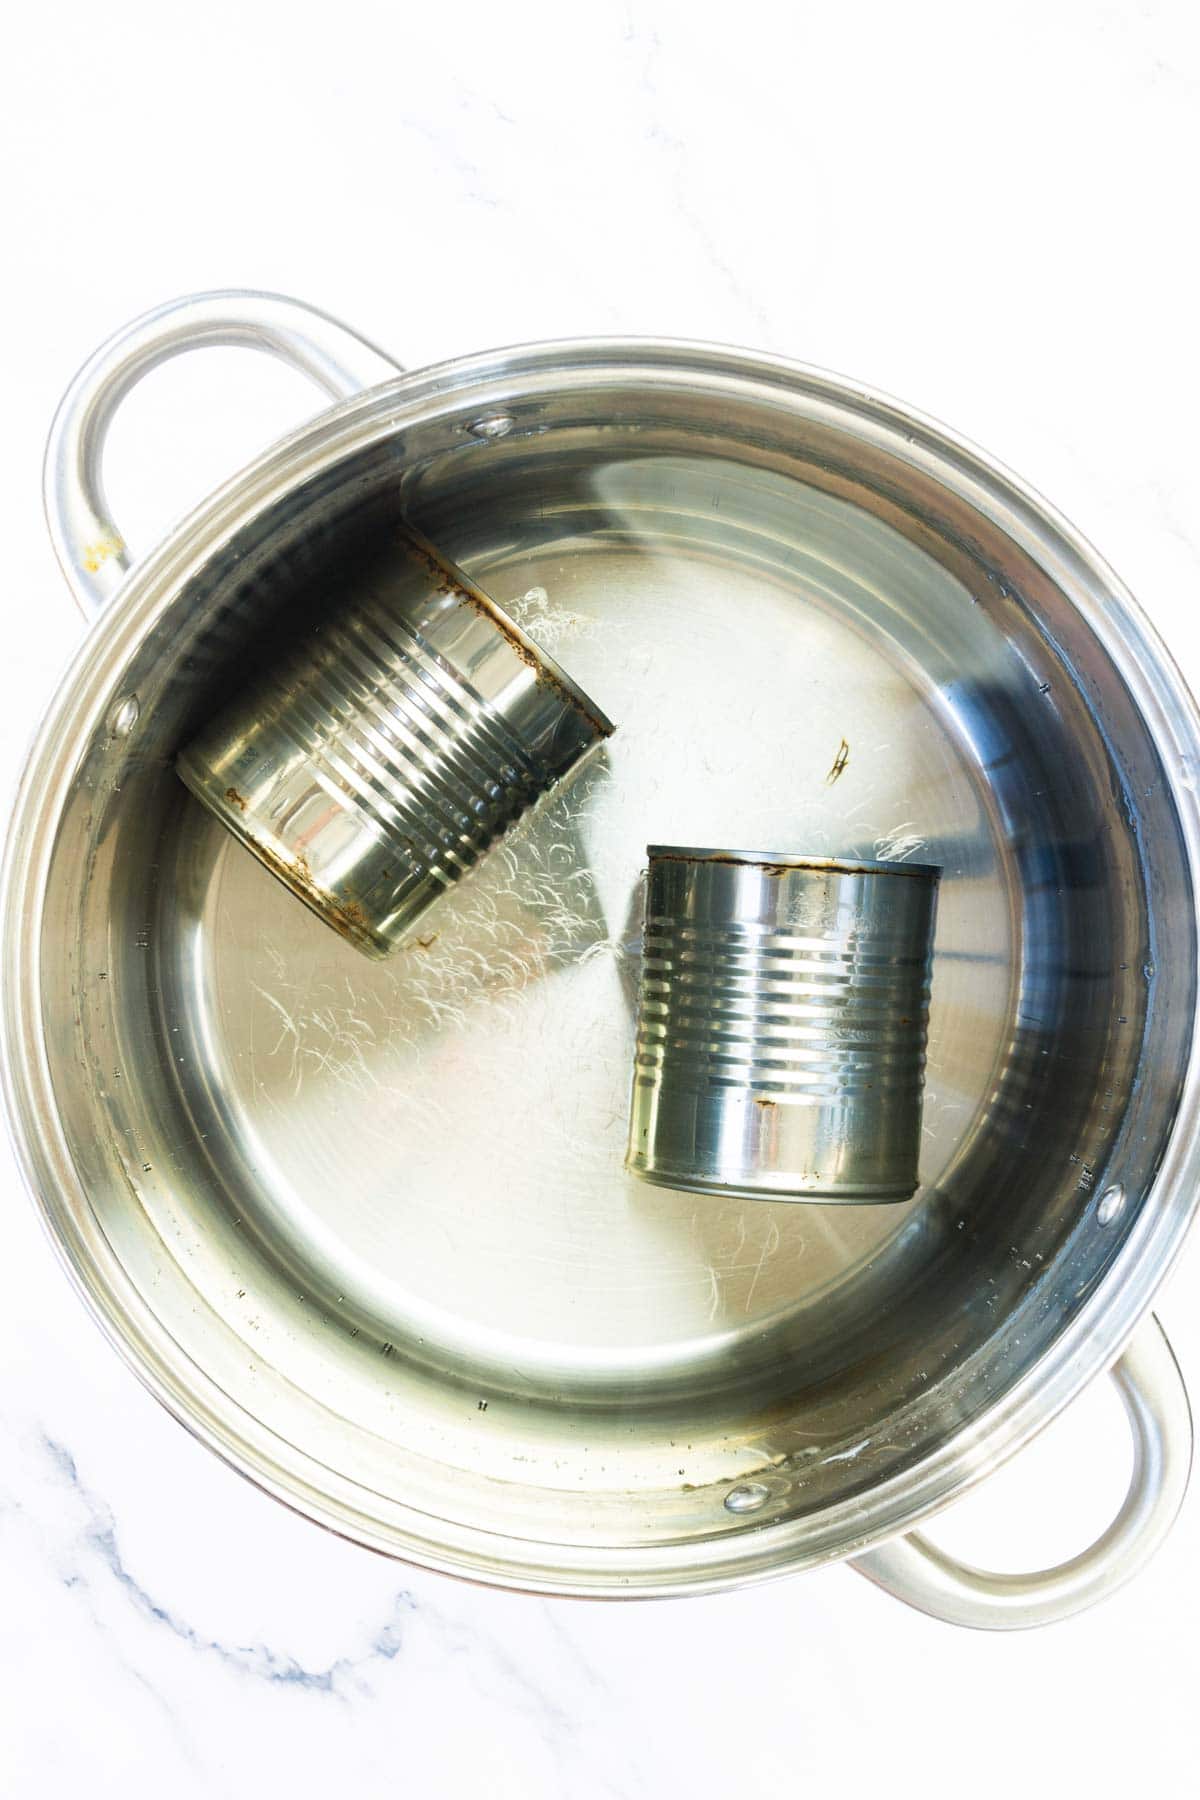
- Cook in water. Place the sealed can of sweetened condensed milk in a large pot, covering it with 1-2 inches of water. Cover and simmer for 2-3 hours, then carefully remove the can from the water and let it cool completely.
Double Boiler
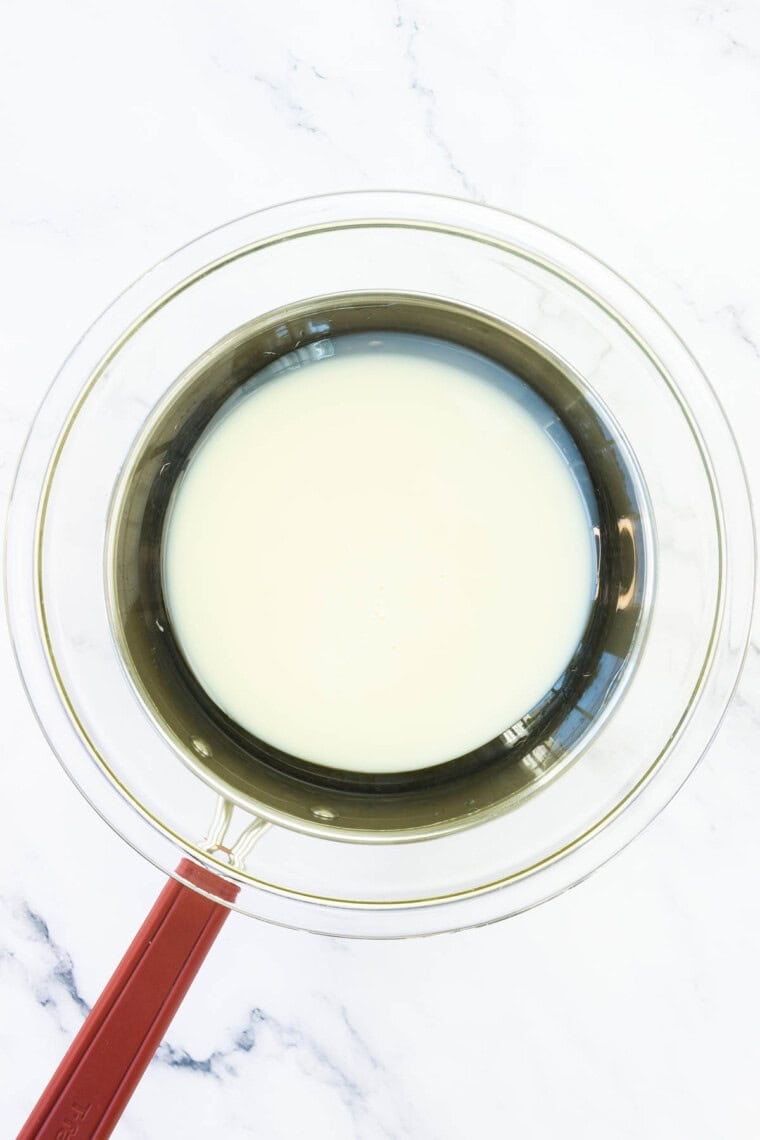
- Add milk to a bowl. Pour the entire can of sweetened condensed milk into a bowl and cover it. Cook over a pot of simmering water.
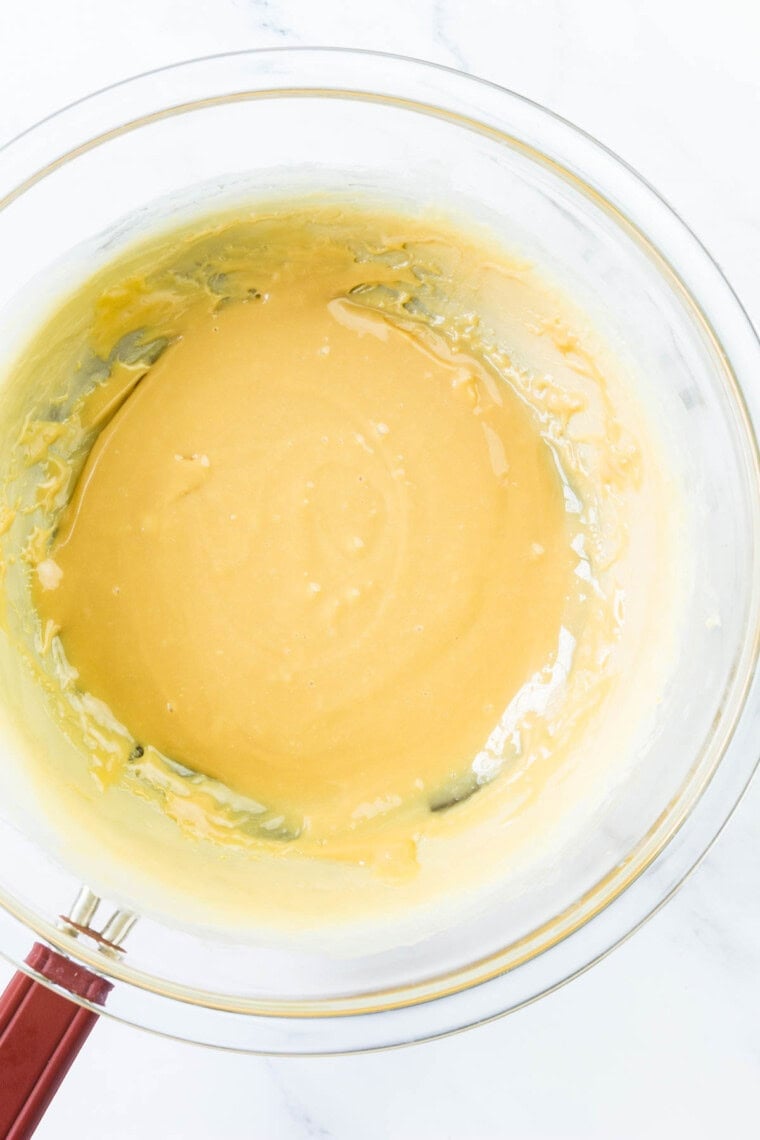
- Cook. Then cook over low heat for 1-2 hours, or until thick and caramel-colored.
Oven
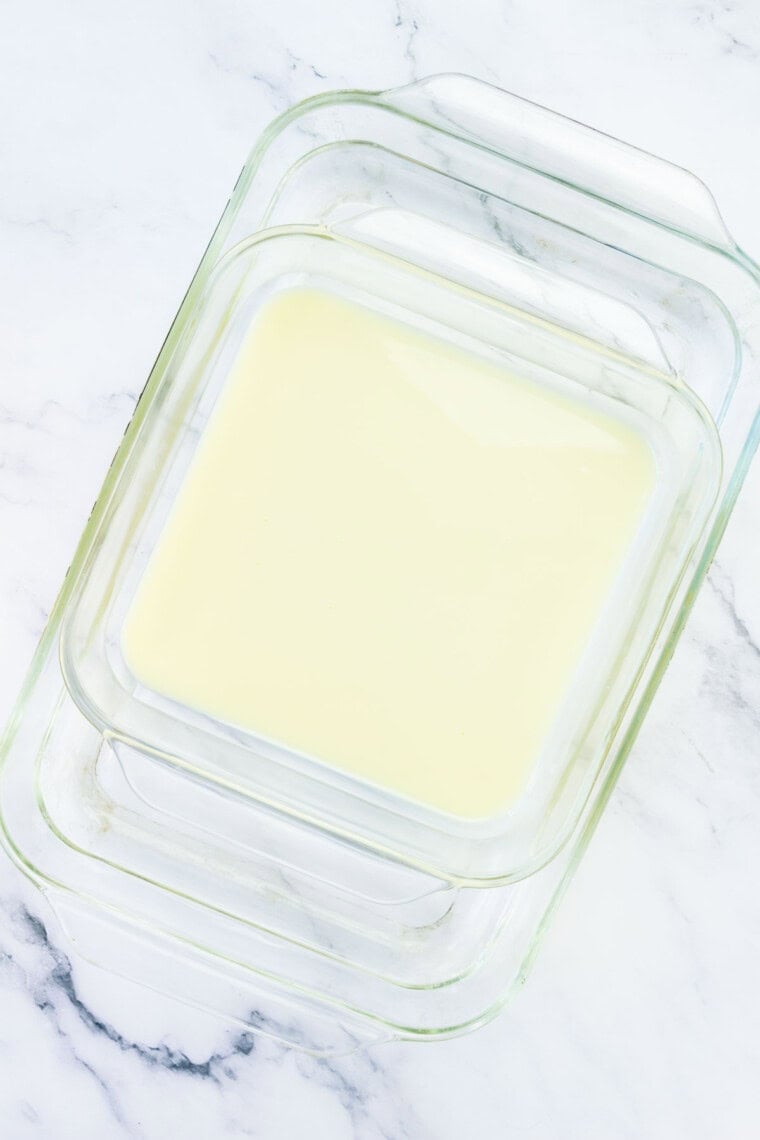
- To make in the oven: Preheat the oven, place the can of sweetened condensed milk in a glass pan, then cover the pan with the sweetened condensed milk with foil and pour hot water into the larger baking dish. Bake for 45 minutes.
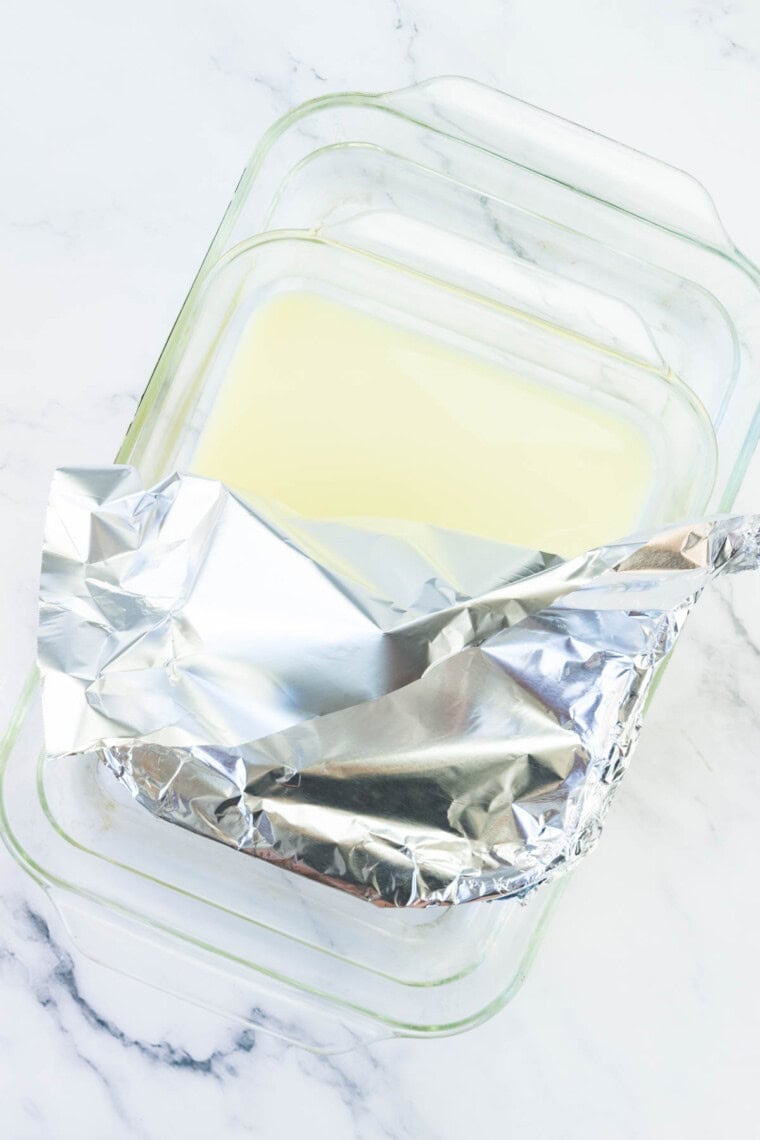
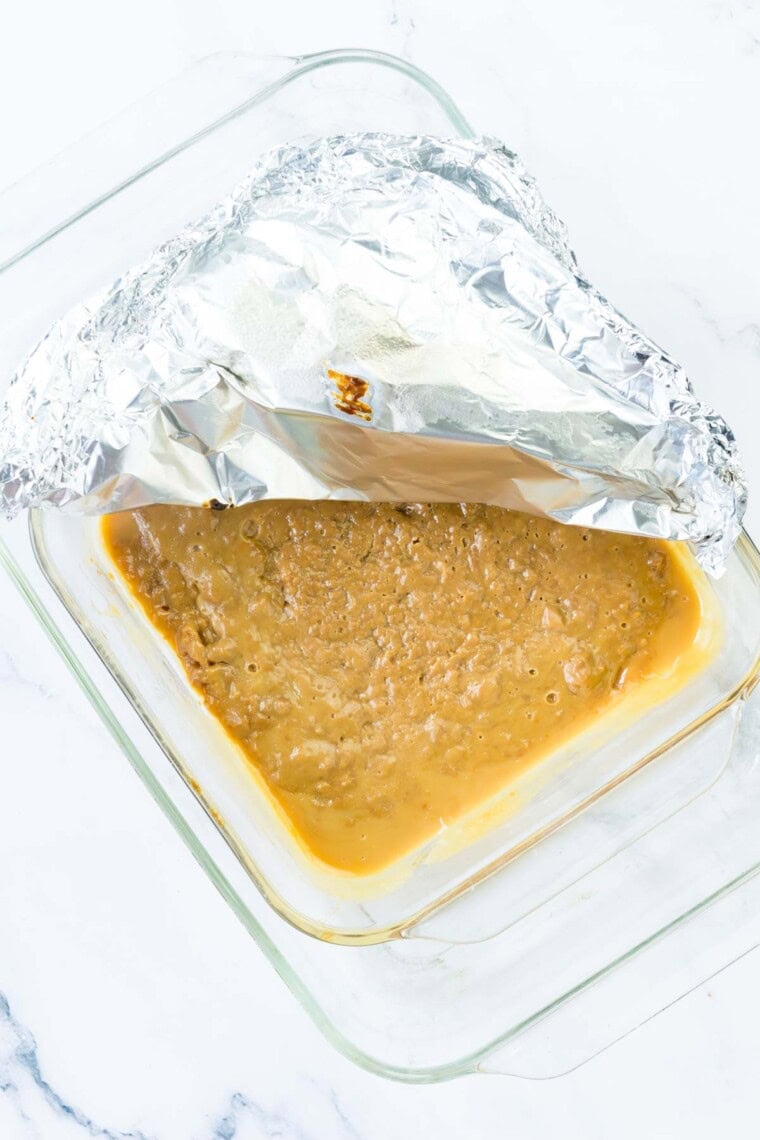
- Stir. Carefully open the foil and stir the dulce de leche.
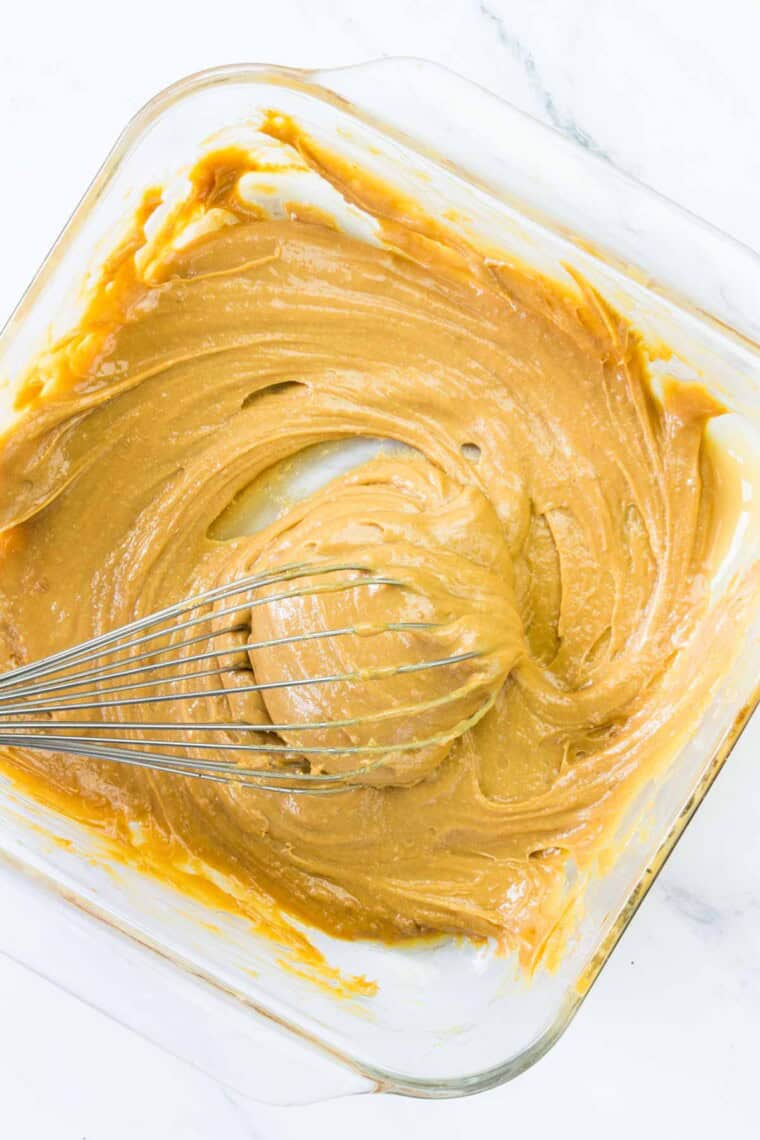
- Keep cooking. Cover and return to the oven for another 45 minutes, then cool and whisk until smooth.
Instant Pot
I have not yet tested this method but wanted to provide the most common instructions found based on my research in case you want to try it. Remove the label and check that there are no dents, other damage, or imperfections on the can. Place it on its side in the Instant Pot and fill it with water to the Max Capacity line. Cover and seal the instant pot, and set for Manual (High) for 35 minutes. After it has reached pressure and completed the cooking time, the pressure is released naturally, and the Instant Pot and water fully cool to room temperature before removing the can. Be sure it is completely cool before opening the can.
Can You Make Dulce de Leche In The Microwave?
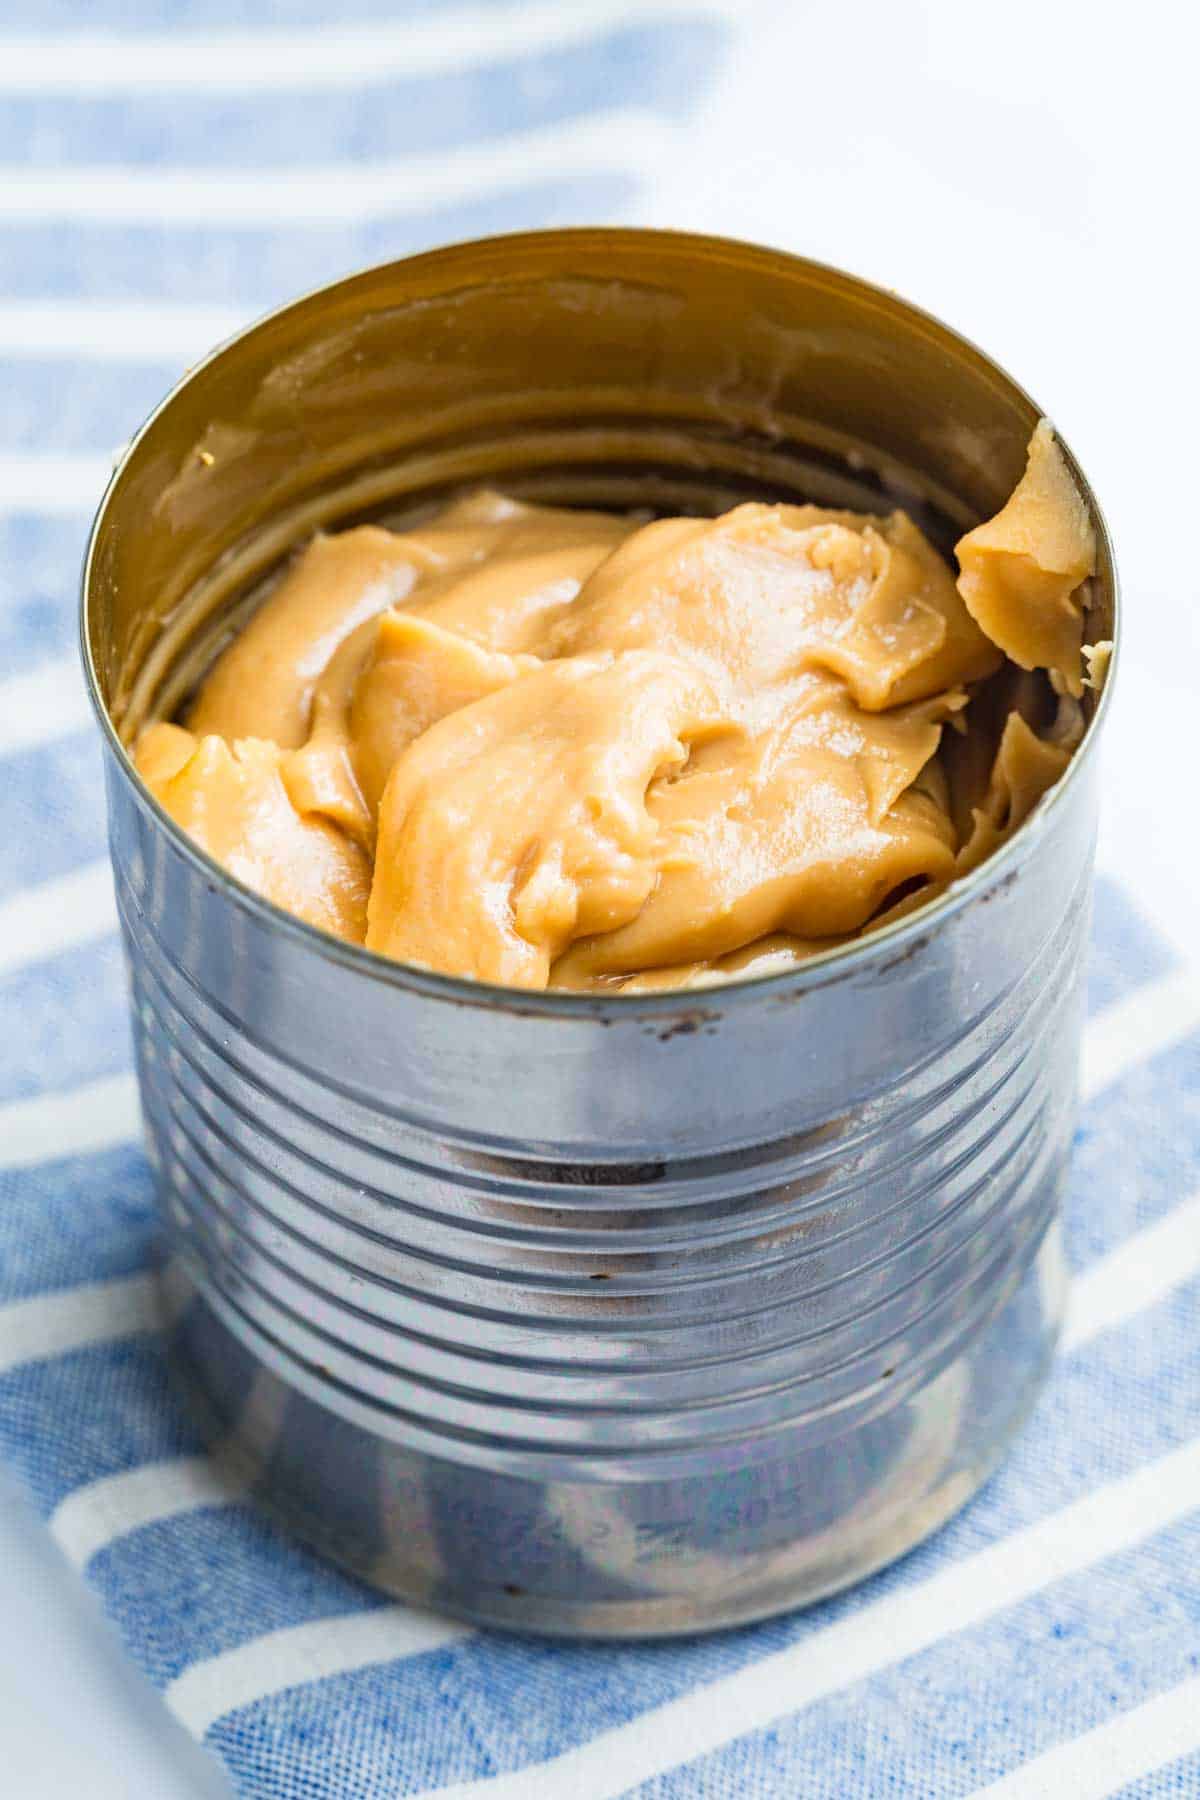
While there are recipes that will guide you through making homemade dulce de leche using a microwave, after all of my recipe testing I do not recommend this method. I’ve found that using the microwave dries out the dulce de leche even when you keep it covered while it’s cooking. The sauce also ends up too thick and grainy for my liking, as pictured below. You can try one of my other methods detailed in this post instead of the microwave.
Tips for Success
This is a simple recipe with minimal ingredients, but depending on which method you use to make dulce de leche you’ll want to refer to my tips below to help it turn out well.
- Double the batch. Use the pot of water method to make more than one can at the same time (I don’t recommend doing this with the double boiler or oven method). Make sure the water is always at least 1 inch above the cans, so keep an eye on them and add water during the cooking time if needed.
- Using a regular can. I recommend using a can that does not have a pop top because some people have experienced the can popping open.
- Turn the cans. To ensure that the cans are always covered with water, you can turn them on their side if needed.
- Keep the water hot enough. For the pot of water method, make sure that the water comes just to a boil and simmers the entire time. Not just a few tiny bubbles, but not a full, rapid boil, you want to see some movement in the water. If the water does not get hot enough, the dulce de leche will not cook enough to get caramelized.
- Cook longer for a darker color. If you can, cook the dulce de leche for up to 3 hours to create a consistency closer to a caramel sauce.
- Oven tips: Please be very careful moving and taking the pan out of the oven because the water bath is very heavy and hot. To be safe, you can slightly undertake the dulce de leche, then turn off the oven and leave the pan inside until it is cool enough to handle. This method gives a slightly grainy result that’s not too thick.
- Instant Pot tips: If you decide to use the Instant Pot, make sure to remove the label from your can of condensed milk, and check that it doesn’t have any dents.
- Cool the cans before opening them. This may go without saying, but the dulce de leche will be very hot inside the can no matter what method you use to make it! Let the can or cans cool to room temperature before opening them.
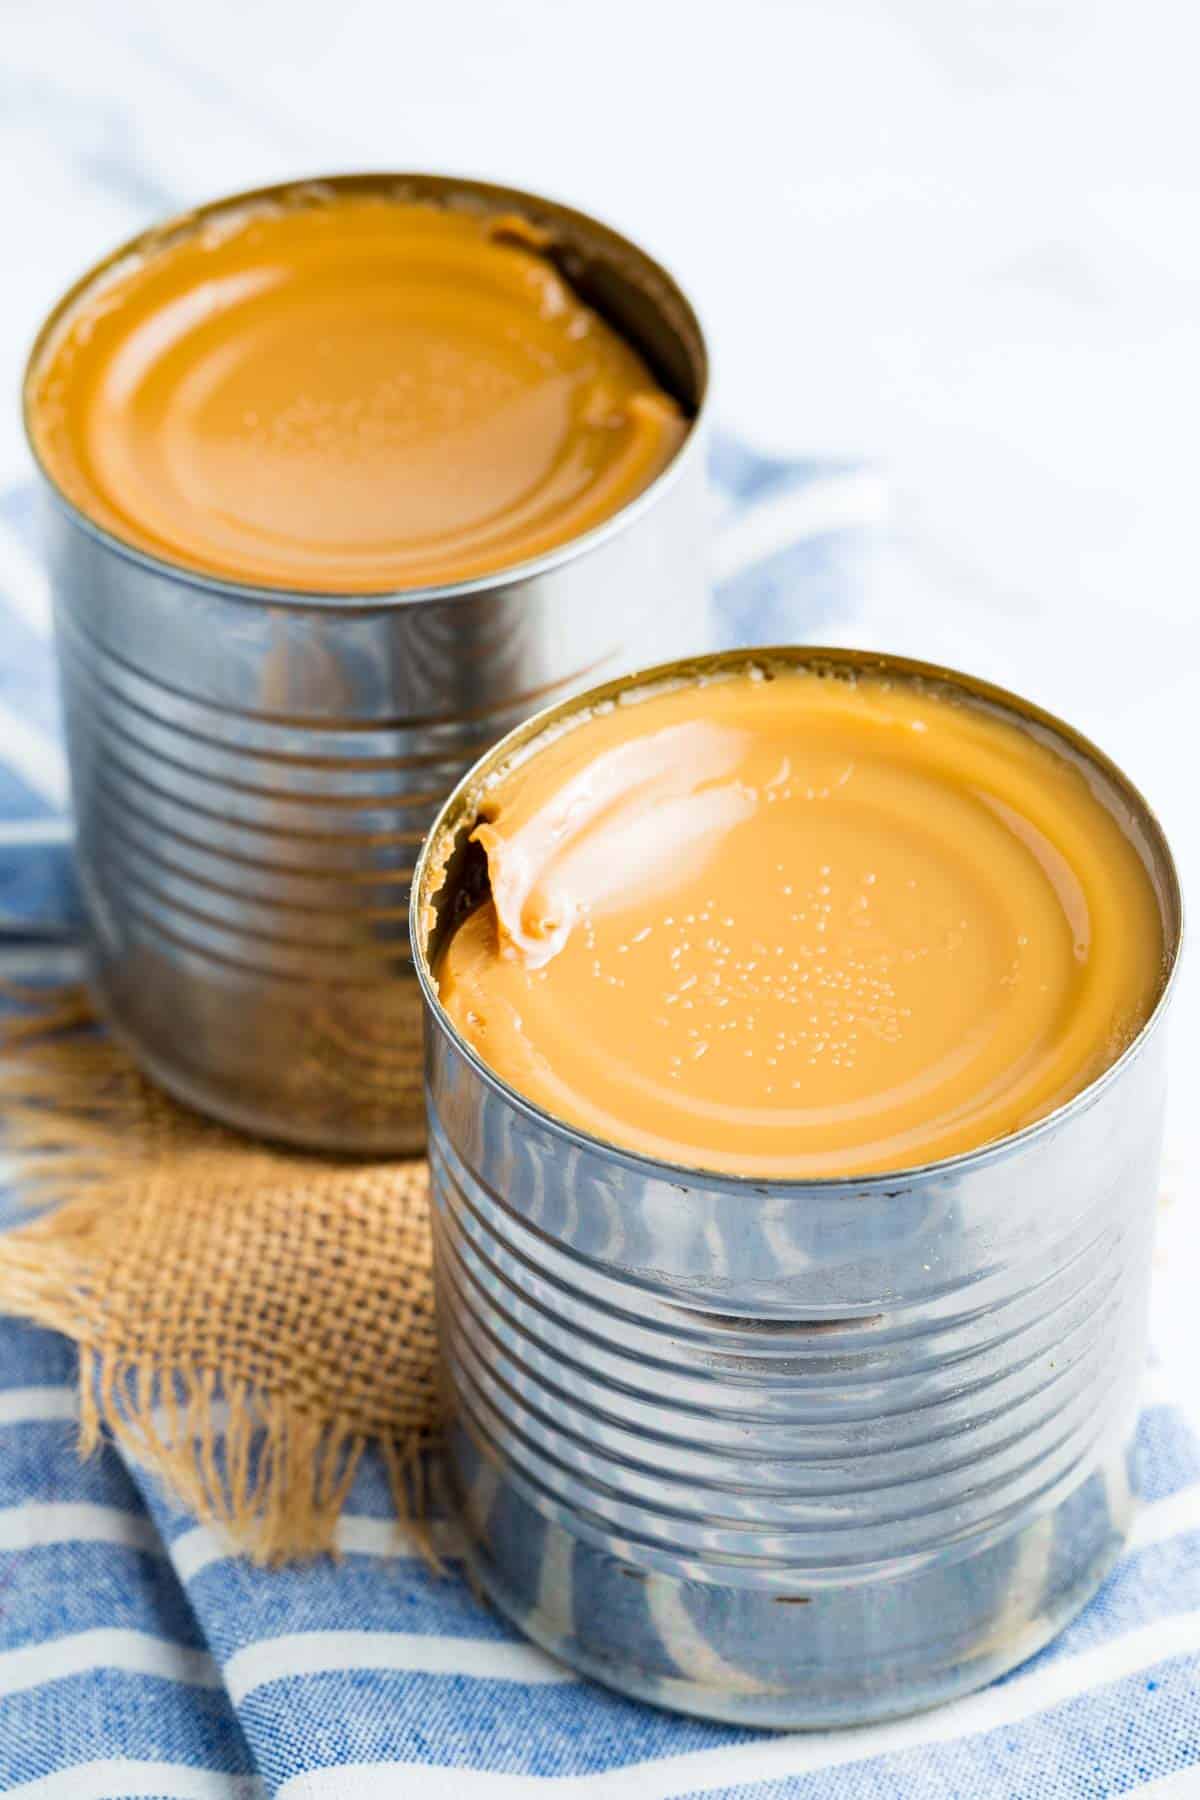
- Make ahead: Use the pot of water method to cook the dulce leche in the can. Then, let the can cool to room temperature and store the can, unopened, at room temperature for up to 3 months.
Proper Storage
Here are a few different ways you can store homemade dulce de leche:
- Counter – As noted above, you can make the dulce de leche, let it cool, and keep it in the unopened can at room temperature for up to 3 months.
- Fridge – Transfer any leftover dulce de leche to an airtight container – I like a glass jar with a tight-fitting lid – and store it in the fridge for up to 3 weeks.
- Freezer – Place the dulce de leche in an airtight, freezer-safe container and store it in the freezer for up to 2 months. Defrost it in the fridge before serving.
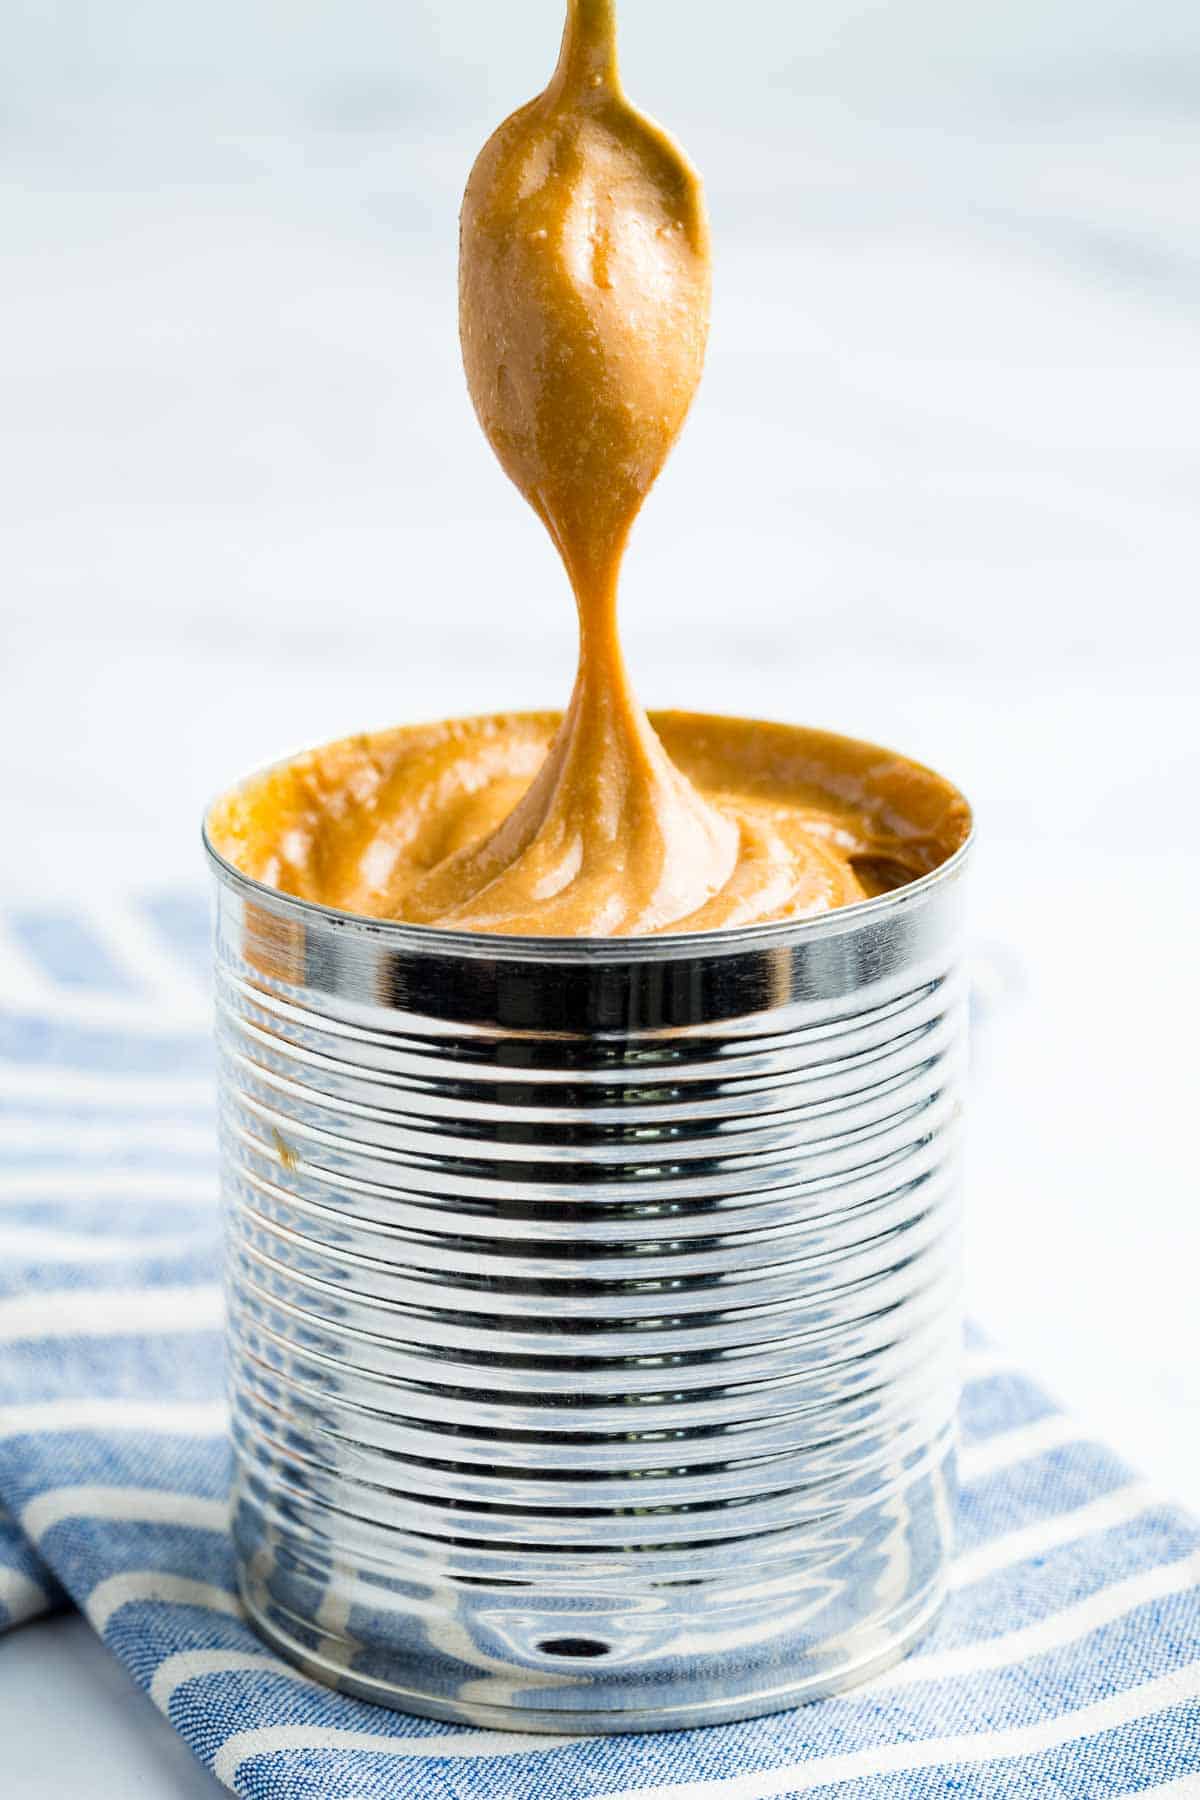
Ways To Serve It
Here are a few of my favorite ways to use homemade dulce le leche, from adding it to ice cream to using it as a dessert sauce:
- Ice cream. My No-Churn Dulce de Leche Ice Cream recipe is the perfect way to use homemade dulce de leche! Or add it to my recipe for No-Churn Caramel Fudge Ice Cream. You can also spoon it over ice cream instead of caramel sauce.
- Crepes. In France, dulce de leche goes by confiture de lait (milk jam), and in the Normandy region, it’s often served over crepes. Drizzle homemade dulce de leches over the top of my Gluten Free Crepes for a treat!
- Candy. Use the basic method for making Homemade Peanut Butter Cups, but swap the peanut butter with dulce de leche for a caramelly treat.
- Desserts. Tuck this sweet homemade sauce into my recipe for Gluten Free Dulce de Leche Banana Cream Pie or Pumpkin Icebox Cake (use GF gingersnaps to make it gluten free). Or add a dollop into the middle of these Flourless Peanut Butter Dulce de Leche Cookies.
- Breakfast. Sweeten up a batch of Gluten Free Banana Waffles with a generous pour of dulce de leche instead of maple syrup. Or serve it with Gluten Free Buttermilk Pancakes or Gluten Free Chocolate Chip Pancakes.
- Churros. Pipe some Gluten Free Pate au Choux into hot oil to fry them, then roll them in cinnamon-sugar for a real treat to pair with dulce de leche. Similarly, try dipping Gluten Free Funnel Cake Fries.
Dulce de Leche
Ingredients
- 1 14-ounce can sweetened condensed milk
Instructions
Pot of Water
- Place the sealed can of sweetened condensed milk in a large pot, putting them on their sides if you need to in order to ensure you can completely cover them with water. Add enough water to the pot to make sure it is at least 1-2 inches above the top of the can. Cover and place over medium heat until it just comes to a boil, then lower the heat and simmer for 2-3 hours, depending on how dark and thick you want your dulce de leche. Use tongs to carefully remove the can from the water and let it cool completely to room temperature before opening the can.
Double Boiler
- Pour the entire can of sweetened condensed milk in a bowl and cover it (see note). Place it on top of a double boiler over a pot of simmering water. Cook over low heat, stirring occasionally, for 1-2 hours, or until thick and caramel-colored. You can cook it longer for a thicker consistency and darker color, but if too much moisture evaporates, it will become too thick.
Oven
- Preheat the oven to 425°F. Pour the can of sweetened condensed milk in a glass square pan or pie plate that you can set inside of a larger glass baking dish. Cover the pan with the sweetnened condensed milk with foil and pour hot water into the larger baking dish. Place in the oven and bake for 45 minutes. VERY CAREFULLY (see Note) open the foil and stir the dulce de leche. Cover and return to the oven for another 45 minutes-1 1⁄2 hours until it is as dark as you like, checking after 45 minutes. Let it cool in the water bath (leave it in the oven if you cannot safely move it) until it reaches room temperature. Stir with a whisk to give it a smoother consistency, though it will be slightly grainy.
Instant Pot (see Notes)
- Remove the label and check that there are no dents or other damage or imperfections on the can. Place it on its side in the Instant Pot and fill with water to the Max Capacity line. Cover and seal the instant pot, and set for Manual (High) for 35 minutes. After it has reached pressure and completed the cooking time, the the pressure release naturally and the Instant Pot and water to fully cool to room temperature before removing the can. Be sure it is completely cool before opening the can.
Notes
- This method allows you to make more than one can at the same time, which I would not recommend with the double boiler or oven method.
- Using a can that does not have a pop top is recommended, as some people have experienced the can popping open.
- The cans can be turned on their side if needed to ensure they are covered with water. Make sure the water is always at least 1 inch above the cans, so keep an eye on the pot and add water during the cooking time if needed.
- Make sure the water comes just to a boil and is simmering the entire time. Not just a few tiny bubbles, but not a full, rapid boil, you want to see some movement in the water. If the water does not get hot enough, the dulce de leche will not cook enough to get caramelized.
- After 2 hours, you will have a lighter color dulce de leche with a consistency closer to a caramel sauce. Let it go for 3 hours to make it darker and thicker.
- On my first test, I did not have the heat high enough, and the dulce de leche was not as dark as I wanted. I tried putting it in a glass bowl in the microwave, covered with plastic wrap, and stirring every few minutes. This will work in a pinch, but it becomes quite thick and clumpy. If you realize it isn’t cooked enough after you open the can, you can finish it using the double boiler or oven method for a reduced amount of time until you achieve the color you want.
- As noted above, though there are recipes out there that tell how to do this, I do not recommend it as it dries out even when covered, and becomes too thick.
- If you don’t cover it, it will become too thick before it has had enough time to caramelize. I like to use these Silicone Covers to place over my bowl to limit how much moisture evaporates and keep it from getting too thick or clumpy.
- Be very careful moving and taking the pan out of the oven. The water bath makes it very hot and heavy. If you are worried, I’d recommend slightly underbaking it, then turning off the oven and leaving the pan in there until it is cool enough to handle.
- This method gives a slightly grainy result, but it is quite easy and allows you to be mostly hands-off, but still monitor that it gets cooked and caramelized as much as you like, and it is still quite delicious. It also doesn’t get too thick, like you may encounter with the double boiler method.
- I have not yet tested this method, but wanted to provide the most common intructions found based on my research in case you want to try it. I will add my notes once I have tested this.
- For this method, it is especially important to remove the label and check for any damage to the can.


