This post may contain affiliate links. Read my disclosure policy.
This is the best Gluten-Free Graham Cracker Crust recipe that you’re guaranteed to come back to again and again! Pies, tarts, cheesecakes, and more – tuck all of your favorite fillings and desserts into this sweet and buttery homemade pie crust. Made with just 4 ingredients!
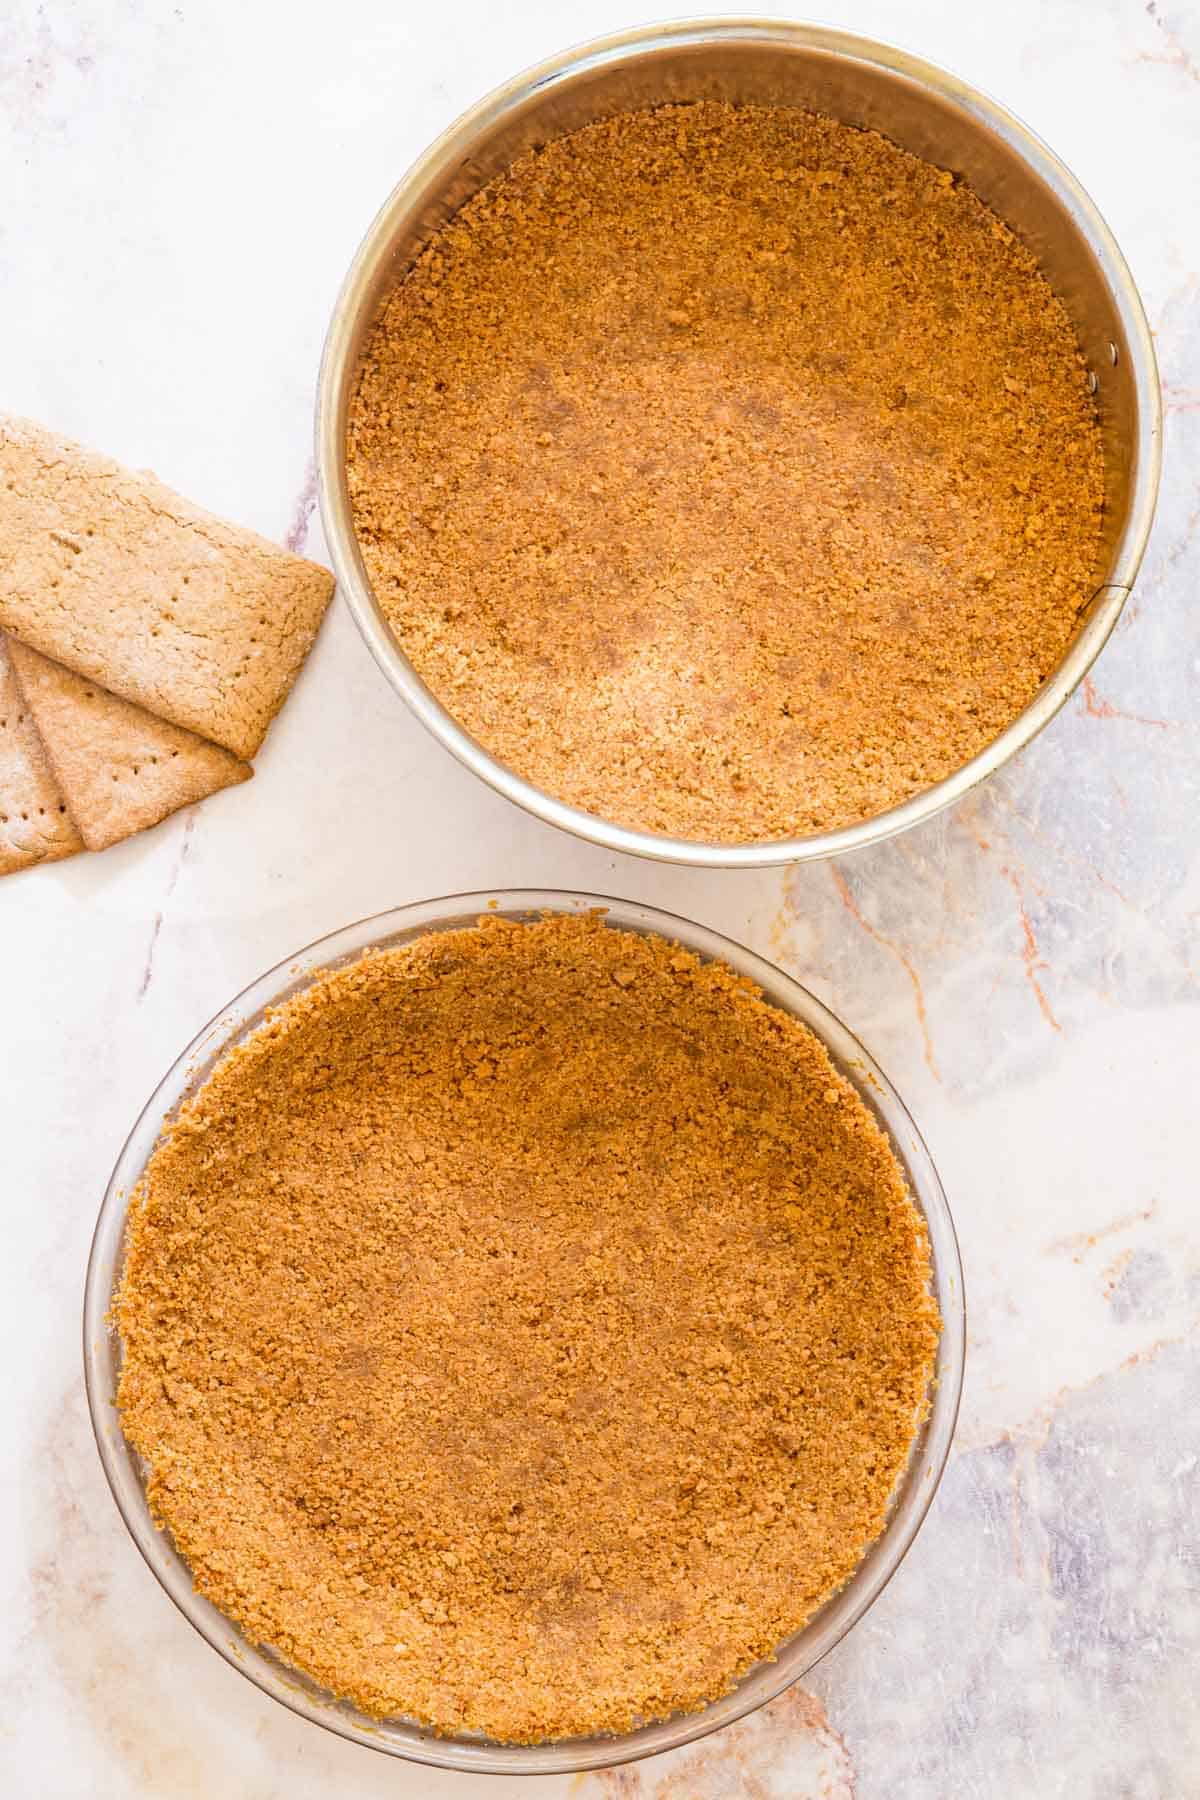
Table of Contents
- An Easy Gluten-Free Graham Cracker Crust for All of Your Favorite Desserts
- What You’ll Need
- How to Make This Simple Gluten-Free Graham Cracker Crust
- Does a Graham Cracker Crust Need to Be Baked?
- Helpful Hints
- Recipe Variations
- How to Store Your Homemade Crust
- Can I Freeze This?
- Shop the Recipe
- Get the Recipe
An Easy Gluten-Free Graham Cracker Crust for All of Your Favorite Desserts
It’s no secret that I love pies. As soon as fall rolls around, you’ll find me up to my nose in recipes for Gluten-Free Pumpkin Pie or Gluten-Free Dutch Apple Pie.
But then there are the no-bake desserts. Or desserts like cheesecake, that demand a different sort of crust. This year, I thought it was high time to share my easiest recipe for gluten-free Graham cracker crust. Made with homemade Graham crackers, no less! Though you can use your favorite brand from the store if you prefer.
This crust is sweet and buttery, and it’s all sorts of delicious. Plus, it’s so, so easy to make. My crust recipe comes together in just 10 minutes with 4 ingredients. Then you either chill it or bake it, and it’s ready to use in any and all of your favorite gluten-free desserts!
What You’ll Need
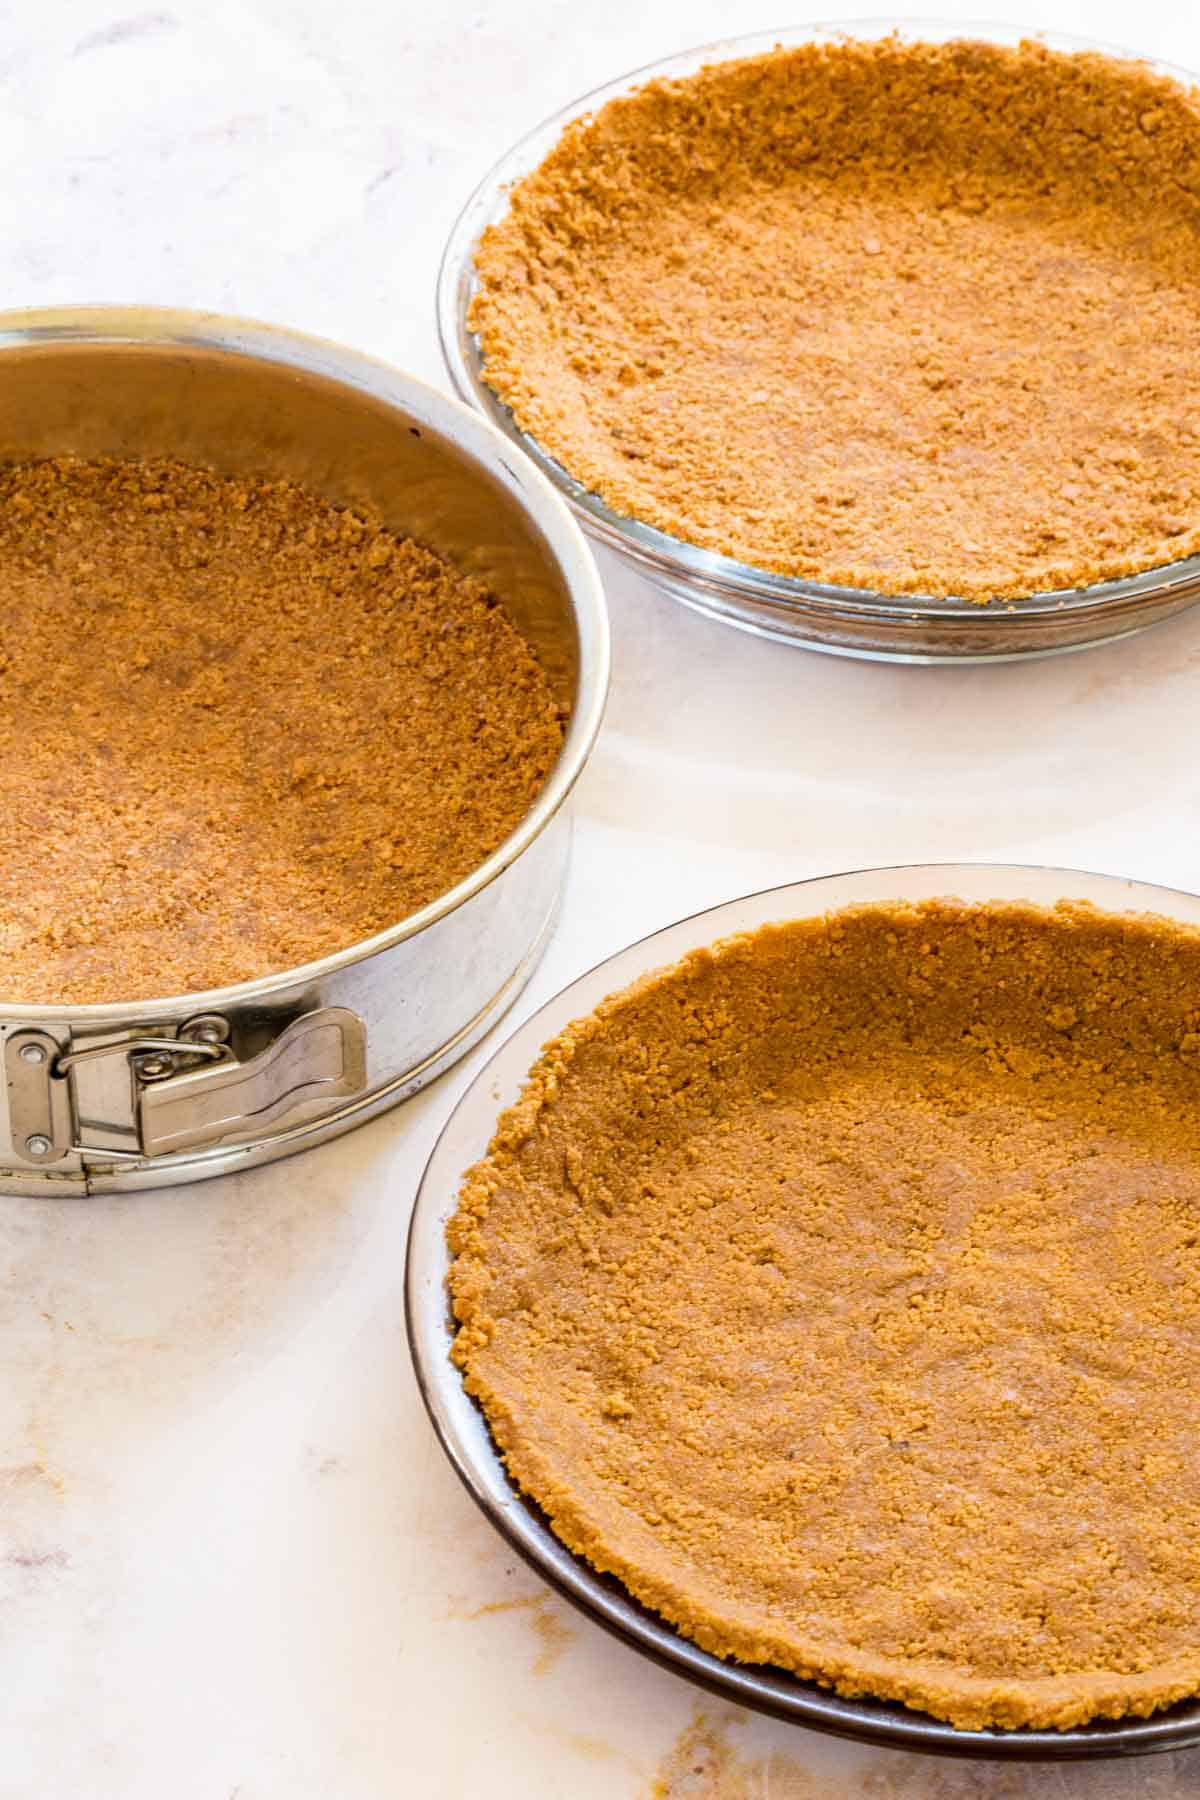
You only need 4 ingredients to make a perfect homemade Graham cracker pie crust. Be sure to refer to the recipe card for the full amounts:
- Gluten-Free Graham Cracker Crumbs: I use my homemade Gluten-Free Graham Crackers and crush them into crumbs (this is easy to do in a food processor). You can also use your preferred brand of Graham crackers (gluten-free, or regular if you aren’t making this crust gluten-free).
- Sugar
- Salt
- Butter: Unsalted butter is recommended, this way you can adapt the saltiness of the crust mixture to taste. Melt the butter in the microwave before you start.
How to Make This Simple Gluten-Free Graham Cracker Crust
Before you begin, you’ll need to pulse your Graham crackers into crumbs in a food processor. If you don’t have a blender or food processor handy, don’t worry. You can also kick it old-school with a large zip-top bag and a rolling pin!
Now that your crumbs are ready and the butter is melted, let’s go ahead and make a crust:
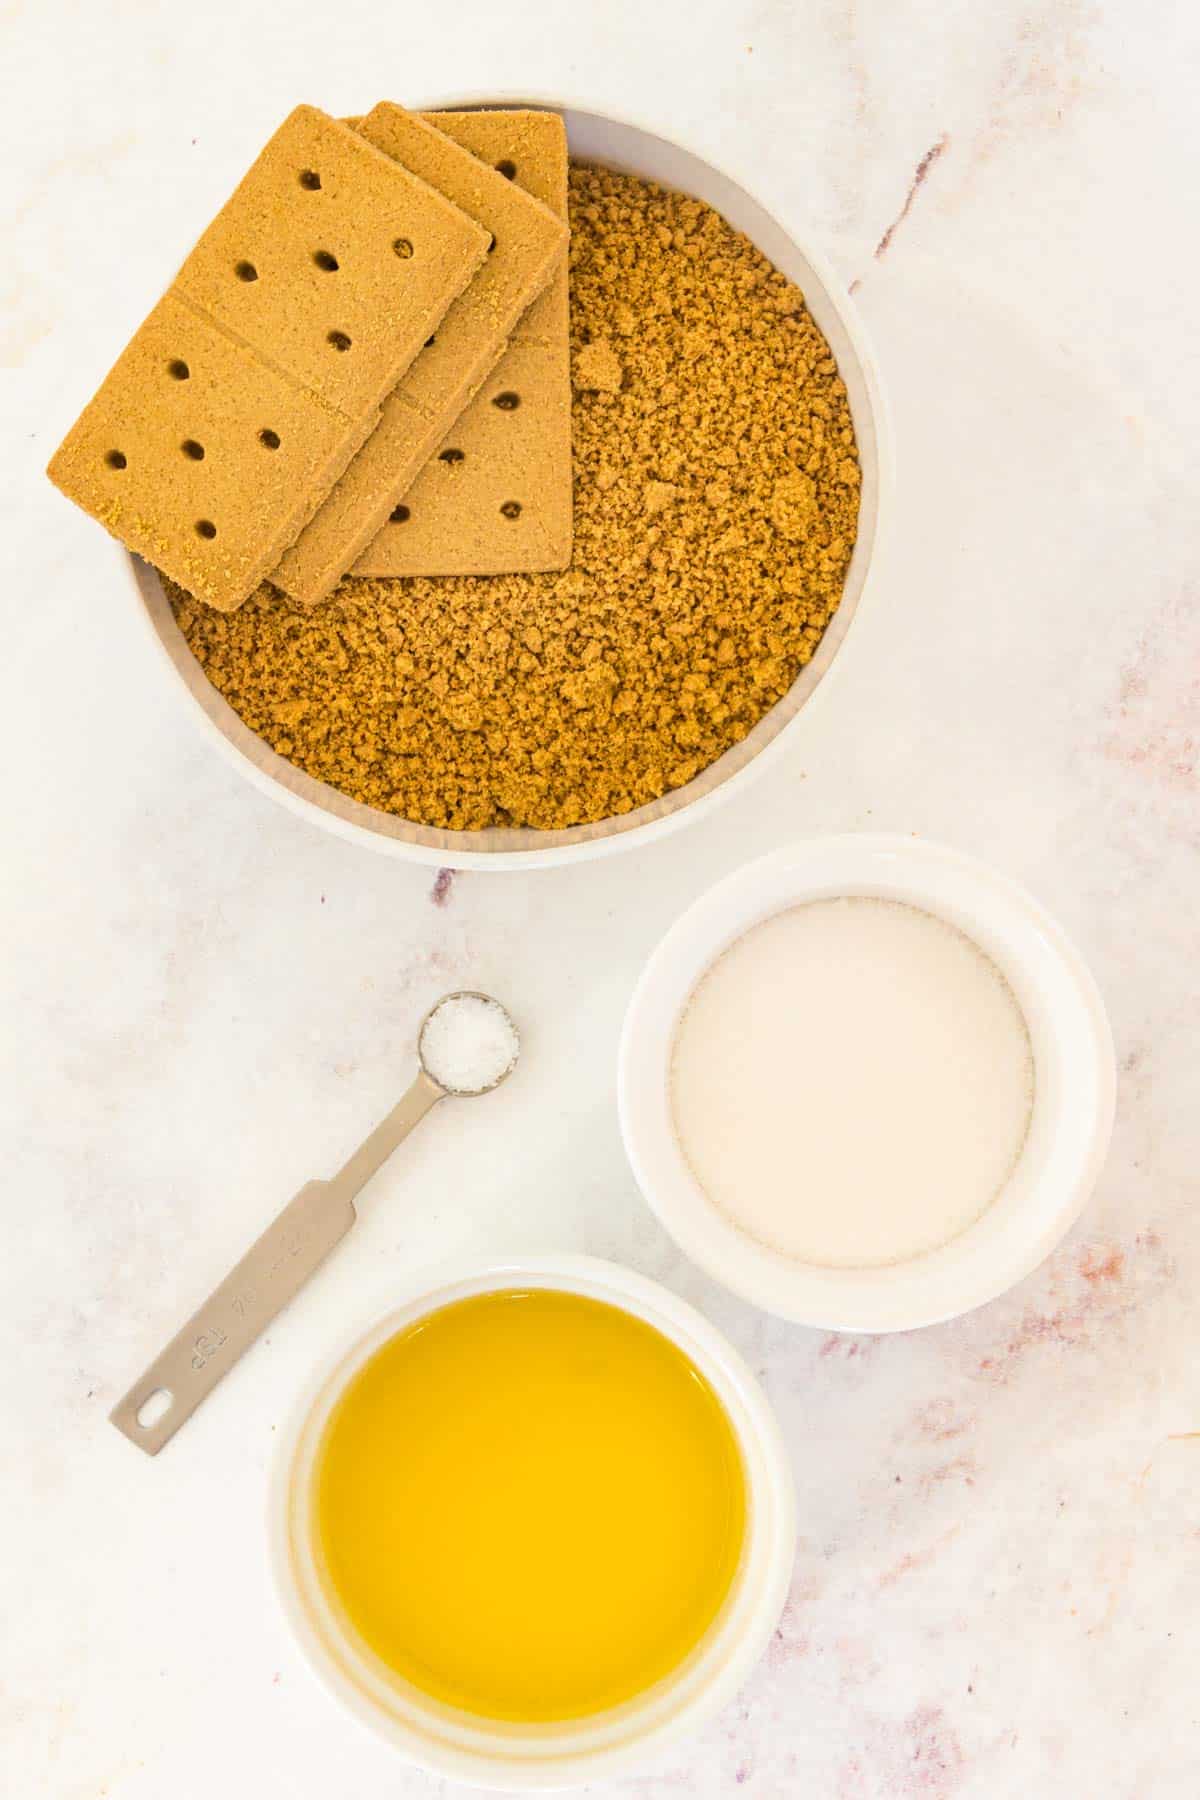
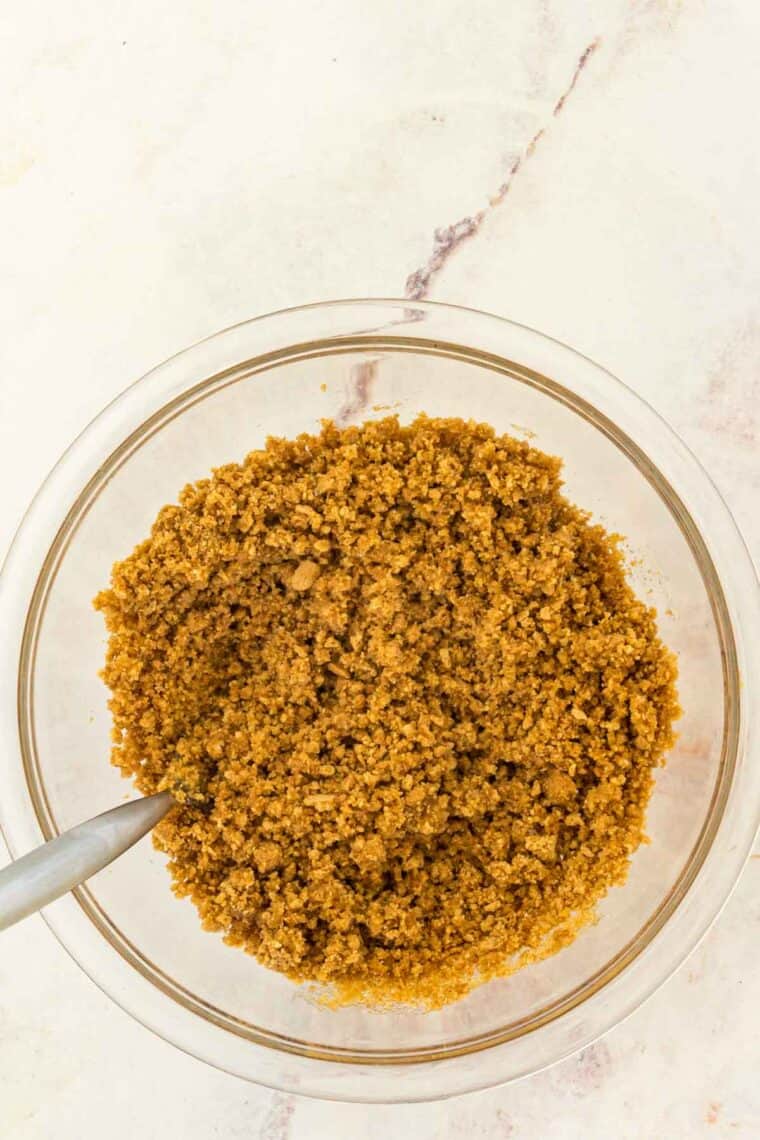
Combine: Whisk together the Graham cracker crumbs, sugar, and salt with a fork. Cut in the melted butter until the crumb mixture is thick and sandy. If you give it a pinch, the mixture should clump a little. If needed, adjust the texture by adding a spoonful of either crumbs or butter at a time until the moisture is just right.
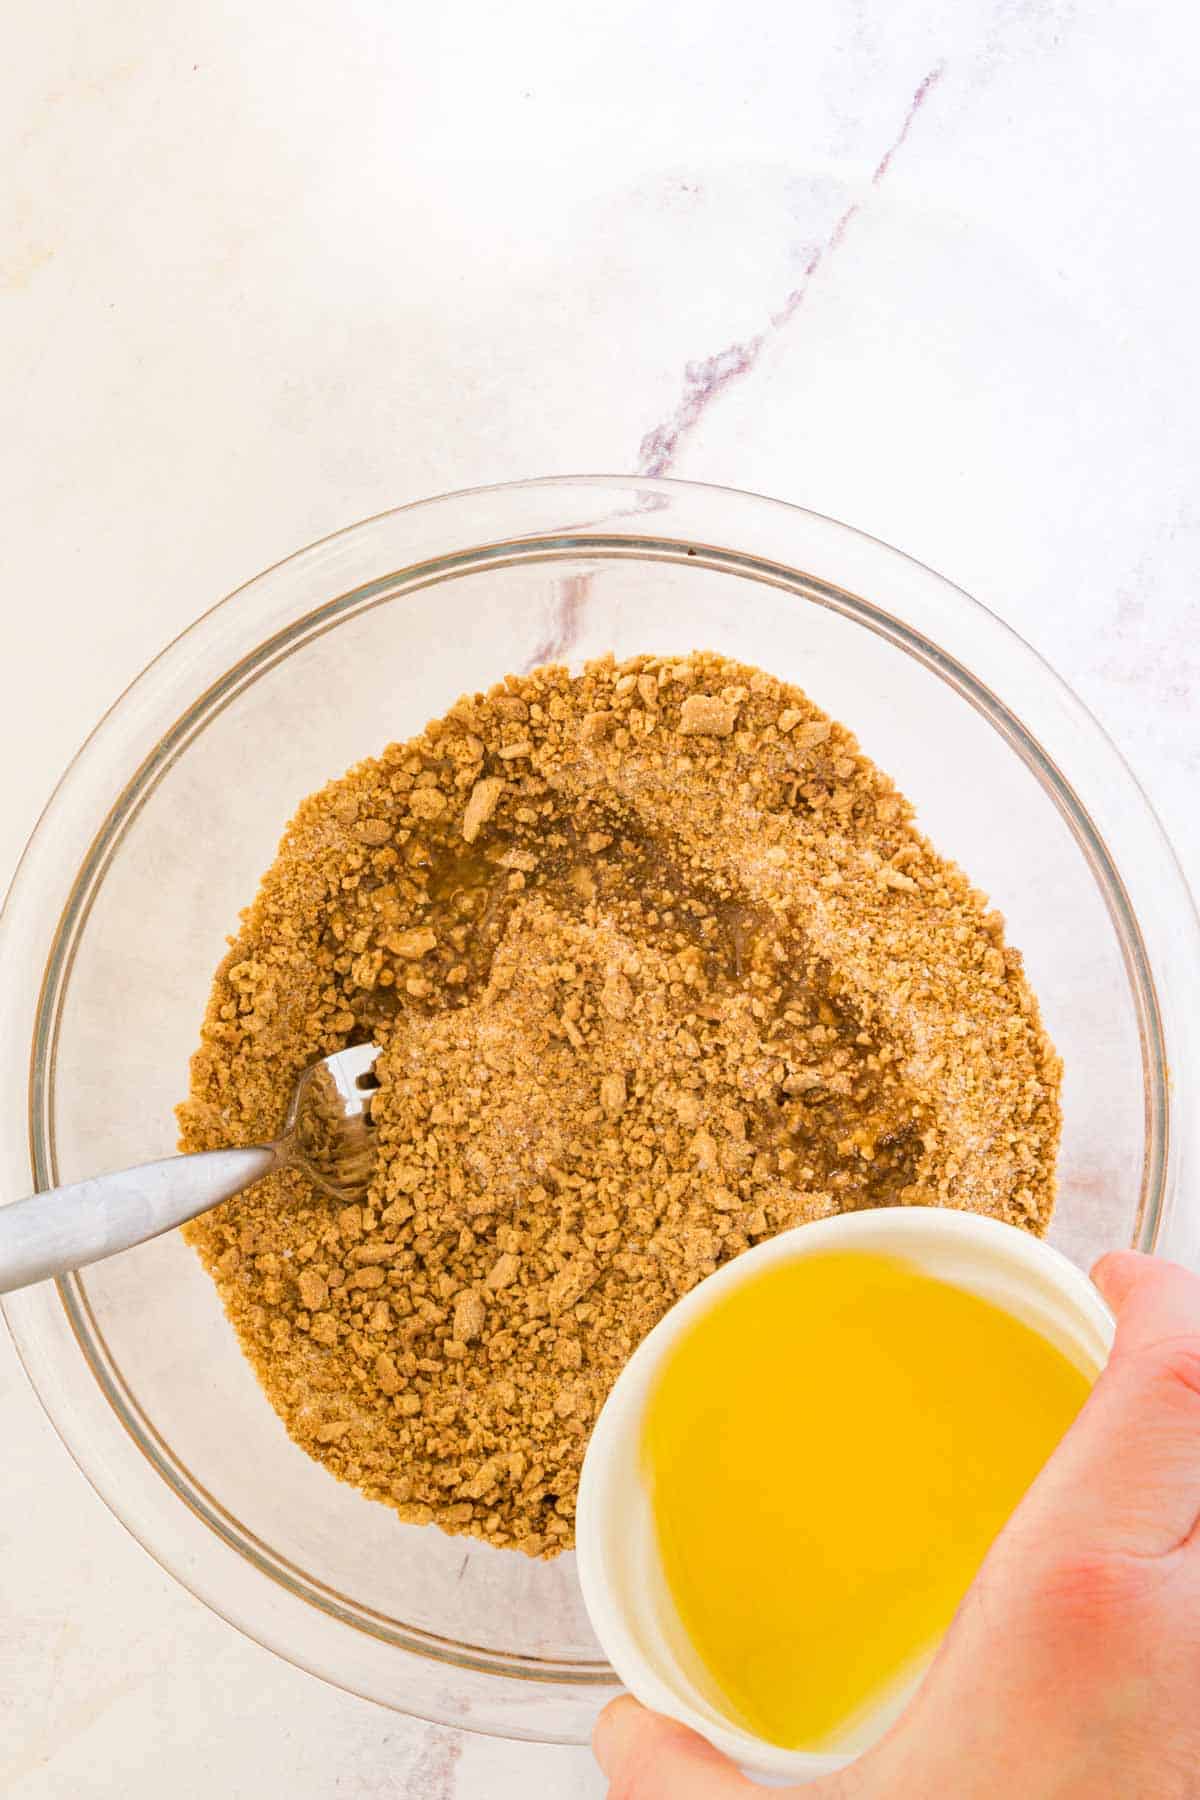
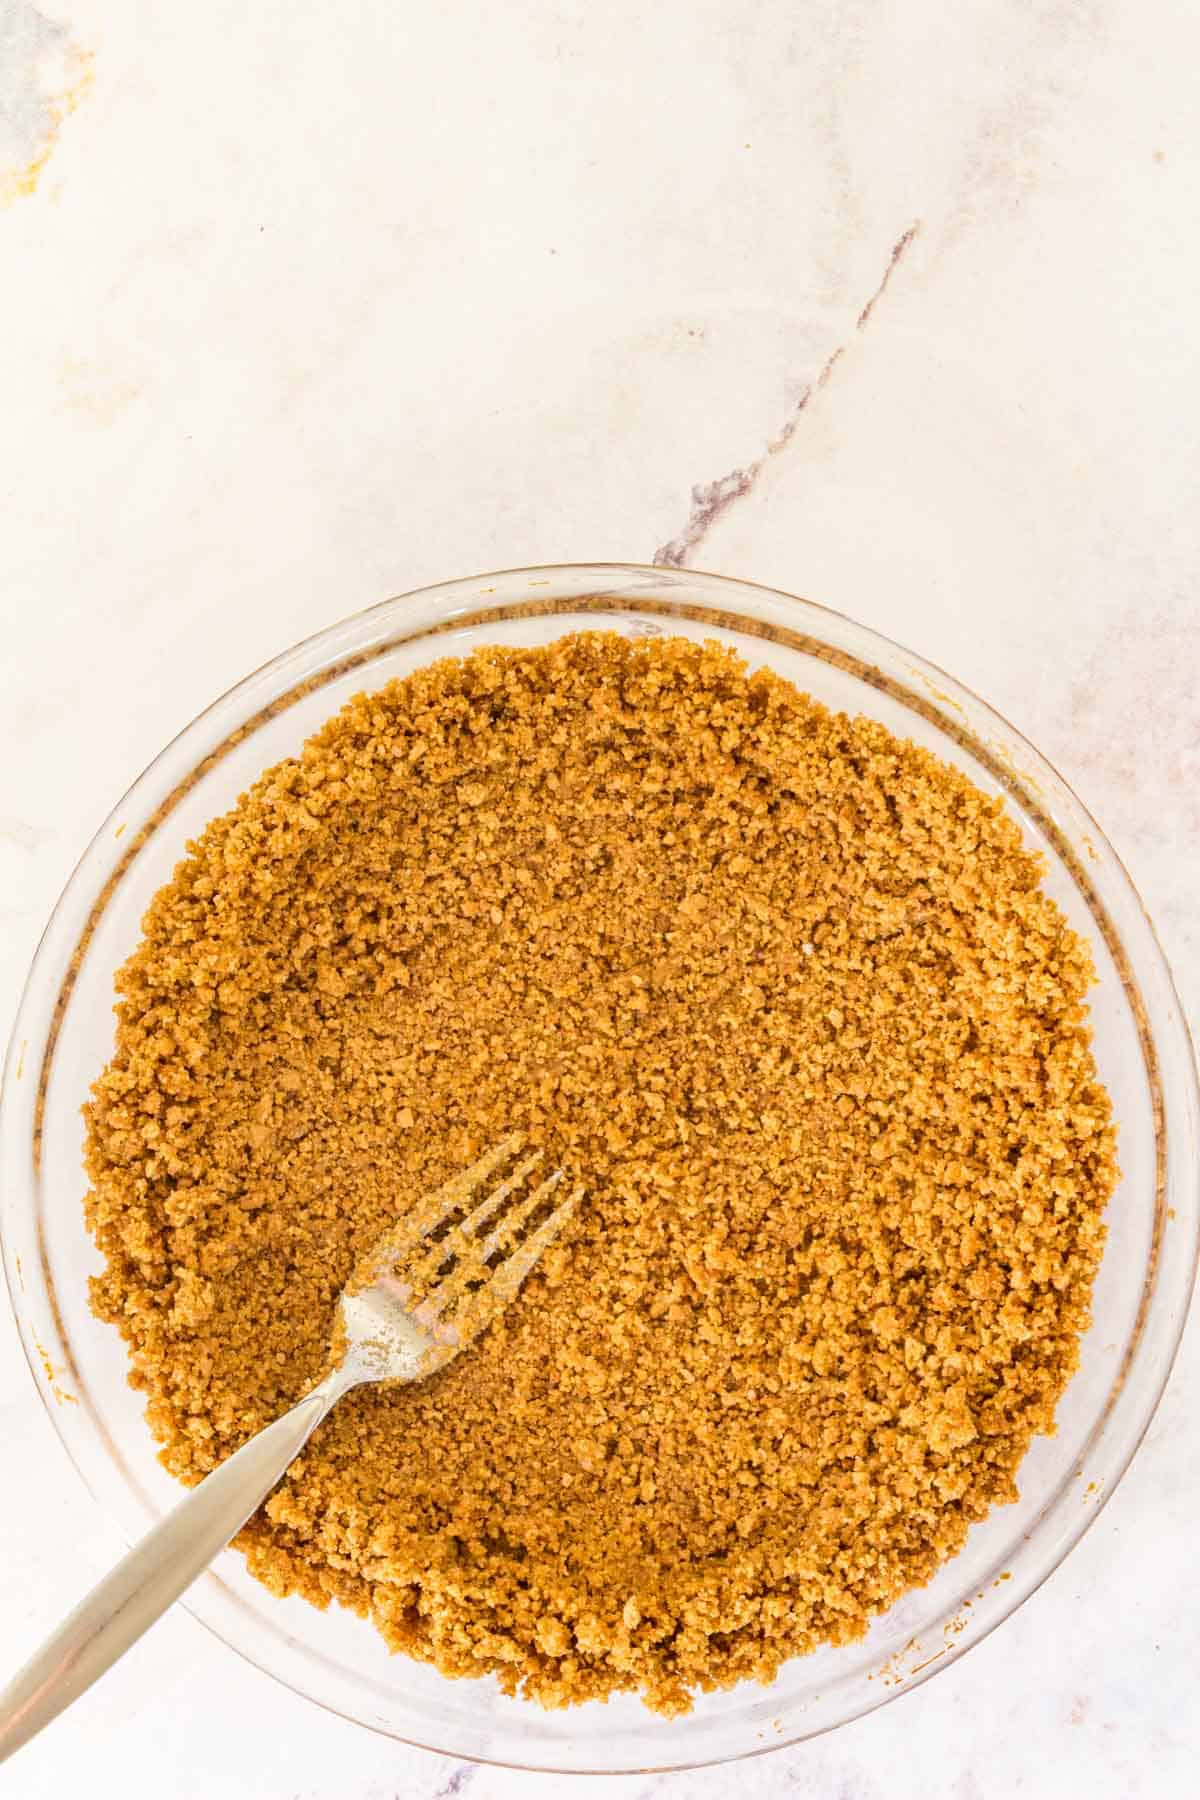
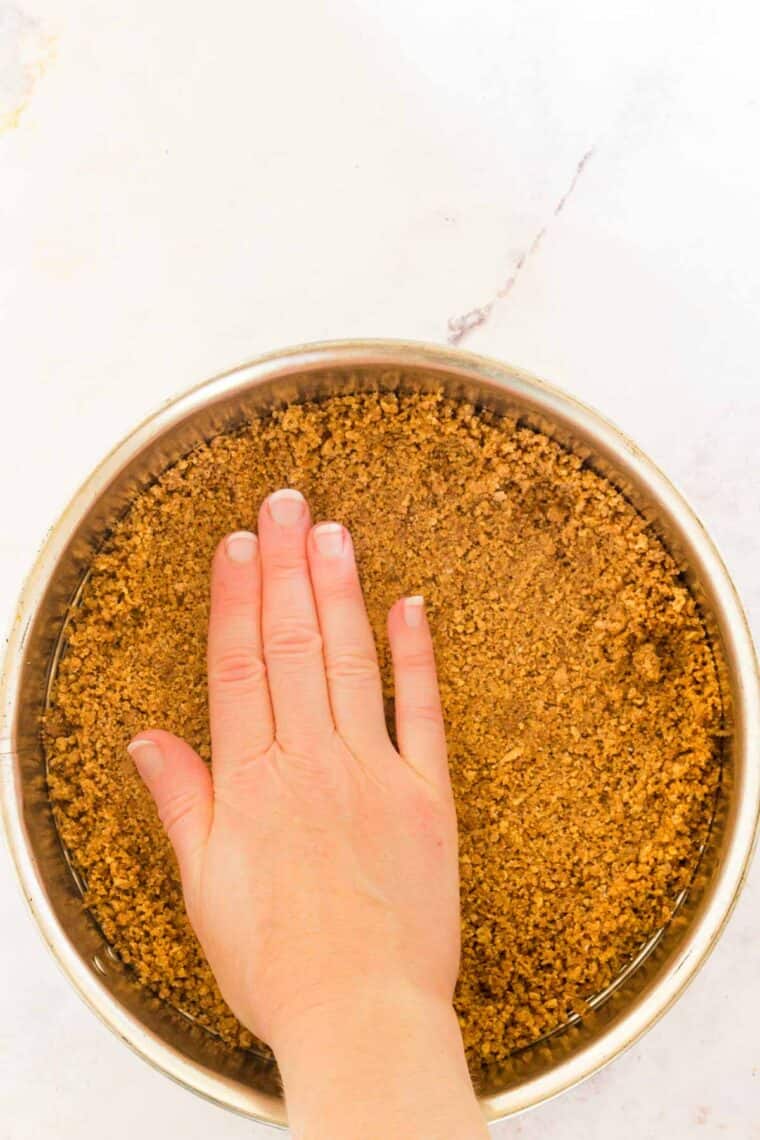
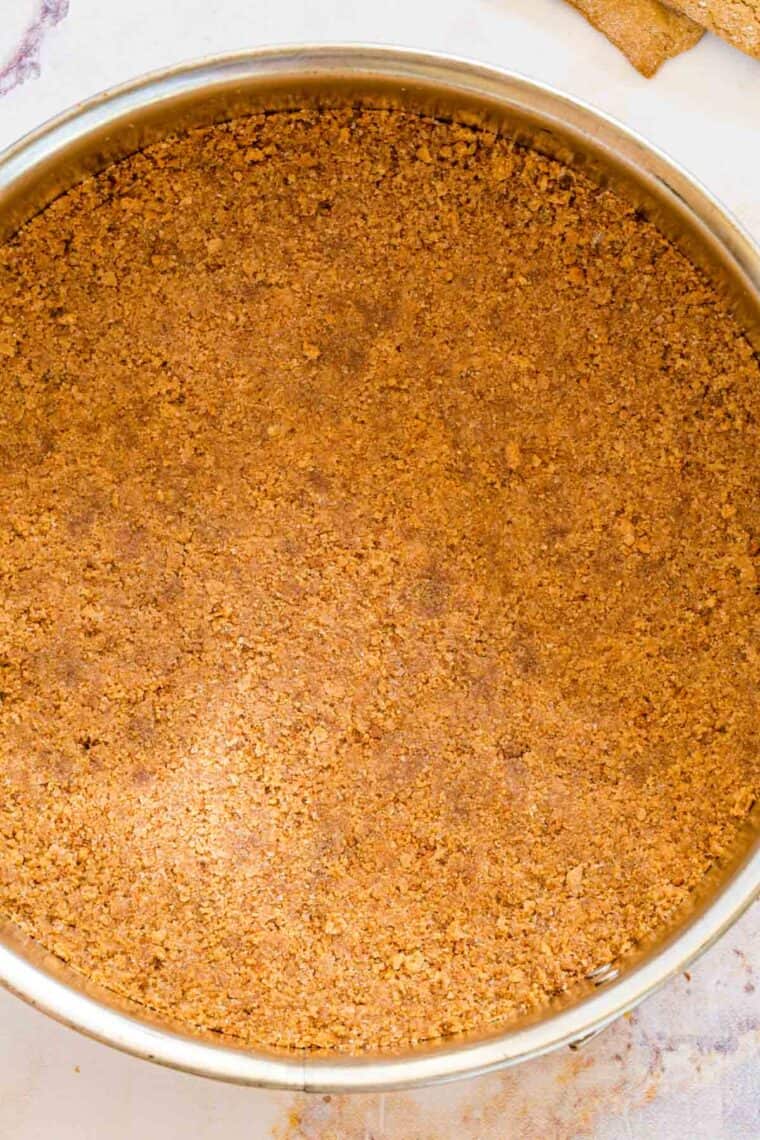
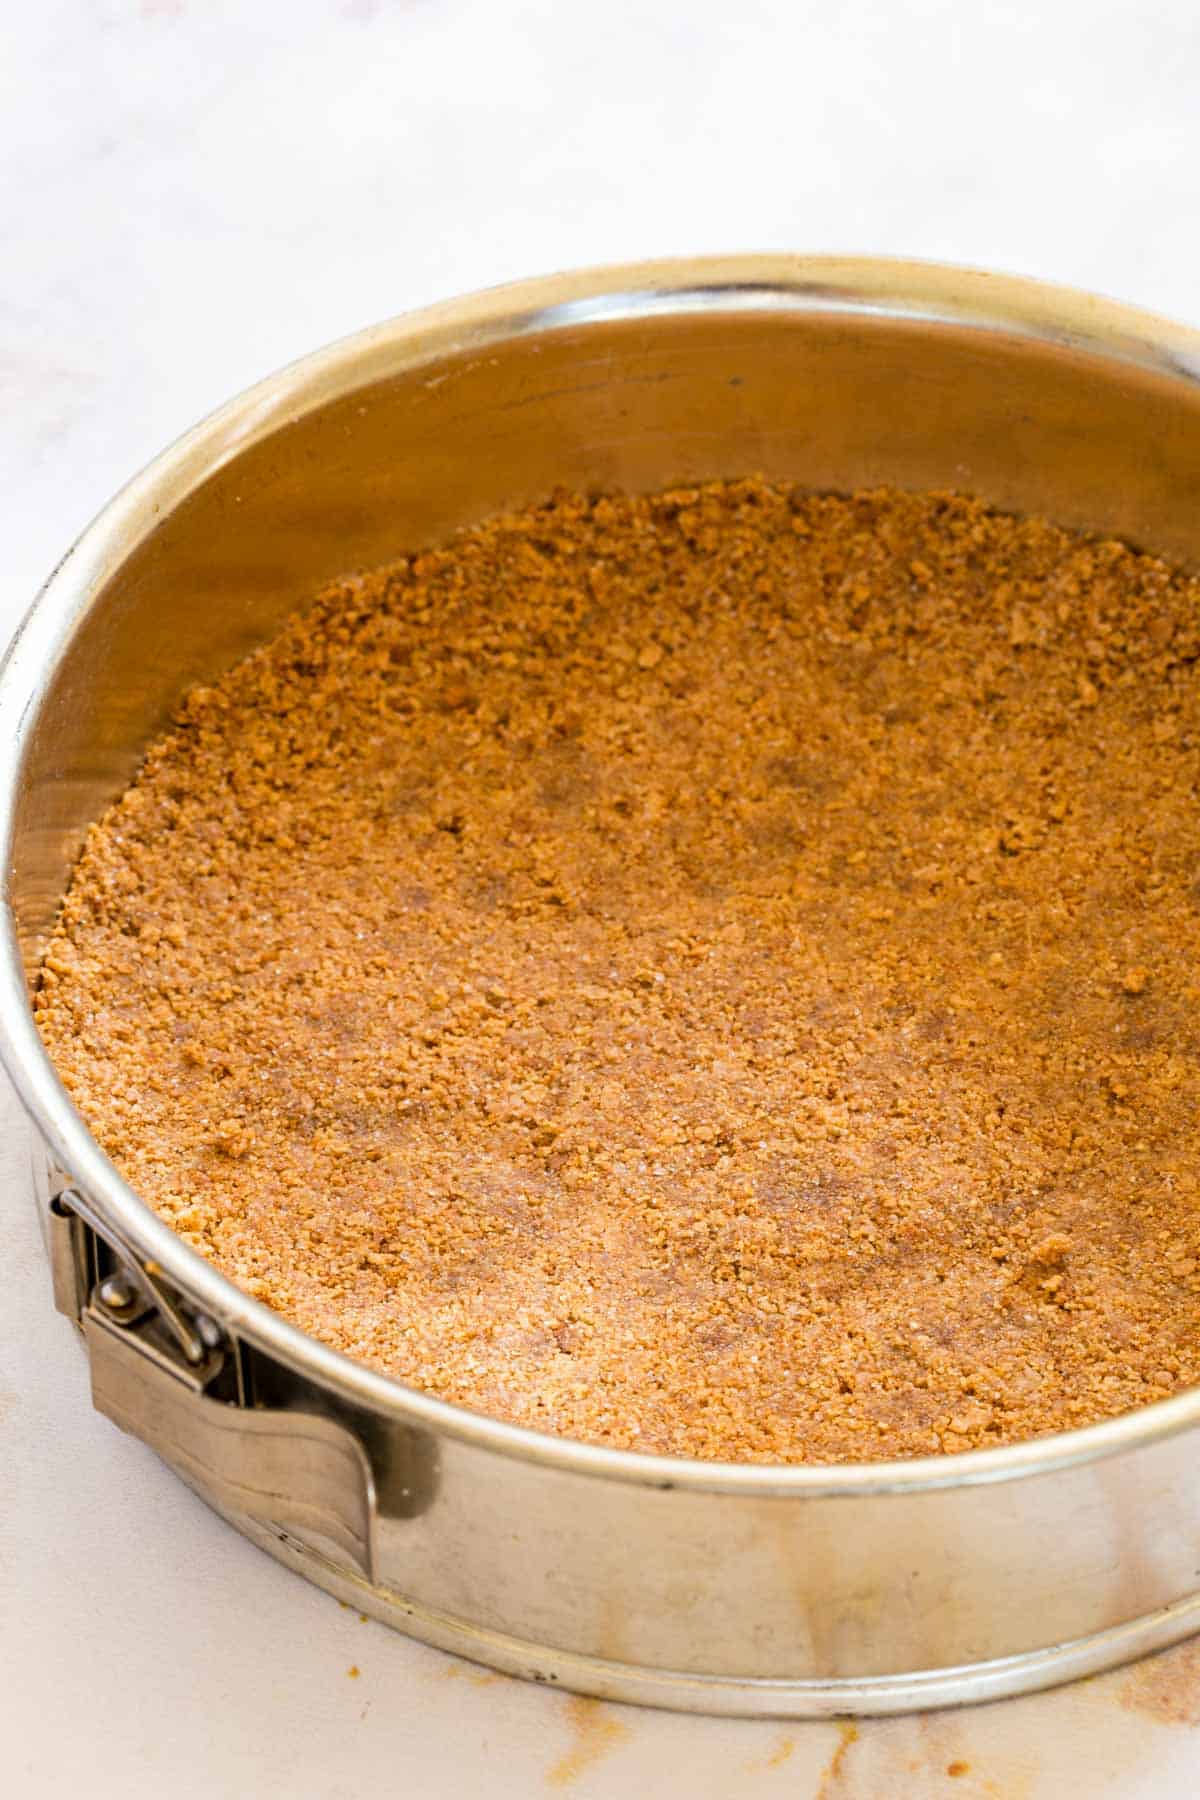
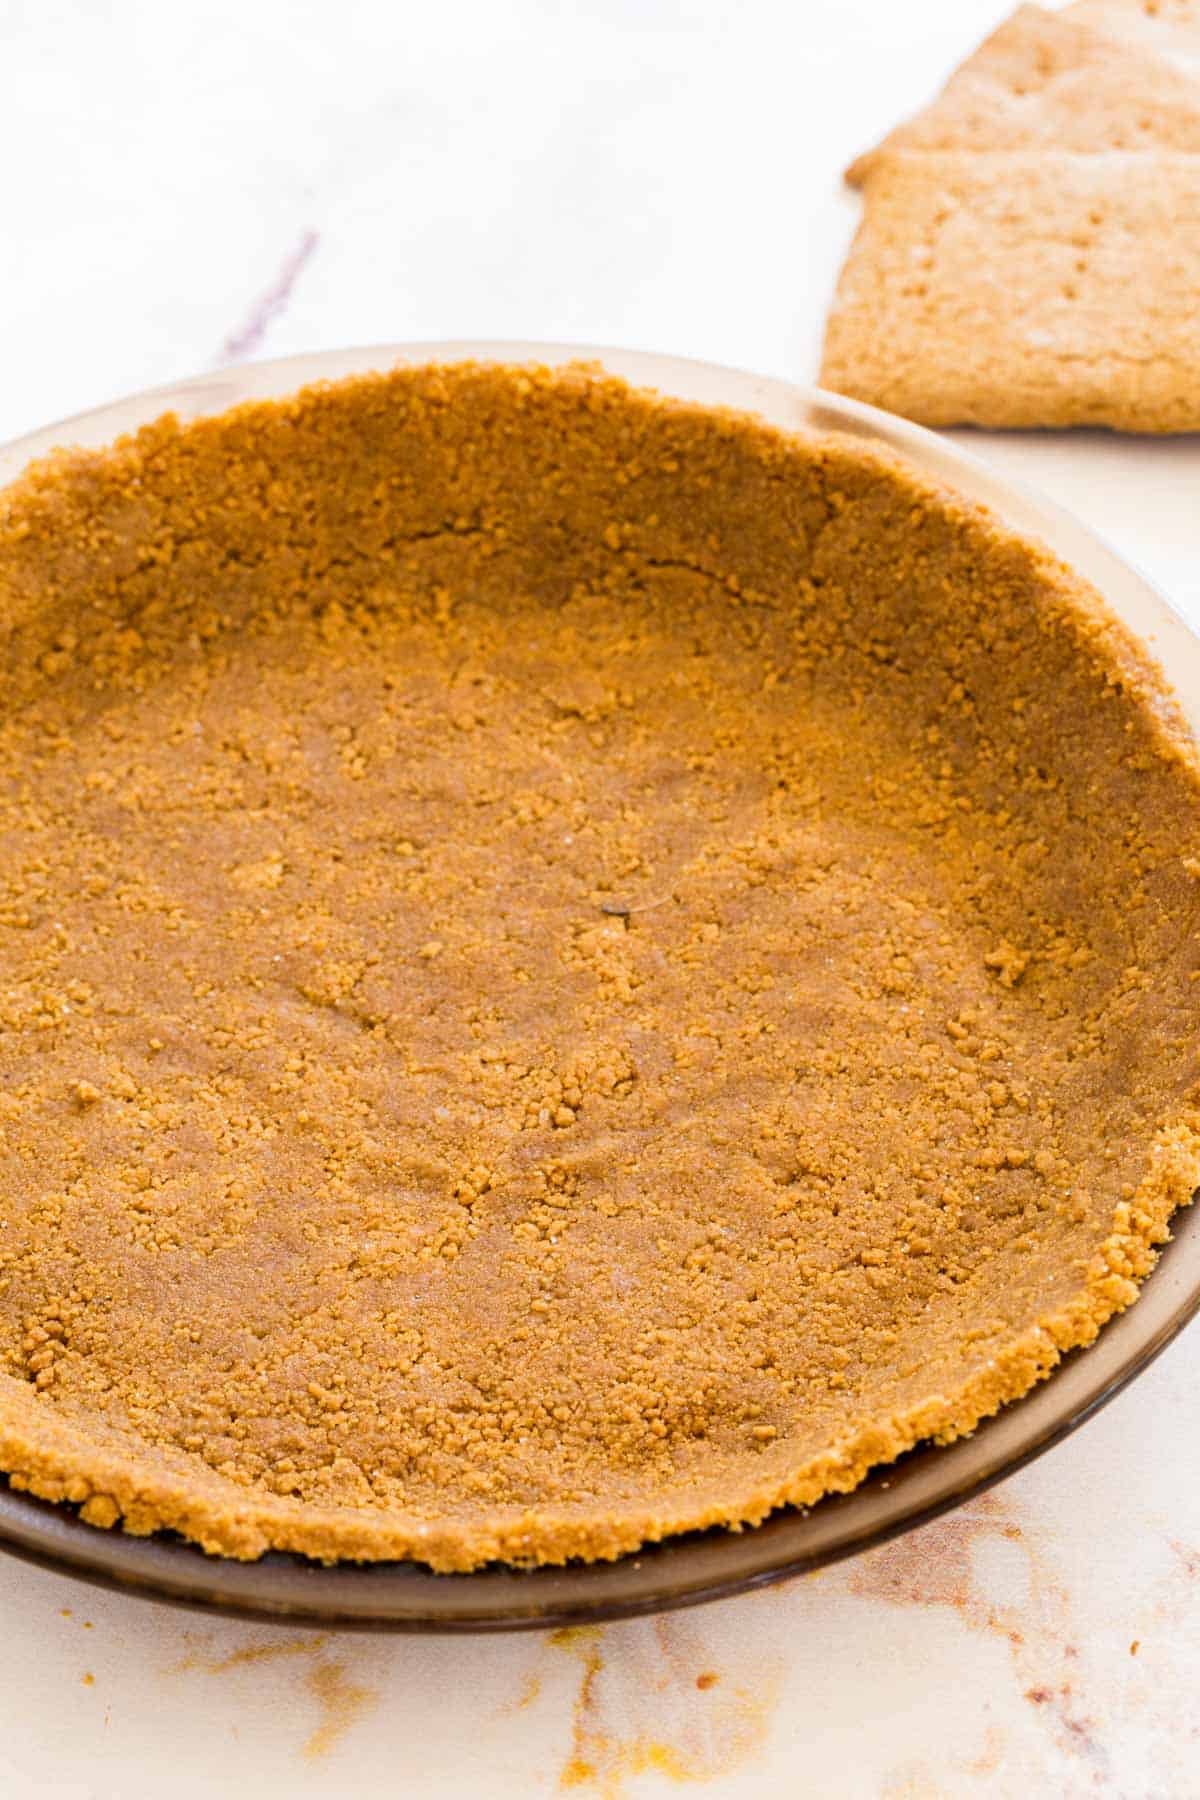
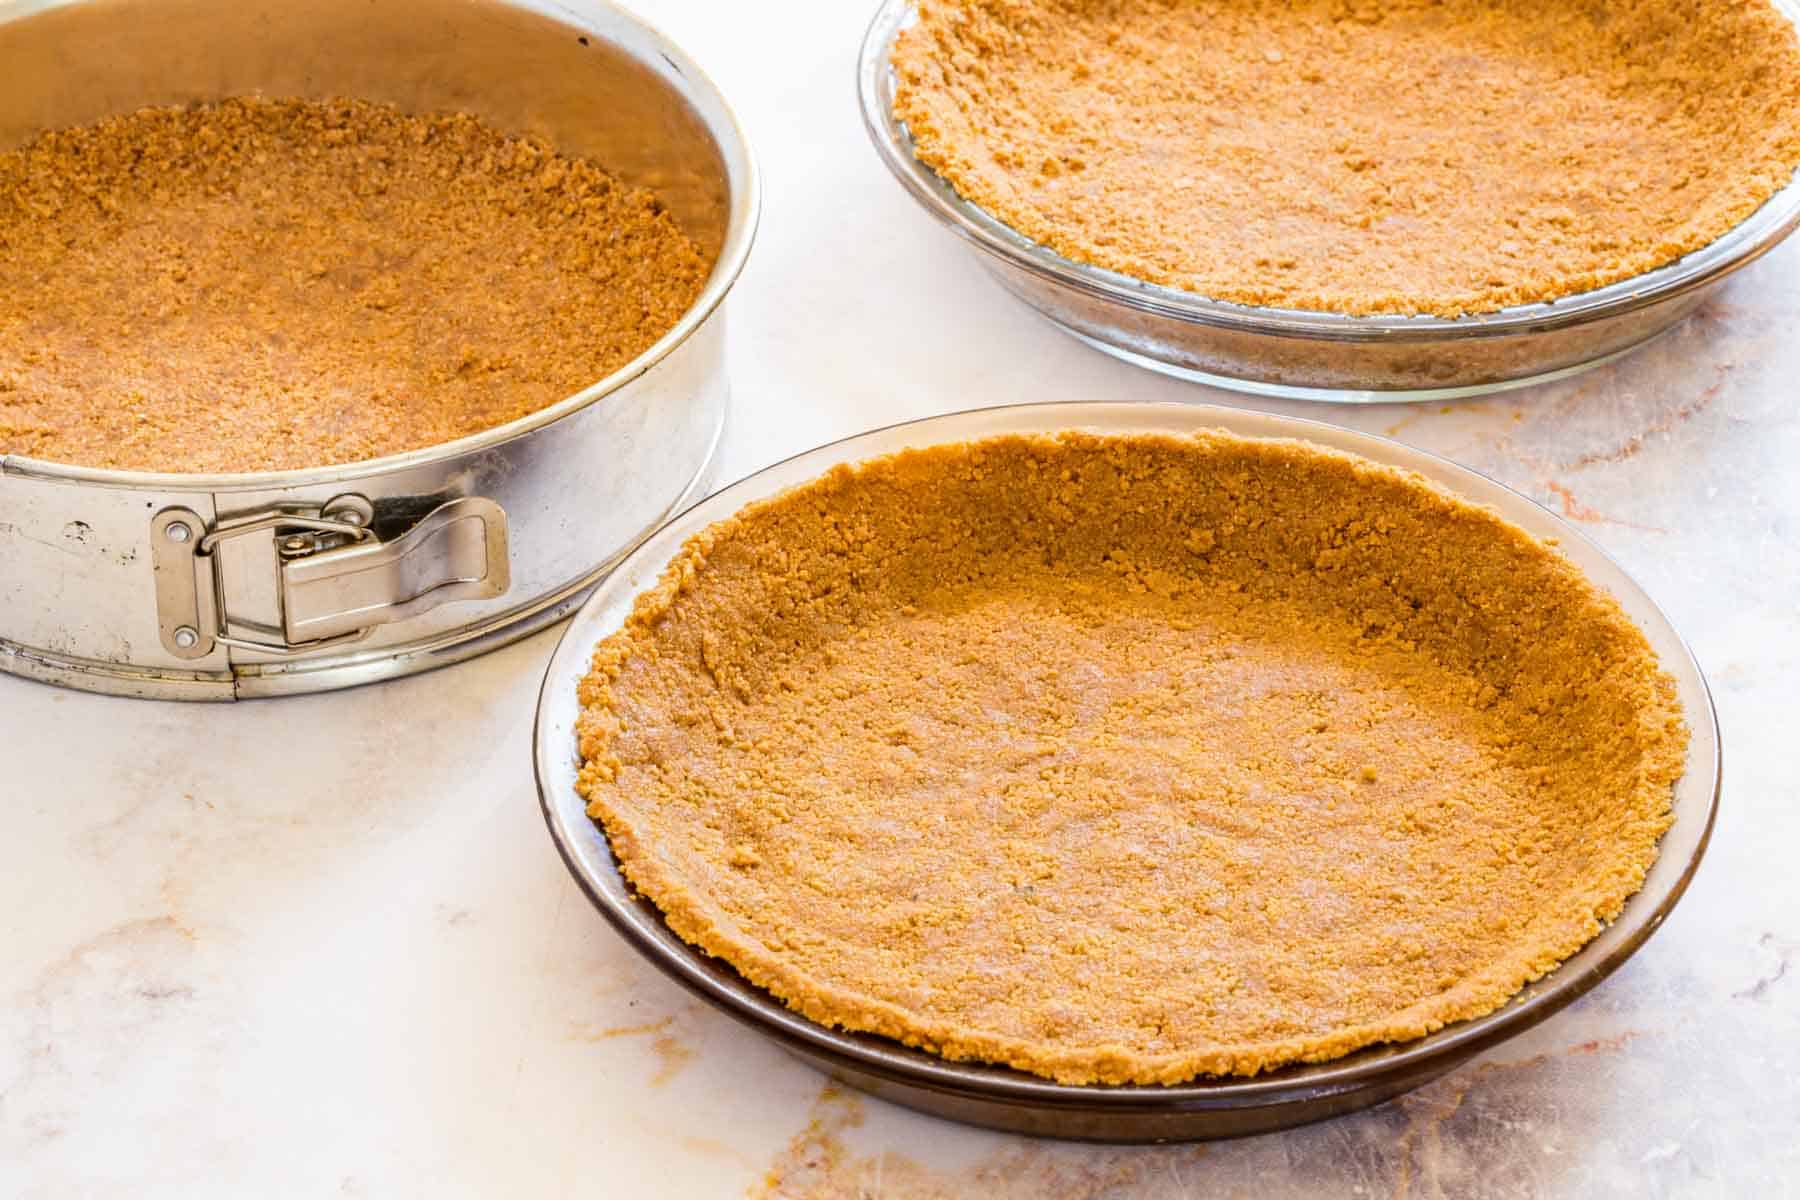
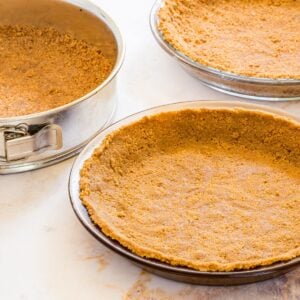
Prepare the Pan: This crust recipe will fill the bottom of a 9-inch pie plate or a 9- to 10-inch springform pan. Gently press the Graham cracker mixture into your chosen pan, using your hands (or the bottom of a glass) to push it into the bottom and up the sides.
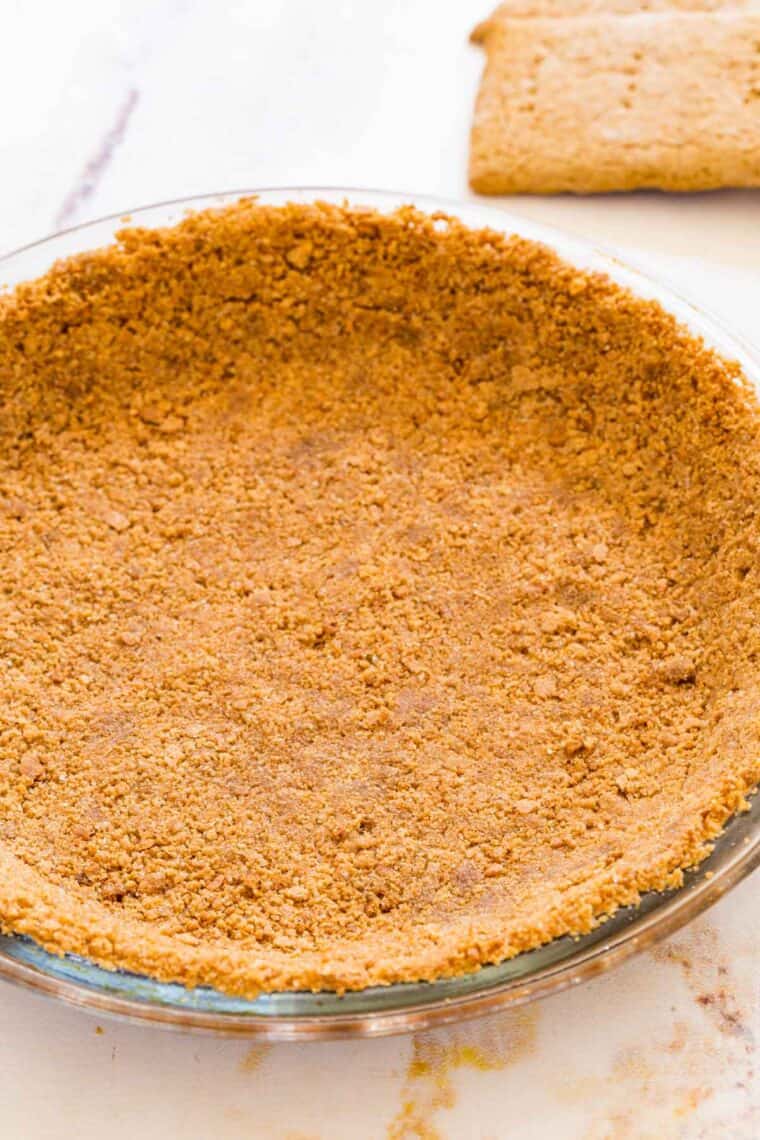
Refrigerate or Bake: For a no-bake crust, you’ll need to place the pan in the fridge to chill for about an hour before you fill it. Alternatively, par-bake the crust in a 350ºF oven for about 7-9 minutes, until it’s crisped up and golden.
Does a Graham Cracker Crust Need to Be Baked?
The beauty of this Graham cracker crust is while it can be par-baked, you don’t have to bake it. Since there aren’t any eggs or raw flour in the recipe, this makes it safe to leave unbaked for cheesecakes, refrigerator pies, and other no-bake desserts.
Helpful Hints
This is one recipe you’ll want to have handy for all your holiday baking! Here are some pointers when making a gluten-free Graham cracker crust from scratch:
- Why Did My Graham Cracker Crust Fall Apart?: This is likely because the ratio of crumbs to butter is off. Not all gluten-free Graham crackers are the same in terms of moisture and consistency. You may need to add more crumbs if your mixture is too moist, or more butter if the mixture is too dry. Also, make sure that you’re pressing the crust firmly enough into the pan.
- How Do You Keep a Graham Cracker Crust From Getting Soggy?: If the recipe you’re working with has particularly wet ingredients, or if you’re concerned that your crust might become soggy over time, here’s a trick. Chill the finished Graham cracker crust in the fridge, then brush the crust with an egg wash before par-baking (this tip will only work with par-baked crusts). The egg should dry out and harden enough to keep the crust crispier longer.
Recipe Variations
There are so many ways that you can adapt and fill this Graham cracker crust! Here are some easy variations:
- Chocolate Crust: Use gluten-free chocolate Graham crackers instead to make a no-bake chocolate crust. Or, crush Gluten Free Oreos into crumbs instead.
- Flaky Pie Crust: If you’re looking for a traditional pastry crust, try my recipe for Gluten-Free Pie Crust.
- Fillings: Graham cracker crust is especially great as a base for cheesecakes and no-bake pies. Borrow the filling from my Pumpkin Cheesecake Tart or Dulce De Leche Banana Cream Pie.
- No-Bake Bars: Press this gluten-free Graham cracker crust into an 8×8-inch square pan to make No-Bake Cheesecake Bars.
How to Store Your Homemade Crust
This Graham cracker crust can be prepared ahead and stored in the fridge, baked or unbaked, for up to 3 days. I recommend covering it with plastic wrap or foil for extra protection.
Can I Freeze This?
Yes! Your gluten-free crust can be wrapped up tightly and stored in the freezer for up to 3 months. If you’ve baked the crust first, be sure to let it cool completely before freezing.
Shop the Recipe
While I like to use my homemade gluten free graham crackers, there are gluten free graham-style crackers you can buy (and even some already packages as crumbs). Just realize you may have to adjust the consistency by adding more crumbs or more butter to get that nice, sandy consistency.
Gluten-Free Graham Cracker Crust
Ingredients
- 1 ½ cups gluten-free graham cracker crumbs (use my homemade Gluten Free Graham Crackers, or your favorite brand and pulse them in a food processor to form crumbs)
- ¼ cup granulated sugar
- ¼ tsp salt
- 5 tbsp unsalted butter melted
Instructions
- If your recipe calls for a par-baked crust, preheat the oven to 350°F.
- In a medium bowl, combine the graham cracker crumbs, sugar, and salt, and toss them together with a fork. Pour the melted butter over the top and toss until moistened evenly. It will be thick and sandy, and should clump together loosely when pinched. Because gluten-free graham crackers can vary in moisture and consistency, you may need to add more crumbs if it is too moist, a Tablespoon at a time, or more butter if it is too dry, about a half Tablespoon at a time.
- Transfer the crust mixture to a 9-inch pie plate and a 9- to 10-inch springform pan, depending on the recipe you are making. Using your hands or a glass, press it firmly into the bottom and up the sides of the pan. For the springform pan, you’ll want to go about ¾- to 1-inch up the sides.
- For a no-bake crust, refrigerate for at least 30-60 minutes before filling. For a par-baked crust, bake at 350°F for 7-9 minutes or until golden and slightly crisp.





Cani use brown sugar in this recipe
I think that would be fine and give a nice caramelized flavor.