This post may contain affiliate links. Read my disclosure policy.
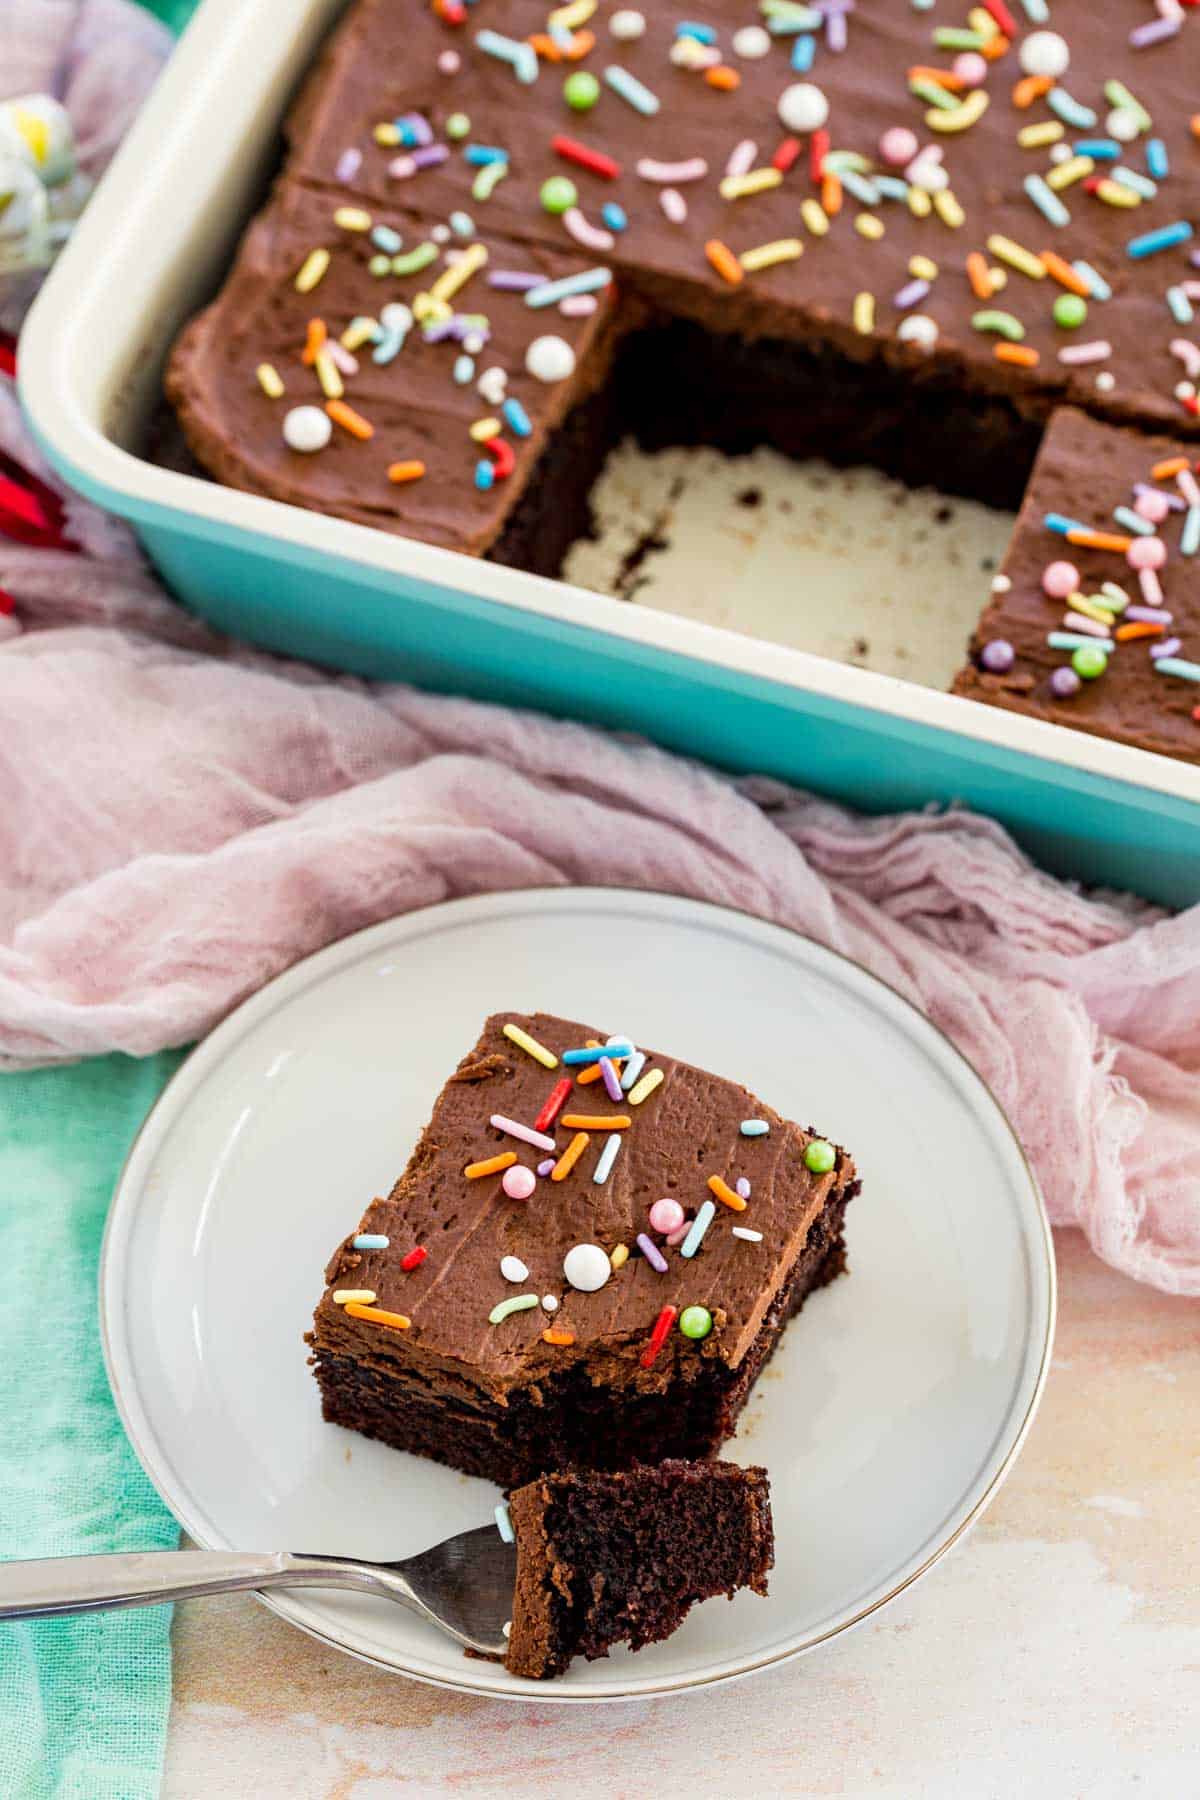
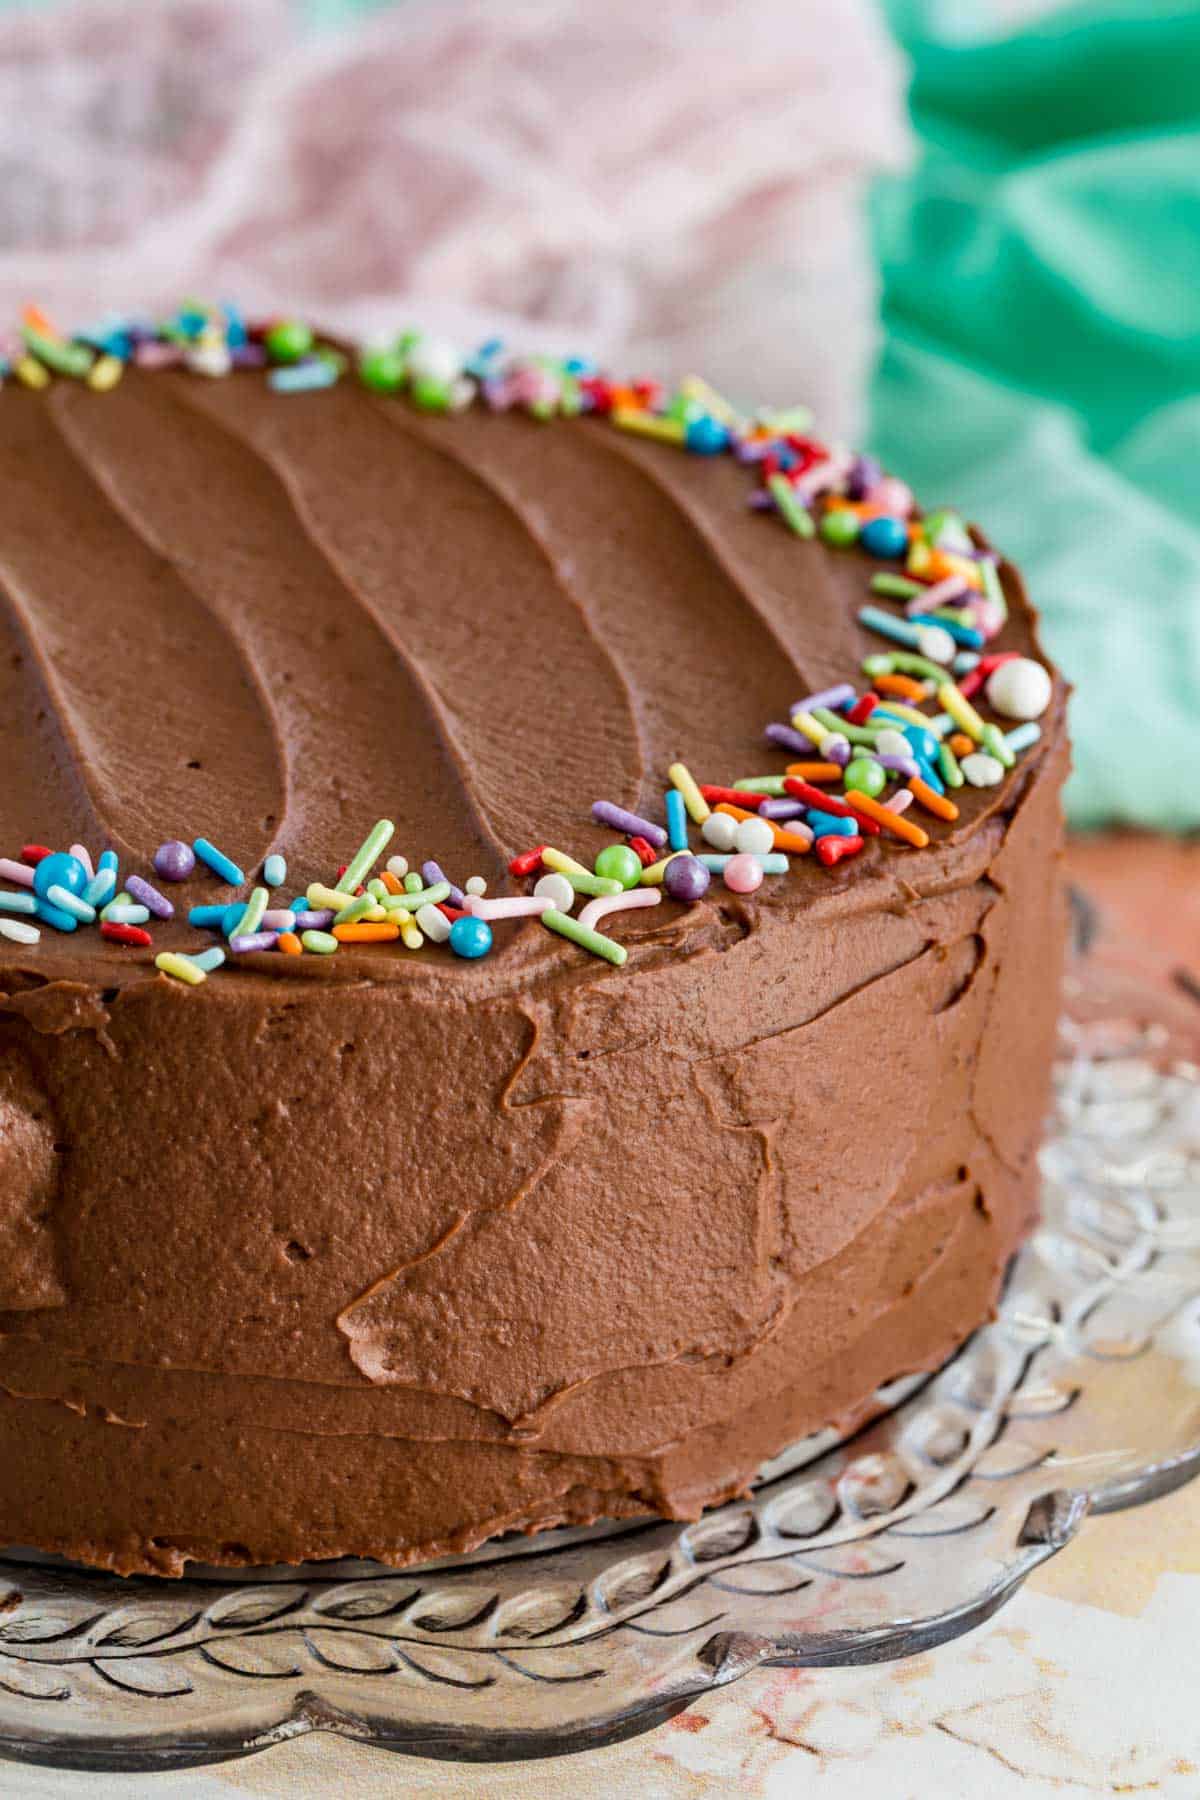
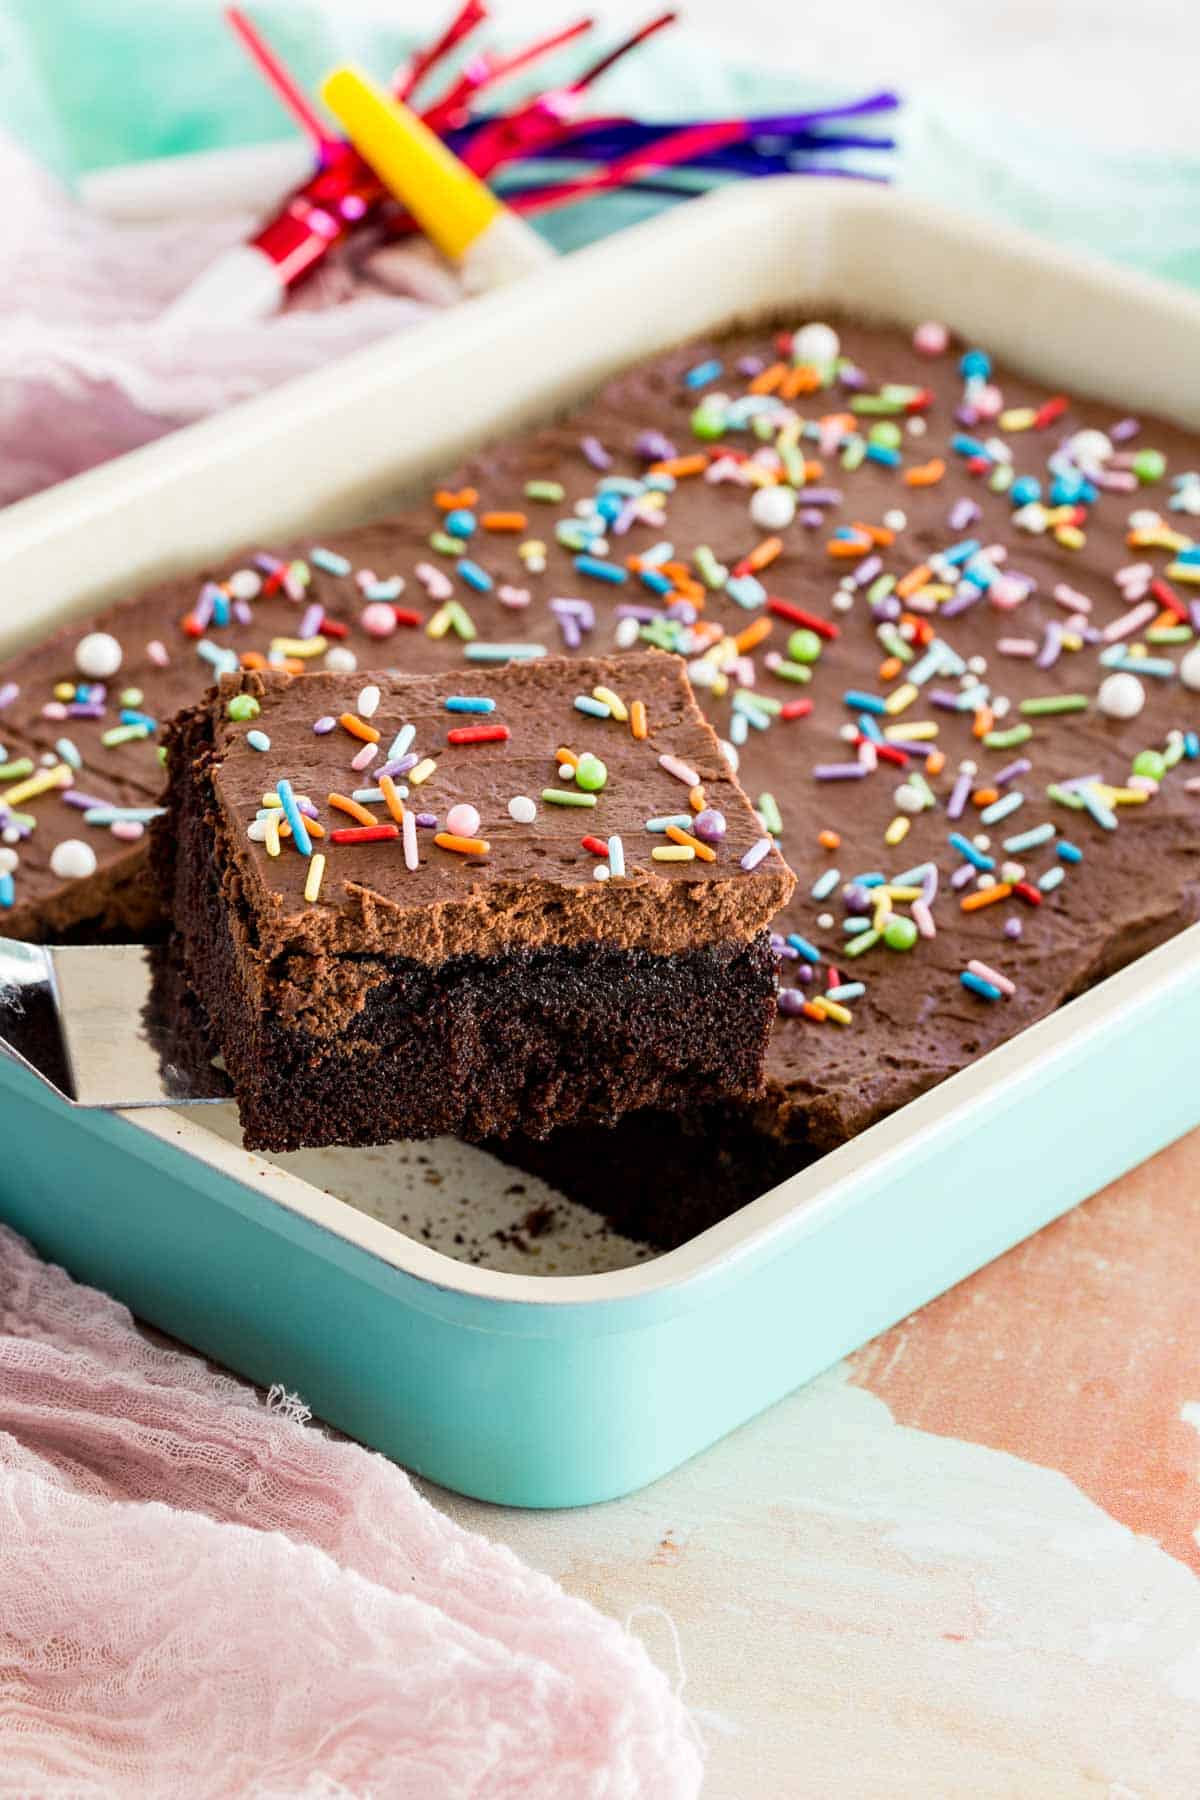
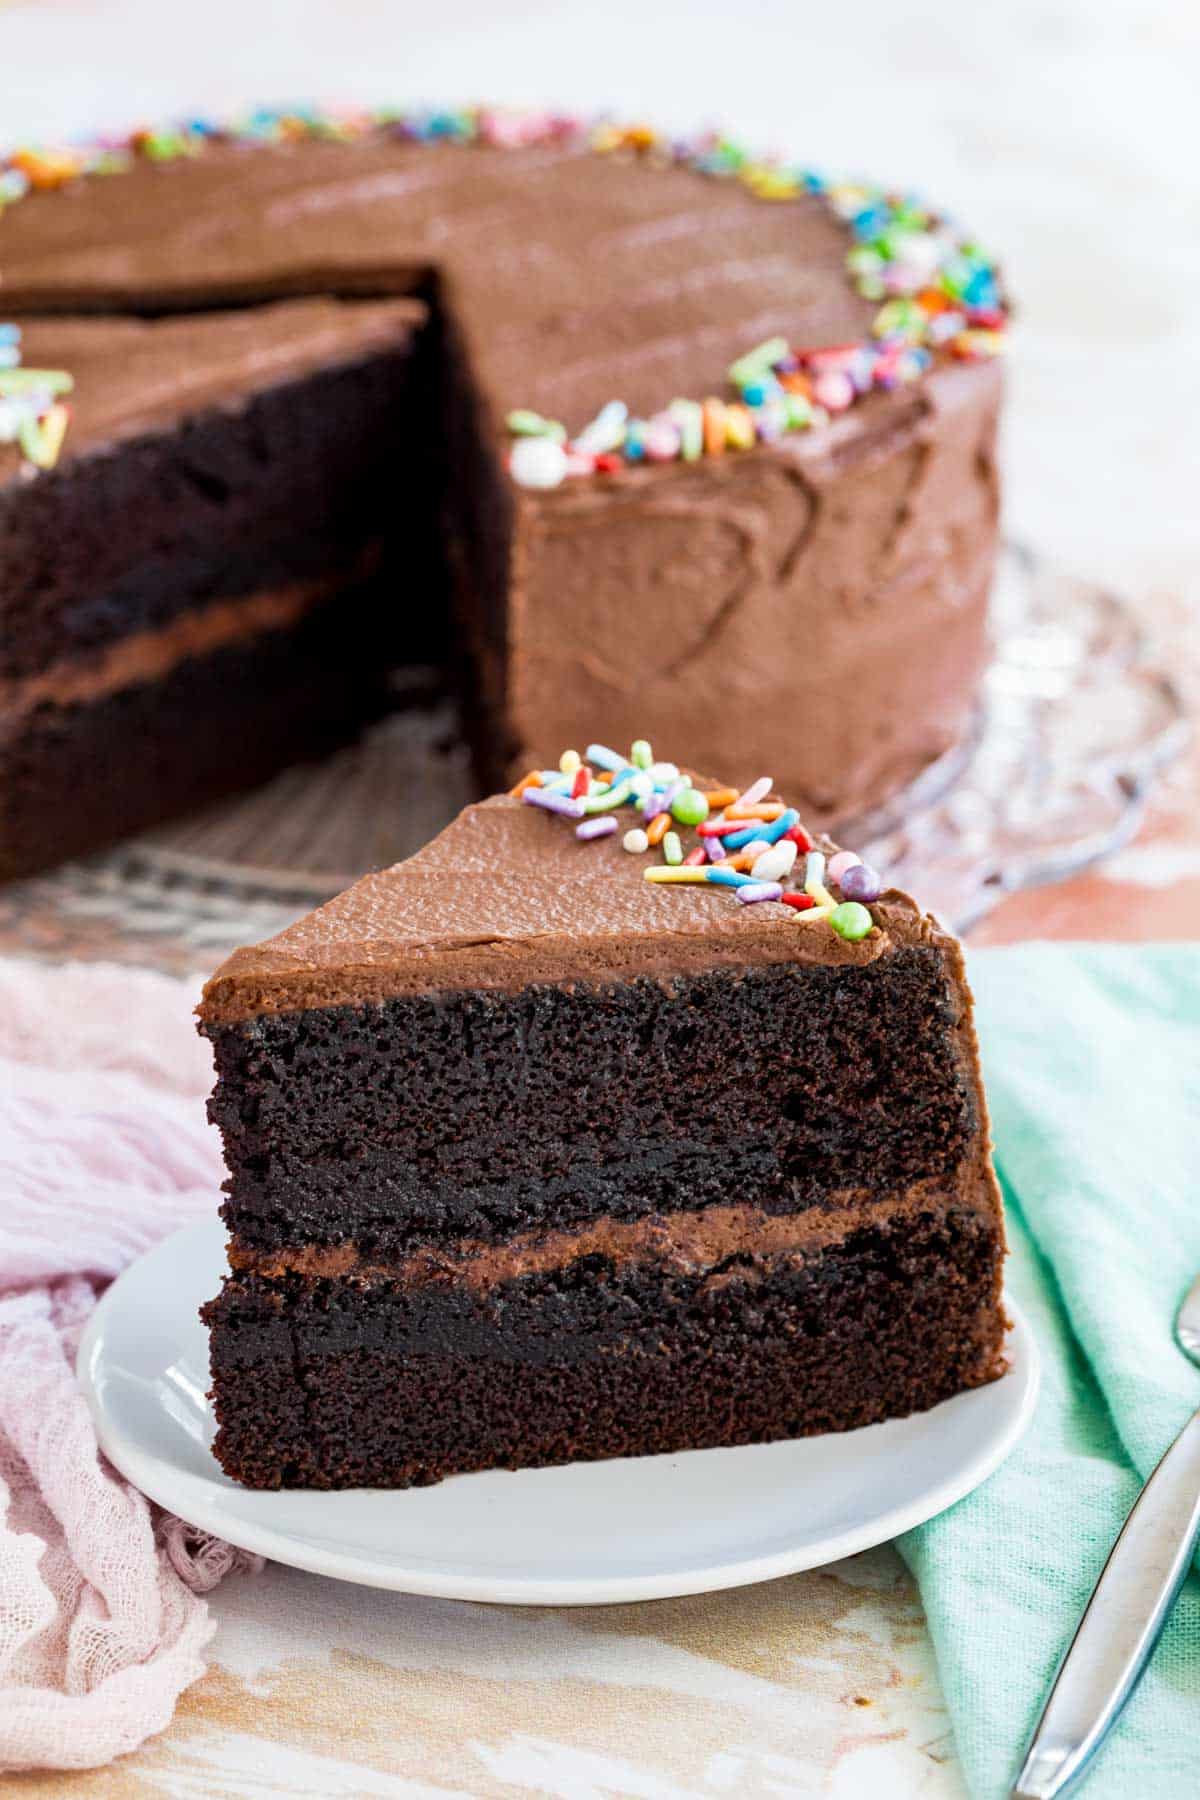
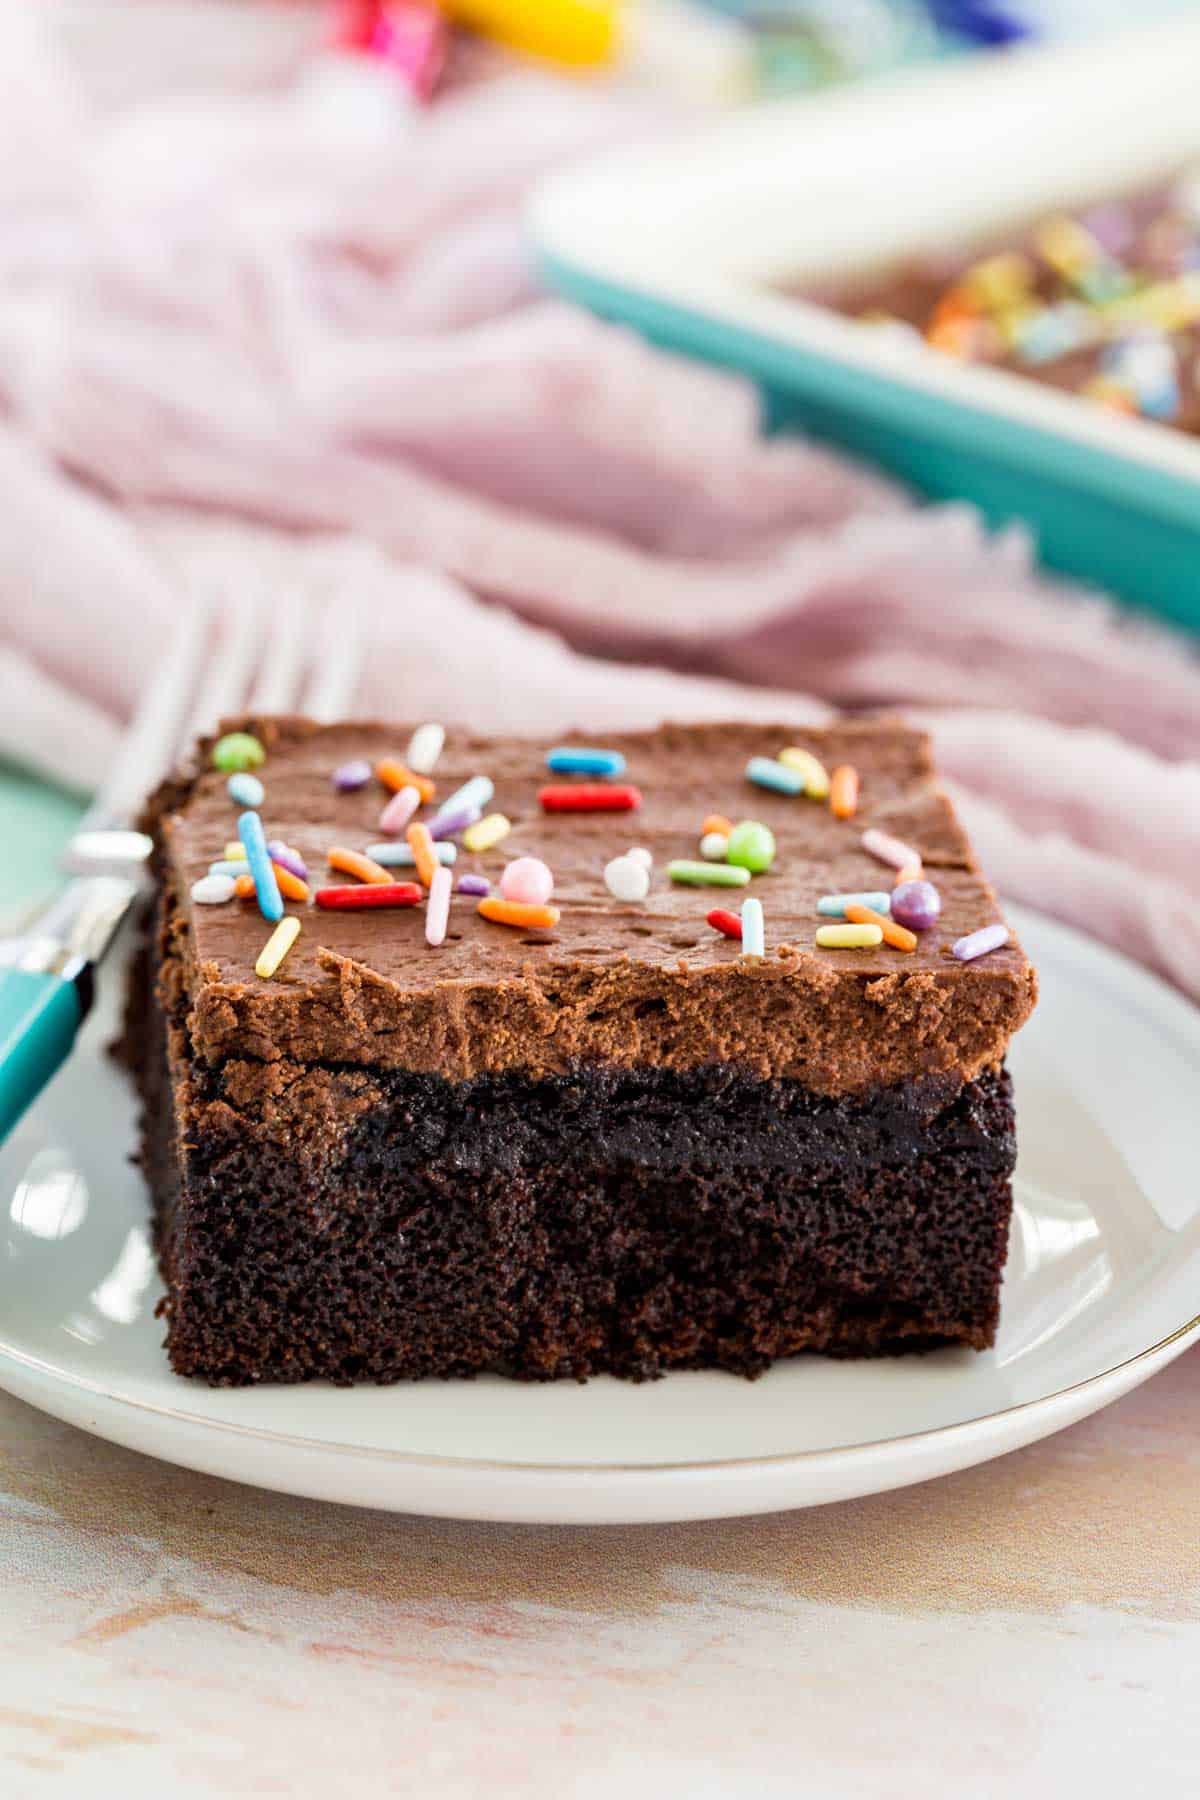
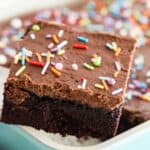
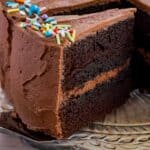
This Gluten Free Chocolate Cake is the most incredibly moist and decadent cake you’ve ever baked! It can be made two ways – as a round layer cake or a rectangular snack cake! This easy recipe is ultra rich, especially when you smother it with chocolate frosting!
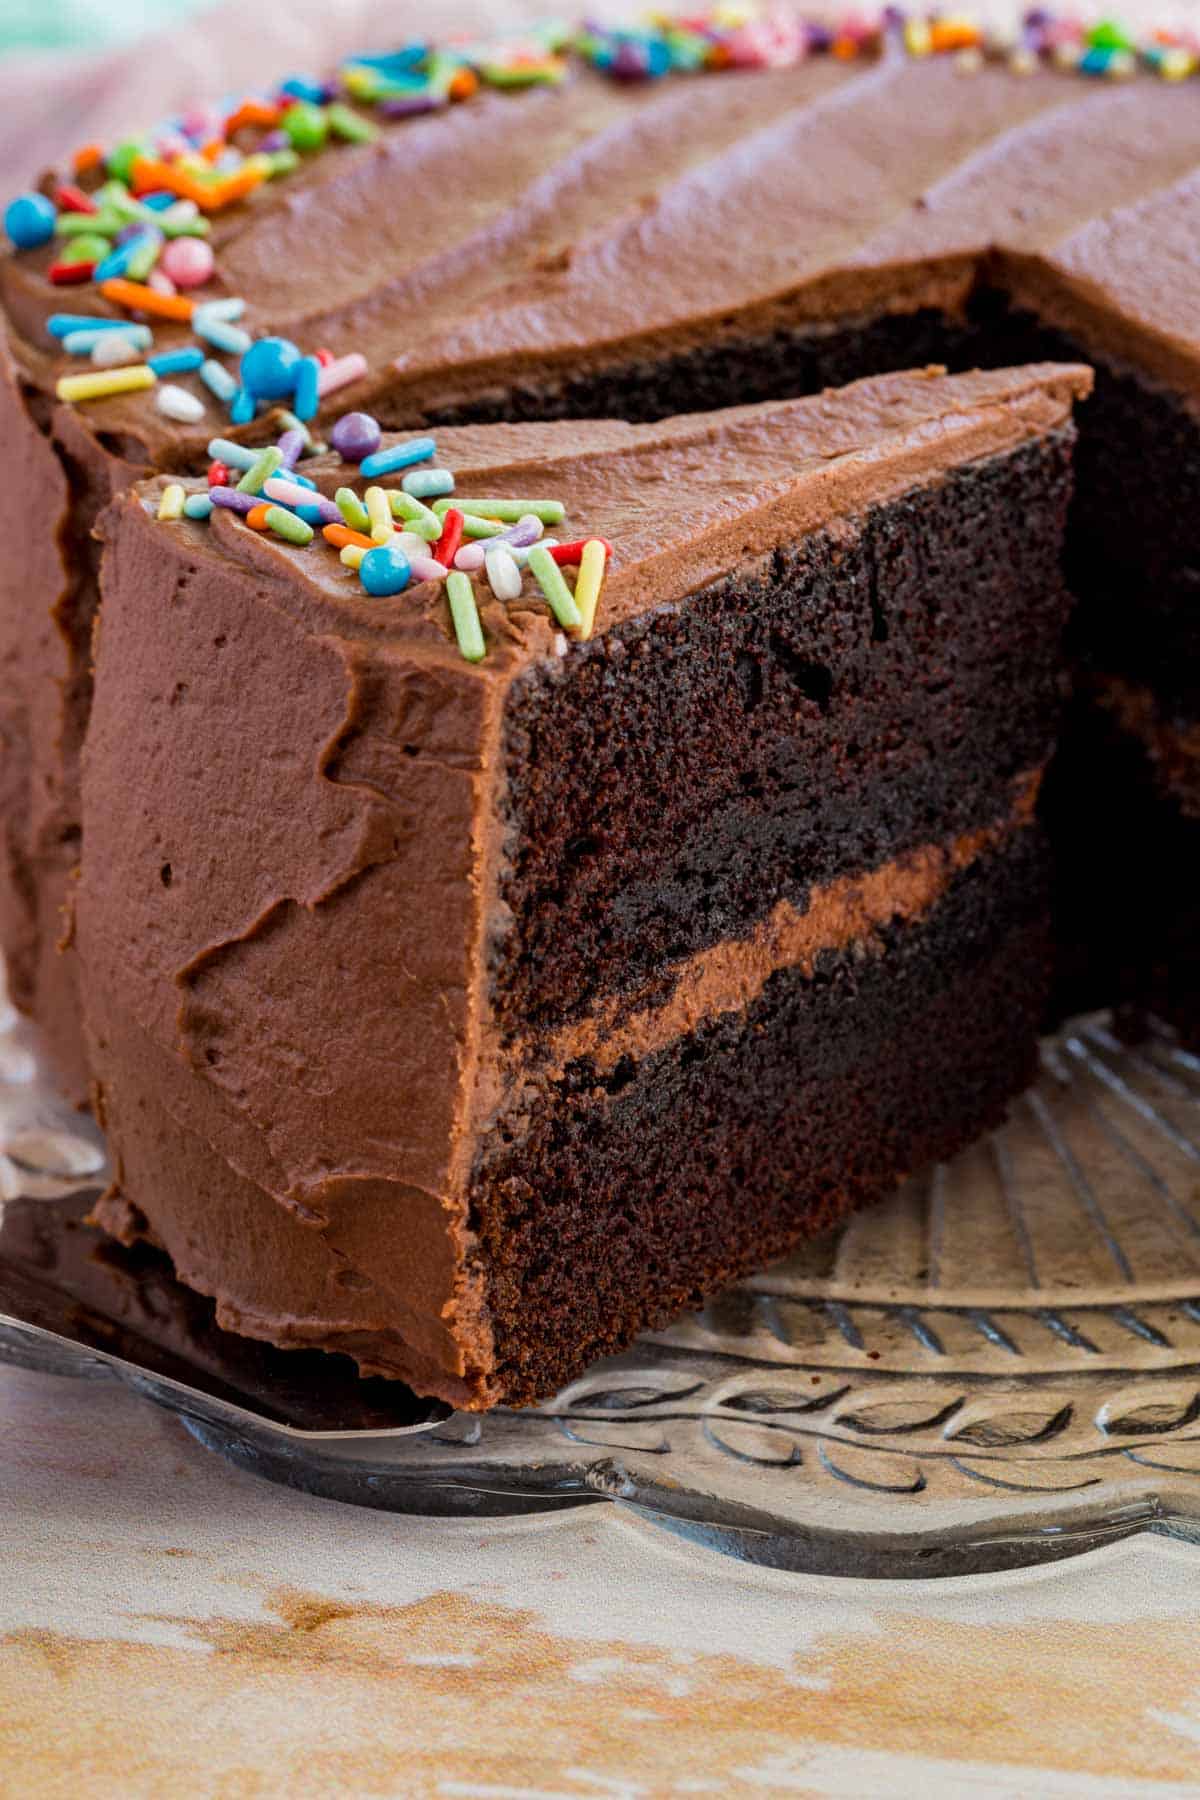
Delicious Details
- Cuisine Inspiration: American
- Primary Cooking Method: Oven
- Dietary Info: Gluten-free
- Skill Level: Easy
Why You’ll Love This Gluten-Free Chocolate Cake
Do you have a special occasion coming up? Or maybe you just have a hankering for something decadent? Well, I have you covered on both accounts. This recipe for ultra rich, fudgy chocolate cake is to die for! This cake is a chocolate lover’s dream come true. It’s rich, moist, and so decadent that you’d never guess it’s gluten-free. Here’s why this recipe stands out:
- Incredibly moist texture. The addition of Greek yogurt ensures every bite is tender and luscious, making the cake melt in your mouth.
- Deep chocolate flavor. High-quality cocoa powder delivers an intense chocolate taste that’s both satisfying and indulgent.
- Simple, one-bowl preparation. No need for complicated steps or multiple dishes, everything comes together in a single bowl for easy cleanup.
- Flexible. Make it as a layer cake, a sheet cake or even cupcakes! I’ve shared all the details below.
- Can’t tell it’s gluten free (but it is!). This chocolatey cake is 100% gluten free but no one will able to tell the difference. It’s that good.
What You’ll Need
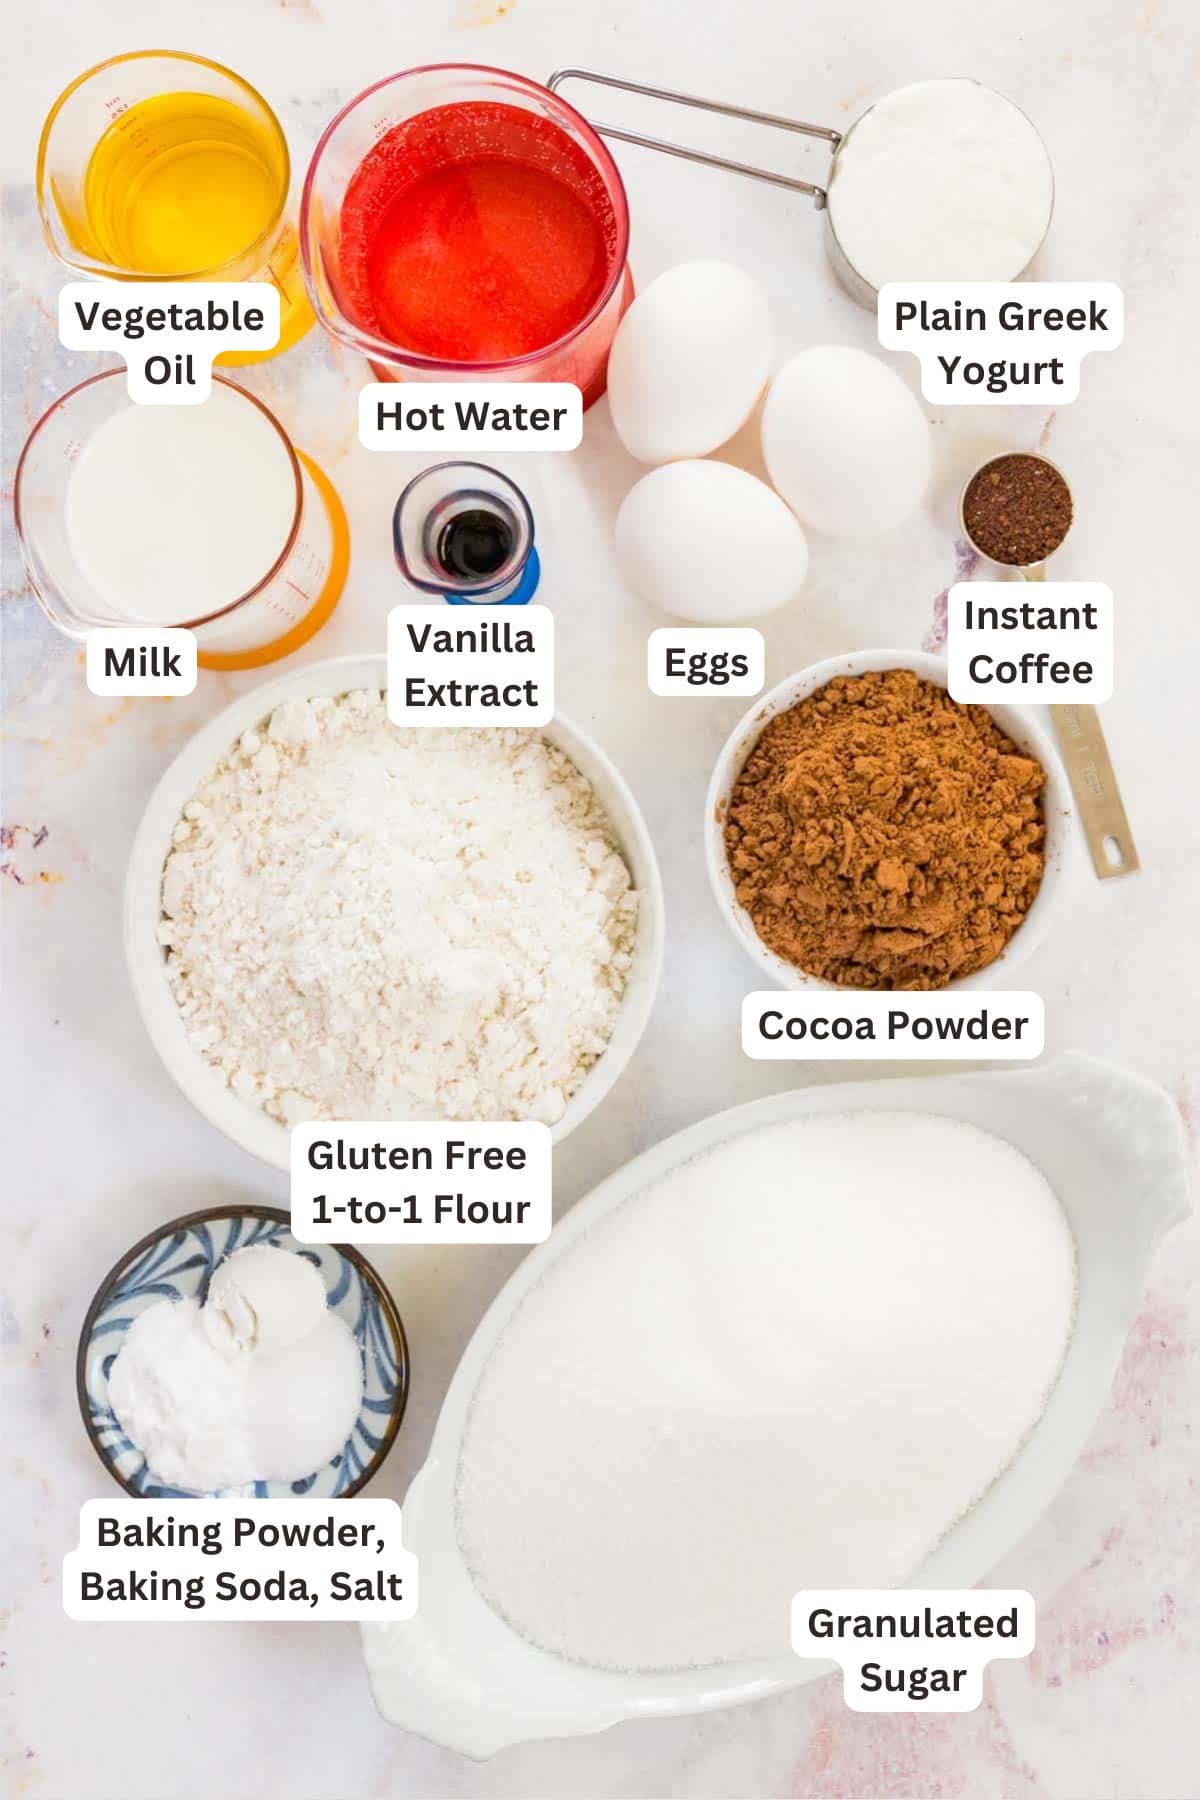
Here’s a quick look at what you’ll need to make this GF chocolate cake. Don’t forget to scroll down to the recipe card for a printable list.
- Sugar: White granulated sugar is always the most reliable when baking.
- Gluten Free Flour: This recipe calls for a 1-to-1 gluten-free flour blend. I recommend Bob’s Red Mill 1-to-1 Baking Flour, as this is what I use. Bear in mind that different flour blends may produce different results when baking!
- Cocoa Powder: Get a good quality cocoa powder so that the flavor really shines.
- Leavening: Baking soda as well as baking powder.
- Eggs: Three large eggs to bind the ingredients and give the cake a rich texture. Be sure to take them out of the fridge about half an hour before you start, to let them get to room temperature.
- Milk: Regular, good ol’ fashioned whole milk will do the trick.
- Greek Yogurt: I include plain Greek yogurt in this cake recipe for an extra moist, chocolatey crumb. You don’t really taste the tang, and it really adds something special to this chocolate cake!
- Vegetable Oil: Also for moisture, oil keeps the crumb tender.
- Vanilla Extract: Do your best to get your hands on the real deal. Pure vanilla extract offers a more natural flavor than imitation.
- Instant Coffee: Optional. Adding a little coffee dissolved in water to the batter is an age-old trick to enhance the fudgy flavors of a chocolate cake.
- Salt
- Frosting: Any buttercream frosting you prefer. I double down on the chocolate, and frost my cake with my favorite Chocolate Frosting.
How to Make Gluten-Free Chocolate Cake
This gluten-free cake recipe can be made as a layer cake or snack cake-style in one pan. Before you begin, preheat the oven to 350°F, and prepare either two 8-inch round cake pans or one 9×13-inch baking pan to set aside.
Next, here’s how to make this gorgeous chocolate cake two ways, using just one bowl:
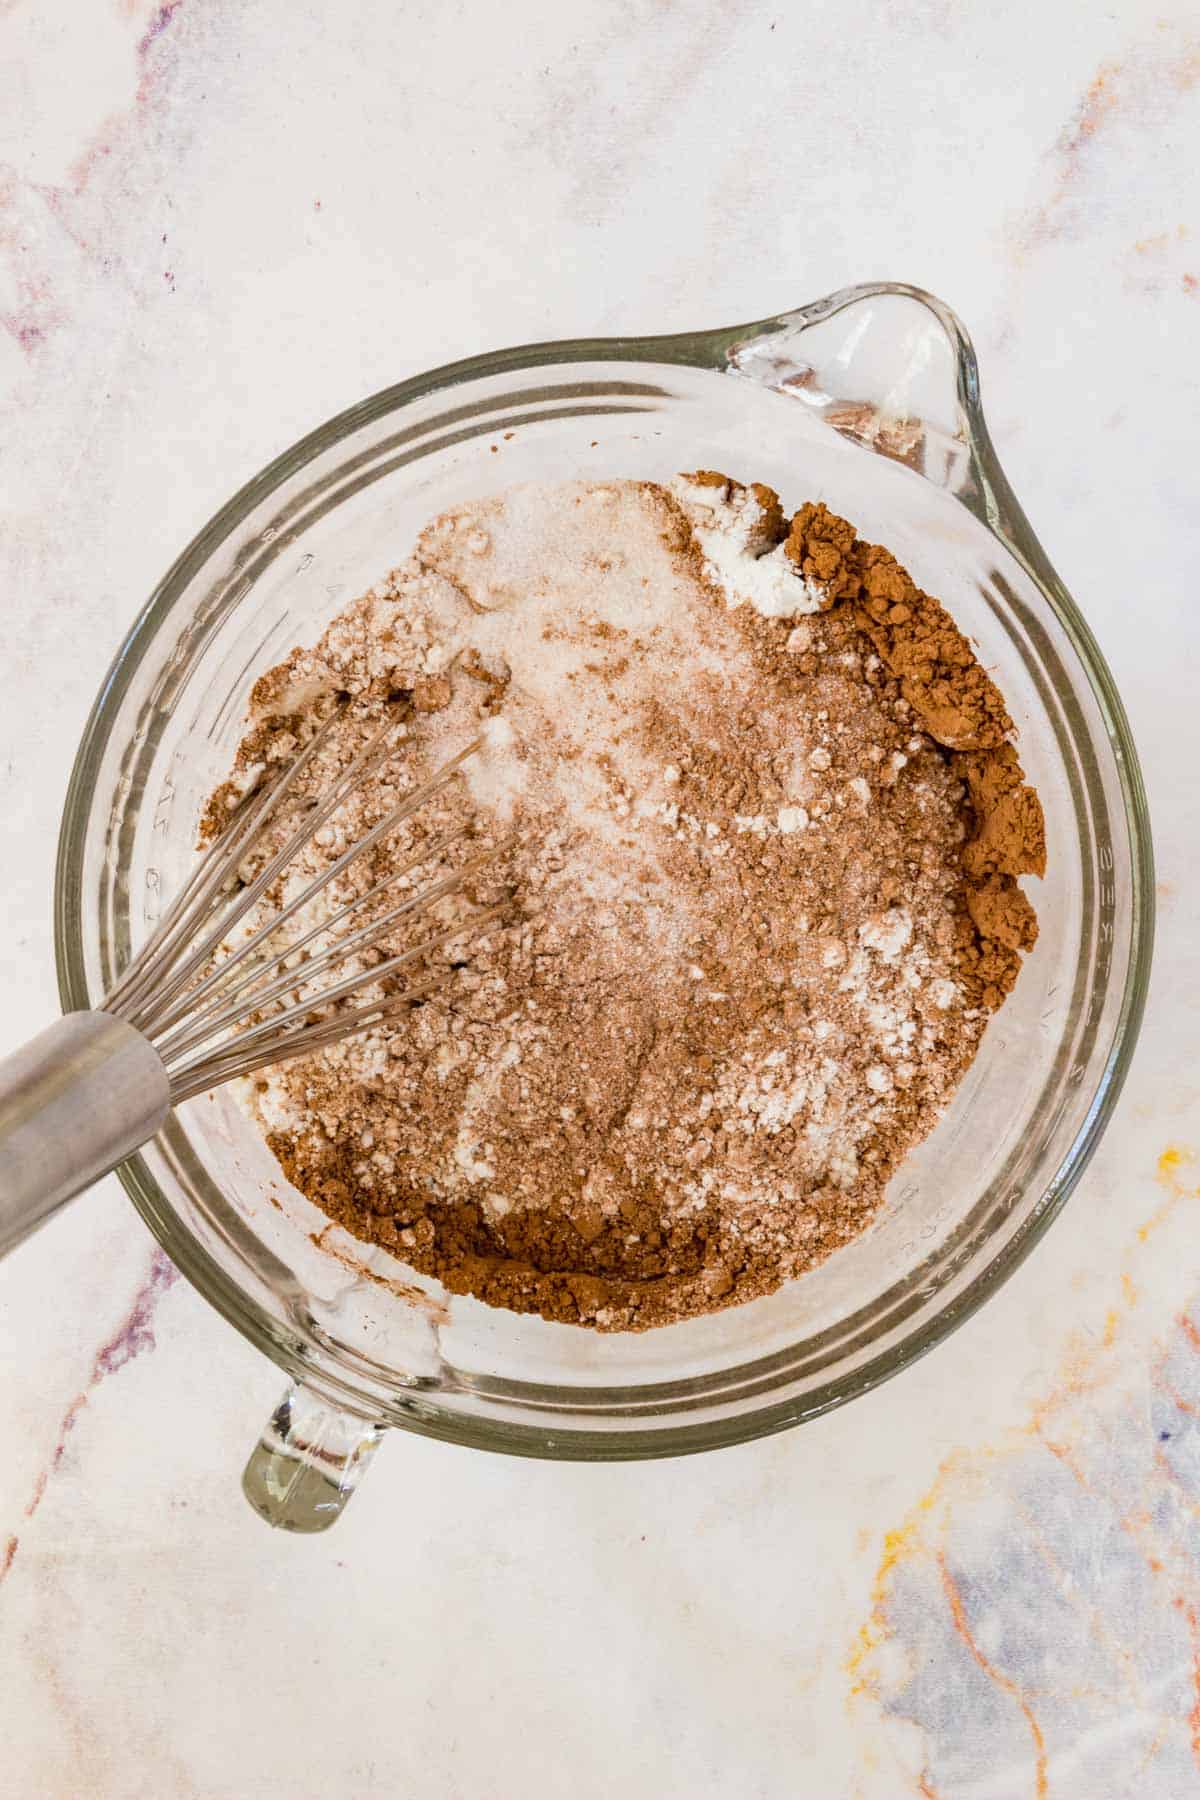
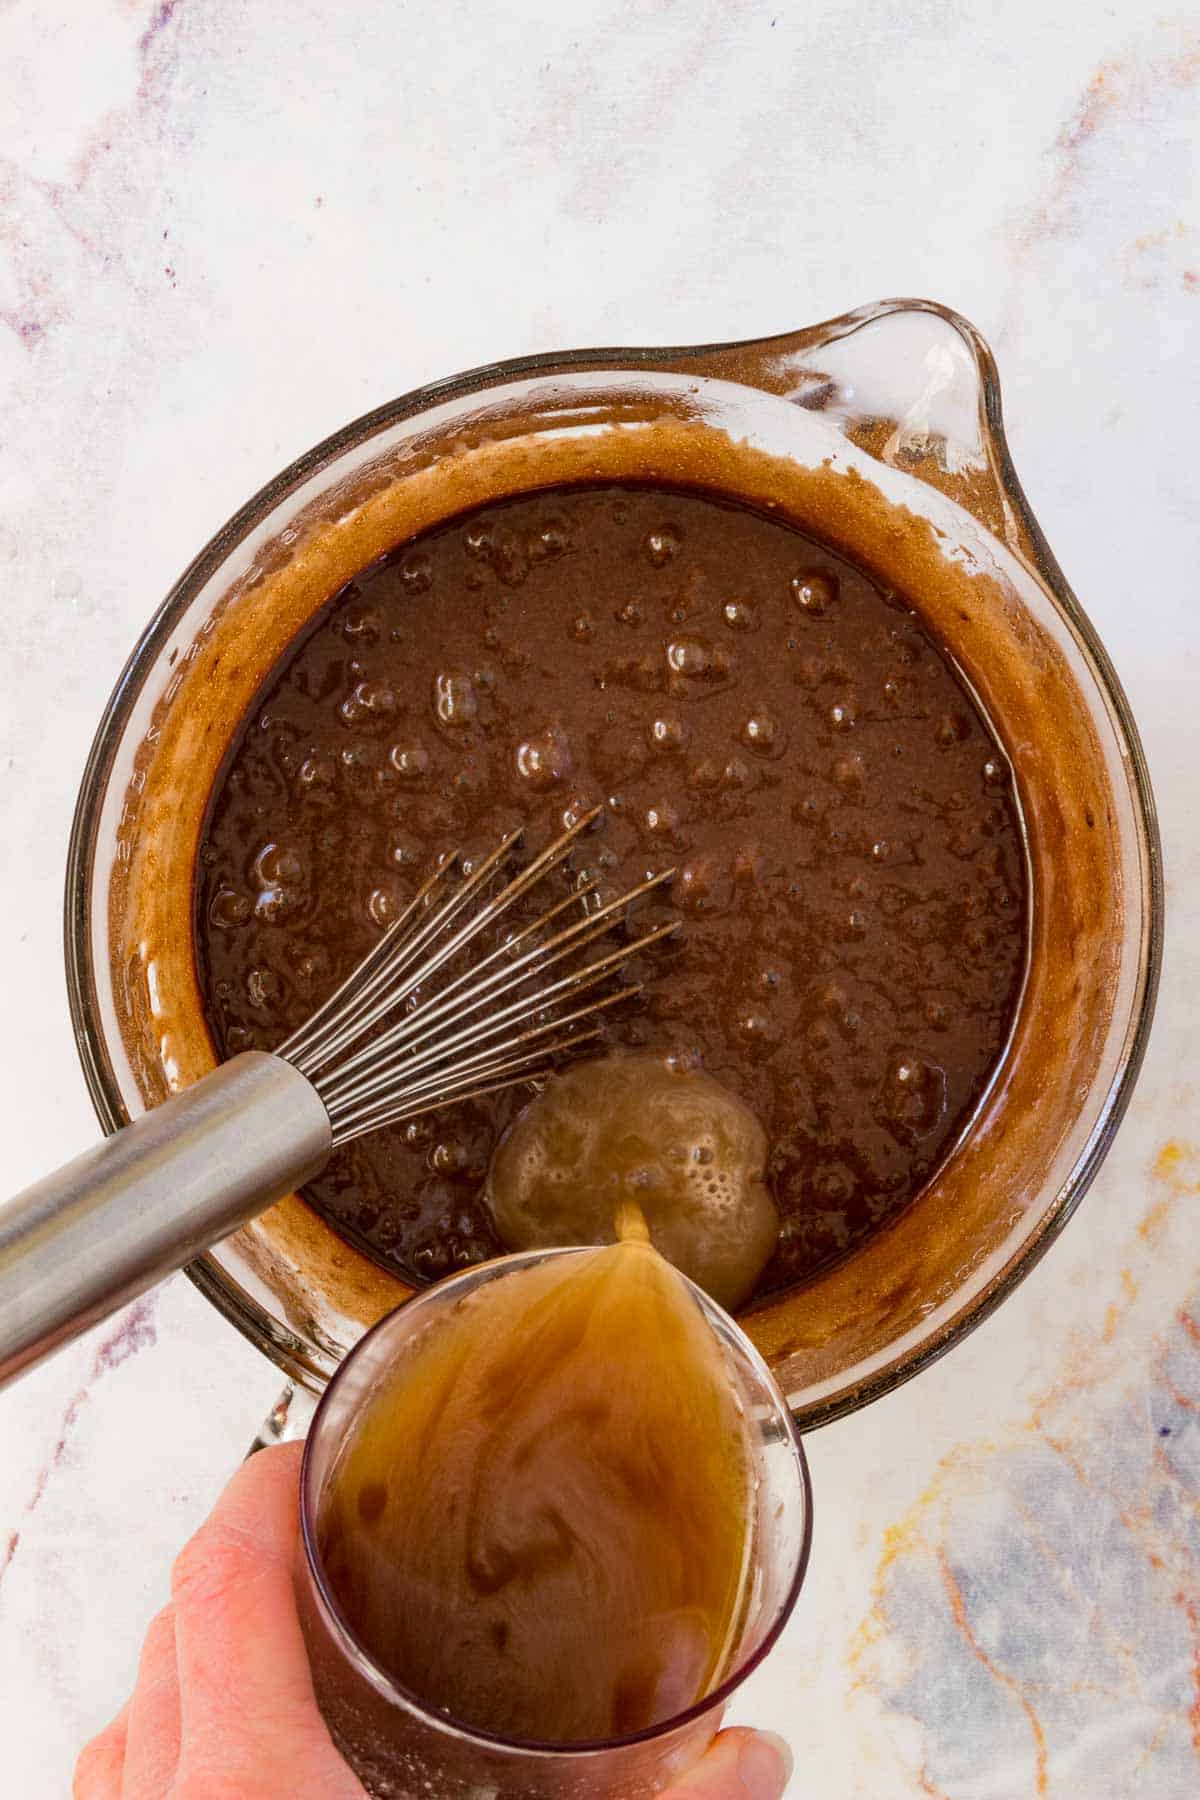
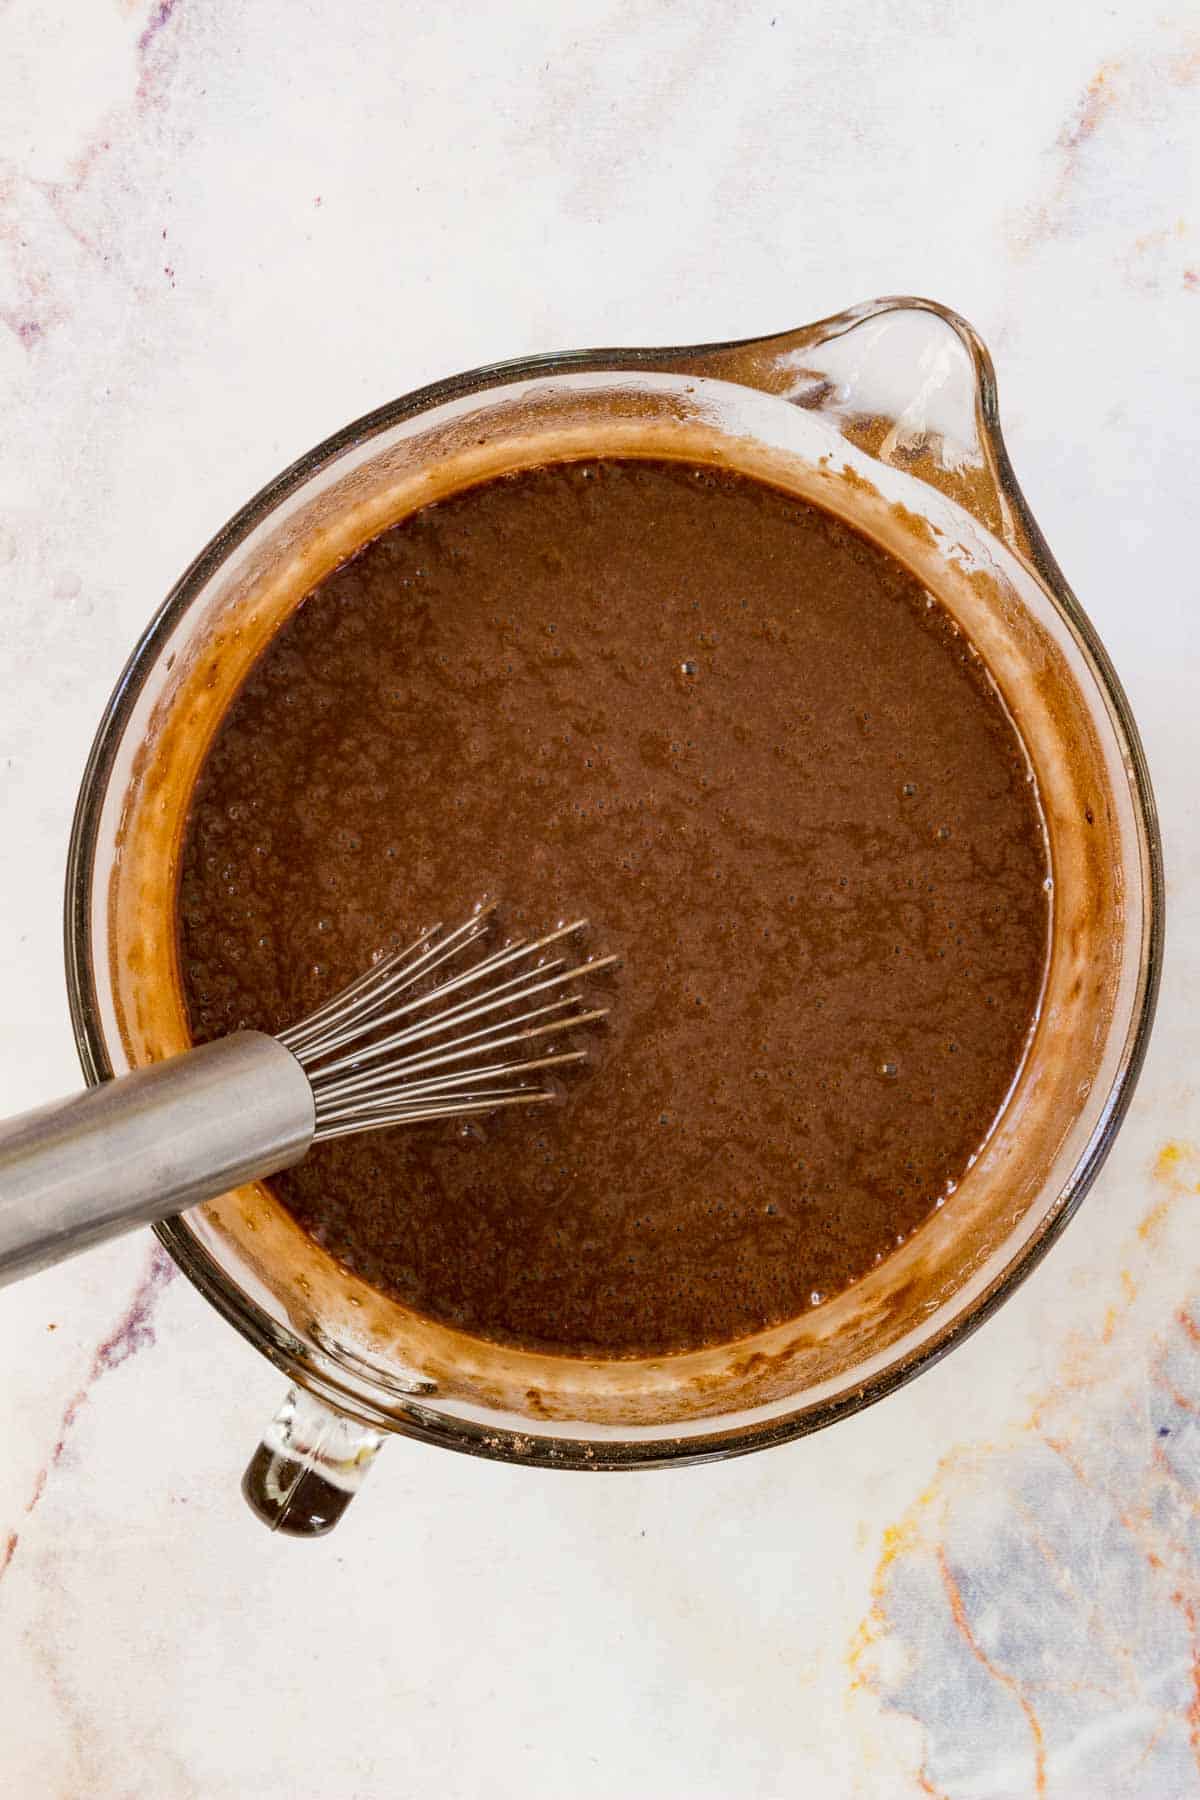
- Make the Batter: Combine the dry ingredients, and then in the same bowl whisk in the wet ingredients until combined. If you’re adding coffee to your cake, dissolve the instant coffee in some warm water and then stir this into the batter.
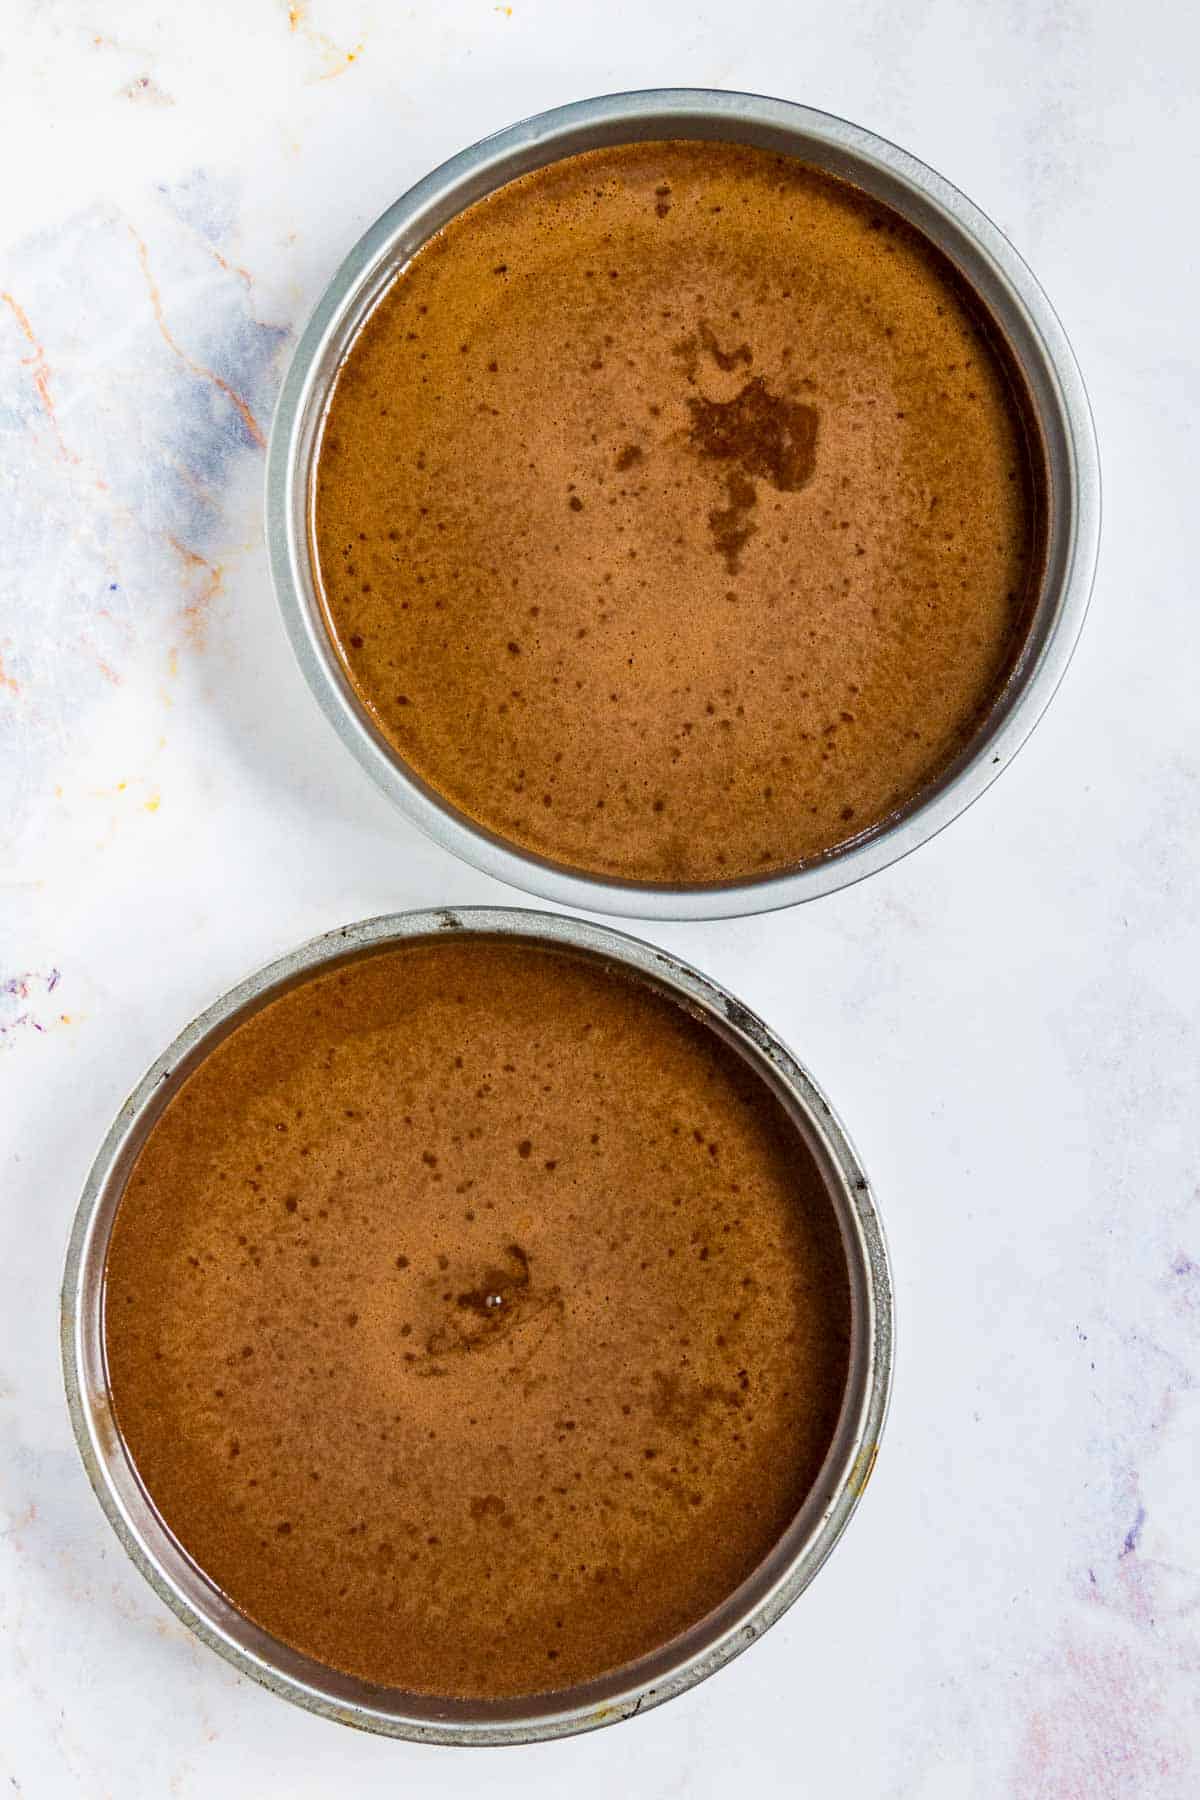
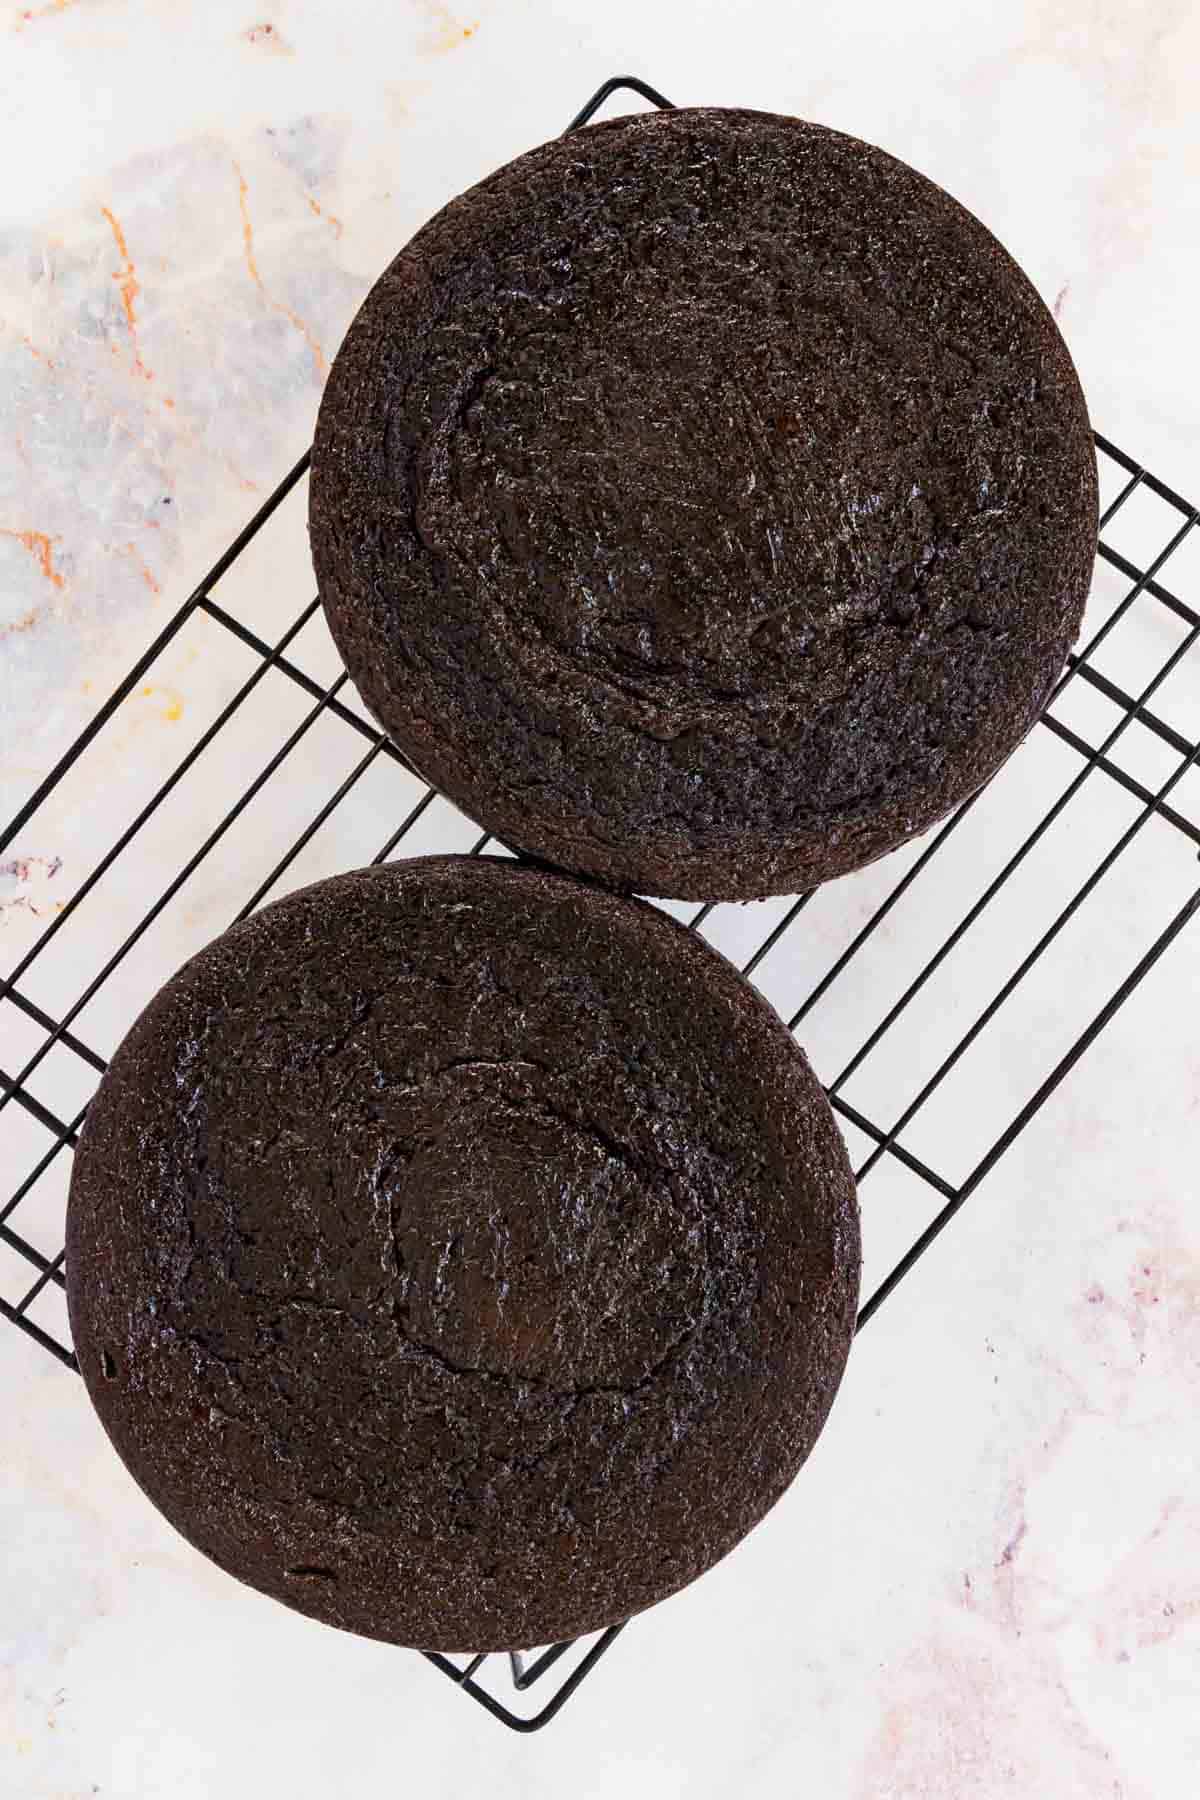
- Make a Layer Cake: Divide the batter between the two round cake pans. Two cakes will take slightly more time in the oven, between 40-50 minutes. Once they’re done and a toothpick stuck into the middle of the cakes comes out clean, let the cakes cool in the pan for a bit before inverting them onto a wire rack to finish cooling.
- Make a Snack Cake: To make a single-layer cake, pour the batter into your rectangular baking pan. Bake the cake for about 35-45 minutes in the oven, then remove it and leave it to cool in the pan before frosting.
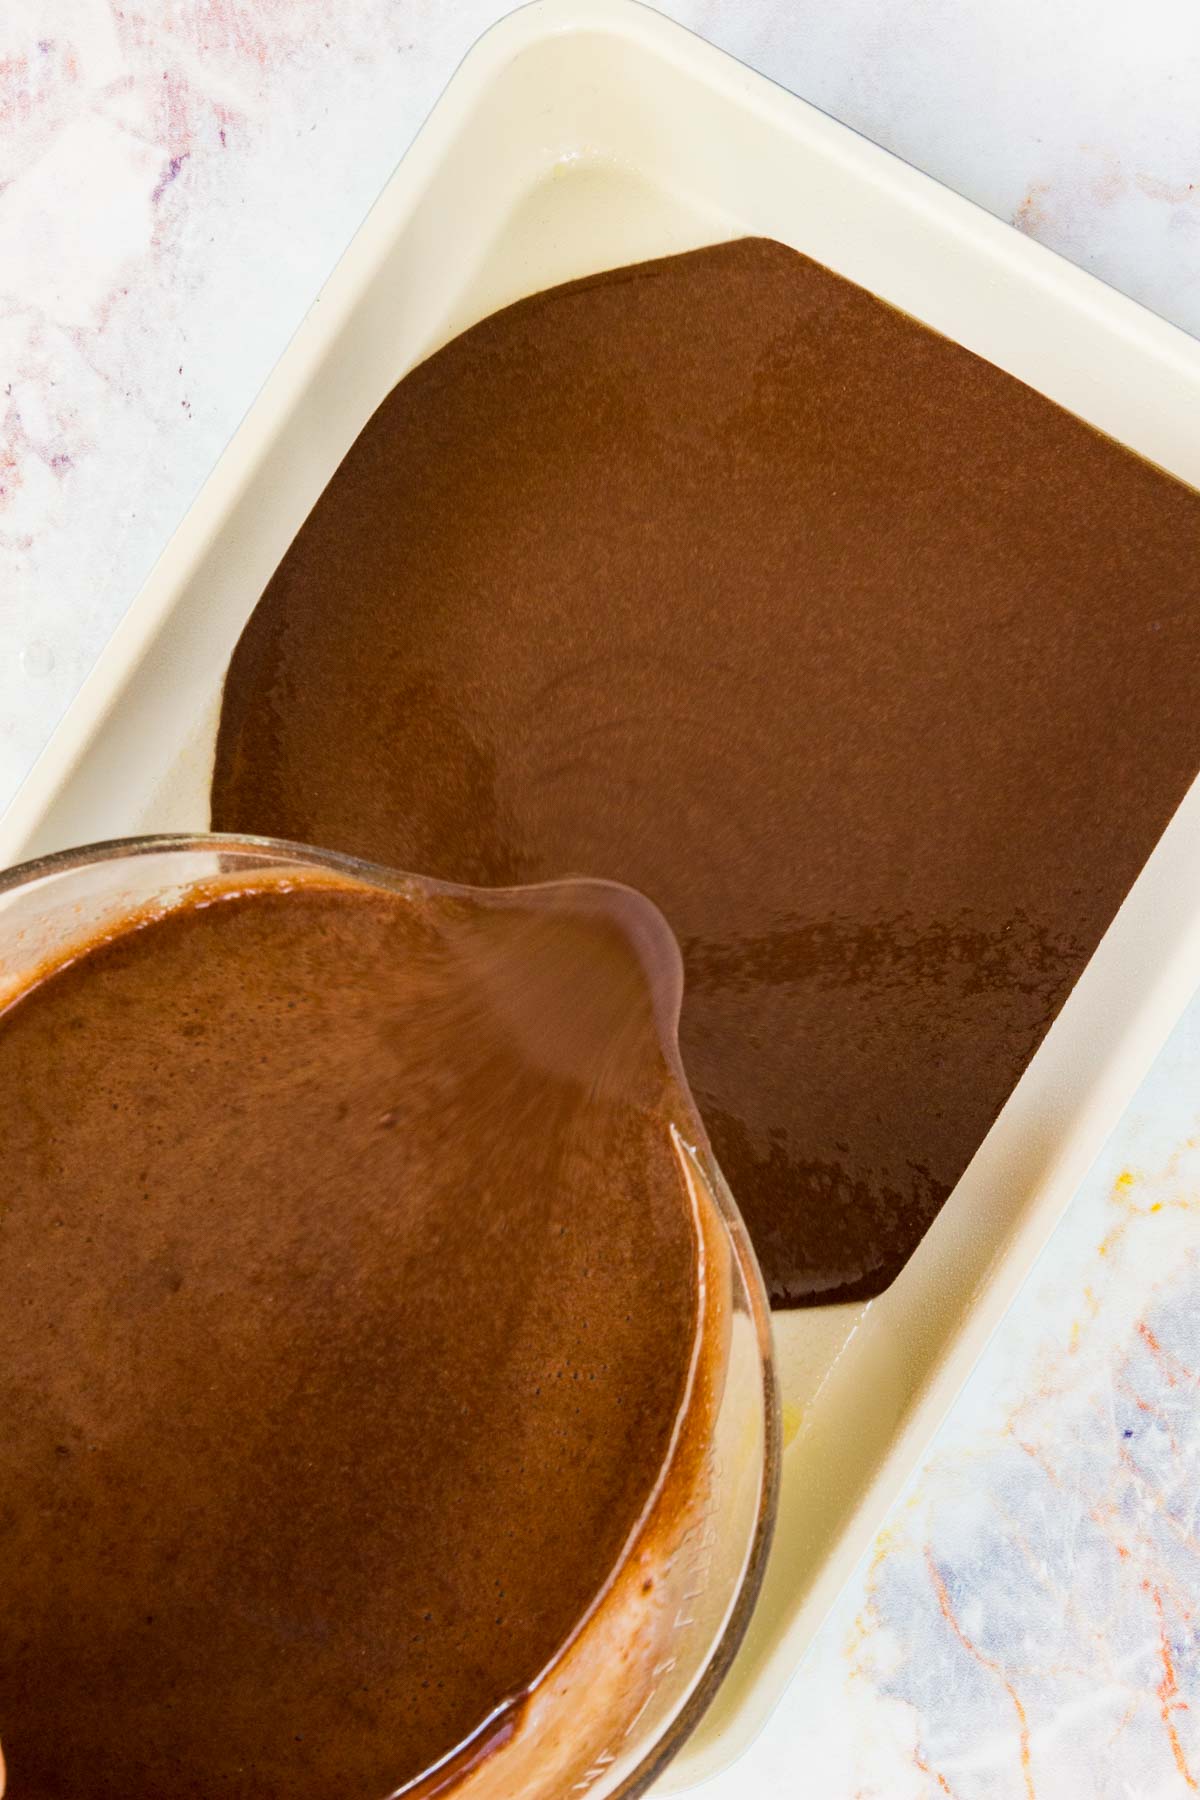
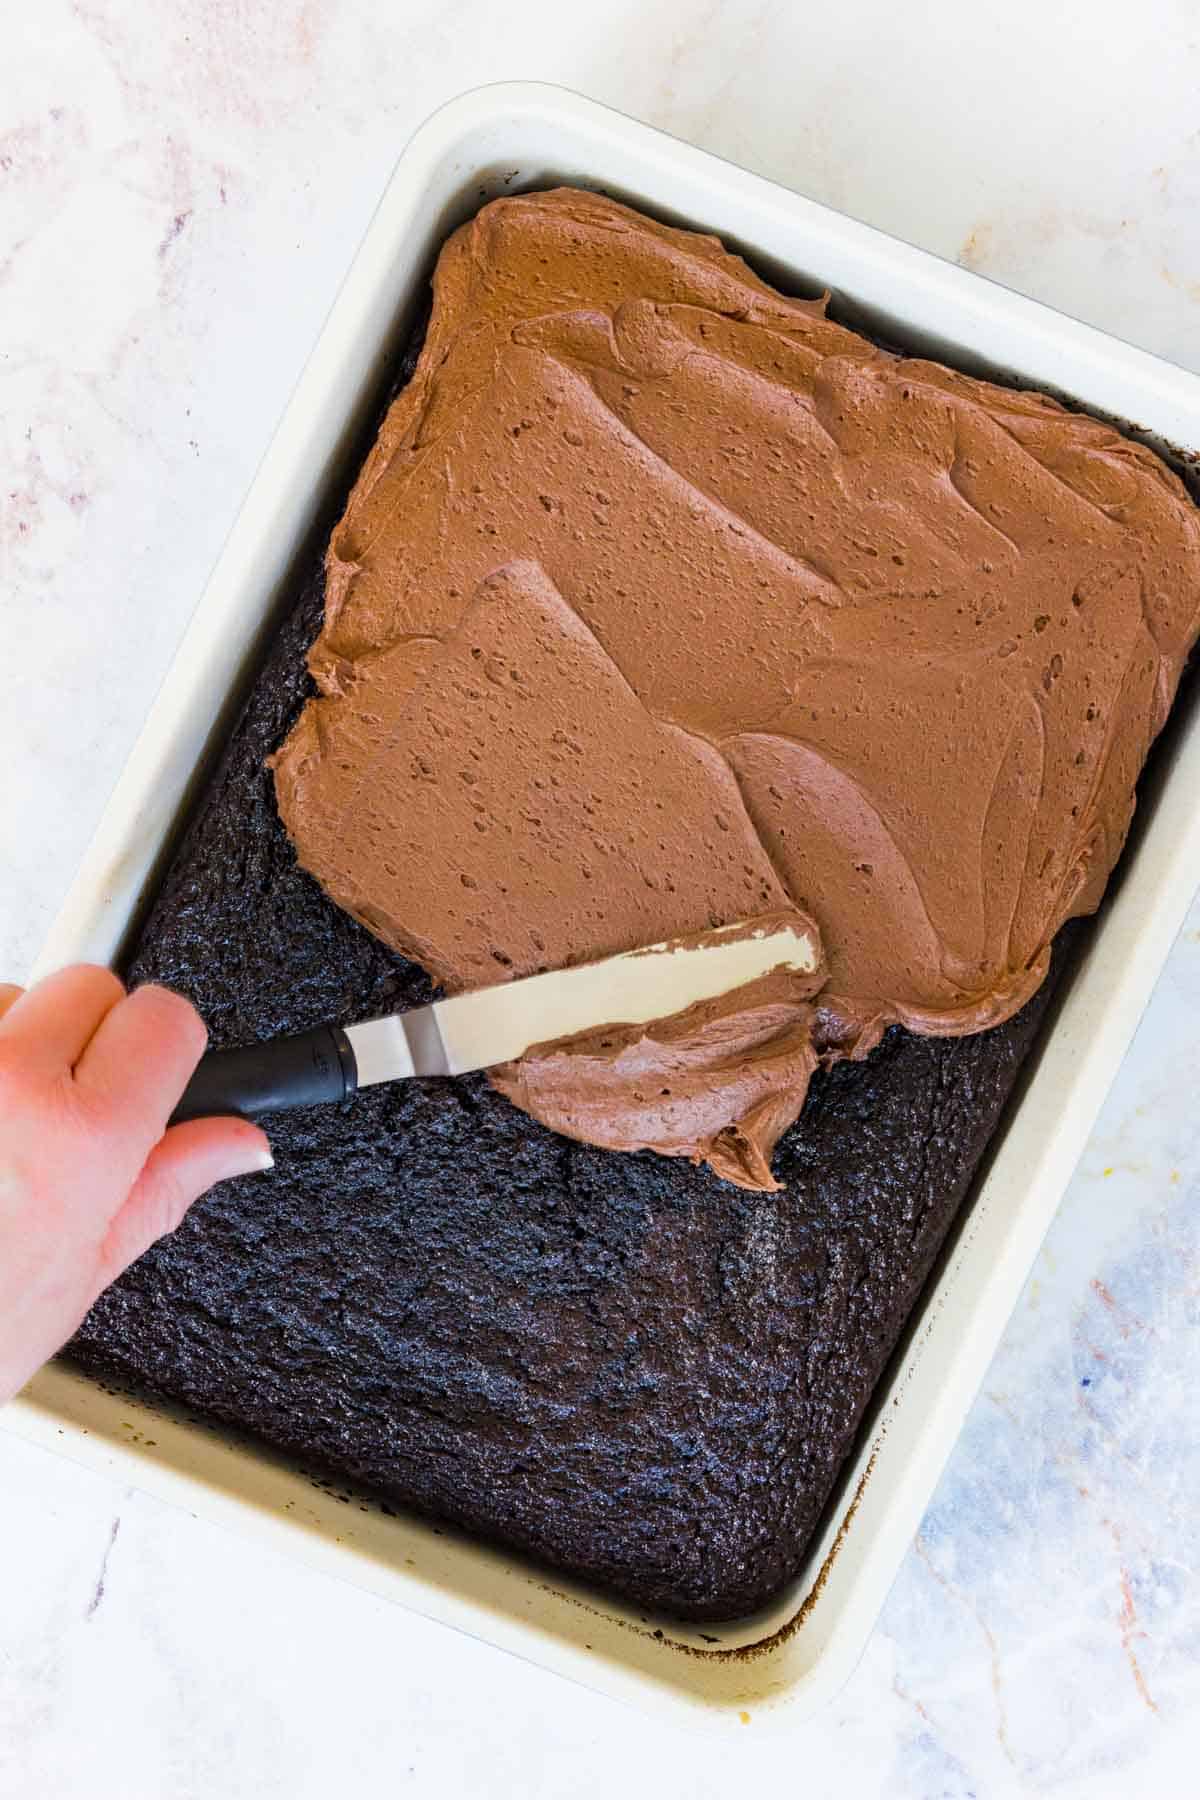
- Frost the Cake: Once your cake (or cakes) have cooled completely, it’s time to frost! Whip up a batch of your favorite frosting and get decorating.
Can I Make Cupcakes Instead?
You can absolutely! Here is my Gluten Free Chocolate Cupcakes recipe, which uses the same cake base. Check out that post for step-by-step photos and more detail, but here’s a quick run-down:
- Preheat the oven and line your cupcake pan.
- Make the batter as directed.
- Fill the cupcake liners about ⅔ of the way full with batter.
- Bake for 20-25 minutes, until the cupcakes pass the toothpick test.
- Leave the cupcakes to cool in the pan, and then pop them out onto a wire rack to cool completely before frosting.
Tips for the Best GF Chocolate Cake
- Why Is My Cake Cracking?: If you notice cracks forming in the top of your chocolate cake, this could be a sign that your oven is too hot. Not all ovens are created equal, so keep an eye and adjust the heat as needed for best results.
- Don’t Over-Mix the Batter: Over-mixing the cake batter can lead to changes in texture, and can also cause the cake to sink after baking. To ensure a rich yet fluffy cake, mix your ingredients until they’re just combined, and don’t get too whisk-happy!
- Add a Filling. Make it into a Black Forest Cake with some Cherry Pie Filling in the middle and a coating of stabilized whipped cream like on these Black Forest Cupcakes. Balance the chocolate with some Vanilla Pastry Cream between the layers or add more decadence with Dulce de Leche.
- Use Your Favorite Frosting. While chocolate on chocolate is pretty epic, you can always use Vanilla Buttercream or Cream Cheese Frosting. Or go with the classic combo of chocolate and peanut butter and cover it with my Peanut Butter Frosting. You can also use it to make a Hagrid Cake for Harry Potter fans!
How to Store Extras
- Frosted chocolate cake can be stored airtight on the counter for up to 2 days. Longer than that, and it’s best to store it in the fridge. Store leftover cake in a container and keep it in the fridge for up to 4 days.
- If the cake is unfrosted, it can be kept at room temperature. Make sure the cake is completely cool, and then store it in an airtight container or wrap it tightly in plastic wrap. It will keep on the counter for 2-3 days.
Can I Freeze This Cake?
This cake freezes well, unfrosted or frosted! To freeze the unfrosted cake, let the cake cool completely and then wrap it tightly in plastic wrap. Allow the cake to thaw to room temperature again before you frost it. Frosted cake can also be frozen. The frosting may sweat a little upon thawing, but don’t let that deter you. It’s still just as fudgy and delicious!
Gluten Free Chocolate Cake
Ingredients
- 2 cups granulated sugar
- 1 3/4 cups gluten free 1-to-1 flour (recommended; Bob’s Red Mill 1-to-1 Baking Flour)
- 3/4 cup cocoa powder
- 2 teaspoons baking soda
- 1 teaspoon baking powder
- 1 teaspoon salt
- 3 large eggs at room temperature
- 2/3 cup milk
- 1/3 cup plain Greek yogurt
- 1/2 cup vegetable oil
- 2 teaspoons vanilla extract
- 1 teaspoon instant coffee (optional)
- 1 cup hot water
- chocolate frosting (try my Easy Homemade Chocolate Frosting!)
Instructions
- Preheat the oven to 350°F. Spray a 9×13-inch baking pan with nonstick spray or line two 8-inch round cake pans with rounds of parchment paper and spray with nonstick cooking spray. Set aside.
- Add 2 cups granulated sugar, 1 3/4 cups gluten free 1-to-1 flour, 3/4 cup cocoa powder, 2 teaspoons baking soda, 1 teaspoon baking powder, and 1 teaspoon salt to a large mixing bowl and whisk to combine.
- Add 3 large eggs, 2/3 cup milk, 1/3 cup plain Greek yogurt, 1/2 cup vegetable oil, and 2 teaspoons vanilla extract and whisk together until fully combined.
- Dissolve 1 teaspoon instant coffee, if using, in 1 cup hot water and stir into the batter.
- Pour the batter into the prepared rectangular baking pan and bake at 350°F for 35-45 minutes until a toothpick can be inserted and comes out with a few moist crumbs. Or divide between the two 8-inch round pans and bake for 40-50 minutes until a toothpick can be inserted and comes out with a few moist crumbs.
- Remove the cake from the oven and place on a cooling rack. For the rectangular pan, allow it to cool completely in the pan before frosting. For the round pans, cool the cake in the pans for about 10 minutes. Run a butter knife around the edge and turn the cakes out of the pans to cool completely on the racks before covering with chocolate frosting or your favorite frosting.





Perfect recipe! I’m frosting with your peanut butter frosting recipe but using chickpea butter because my daughter is allergic to tree nuts. Thank you so much!!!!!!
This cake is AMAZING! We couldn’t believe how moist and tender it was. Especially for it being GF. I love finding these recipes that the whole family loves. I will definitely keep this recipe handy and will be replacing my Gluten Full recipe with this Gluten Free version!
I too thought the recipe looked to have too much liquid. So I did 2 batches of cupcakes. The first batch came out sunken. Then I added 6 more tbsp of flour to what was left of the batter. The second batch turned out flat. I haven’t tasted yet.
I took a photo but don’t see an option to post.
I have not tested this recipe as cupcake. It is a thinner batter but as a cake it bakes up nice and moist.
It didn’t rise very well. Haven’t eaten any yet, but am a bit concerned that after adding the 1 cup of water it seemed really runny for a cake batter?
This is a very moist cake recipe. It’s the right consistency for this type of chocolate cake.