This post may contain affiliate links. Read my disclosure policy.
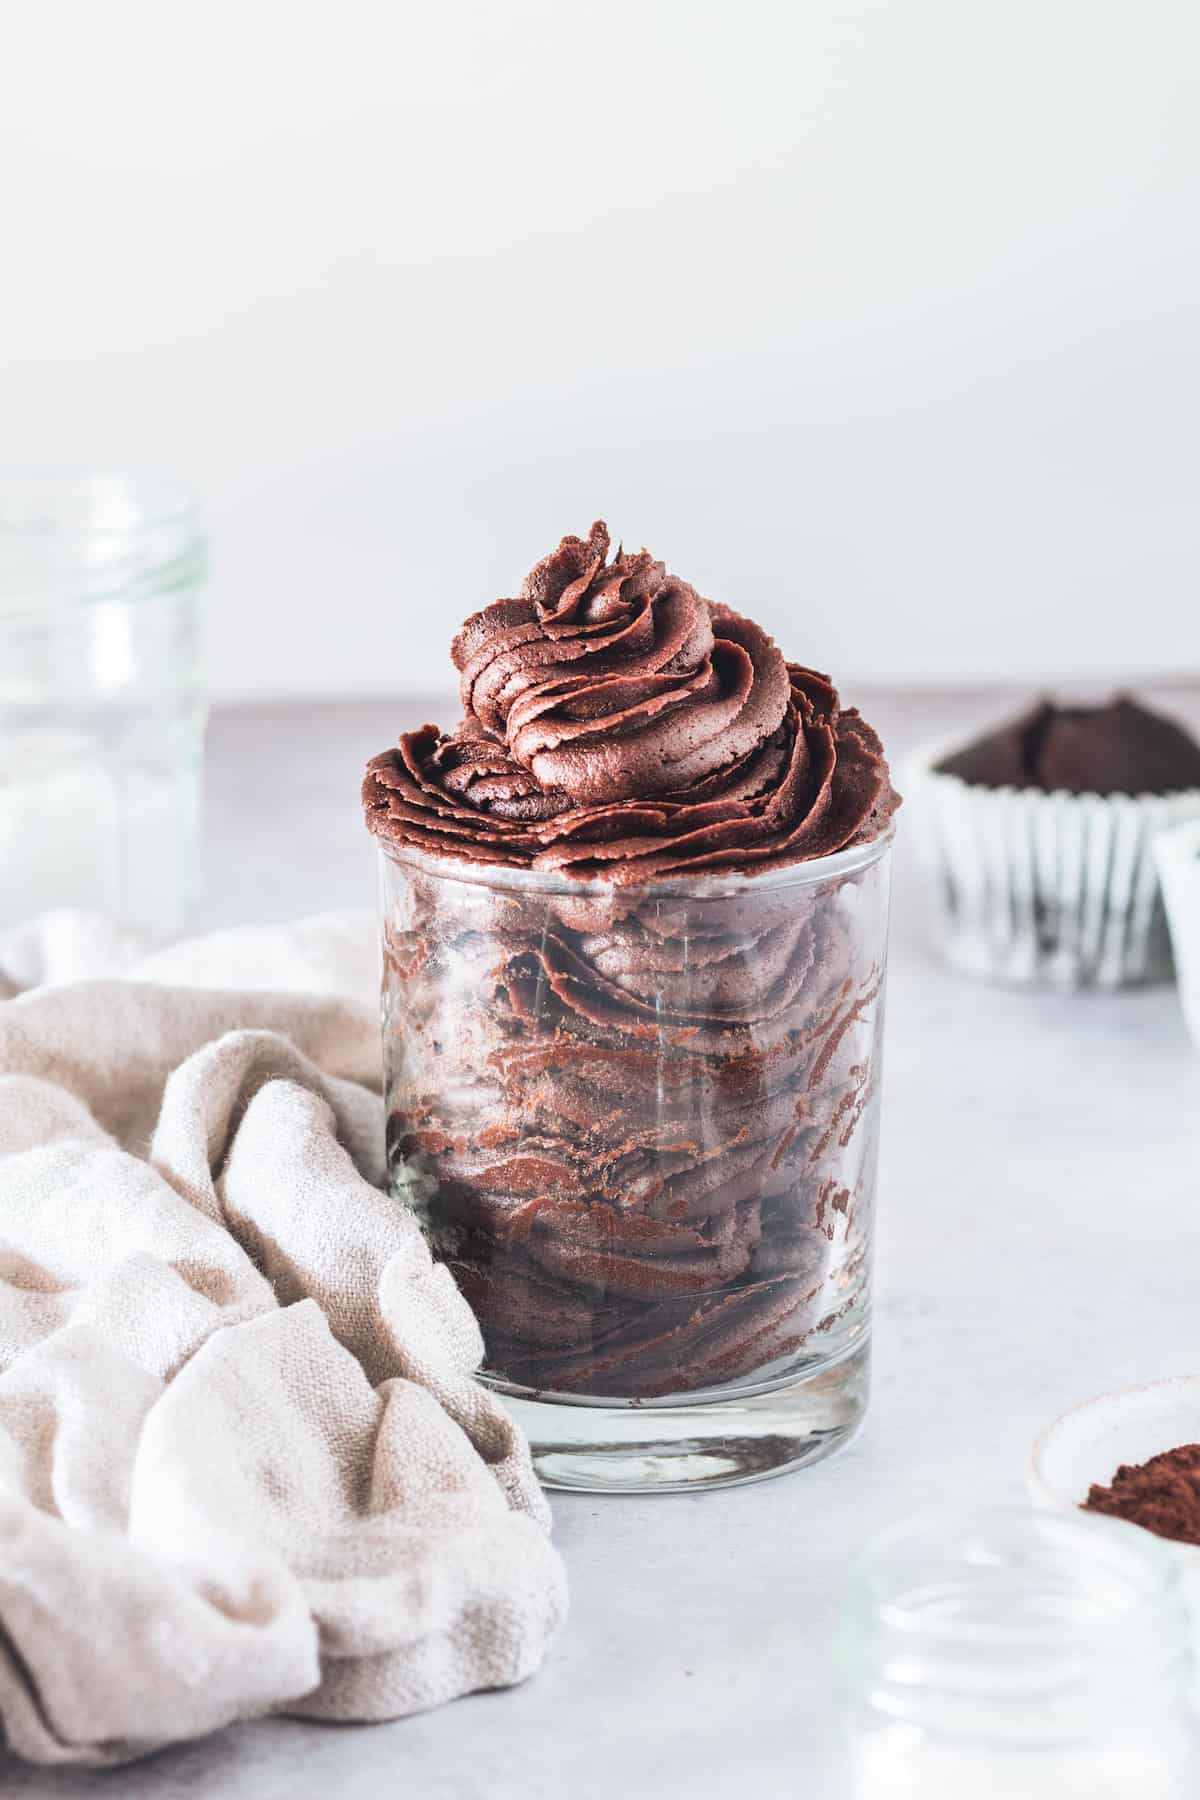
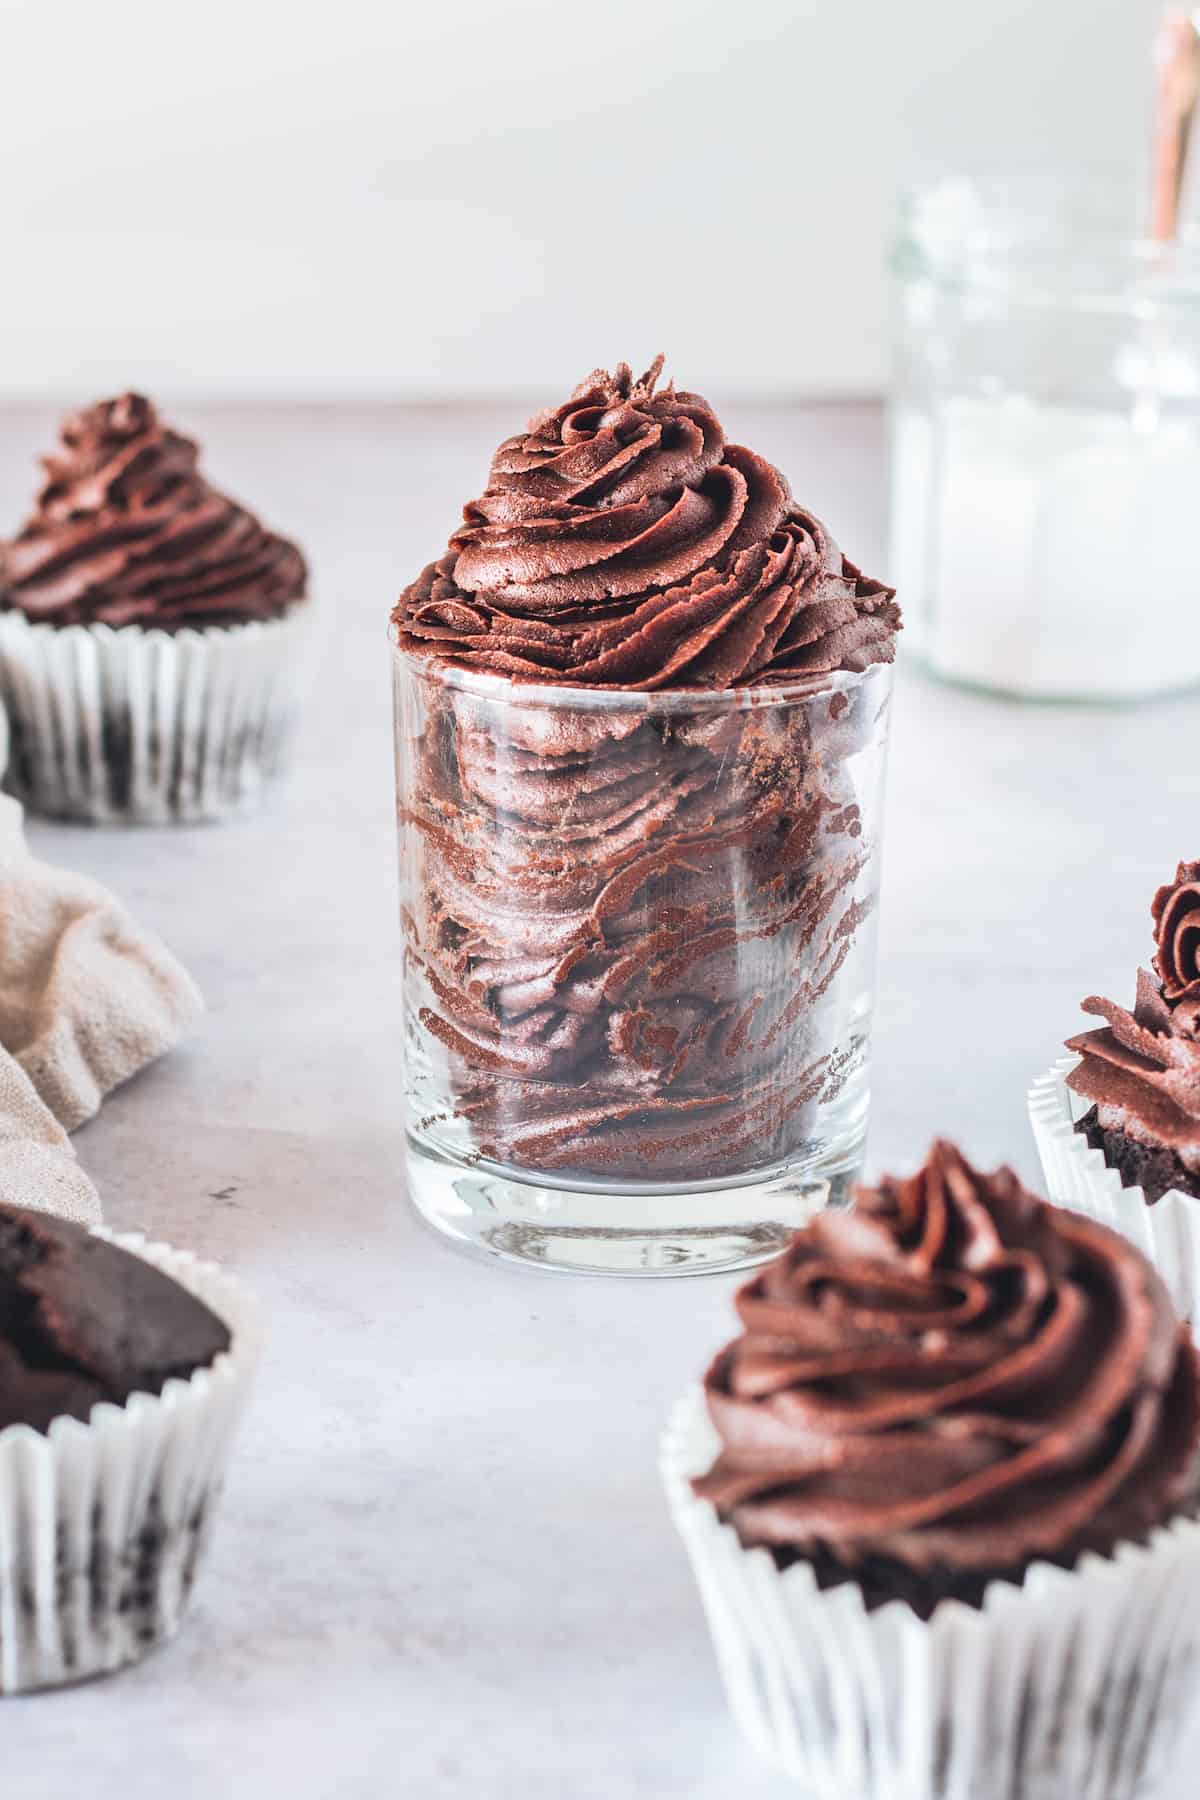
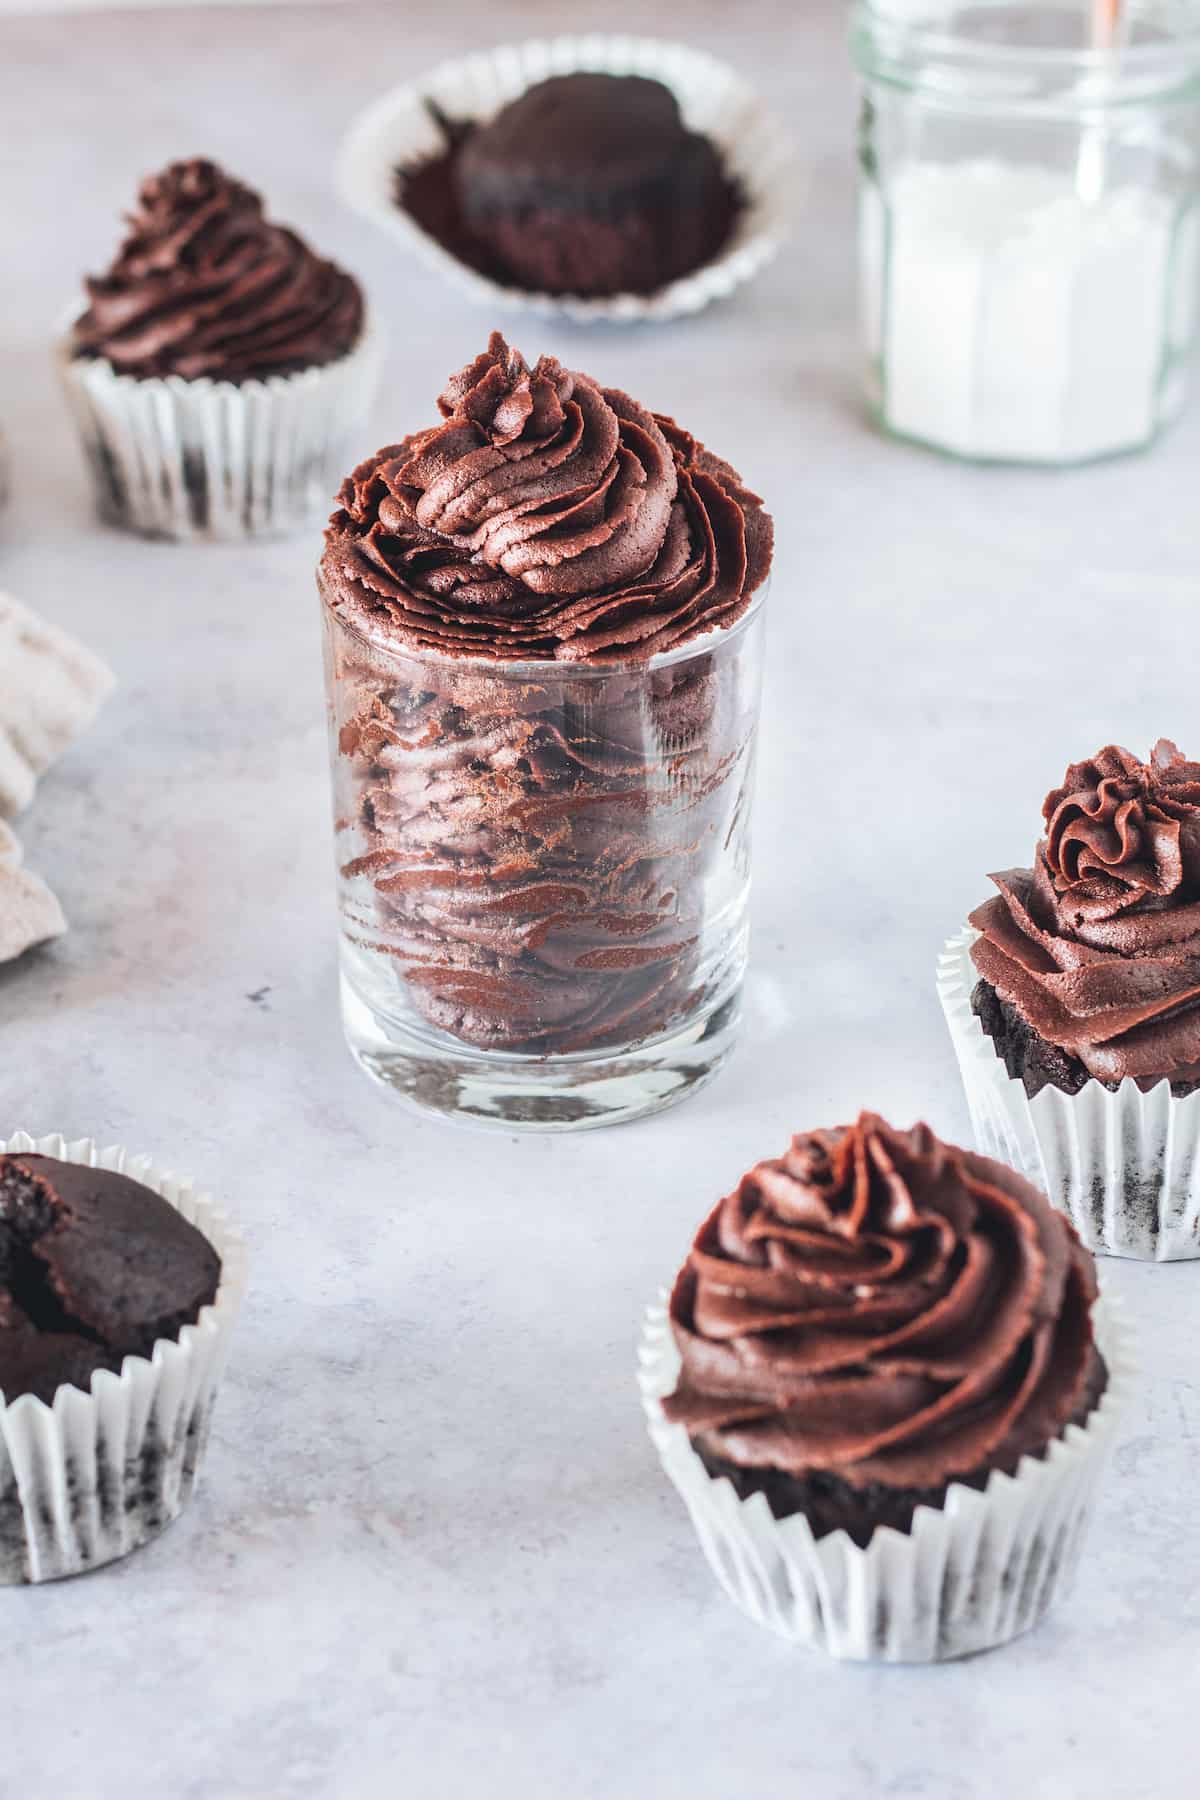
This decadent and creamy Homemade Chocolate Buttercream Frosting is downright delicious. It’s a classic, fan-favorite chocolate frosting recipe for cakes, cupcakes, and more!
Creamy Homemade Chocolate Buttercream Frosting
Chocolate buttercream made from scratch is always an indulgence, and this recipe will take your homemade frosting to the next level! It has all the fluffiness and creaminess of my Vanilla Buttercream Frosting with a crave-worthy chocolate taste. It uses cocoa powder to get that luscious flavor.
To make this recipe even more desirable, it’s gluten-free and comes together in less than 10 minutes. Whether you need some icing for a chocolate lover’s birthday cake or simply want to eat it by the spoonful, this is the frosting to make! It’s a 6-ingredient masterpiece.
What You’ll Need
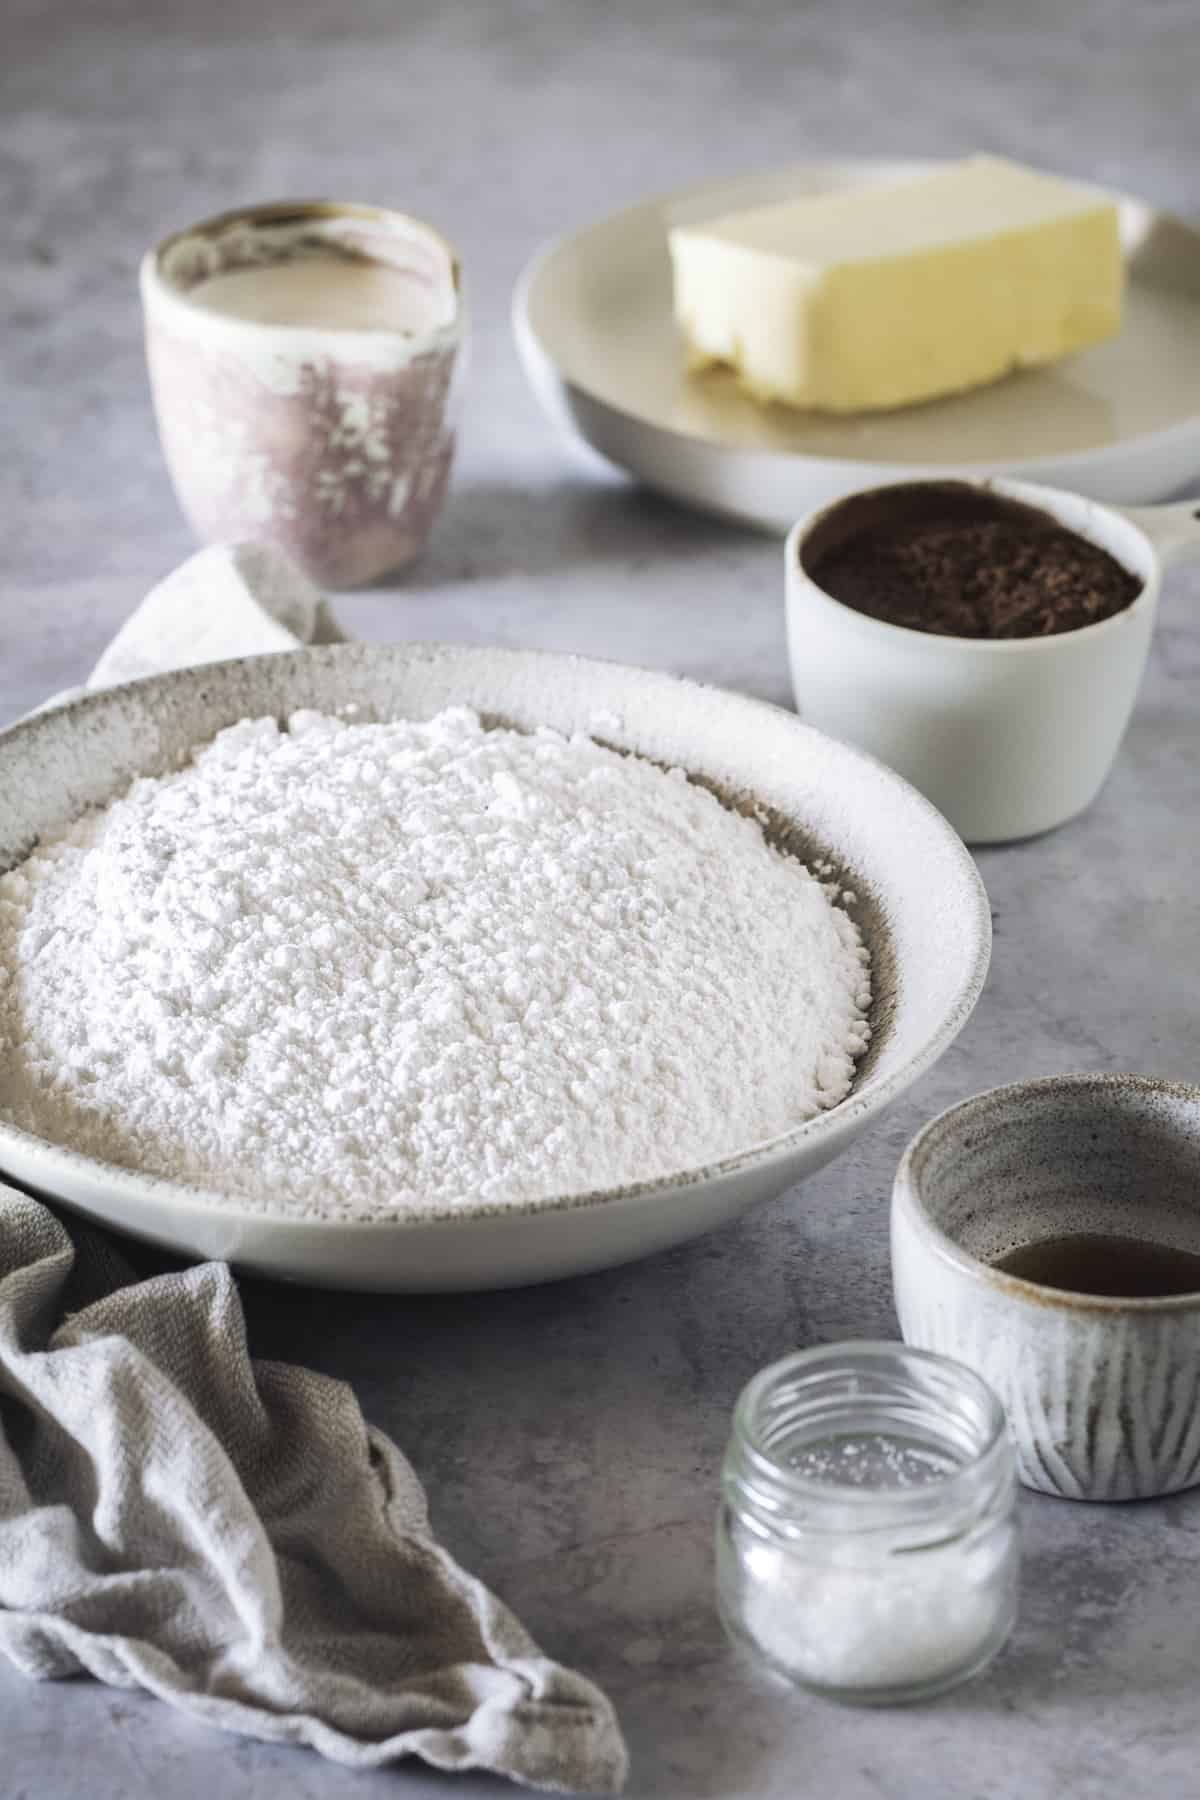
Sometimes, the very best recipes only call for a handful of simple ingredients! At least that’s the case with this chocolate frosting recipe. Here’s a rundown of what you’ll need, but the full amounts are in the recipe card at the bottom of the post:
- Butter: Softened.
- Powdered Sugar: This is important for the texture of your frosting.
- Cocoa Powder: For chocolatey perfection!
- Heavy Whipping Cream: You’ll need half a cup.
- Vanilla Extract: For sweetness and depth of flavor.
- Salt: Half a teaspoon, to be exact.
How to Make Homemade Chocolate Frosting
Chocolate frosting is so easy to make at home, you’ll never go back to the store-bought stuff! Just follow these step-by-step instructions and enjoy.
Beat Butter & Vanilla: In a large mixing bowl, beat the butter and the vanilla extract with an electric mixer on medium speed for 3-4 minutes.
Add Cocoa & Sugar: Stir in the cocoa powder and gradually add the powdered sugar, one cup at a time.
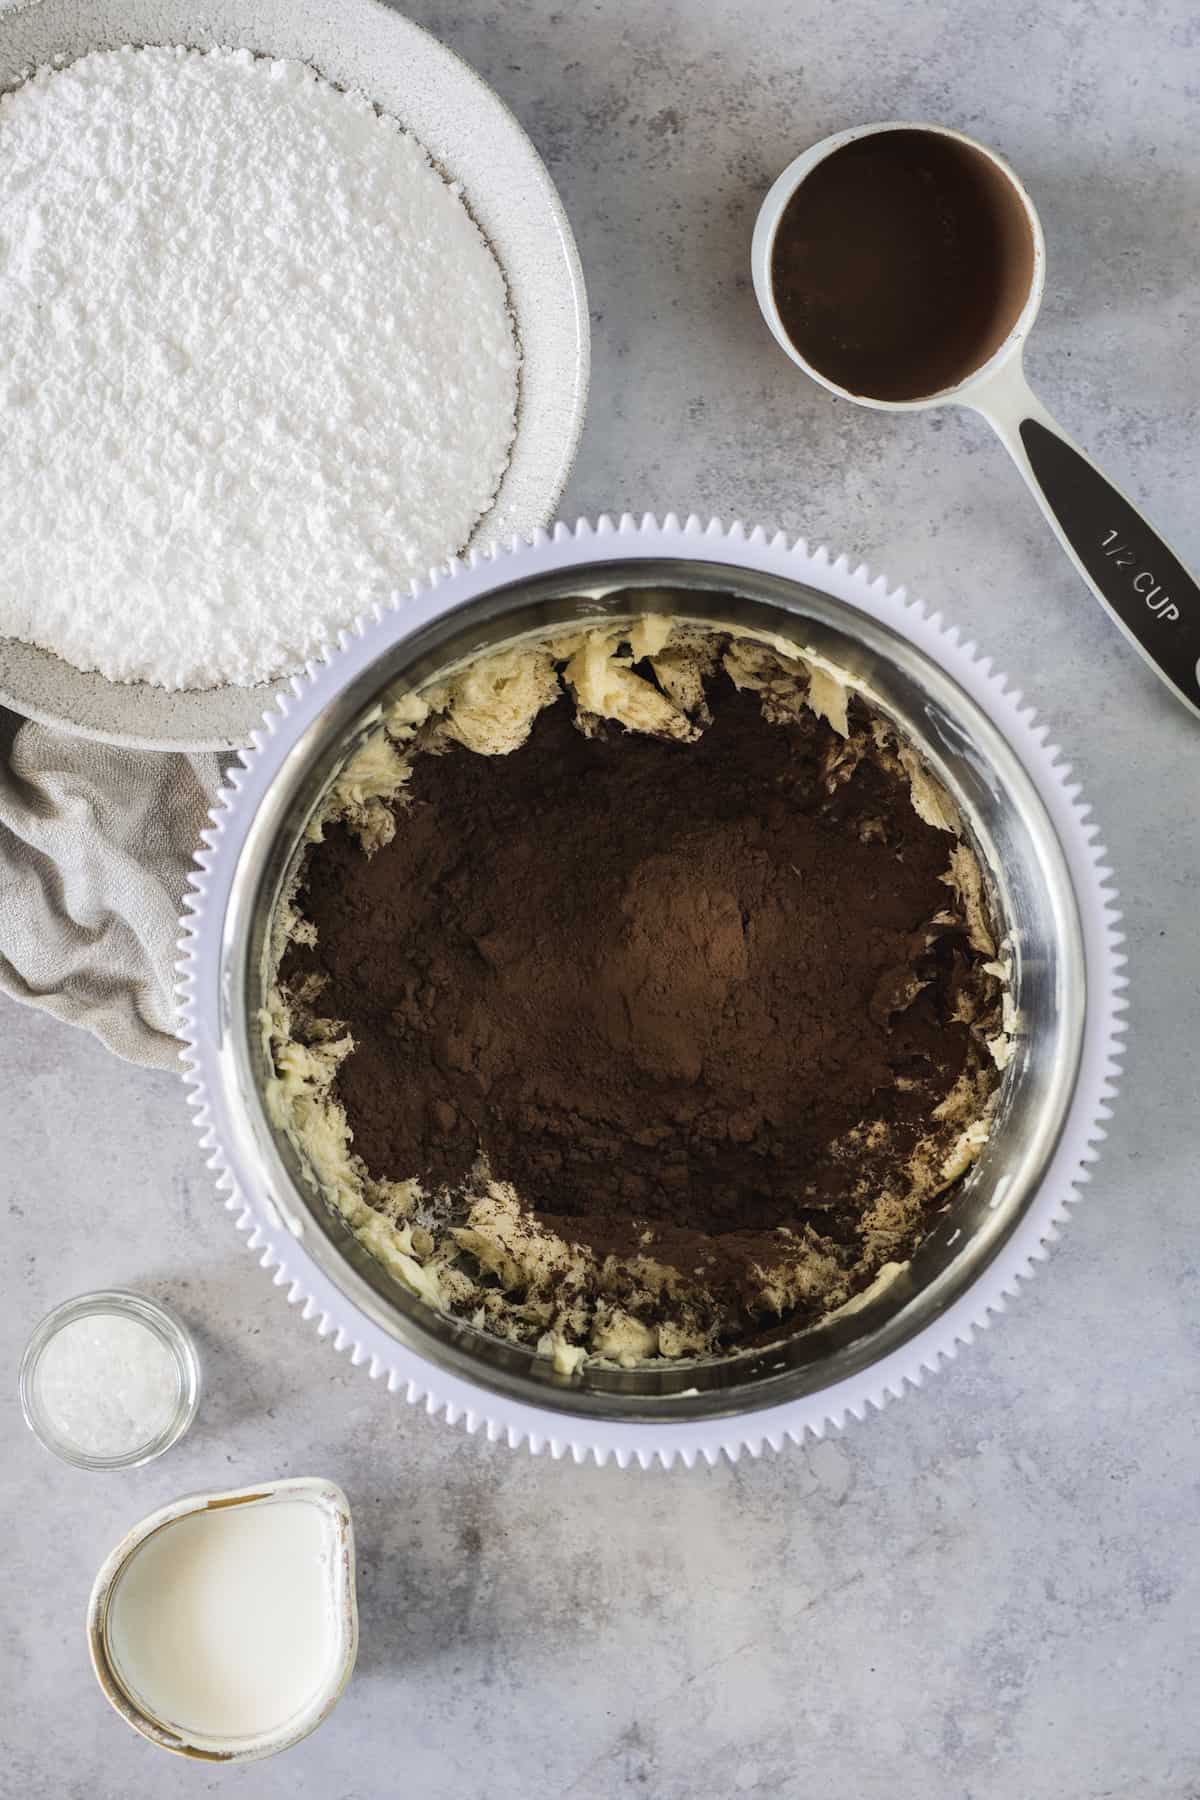
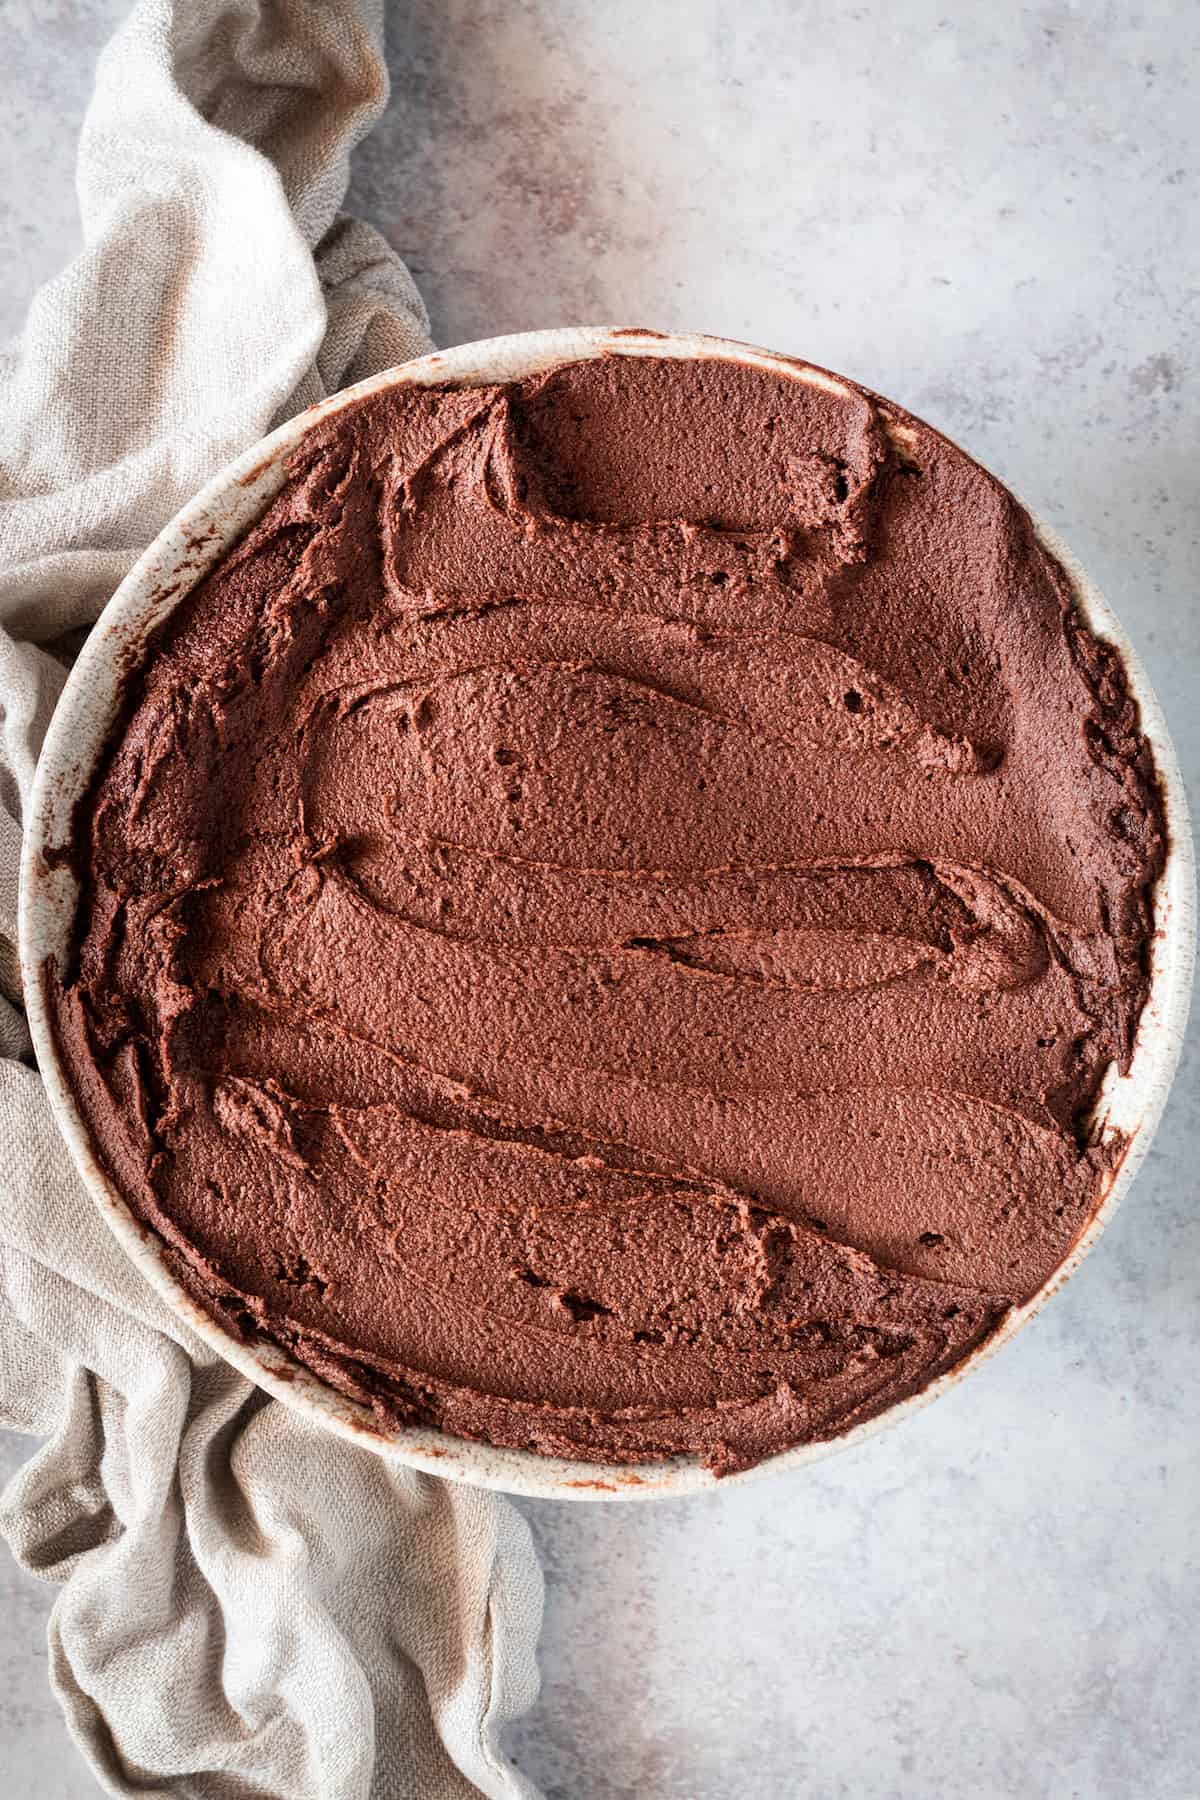
Slowly Add Cream: Slowly pour in the whipping cream until the frosting reaches your desired consistency.
Tips for Success
It’s impossible to mess up homemade chocolate frosting if you follow this recipe, especially with these handy tips and tricks up your sleeve.
- Beat Butter & Vanilla Well: You want to beat the butter mixture for at least 3 minutes, until it’s completely smooth. This prevents any lumps from making their way into your frosting. Don’t forget to soften the butter before you begin.
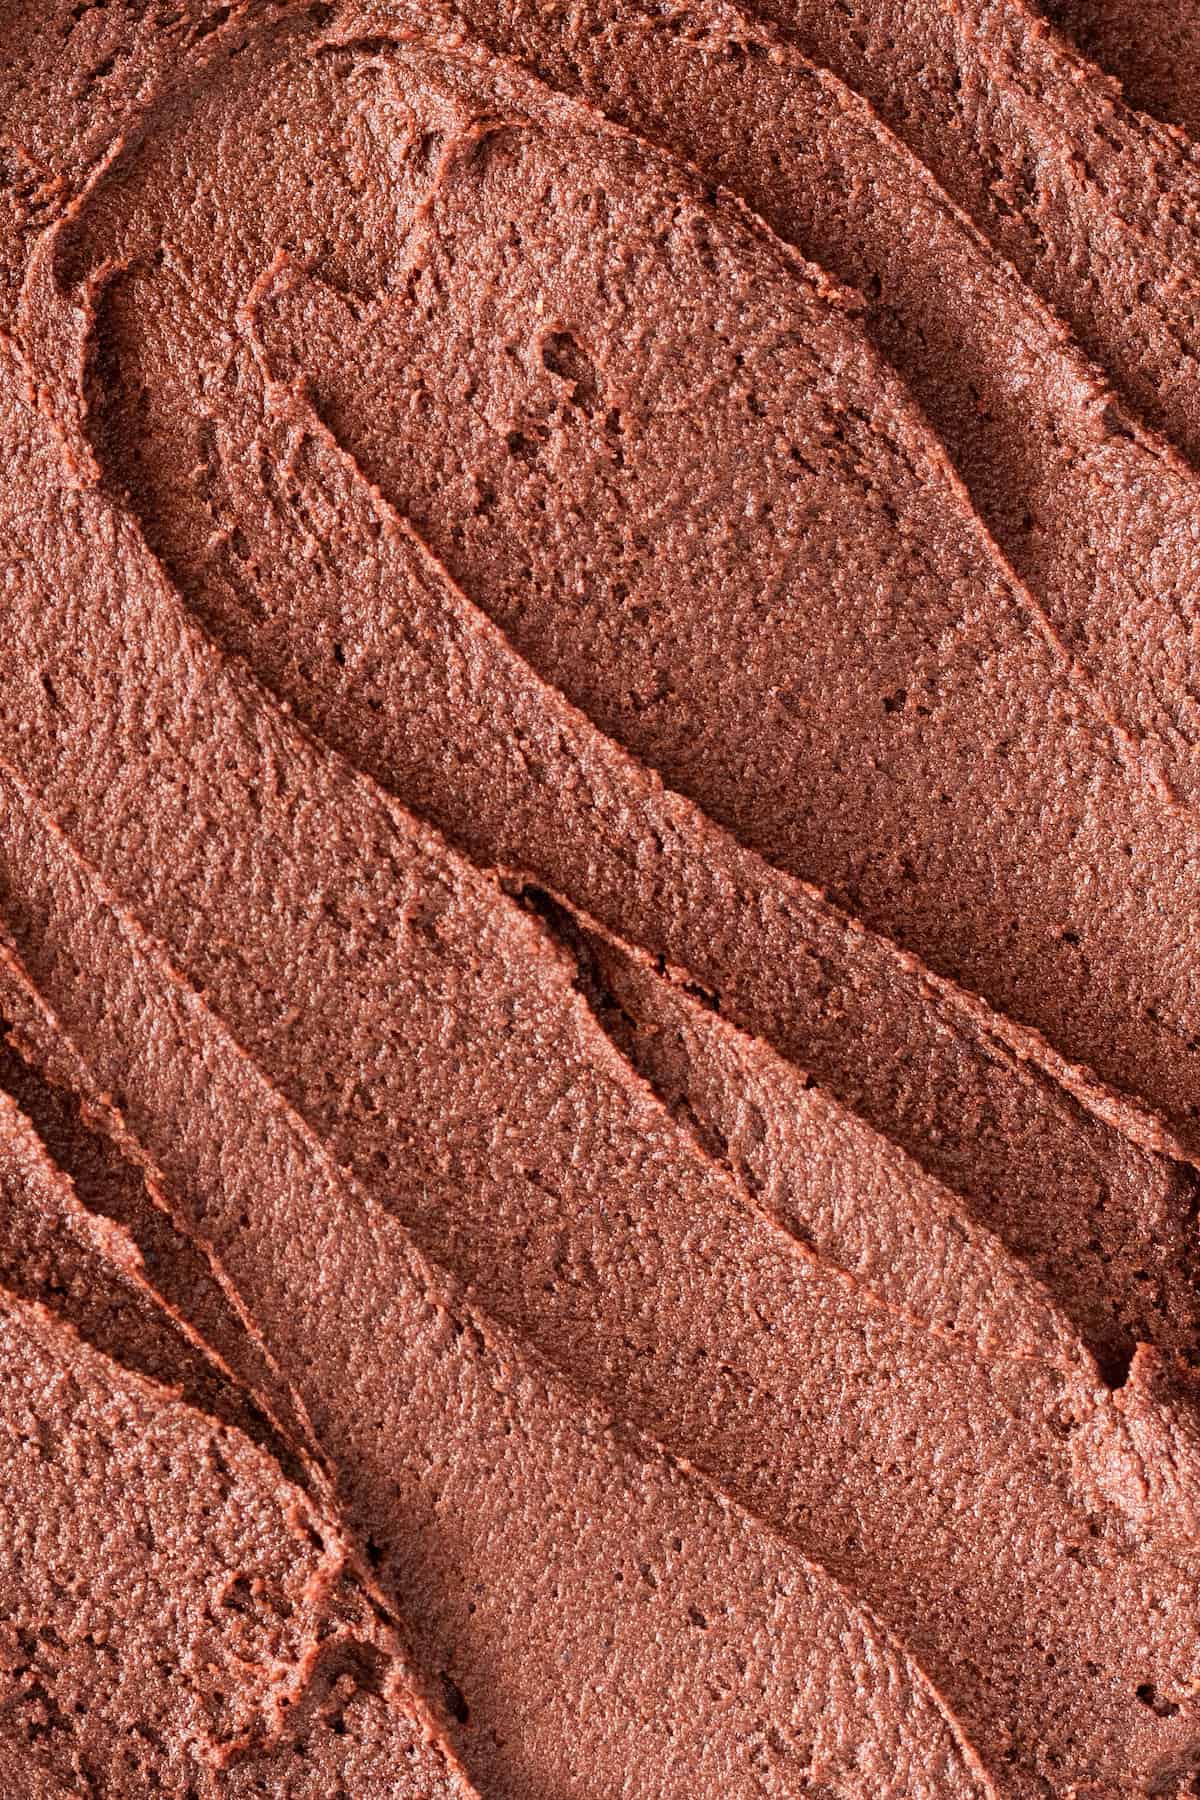
- Add Heavy Cream to Taste: If you like a thinner buttercream, keep (slowly) adding heavy cream until you’re satisfied. Less cream makes for a thicker frosting. If you accidentally make your frosting too thin, you can mix in small amounts of powdered sugar until it’s perfect.
- Don’t Skip the Salt: The salt is important in this recipe because it keeps the frosting from tasting overly sweet. I wouldn’t leave it out unless you have a big sweet tooth.
- Sift Powdered Sugar & Cocoa Powder: If you have the appropriate kitchen tools, go ahead and sift your cocoa powder and powdered sugar. This ensures a lump-free frosting, but it’s not obligatory!
Does Frosting Need to be Refrigerated?
If you’re not using your frosting right away, store it in an airtight jar or container in the fridge. It will last for up to a week. Bring the frosting to room temperature before using it.
Can I Freeze Homemade Chocolate Frosting?
Yes! This frosting can be frozen in a freezer-safe bag with all the air squeezed out. Frozen frosting lasts for up to 1 month. Thaw it out completely, bring it to room temperature and beat it before using.
Ways to Use this Frosting
Chocolate buttercream is a versatile treat that works in more ways than you’d expect! Here are some ideas for how to serve this homemade frosting:
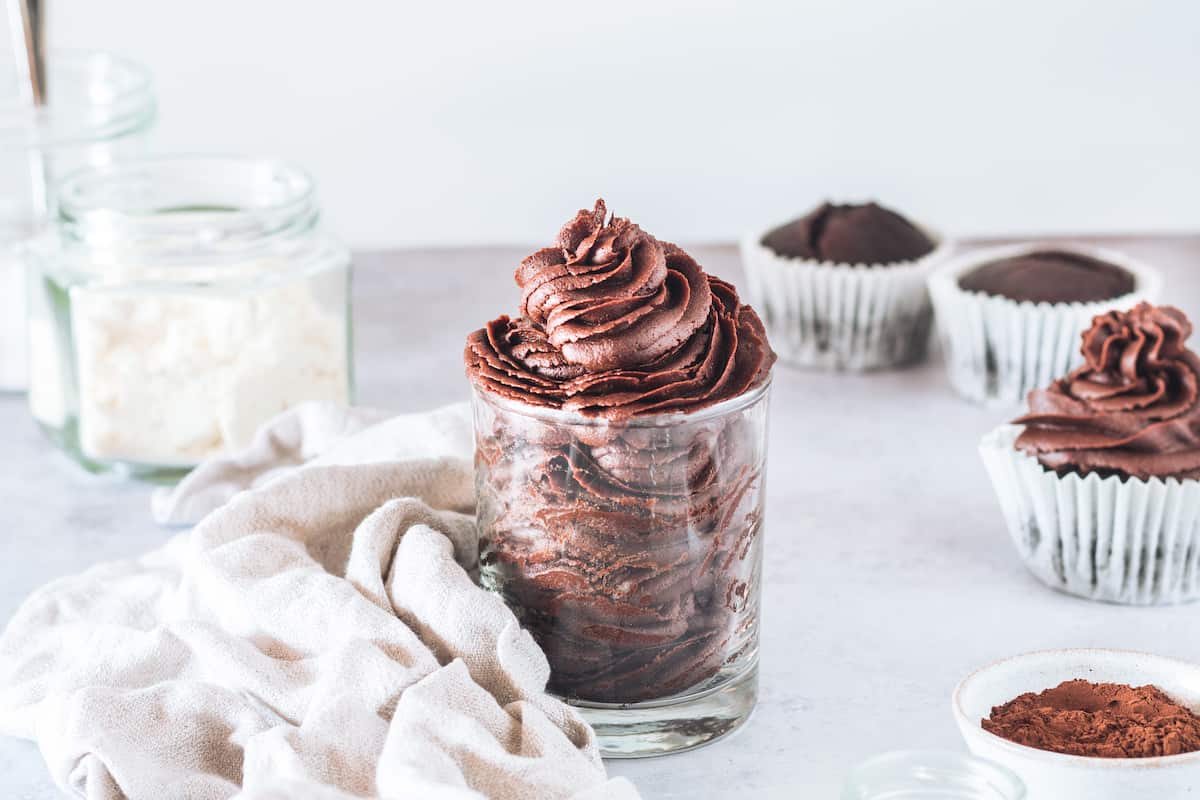
- On Cakes & Cupcakes: Let’s start with the obvious. This buttercream tastes amazing on all sorts of cakes and cupcakes – especially a fudgy Gluten Free Chocolate Cake or these Gluten-Free Vanilla Cupcakes! You’ll have enough frosting for 12 cupcakes or 1 regular-sized cake.
- As a Dip: Frosting makes a spectacular dessert dip for pretzels, fruits, graham crackers and more! I love whipping up this buttercream when I’m longing for a quick-fix chocolate treat.
- On Cookies: This frosting would get the gold stamp of approval from the cookie monster himself! It tastes like heaven on top of these Flourless Peanut Butter Cookies and these chewy Sugar Cookie Bars. Or make a cookie sandwich with some Gluten Free Chocolate Chip Cookies!
- In Cookie Cups: It adds even more buttery sweetness to a batch of Gluten Free Chocolate Chip Cookie Cups.
- On Brownies: Okay, hear me out. A brownie is perfectly chocolatey on its own, but add some chocolate frosting into the mix? Then you really have something indulgent! Try spreading this buttercream on my Cheesecake Swirl Brownies for the best kind of chocolate overload.
Things You’ll Need
- For a frosting like this, a simple hand mixer will do just fine. I use this basic one from Hamilton Beach. Though if you tend to bake a lot of cookies or mix stiffer doughs and don’t have a stand mixer, you might want a power mixer like a Kitchen Aid.
- No need to buy anything fancy. Basic Hershey’s Cocoa Powder makes amazing chocolate frosting.
- However, I do recommend good-quality pure vanilla extract like Nielsen-Massey. If you are gluten free, you’ll also want to make sure you avoid brands that add artificial flavors or colors that might not be gluten free.
Homemade Chocolate Buttercream Frosting
Equipment
- Whisk
Ingredients
- 1/2 cup unsalted butter, softened to room temperature
- 1 tsp vanilla extract
- 1/2 cup cocoa powder
- 1/2 tsp salt
- 3 cups powdered sugar
- 1/2 cup heavy whipping cream
Instructions
- In a large mixing bowl, beat the butter and the vanilla extract with an electric mixer on medium speed for 3-4 minutes.
- Beat in the cocoa powder and salt. Then with the mixer on low, gradually add the powdered sugar, one cup at a time.
- Slowly pour in the whipping cream while stillbeating until the frosting reaches your desired consistency. You may not need the full amount
- Frost cooled cakes/cupcakes immediately or refrigerate the frosting in an airtight container for later use.
Notes
Categories:
More Gluten Free Desserts
I have tons of gluten-free treats to discover. The following are a couple of my favorites!


