
Halloween Bark



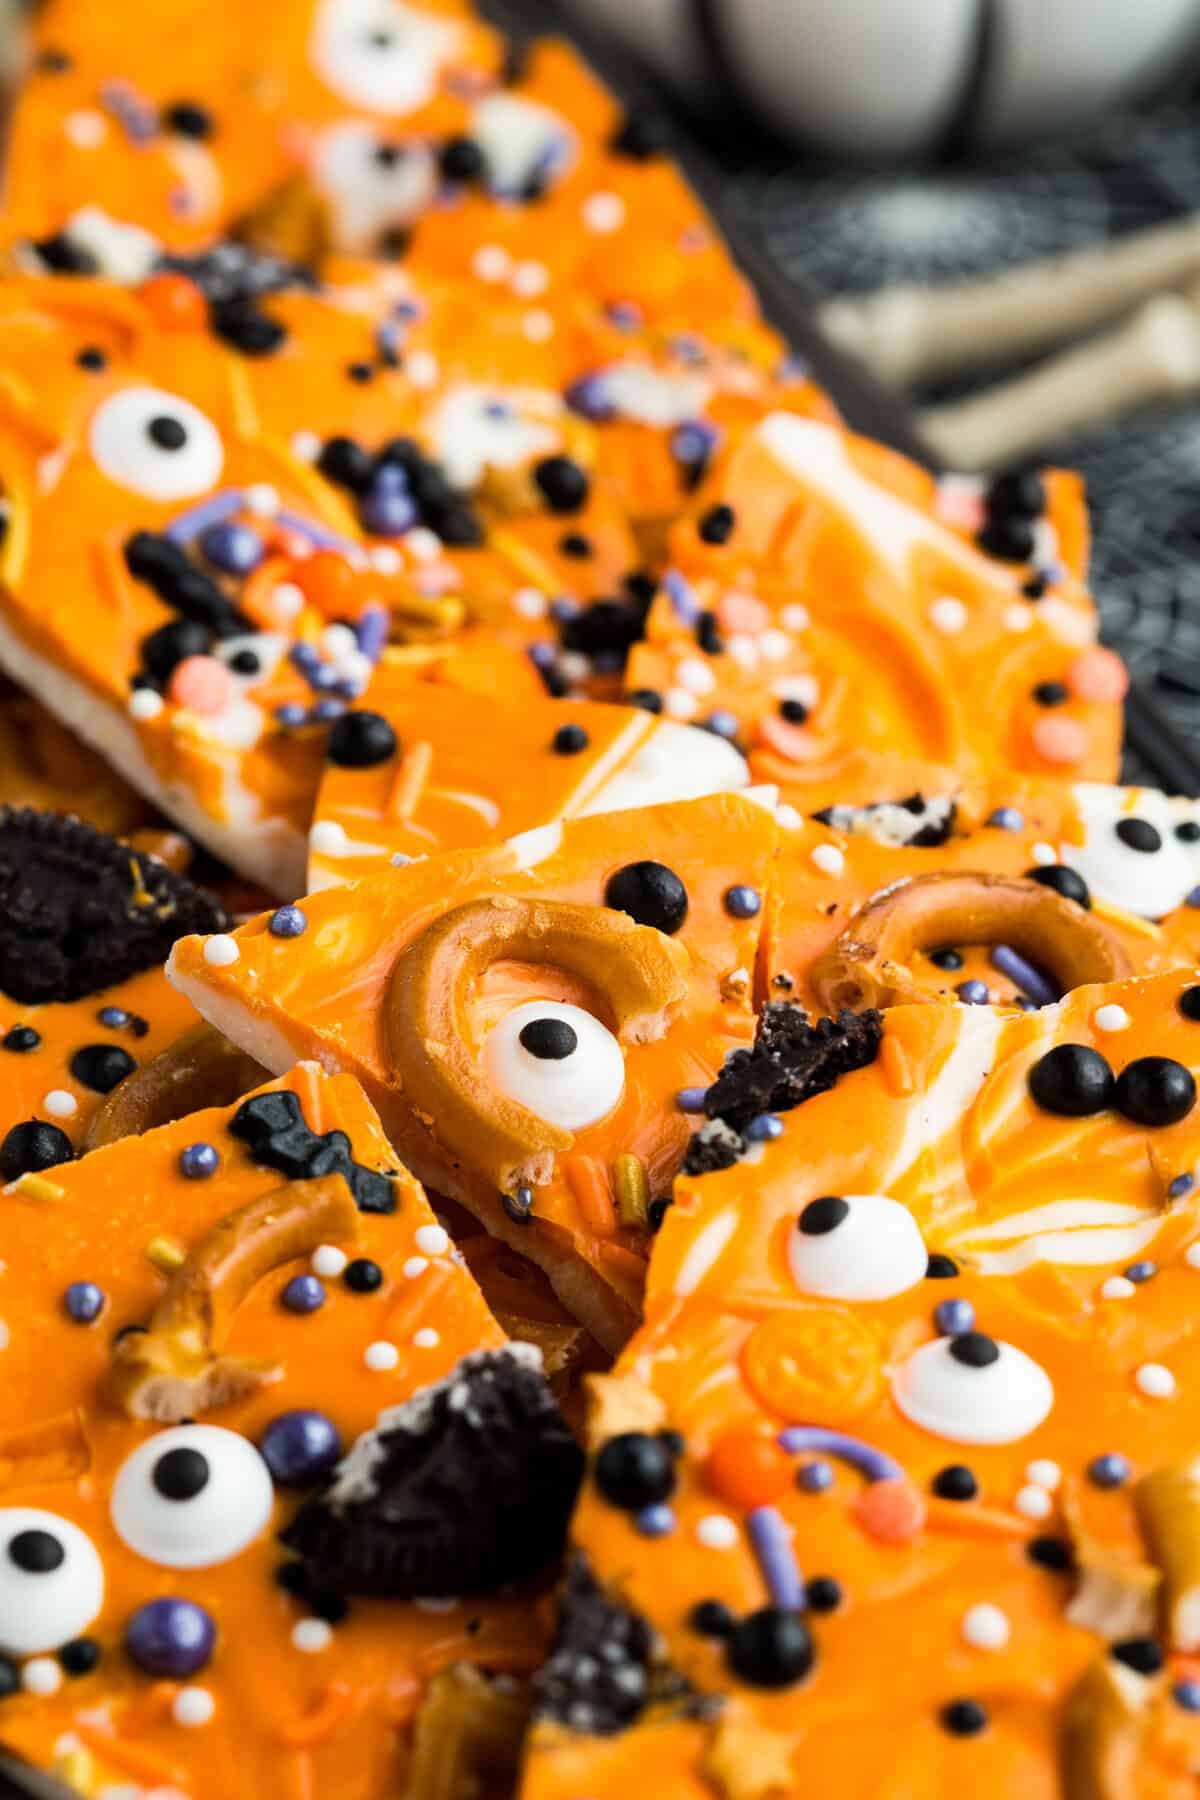
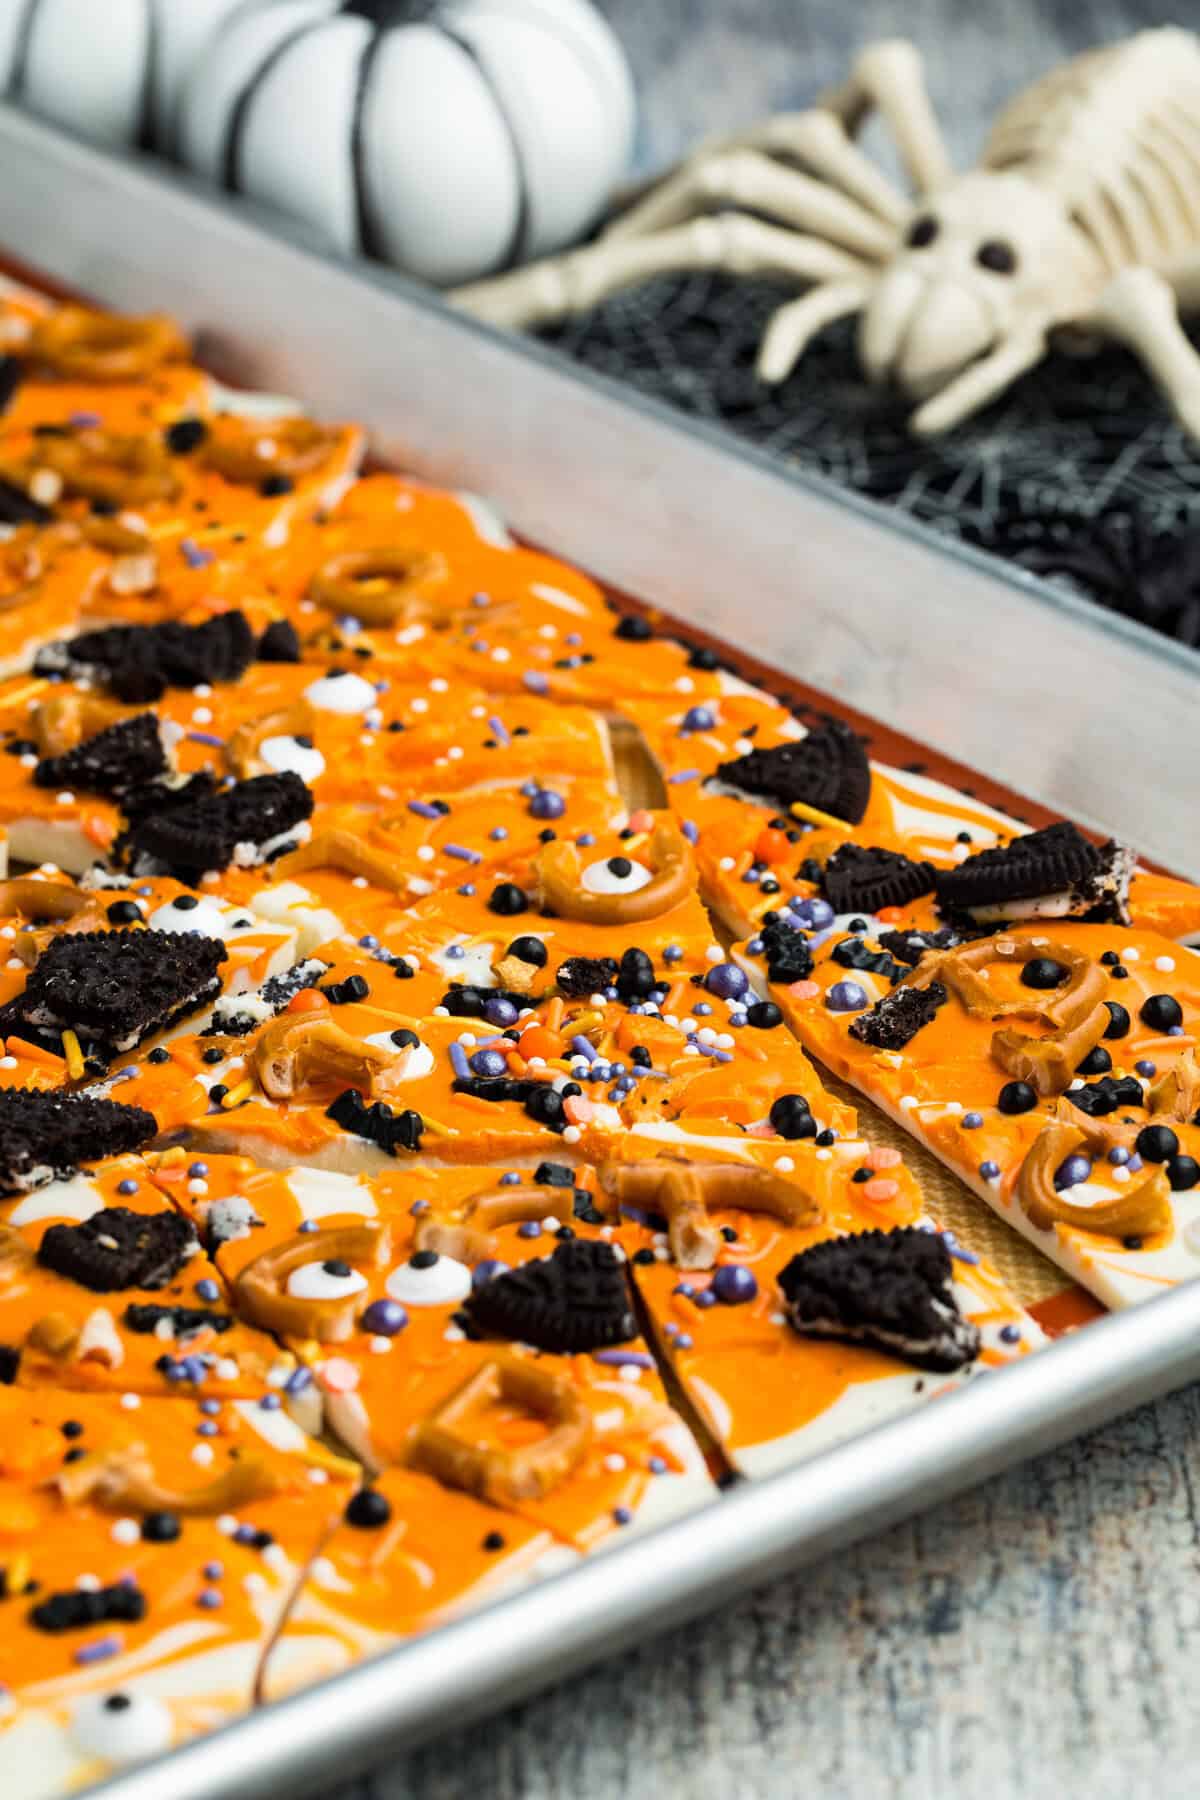
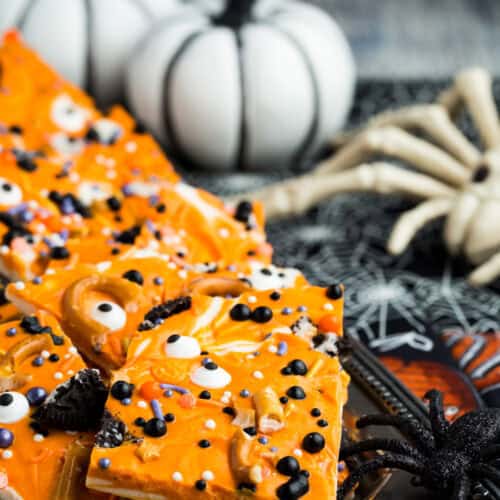
If you need something fun and easy to bring to your next Halloween party, you can whip up this spooky chocolate bark recipe in no time. Colorful swirls of melted chocolate are topped with pretzels, sprinkles, and Oreos, using the right brands to make it a gluten free Halloween bark. It’s a no-bake treat that will have family and friends grabbing piece after piece!
Delicious Details
- Cuisine Inspiration: American
- Primary Cooking Method: Microwave or Stovetop
- Dietary Info: Gluten-free
- Skill Level: Easy
From Salted Caramel Mocha Chocolate Bark to Peanut Butter and Jelly White Chocolate Bark, to lots of flavors in between, I’ve made my share of this simple homemade candy. But now that I’ve made this gluten free Halloween bark, I might have just discovered my family’s new favorite version. It’s probably the salty-sweet combination I used here that had all of us reaching back into the container over and over until nearly four pounds (yes, two full batches!) of the stuff disappeared faster than a witch on a broomstick.
Like the White Chocolate Bark I make around the holidays, it’s super easy to customize, and there’s no baking involved. It’s fun to customize it with whatever leftover Halloween candy or sprinkles we have in the house. The kids love adding the toppings! And for a Halloween party, it’s fun to serve on a party platter with my Monster Rice Krispie Treats and some Snickers Fudge.
Why This Halloween Bark is a Favorite
- No baking required. In fact, the only “cooking” is melting the chocolate! Otherwise, it’s just assembling and waiting for it to harden.
- Sweet & salty. Pretzels add a touch of saltiness to balance out the other sweet ingredients. Try potato chips, too!
- Customizable. You never have to make this Halloween bark exactly the same way twice. It’s so easy to customize with your favorite colors of melting wafers and any Halloween candy you have on hand! Just make sure to check the labels to keep it gluten free.
Ingredient Notes
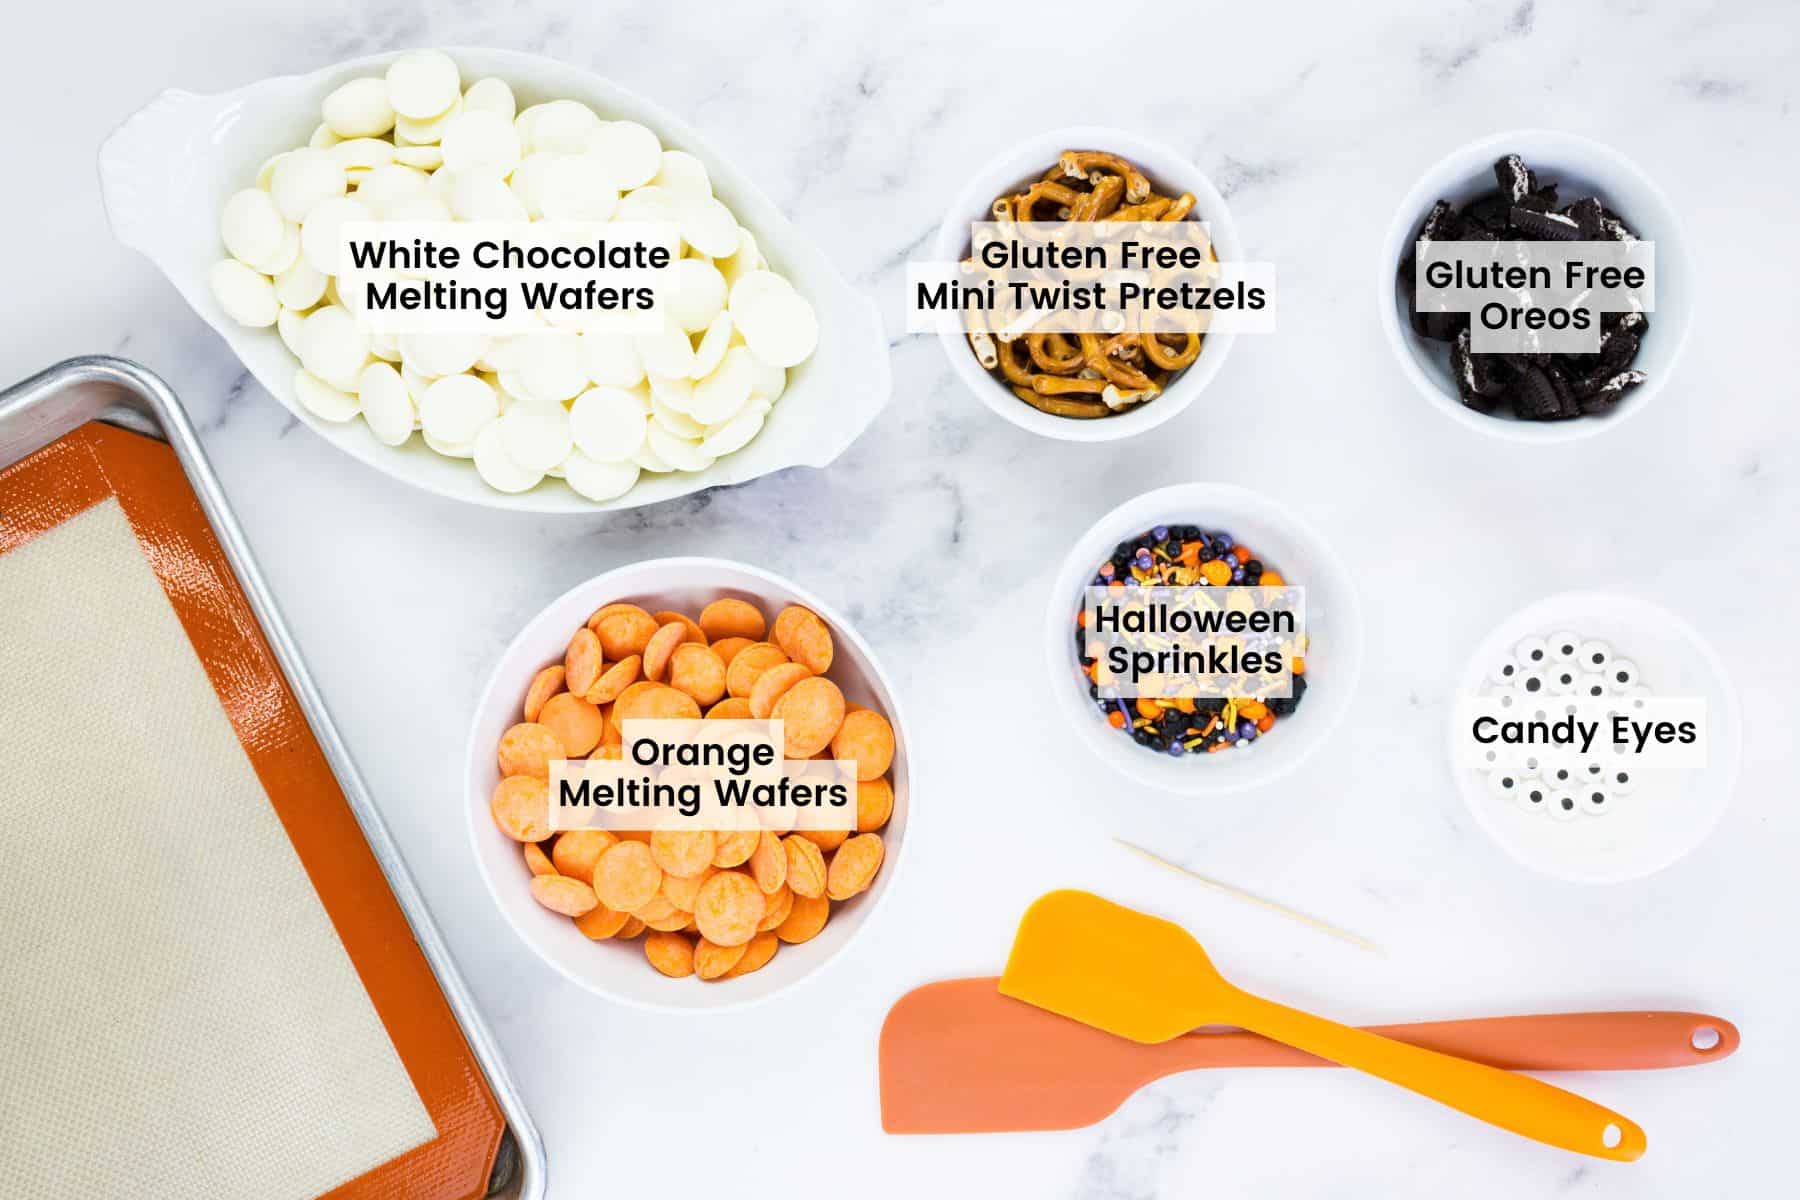
What really makes this Halloween bark gluten free is using gluten free brands for each component. Below are my recommendations for each ingredient and any important notes. Scroll all the way down for the full recipe card with measurements.
- Chocolate – Merckens, at the time of writing, indicates they manufacture their melting wafers in a gluten free facility, but it’s usually distributed through companies that repackage the bulk chocolate in smaller packages, and those facilities can have a cross-contamination risk. So you have to read labels. I found these white and orange wafers on Amazon, but you can also check a local candy or cake store. Wilton is easy to find, but not generally considered gluten free.
- Sprinkles and Candy Eyes – See my article Are Sprinkles Gluten Free? There is a brand called Sweets Indeed that makes fun sprinkles and decorations. That’s where I found the Halloween Sprinkles and Candy Eyes that are labeled gluten free.
- Oreos – Regular Gluten Free Oreos work great.
- Pretzels – I like Snyder’s of Hanover Gluten Free Mini Twists.
🍴 In the Cupcakes & Kale Chips Kitchen…
- Sheet pans – One of these pans is the right size for a batch of bark. You have plenty of room to spread the melted chocolate to just the right thickness.
- Silicone mats – While wax paper works, I find that it’s much easier to peel the chocolate off these baking mats.
- Silicone spatulas – A heat-proof spatula is what you’ll need to stir that chocolate while you are melting it.
- Small offset spatula – However, I actually prefer one of these metal spatulas to spread the chocolate evenly on the pan. The angle in the blade lets you work around the rim of the pan.
How To Make Gluten Free Halloween Bark
- Prep. Line a baking sheet with a silicone mat or wax paper.
- Melt the chocolate. Melt the white chocolate and orange melting wafers according to package instructions.
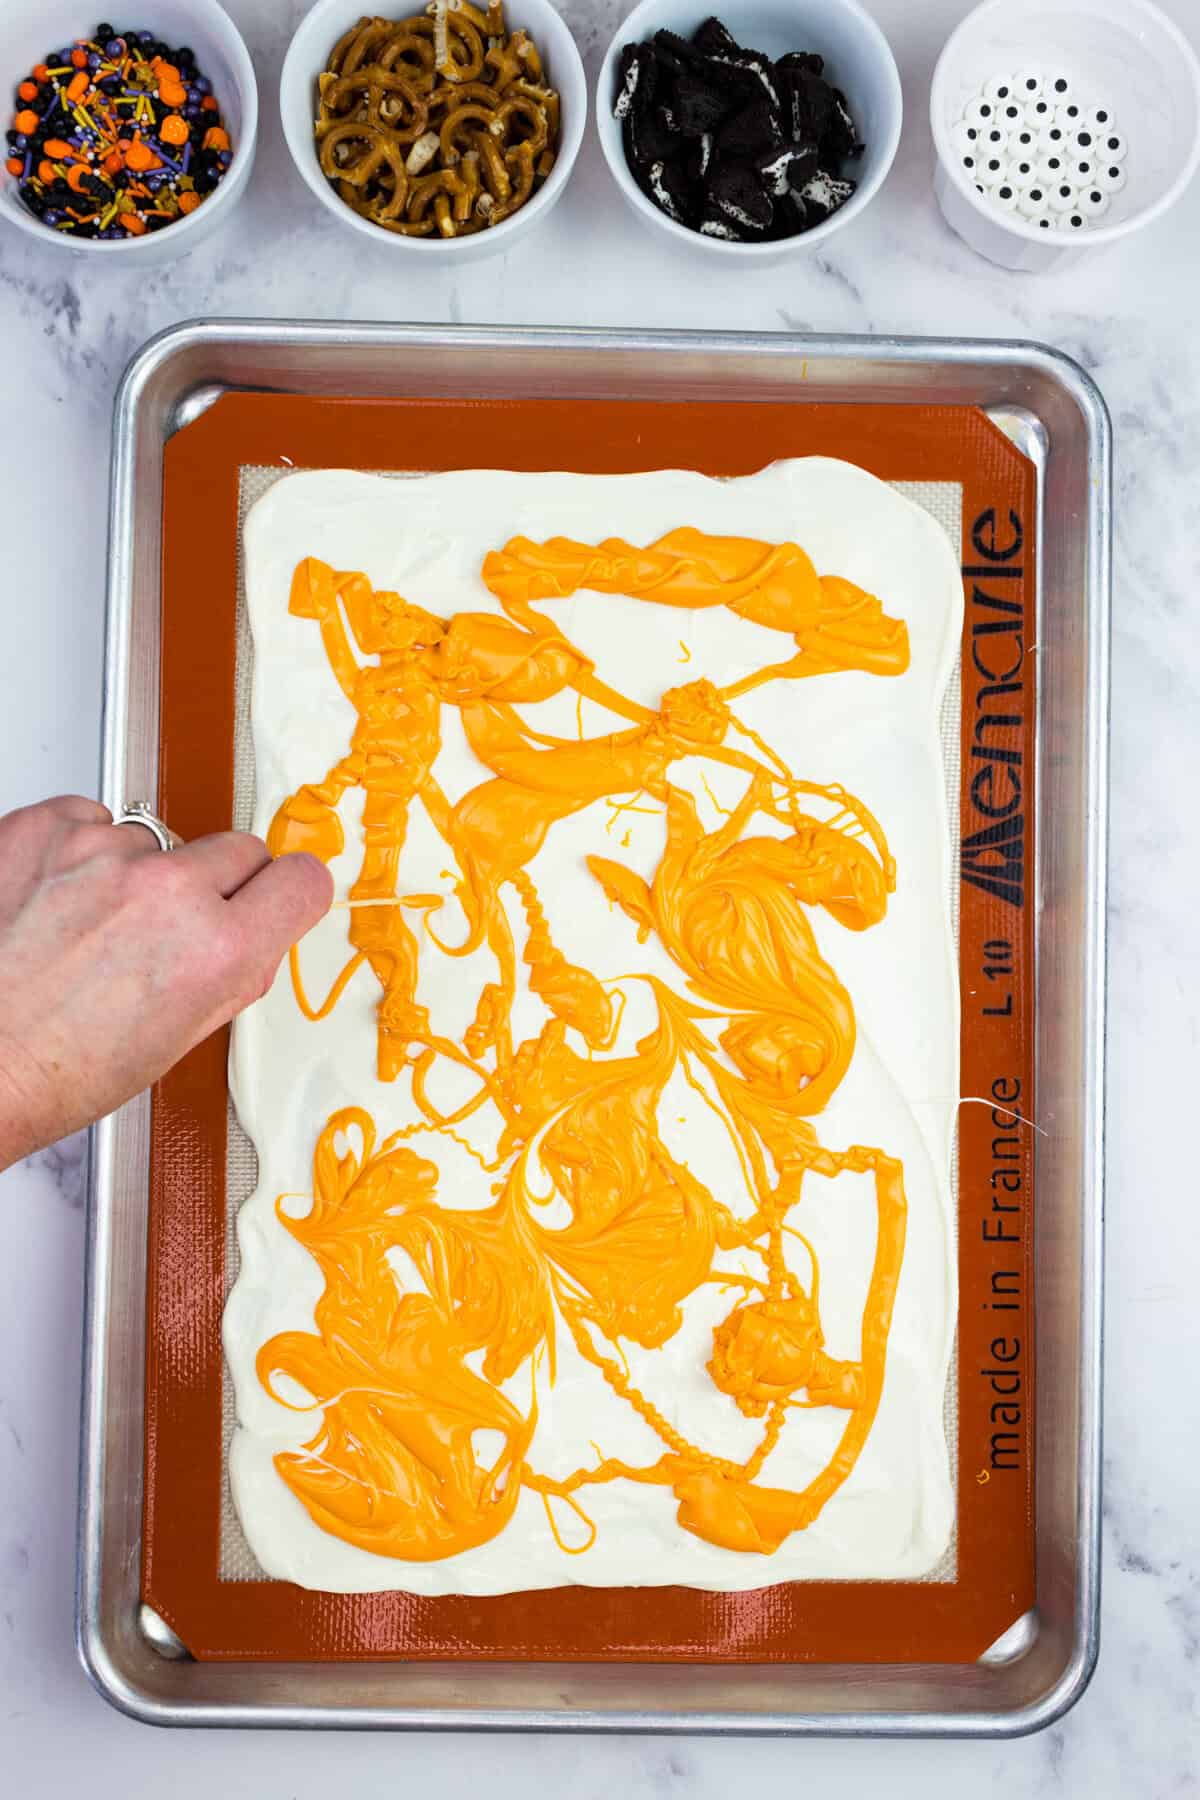
- Spread and swirl. Pour the white chocolate onto the prepared sheet. Spread into an even layer approximately 1/4-inch thick. Drizzle the orange melted chocolate on top. Swirl with a toothpick.
- Add the toppings. Sprinkle the Halloween sprinkles over the chocolate, followed by the Oreo pieces and mini pretzel twists. Press down gently as needed. Add the candy eyes around the other pieces. Give the pan a gentle tap on the counter to set everything in place.
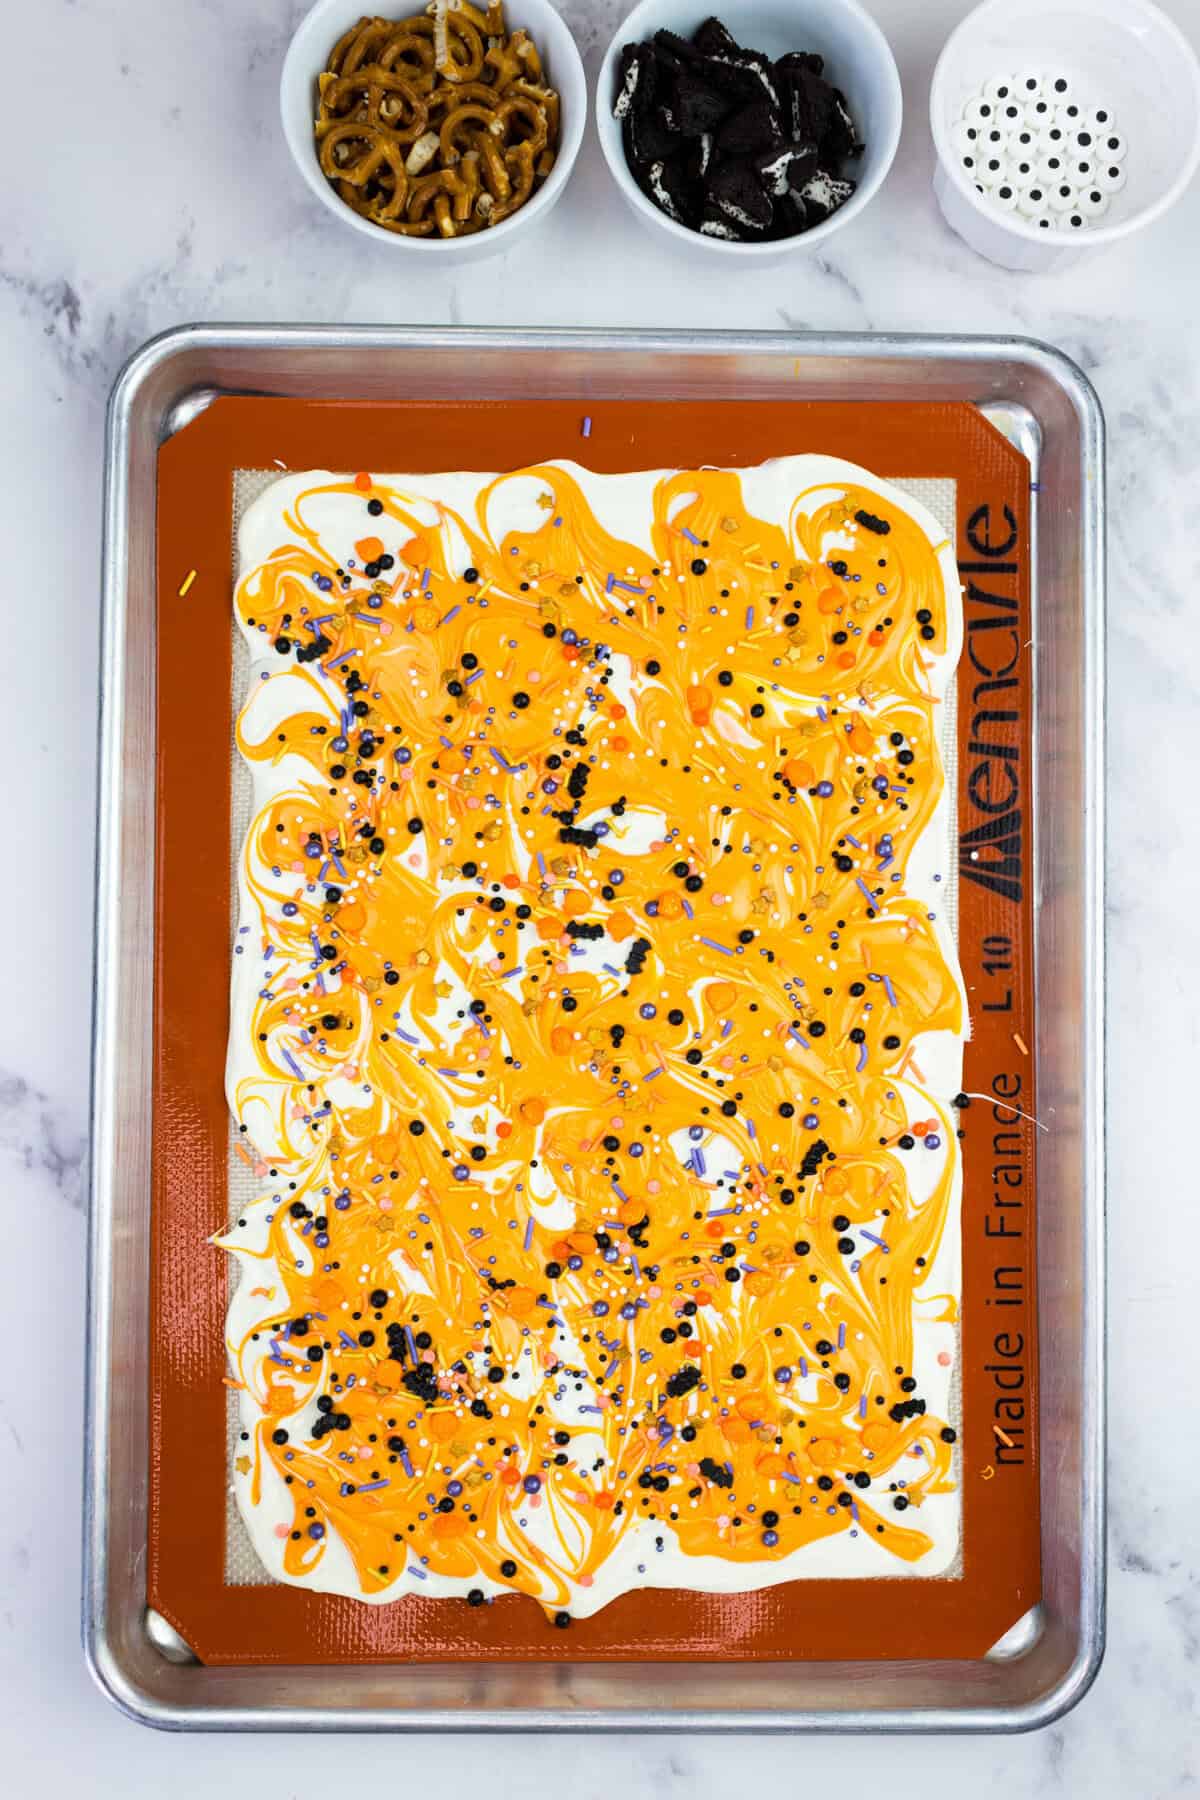
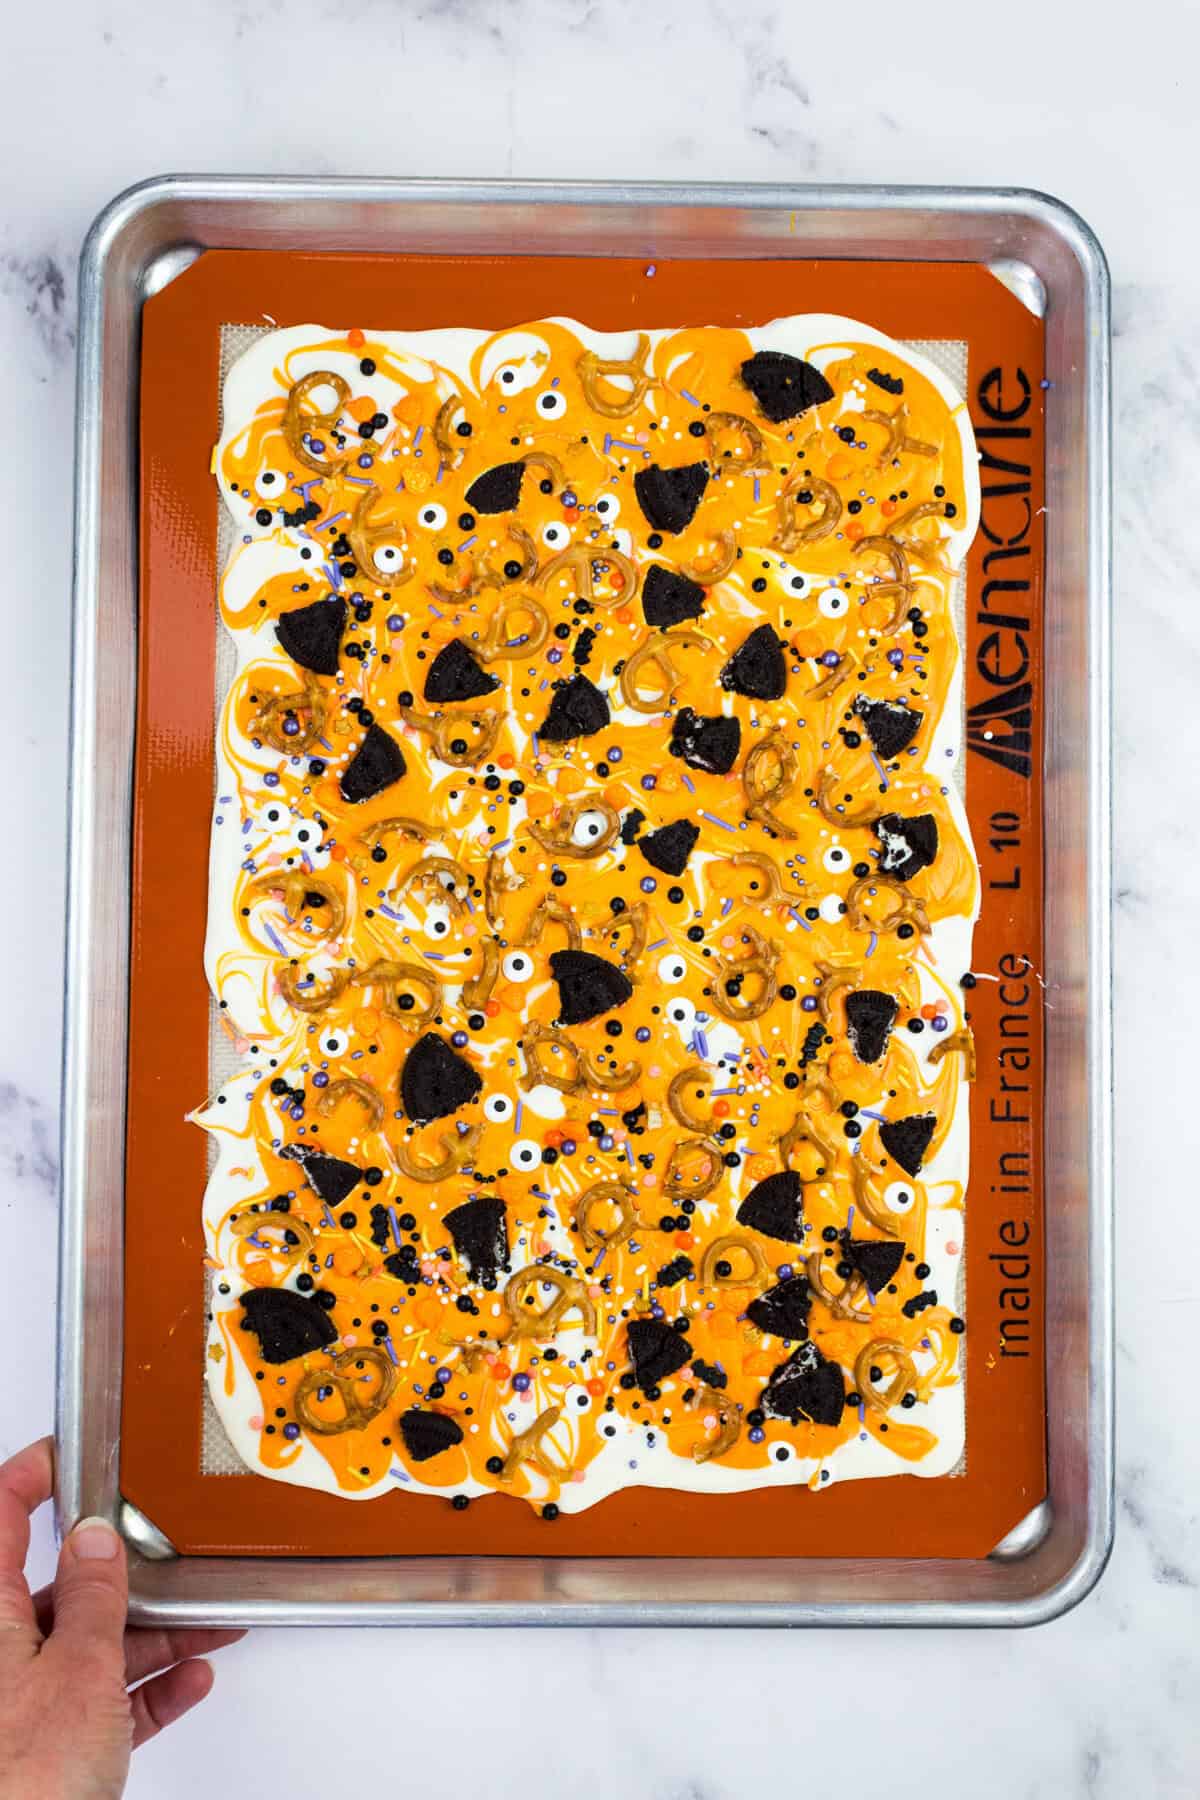
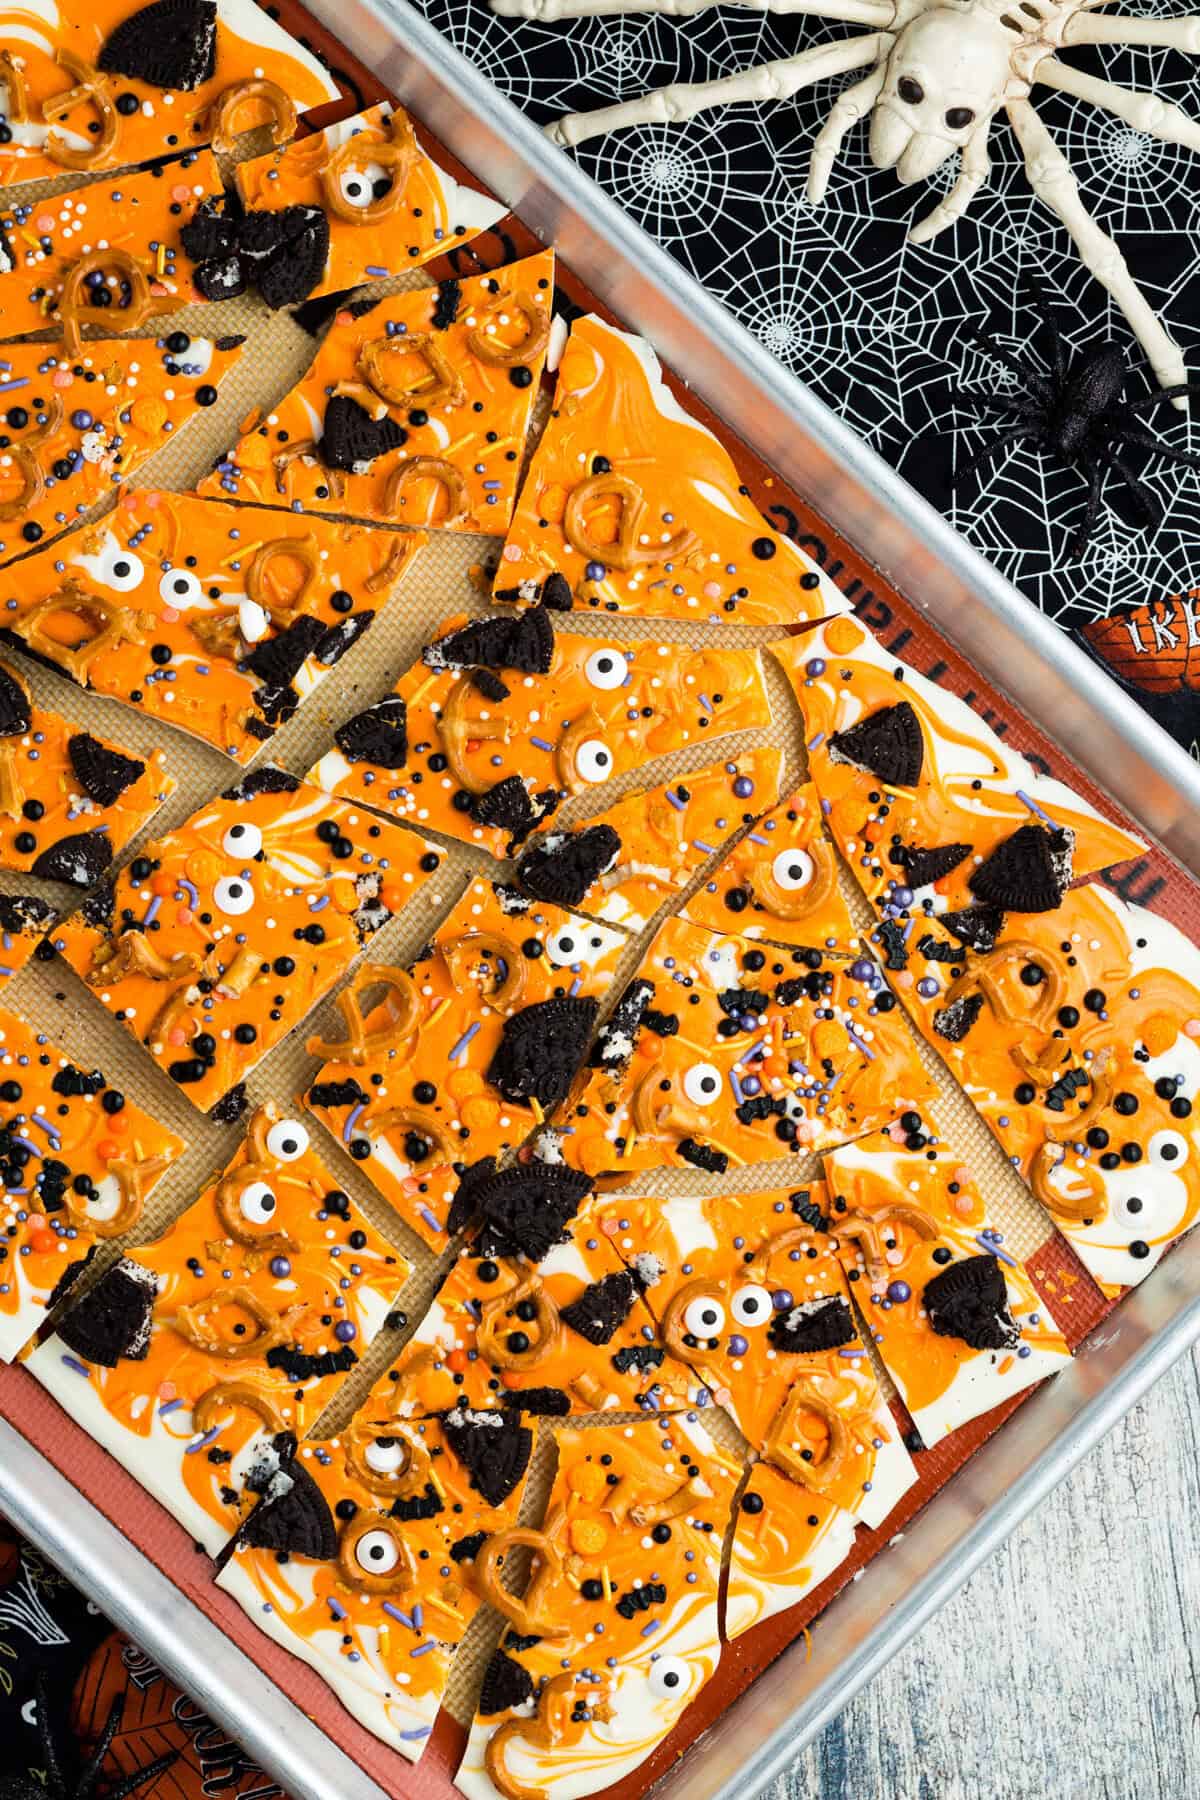
- Let harden. Let the baking sheet sit at room temperature for 1-2 hours or place it in the fridge or freezer to speed up the process. Once it’s hard, break into pieces and store in an airtight container.
Tips & Variations
This Halloween bark recipe is so simple, but I do still have a few tips for making it.
- Spread it just right. About 1/4-inch thick chocolate bark is the ideal thickness to press the toppings in, and for you to be able to break and bite into it without it breaking apart too easily.
- Use other chocolate. You can also use milk or dark chocolate in place of white for an orange and black bark, or even mix colors like green and purple.
- Change up the toppings. Try candy corn, Reese’s Pieces, or any other Halloween candy you love. Other shapes work for the pretzels, and you can try potato chips, too. I recommend keeping a variety of different flavors, both sweet and salty.
- Don’t burn the chocolate. When melting the chocolate in the microwave, be sure to do so in short intervals and stir between each one to avoid scorched chocolate.
- Add the toppings quickly. Once you swirl the chocolate, add the toppings right away. You want to add them while the chocolate is still melted so they adhere. It’s best to prep all the toppings and have them ready before melting the chocolate.
- Give it a tap. You can press the toppings in, or lightly tap the entire pan on the countertop to help it all set. You may still notice a piece or two that could benefit from an extra press into the chocolate.
- Double-check the labels. As I noted above, the key to gluten free Halloween bark is making sure the chocolate and each topping is gluten free. It’s always a good idea to double-check the label just to be sure.
Proper Storage
Halloween bark can be stored at room temperature or in the fridge. Just keep it somewhere cool-ish, like a pantry, if you keep it at room temperature. It’s best enjoyed within 5 days or so.
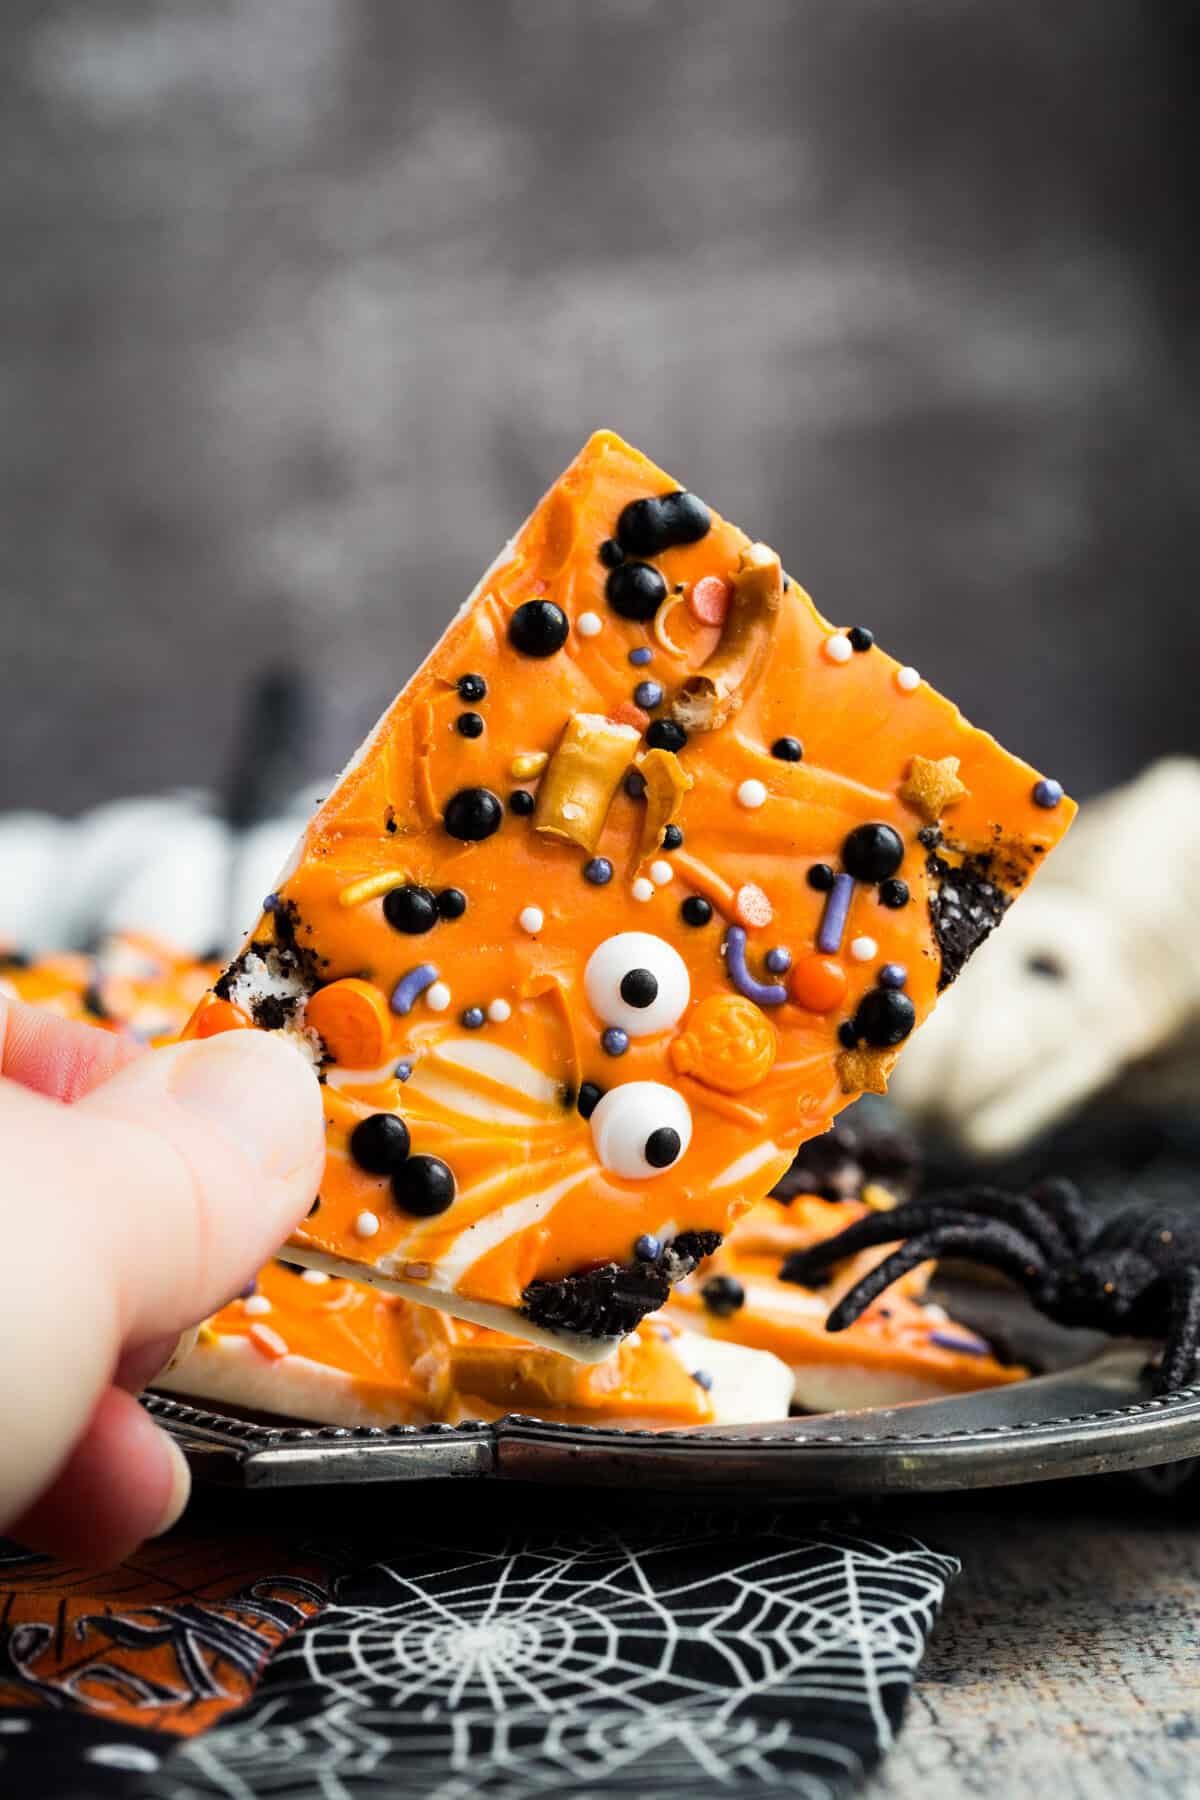
More Gluten Free Halloween Treats
Halloween Bark
Ingredients
- 16 ounces white chocolate melting wafers or candy coating
- 8 ounces orange melting wafers or candy coating
- ¼ cup Halloween sprinkles (recommended: Sweets Indeed)
- ½ cup Gluten-Free Oreo pieces (about 4 Oreos)
- ½ cup gluten-free mini twist pretzels , broken into pieces (recommended: Snyder’s of Hanover)
- 1-2 Tablespoons candy eyes (recommended: Sweets Indeed)
- candy corn, chopped Reese’s peanut butter cups, Reese’s Pieces, or other Halloween candy, if desired
Instructions
- Line a large baking sheet with a silicone mat or wax paper.
- Melt the 16 ounces white chocolate melting wafers and the 8 ounces orange melting wafers in the microwave or double boiler according to package instructions. If there are no melting instructions, in a double boiler (or a pot set atop another with about an inch of water), bring the water to a simmer in the bottom, and gently melt the chocolate. Or microwave for 30 seconds, stir, then microwave at 15-30 second intervals until melted and smooth.
- As soon as the white chocolate is melted, pour it onto the prepared sheet and spread into about a ¼-inch thick layer with a small offset spatula.
- Drizzle the melted orange candy coating over the bark and swirl it with a toothpick.
- Sprinkle the ¼ cup Halloween sprinkles over the chocolate, then scatter the ½ cup Gluten-Free Oreo pieces and ½ cup gluten-free mini twist pretzels over the top, pressing down, as needed so they stick. Then place 1-2 Tablespoons candy eyes around the other pieces. Feel free to add or substitute candy corn, chopped Reese’s peanut butter cups, Reese’s Pieces, or other Halloween candy, if desired. Gently tap the pan on the counter so everything sets and sticks to the chocolate.
- Let harden completely at room temperature for 1-2 hours, or place it into the refrigerator or freezer to speed up the process. Break into pieces and store in an airtight container.
Notes

Did you make this?
Leave a star rating to help others know that they should make this recipe.
Share a photo and tag @cupcakesandkalechips on Instagram!