This post may contain affiliate links. Read my disclosure policy.
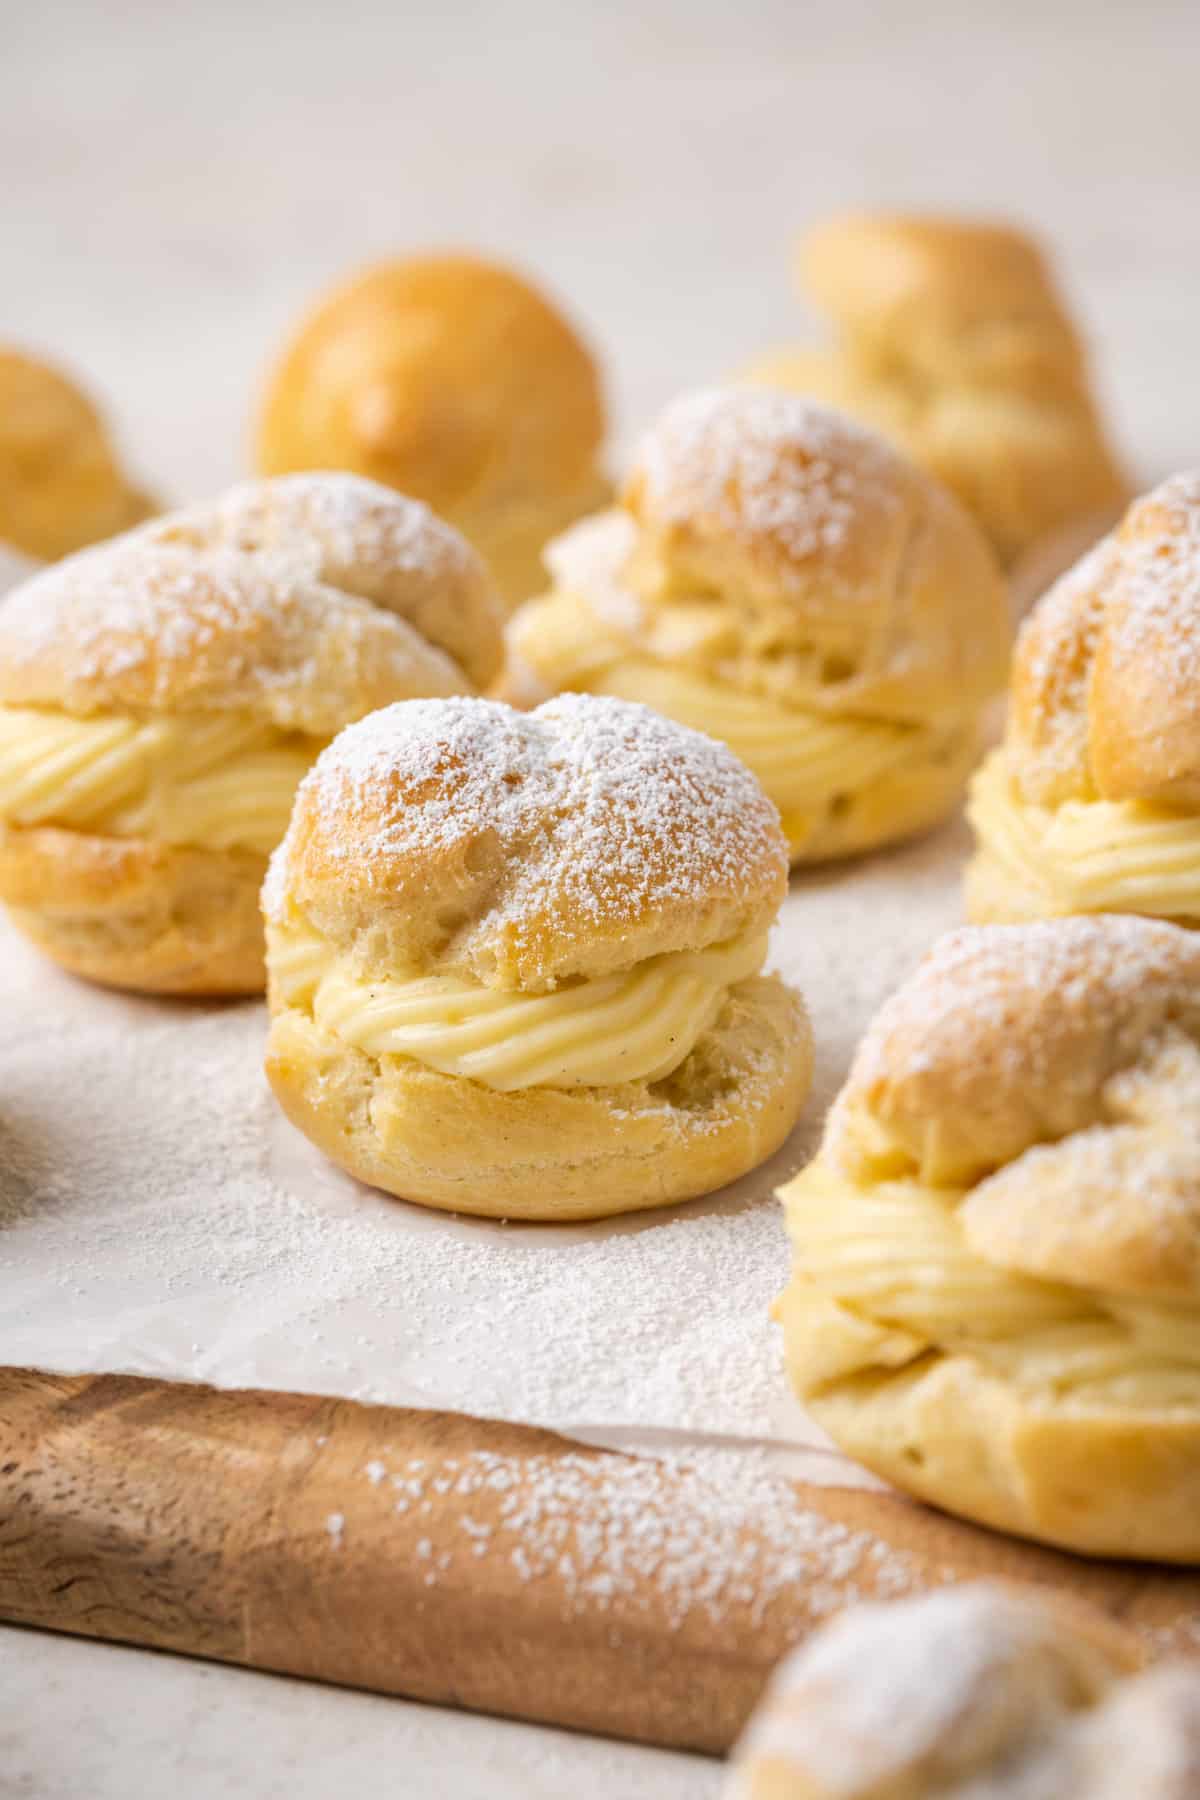
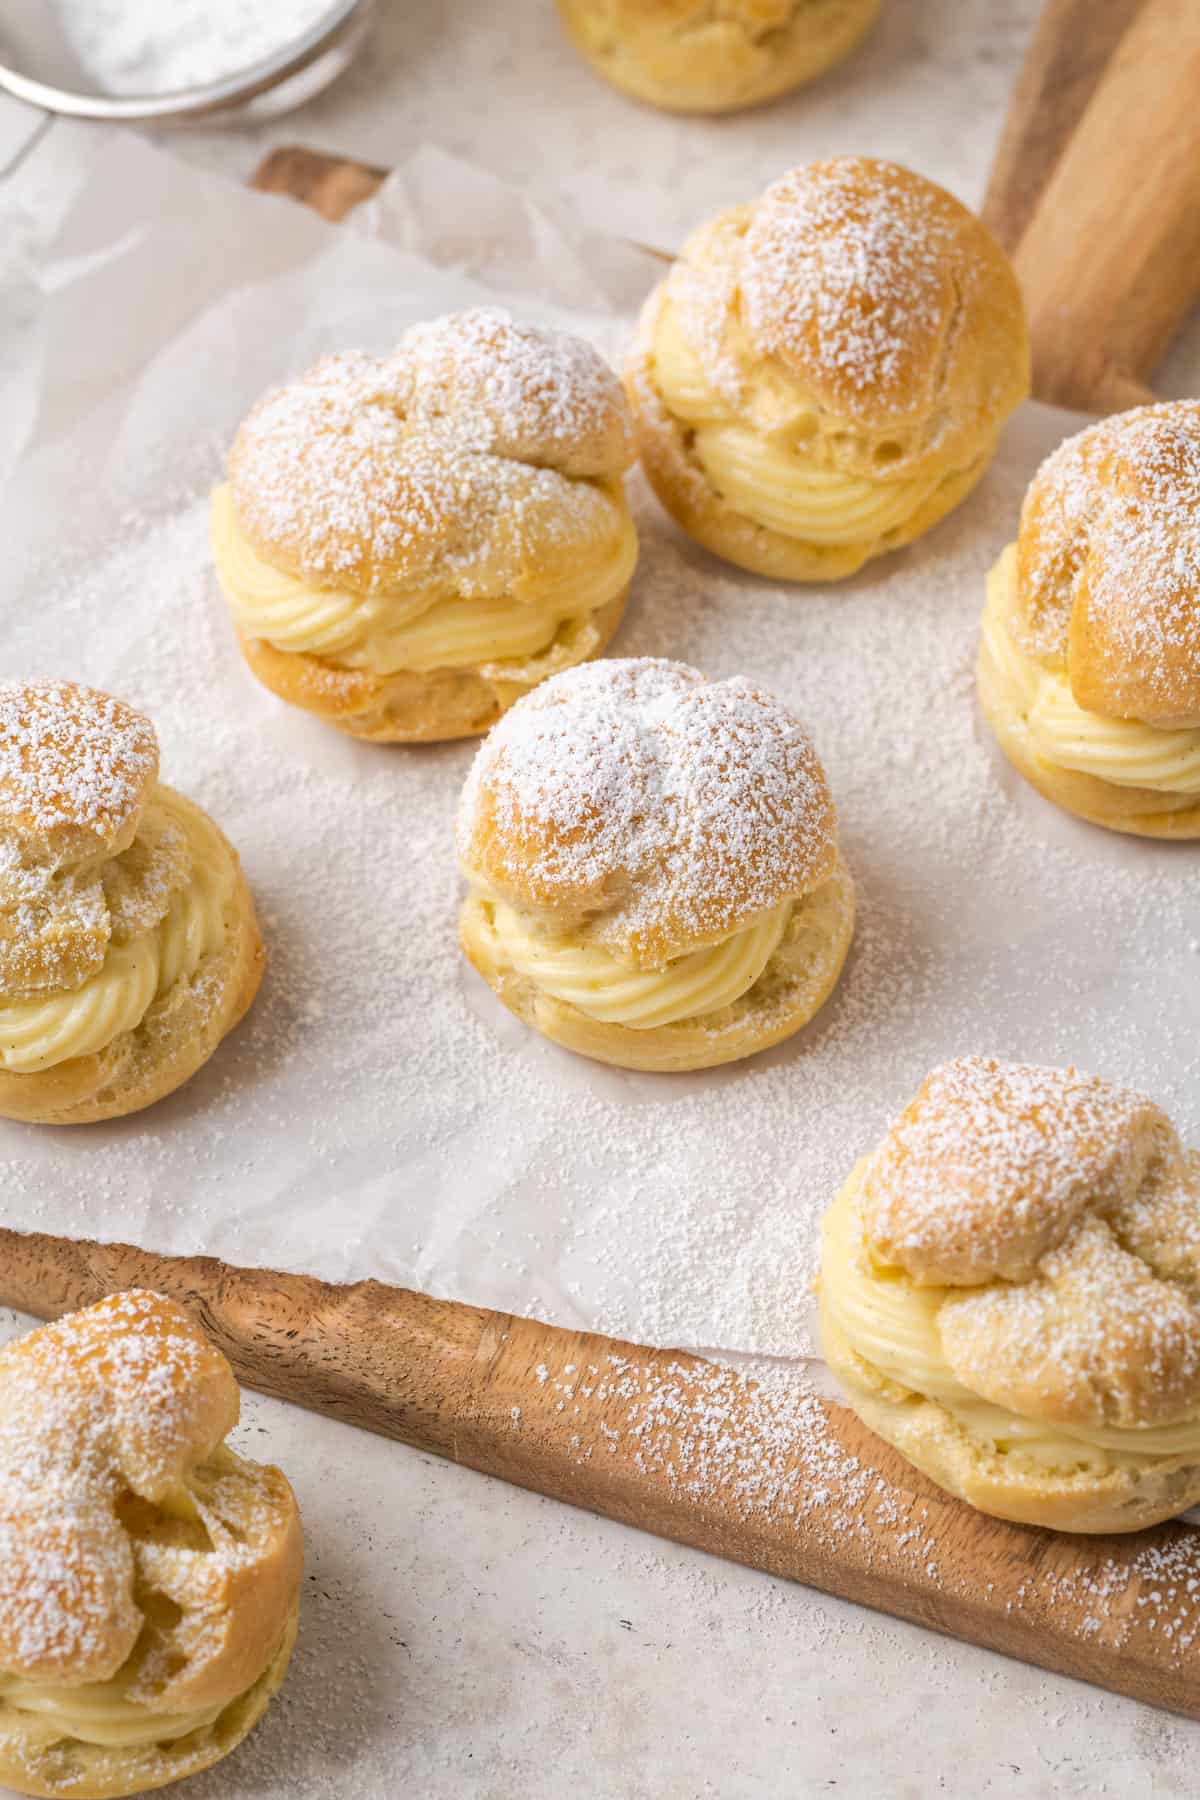
These Gluten-Free Cream Puffs are light, airy, and filled with rich vanilla pastry cream for the perfect little treat. Made with homemade gluten-free pâte à choux dough, they’re easier than you think! With just a few simple ingredients, you can make these mini desserts from scratch and impress everyone, whether they are gluten-free or not.
Delicious Details
- Cuisine Inspiration: French
- Primary Cooking Method: Stovetop, Oven
- Dietary Info: Gluten-free
- Skill Level: Moderate
Perfect Gluten Free Cream Puffs
I’ve fallen in love with Gluten-free Pate a Choux. One dough recipe, so many possibilities! Also, making choux pastry is also way easier than you’d think. Once you master it, you’ll be looking for lots of new ways to use it.
Of course, you can also make Gluten Free Eclairs, but this light and delicate cream puffs recipe is the perfect start of so many variations. However, I will say that the thick Vanilla Pastry Cream filling I include here is velvety smooth, and flavored with real vanilla bean, making it a total dream come true. I can’t wait for you to give this gluten-free cream puff recipe a try, you’re going to be SO thrilled with the results! Here’s why you’ll love them…
- Simple but impressive. They might look and sound fancy, but homemade cream puffs only call for a few select pantry ingredients. That’s the beauty of classical baking: simple, straightforward, and easy enough if you stick to the recipes.
- Luscious filling. Cream puffs are made by filling classic French pastry shells, or pâte à choux, with whipped cream or Pastry Cream. Pastry cream, a.k.a. crème pâtissière, is a type of vanilla custard that’s made from sugar and eggs and thickened with starch (in this case, cornstarch, meaning it’s naturally gluten free).
- But so many other options too. You can use fruity fillings, basic whipped cream, a scoop of ice cream to make profiteroles, and even savory fillings. I share lots of variations further down in the post.
What You’ll Need
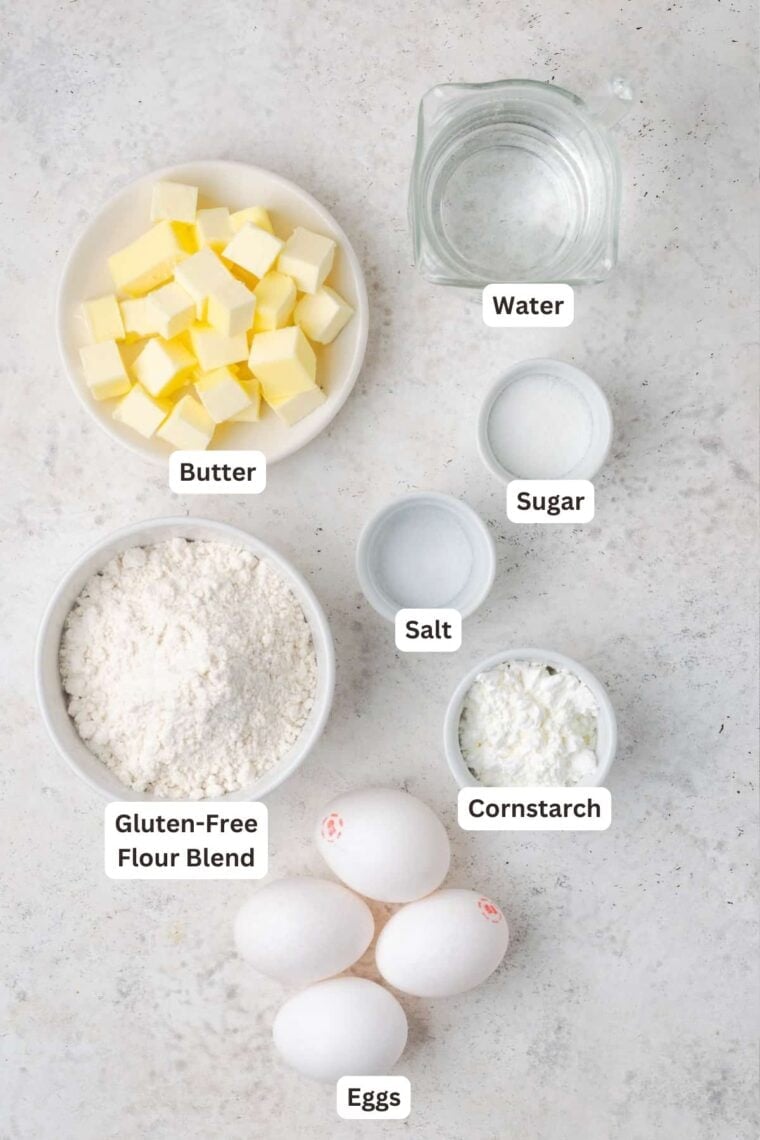
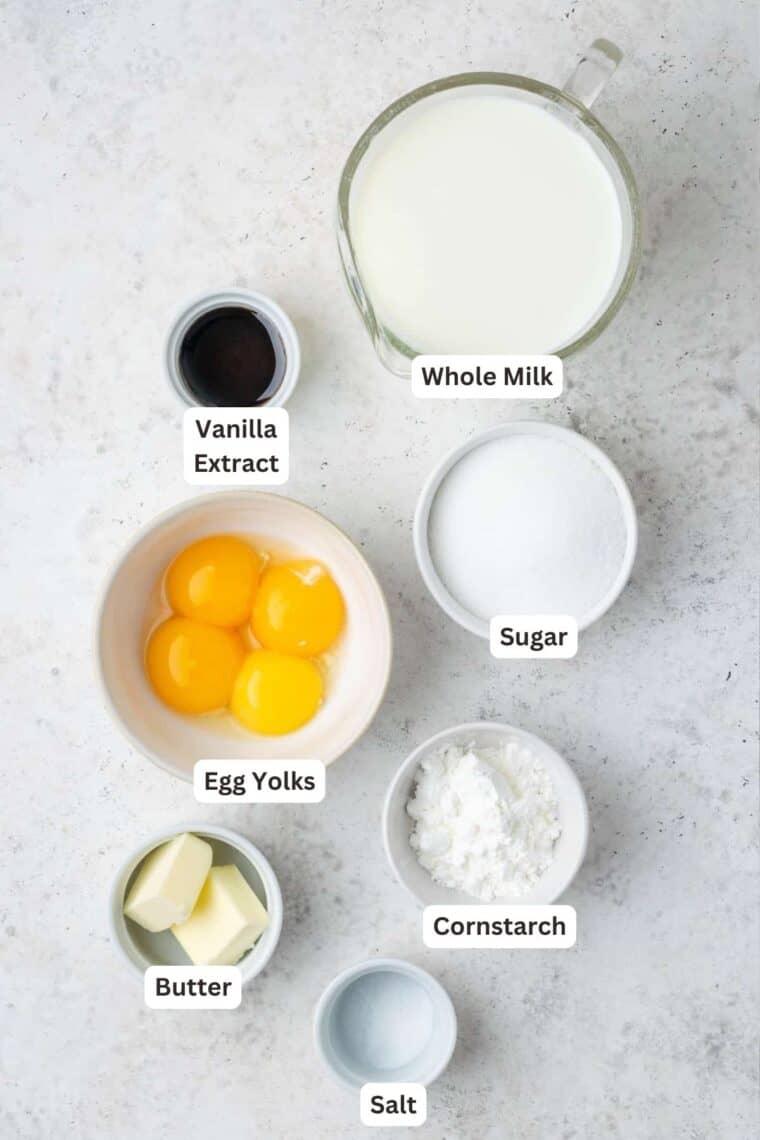
Below is a brief outline of what you’ll need to make your pastry puffs. You can find additional details and tips in the individual recipes for the Gluten Free Pate a Choux dough and Vanilla Pastry Cream. If you want to use a different filling check out the variations listed below. But don’t worry, the ingredient amounts and step-by-step instructions are in the recipe card further down in this post.
Pate a Choux Ingredients
- Gluten-Free Flour: You’ll need a 1-to-1 blend. I like to use King Arthur Flour Measure-for-Measure in this recipe.
- Cornstarch: This lightens up the flour mixture so you end up with an airy pastry.
- Eggs: The exact amount of eggs depending on how your pastry comes together and how long it cooks. So don’t add all 4 at once till you see what you need! You’ll also need an extra egg for an egg wash.
- Water.
- Unsalted Butter: Cut into cubes.
- Sugar.
- Salt.
Pastry Cream Ingredients
- Whole Milk: You want the high fat content when making pastry cream.
- Vanilla Bean Paste: You can substitute pure vanilla extract.
- Sugar: Regular granulated sugar sweetens the pastry cream, and also makes the egg yolks less likely to scramble.
- Salt.
- Egg Yolks: Save the whites to make white cake or angel food cake.
- Cornstarch: You’ll need it to thicken the custard.
- Unsalted Butter: Adds that luxurious richness.
How to Make Gluten Free Cream Puffs
Let’s talk briefly about how to make these lively treats, with some photos so you know what to expect. The full step-by-step instructions are in the recipe card further down in the post.
- Preparation: Preheat the oven to 425ºF, and mark out 1 1/2-inch circles on the parchment you’ll use to line the baking sheet.
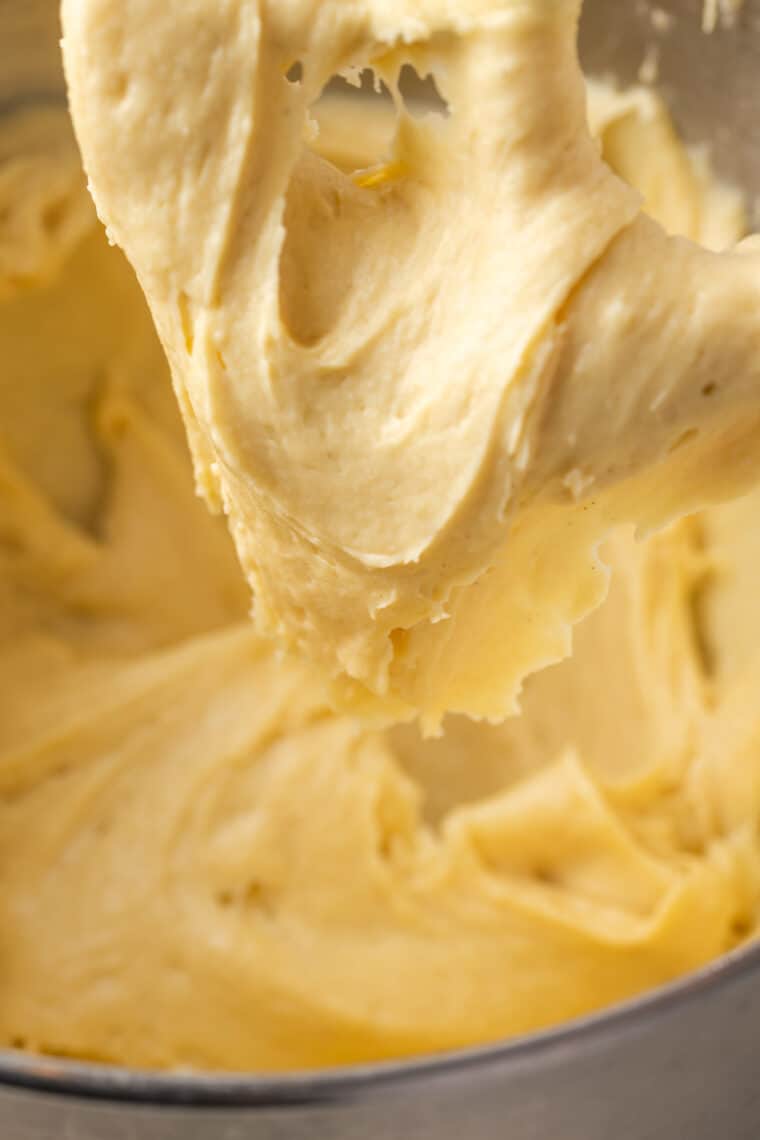
- Prepare the Pate a Choux: Combine the flour and cornstarch. Heat water, butter, salt, and sugar, then stir in the flour mixture and cook until it forms a ball. Use a stand mixer to work the eggs into the dough.
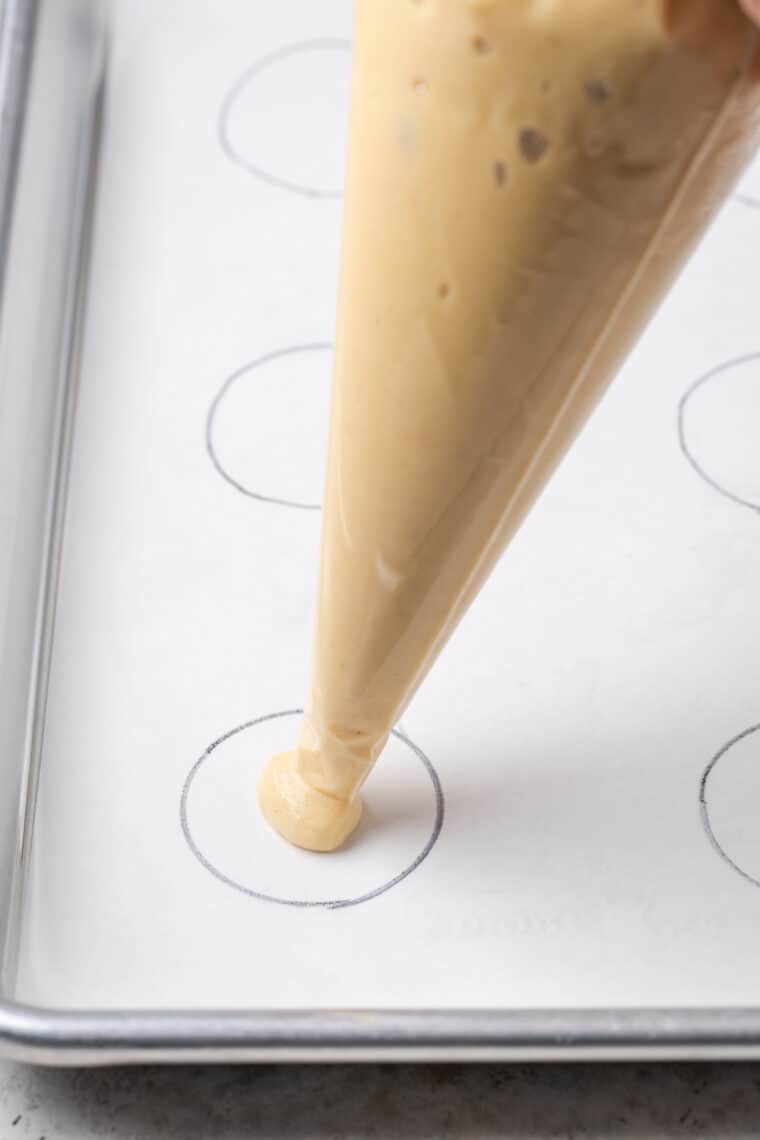
- Pipe the Shells: Position the piping tip over your circle guides and pipe out small round spheres, about 1 1/2 inches wide and 3/4 inches tall. Brush the tops of the dough with egg wash.
- Bake: Bake the cream puff shells at 425ºF for 10 minutes, and then lower the oven temperature to 350ºF for the remaining 20-25 minutes.
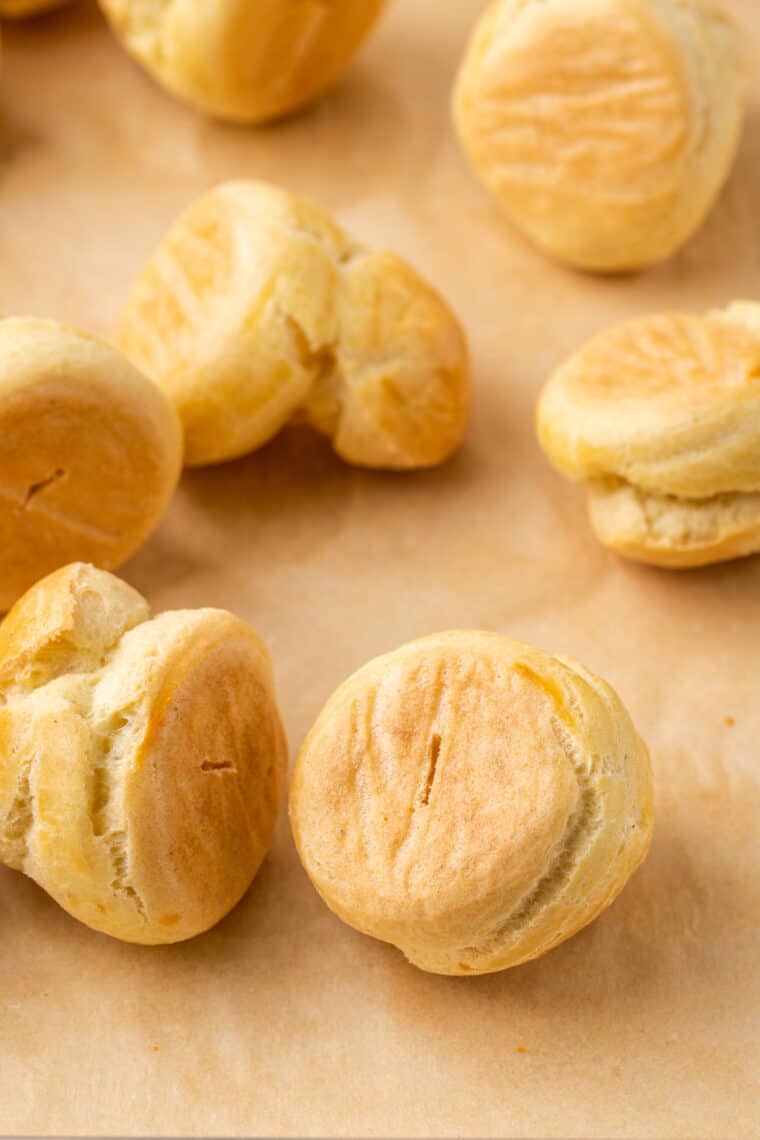
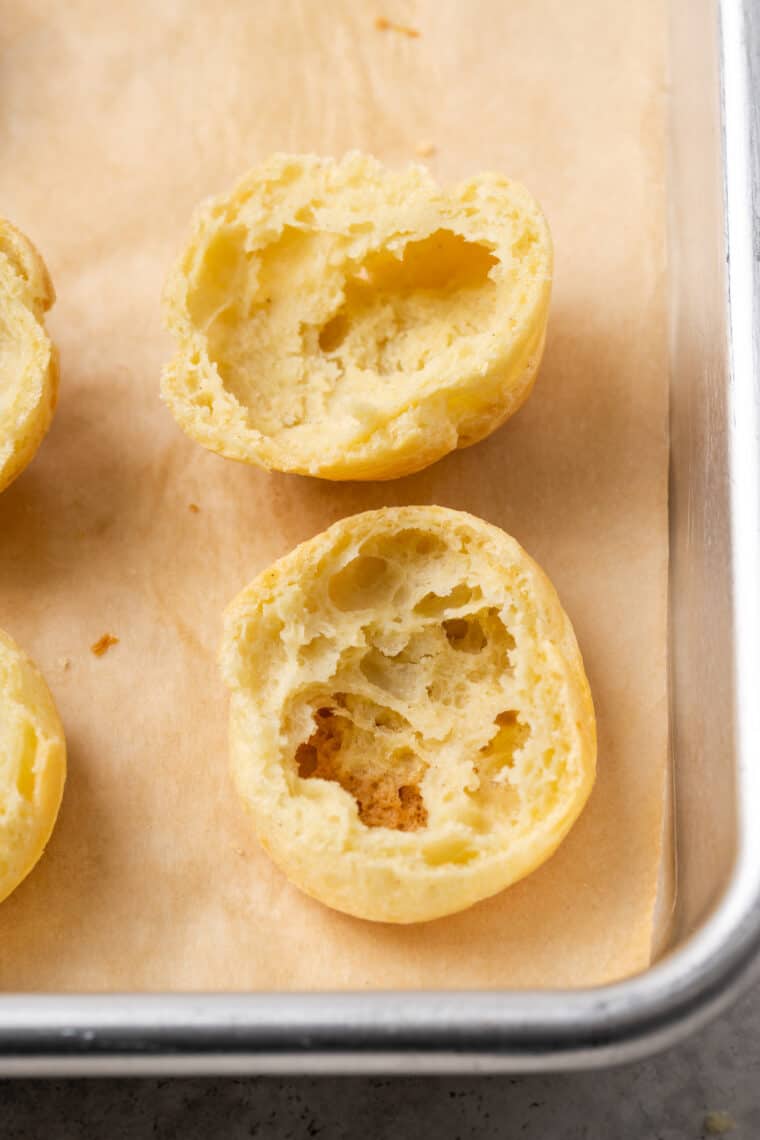
- Cool: When you take them out, turn the pastries over and poke a small hole in the bottom of each puff, to vent the steam. Leave the pastries to cool completely before you cut them open to fill them.
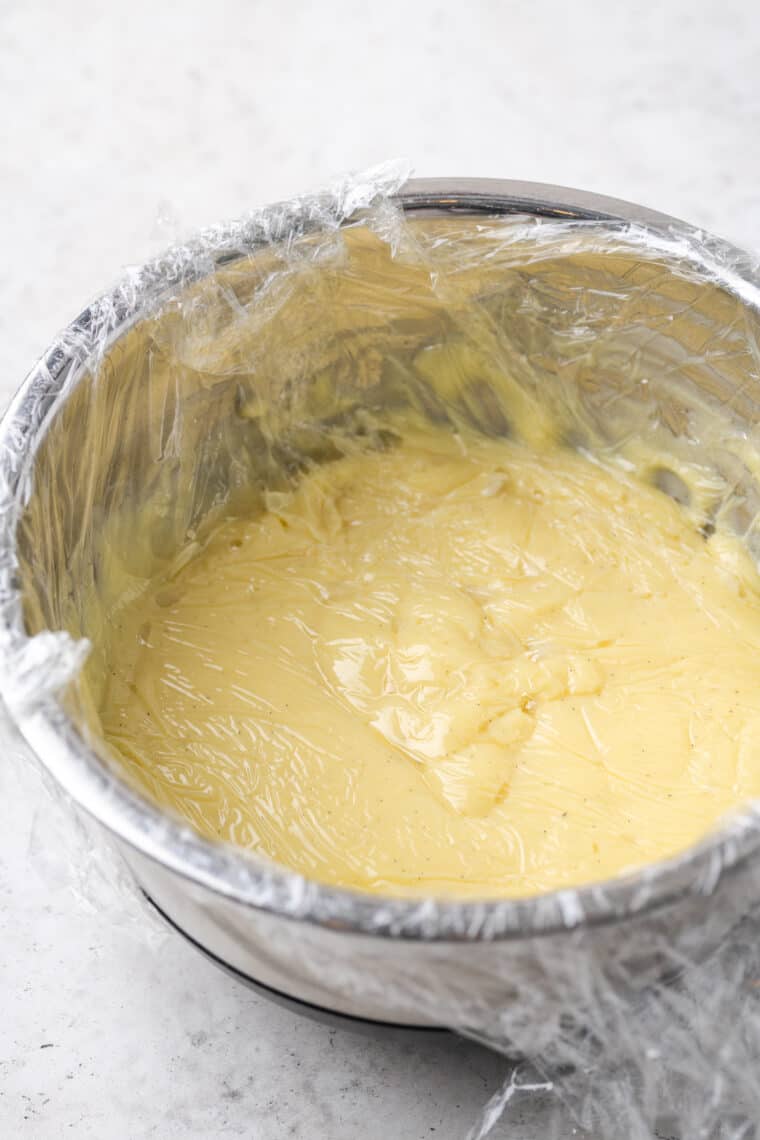
- Prepare the Pastry Cream: While the milk and vanilla are heating, whisk eggs, sugar, and salt, then mix in cornstarch. Add hot milk to eggs a little at a time, then cook till thickened. Whisk in butter. Cool completely.
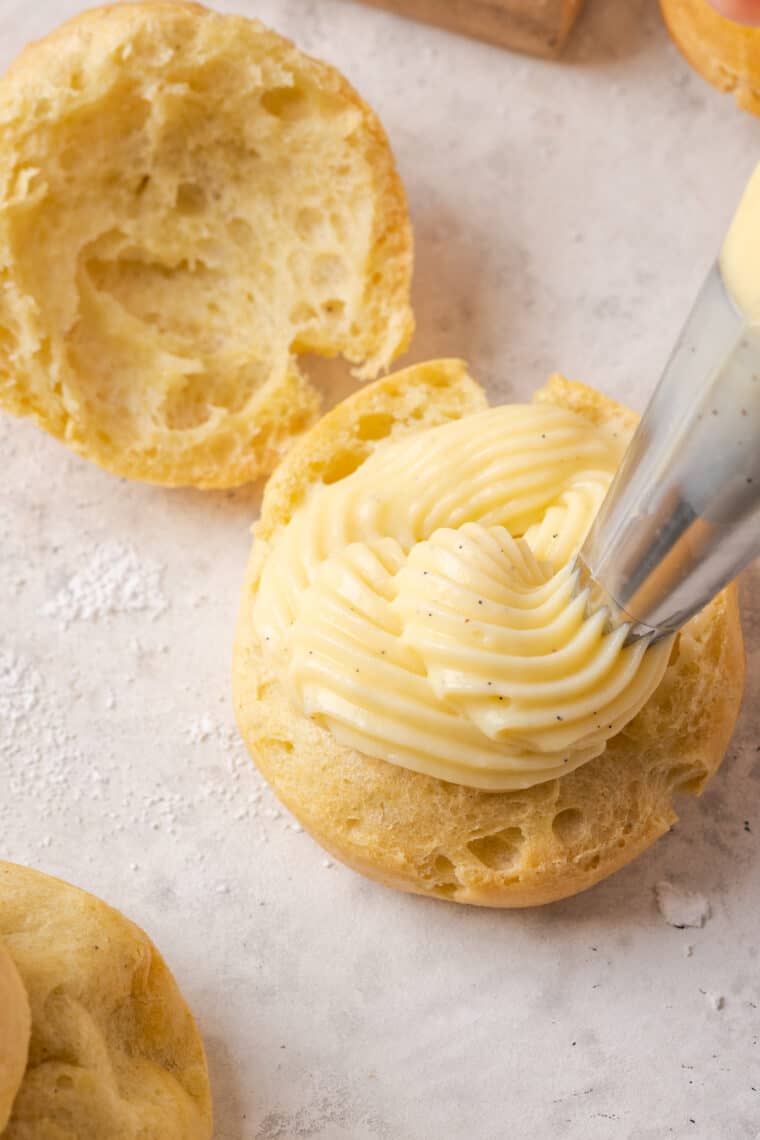
- Fill: Slice a puff in two, and then pipe the crème pâtissière into the middle of one half. Repeat with the other puff pastries, then place the tops over the cream. Give each cream puff a light dusting of powdered sugar before serving.
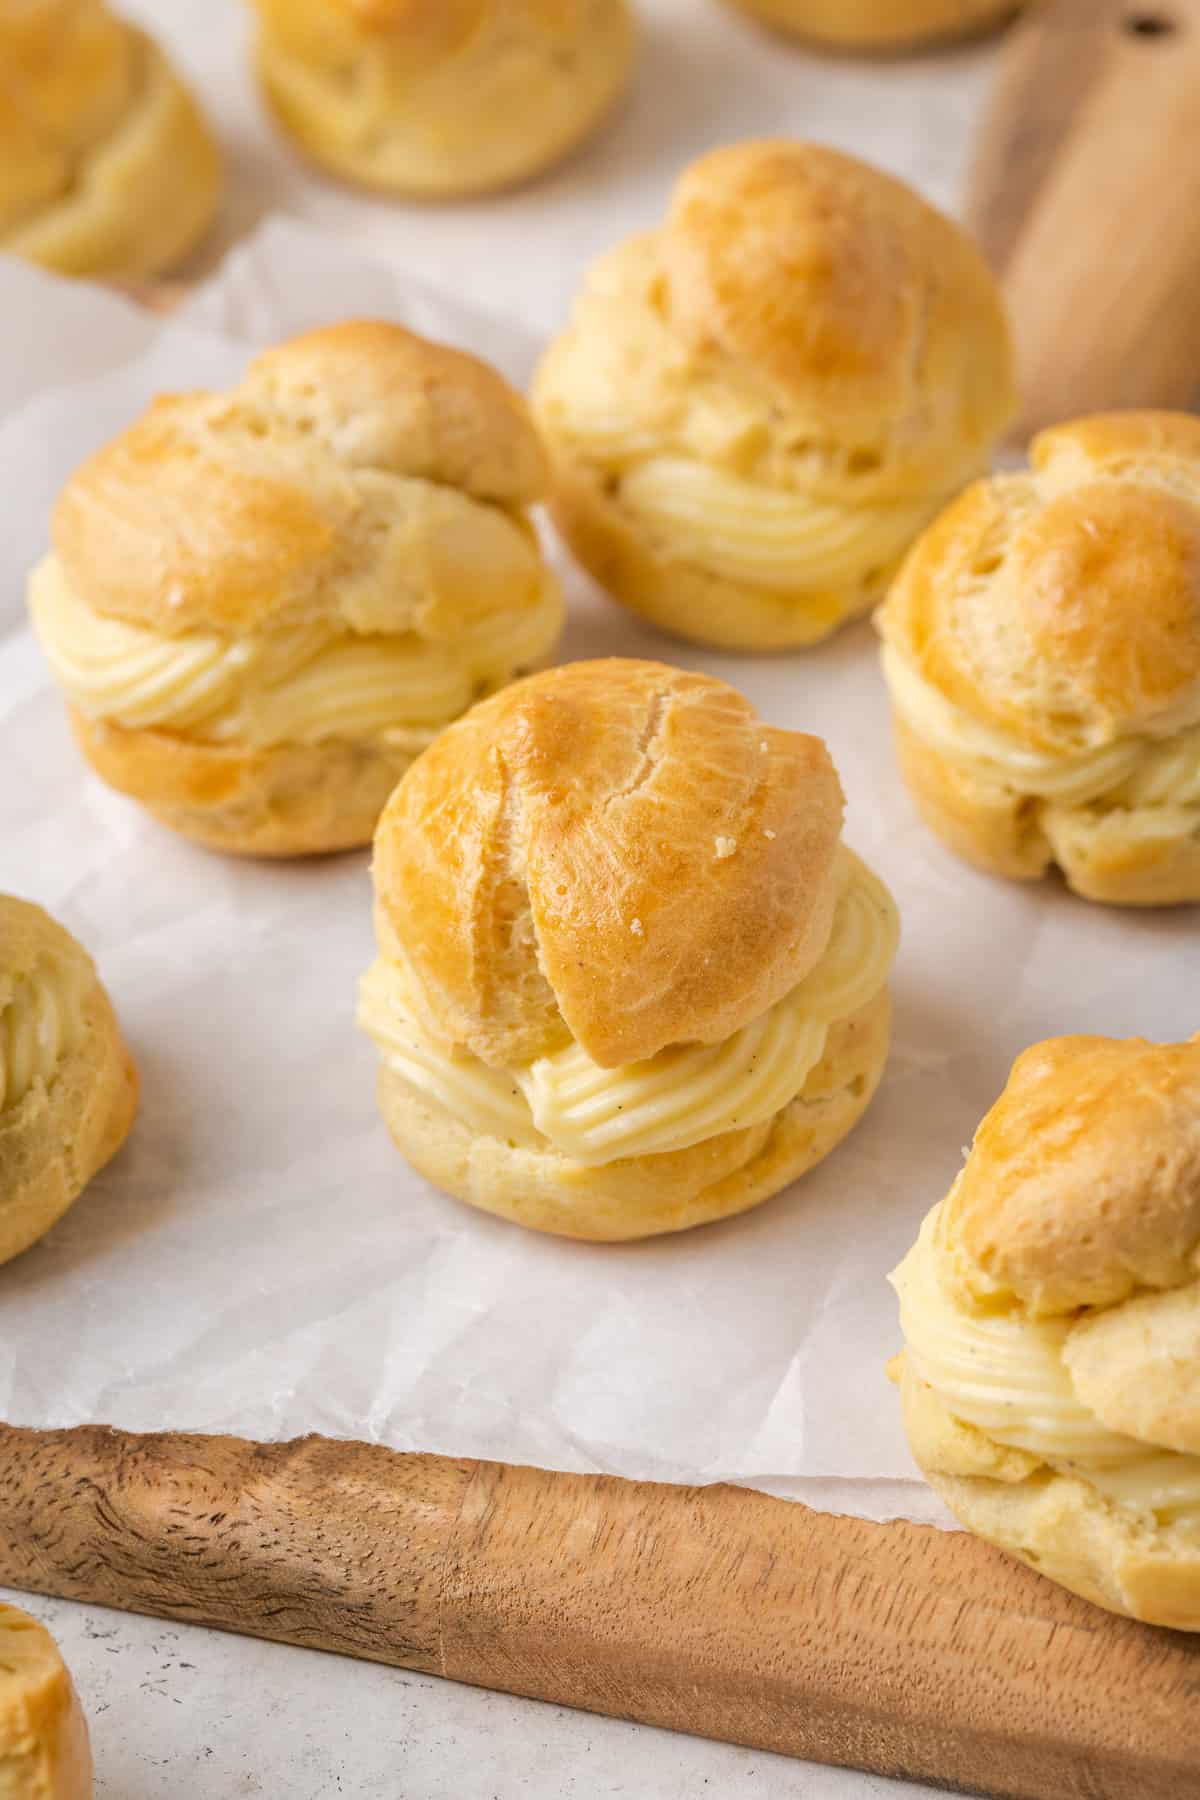
Tips for Success
Making gluten-free cream puffs doesn’t have to be an intimidating task. There’s something so relaxing about methodically piping the choux pastry, and later the creamy filling. You’ll get the hang of it quickly! Here are some final pointers:
- Prep ahead. The components for gluten-free cream puffs are make-ahead friendly. For instance, the pastry cream can be prepared and chilled the night before.
- Line the pan. You don’t want those lovely little puffs to stick, so you’ll need to bake them on a parchment-lined baking sheet. I always recommend the Nordicware Sheet Pans, and the convenience of pre-cut parchment sheets can’t be beat.
- Pipe it out. Disposable piping bags make piping out the choux a breeze, as well as the pastry cream. And a large star tip makes the cream puffs look extra elegant.
- Don’t open the oven door. Once your cream puffs are baking, it might be tempting to peek inside. Resist! Since pate a choux relies on steam to rise, opening the oven door prematurely can cause the pastries to deflate.
- Cream puffs are done baking when they’re golden brown and the bottoms make a soft hollow sound when they’re tapped.
- If your cream puffs fall flat, firstly: don’t despair. It happens! This could occur for a few reasons, but aside from opening the oven door too soon, the main one is too much moisture in the dough. If your gluten-free cream puffs don’t bake for long enough, the dough won’t dry out enough to hold its shape once it cools. Make sure your oven is at the right temperature, and time it correctly.
How to Store Gluten-Free Cream Puffs
Gluten-free cream puffs are best enjoyed right away, however, if you need to store them you can keep them in the fridge for up to 24 hours. The filled pastry will soften over time, though.
Can I Freeze Cream Puffs?
I recommend freezing the baked pate a choux shells before filling them. Store the cream puff shells airtight and freeze them for up to 2 months. Defrost the pastries at room temperature and then fill them as usual.
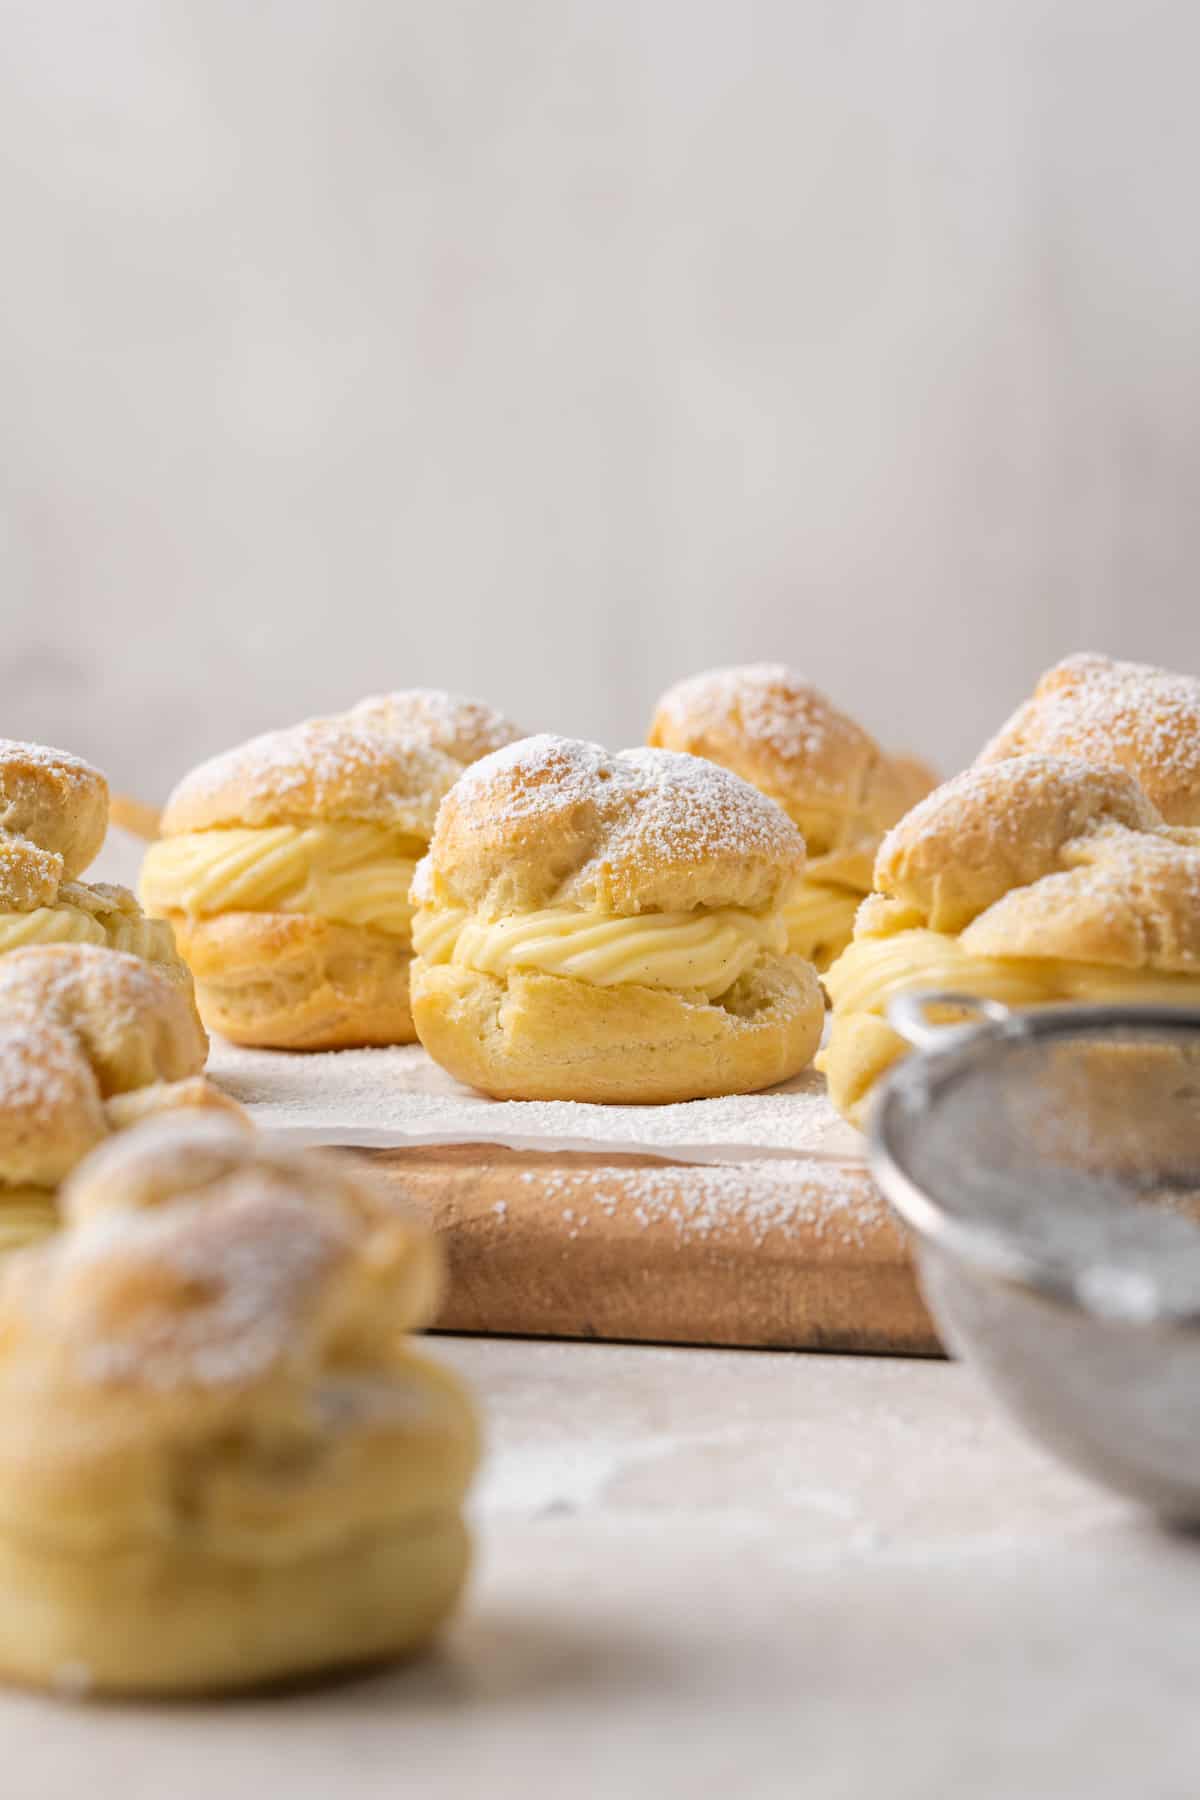
Easy Variation Ideas
There’s more than one way to fill a gluten-free cream puff. We love finding new ways to change up these simple French pastries with different ingredients and flavors. Below are some more cream puff filling ideas and variations to try:
- Toppings: Top your gluten-free cream puffs with Chocolate Glaze, chocolate ganache, or caramel sauce.
- Whipped Cream: Instead of vanilla pastry cream, you can fill these with whipped cream. Check out my Gluten Free Strawberry Cake for how to make it. You can also fold whipped cream into your pastry cream to create a lighter version called crème légère.
- Something fruity. Try a little lemon curd or even cherry pie filling for a little twist on the classic.
- Shortcuts. You can also use a vanilla or chocolate pudding mix, but I recommend Cook and Serve versus Instant, since the pudding ends up thicker.
- Gluten-Free Profiteroles: Fill your cream puff pastry with a scoop of vanilla ice cream and drizzle them with chocolate. Or, try a homemade flavor! We love our No-Churn Cookies and Cream Ice Cream.
- Flavor Extracts: When making your Vanilla Pastry Cream, add lemon extract, peppermint extract, or another flavoring. There are tons of ways to flavor pastry cream, so you can really get creative. Refer to the post for more details.
- Savory: Fill these choux pastries with chicken salad, egg salad, or another savory filling. They make cute and easy appetizers!
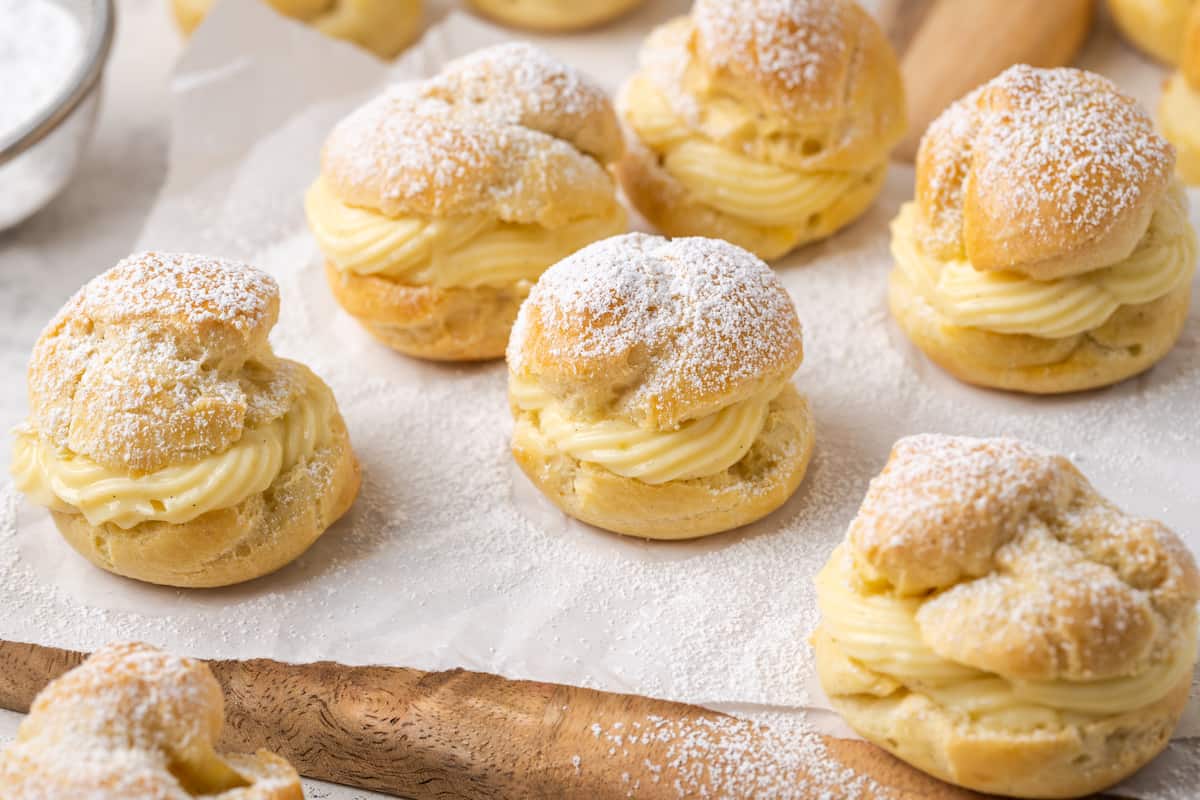
More Classic Gluten-Free Desserts
Gluten Free Cream Puffs
Ingredients
For the Gluten Free Pate a Choux
- 1 cup + 3 Tablespoons 1:1 Gluten Free Flour Blend (263 grams, recommended: King Arthur Measure for Measure)
- 1/4 cup cornstarch (28 grams)
- 4 large eggs , at room temperature
- 1 cup water
- 7 Tablespoons unsalted butter , cut into small pieces
- 1 Tablespoon granulated sugar
- 1/2 teaspoon salt
- 1 large lightly beaten egg for egg wash
For the Vanilla Pastry Cream
- 2 cups whole milk
- 2 teaspoons vanilla bean paste or vanilla extract
- 4 large egg yolks
- 1/2 cup granulated sugar
- 1/8 teaspoon salt
- 3 Tablespoons cornstarch (21 grams)
- 2 Tablespoons unsalted butter
For assembling the Cream Puffs
- powdered sugar for dusting
Instructions
For the Gluten Free Pate a Choux
- Preheat the oven to 425°F. Line a large baking sheet with parchment paper. You can mark the parchment with circles measuring 1 1⁄2 inch in diameter. Make sure to turn the parchment over so the ink doesn’t transfer to your pastry.
- Sift the 1 cup + 3 Tablespoons 1:1 Gluten Free Flour Blend and 1/4 cup cornstarch into a bowl. In a second bowl, lightly beat the 4 large eggs. Set both aside.
- Add 1 cup water, 7 Tablespoons unsalted butter, 1 Tablespoon granulated sugar, and 1/2 teaspoon salt to a saucepan set over medium heat. Allow to cook until just boiling. There should be small bubbles visible all the way to the edge of the pot.
- Remove from heat and add the flour mixture all at once. Stir the flour in gently and once incorporated, return the pot to low heat and stir vigorously to cook the flour, about 2 minutes. The dough will quickly form into a ball, but continue to cook the dough moving it around the pot, to evaporate some moisture. The panade will be done when it forms a ball of dough that is shiny and there is visible cooked flour on the surface of the pot.
- Transfer the panade to the bowl of a stand mixer fitted with the paddle attachment and allow it to cool for 10 minutes. After cooling, check the dough. If it’s still too hot, stir it on the lowest speed for 2-3 minutes.
- Turn the mixer to medium speed and add 3 of the eggs one at a time by pouring in about a quarter of the beaten egg mixture, allowing each addition to fully mix in before adding the next. When you first add an egg the dough will look lumpy and separated, but as you continue to mix it will become smooth. Once it is smooth, that is when you will add the next egg.
- After you have added 3 eggs, check the consistency of the dough by lifting the mixer head. The dough needs to be stiff enough to hold its shape if it were scooped. The dough should be shiny and smooth and form a V when pulled up and should drop off of the paddle in a large mass. If it doesn’t, then go ahead and another half an egg and mix again. It is possible you may need 4 full eggs depending on the size of your eggs and how long the panade was cooked, so go by the appearance rather than the number of eggs listed in the recipe.
- Once all of the eggs have been added, continue to mix for 2 minutes. Until smooth and shiny.
- Transfer the choux dough to a 16” piping bag with a 1⁄2” wide opening to create spheres of dough. Hold the piping bag straight up and down about 3⁄4” above the surface of the baking sheet. Squeeze the bag to make a dough ball 1 1⁄2” in diameter and about 3⁄4” tall. If you don’t have a piping bag, use a cookie scoop to create the spheres.
- Brush the tops gently with 1 large lightly beaten egg as an egg wash.
- Bake on the prepared baking sheet at 425°F for 10 minutes, then reduce the temperature to 350°F for 20-25 minutes. Bake until the tops are golden brown and the bottoms make a hollow sound when tapped.
- Remove the baked pastries from the oven and turn them over on the baking sheet. Poke a small hole in the bottom of each pastry to allow the steam to escape. Allow the pastries to cool completely with the hole side up before filling.
For the Vanilla Pastry Cream
- Combine 2 cups whole milk and 2 teaspoons vanilla bean paste in a saucepan over medium heat. Cook until just simmering, about 10 minutes.
- While the milk is cooking, add 4 large egg yolks, 1/2 cup granulated sugar, and 1/8 teaspoon salt to a large mixing bowl. Whisk together until smooth. Add 3 Tablespoons cornstarch to the egg mixture and whisk again until it is all incorporated. The mixture will be light yellow and thick like paste.
- Once the milk has reached a simmer, pour a small amount of hot milk into the egg mixture while whisking constantly to avoid cooking the eggs. Continue to add the milk a little at a time, mixing well between each addition, until all of the milk has been added.
- Return the egg and milk mixture to the saucepan. Cook over medium heat, whisking constantly, until the mixture thickens to a pudding like texture, about 3 minutes. Continue to cook the cream mixture for another 2 minutes to set the starch. Stir constantly to prevent burning.
- Remove from heat and stir in 2 Tablespoons unsalted butter until melted.
- Transfer the pastry cream to a clean bowl. Cover it with plastic wrap, taking care to place the plastic directly on the surface of the cream so no skin can form.
- Prepare a second, larger bowl with ice and cold water. Transfer the pastry cream bowl into the water bath to cool for 30 minutes prior to refrigerating. Refrigerate the pastry cream for 2-3 hours before using.
For assembling the Cream Puffs
- After refrigeration, remove the plastic wrap from the pastry cream and whisk until the consistency is smooth again. Transfer to a piping bag with a decorative tip.
- Cut each pastry in half. Pipe 1-2 tablespoons of pastry cream into the center of each pastry and replace the top.
- Dust with powdered sugar and serve.


