This post may contain affiliate links. Read my disclosure policy.
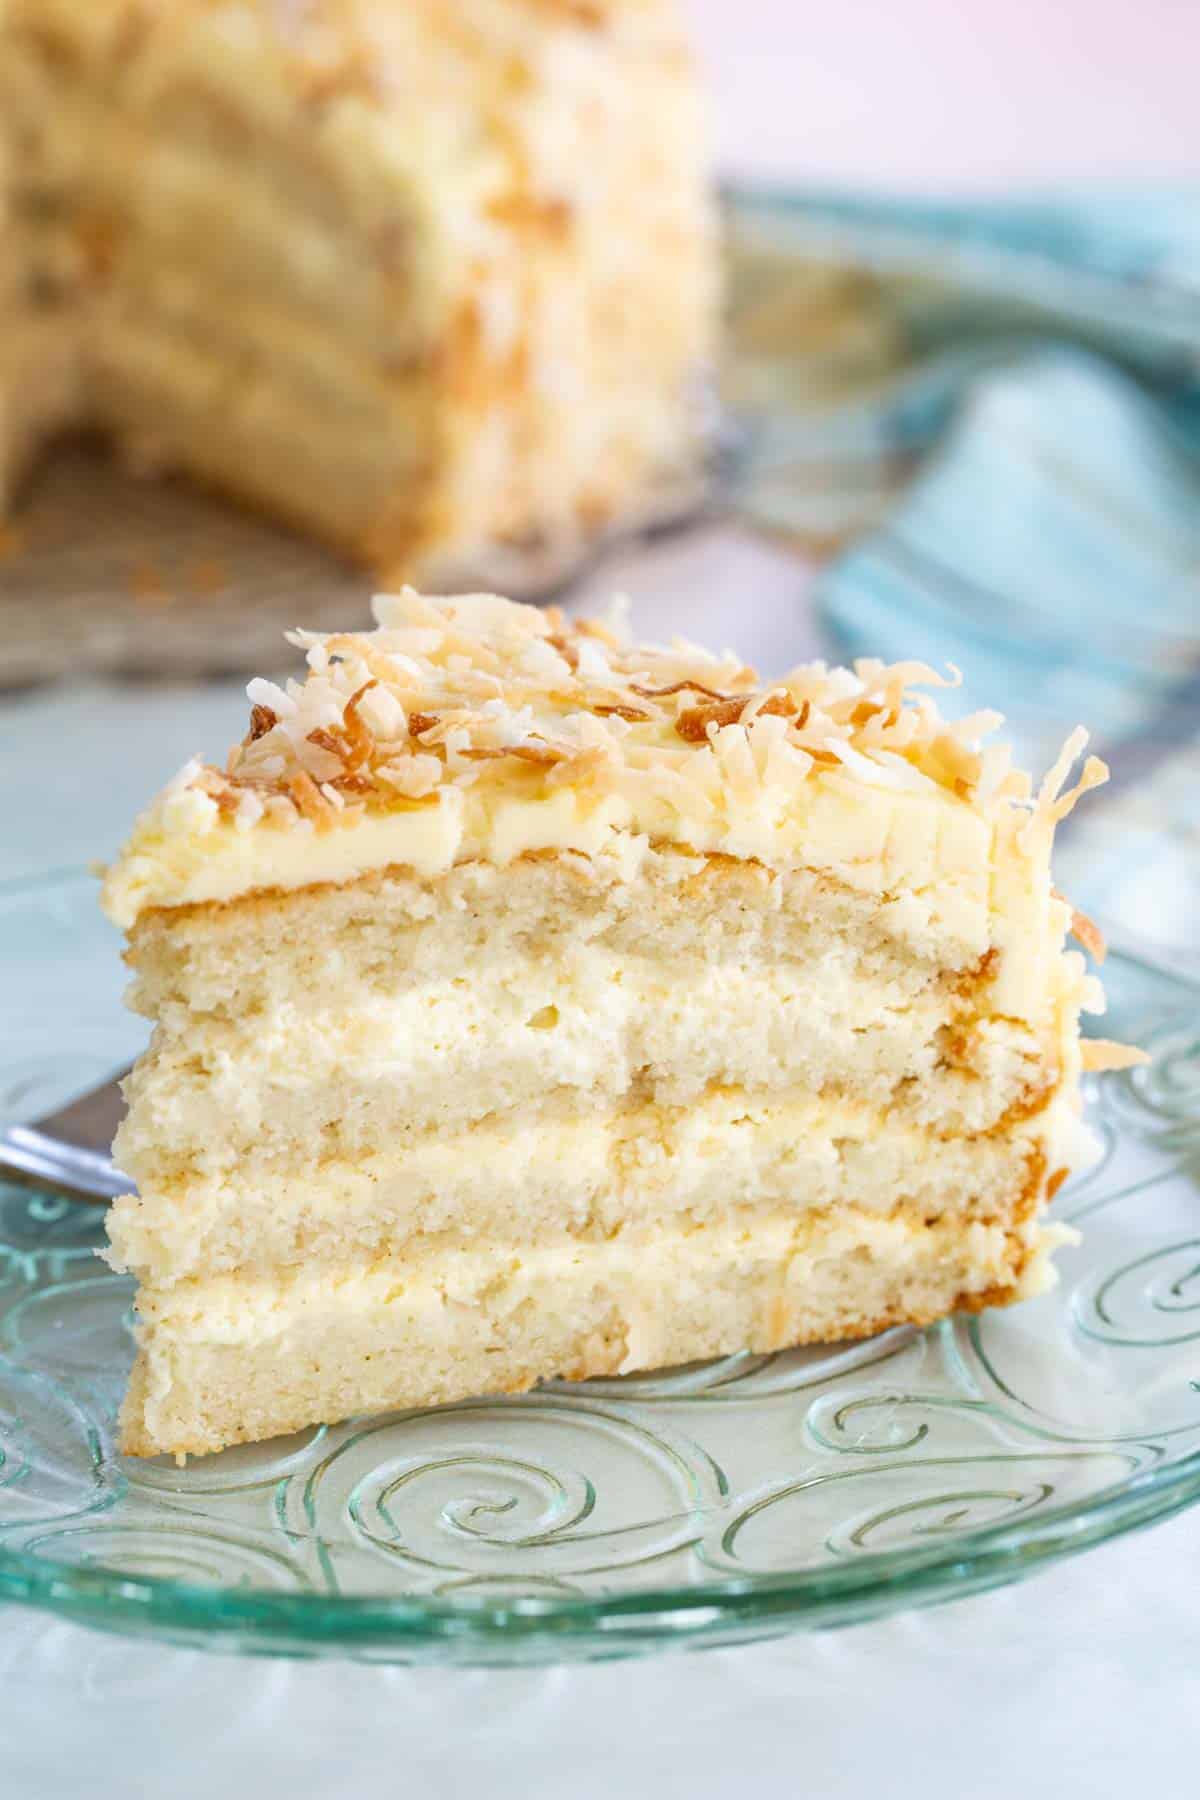
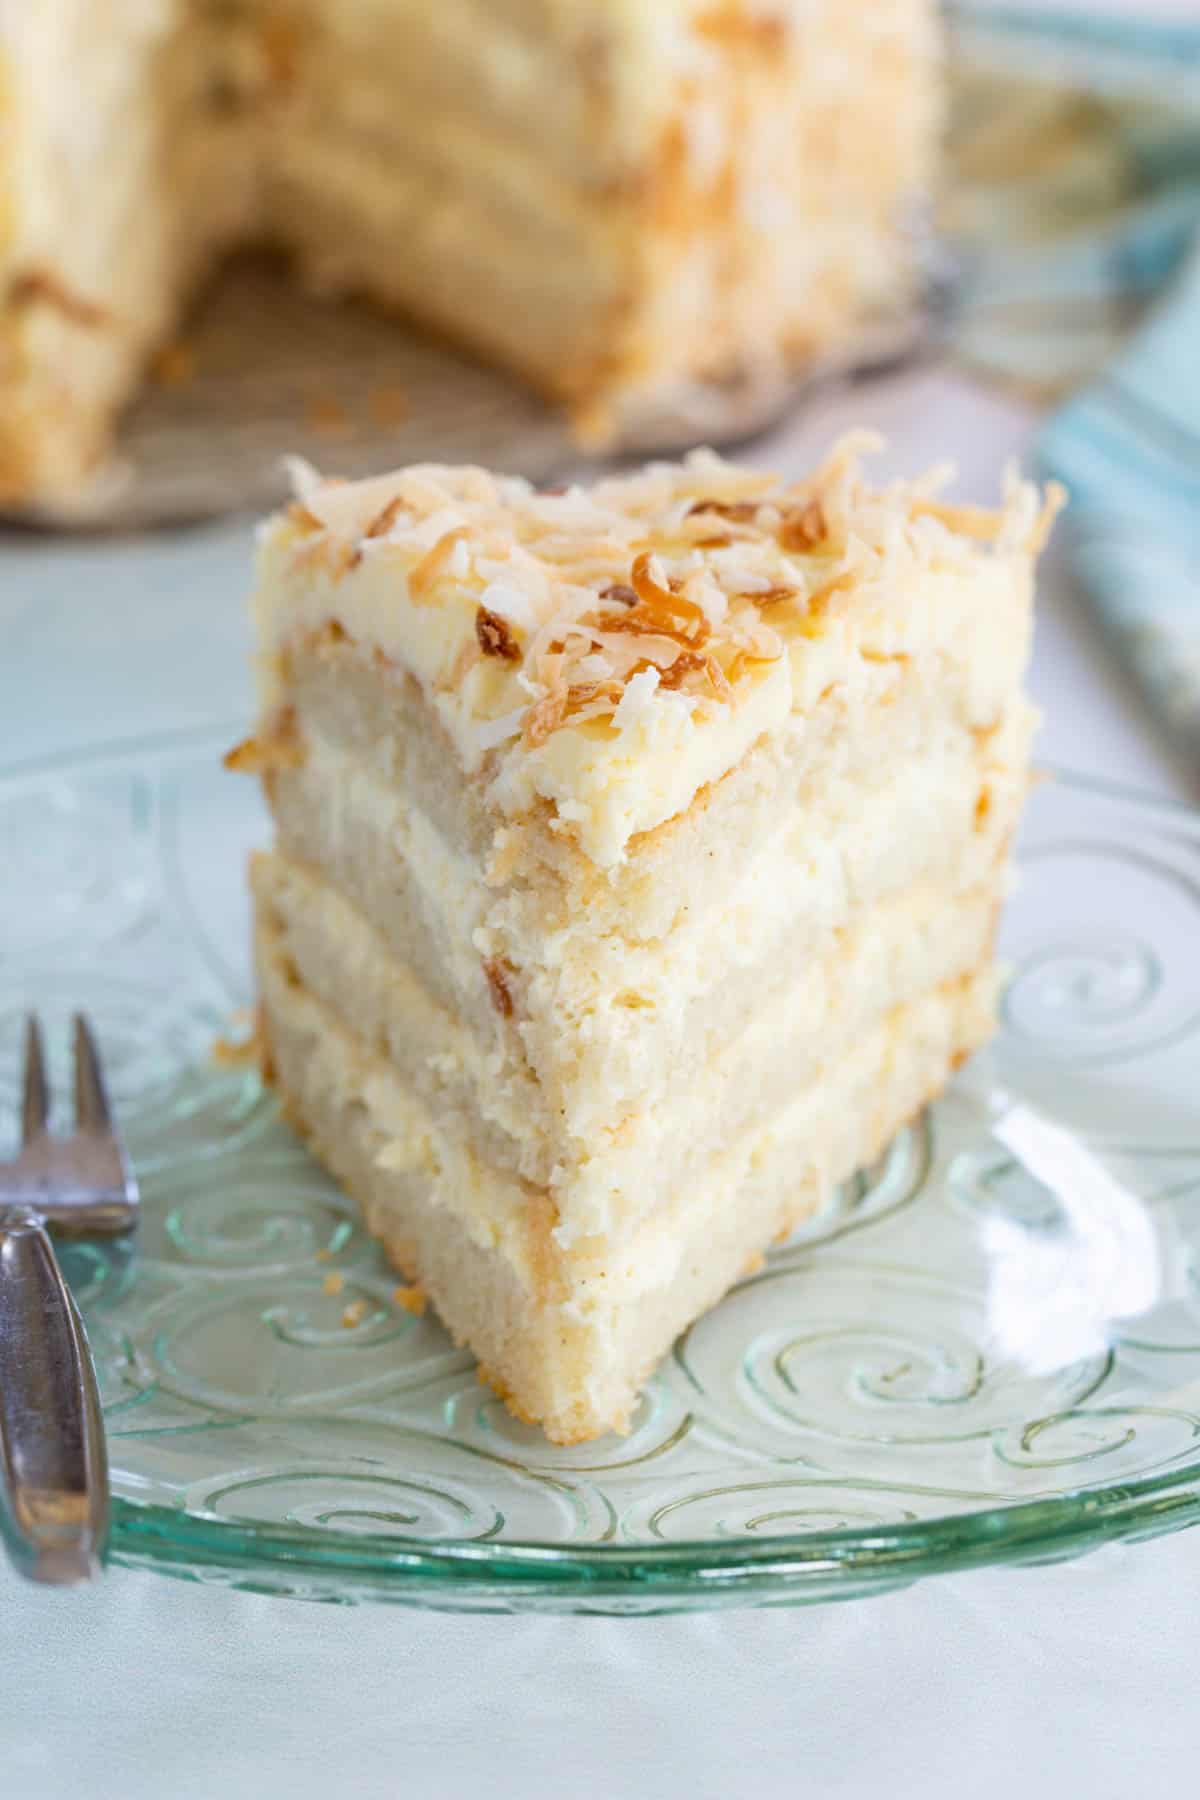
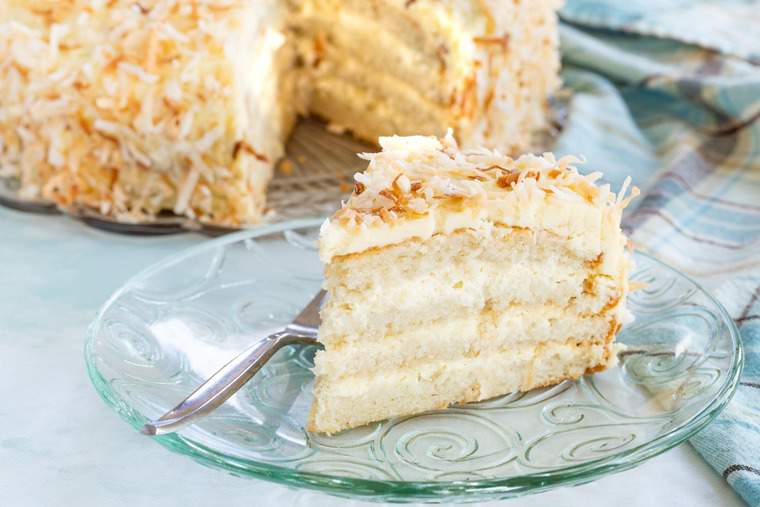
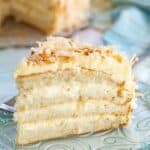
Serious coconut lovers will love every layer of this decadent Gluten Free Coconut Cake. Inspired by Bobby Flay’s recipe, moist white cake is soaked with a coconut simple syrup, layered with creamy coconut filling, and covered with coconut buttercream frosting and toasted coconut. This is a dessert worthy of a special occasion!
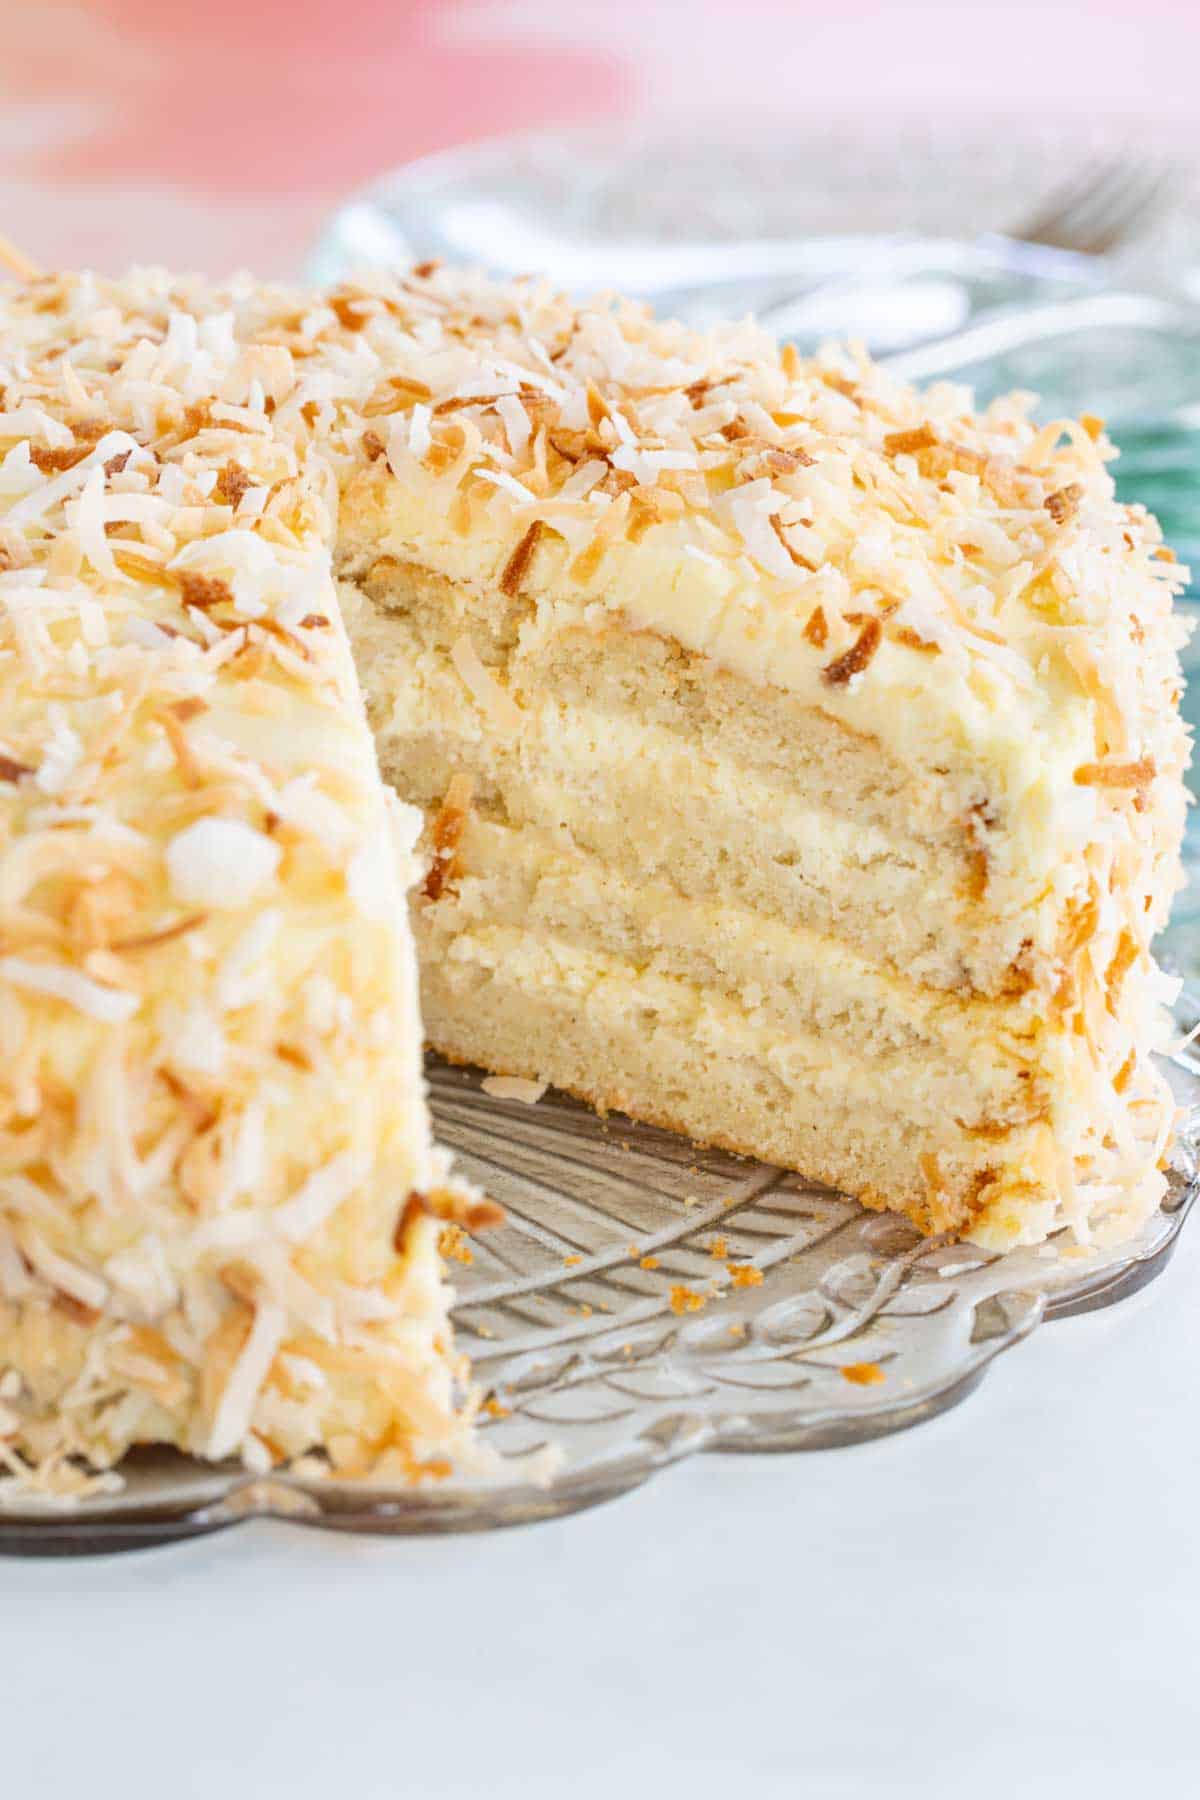
Bobby Flay’s Toasted Coconut Cake
When my husband turned 40, I surprised him by having his mom, brother, and a couple of family friends meet us in New York City for dinner. We went to Bobby Flay’s Mesa Grill and it was incredible. To this day he still speaks about that meal. Our friend still speaks about dessert.
She ordered the coconut cake. The same coconut cake with which he later won an episode of Throwdown, beating Chef Robert Carter from South Carolina whose massive coconut cake has been his signature for years. Eventually, our friend tracked down the recipe and finally had the chance to recapture that incredible dining experience at home.
And when I had to give up gluten, I knew I had to make a gluten free coconut cake. It is a bit of work, but the payoff is an incredibly decadent cake that just explodes with coconut flavor.
This is a cake worthy of a celebration. In fact, it might deserve its own celebration. National Coconut Cake Day! Is that already a thing?
Why You’ll Love this Recipe
Finally, you can enjoy a gluten free version of Bobby Flay’s incredible recipe with this Gluten Free Coconut Cake. Moist cake, rich and creamy filling, and a smooth coconut frosting with plenty of toasted coconut on the outside make this a sweet treat for a special birthday or holiday!
It has the same coconut simple syrup he uses to moisten those vanilla cake layers, as well as the same coconut custard that is used to make the filling and frosting. I also use his fluffy coconut frosting made from whipping the custard with heavy cream the coconut buttercream made with more of that custard. And let’s not forget that coating of toasted coconut for texture and a nice, toasty flavor to balance out the sweetness.
Only instead of Bobby’s cake, I used my own tried and true gluten free cake that has been a trusted family and reader favorite in my Gluten Free Strawberries and Cream Cake for years!
Ingredients
You’ll find the exact quantities in the recipe card. This is just a quick list so you can check what you have in your fridge and pantry, and what you might need to put on your grocery shopping list.
For the coconut custard
- Whole milk – I don’t recommend using lowfat milk.
- Canned unsweetened coconut milk
- Egg yolks – save the whites for the cake.
- Granulated sugar
- Cornstarch
- Coconut rum
- Vanilla extract – always be sure your vanilla extract is gluten free. The most common brands are, such as Nielsen-Massey and McCormick. I personally love the flavor of Nielsen-Massey Madascar Bourbon Pure Vanilla Extract, and it is certified gluten free.
White cake
- Gluten Free All Purpose Flour Blend – I recommend Bob’s Red Mill 1-to-1 Gluten Free Baking Flour)
- Baking powder
- Baking soda
- Salt
- Unsalted butter – at room temperature
- Granulated sugar
- Egg whites – reserved from making the custard.
- Vanilla extract
- Milk – using the same whole milk as the custard adds a nice richness to the cake.
- Plain Greek yogurt – low fat or fat free is fine, as is whole milk yogurt.
Toasted coconut and coconut simple syrup
- Sweetened coconut flakes – check that your bag is gluten free, though most are.
- Granulated sugar
- Water
Coconut buttercream
- Unsalted butter – at room temperature
- Powdered sugar
- Coconut custard – prepared and chilled.
- Salt
Coconut filling
- Coconut custard – prepared and chilled.
- Heavy cream – well chilled.
How to Make Gluten Free Coconut Cake
I’m not going to try to tell you this is a quick and easy dessert to make. Nor am I going to pretend that this even leans towards the healthy side. It’s a bit of a labor of love and truly a special occasion treat.
That being said, while there are a lot of components and steps, none are particularly difficult. And if you break down the tasks into an orderly manner, it all comes together in a straightforward way.
And seriously, it is worth it! Here is a quick overview so you can see the general process and order to prepare each component. But the detailed directions are in the recipe card.
Prepare the coconut custard
Combine the milk and coconut milk in a saucepan and bring to a simmer. Whisk the egg yolks, sugar, and cornstarch in a bowl, and slowly whisk in the warmed milk. Return the mixture to the pan, cook till thickened, then remove from the heat and whisk in the rum and vanilla. Cool to room temperature and chill in the refrigerator.
Bake the cake
First, sift together the dry ingredients. Cream the butter and sugar, then beat in the egg whites and vanilla, followed by the dry ingredients, milk, and yogurt. Divide between three pans, bake, and cool slightly in the pans before removing to racks to cool completely.
Toast the coconut and make the simple syrup
Spread coconut it on a sheet pan and bake till golden, tossing every few minutes. For the simple syrup, bring the water and sugar to a boil, remove the saucepan from the heat, add the remaining (non-toasted) coconut, and let it soak. Then strain off the coconut and reduce the syrup slightly.
Make the coconut buttercream and filling
For the frosting, beat the butter and powdered sugar until light and fluffy, then beat in the chilled Coconut Custard and a pinch of salt. For the filling, add the Coconut Custard and heavy cream to a bowl, and beat until soft peaks form.
Assemble the cake
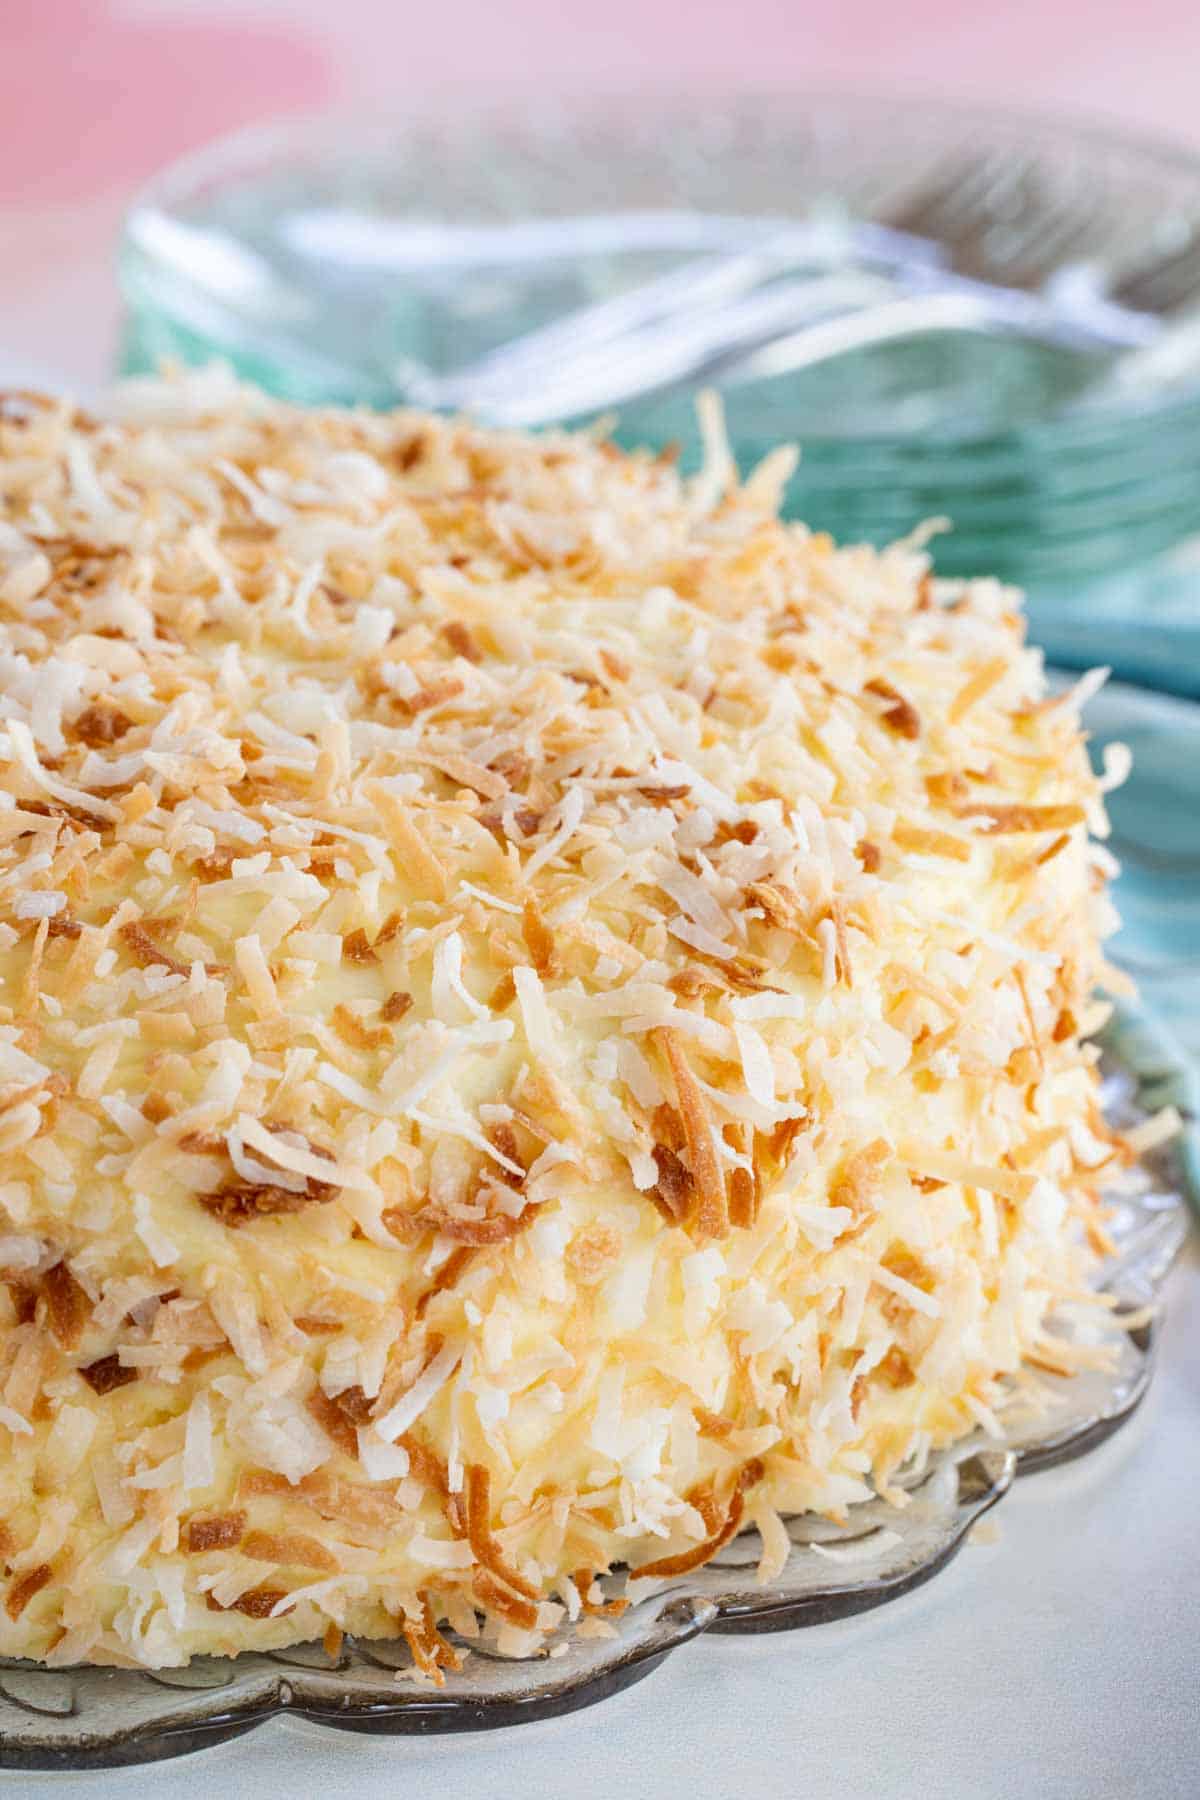
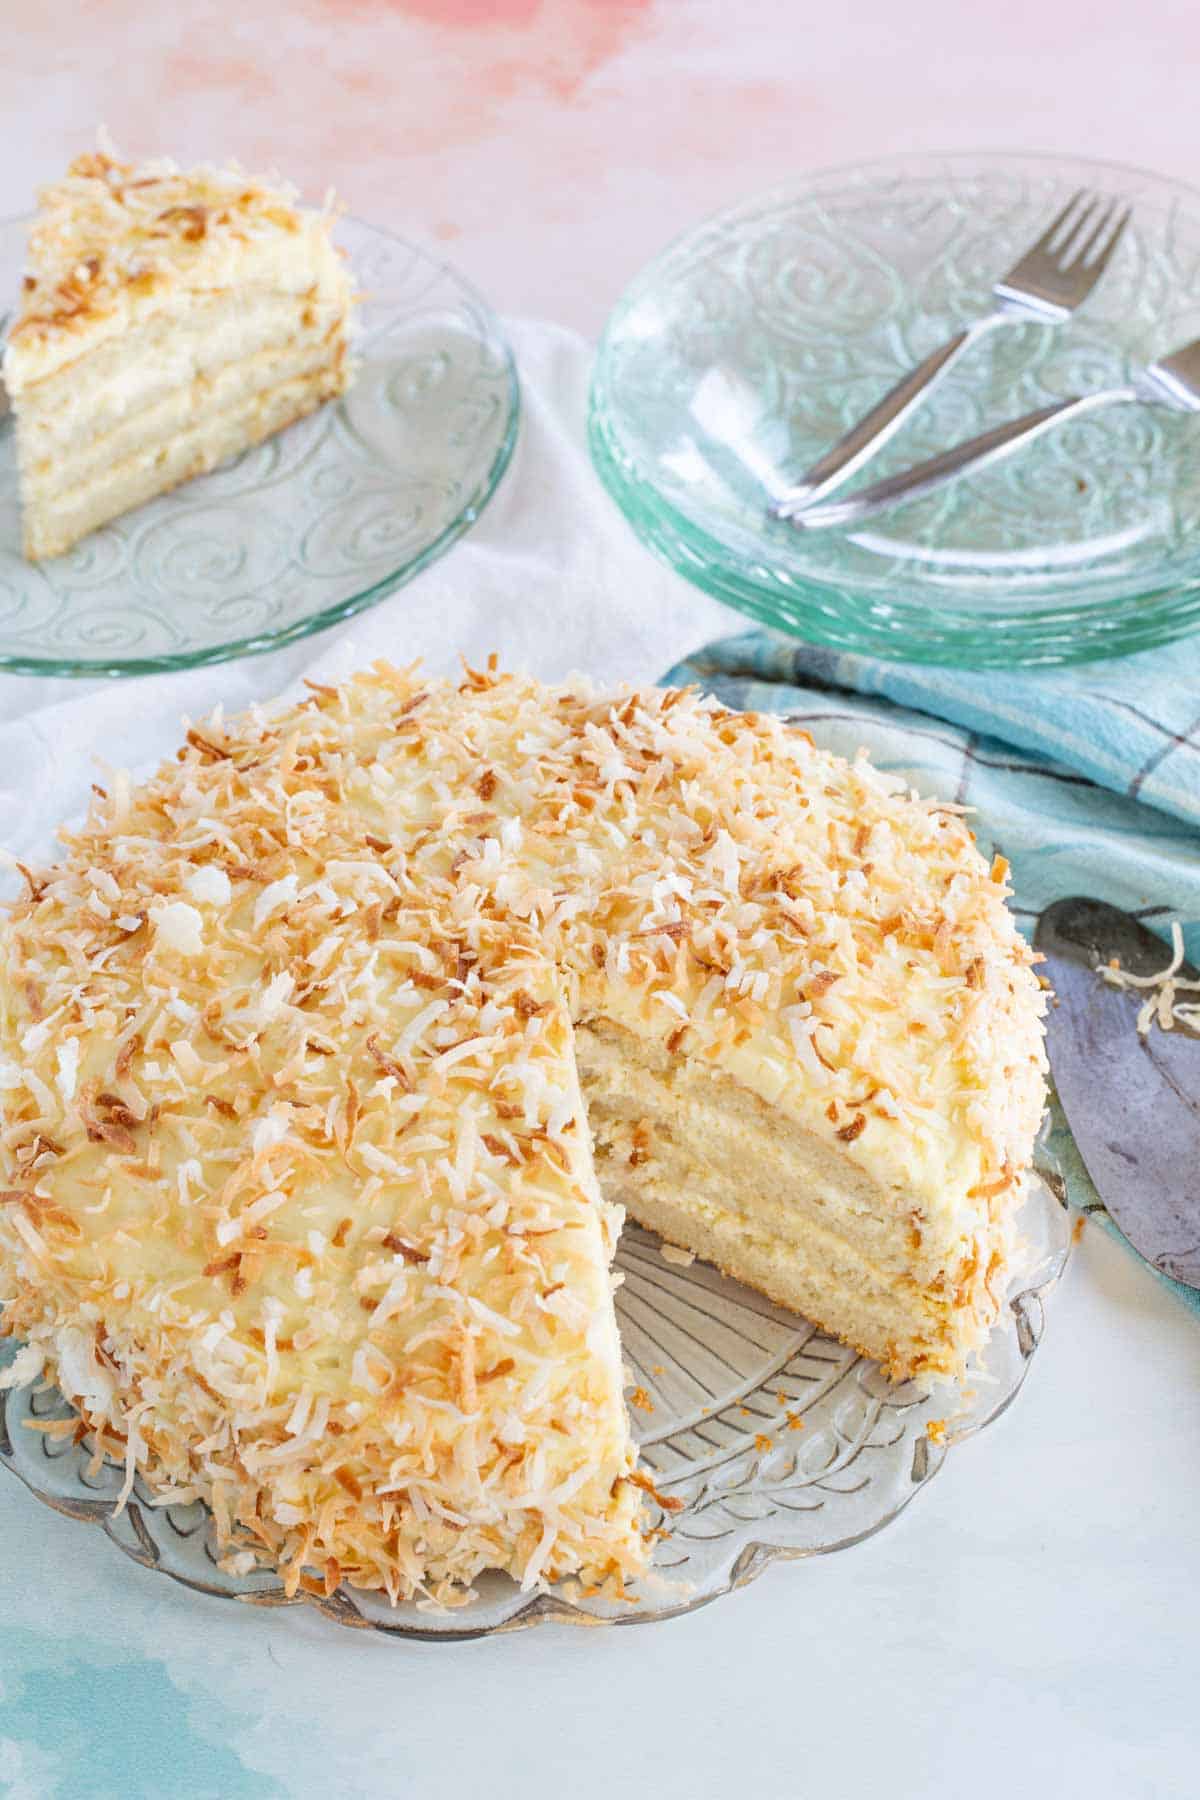
Cut each cake in half horizontally. Place one layer cut side up on a platter, brush with simple syrup, and spread with one-third of the coconut filling. Repeat with two more layers. Brush the cut side of the final layer with simple syrup and place the cut side down on top. Cover the cake with buttercream and toasted coconut.
Tips for Success
- Separating the eggs. When you separate your eggs to use the yolks in the custard, remember to save those whites for the cake. They will separate the best while they are cold, but it’s recommended to let the whites come to room temperature before preparing the cake.
- Line the pans. Do not skip lining your cake pans with parchment paper. Gluten free cakes can be a little sticky.
- Frosting and decorating. Since you are covering the cake in toasted coconut, there is no need to worry about doing a crumb coat with the frosting.
Make it in advance
If you want to break up the preparation, there are some steps you can do in advance.
- The toasted coconut can be kept in a resealable container at room temperature for several weeks.
- You can make the simple syrup in advance and leave it covered at room temperature for a day or two, or up to a week in the refrigerator.
- The coconut custard can be made a day in advance and kept covered in the refrigerator, but I do recommend making the filling and frosting just before assembling the cakes.
- The cakes can be baked a day or two in advance if wrapped tightly after they cool completely. You can even freeze them for up to a month or two.
Storing Coconut Cake
The cake can stay at room temperature for an hour or two, but any longer than that and it will have to be refrigerated. You can keep it in the refrigerator for up to three days.
Can I freeze leftover cake?
This coconut cake can also be frozen, and will maintain its quality for up to a month or two if wrapped properly. You can wrap it whole, just the leftover portion, or save it in individual slices.
I recommend lightly covering it with plastic wrap until it is frozen solid. Then remove it from the freezer and wrap it tightly, especially pressing the plastic wrap up against any cut sides.
Then place the wrapped cake in a plastic freezer storage bag or airtight container. If it is too large for that, then just be sure to use several layers of plastic wrap to make it airtight.
What You’ll Need
While this doesn’t cover everything like the basics of bowls and measuring cups, here are a few things you will need to make this gluten free toasted coconut cake:
- Stand mixer – this makes it much easier for making the cake and buttercream, though you can use a hand mixer if that is all you have.
- 9 inch round cake pans
- Offset spatulas – I like to use a small one to spread the filling and a larger one to smooth on the frosting.
- Mesh strainers – this is what I use for sifting my dry ingredients, and you’ll need one for straining the coconut when you make the simple syrup.
Gluten Free Coconut Cake
Ingredients
For the coconut custard:
- 3/4 cup whole milk
- 3/4 cup canned unsweetened coconut milk
- 4 large egg yolks (save the whites for the cake)
- 1/3 cup granulated sugar
- 3 Tablespoons cornstarch
- 2 teaspoons coconut rum, such as Malibu
- 2 teaspoons vanilla extract
For the cake:
- 2 cups Gluten Free All Purpose Flour Blend (recommended: Bob’s Red Mill 1-to-1 Gluten Free Baking Flour)
- 1 teaspoon baking powder
- 1/2 teaspoon baking soda
- 1/4 teaspoon salt
- 1/2 cup (one stick) unsalted butter, at room temperature
- 1 3/4 cups sugar
- 4 egg white at room temperature
- 1 teaspoons vanilla
- 2/3 cup milk
- 2/3 cup plain Greek yogurt
For the toasted coconut and coconut simple syrup:
- 2 3/4 cups sweetened flaked coconut, divided
- 1 1/2 cups water
- 1 Tablespoon granulated sugar
For the coconut buttercream:
- 1 1/2 cups (3 sticks) unsalted butter, at room temperature
- 1/3 cup powdered sugar
- 3/4 cup Coconut Custard, well chilled
- pinch salt
For the coconut filling:
- 3/4 cup Coconut Custard, well chilled
- 3/4 cup heavy cream, well chilled
Instructions
For the coconut custard:
- Combine the milk and coconut milk in a medium saucepan and place over low heat. Bring to a simmer.
- In a large bowl, whisk together the egg yolks, sugar, and cornstarch. Slowly pour the warmed milk into the egg yolk mixture while whisking constantly.
- Return the mixture to the saucepan and bring to a boil over medium heat, then whisk constantly while cooking until thickened. You'll know it is done when you can cot the back of a spoon and when you run your finger across the back of the spoon, the finger mark stays.
- Transfer the mixture to a bowl and whisk in the rum and vanilla extract.
- Let it cool to room temperature, place plastic wrap directly against the surface of the custard, and chill in the refrigerator until cold, at least 2 hours.
For the cake:
- Preheat oven to 350°F. Grease and line two 9 inch round cake pans with parchment paper.
- Whisk together flour, baking powder, baking soda, and salt in medium bowl and set aside.
- Using a hand mixer or stand mixer, in a large bowl, cream together butter and sugar on medium speed.
- Add egg whites and vanilla and beat for about 30 seconds.
- Reduce speed to low, and add flour mixture, milk, and yogurt. Beat until combined.
- Beat on high for an additional 30 seconds.
- Divide the batter evenly between the pans.
- Bake for 28-32 minutes, or until lightly golden and toothpick comes out clean.
- Cool pans on racks for about ten minutes, then remove cakes from pans and cool completely.
For the toasted coconut and coconut simple syrup:
- Preheat oven to 325°F. Spread 2 cups of the coconut evenly on a baking sheet and toast for 10 to 12 minutes, stirring every 3 or 4 minutes until lightly golden brown. Leave on the basking sheet and set aside to cool.
- Combine the water and sugar in a saucepan and bring just to a boil. Remove from the heat and stir in the remaining 3/4 cup coconut. Let it sit for at least 30 minutes, or up to 4 hours.
- Strain off the coconut and return just the liquid to a clean saucepan. Bring to a boil and cook about 5 minutes or until slightly reduced. Set aside to cool.
For the coconut buttercream:
- Place the butter and powdered sugar into the bowl of a stand mixer fitted with the paddle attachment. Beat until light and fluffy, about 4 minutes.
- Add the Coconut Custard and a pinch of salt and beat on low until smooth.
For the coconut filling:
- Add the Coconut Custard and heavy cream to a bowl, and beat with a hand mixer or stand mixer on medium-high to high speed until soft peaks form. Do not overbeat.
To assemble the cake:
- Using a serrated knife, slice off the very top of the cake to make it even, then slice each cake in half horizontally.
- Place one layer of the cake on a plate cut side up and brush with some of the Coconut Simple Syrup. Spoon one-third of the Coconut Filling on top of the cake and spread into an even layer to a 1/2-inch from the edge of the cake.
- Repeat with two more layers.
- Brush the cut side of the final layer with more of the Coconut Simple Syrup, then place cut side down on top of the cake.
- Frost the top and sides of the cake with the Coconut Buttercream and pat the toasted coconut onto the sides and top of the cake.
- Serve immediately or store in the refrigerator.
Notes
More gluten free cake recipes
- Gluten Free Yellow Cake with Chocolate Frosting
- Gluten Free Hummingbird Cake
- Flourless Chocolate Cake Roll with Peanut Butter Cups
- Gluten Free Apple Cider Donut Cake
- Gluten Free Banana Chocolate Chip Cake
More gluten free coconut desserts
- Flourless Almond Joy Cookies
- No-Bake Coconut Cookies
- Flourless Coconut Dark Chocolate Chunk Cookies
- M&M’s Macaroons





Was wondering if there is anything to substitute for the eggs and egg yolks?
I have not tested this recipe with any egg substitutes.
I have made this cake now 2x. First time was a “test run” and I was a bit disappointed, expected more coconut flavour. However it tasted a bit better the 2nd day.
Made it again yesterday for a function today. A few changes I did to correct my 1st attempt.
– added 1 tbs of vanilla & 1 tbs of Malibu to the custard after it was cooked
-cooked my custard longer
-soaked the coconut for 4 hrs before staining the simply syrup & the let it boil a good 5 min to reduce
-less butter in the butter cream, found it to be all butter taste the first try
– put the simple syrup in the layers while they were still a bit warm and then let it all cool before putting it all together
– should be cut into 16 pieces while it hasn’t set fully, maybe after 1 hr in fridge. I did that the first time and it cut beautifully. Today I cut it and it was a bit harder to do to keep it all pretty. But I snuck a taste and it is 100% better than 1st time around, very please that I gave it another try .
Very time consuming & you must be organized and do the steps 1 at a time to give each part time to cool, set etc , then put all together
Oh … of importance is that the batter recipe only makes 2 round 9” layers . You can not cut them in 1/2 each to have 4, way to thin.
But still is a lovely size once all put together .
I wish I could add a photo for reference..
Thank you for your feedback! The coconut flavor does continue to develop over time. I was able to cut my cake into layersm but they are thin. So making two is a great option.
Would sour cream be okay to substitute for the Greek yogurt? I am excited to try this recipe.
Yes, I think you could.
This is the best cake I’ve ever had!
I love hearing this!!
Can you recommend a substitute for the coconut rum? Something that does not contain alcohol.
Thank you!
You can probably use about a teaspoon of cocnut extract.
I made this for my grandpa a few years ago right before he had to move into a VA hospital 3 hours away. It was apparently the best cake he ever had 🥰. My mom has requested the cake for her birthday since apparently it was the best cake SHE ever had as well! However this time we have to try and make it dairy free… wish me luck!
This makes me so happy! I haven’t tried dairy free, but hopefully you have success.