
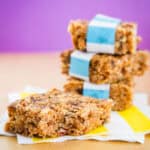
No-Bake Granola Bars

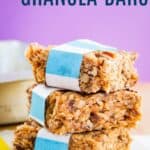

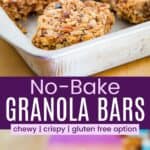
No bake granola bars are naturally sweetened and naturally gluten free! Each bite delivers chewy oats and crunchy walnuts, all held together with peanut butter and honey for a perfectly packable snack for school or road trips. Just a few minutes of prep time and no need to turn on the oven!

Delicious Details
- Cuisine Inspiration: American
- Primary Cooking Method: No-Bake
- Dietary Info: Gluten-free option, Dairy-free
- Skill Level: Easy
You’ll Love These Easy No Bake Granola Bars
With only about ten minutes of prep time and no oven or stove needed, no bake granola bars make the best portable snack. Like my energy balls recipe, these bars come together quickly and are an ideal pick-me-up nibble. And they’re packed with whole grains, fiber, and protein along with the sweet and nutty flavors we love in granola bars. (Plus, when you make them homemade, you’re assured that they’re gluten and dairy-free.)
Enjoy a granola bar as an on-the-go breakfast along with a cherry smoothie or chocolate peanut butter banana smoothie, or crumble up a bar to garnish a serving of chia seed pudding. Here’s why I love these bars:
- Super easy. You’ll need just 10 minutes or less to put together these bars, with just a bit of melting and stirring to do so.
- Homemade is best! When you make granola bars yourself you can feel confident that all of the ingredients are gluten-free if needed, and they are so much fresher than store-bought bars!
- Perfectly balanced. There’s a beautiful contrast of sweet and salty in these bars that makes them hard to resist.
- Not too sweet. I love using honey to sweeten snacks or baked goods (I love using honey as the sweetener in my almond granola, too). Add a few pitted dates to the mix and these bars will be just sweet enough.

Recipe Ingredients
Here’s an overview of what you’ll need to make homemade granola bars, plus a few of my notes to help as you gather up your ingredients. I’ve included the full ingredient amounts in the printable recipe card at the end of this post.
- Dates: Make sure to buy pitted medjool dates to save yourself time!
- Crispy Rice Cereal: If you need to eat gluten-free, do NOT use Rice Krispies which are not gluten-free (refer to my post on Are Rice Krispies Gluten Free? for more).
- Oats: I like quick-cooking oats rather than old-fashioned oats. Check the package to see if your oats are certified gluten free if needed. More details about oats are included in my Are Oats Gluten Free? post.
- Almond Flour: I used a tablespoon each of almond flour and flaxseed meal. You can use all almond flour, all ground flaxseed, or a tablespoon of each.
- Walnuts and Pecans: You can use all walnuts, all pecans, or any other nuts, making sure to toast them first.
- Honey: Substitute maple syrup if needed.
- Peanut Butter: I like creamy natural peanut butter. Most peanut butters are gluten free, and you can read my Is Peanut Butter Gluten Free? post for tips on safely choosing gf peanut butter.
- Salt
- Cinnamon: A little ground cinnamon or ginger adds warmth.
- Vanilla Extract: You can add vanilla bean paste if you don’t have pure vanilla extract.

How to Make No Bake Granola Bars
Follow along with my photos below so you can easily make these bars, then scroll to the recipe card lower down for the detailed instructions.
- Process dates. Place the dates in a food processor and pulse until finely chopped.
- Make the base of the bars. Mix the dates with the oats, rice cereal, and nuts.


- Melt peanut butter and honey. Combine the peanut butter and honey and melt them together until smooth, then add the salt, cinnamon, and vanilla.
- Combine. Pour the peanut butter mixture over the oat mixture and stir to coat. until thoroughly coated and combined.


- Mix. Stir and toss the mixture.
- Add to pan. Press the mixture into a lined 8×8-inch pan.


- Cool. Let cool completely to room temperature for at least one hour.
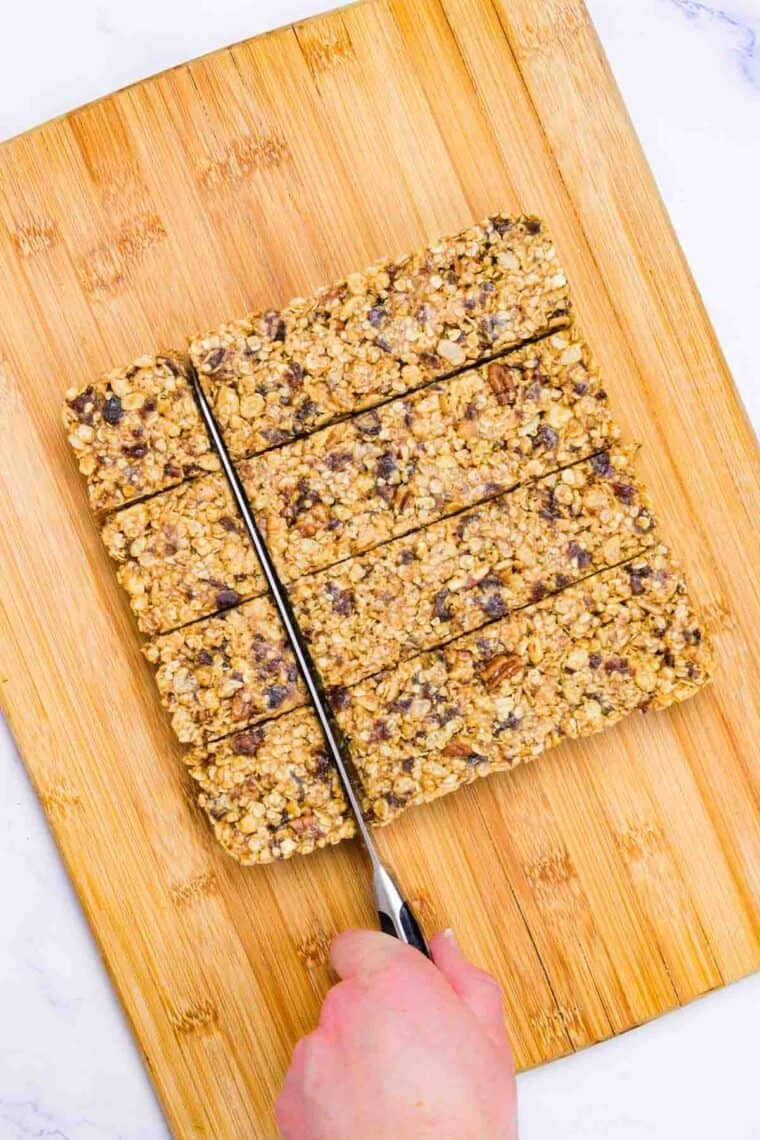
- Cut. Use a sharp knife to cut into bars or squares or bars.

Quick Tips and Variation Ideas
- Line your pan. Make sure to line your pan with plastic wrap, wax paper, or parchment paper. This will help you to easily remove the bars.
- Toast the nuts. Always toast the nuts before adding them to the mix. I like to do this in a small skillet over low heat, tossing frequently until they give off a roasted aroma. Watch carefully to ensure that they don’t burn.
- Add vanilla last. After you melt together the honey and peanut butter, remove it from the heat and stir in the vanilla. Adding the vanilla last prevents it from evaporating during the melting process.
- Press the mixture down into the pan. When the dry ingredients are well coated with the peanut butter mixture, press it down firmly into the pan. This will help the granola bars stick together.
- Cool fully. Allow the bars to cool and firm up for about an hour before cutting them so that they hold together.
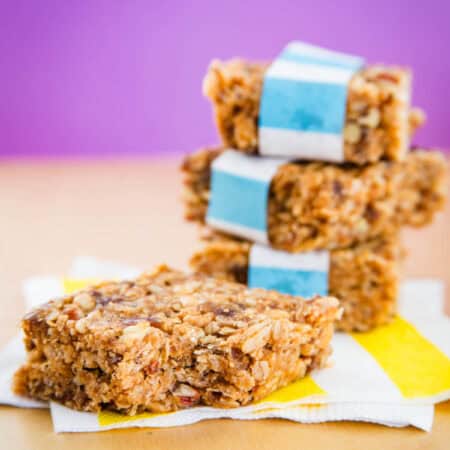
- You choose the size. You can cut your bars larger or smaller depending on how many you want to have and how filling you wish them to be.
- Add chocolate. Just before pressing the mixture into the pan, stir in 1 cup of mini semisweet chocolate chips.
- Dried fruit. Many granola bars feature dried fruit, so if you’d like to add some or swap the dates, go ahead! Some of my favorite additions include 1 cup of chopped dried cherries, cranberries, or raisins.

How to Store
- Counter – Place the granola bars in a parchment-lined airtight container with a layer of parchment between any layers and store it on the counter for up to 3 days.
- Fridge – Store the bars in their airtight container in the fridge for up to 7 days. You can wrap each bar individually in plastic wrap if you plan to take them with you.
- Freezer – Wrap each bar in plastic wrap, then place them in a freezer-safe sealable bag and freeze them for up to 2 months.

More Snack Bar Recipes
No-Bake Granola Bars
Ingredients
- 1 cup pitted dates
- 1 ¼ cups crispy rice cereal (gluten free, if needed)
- 1 cup uncooked quick-cooking oats (gluten free, if needed)
- 2 tablespoons almond flour and/or ground flaxseed (I used a tablespoon of each)
- ¼ cup toasted chopped walnuts
- ¼ cup toasted chopped pecans
- ⅓ cup honey
- ½ cup peanut butter
- ½ teaspoon salt
- ½ teaspoon ground cinnamon
- 1 teaspoon vanilla extract
Instructions
- Line an 8×8-inch pan with wax paper or parchment paper.
- Place 1 cup pitted dates in a food processor and pulse until finely chopped.
- In a large bowl, toss together the chopped dates, 1 ¼ cups crispy rice cereal, 1 cup uncooked quick-cooking oats, 2 tablespoons almond flour and/or ground flaxseed, ¼ cup toasted chopped walnuts, and ¼ cup toasted chopped pecans. Set aside
- Combine ⅓ cup honey and ½ cup peanut butter in a small microwave-safe bowl and microwave for 30 seconds to one minute, stirring every 15-20 seconds until melted and smooth. Or combine in a saucepan over medium heat, stirring until melted and smooth. Stir in ½ teaspoon salt, ½ teaspoon ground cinnamon, and 1 teaspoon vanilla extract.
- Pour the peanut butter mixture over the oat mixture and stir until thoroughly coated and combined. Transfer the mixture into the prepared pan and press firmly into the pan.
- Let cool completely to room temperature, at least one hour. Cut into bars and store in an airtight container. Refrigerate for longer storage.
Notes
Did you make this?
Leave a star rating to help others know that they should make this recipe.
Share a photo and tag @cupcakesandkalechips on Instagram!
These look delicious AND they will work with our many food allergies! Pinning! Thanks for linking up to Tips & Tricks! Hope to see you again this week! 🙂
I want to try Veggie Harvest.
I want to try the Citrus Kick
I’ve never tried jamba juice before (we didn’t have them near me) but my husband talks about them all the time (pretty much any time i attempt making a smoothie). I’d love to try any of them but especially the orange berry antioxidant :D!
I’m been to Jamba juice and love their smoothies.. I’ve never tried Veggie Harvest , but would like to now!
I would like to try the Veggie Harvest
I’d like to try Orange Carrot Twist.
The triple revitalizer sounds like a great breakfast smoothie if you’re on the go, I would try it 🙂
I am most interested in trying the citrus kick variety.