This post may contain affiliate links. Read my disclosure policy.
Gluten-Free Pate a Choux is a classic French pastry that you can make at home! Learn how to make this simple, light-as-air gluten-free choux pastry that’s perfect to use in recipes for cream puffs, eclairs, and more.
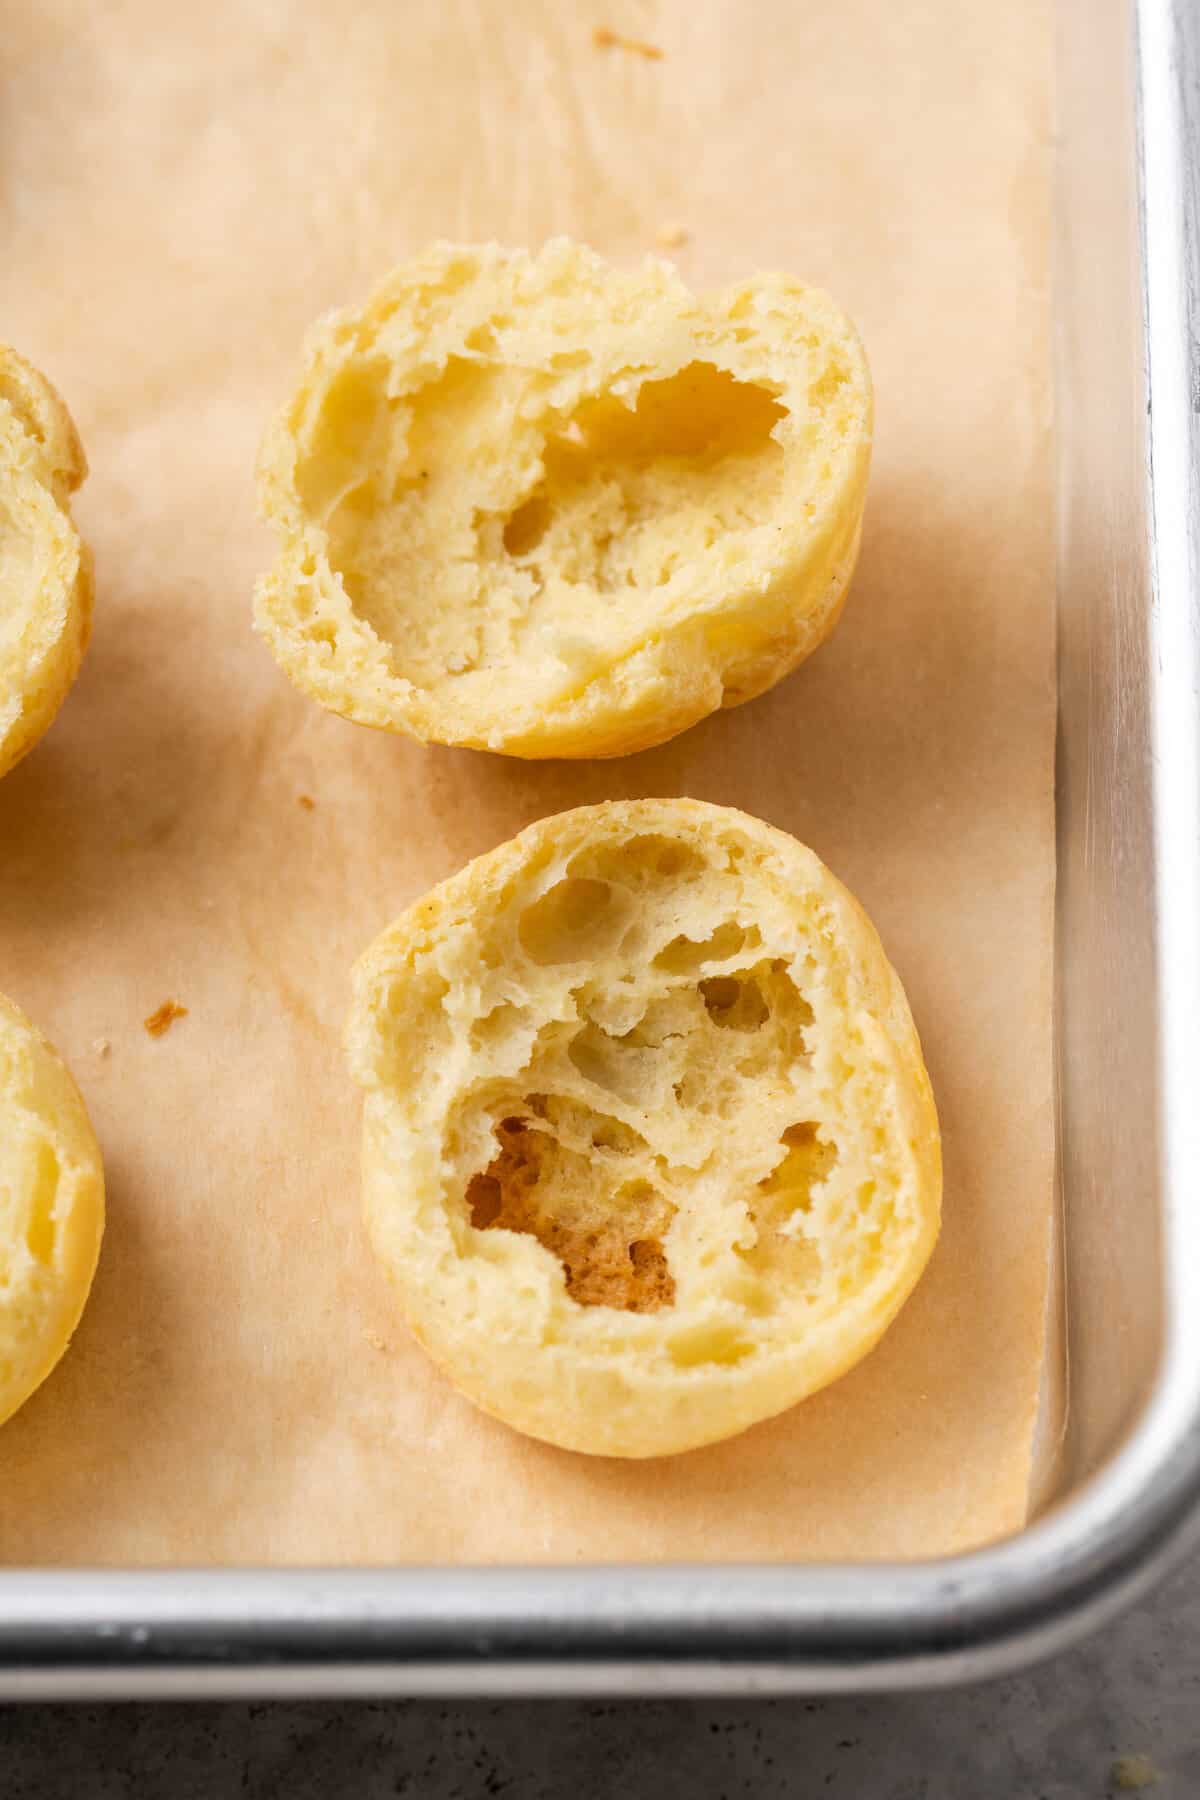
Table of Contents
- Homemade Gluten Free Choux Pastry (Pâte à Choux)
- What Is Pâte à Choux?
- What You’ll Need
- How to Make Gluten Free Choux Pastry
- Can I Make Choux Pastry Dough Ahead?
- Tips for Success
- How to Store Gluten Free Pate a Choux
- Can I Freeze Choux Pastry?
- Common Questions
- What Can I Make From Pâte à Choux?
- Things You’ll Need
- Get the Recipe
Homemade Gluten Free Choux Pastry (Pâte à Choux)
If you thought you’d never have an eclair again after going gluten-free – think again! Today we’re making gluten-free pate a choux: the light, airy pastry shells used for cream puffs, eclairs, and more.
French pastries, like croissants, have a reputation for being fussy to make. But it’s actually quite simple – if you stick to the recipe. With a few simple tweaks, I was able to recreate that soft, fluffy texture of a classic choux pastry, made totally gluten-free.
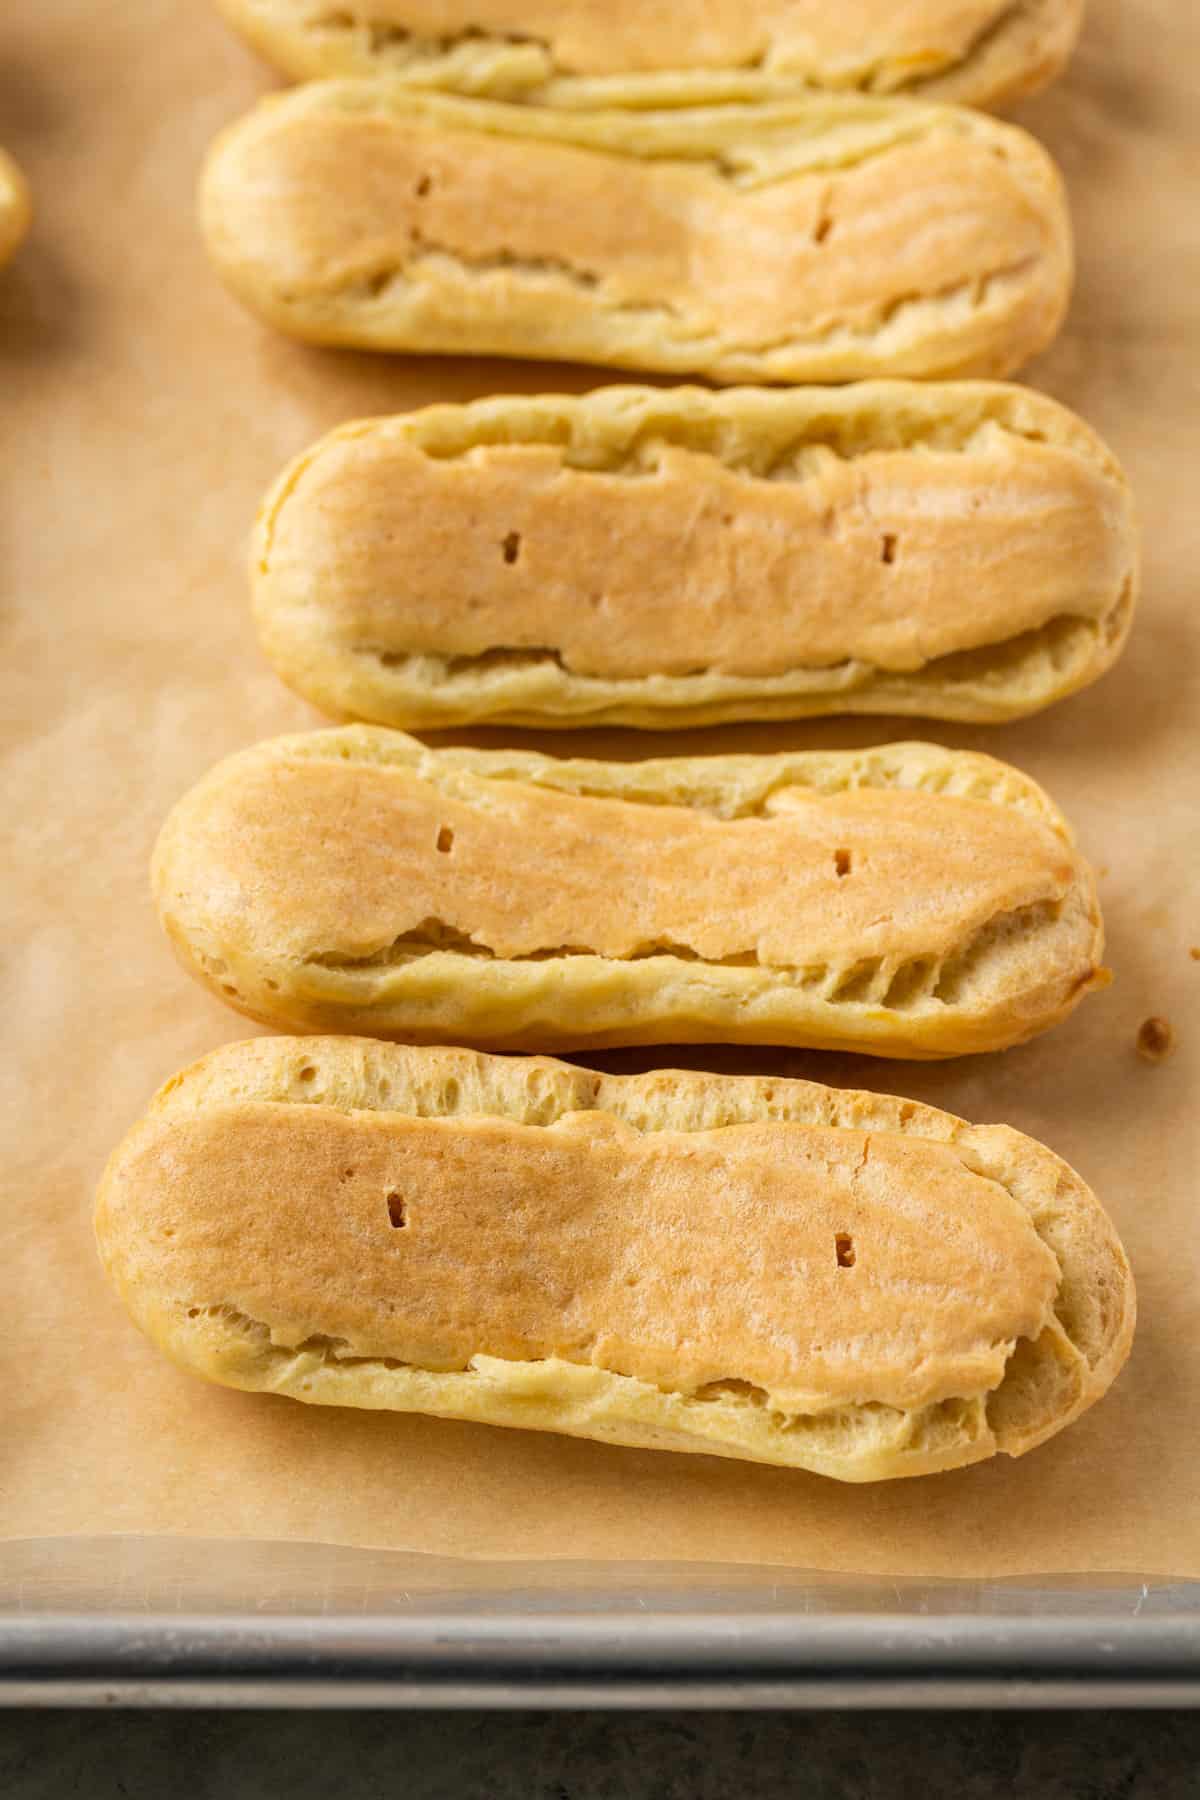
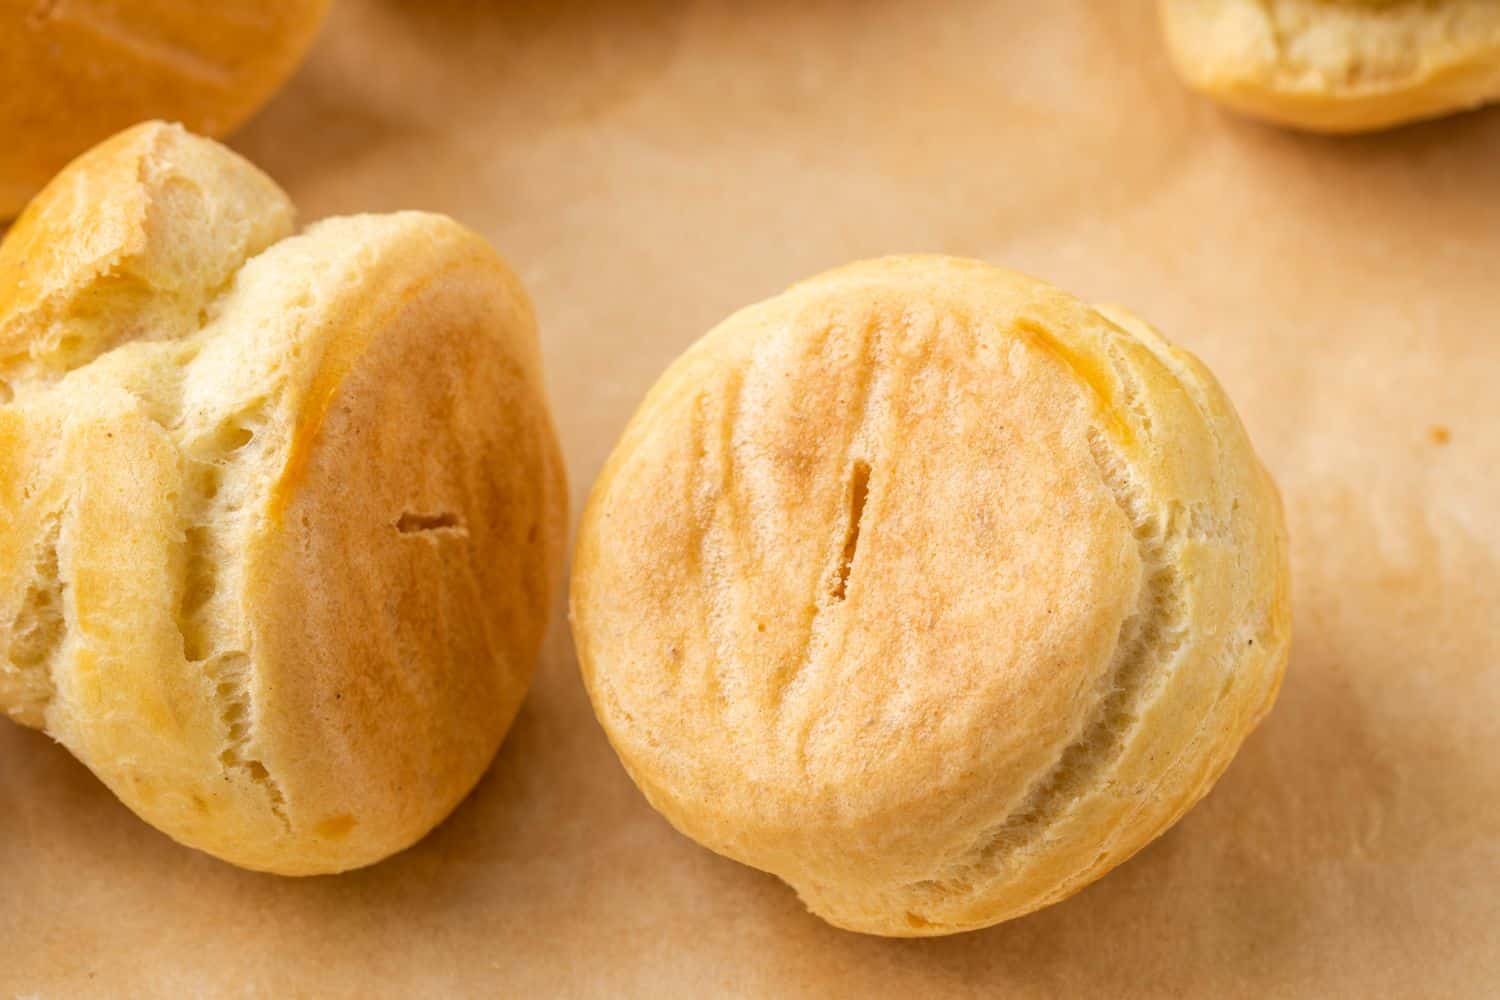
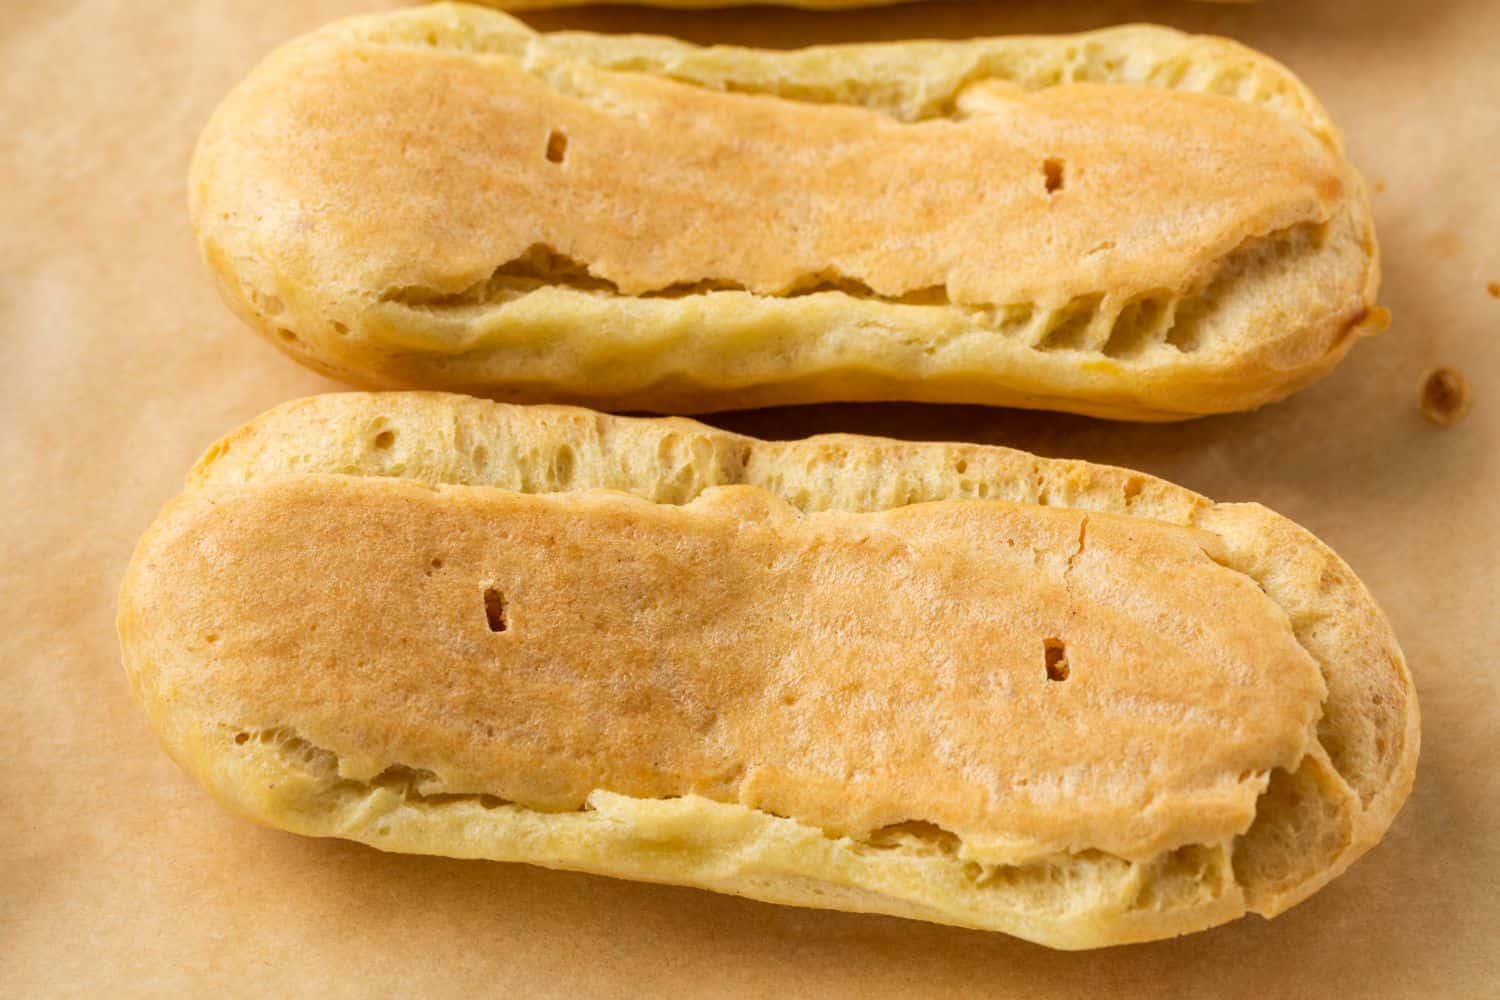
This recipe bakes up like little golden pastry clouds, crisp on the outside and flaky on the inside. Whether you pipe it into logs to make eclairs or little circles for cream puffs, pate a choux is perfect to fill with everything from pastry cream to whipped cream, or even ice cream for profiteroles!
What Is Pâte à Choux?
Choux pastry, or pâte à choux (pronounced “shoe”), is a basic French pastry recipe. You might recognize it as the airy pastry shell in bakery treats like eclairs and cream puffs, or cheesy gougères. Choux is light and delicate, made with a simple combination of butter, water, flour, eggs, and salt. You can make the dough sweet or savory, depending on the recipe and the type of filling.
Why is it called pate a choux? In French, “choux” means cabbages. The final baked puffs, with their ridges and ruffles, do look a lot like tiny cabbages!
What You’ll Need
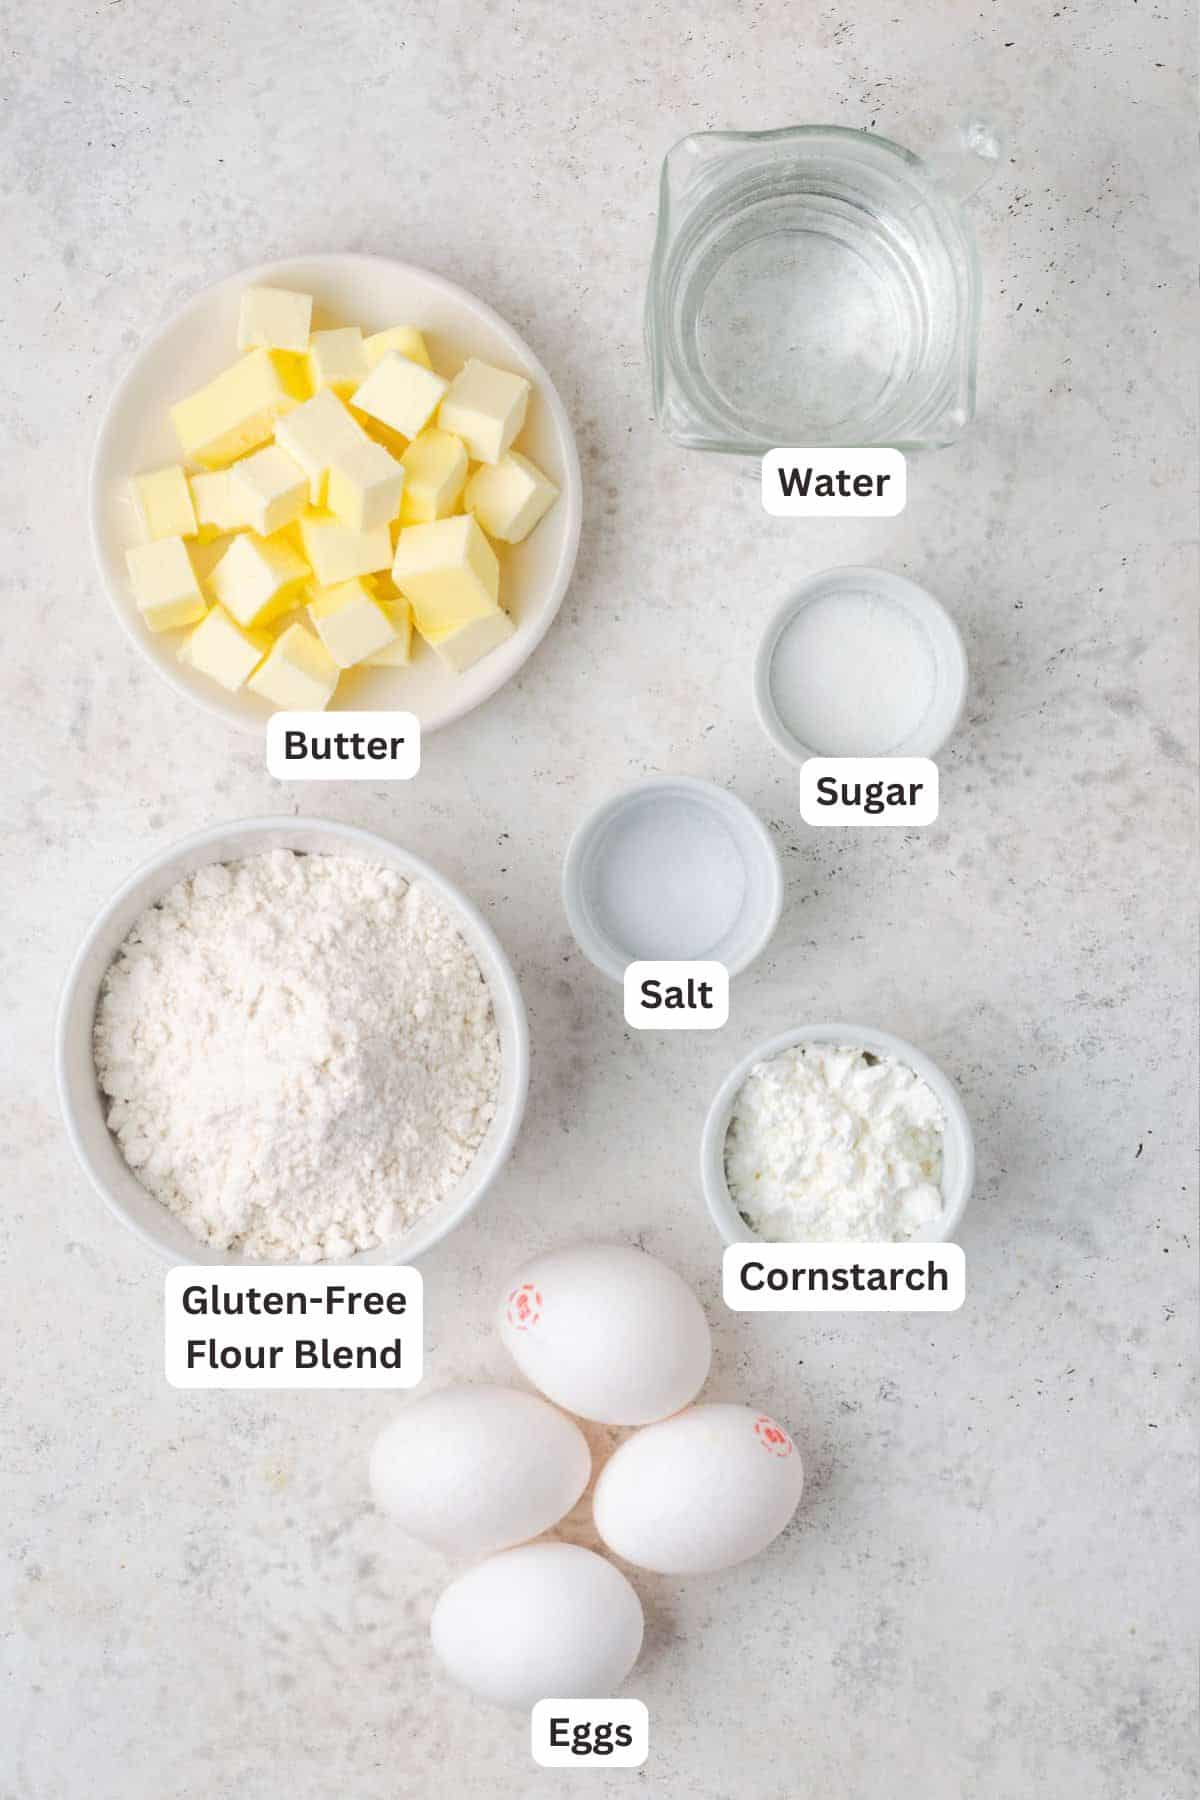
Choux pastry is wonderfully simple, made with a handful of pantry ingredients. Each ingredient works with the others to produce beautiful, light, and fluffy pastries. Below is what you’ll need, and don’t forget to refer to the recipe card for the full amounts.
- Gluten-Free Flour: Use your preferred gluten-free flour blend. I’m partial to King Arthur Flour Measure-for-Measure.
- Cornstarch: Combining cornstarch into the flour helps keep the baked pate a choux soft and fluffy. Double-check that the cornstarch you are using is labeled 100% gluten-free.
- Eggs: You’ll need 3-4 large eggs to mix into the dough. The exact number will depend on the size of the eggs and how long you cook your choux paste. You’ll also need an extra egg for an egg wash.
- Butter: I recommend using unsalted butter, cut into cubes.
- Sugar and Salt: This recipe uses both. If you are making a savory choux pastry recipe, you can omit the sugar.
How to Make Gluten Free Choux Pastry
The consistency of pate a choux falls somewhere between dough and batter. The extra moisture is what produces the steam that allows the pastry to rise. When making choux pastry, you’ll first need to prepare what’s called a panade. This is a sort of paste with a soft, moist consistency that creates the base for the pate a choux. Let’s get started:
- Prepare the Ingredients: Get out two bowls. Begin by sifting together the flour and cornstarch in one bowl, and lightly whisk the eggs in the other.
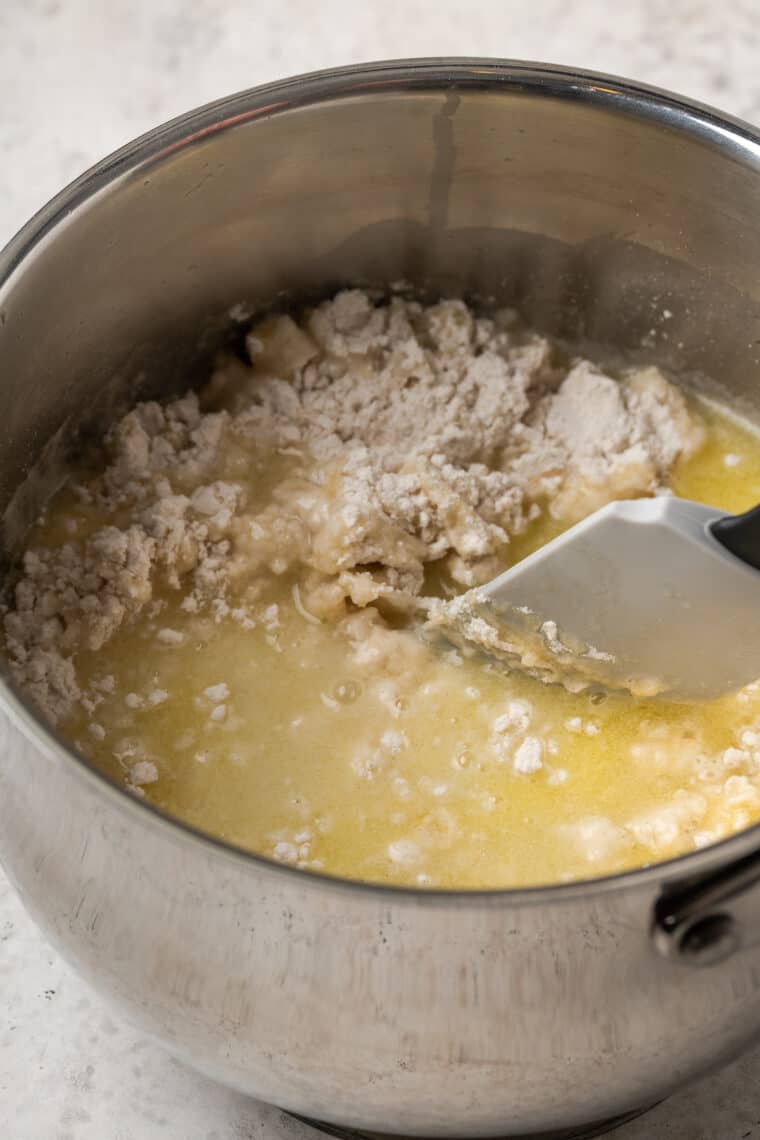
- Cook the Panade: In a saucepan on the stovetop, heat water, butter, salt, and sugar. When the mixture is just about to boil, take it off the heat and gently stir in the flour (all of it). Afterward, place the pot back over low heat. You’ll need to give the paste a good stir for a couple of minutes as the flour cooks off and the moisture evaporates, leaving a shiny ball of dough.
- Cool: Place the dough into the bowl of your stand mixer, and leave it to cool.
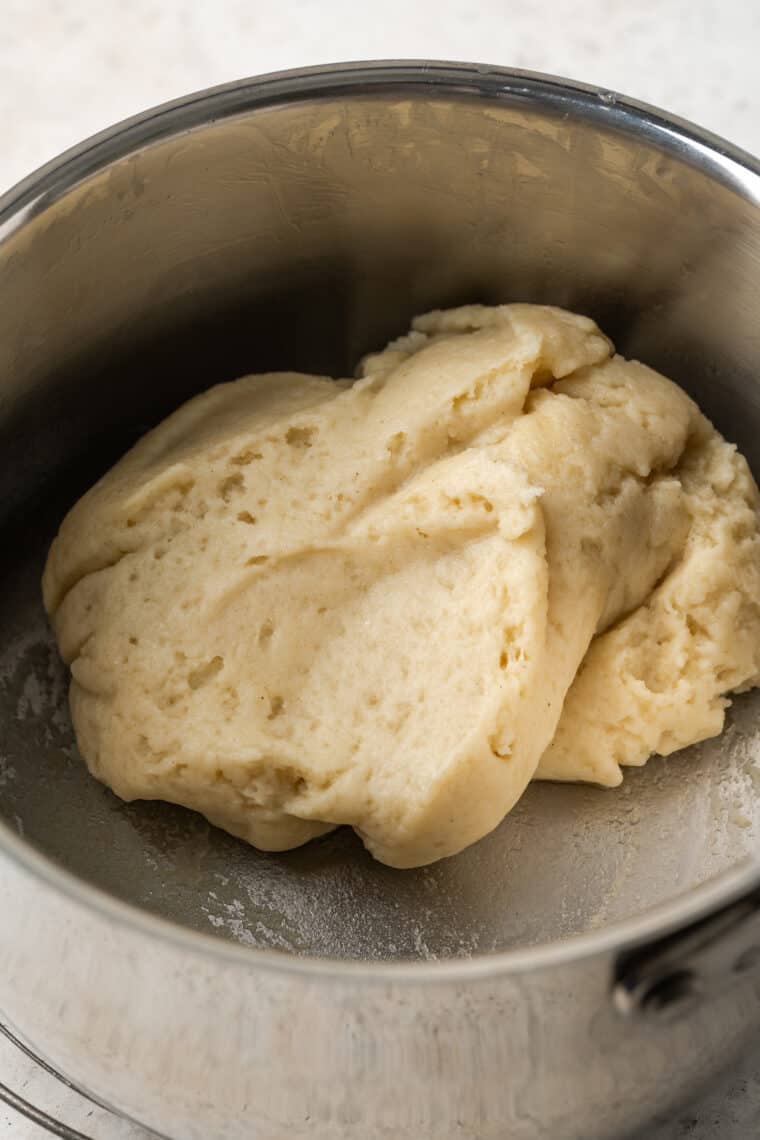
- Add Eggs: Once the dough has cooled enough that you can hold your finger against it, turn on the mixer and add in the eggs, one at a time, until incorporated. Wait until the dough becomes smooth before adding the next egg. After 3 eggs, check the consistency. If the dough is smooth, shiny, and holds its shape, you may not need the 4th egg.
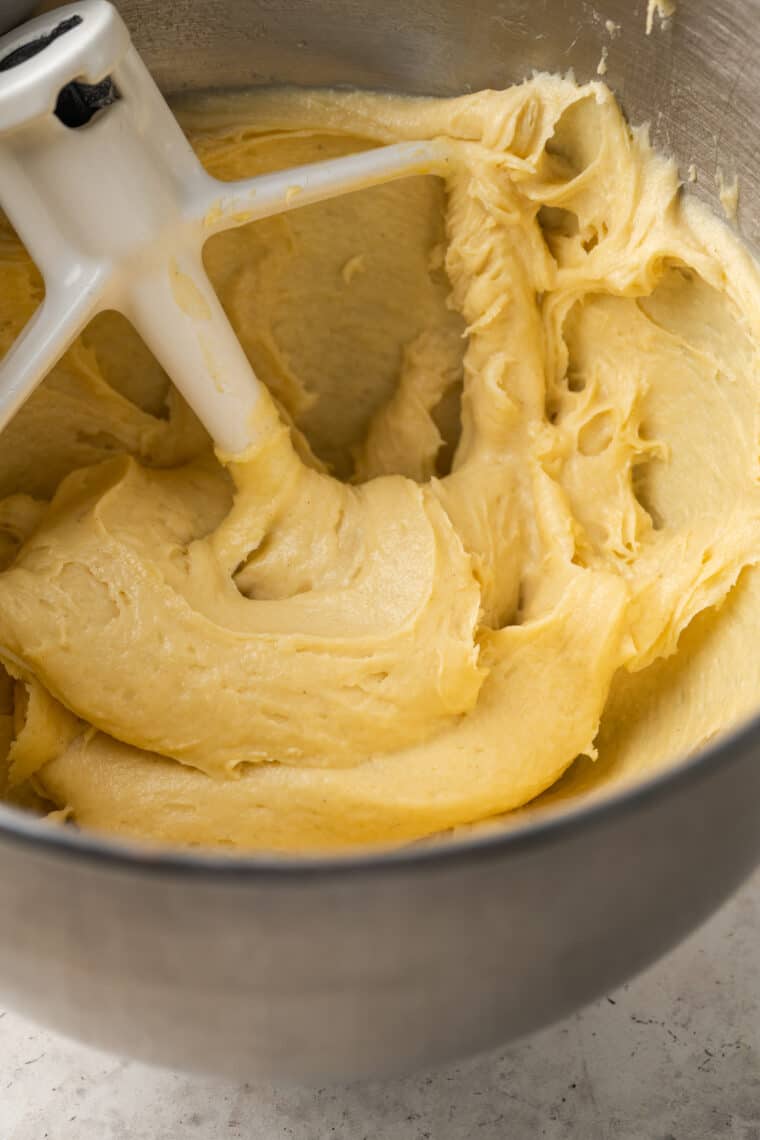
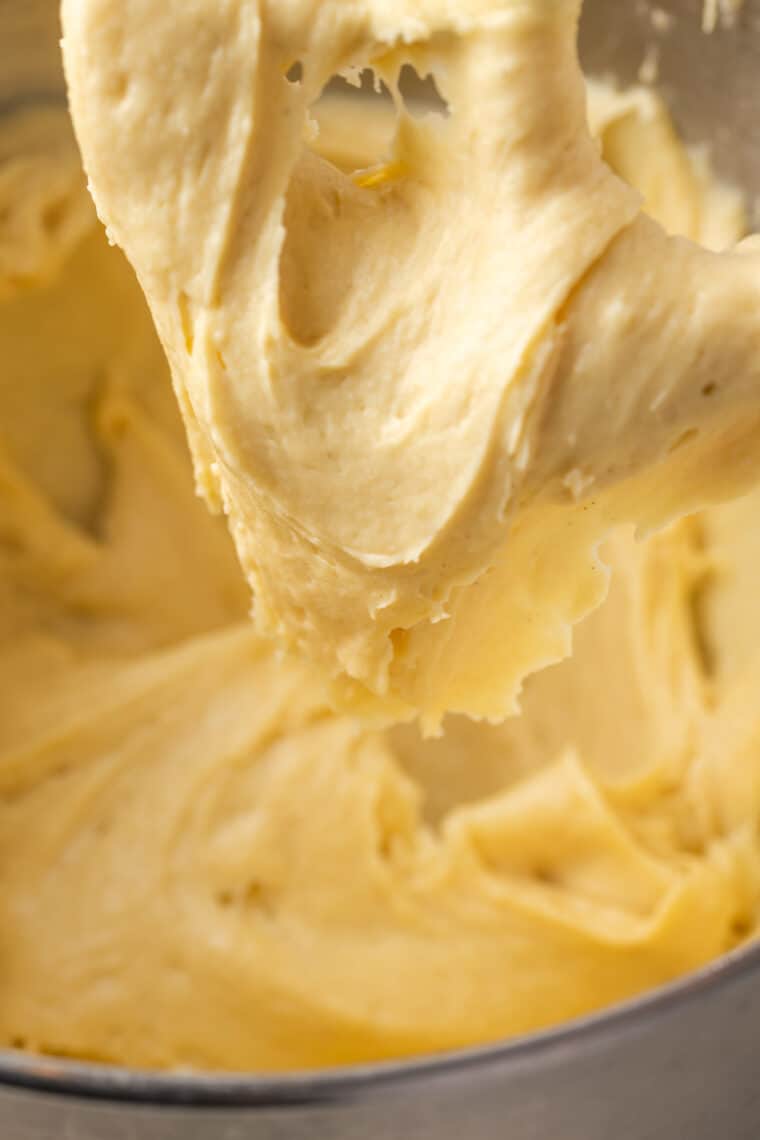
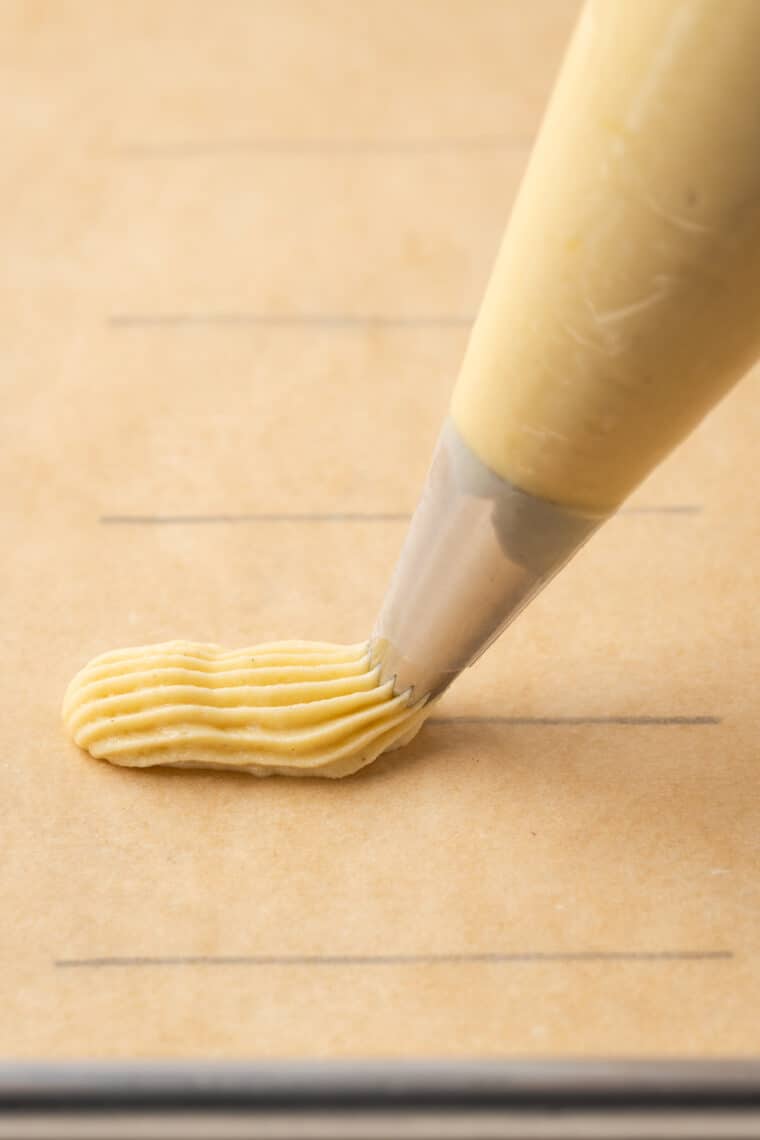
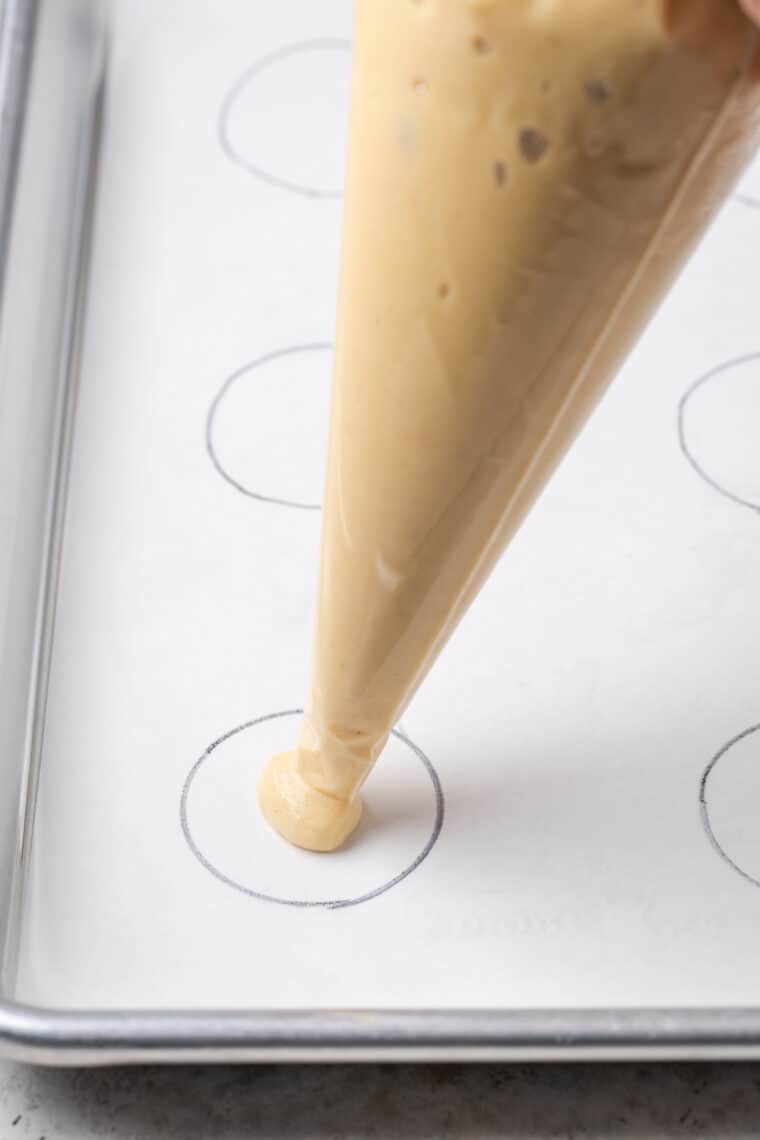
- Finish: Continue to mix for another minute or two, then add the choux dough to a piping bag. Pipe the dough into lines for gluten-free eclairs, or into circles if you’re making cream puffs. See below for even more ways to use your homemade pate a choux.
- Bake: Lastly, brush the dough with an egg wash before baking it according to your recipe of choice.
Can I Make Choux Pastry Dough Ahead?
If you’d like to prepare the pate a choux 1-2 days in advance, you can pipe out the gluten-free cream puff or eclair shells onto a baking sheet and store them covered in the fridge until you’re ready to bake them. You can also store your pate a choux airtight inside a closed piping bag.
The baked, unfilled choux pastries can also be made up to 1 day ahead and kept at room temperature, or frozen airtight for up to 1 month. See below for more storing and freezing instructions.
Tips for Success
Basic ingredients make pastry recipes super simple, but as a result, they also can be very precise! But don’t worry, even if your choux pastry doesn’t bake up perfectly light and fluffy the first time, chances are it will still taste delicious. Here are some tips to have your gluten-free puff pastry come out the best every time:
- Stick to the recipe. I’ve tested this pastry recipe thoroughly, so you don’t have to! Make sure to adhere to the ingredients and measurements, and follow the recipe as written to avoid disappointment.
- Sift the flour. This is essential to avoid clumps in your gluten-free choux paste.
- Make sure that the salt and sugar are completely dissolved. Heat the butter mixture slowly so that everything dissolves before it reaches a boil.
- If your dough is too thick, it will be difficult to pipe. And if you’re still able to pipe it with some effort, you may notice that your pastries turn out dense, without those classic air pockets. In both scenarios, the answer is likely that your dough needs more eggs. I recommend beating an extra egg and then slowly adding a little at a time until the dough reaches a pipeable consistency.
- On the other hand, if your dough is too thin, your pastries will fall flat in the oven. To fix choux pastry dough that’s too soft, you’ll need to make more panade. You don’t need to make a full recipe, but you can halve the ingredients and follow the same steps. Allow the paste to cool and then mix it into your existing dough, a little at a time until it’s thick enough to hold its shape.
- Don’t open the oven while the choux are baking. I know it’s tempting to check, but resist! Once your choux puffs are in the oven, opening the door prematurely can cause the pastry to deflate.
How to Store Gluten Free Pate a Choux
Store your unbaked gluten-free choux dough airtight in the fridge for up to 2 days. Baked choux pastries can be kept airtight at room temperature for 1-2 days, or you can freeze them for longer storage (see below).
Can I Freeze Choux Pastry?
I recommend freezing the baked, unfilled choux pastries versus the unbaked dough. Store your gluten-free pastries airtight and freeze them for up to 1 month. Defrost at room temperature before filling.
Common Questions
Below are some additional choux pastry FAQs:
Is puff pastry the same as pâte à choux?
Similar, but not quite the same. Puff pastry (like the kind used to make Gluten Free Pie Crust) is usually rolled in layers and relies on butter for leavening, while pate a choux uses the water content in the eggs to create the steam it needs to puff up.
What’s the best gluten-free flour for pastry?
I make this recipe using King Arthur Flour’s Measure-for-Measure gluten-free flour blend, with great results.
How can I tell that my choux paste is ready?
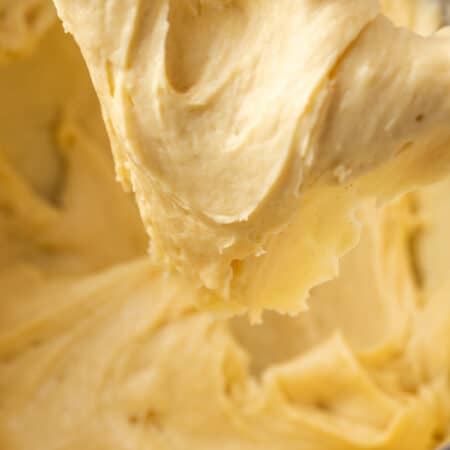
The best way to know if your choux dough is at the right consistency is to go by eye. It should be smooth and free of lumps. It should also form a “V” shape when you pull it up (see process photo), and it will drop off the stand mixer attachment in a large mass.
Why is my choux not puffing?
This is likely because there is too much moisture in the dough (ie, too many eggs), or you didn’t bake the choux for long enough. See the tips section above for more details on how to remedy dough that’s too soft.
What Can I Make From Pâte à Choux?
Choux pastry is perfect as it is, dusted with a bit of powdered sugar. And of course, you’re now well-equipped to make your favorite gluten-free pastries! Here are just a few ways to use pate a choux:
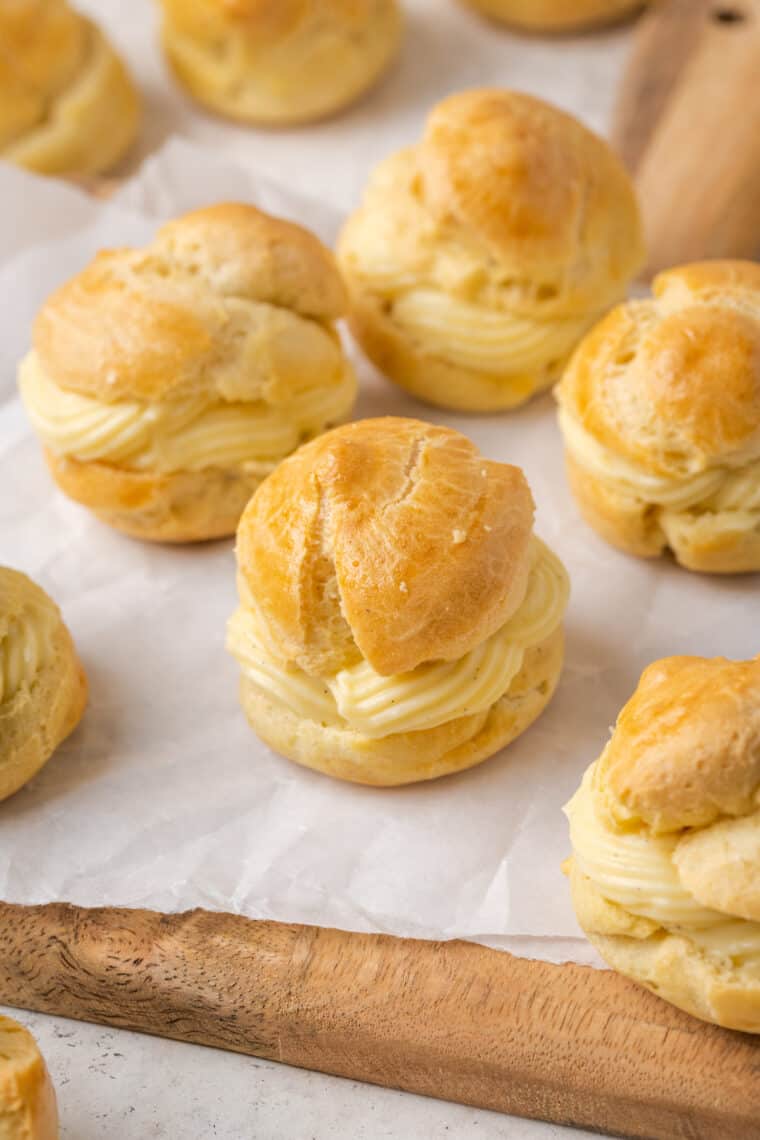
- Gluten-Free Cream Puffs: Make perfect cream puff shells filled with whipped cream.
- Profiteroles: Like cream puffs, but filled with ice cream instead.
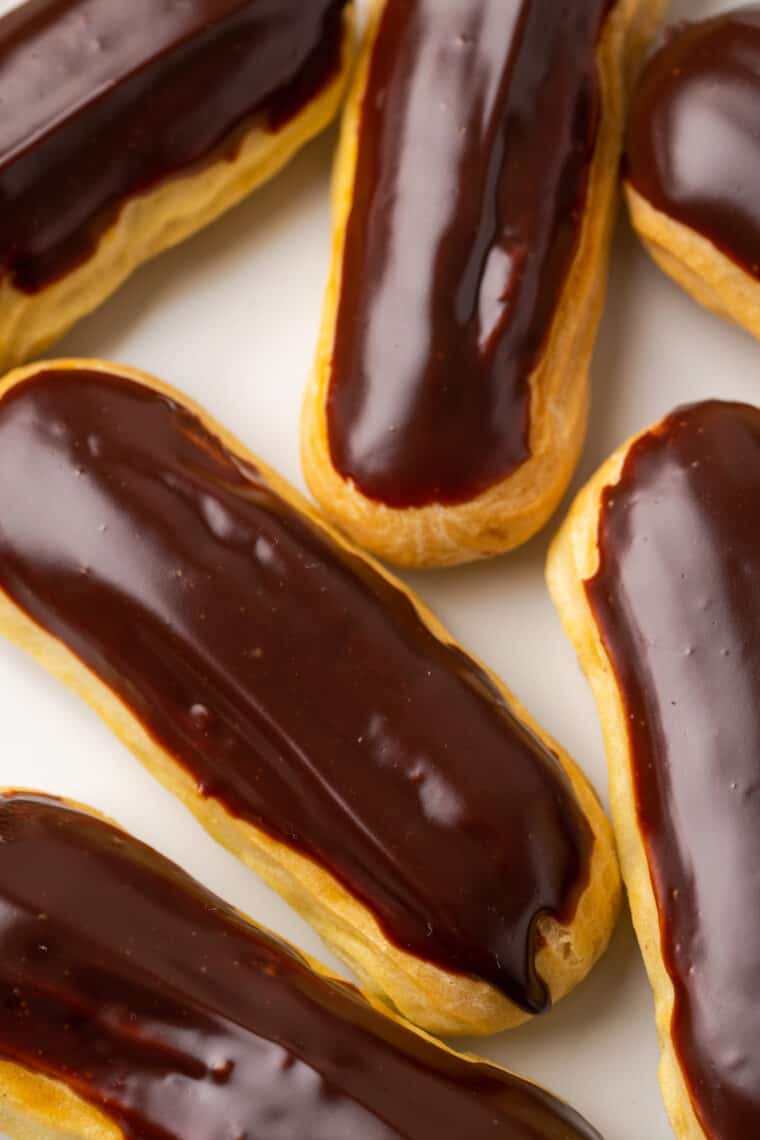
- Gluten-Free Eclairs: Make homemade eclairs filled with Vanilla Pastry Cream and topped with Chocolate Glaze.
- French Crullers: Pipe the dough into donut rings using an open star piping tip, and then deep fry them. Or, pipe straight lines and fry them to make churros!
- Cheese Puffs: Also called gougères, you can make gluten-free choux pastry cheese puffs by mixing cheese and herbs into the raw dough.
Things You’ll Need
I highly recommend using a stand mixer to make the choux dough. Being able to work hands-free allows you to carefully add those eggs one at a time, and the paddle attachment helps you achieve the perfect consistency.
Gluten Free Pate a Choux
Ingredients
- 1 Cup + 3 Tablespoons Gluten Free Flour Blend (recomended: King Arthur Measure for Measure)
- 1/4 Cup Cornstarch
- 1 Cup Water
- 7 Tablespoons Butter, cut into small pieces
- 1/2 teaspoon Salt
- 1 Tablespoon Sugar
- 4 Large Eggs, at room temperature
- Additional Egg for Egg Wash
Instructions
- Sift together the flour and cornstarch. In a second bowl, lightly beat the eggs. Set both aside.
- Add the water, butter, salt and sugar to a saucepan set over medium heat.
- Allow to cook until just boiling. There should be small bubbles visible all the way to the edge of the pot.
- Remove from heat and add the flour all at once. Stir the flour in gently and once incorporated return the pot to low heat and stir vigorously to cook the flour, about 2 minutes. The dough will quickly form into a ball, but continue to cook the dough moving it around the pot, to evaporate some moisture.
- The panade will be done when it forms a ball of dough that is shiny and there is visible cooked flour on the surface of the pot.
- Transfer the panade to the bowl of a stand mixer fitted with the paddle attachment and allow it to cool for 10 minutes.
- After cooling, check the dough. If it’s still too hot, stir it on the lowest speed for 2-3 minutes.
- Turn the mixer to medium speed and add the eggs one at a time allowing each egg to fully mix in before adding the next. When you first add an egg the dough will look lumpy and separated, but as you continue to mix it will become smooth. Once it is smooth, that is when you will add the next egg.
- After you have added 3 eggs, check the consistency of the dough by lifting the mixer head. The dough needs to be stiff enough to hold its shape if it were scooped. The dough should be shiny and smooth and form a V when pulled up and should drop off of the paddle in a large mass. If it doesn’t, then go ahead and another half an egg and mix again.
- It is possible you may need 4 full eggs depending on the size of your eggs and how long the panage was cooked, so go by the appearance rather than the number of eggs listed in the recipe.
- Once all of the eggs have been added, continue to mix for 2 minutes. Until smooth and shiny.
- Transfer the choux dough to a 16” piping bag and create the shape for your recipe (circles for cream puffs or lines for eclairs).
- Brush your dough with egg wash before baking.





Wow!! I wasn’t sure how these would turn out. I made these according to recipe and with room temperature eggs, and King Arthur 1:1 gluten free flour and Fleishmans cornstarch. I had dough everywhere I’m not too handy with a piping bag but I did it!! Great recipe and even better than my local bakery..thank you!
Love to hear this!
Could not find oven temp for preheating for this recipe
It will vary slightly based on the exact size and type of pastry you are making, but you’ll see in my eclair and cream puff recipes that I generally bake it at 425°F for 10 minutes, then reduce the temperature to 350°F for 20-30 minutes.
I notice that you don’t have oven temp in your recipe? So want the temp and how long to cook the Pate a choux?
It will vary slightly based on the exact size and type of pastry you are making, but you’ll see in my eclair and cream puff recipes that I generally bake it at 425°F for 10 minutes, then reduce the temperature to 350°F for 20-30 minutes.