This post may contain affiliate links. Read my disclosure policy.
Two ingredient gluten free Oreo Pie Crust is crisp and buttery, the perfect base for pie, cheesecake, and more. In just a few minutes you’ll have a wonderful homemade crust to rival any store-bought version, but yours can be safely made gluten free with gluten free cookies.
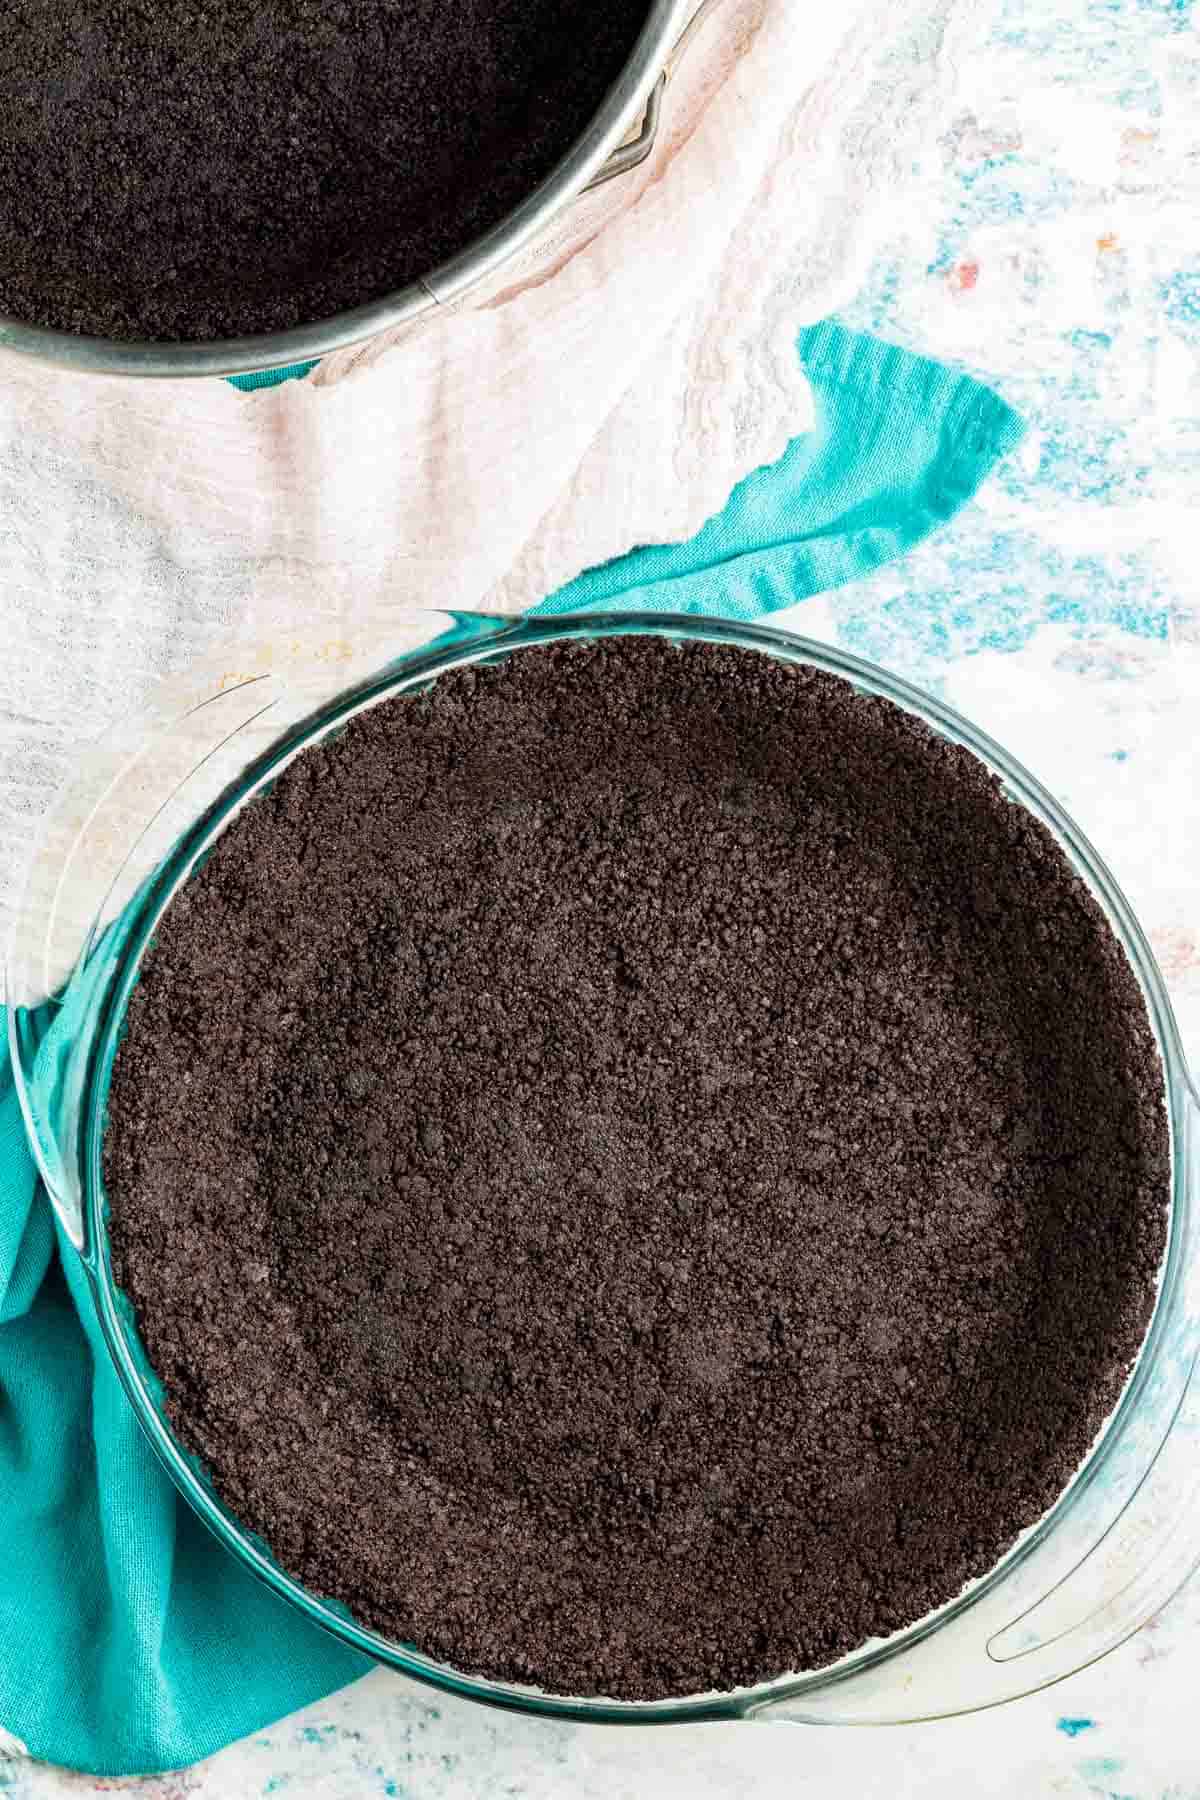
Delicious Details
- Cuisine Inspiration: American
- Primary Cooking Method: Oven and No-Bake options
- Dietary Info: Gluten-free
- Skill Level: Easy
Why You’ll Love This Oreo Pie Crust Recipe
If you’ve been missing a traditional Oreo pie crust since you’ve gone gluten free, you won’t need to miss it anymore! Dress up your next gluten free cheesecake with my super simple recipe for Oreo crust, or use it as a base for many pies and bars. Easily made gluten free with gluten free Oreo cookies, you can lightly bake this Oreo crust or keep it as a no-bake crust depending on how you fill it. I love using homemade Oreo pie crust as a base for my chocolate cheesecake or you can try it with pumpkin cheesecake bars instead of a graham cracker crust. Even better? It takes just minutes to make.
- So easy. With two ingredients and two steps needed to put together this gluten free Oreo crust, I doubt you’ll be able to find an easier recipe! When you need to whip up a quick, sweet crust, this is the recipe for you.
- Perfect with many fillings. From homemade pudding to adding a little chocolate to a gluten free pumpkin cheesecake, this Oreo crust is a natural pairing with many flavors and filling options.
- Great to make ahead. Did you know that you can make this pie crust head of time and store it in the freezer? I love to do this before the holidays so I have a pre-made crust or two ready to go for a quick dessert.
What You’ll Need
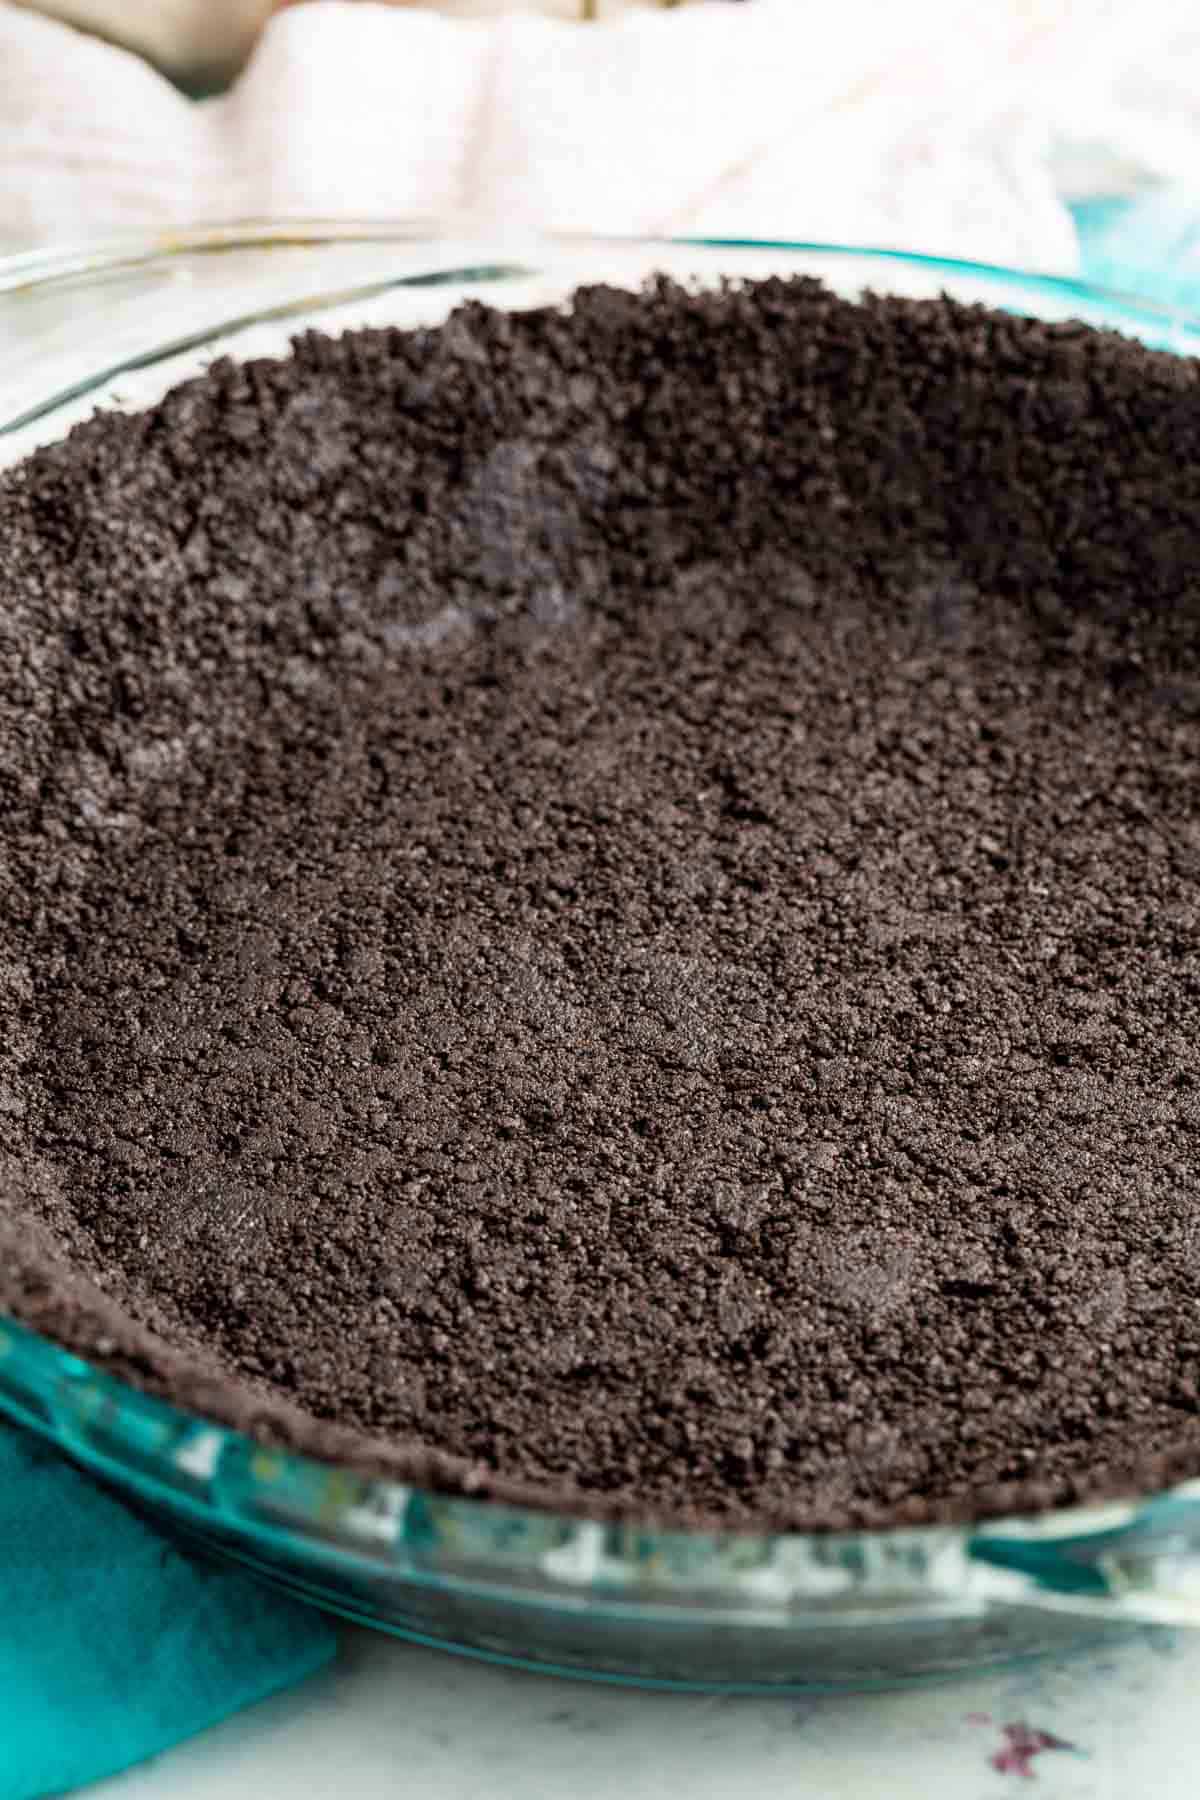
Just two ingredients are all you’ll need to make this easy pie crust! Don’t forget to check the recipe card at the end of this post for the full ingredient amounts.
- Gluten Free Oreo Cookie Crumbs: You can buy a package of gluten free Oreos and crush them up, or make homemade gluten free Oreos using my recipe.
- Butter: Use unsalted butter so that it doesn’t make the crust overly salty.
How To Make Gluten Free Oreo Crust
A few simple steps go into this crust, which I’ve outlined in the photos below. Find the detailed instructions in the recipe card lower down.
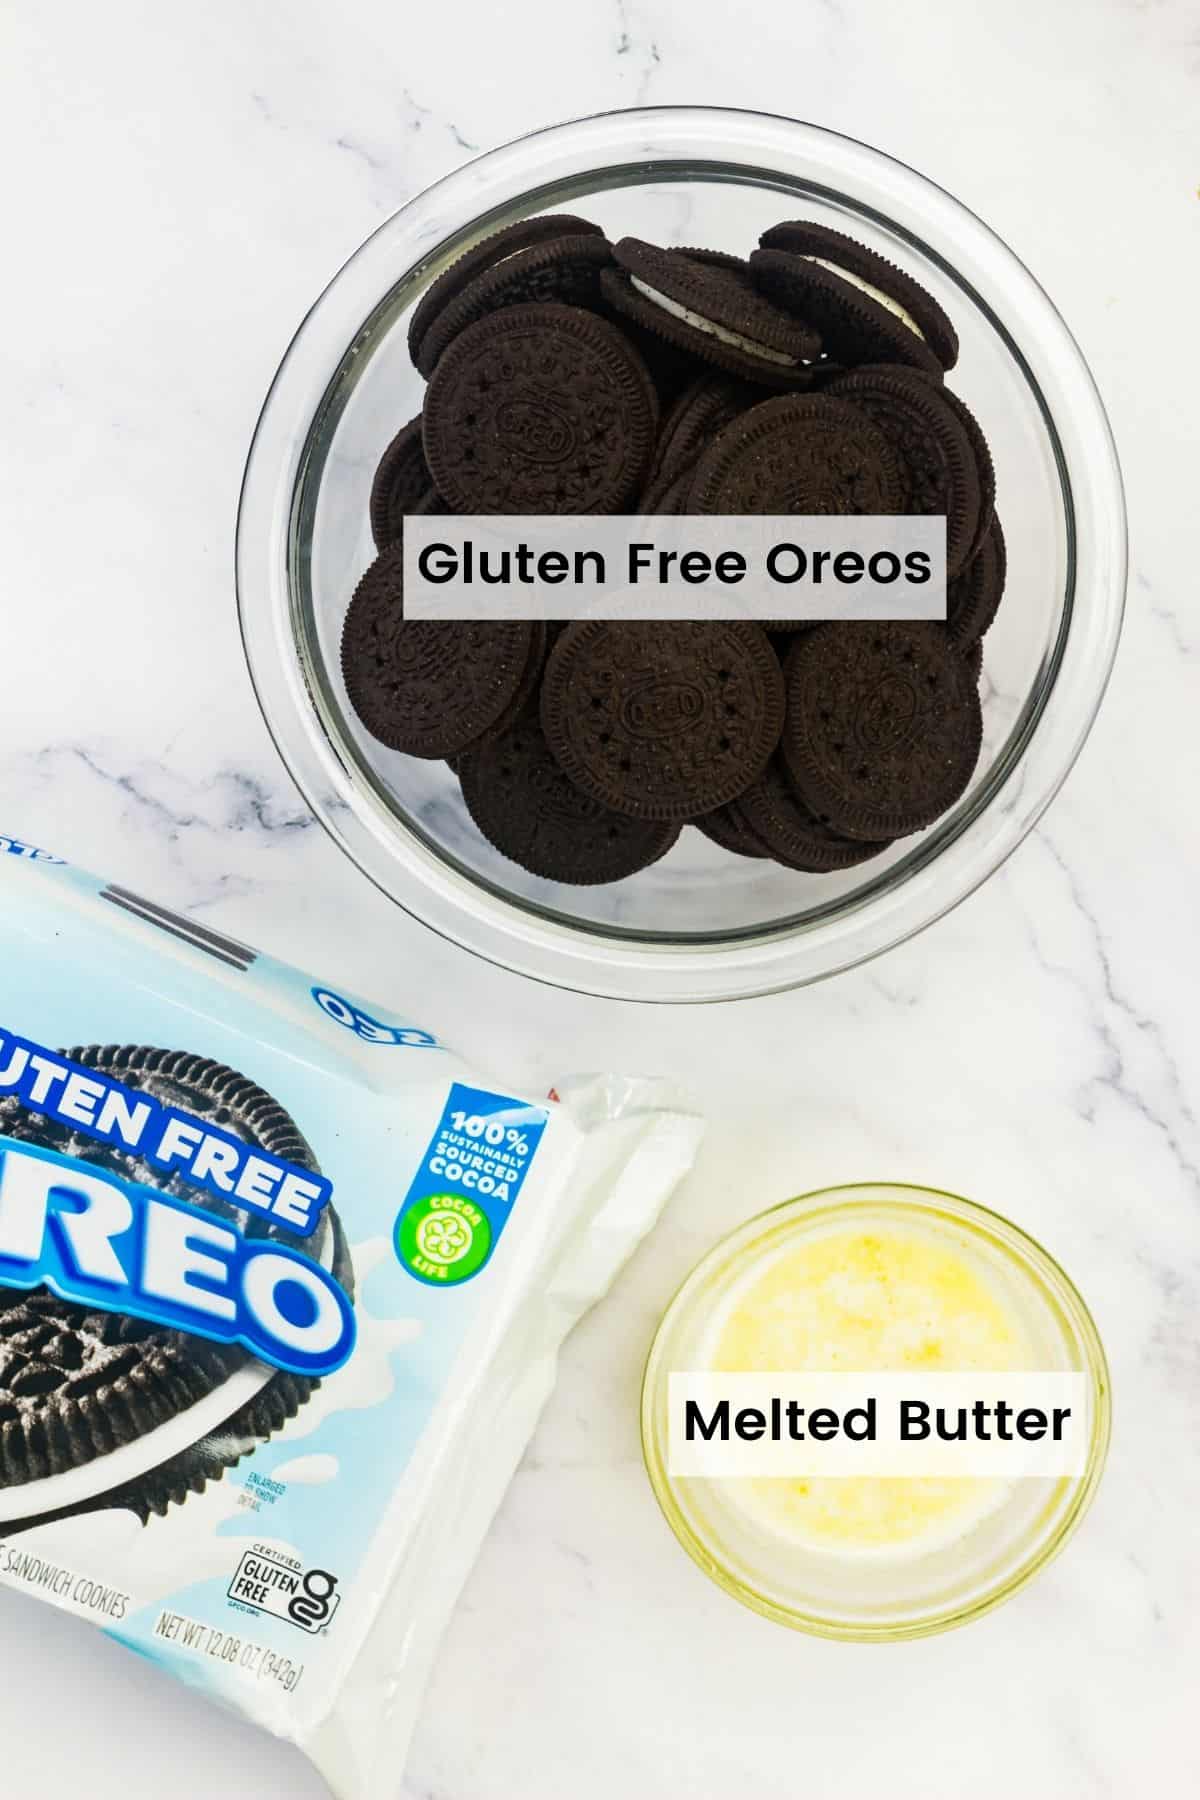
- Process the Oreos. Pulse the Oros into crumbs using a food processor.
- Add butter. Mix in the melted butter.
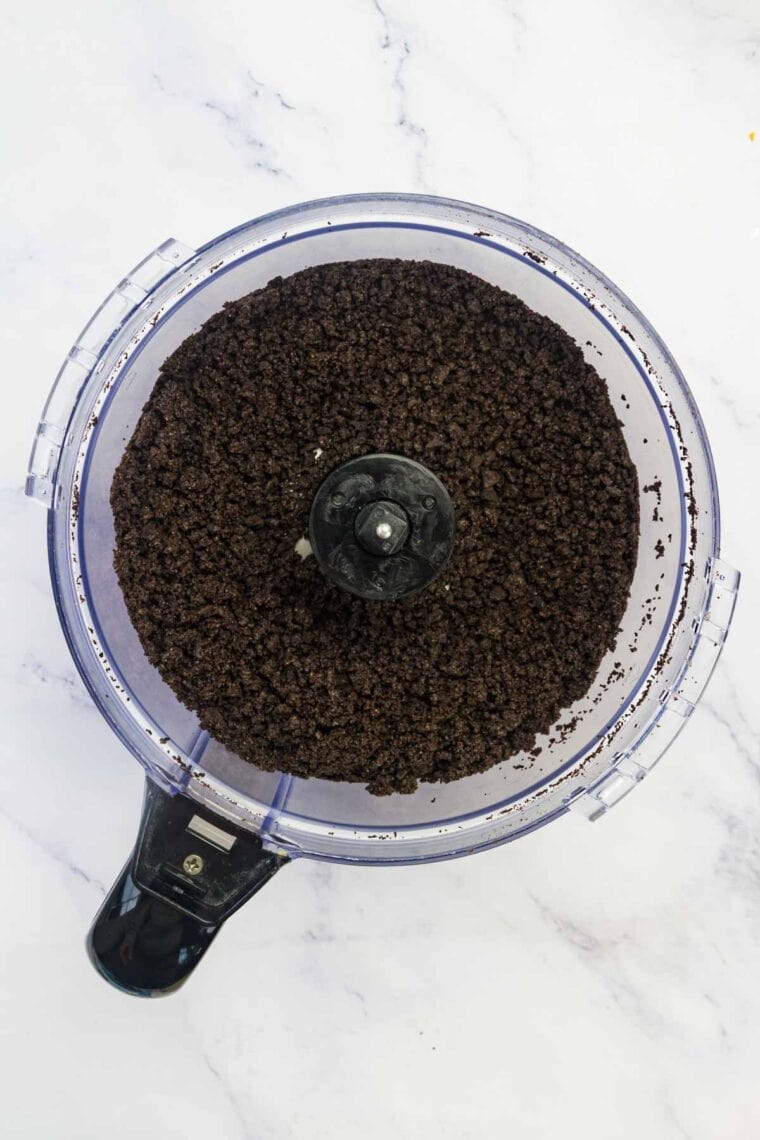
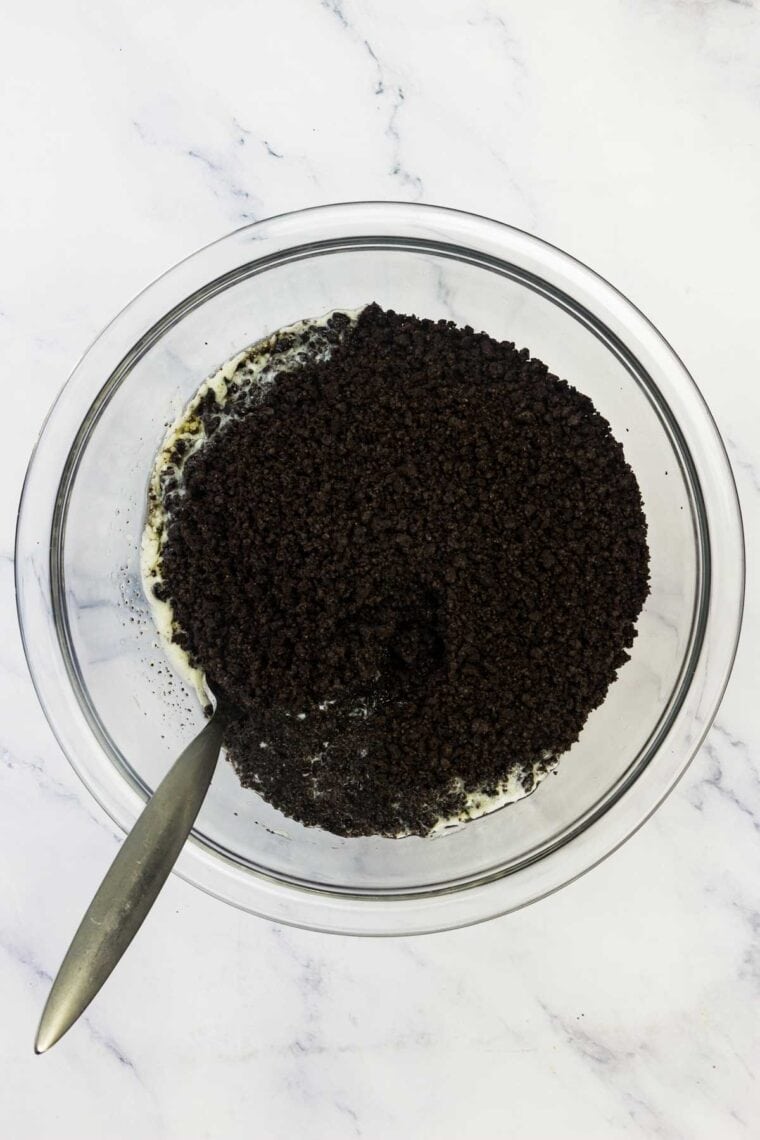
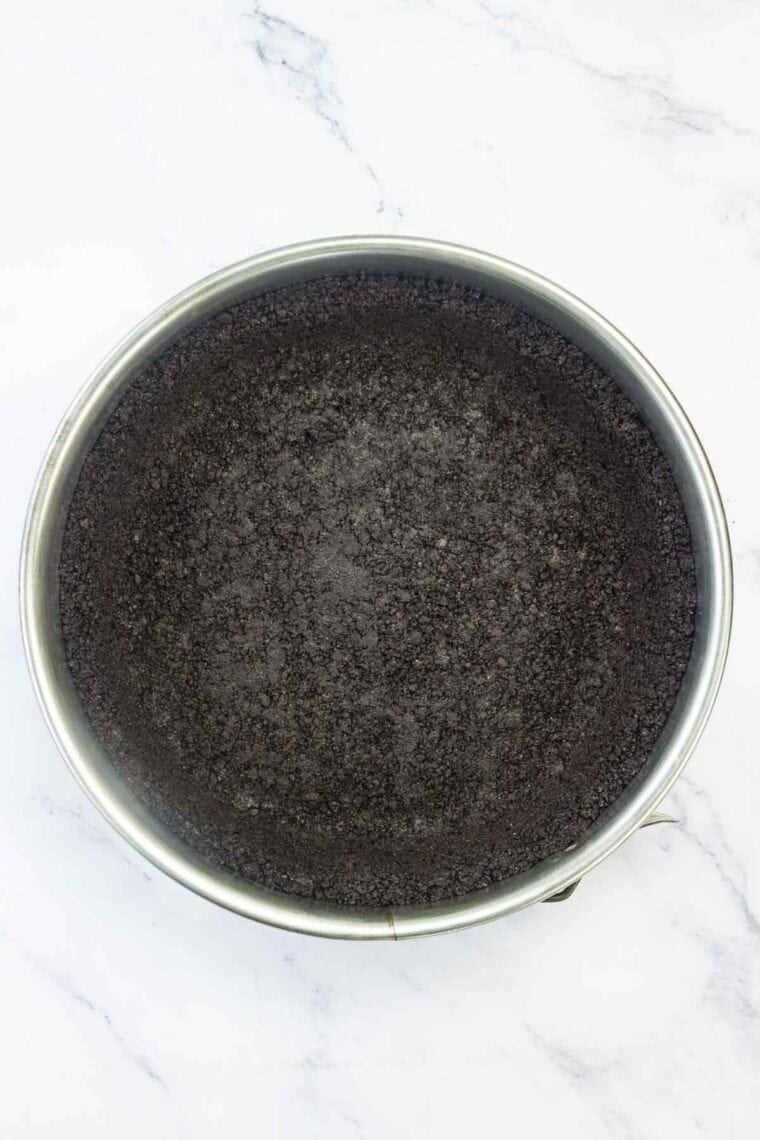
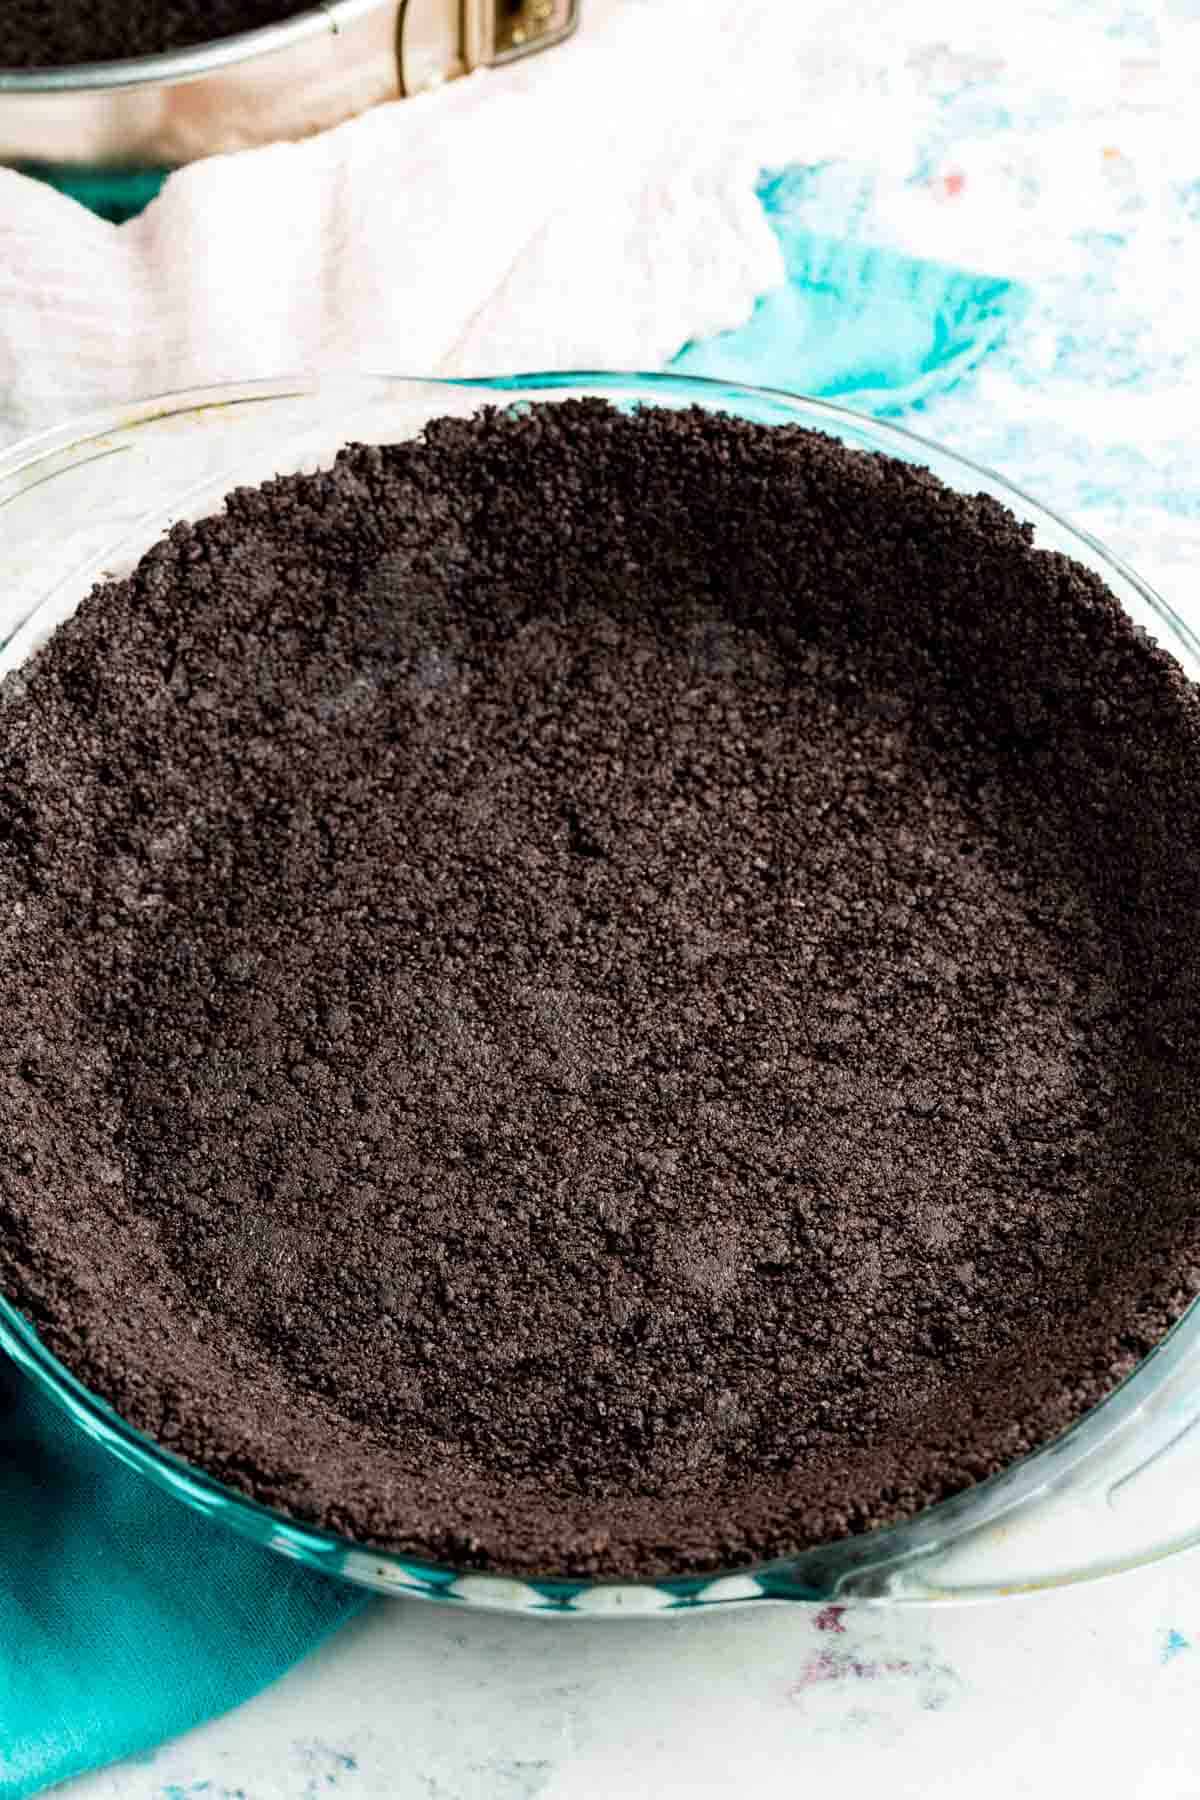
- Add to a pan. You can use a pie plate or a springform pan as shown above.
- Press the crust. Pour the cookie crumbs into a springform pan or pie plate and press them into an even layer on the bottom and sides.
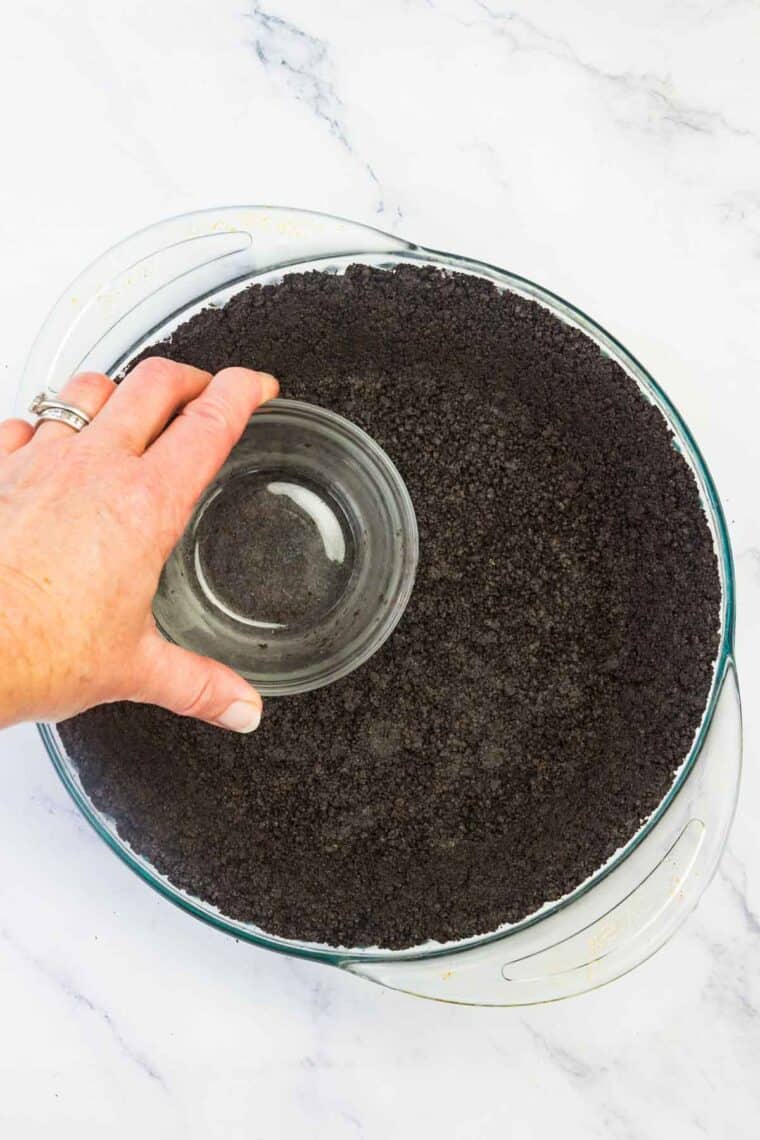
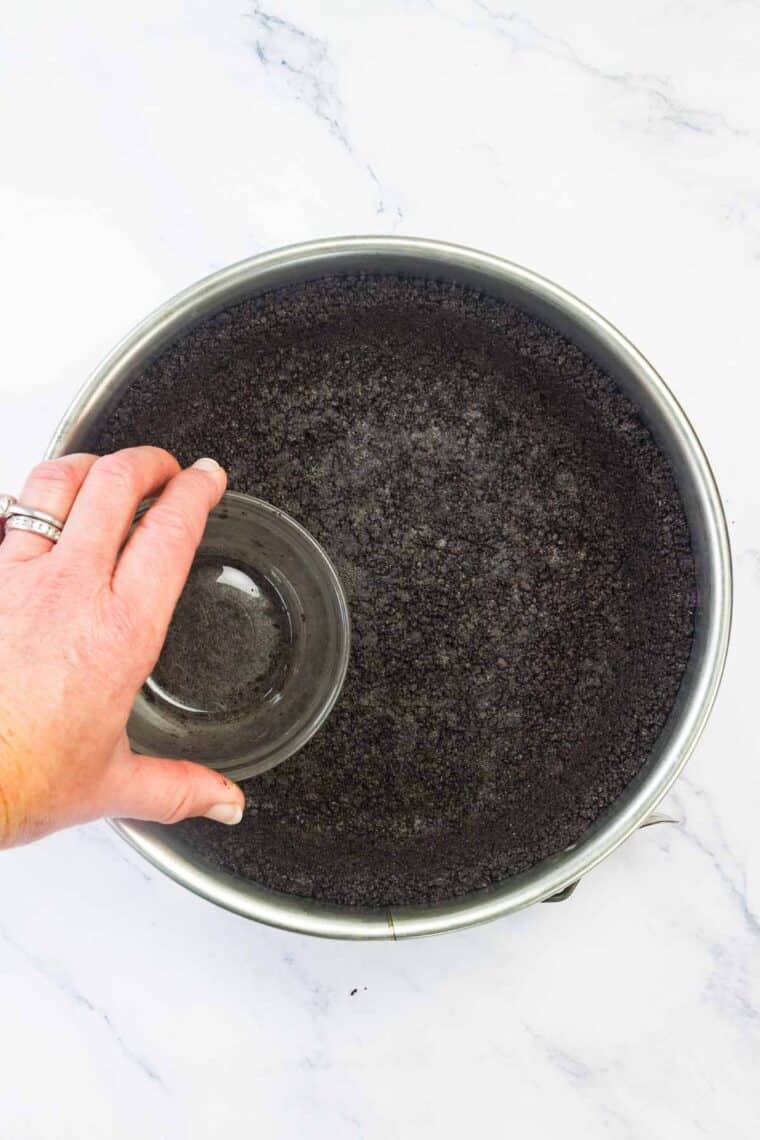
- For an unbaked crust: Place it in the fridge to set for 10 minutes.
- For a baked crust: Bake the cookie crust for 8 minutes. Remove from the oven and set aside to cool.
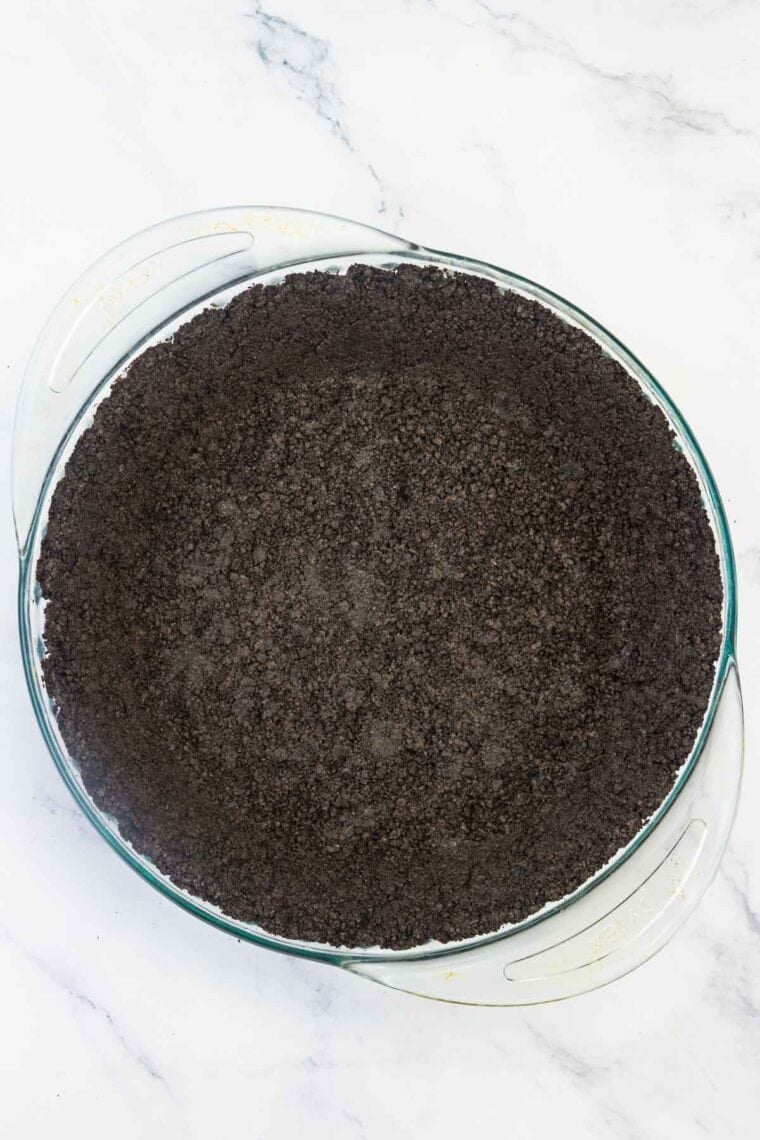
What Size Pie Can I Make With This Crust?
I recommend using a deep dish pie pan or an 8 or 9-inch springform pan to make this crust because the crust is thick enough so that it holds together well and contains the filling if you make it in a deeper pan. If you use a regular pie plate, you’ll only need about 1 ½ cups of cooking crumbs (about 18 cookies) and 3 tablespoons of butter. The full recipe amount placed into a regular pie pan will make a crust that is too thick and there won’t be enough room for filling.
Tips & Variations
Your choice of regular or gluten free Oreos means you can tailor this crust to any dietary needs.
- Use regular Oreos. You can make this using regular Oreos or other sandwich cookies. Note that if you use another brand of gluten free chocolate sandwich cookies, you will still need 2 ½ cups of crumbs, but you may need a different number of cookies depending on the brand and size of the cookies.
- Try other flavors. Gluten Free Oreos are also available in Golden and Mint varieties, so you can get creative!
- Finely grind the cookies. Keep grinding the cookies in the food processor until they are finely ground. The finer ground of the cookie crumbs the better the crust will hold together. You don’t want any big chunks of cookie remaining, so make sure that the crumbs are mostly uniform and small.
- Cookie crumb-making option: If you don’t have a food processor to crush the cookies, you can easily crush them by hand. Place the cookies in a ziploc bag, press as much air out as you can, then seal the bag. Using a rolling pin, smash the bag of cookies until fine crumbs form.
- How to press down the crust: I like to use a glass, measuring cup, or small glass bowl to press the crumbs down firmly. Then, use the back of a spoon to press and round where the sides of the crust meet the base of the crust so that it holds together after baking.
- If the crust is too wet: Sometimes the crust will feel a bit greasy as you start to press it into the pan. If this is the case, you can add a tablespoon more of cookie crumbs, and keep adding more crumbs as necessary to create a thick crust base.
Proper Storage
- Fridge – Cover the prepared crust in the pan with foil and store it in the fridge for up to 3 days.
- Freezer – Wrap the prepared crust in its pan in a layer of plastic wrap and a layer of foil and place in the freezer for up to 3 months. Thaw the crust in the fridge before using it in a recipe.
Ways To Use Oreo Crust
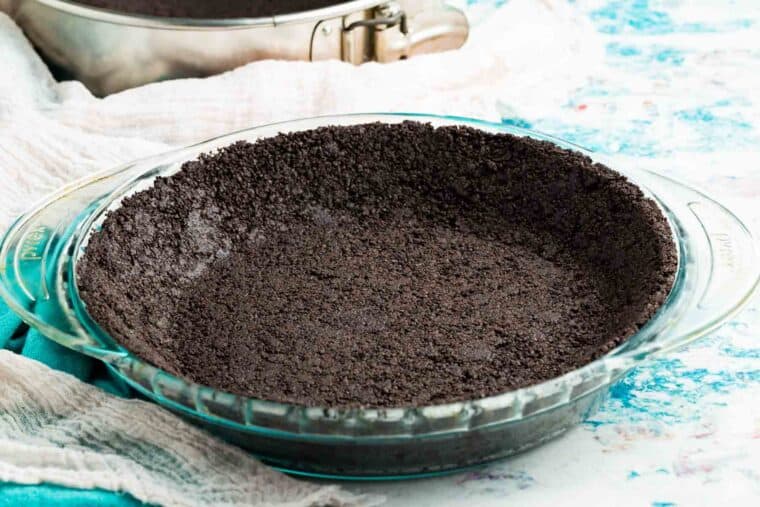
Oreo crust is amazing as a base for all sorts of desserts. Some of my favorite options include:
- Pie. My recipes for homemade Peanut Butter Pie and No-Bake Dulce de Leche Banana Cream Pie were made to go with gluten free Oreo crust!
- Cheesecake. As noted, cheesecake is wonderful on an Oreo cookie crust for a slightly different flavor profile. I also like using gluten free Oreo crust to make a Gluten Free Pumpkin Cheesecake Tart to add a bit of chocolate, and it’s the base for the ultimate Gluten Free Chocolate Cheesecake.
- In place of graham cracker crust. You can use an Oreo pie crust instead of a graham cracker crust in many recipes. For example, to make my S’mores Pudding Pie even more rich and chocolatey, serve it on an Oreo crust.
More Oreo Desserts To Try
Ingredients
- 2 ½ cups (one 12.06 oz., 342 g package, 30 cookies) Gluten Free Oreo cookie crumbs
- 5 tablespoons unsalted butter , melted
Instructions
- Add the Oreos to a food processor and pulse until they are crumbs.
- Add the melted butter and mix it together until it resembles wet sand.
- Pour the cookie crumbs into a springform pan or pie plate. Press them into an even layer on the bottom and part way up the sides of the springform pan or up the sides of the pie plate.
- For unbaked crust: Place in the fridge to set for 10 minutes.
- For baked crust: Bake the cookie crust for 8 minutes. Remove from the oven and set aside to cool.
Notes
- You can make this using regular Oreos too. If you use another brand of gluten free chocolate sandwich cookies, you will still need 2 ½ cups of crumbs, but you may need a different number of cookies depending on the brand and size of the cookies.
- I like to use a glass, measuring cup, or small glass bowl to press the crumbs down firmly.
- The crust is thick enough that it holds together well and contains the filling if you make it in a deep dish pie pan or an 8- to 9-inch springform pan. If you use a regular pie plate, you’ll only need about 1 ½ cups of cooking crumbs (about 18 cookies) and 3 Tablespoons of butter. The full amount will make a crust that is too thick and there won’t be enough room for filling.


