This post may contain affiliate links. Read my disclosure policy.
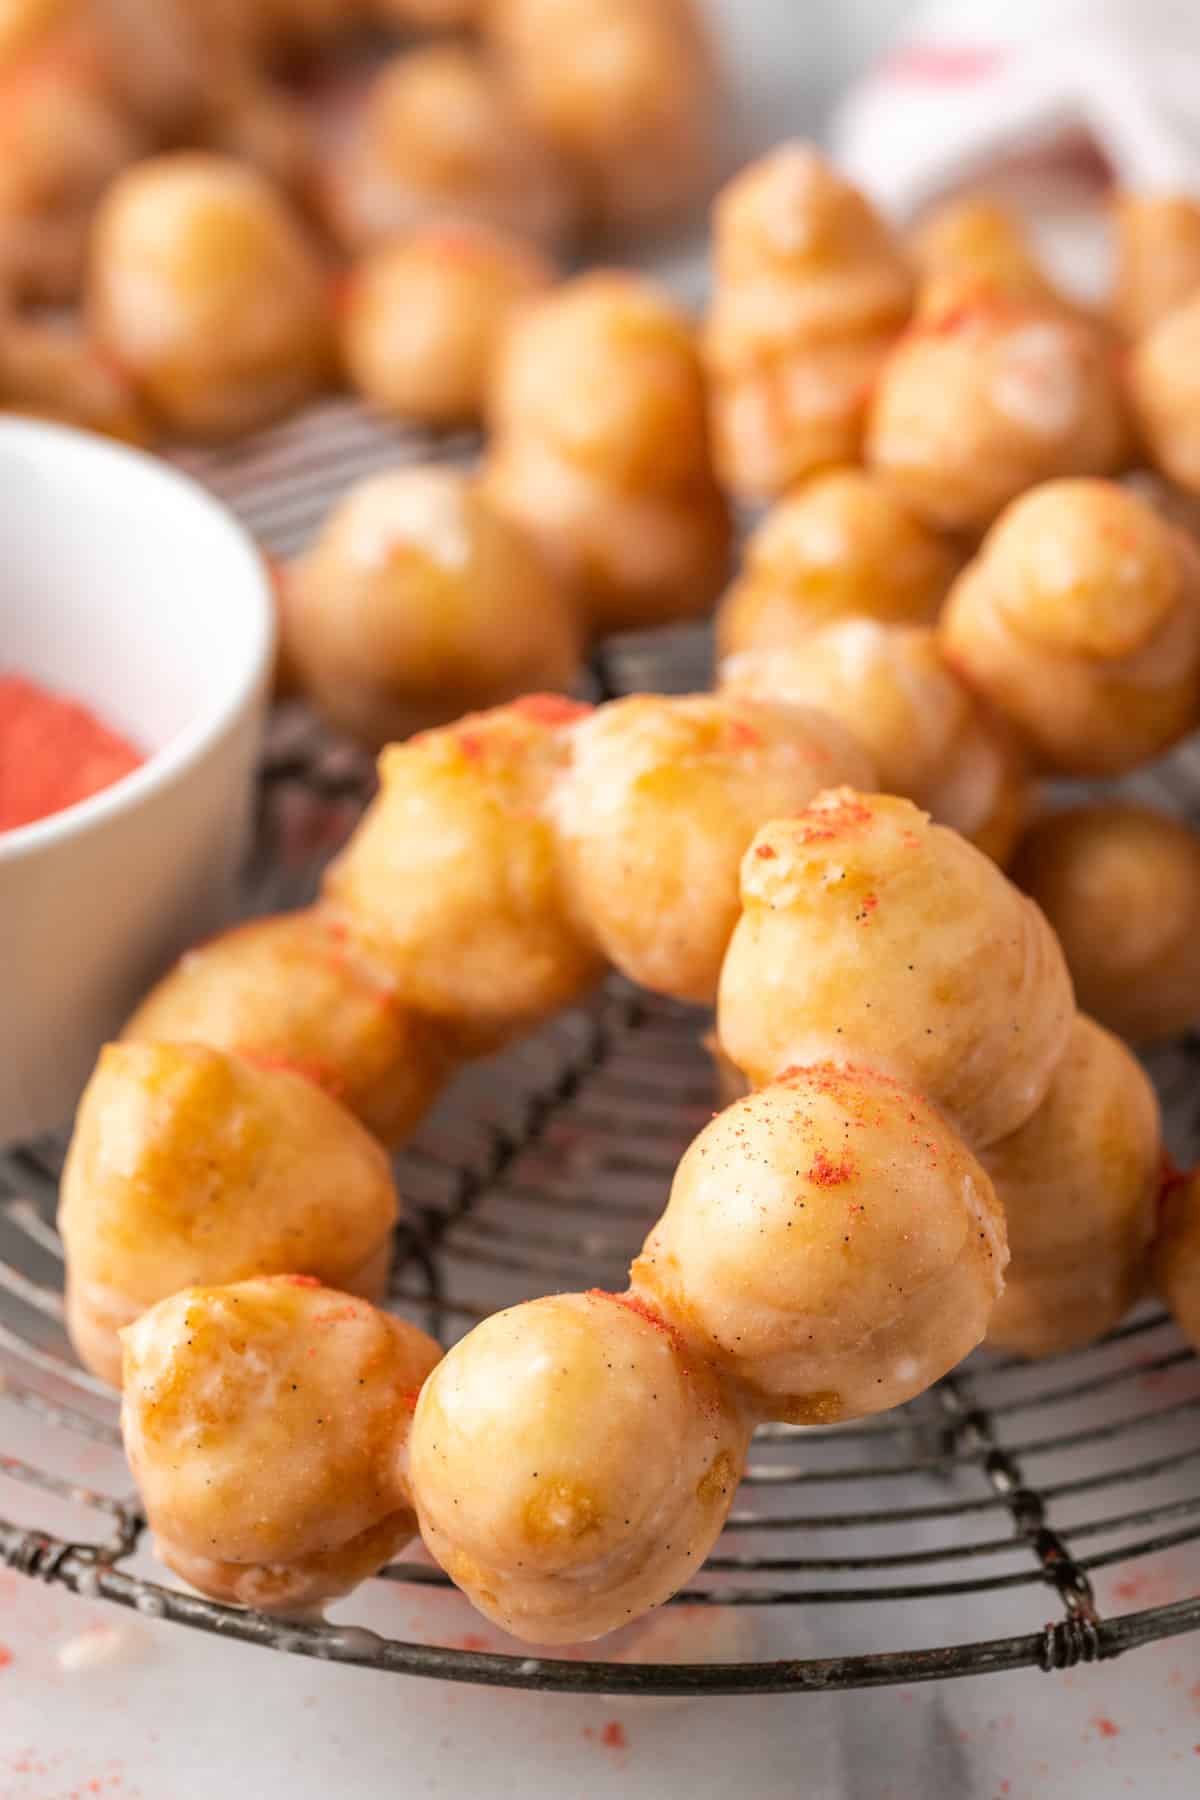
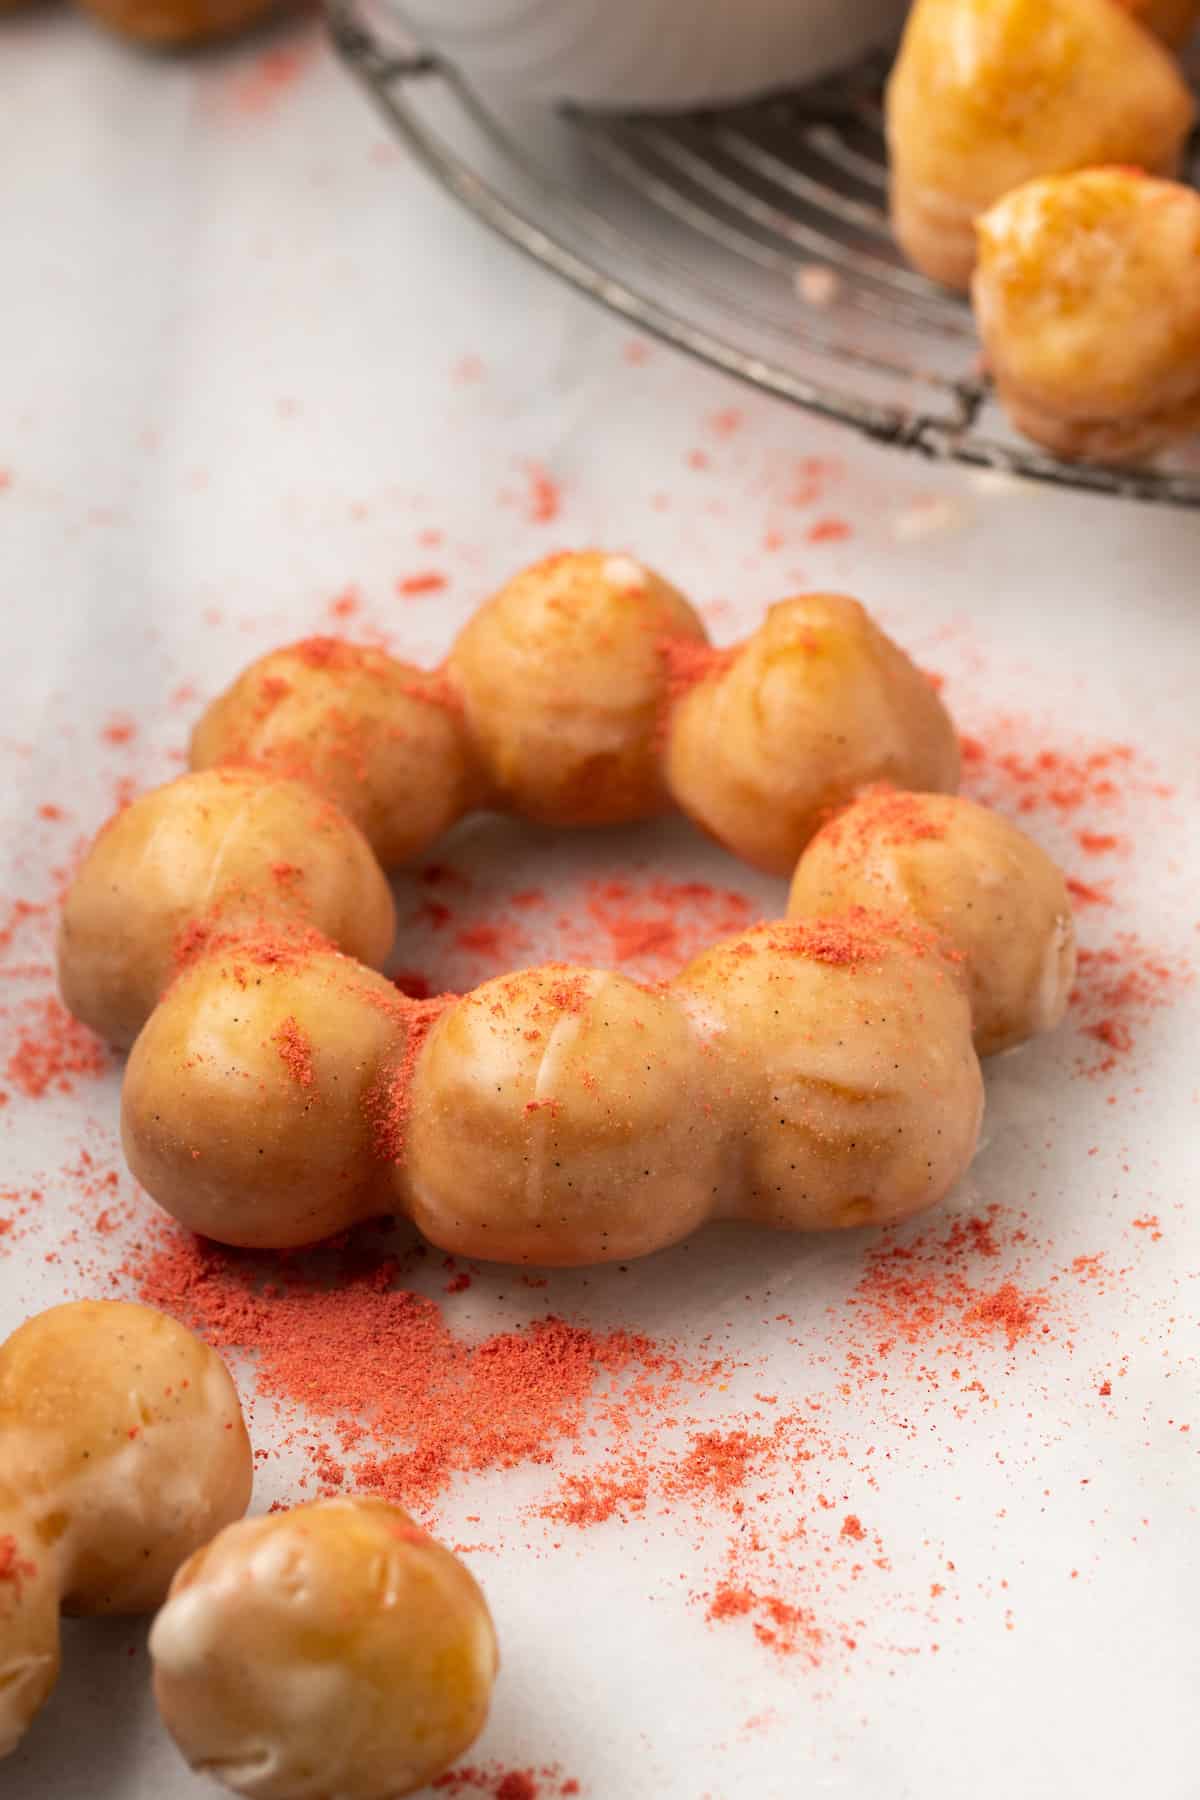
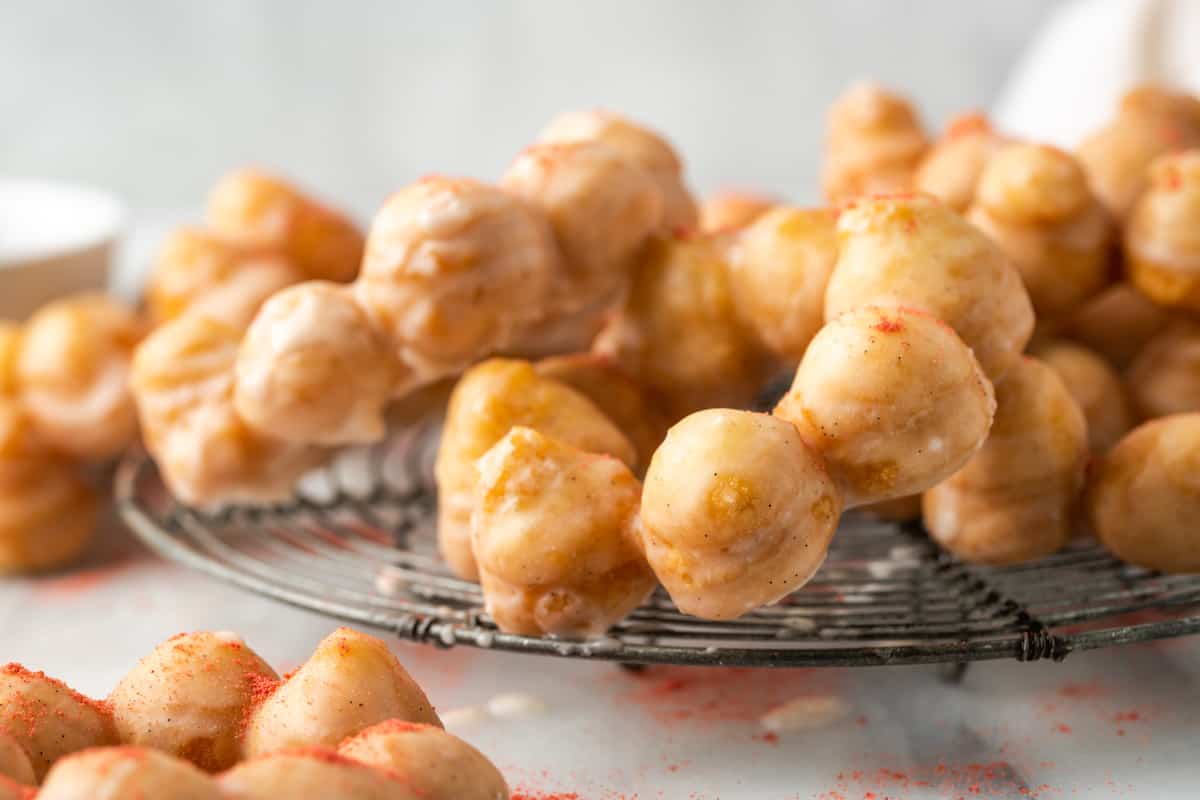
Sweet Gluten-Free Mochi Donuts are soft Japanese donuts that you can make in 30 minutes or less! Serve these easy homemade doughnuts as a dessert, or enjoy them with coffee or tea.
Delicious Details
- Cuisine Inspiration: Japanese
- Primary Cooking Method: Stovetop
- Dietary Info: Gluten-free
- Skill Level: Moderate
Why You’ll Love Gluten-Free Mochi Donuts
Ever since I made my first batch of Gluten-Free Apple Cider Donuts, I haven’t looked back at store-bought. Whether I make air fryer donuts or deep fry them, making my own donuts at home is surprisingly easy, and I always know that they’re 100% free from gluten! Since we’re also big fans of Asian-inspired recipes around here, I set out to make homemade gluten-free mochi donuts.
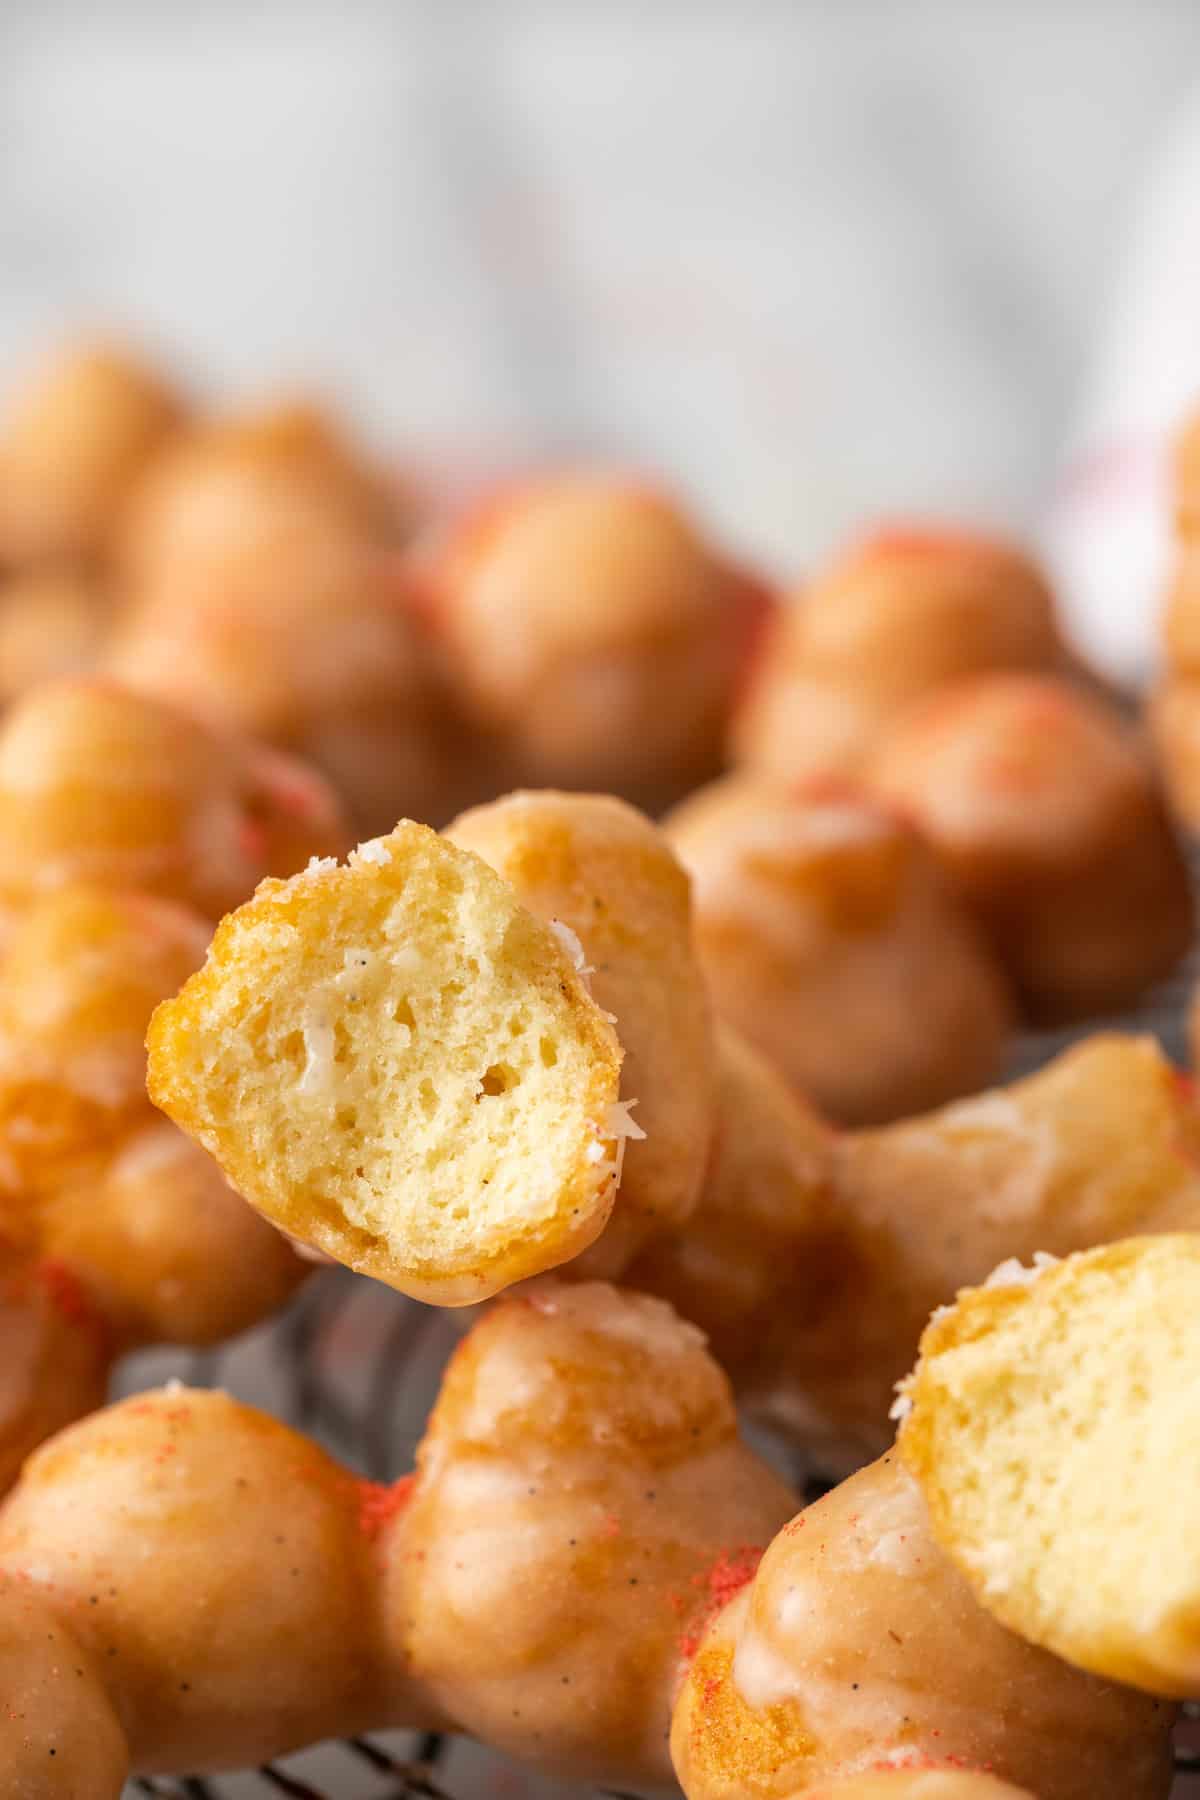
Mochi donuts are a cross between a classic American donut and Japanese mochi. Also called pon de ring donuts, mochi donuts are made with rice flour, these soft and sweet Japanese doughnuts are crispy on the outside and bouncy on the inside, with that signature mochi dough stretchy, almost bouncy texture (described as “mochi-mochi”). It’s a lot different than the texture of cake donuts, but still so delicious! Here’s why you need to try them ASAP:
- Easy to make gluten free. This mochi recipe uses the traditional sweet rice flour, which is naturally gluten free. This combines with gluten-free flour for the perfect texture.
- So impressive. They may look complicated and fancy, but I promise you, you’re going to love how easy these mochi donuts are to make!
- Versatile. I dipped my fried ring donuts in a sweet vanilla glaze, but there are so many ways that you can make this recipe your own with flavors, crushed freeze-dried fruit, and more. I’ve included some of my favorite variation ideas further on, but for now, let’s get into the nitty-gritty of these mochi-mochi donuts.
Recipe Ingredients
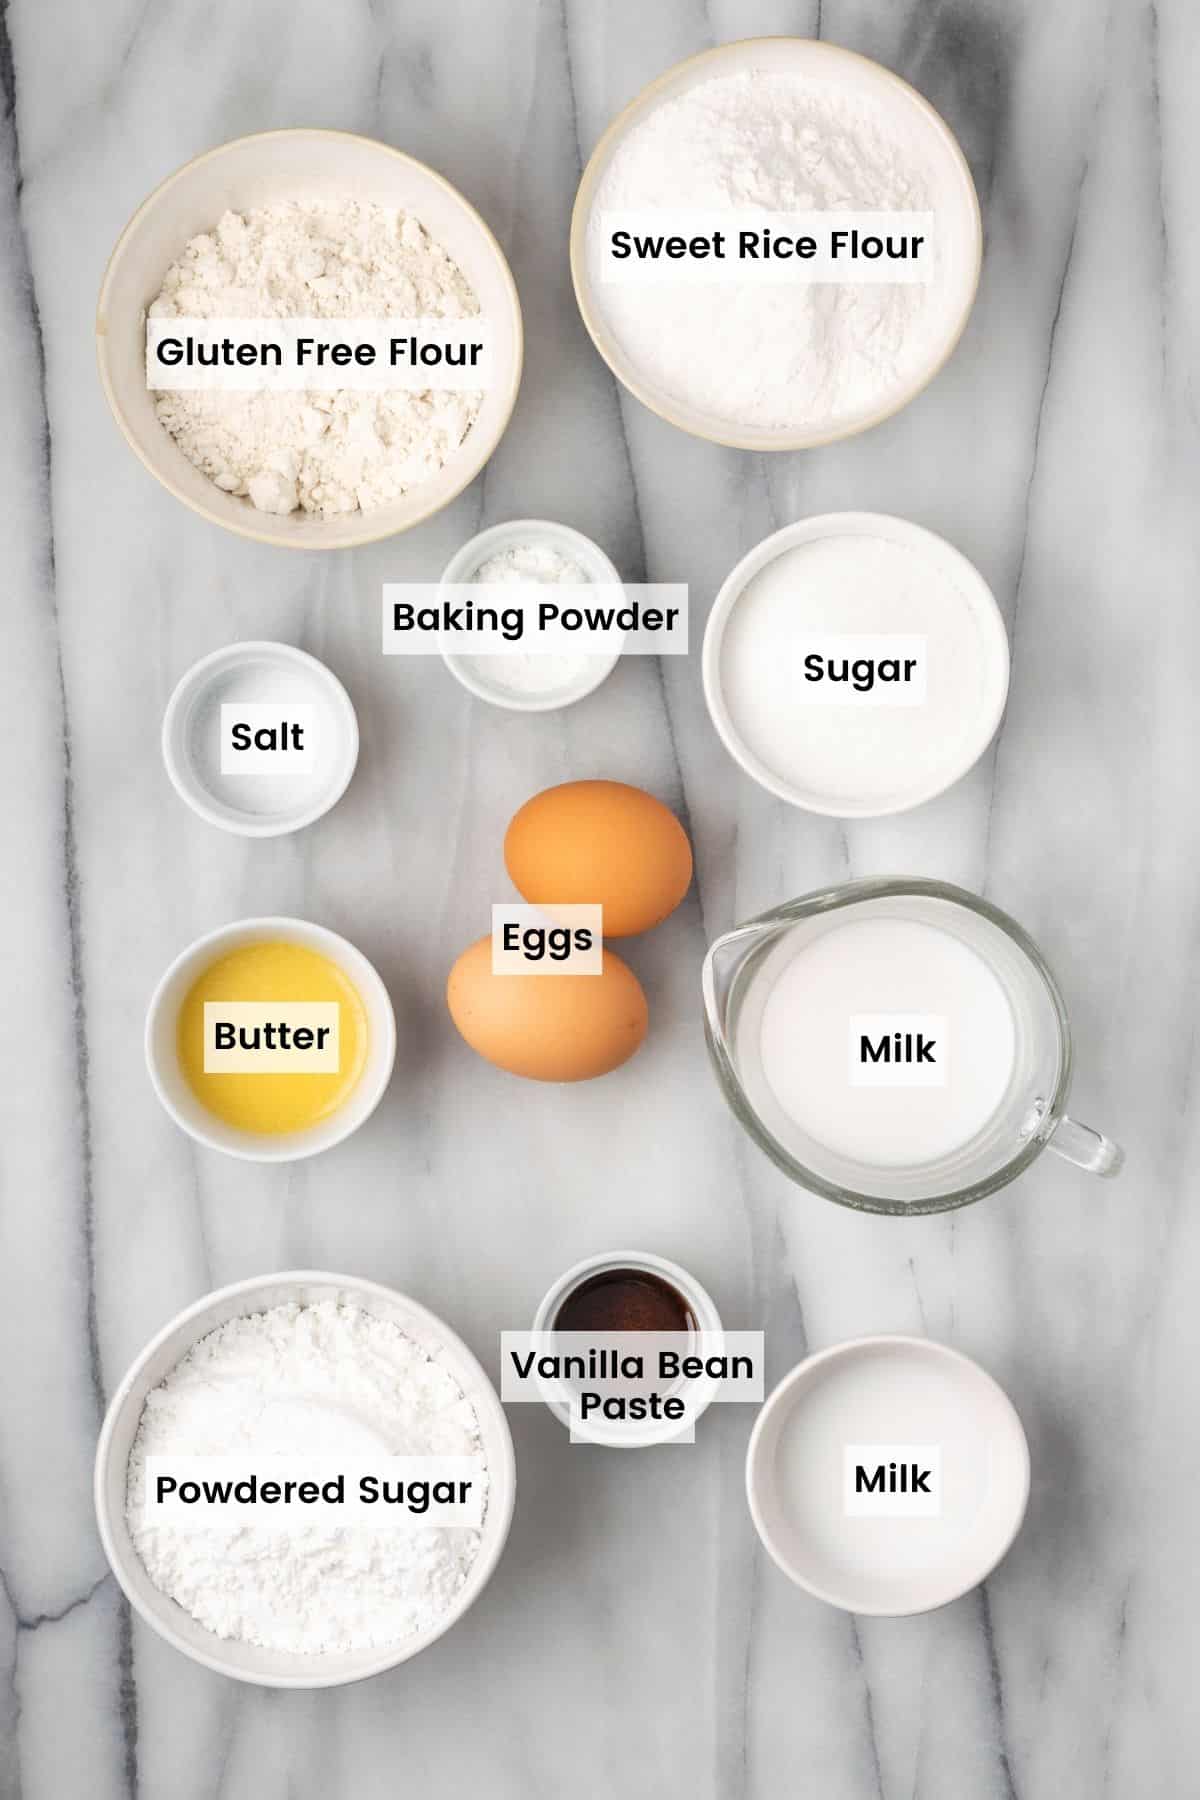
Gluten-free mochi donuts may seem exotic, but don’t be intimidated. The ingredients you’ll need are actually very simple. Below is a brief overview, with the full amounts and directions available in the recipe card:
- Sweet Rice Flour. This donut recipe uses Mochiko Sweet Rice Flour, which is also called glutinous rice flour, or sticky rice flour. You’ll likely find it in the Asian/International food aisle of most major grocery stores (if not, try the baking aisle, or even the gluten free section if you have one).
- Gluten Free Flour. You’ll also need an all-purpose gluten-free flour blend, like the one from King Arthur Flour.
- Baking Powder.
- Salt.
- Sugar. Use regular granulated sugar.
- Eggs. Let them come to room temperature.
- Milk. Gently heat the milk in the microwave before you begin, as this makes the dough easier to handle.
- Butter. Warm the butter in the microwave also, until melted.
- Vegetable Oil. For deep frying your donuts.
For the mochi donut glaze:
- Powdered Sugar.
- Milk.
- Vanilla Bean Paste. You can also use vanilla extract if that’s what you have.
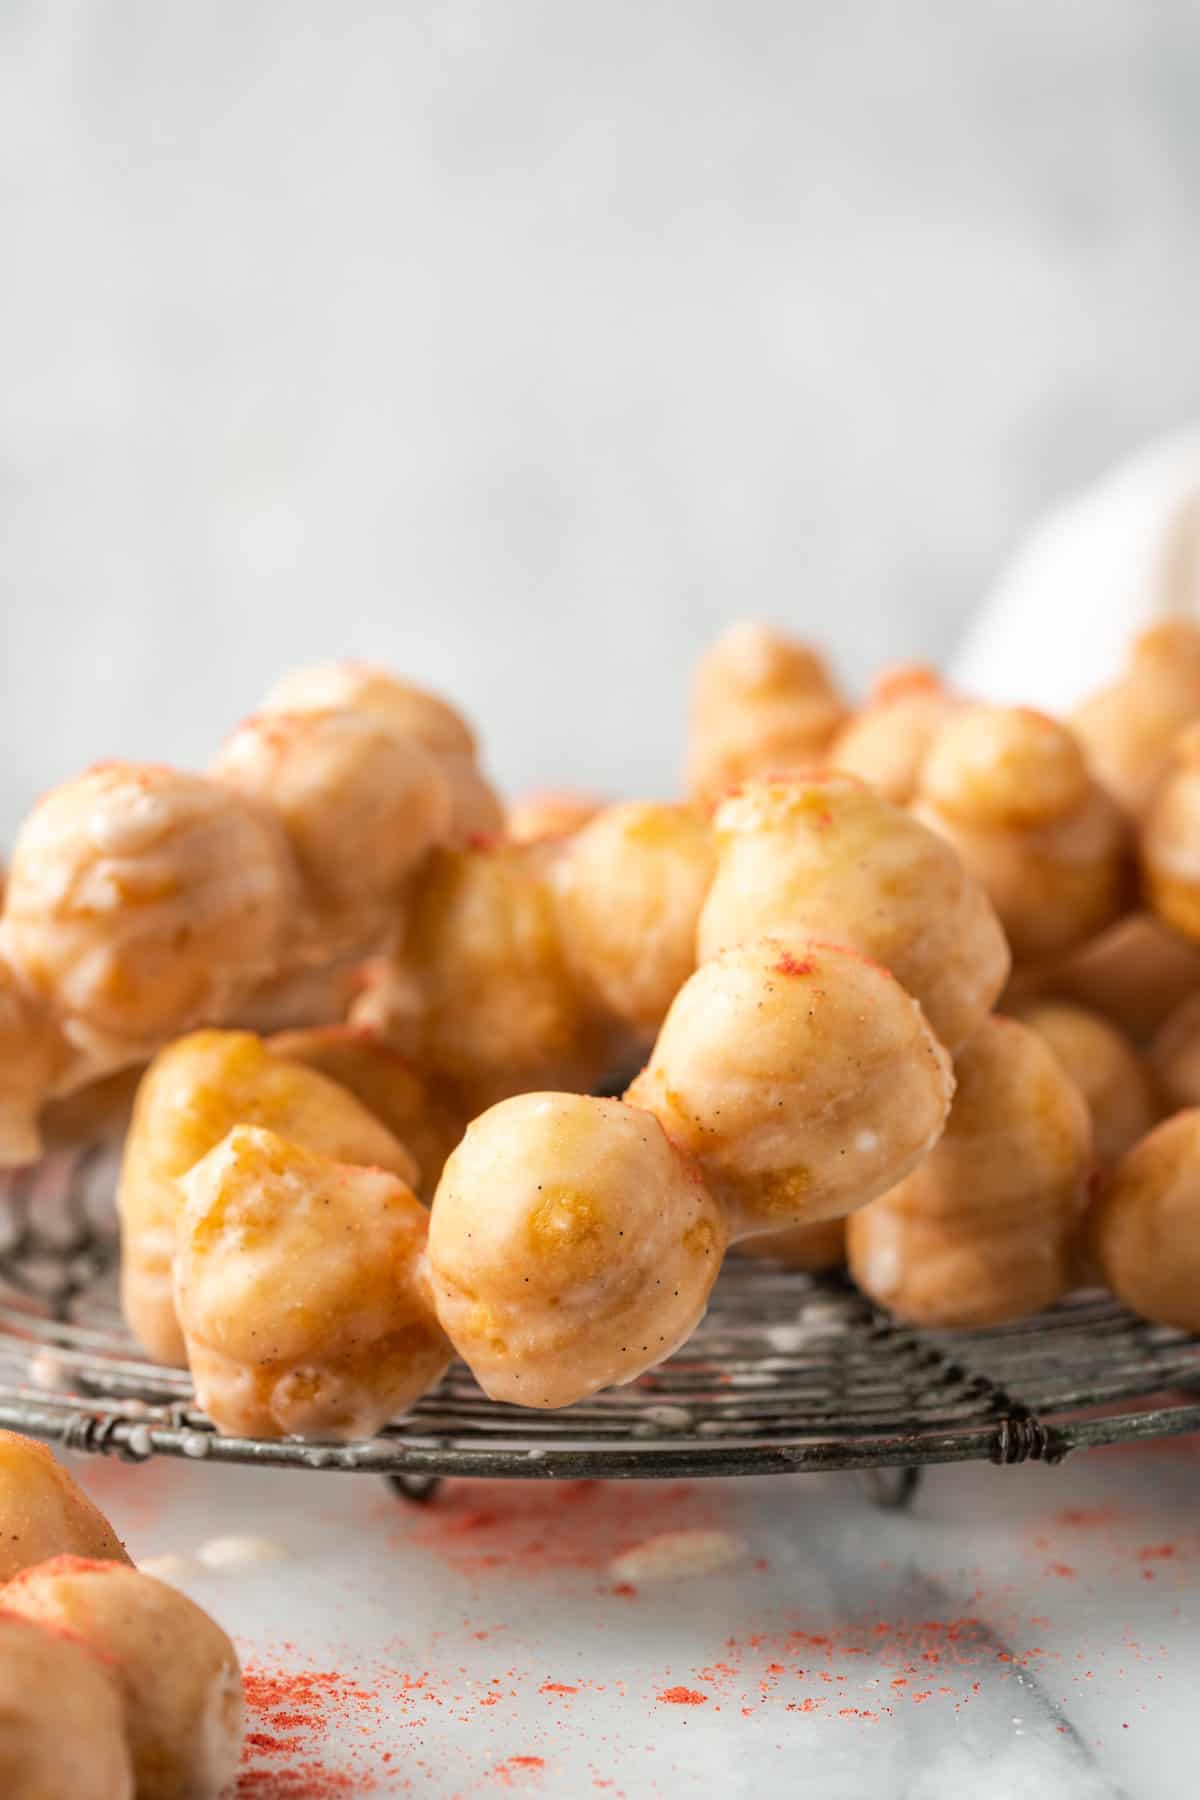
- Freeze-Dried Fruit: Crushed-up freeze-dried fruit is an easy garnish for mochi donuts. You can use any fruit you’d like, whether it’s strawberry, blueberry, etc. Optional, but totally recommended!
What Oil Is Best for Frying?
Vegetable oil is the best all-purpose oil for deep frying. Vegetable oil has a neutral flavor and a high smoke point (400ºF), so it can heat to high temperatures before it starts to burn. Other good alternatives are canola oil or corn oil.
How to Make Gluten-Free Mochi Donuts
Getting your oil to the right temperature is key to perfectly fried donuts. Begin by heating about two inches of vegetable oil to 350ºF while you prepare your donut batter. Here’s a brief rundown with photos. The step-by-step directions are in the recipe card further down in the post.
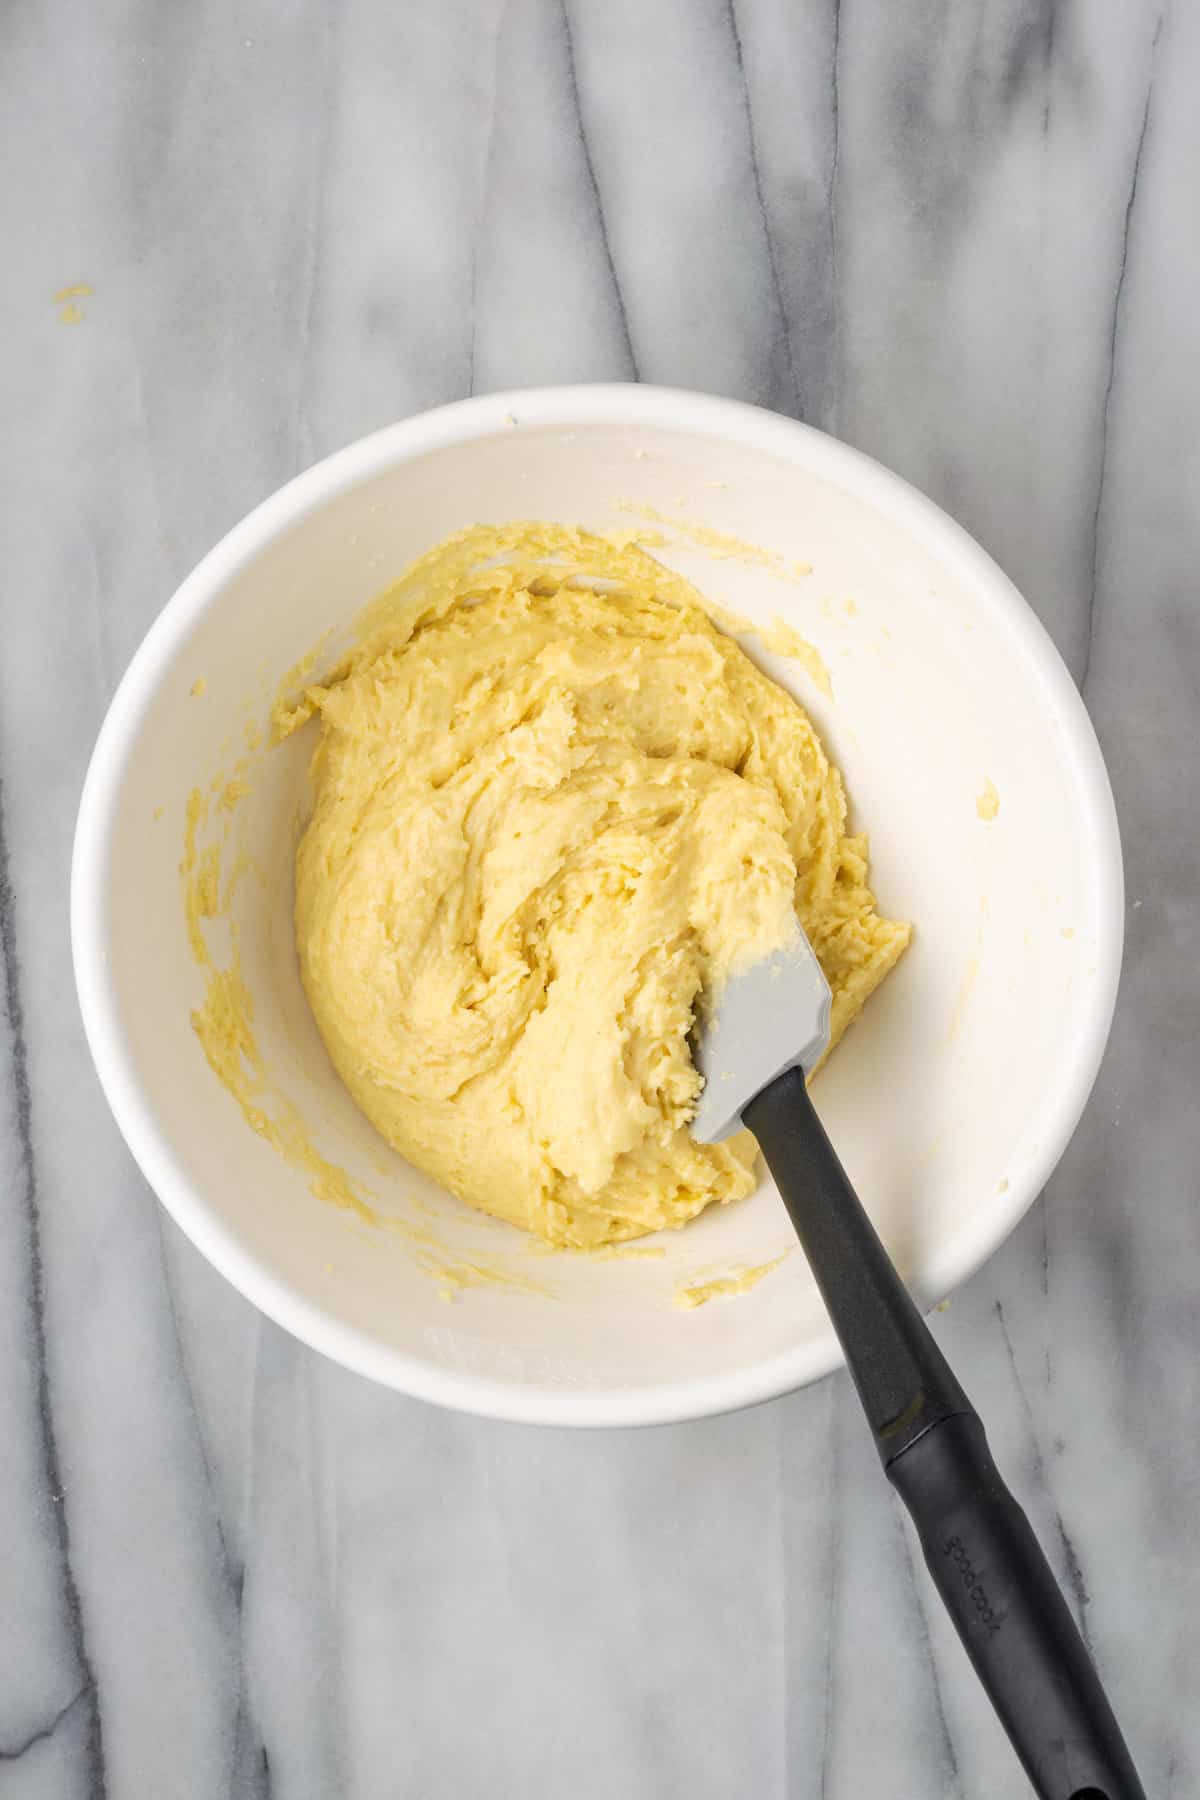
- Make the Dough: In a large bowl, whisk together the dry ingredients. In a separate bowl, whisk together the wet ingredients, then combine to form a soft batter. Afterward, transfer the batter to a piping bag.
- Make a Guide: I find making a stencil or guide super helpful when piping these mochi donuts (see photo). Draw a 2-inch circle on a piece of paper, then mark 8 evenly-spaced points around the circle. Each of these points will be a piped “ball” on your mochi ring donut. Next, cut out 14 small squares of parchment paper, one for each donut.
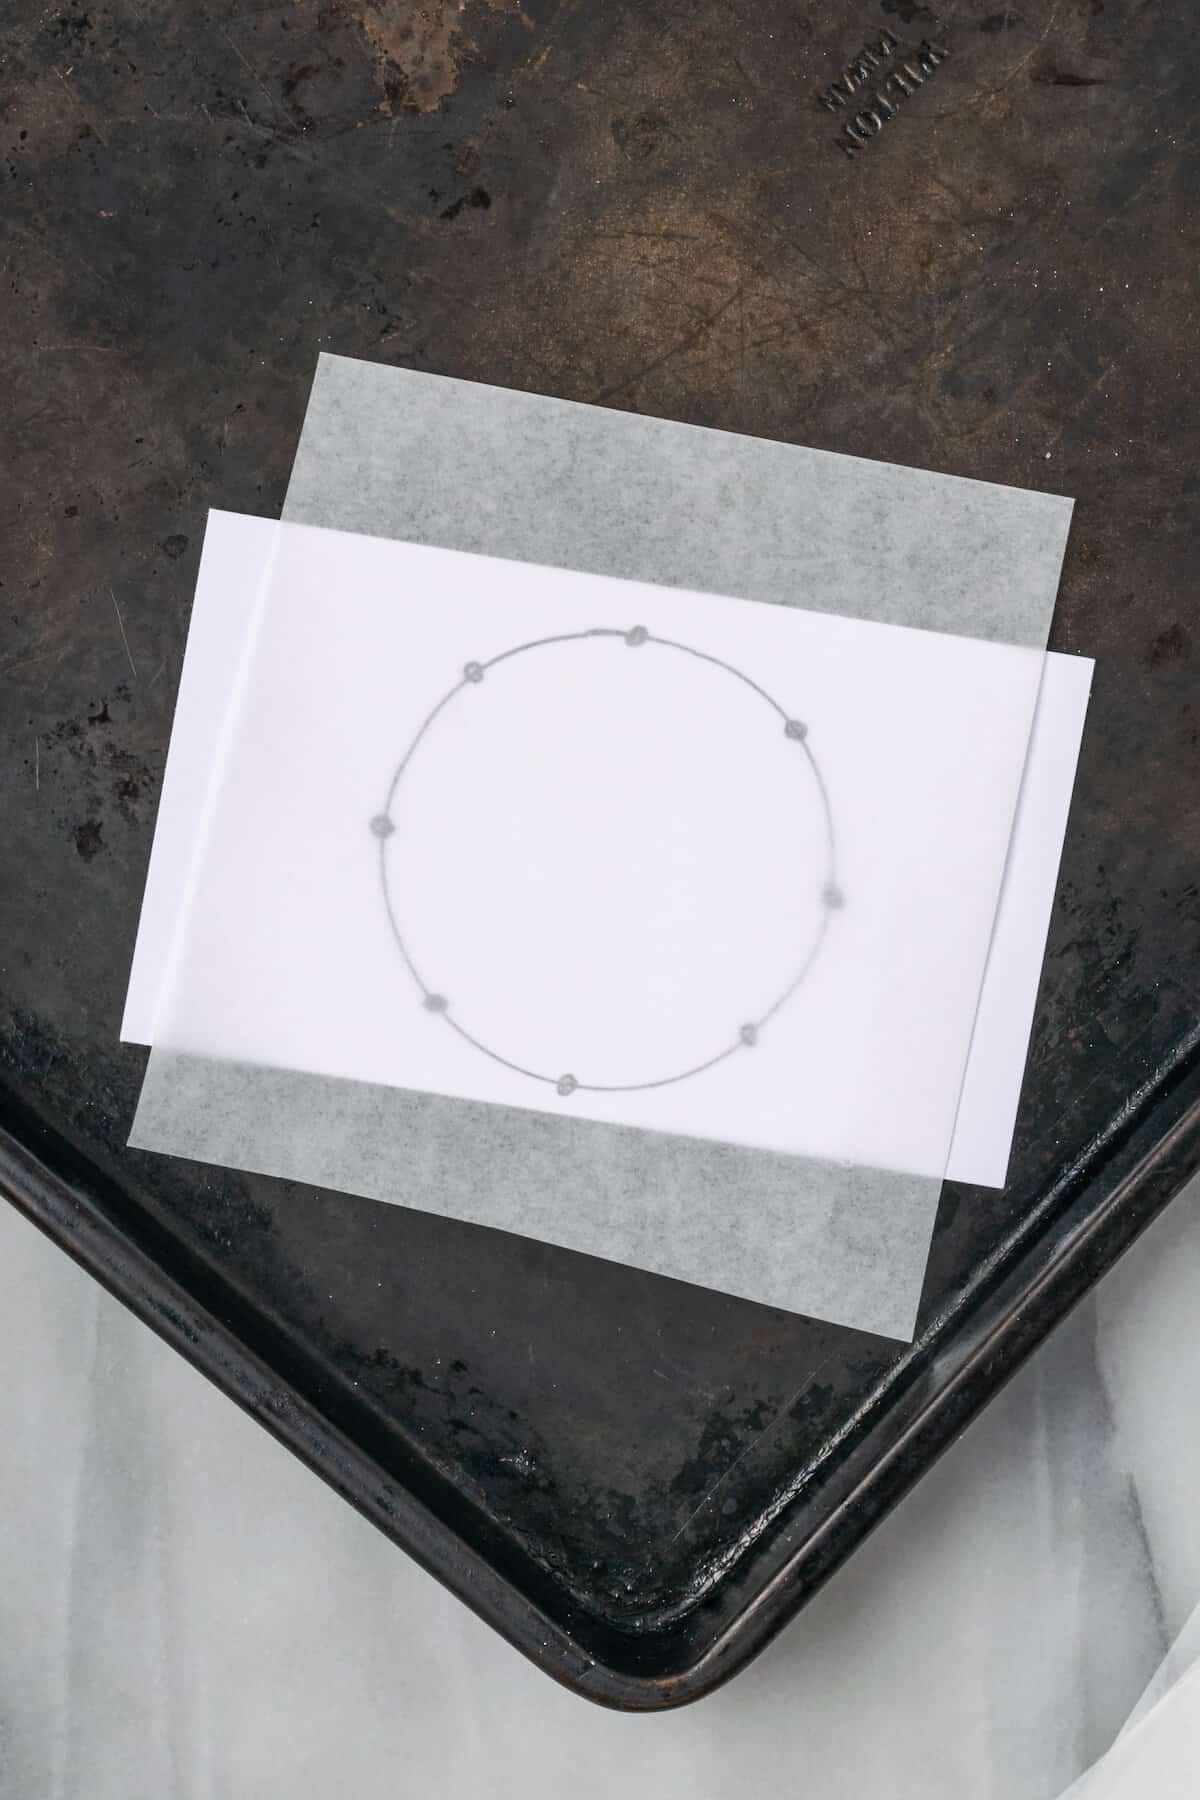
- Pipe the Donut Rings: Place the first parchment square over your guide. Pipe a dollop of donut batter over each of the dots on the circle to make a ring of 8 balls. Repeat with the remaining batter until all your donuts are ready for frying.
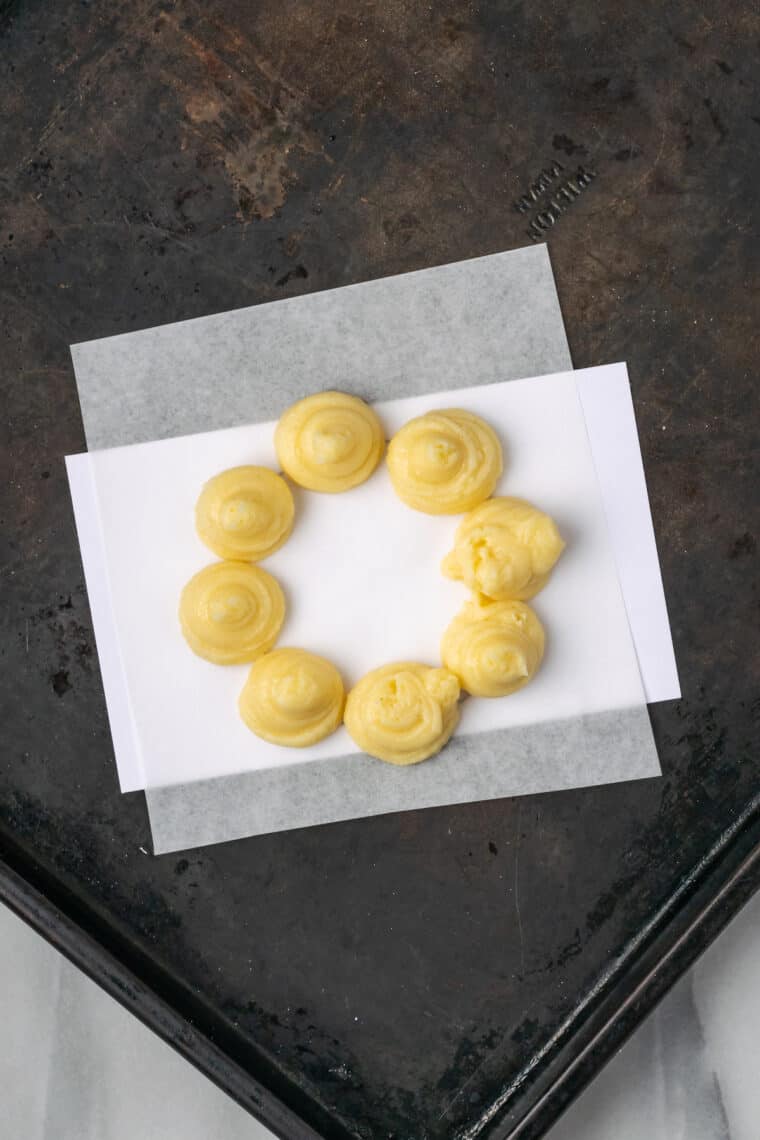
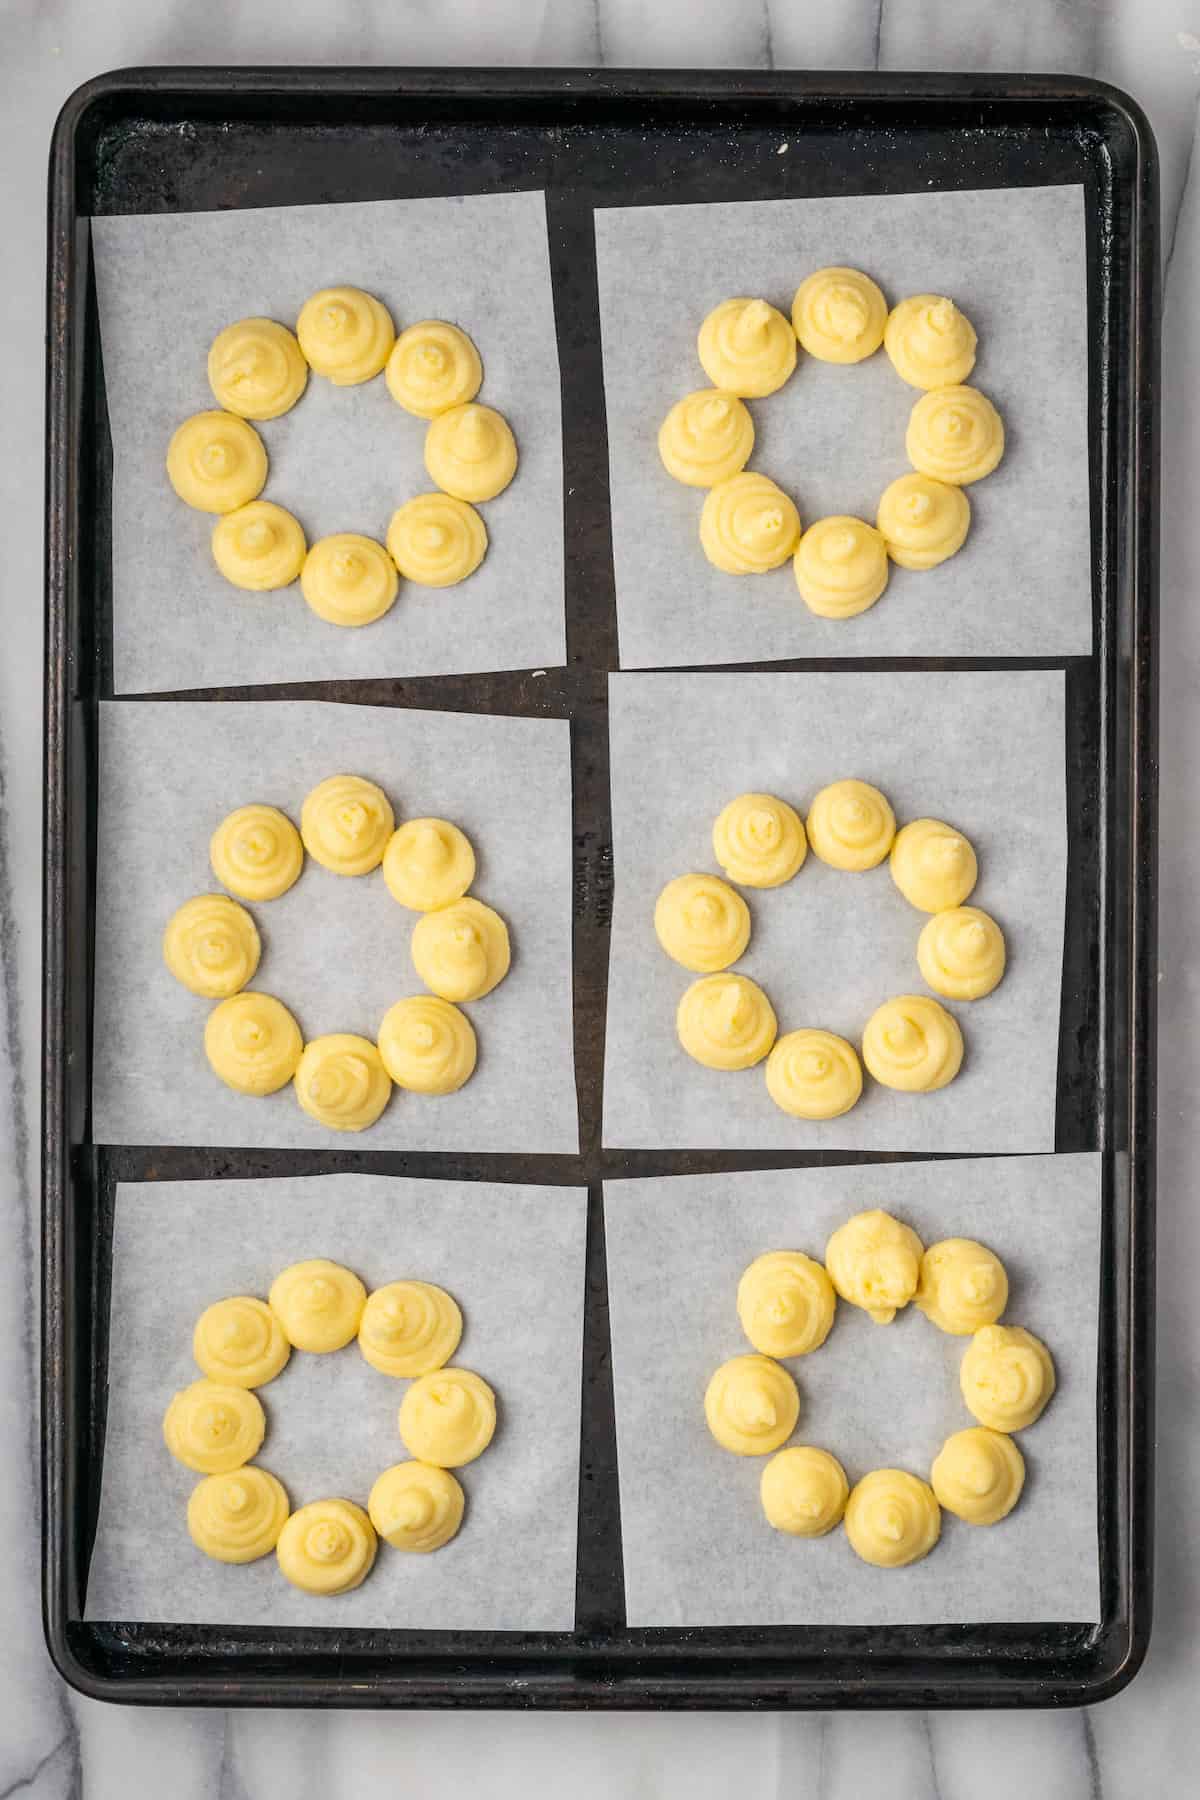
- Fry: Working in small batches, carefully drop your mochi donuts into the oil (you don’t need to remove the parchment paper, as you can fish that out with tongs after a minute or two). Cook the donuts until the outsides are crisp and golden, then move the finished fried donuts to a wire rack to drain and cool.
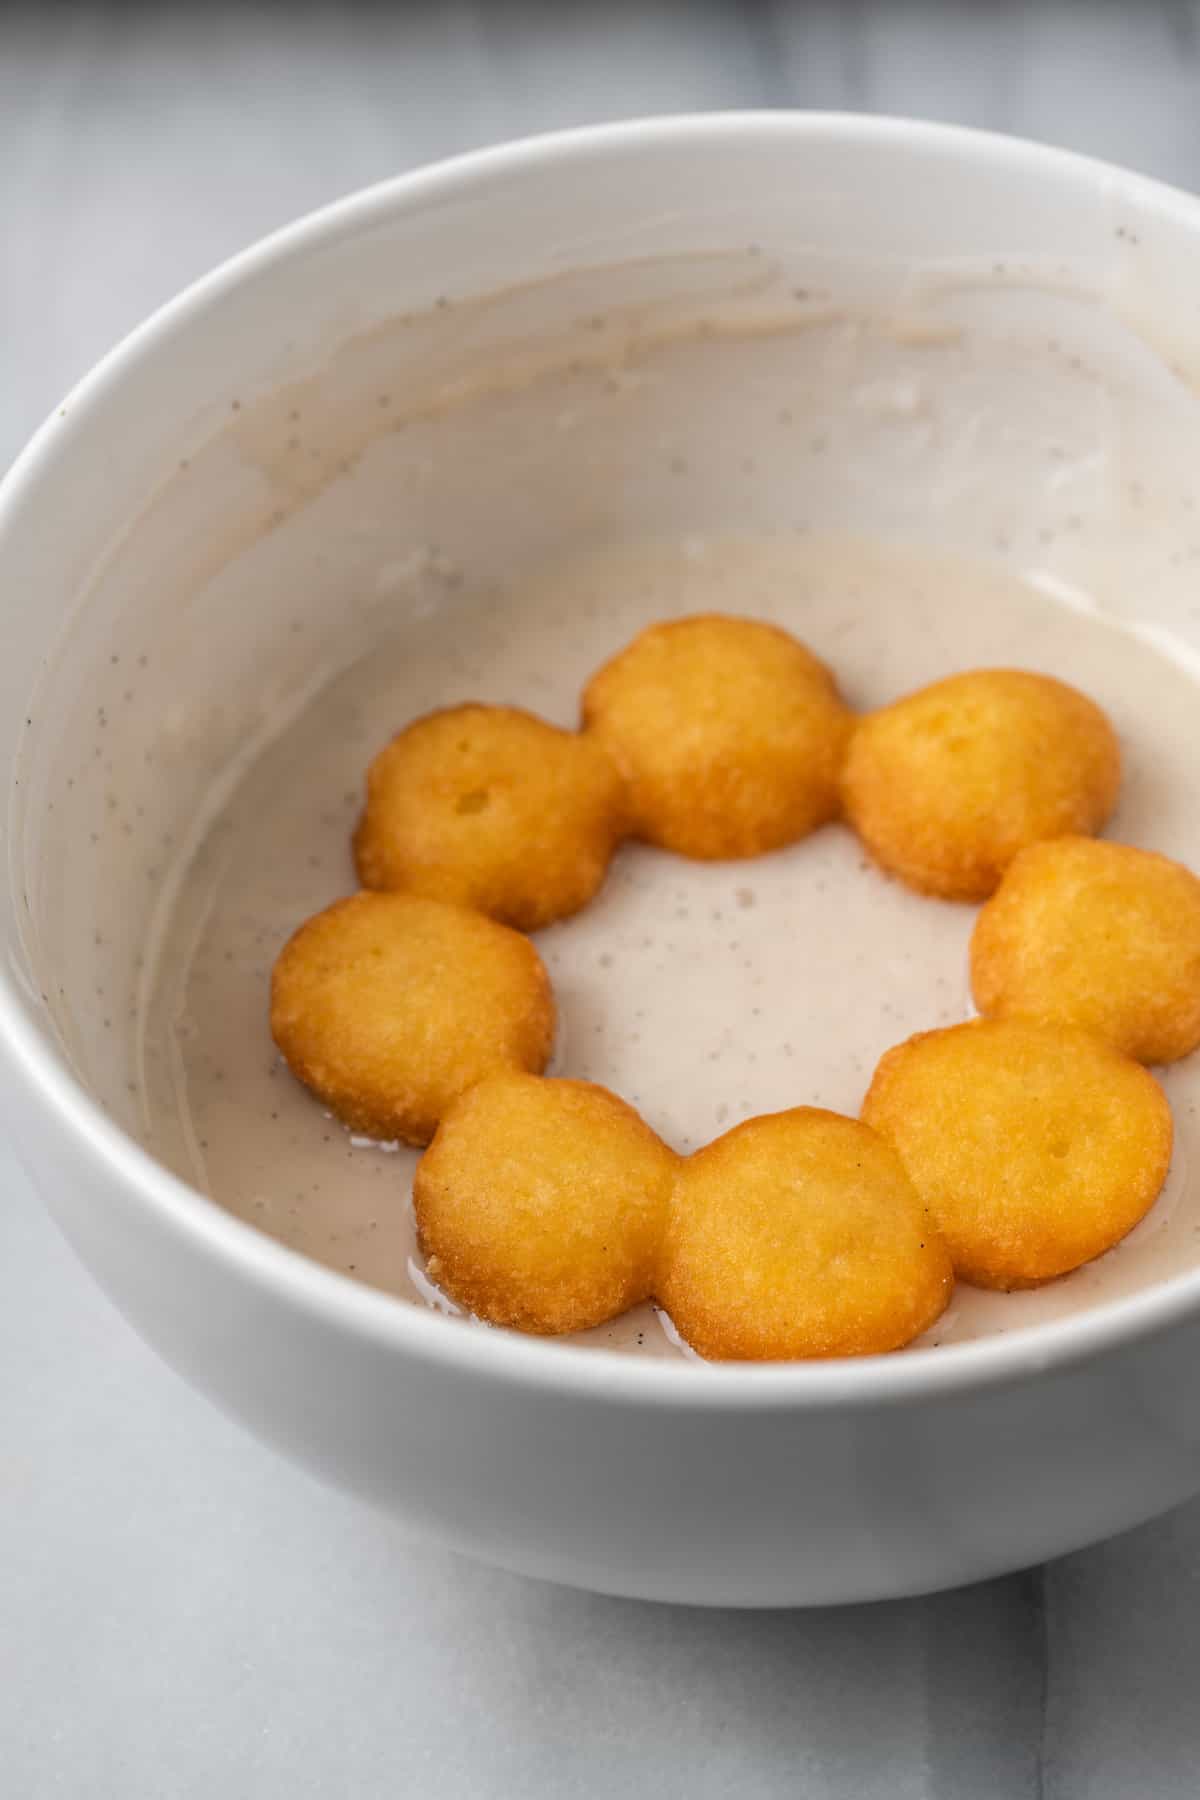
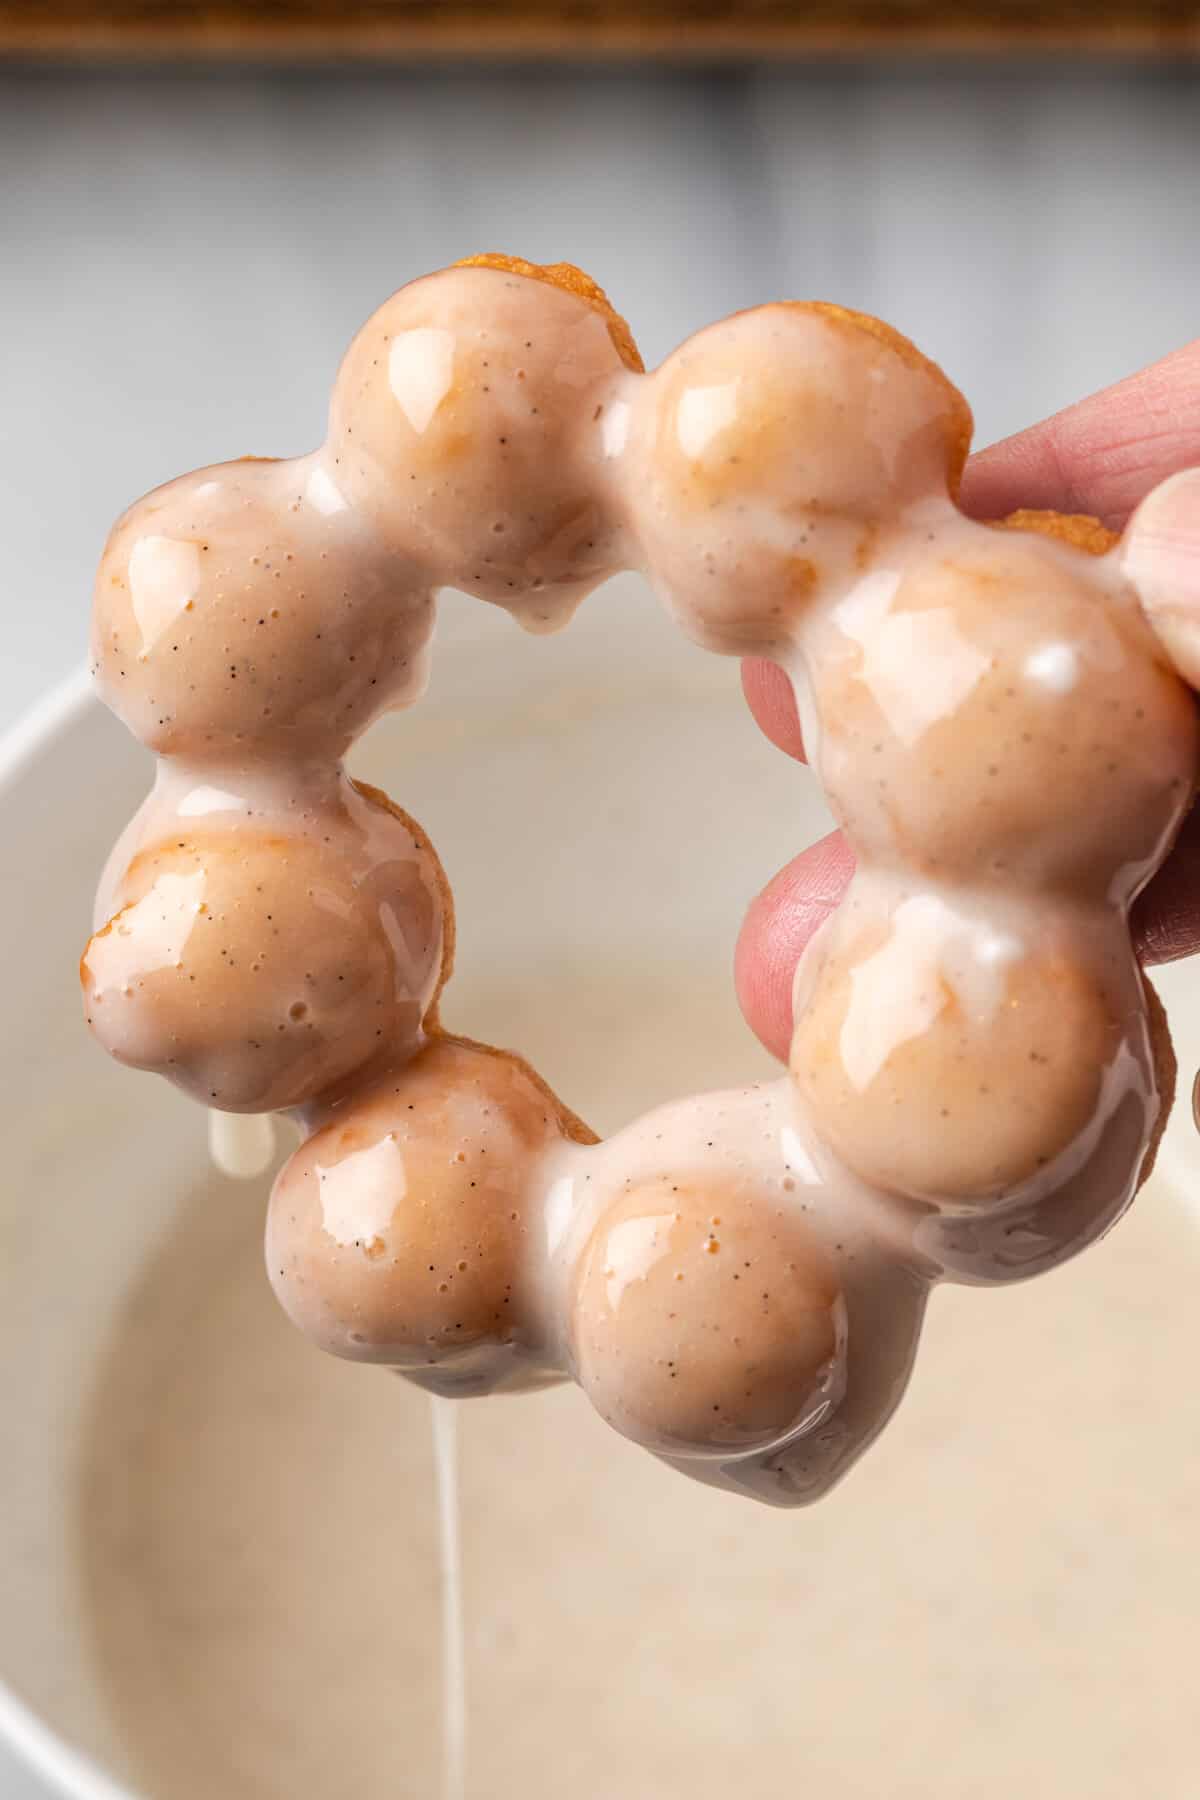
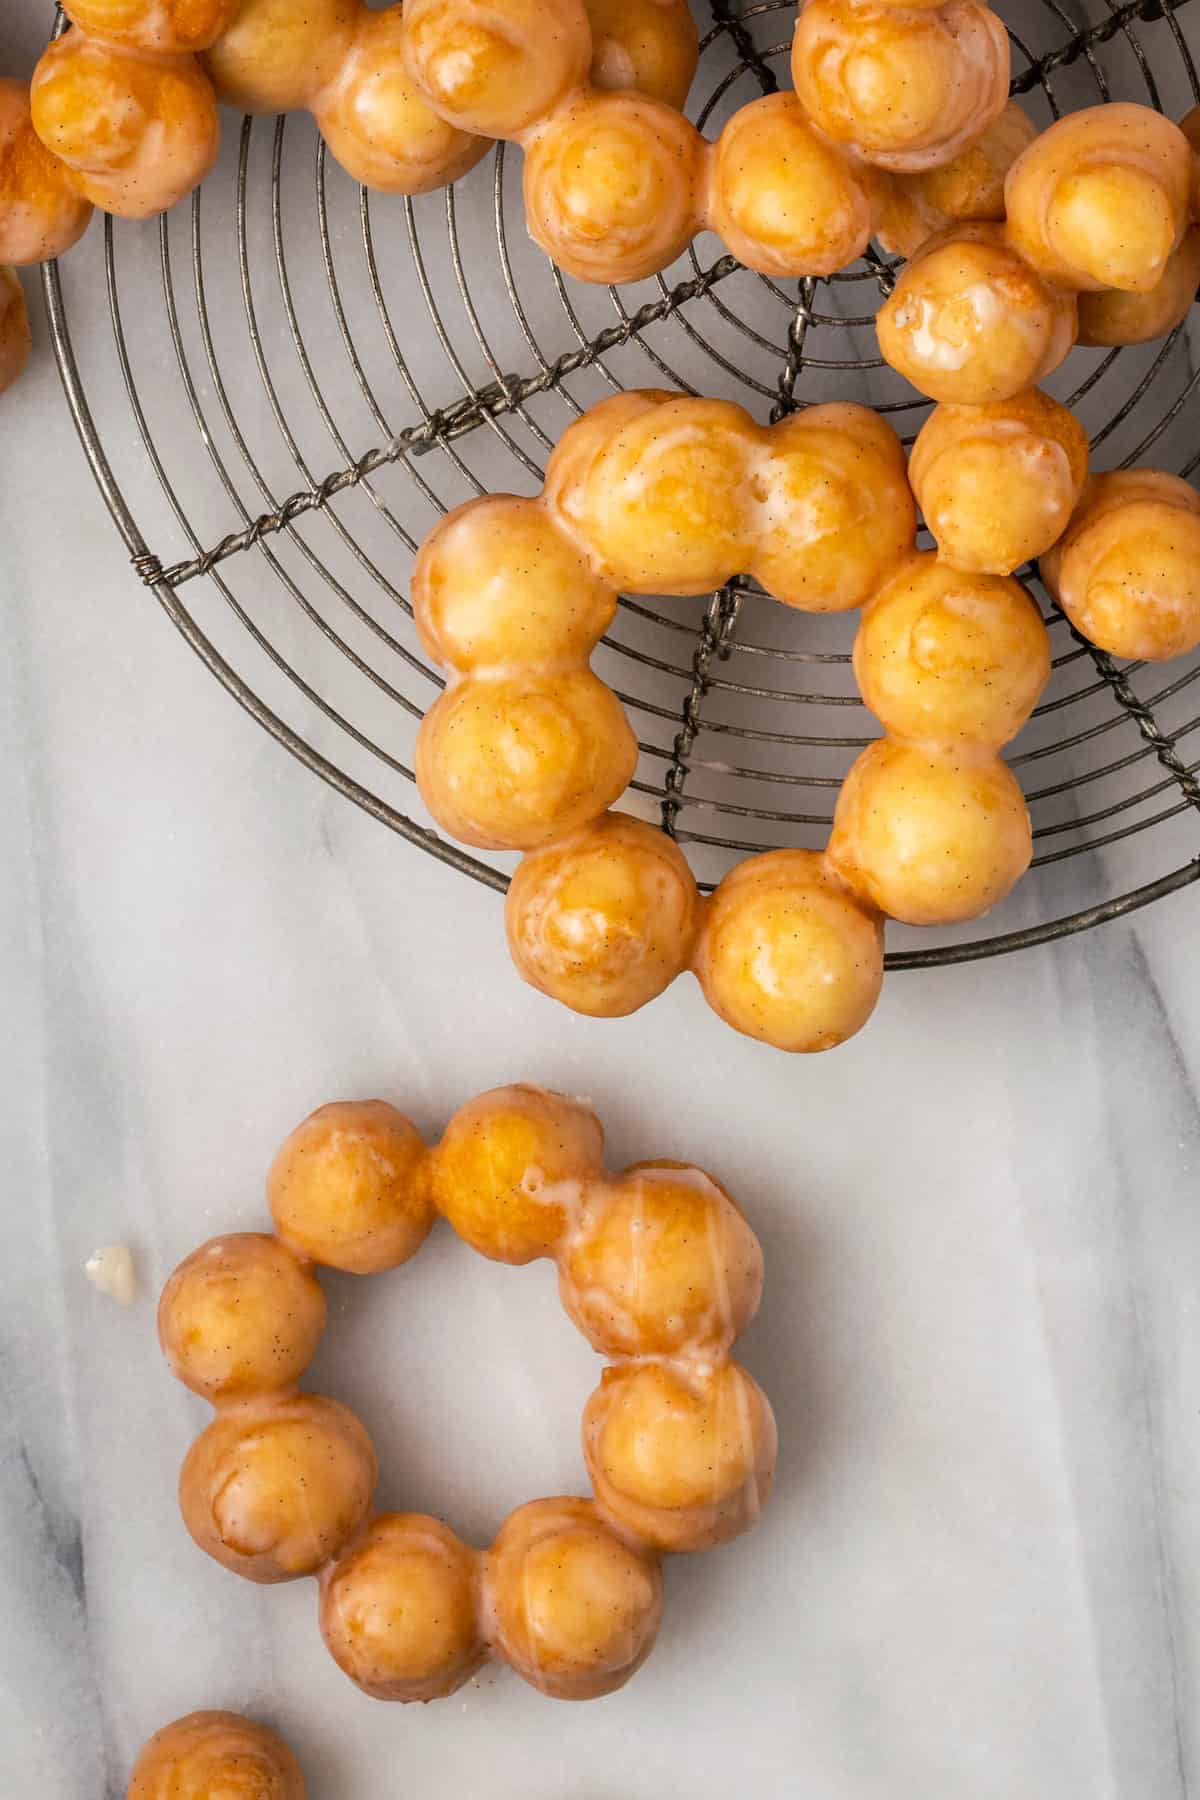
- Glaze the Donuts: While your donuts cool, whisk together the glaze ingredients. Once your donuts are ready, dip the tops into the vanilla glaze, then place them back onto the wire rack to set. If you’re adding crushed freeze-dried fruit, make sure to sprinkle it on before the glaze sets fully!
Tips for Success
Here are some additional tips to ensure your homemade mochi donuts come out a sweet success:
- Make sure that you’re using the right flour. The flour used to make mochi donuts is gluten-free sweet rice flour. Regular rice flour is not the same thing.
- Use a piping bag. Disposable piping bags are the easiest and best way to pipe the donuts a consistent size and shape. In a pinch, you can use a heavy-duty plastic storage bag.
- Check that your oil is at the right temperature. The easiest way to do this is with a kitchen or candy thermometer. The oil you’re using for frying should be 350ºF, so your donuts come out nice and crispy, and not greasy or oily. If you don’t have a thermometer, another way to test the oil is to sprinkle in some gluten-free flour (not water). If it sizzles, the oil is ready to go!
- Don’t overcook the donuts. Overcooking these mochi donuts can make them overly browned and hard.
- Eat these right away. As with nearly all deep-fried donut recipes, these gluten-free mochi donuts are the best the day they’re made. Serve them right away. You can scale the recipe down if you’re concerned you may have too many leftovers.
Common Questions
Mochi donuts are different from regular donuts in taste and texture. Regular donuts are more bread-like and dense, while mochi donuts are softer, lighter, and chewy.
Not always. However, I make this recipe with gluten-free flour, and as a result, it’s 100% safe for gluten intolerances.
Variation Ideas
Customize your mochi donuts in any way that you like. Use a chocolate glaze instead of a vanilla glaze, drizzle them with fun-colored icing, or cover them with sprinkles. There’s no wrong way to dress up a donut! Here are some easy ideas to change up the flavors:
- Green Tea: Add a spoonful of matcha green tea powder to the glaze for a subtle flavor.
- Cinnamon Sugar: Instead of glaze, dip the tops of the donuts in butter followed by cinnamon sugar.
- Chocolate: Borrow the glaze from my Gluten Free Chocolate Donuts, or dip the tops in this Homemade Fudge Sauce.
- Flavoring Extracts: Instead of vanilla, flavor your glaze with peppermint, lemon, or almond extract.
- Make a Donut Sundae: Top your donut rings with a scoop of Reese’s Ice Cream or Nutella Brownie Ice Cream, along with a swirl of whipped cream and a cherry.
How to Store Mochi Donuts
These homemade doughnuts are at their best the day they’re made. They tend to lose their soft, chewy texture pretty quickly! If you absolutely must store them, make sure that they’re kept airtight and at room temperature. Mochi donuts do not keep well in the fridge.
I wouldn’t recommend keeping your mochi donuts stored for longer than a day or two, at most. The next best way to keep them fresh is to freeze them, see below.
Do Mochi Donuts Freeze Well?
Once the mochi donuts are cooked, they can be stored frozen for up to 1-2 months. I recommend only glazing them after they’re thawed again. Make sure that the donuts are completely cooled first, and store them airtight in a resealable freezer bag or container.
Thaw the donuts either in the microwave or at room temperature, then glaze them before serving.

Gluten Free Mochi Donuts
Ingredients
- 1 1/4 Cup Mochiko Sweet Rice Flour
- 3/4 Cup Gluten Free Flour Blend (King Arthur Flour)
- 2 1/2 teaspoons Baking Powder
- 1/2 teaspoon Salt
- 1/3 Cup Sugar
- 2 Eggs
- 1/2 Cup Warm Milk
- 2 Tablespoons Butter , melted
- Vegetable Oil for frying
For the Glaze:
- 1 1/2 Cups Powdered Sugar
- 3 Tablespoons Milk
- 1 1/2 teaspoon Vanilla Bean Paste
- Crushed freeze dried fruit for garnish , optional
Instructions
- Add about 2 inches of oil to a deep pot. Heat to 350 degrees.
- While the oil is heating, combine the mochiko, gluten free flour, baking powder, salt and sugar in a large bowl. Whisk together and set aside.
- In a separate bowl, combine the eggs, warm milk, and melted butter. Whisk together until smooth.
- Pour the wet ingredients into the dry. Fold together with a spatula until all of the dry ingredients are incorporated. The batter should be very soft.
- Scoop the batter into a piping bag.
- Draw a circle 2 inches in diameter on a small piece of paper. Mark eight points on the circle, evenly spaced.
- Cut out fourteen 3”x3” squares of parchment paper.
- Place one piece of parchment paper over the paper with the circle. Use the piping bag to pipe dollops of batter on each of the eight dots, making a circle of eight balls. Pipe all of the donuts before starting to fry.
- Once the oil is hot, drop 2-3 donuts with the parchment paper into the hot oil. After about a minute, use tongs to remove the paper from the oil. Continue to cook 1 minute, then flip and cook another 1-2 minutes until golden brown.
- Remove from oil to a wire rack to drain and cool.
- Once the donuts have cooled for about 10 minutes, combine the powdered sugar, milk and vanilla bean paste in a small bowl. Whisk until smooth. Dip each donut into the glaze and return to the rack to dry.


