This post may contain affiliate links. Read my disclosure policy.
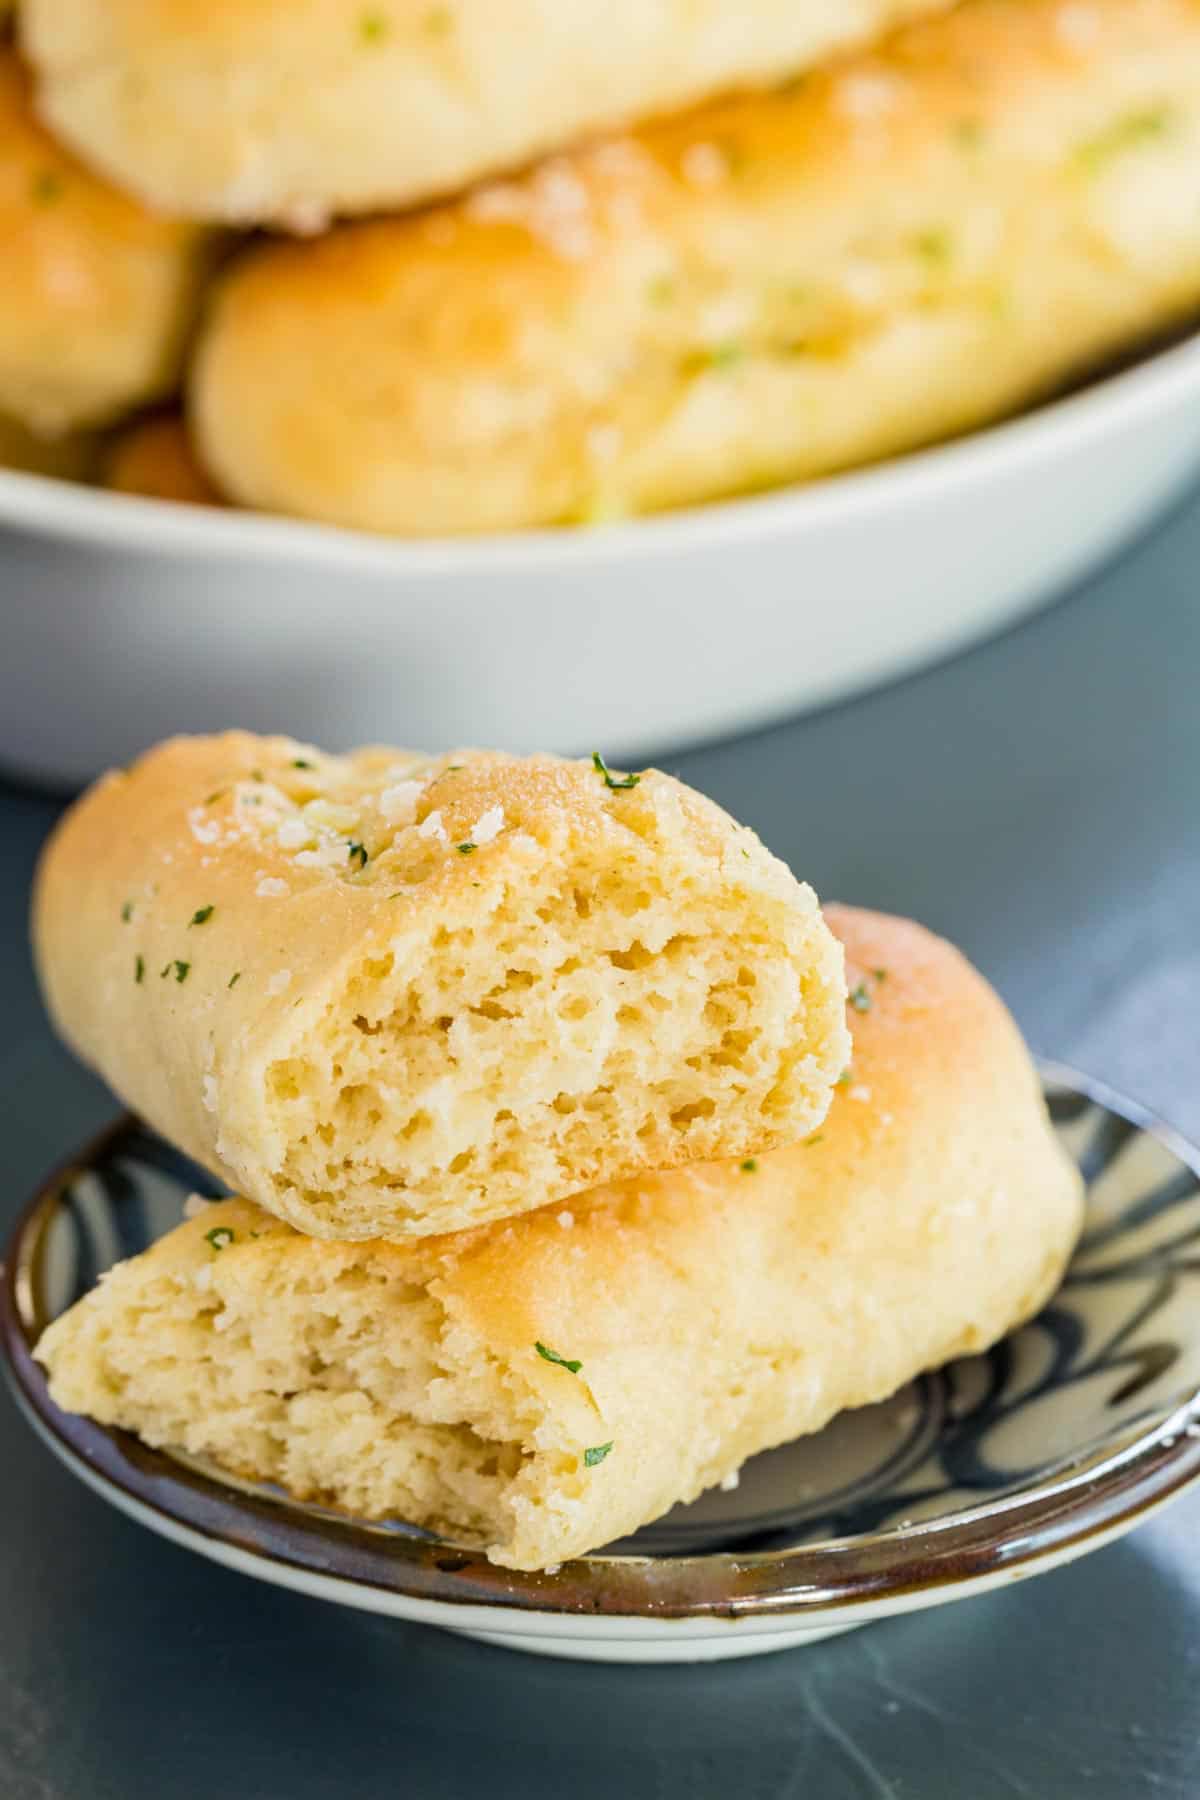
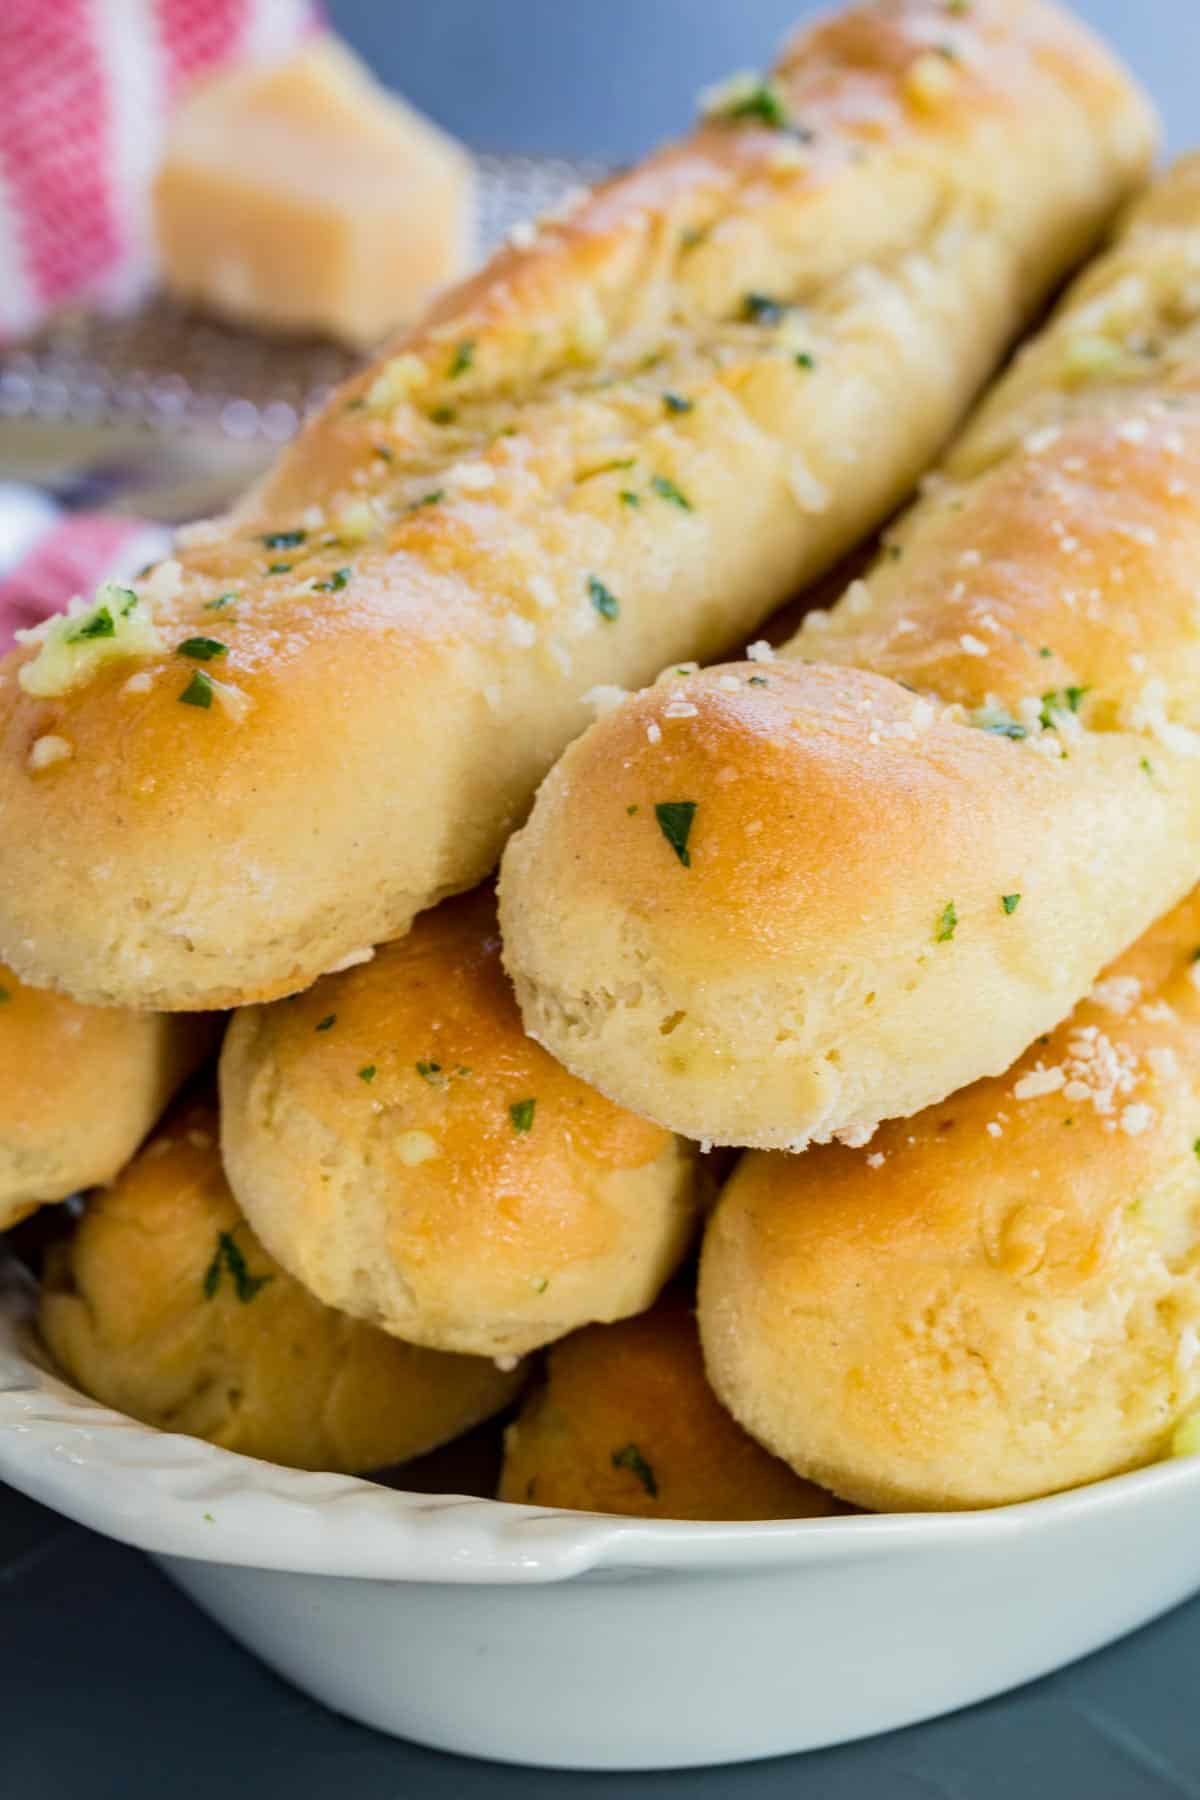
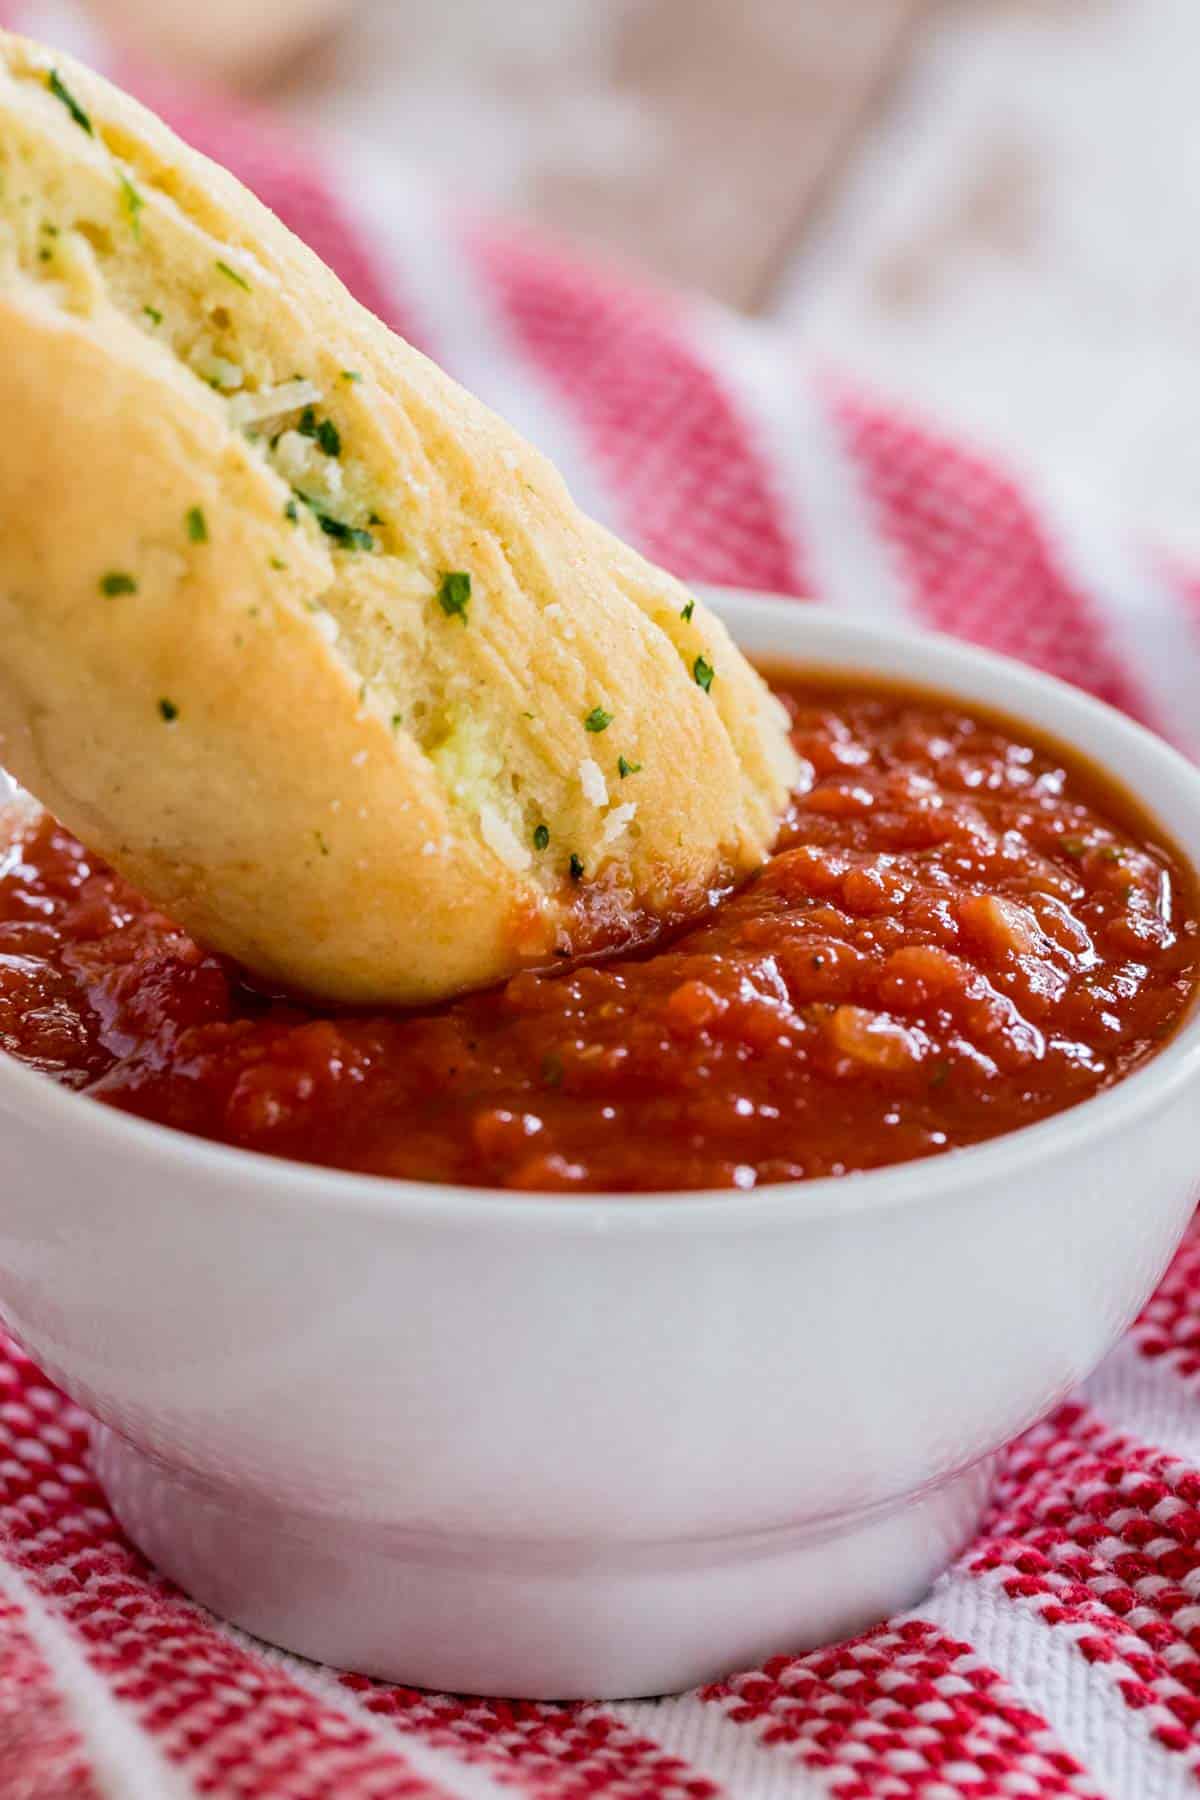
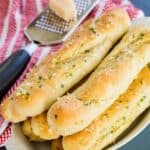
The only way to complete your favorite Italian meals is with a basket of Gluten Free Garlic Breadsticks. Soft and fluffy, and baked till perfectly golden brown, each one is then slathered with garlic butter to make them irresistible. Use them to scoop up any sauce left in your dish or serve with a bowl of marinara sauce for a tasty appetizer!
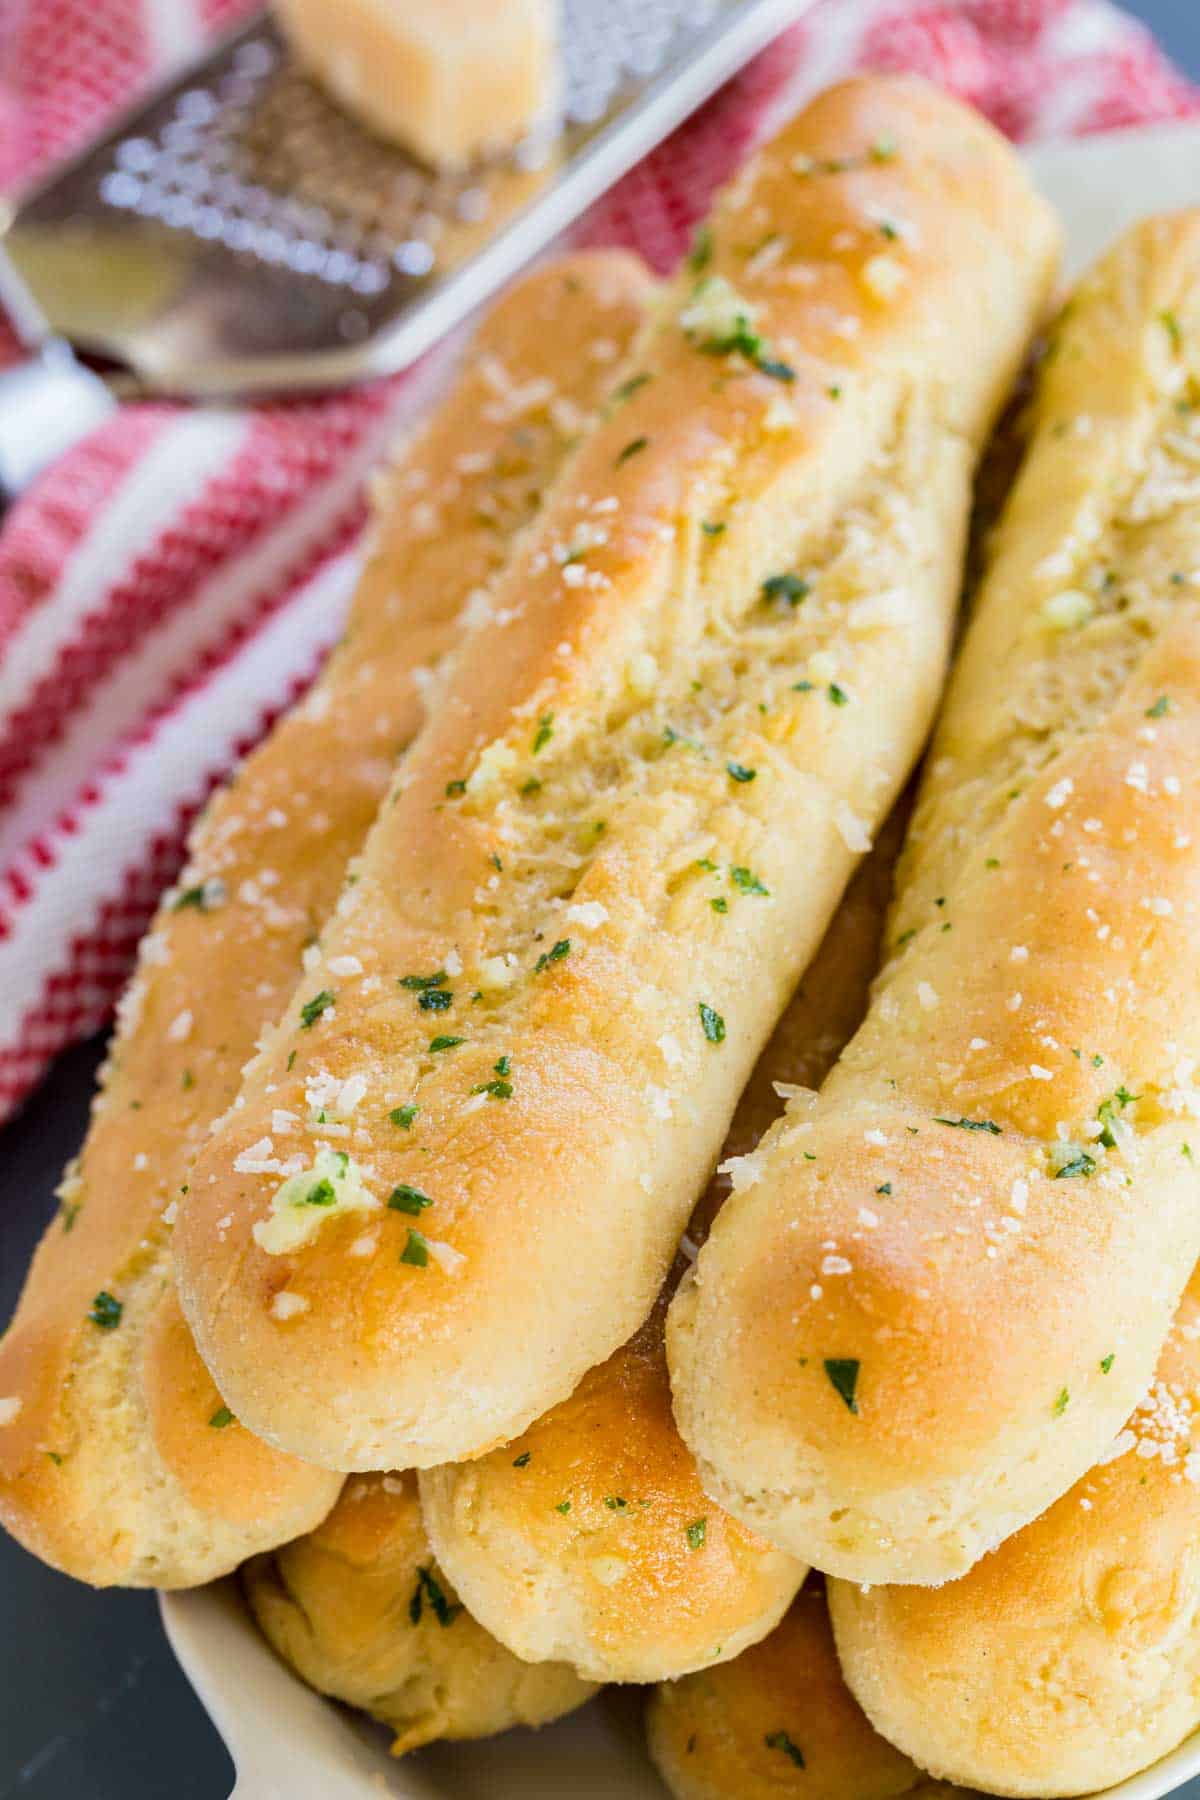
Gluten Free Garlic Breadsticks – Just Like Olive Garden!
Remember the days of bottomless pasta bowls and endless soup, salad, and breadsticks? Whether you chose to indulge in the carb-fest or not, you probably know that I am talking about the Olive Garden. And for many people who are now gluten free, one of the things they miss the most might be those baskets of breadsticks.
Soft and golden, and coated in garlic butter – it was nearly impossible to get through a meal without asking for more.
Even if you didn’t frequent this fast-casual restaurant, you still might miss the days of finishing a bowl of pasta, then running some garlic bread through the sauce that was left in the bottom in order to wipe it clean.
You can have that joy again! So go ahead and boil your favorite gluten free pasta, get some sauce simmering on the stove, and let’s get down to business making some light, chewy, buttery Gluten Free Garlic Breadsticks.
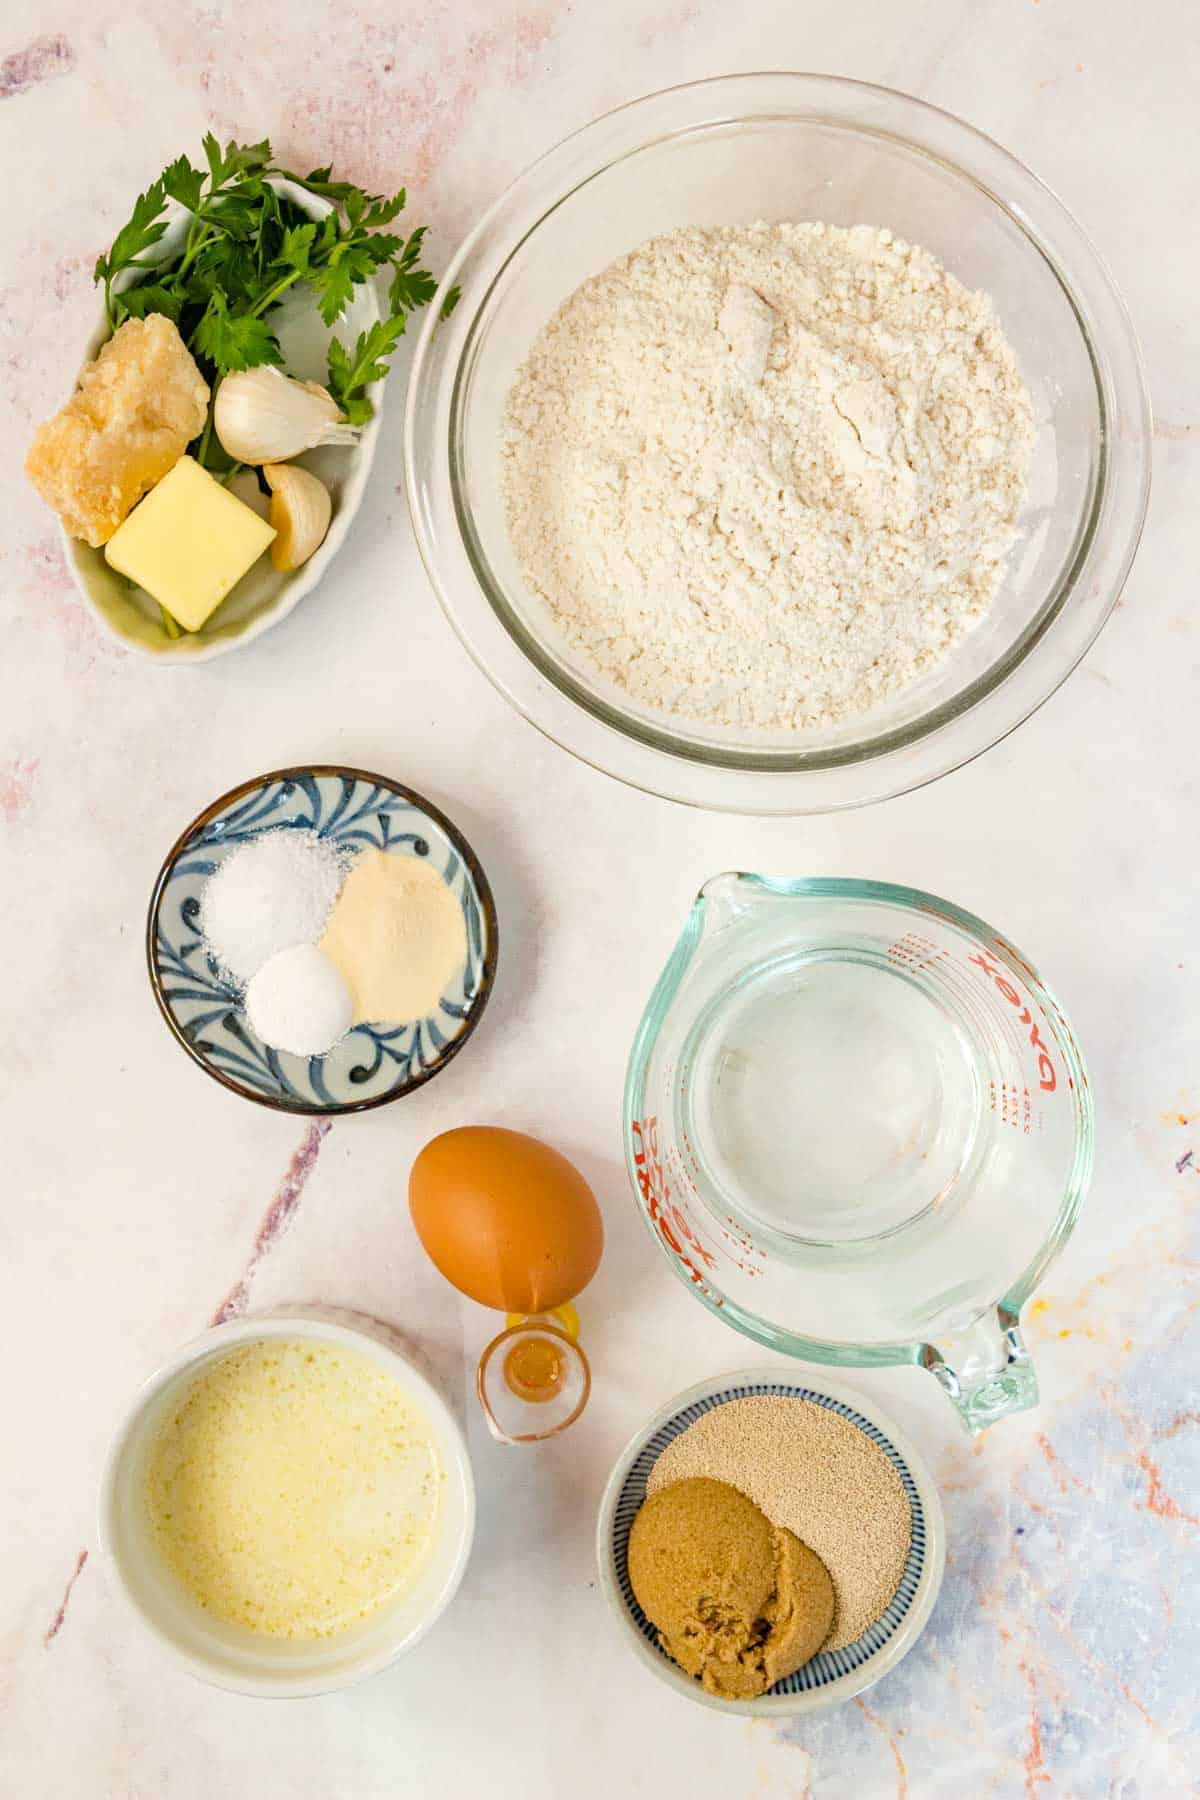
What You’ll Need
The ingredients for the gluten-free dough are pretty standard, and easy to find in many grocery stores. Here’s what you’ll need:
For the breadsticks
- Warm Water: You’ll want it to be about 90-110°F for perfect proofing.
- Active Dry Yeast: You can also use instant yeast and add it with the dry ingredients instead of proofing it. The rise time will not be as long.
- Brown Sugar: This feeds the yeast, and using brown sugar instead of white sugar adds addditional flavor and color when baking.
- Gluten-Free Flour: I used King Arthur Measure for Measure flour, or you can try your favorite 1-to-1 baking blend.
- Salt
- Xanthan Gum: Adding more than what is in the baking blend helps make the dough more stretchy so your get a nice texture in your breadticks.
- Baking Powder: Be sure the brand you use is gluten free.
- Egg: One large one.
- Unsalted Butter: Melted and cooled.
- White Vinegar: Lemon juice will also work.
For the garlic butter
- Unsalted Butter
- Fresh Garlic
- Fresh Parsley
- Parmesan Cheese: Optional, but it’s nice to sprinkle on at the end.
How to Make Gluten Free Garlic Breadsticks
This recipe starts by following the basic instructions for my classic Gluten Free Soft Breadsticks. Make sure you check out that post for all of the tips, tricks, and details. The only difference is that we are going to make 8 thinner breadsticks instead of 6. And then they are brushed with a simple garlic and herb butter.
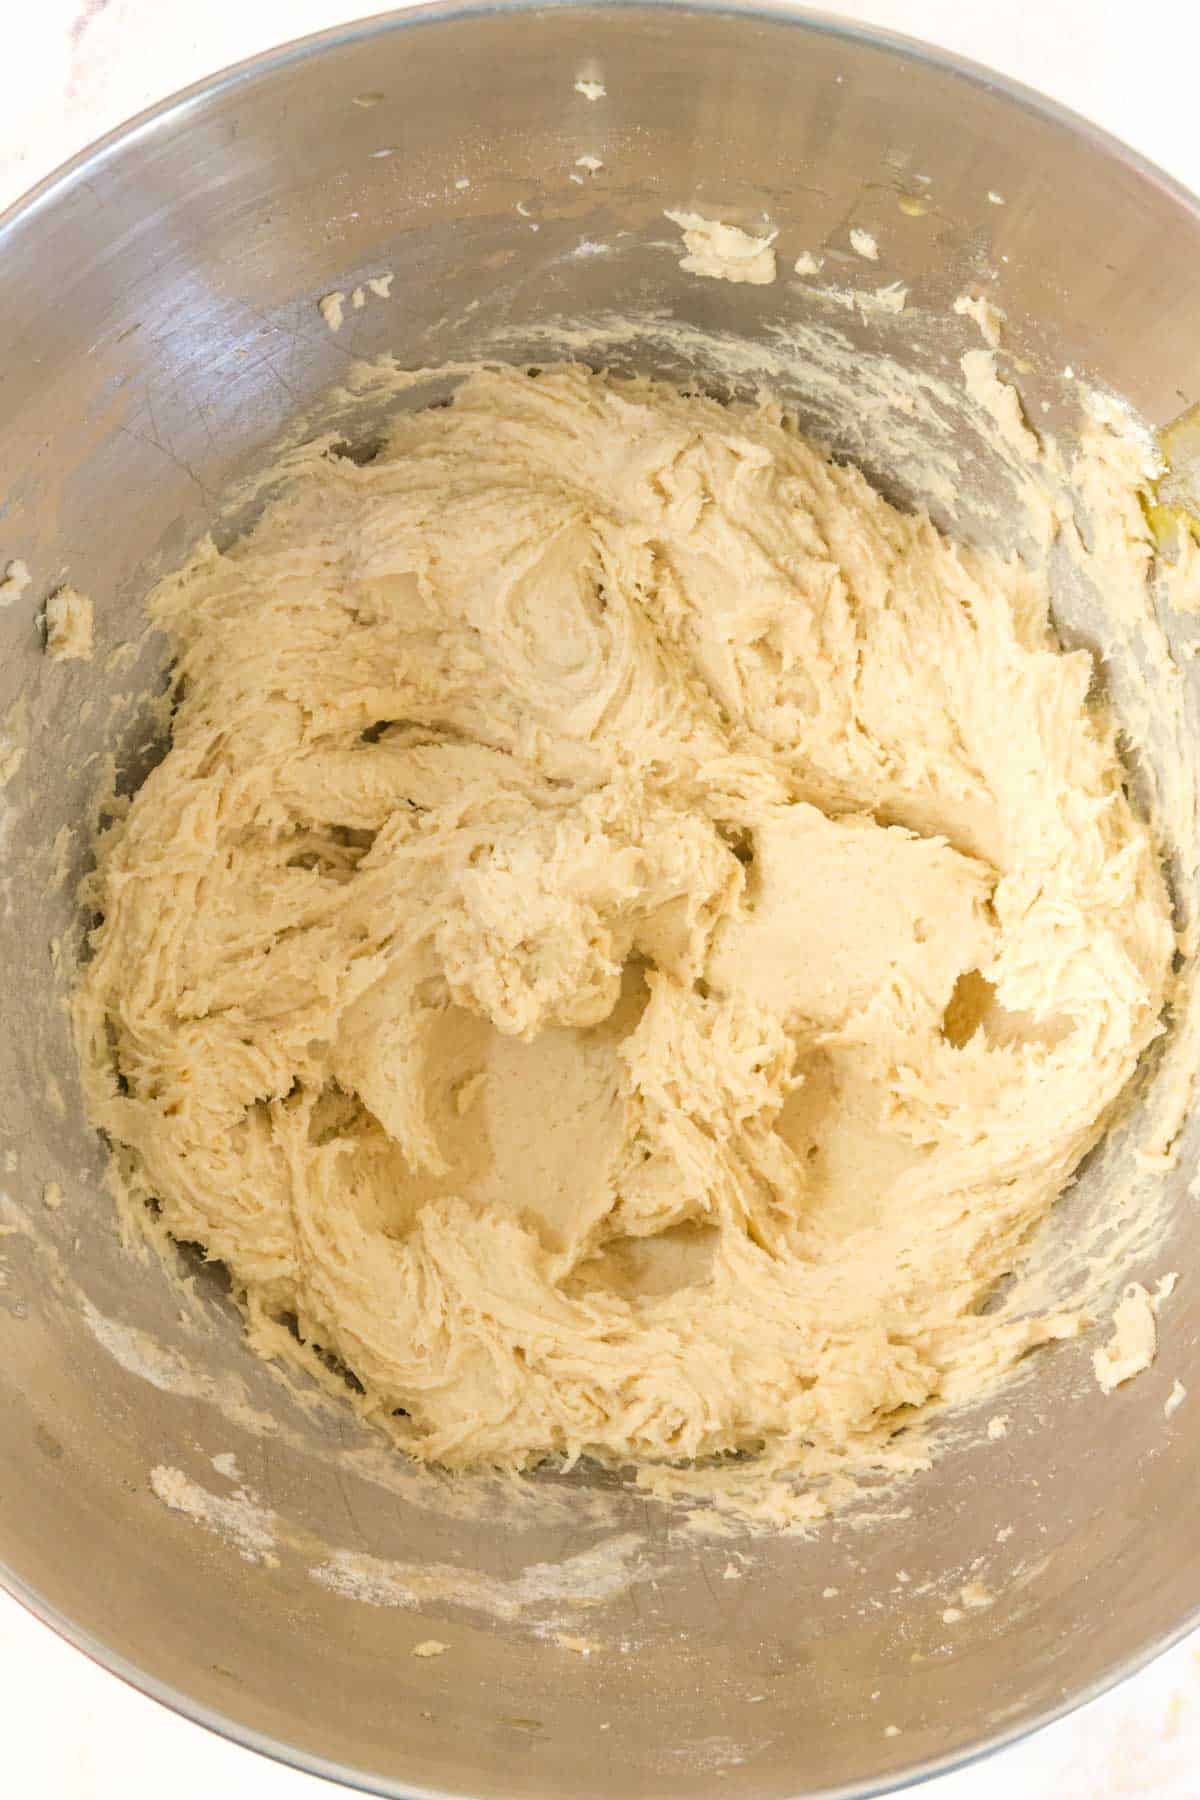
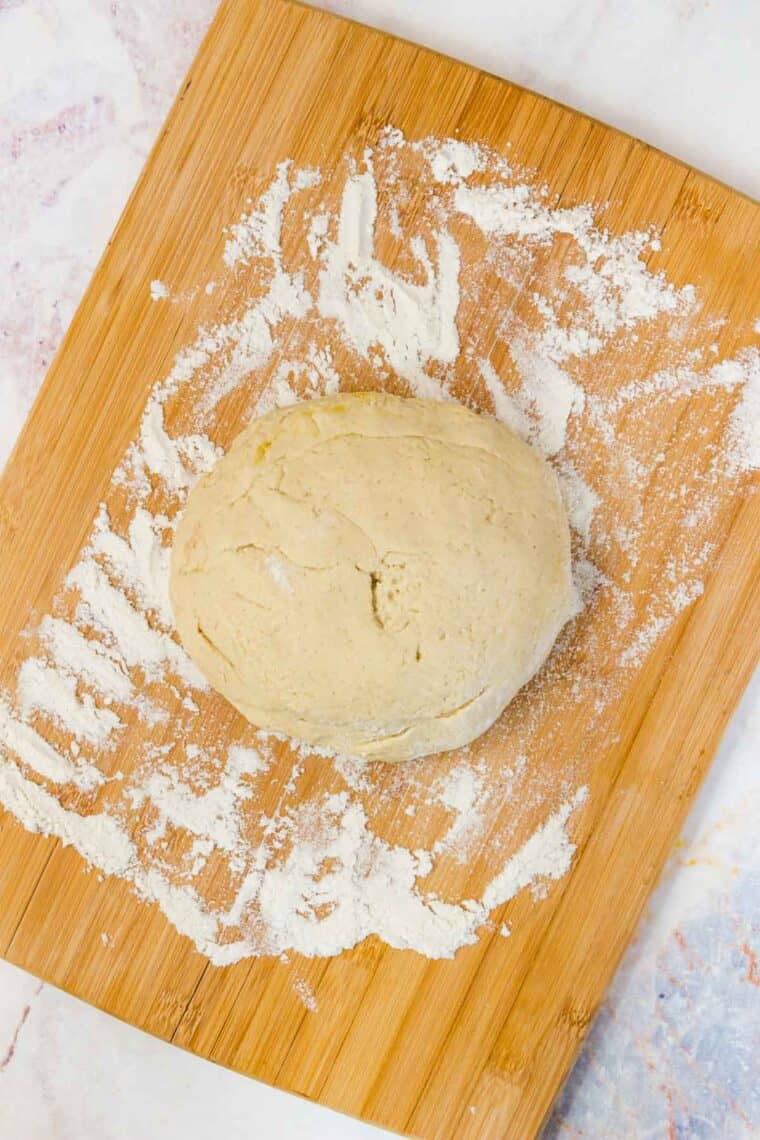
Make the Dough: First, proof the yeast mixture by combining the yeast and sugar with warm water, leaving it to sit until the mixture is frothy and bubbling. Combine the dry ingredients in a separate bowl, then add in the yeast mixture. Finally, mix in the egg, butter, and vinegar and beat until the dough just comes together and looks like this.
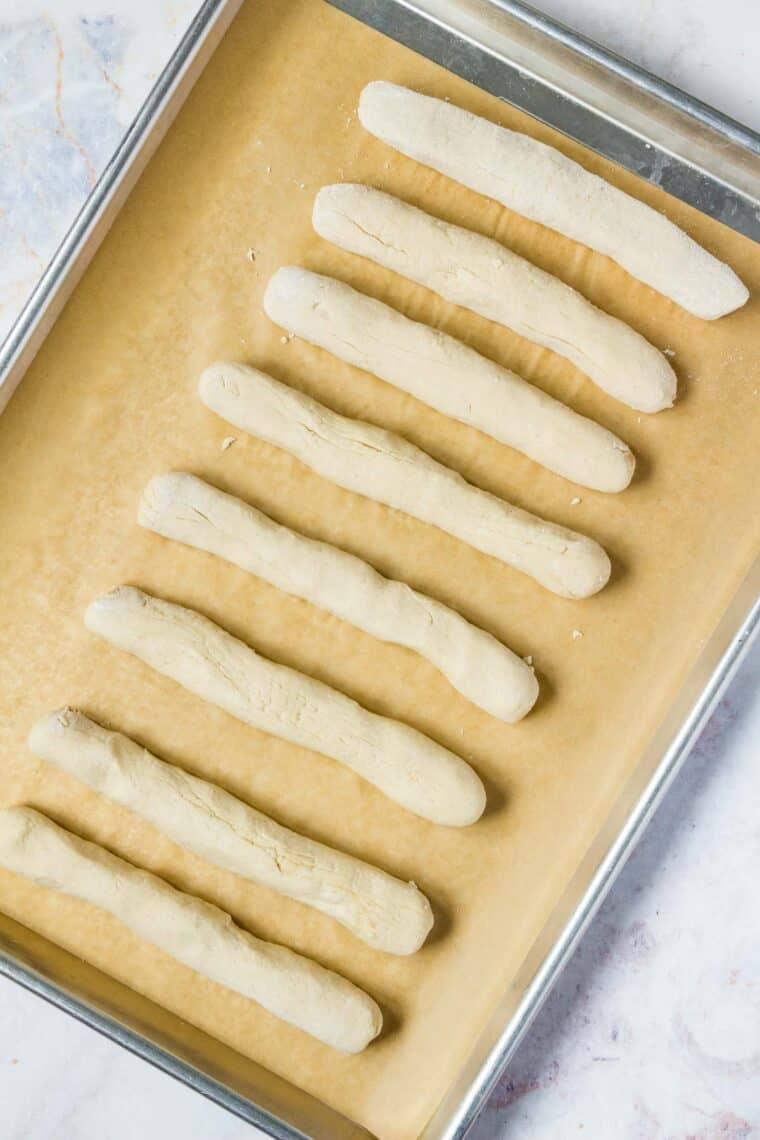
Roll Out the Dough: Dust your work surface with a little gluten free flour. Gather the dough into a ball and divide it into 8 equal pieces. Roll each piece into a rope about 5 or 6 inches long and place on a parchment-lined baking sheet. Let them rise in a warm location for about 20 minutes while you preheat the oven to 350°F.
Bake: Bake the breadsticks in the preheated oven for about 15-20 minutes until they’re golden on the outsides and cooked on the insides.
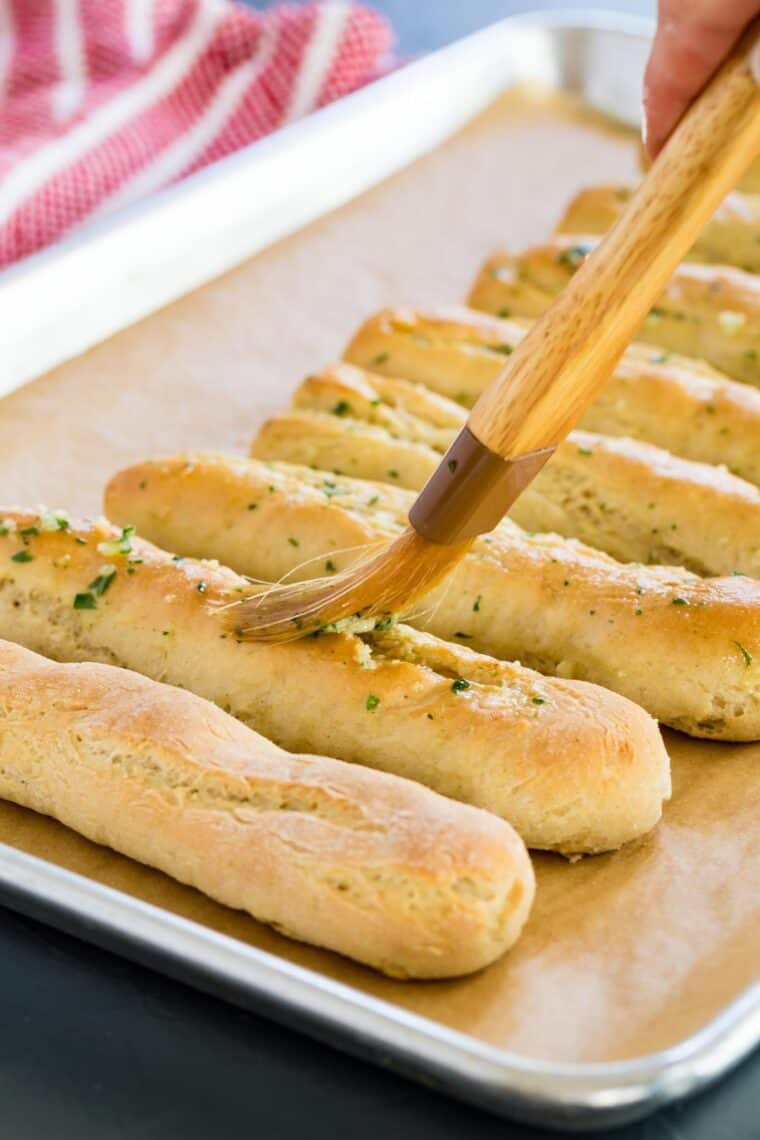
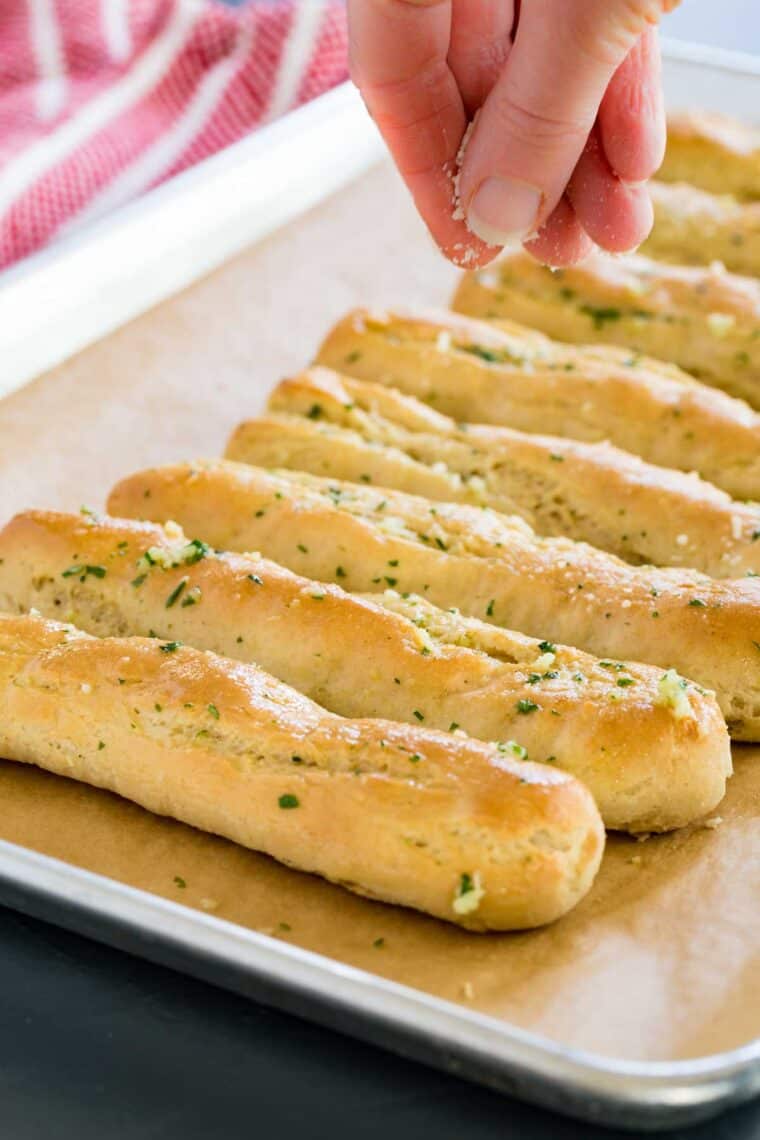
Make the Garlic Butter: In a small saucepan, melt the butter. Then add the garlic and parsley and let it warm through for a couple of minutes just to cook the raw taste out of the garlic. Brush onto the warm breadsticks and sprinkle with parmesan cheese, if desired. Enjoy!
Tips for Success
- Make Sure Your Yeast is Good: Be sure that your yeast is fresh and not expired. If it doesn’t start to bubble right away, toss it aout and start fresh.
- Don’t Use Too Much Flour: Lightly spoon the flour when measuring, then add just enough if you still need more for the dough to come together. It will be softer than your usual wheat flour dough, but if you add too much flour, then final product will be dry and dense. You also just need a light dusting on your work surface and maybe a bit on your hands to roll them
- Serve Them Warm: For the softest garlic breadsticks, serve them warm.
- Storing Leftovers: Extra breadsticks can be stored in an airtight container at room temperature or in the fridge for up to 3 days. You can also freeze them in an airtight container or plastic freezer storage bag for up to two months. I recommend warming them in the microwave for a few seconds before serving them again.
Serving Suggestions
Whether you serve them with any Italian-inspired meals whether you pair them with a pasta dinner, dunk them in soup or stew, have one alongside a salad, or just dip them in a bowl of sauce and enjoy, you are in for a real treat.
- Pasta dinner: You can go wrong when you serve garlic breadsticks with pasta dishes like Spaghetti Bolognese or Fettuccine Alfredo.
- Italian-style comfort food: They are great with Mozzarella Stuffed Meatloaf that tastes like lasagna.
- Soups and stews: Sop up all that sauciness when you make Balsamic Beef Pot Roast or Instant Pot Creamy Tomato Basil Soup.
- Salads for dinner: Make a light meal more satisfying when you have garlic breadsticks with an Italian-Style Wedge Salad.
- Serve with a vegetarian meal: Scoop up the flavorful juices in this Ratatouille.
- Have some appetizers: Just dunk them in Marinara Sauce or Vodka Sauce for a tasty party snack.
More Gluten-Free Flavored Breads and Rolls
Not your basic breads, these have amazing flavors and alternatives to your basic yeast dough.
- Gluten Free Garlic Rolls
- Low Carb Spinach Pinwheels
- Spinach Artichoke Cheesy Cauliflower Breadsticks
- Brazilian Cheese Bread
Gluten Free Garlic Breadsticks
Ingredients
For the breadsticks
- 2/3 cup warm water, 90-110°F
- 1 1/2 Tablespoon active dry yeast
- 2 Tablespoons brown sugar
- 2 cups 1-to-1 gluten-free flour (I used King Arthur Measure for Measure)
- 1 teaspoon kosher salt
- 1/2 teaspoon gluten free baking powder
- 1 teaspoon xanthan gum
- 1 egg
- 1/3 cup melted butter
- 1 teaspoon white vinegar or lemon juice
For the garlic butter
- 3 Tablespoons unsalted butter
- 2 garlic cloves, finely minced
- 1 Tablespoon minced fresh parsley
- 2 Tablespoons grated parmesan cheese, optional
Instructions
- Line a baking sheet with parchment paper.
- In a small bowl, whisk together the warm water, yeast, and brown sugar. Let this mixture stand for 5-10 minutes, until bubbly and frothy.
- Meanwhile, in a mixing bowl (preferably a stand mixer), combine the flour, salt, baking powder and xanthan gum.
- When the yeast mixture is proofed, pour it into the dry ingredients, mixing on low speed. Add the egg, butter, and vinegar. Mix for 1-2 minutes, until the ingredients are incorporated, then increase the speed to medium-high and beat for 4 minutes.
- Gather the dough into a ball and place on a work surface lightly dusted with flour. Divide the dough into 8 equal portions and roll each portion into a rope about 5-6 inches long.
- Let the dough rest somewhere warm for 20 minutes.
- After 10 minutes, preheat the oven to 350°F.
- Bake for 15-20 minutes, until golden and cooked through.
- While the breadsticks are baking, in a small saucepan melt the butter. Add the minced garlic and parsley and let it warm through for a minute or two.
- Remove the baking pan from the oven and immediately brush with the garlic butter and sprinkle with parmesan cheese, if desired. Serve warm or transfer the breadsticks to a wire rack to cool completely.





I had really high hopes for this based on the reviews but I used my favorite GF all purpose flour and the bread sticks turned out tasting Sandy/gritty.
I’m sorry it didn’t work out for you. Different flours can give very different results in gluten free recipes, which is why I always not which one(s) I tested. Can you tell me which one you used?
What flour would I use I’m in the UK …?
Plain flour or bread flour ?
I make these with gluten free flour. I am not familiar with how to substitute plain versus bread flour.
If my flour already has xantham gum do I still need to add it? Thanks
Yes, it needs the extra stretchiness.
God these are so good. I’m making the recipe again (the very next day). My autistic 6yo son who is an extremely picky eater ate 2 and tried to steal the bag. Oh yeah, this recipe is a true keeper. I’ll be super fat, but stupid happy. So I’ll survive. (I used Cup4Cup because store was out of KA, and they came out so incredible. Honestly, couldn’t tell they were gluten free).
thank you soooo much for this recipe! this is the first, successful, gluten free thing i’ve been able to bake! i’ve made biscuits with a mix but it’s not the same. again, thank you!
These are absolutely the best. I could not even explain the reaction of my suprise. Me and a grand daughter have been GF for 2 yrs now. A quote from my grand daughter. ” This is the first real bread that I have eaten in 2 yrs Grandma”. My thiughts exactly. ❤
I am soooo happy to hear this! You’ve made my day!
OMG OMG OMG!!!! I CANNOT BELEIEVE THAT GLUTEN FREE BREAD STICKS EXIST!!! I CAN NOT WAIT TO TRY IT!!!!
Enjoy!