This post may contain affiliate links. Read my disclosure policy.
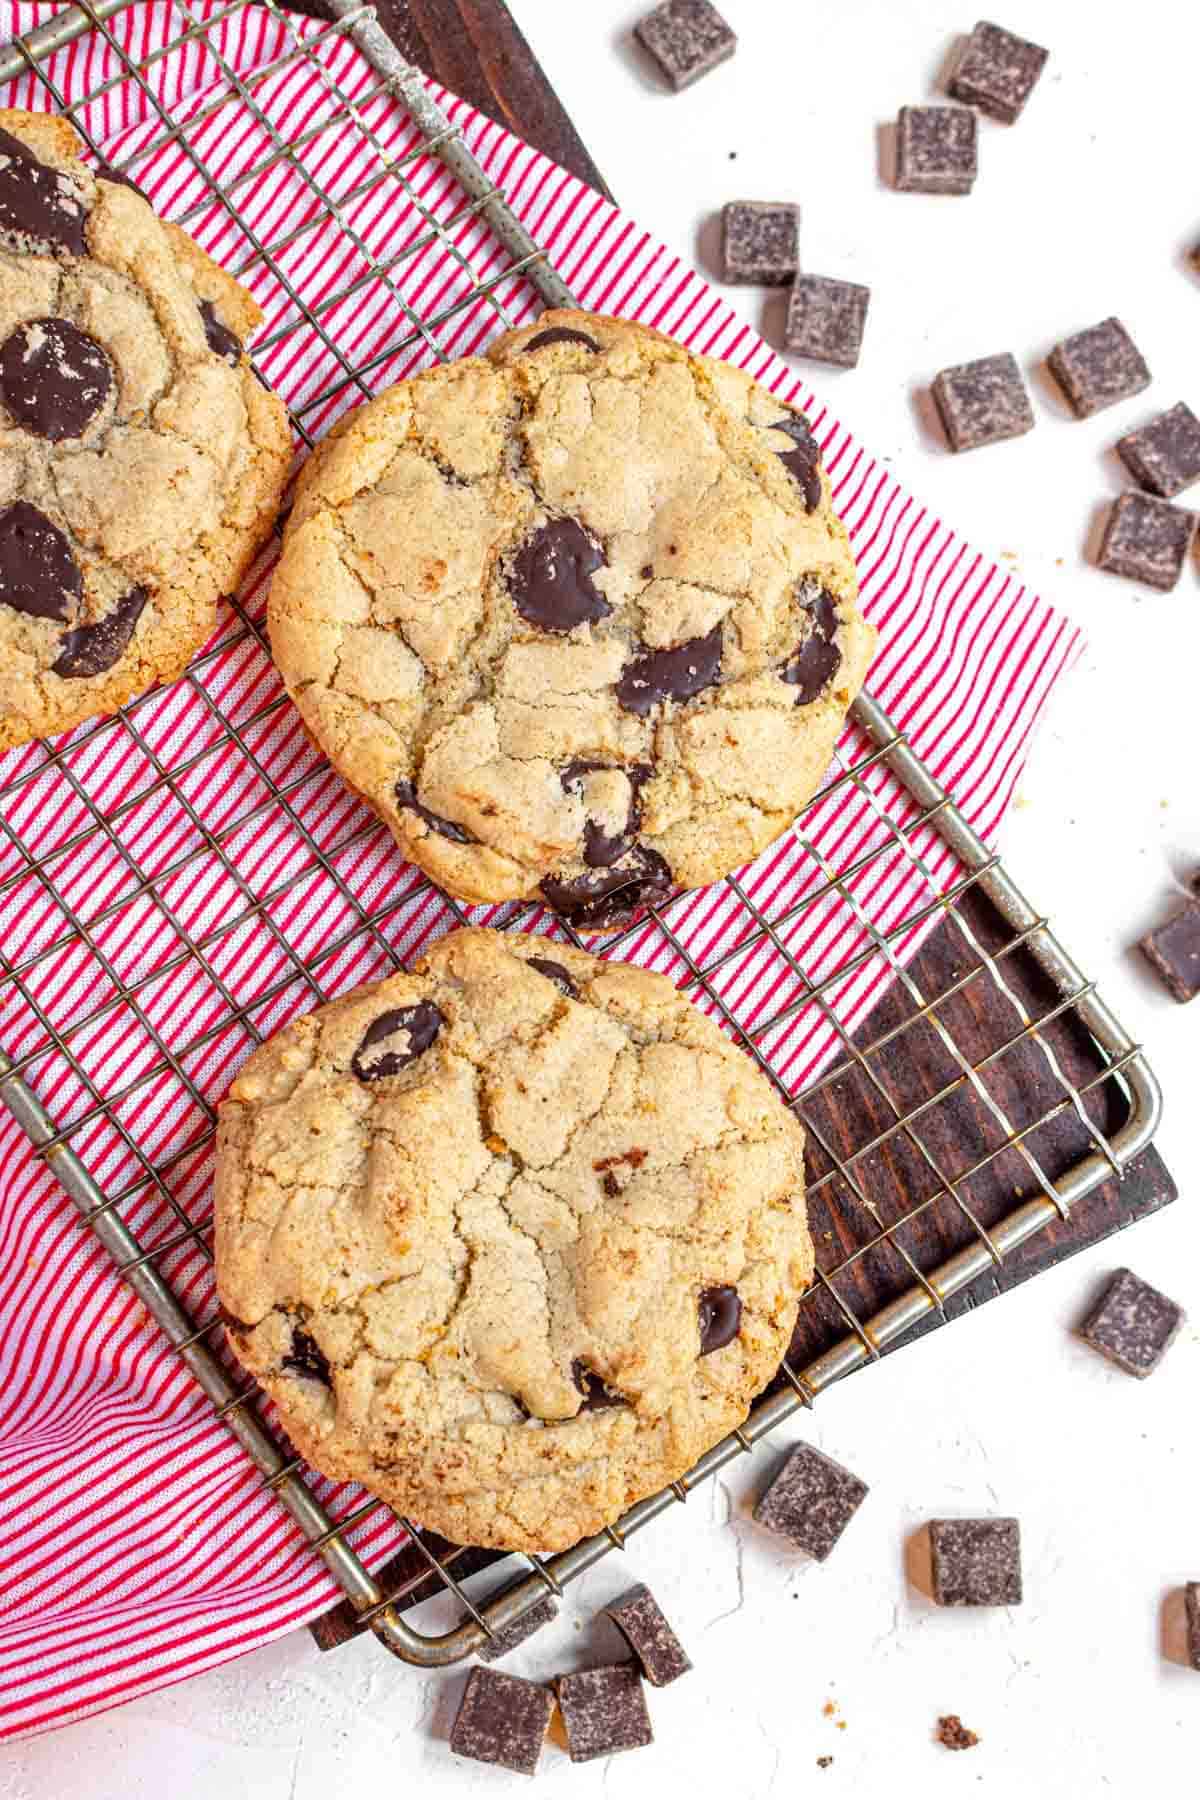
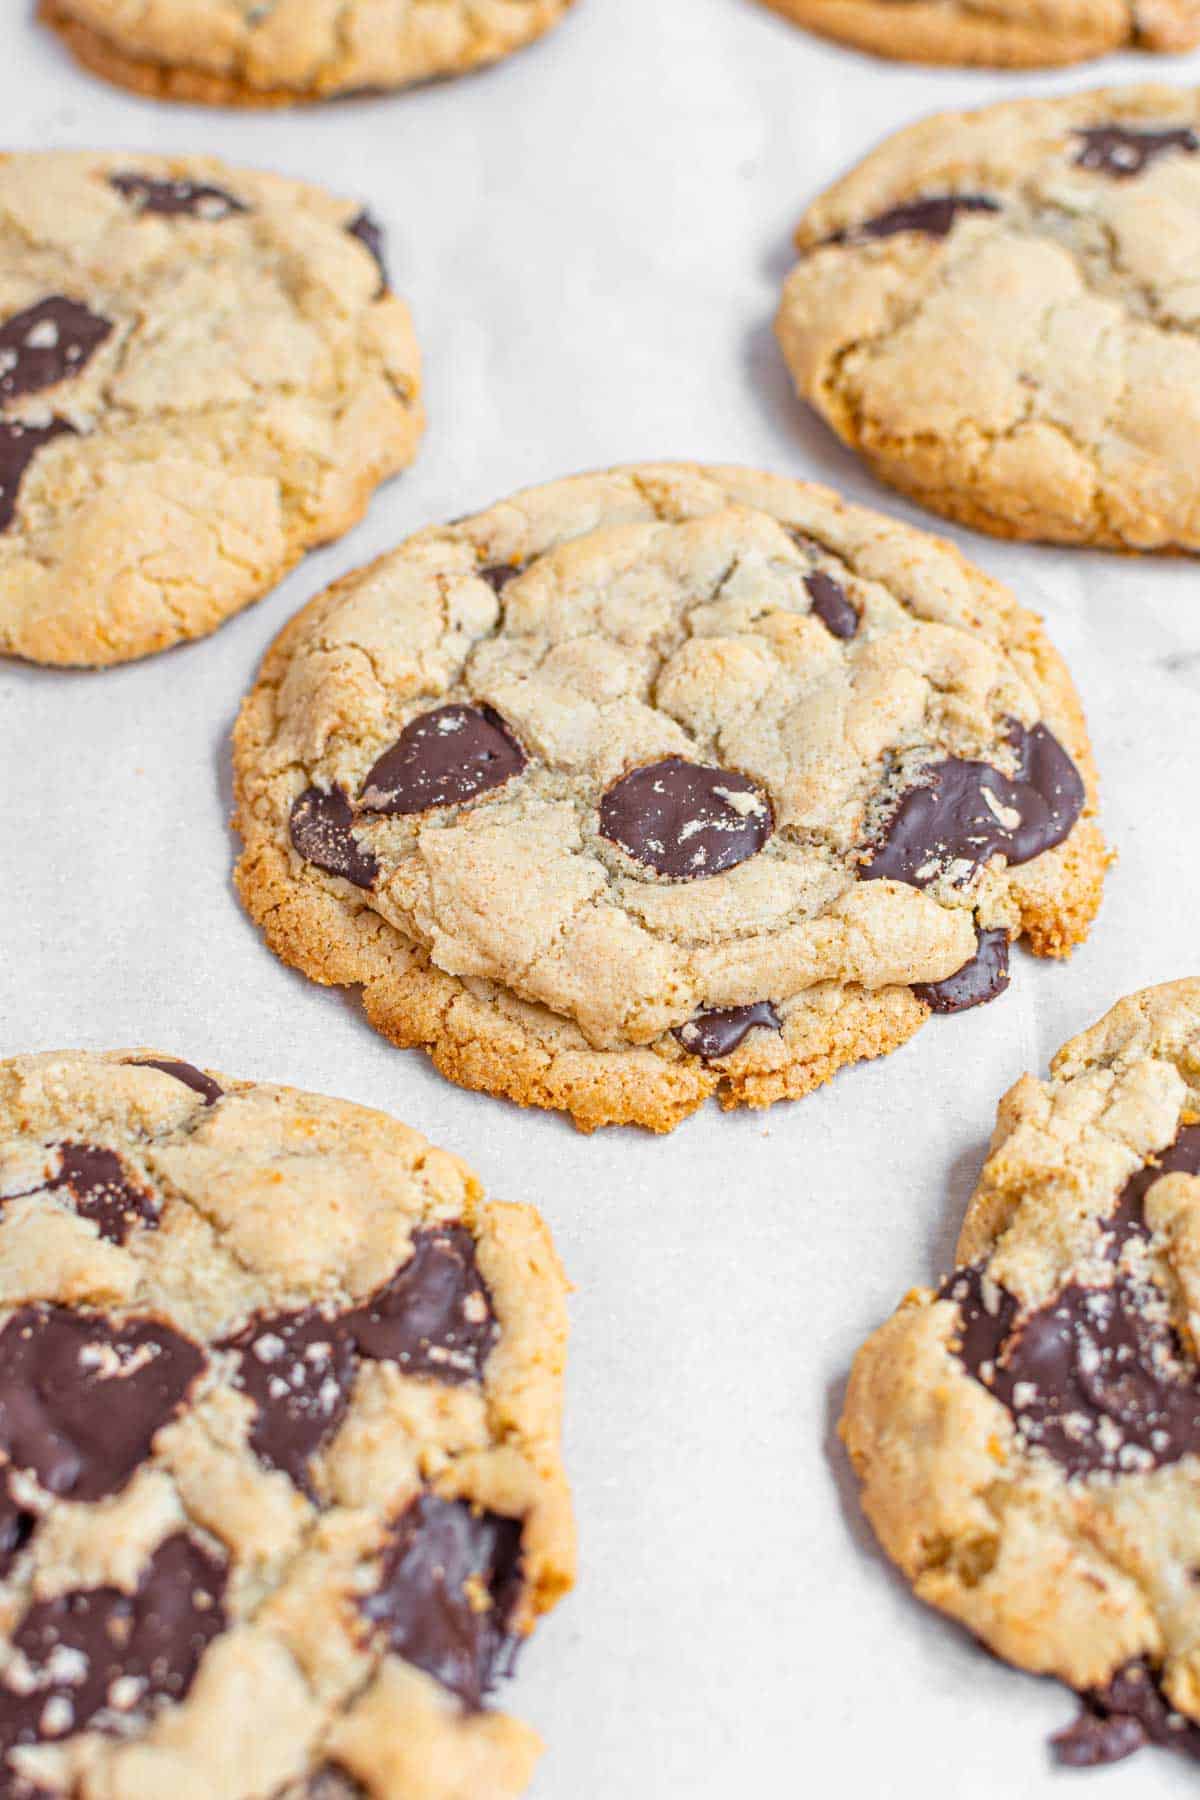
These chewy Gluten Free Chocolate Chip Cookies will make your heart skip a beat! Filled with just the right amount of melty chocolate, they come together in just 15 minutes.
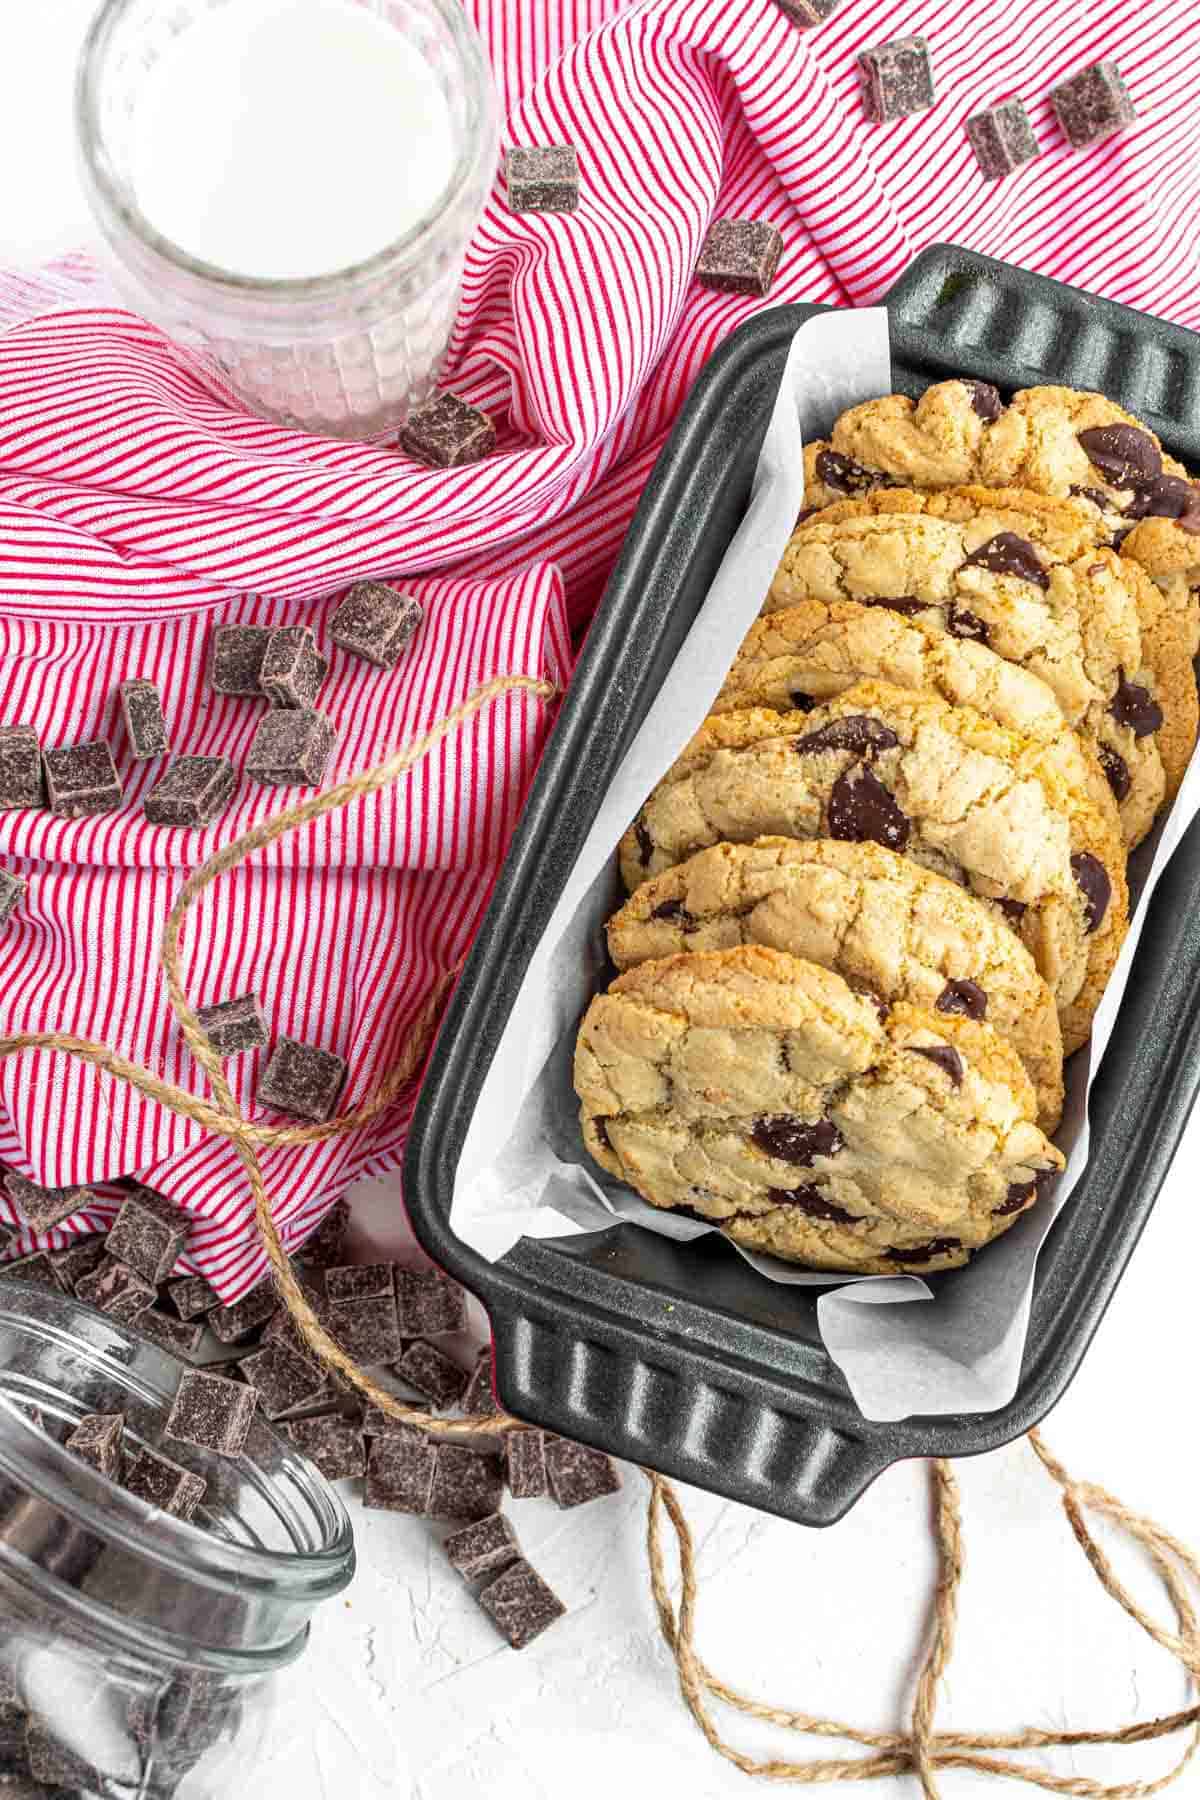
Everyone should be able to enjoy a chewy chocolate chip cookie made from scratch – regardless of their dietary restrictions. This recipe gives you the best gluten-free cookies you’ll ever taste! You simply can’t beat the amazingness that is a classic chocolate chip cookie.
Despite my adoration for this iconic cookie, sometimes I like to switch things up. This dough provides a great base for any kind of cookie you like. Try throwing in your favorite candies like chopped Reese’s Peanut Butter Cups, M&M’s, or chunks of Heath Bar!
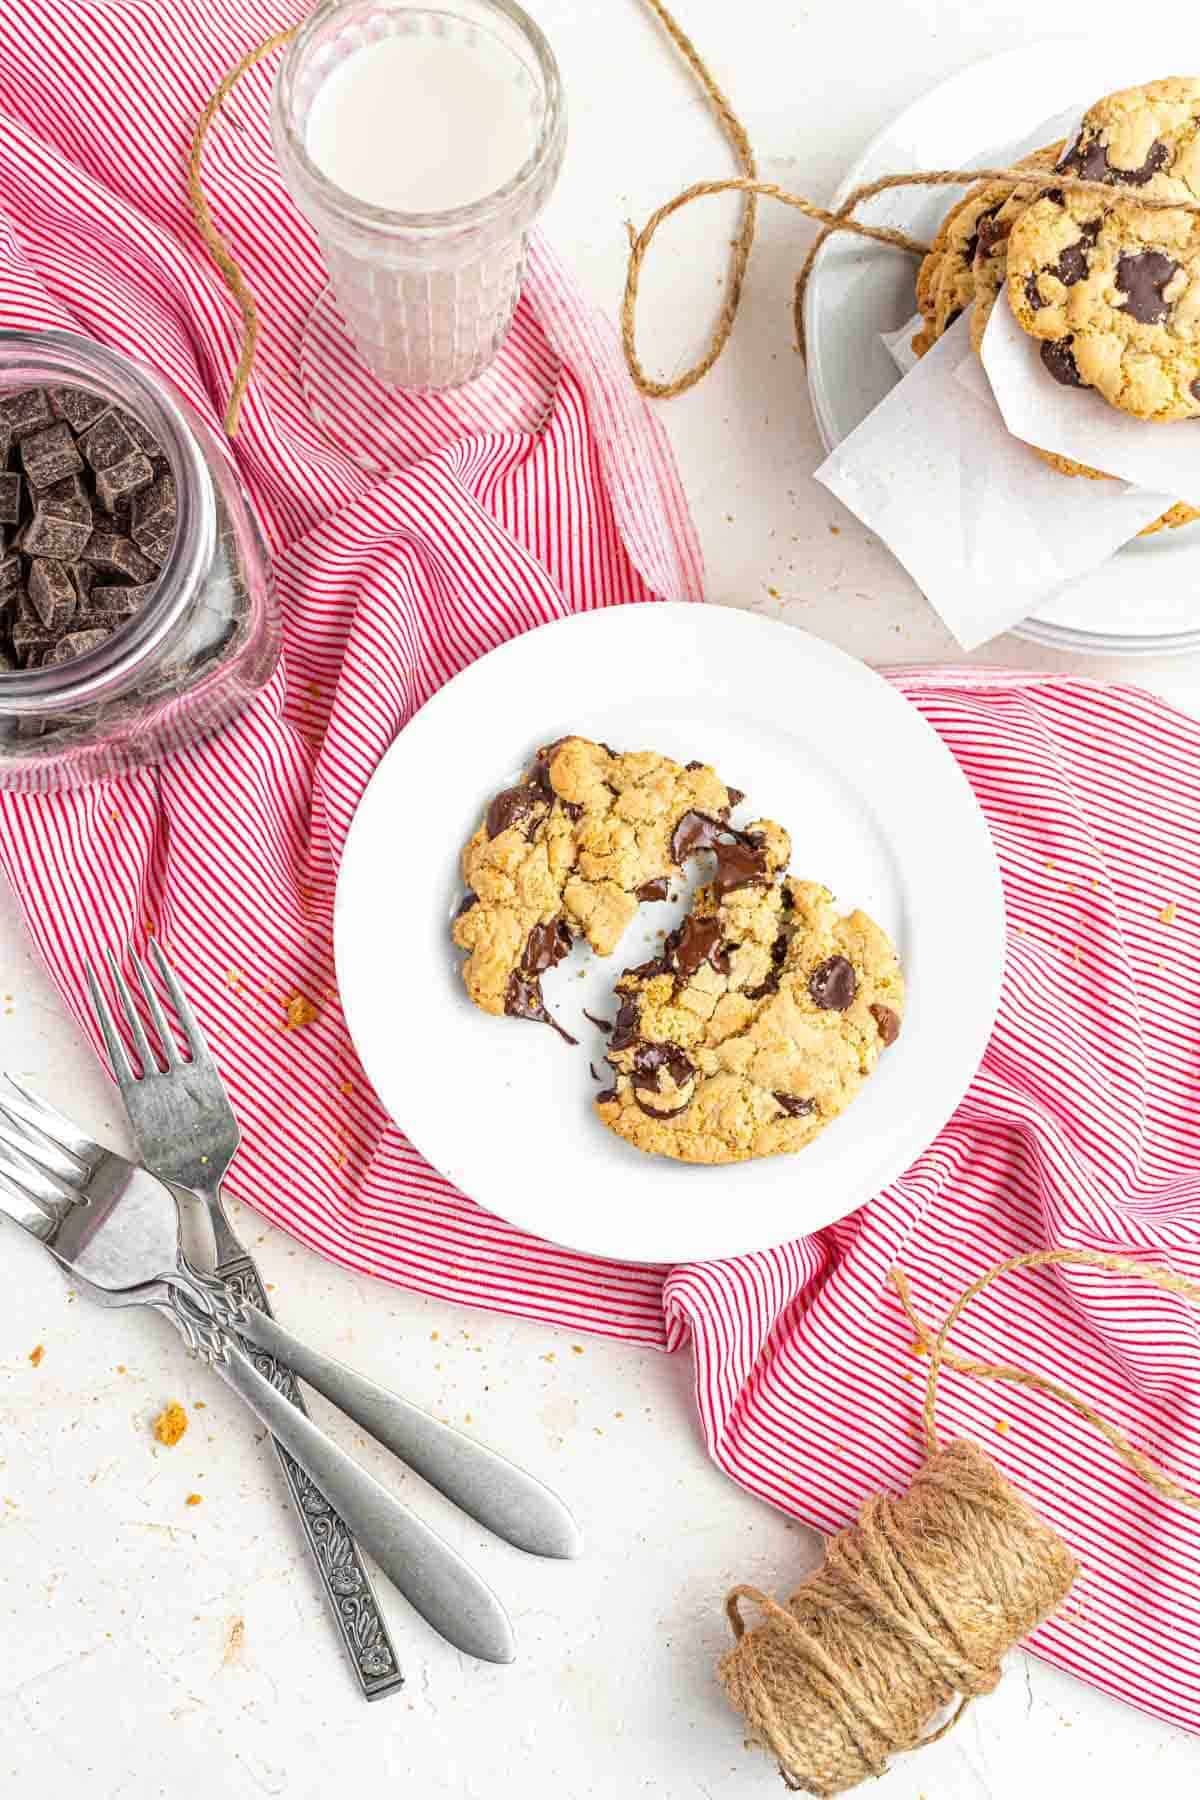
What Makes This Recipe the Best?
You can forget about dry and tough gluten-free cookies, because this recipe is way better than the average chocolate chip cookies made with wheat flour. It uses browned butter for the best possible flavor. These are the kind of cookies that would win a bake-off before anyone knew they were gluten-free!
I tested every combination of ingredients under the sun until I came to the marvelous concoction you see here. It’s perfection! And once you try it for yourself, you’ll never follow a different recipe for gluten-free chocolate chip cookies.
Recipe Ingredients
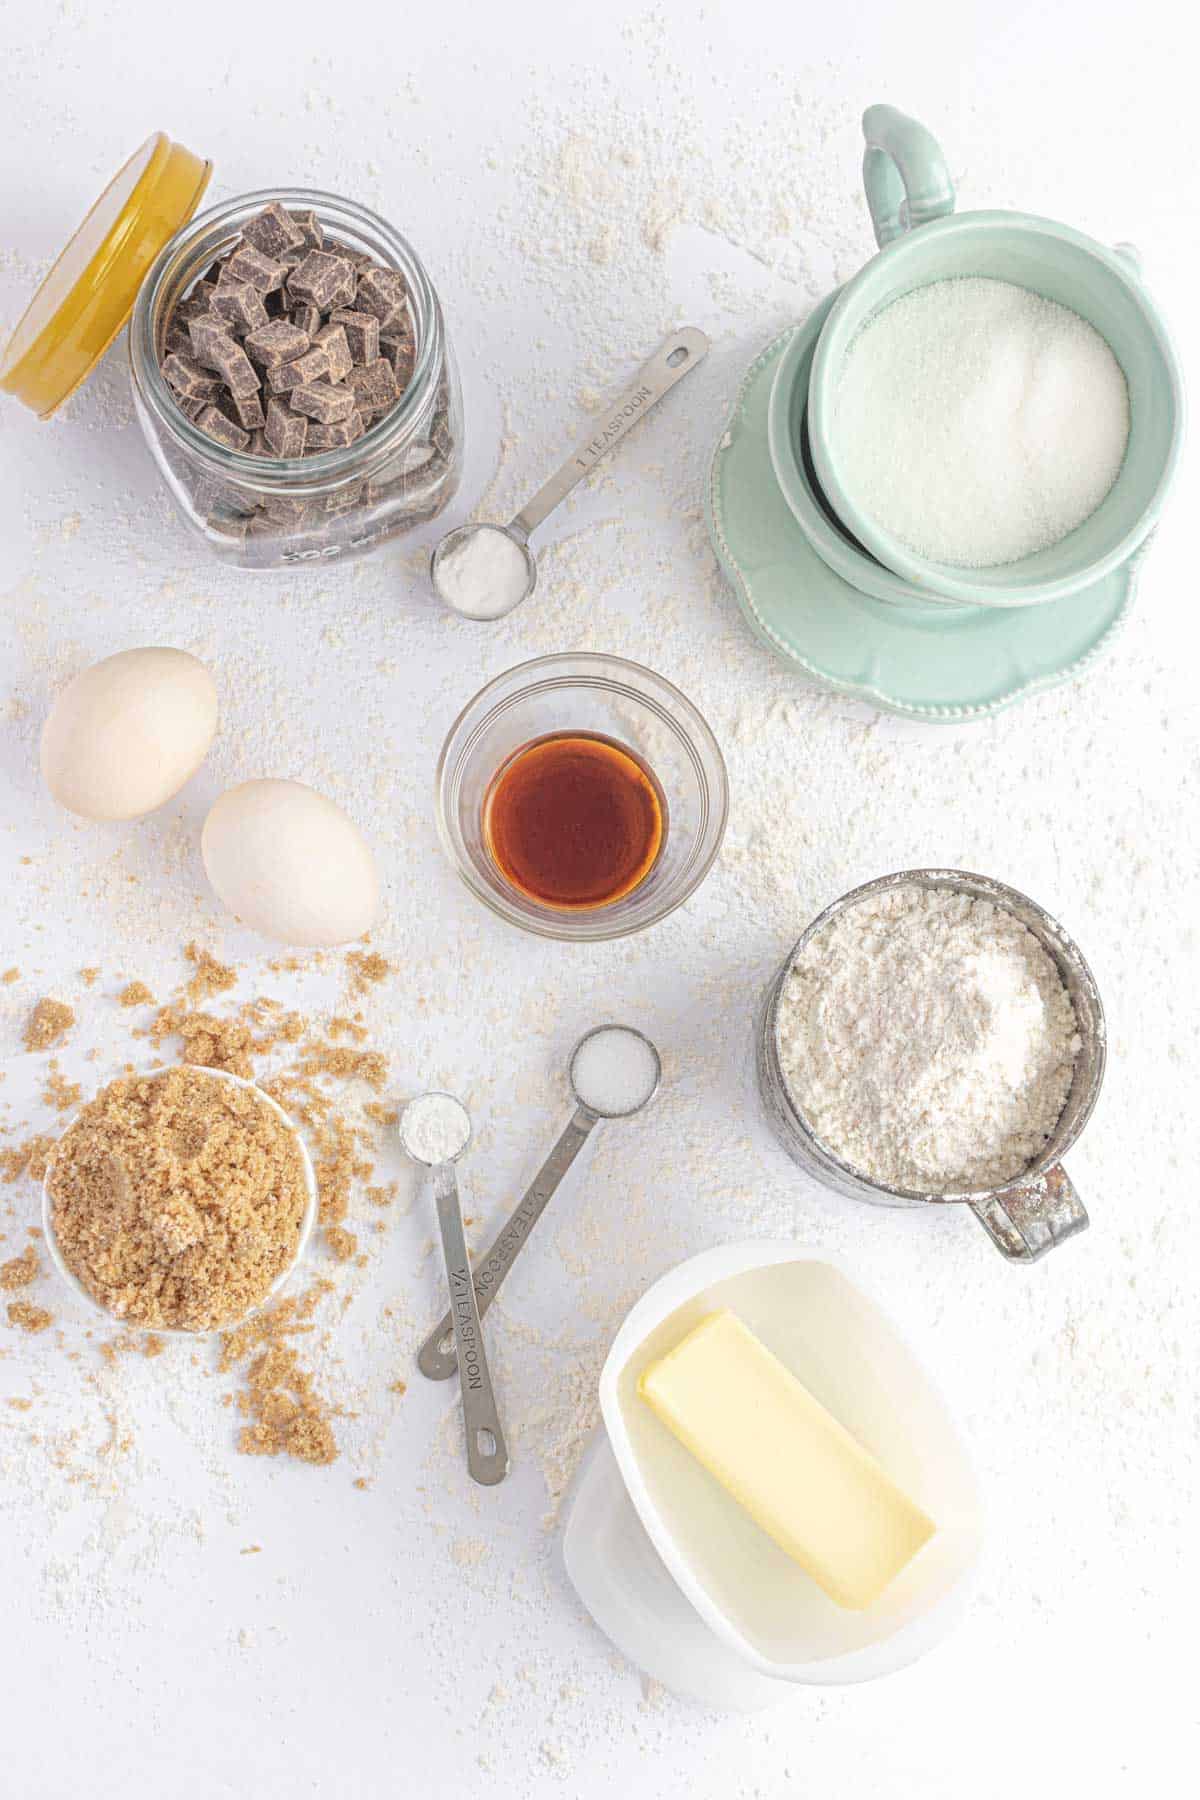
This recipe is anything but complicated. It takes simple ingredients and transforms them into an unforgettable treat!
- Butter: You’ll need 1/3 of a cup. We are going to make browned butter for extra flavor.
- Light Brown Sugar: For richness and texture.
- White Sugar: The combination of white and brown sugar makes these cookies super soft and chewy with crisp, golden-brown edges.
- Egg: You’ll need 1 egg plus 1 yolk.
- Pure Vanilla Extract: Make sure it is gluten free.
- Gluten-Free Flour Blend: A 1-to-1 blend such as Bob’s Red Mill, Cup4Cup, or King Arthur.
- Salt
- Baking Soda
- Baking Powder
- Semi-Sweet Chocolate Chips: You could also use milk, white or dark chocolate chips, if desired.
Chocolate chip cookies are such a wholesome dessert, and this is a great recipe to get kids excited about baking. Even the youngest aspiring bakers can help with pretty much every step!
Prepare for Baking: Preheat the oven to 350°F. Prep a baking sheet by spraying it with cooking spray or by lining it with parchment paper and set aside.
Brown Butter: In a small saucepan, heat the butter over medium-low heat until melted and bubbling. Once it starts bubbling, allow it to simmer for 2-3 minutes, or until the butter starts to brown, then pull it off of the heat immediately to prevent burning.
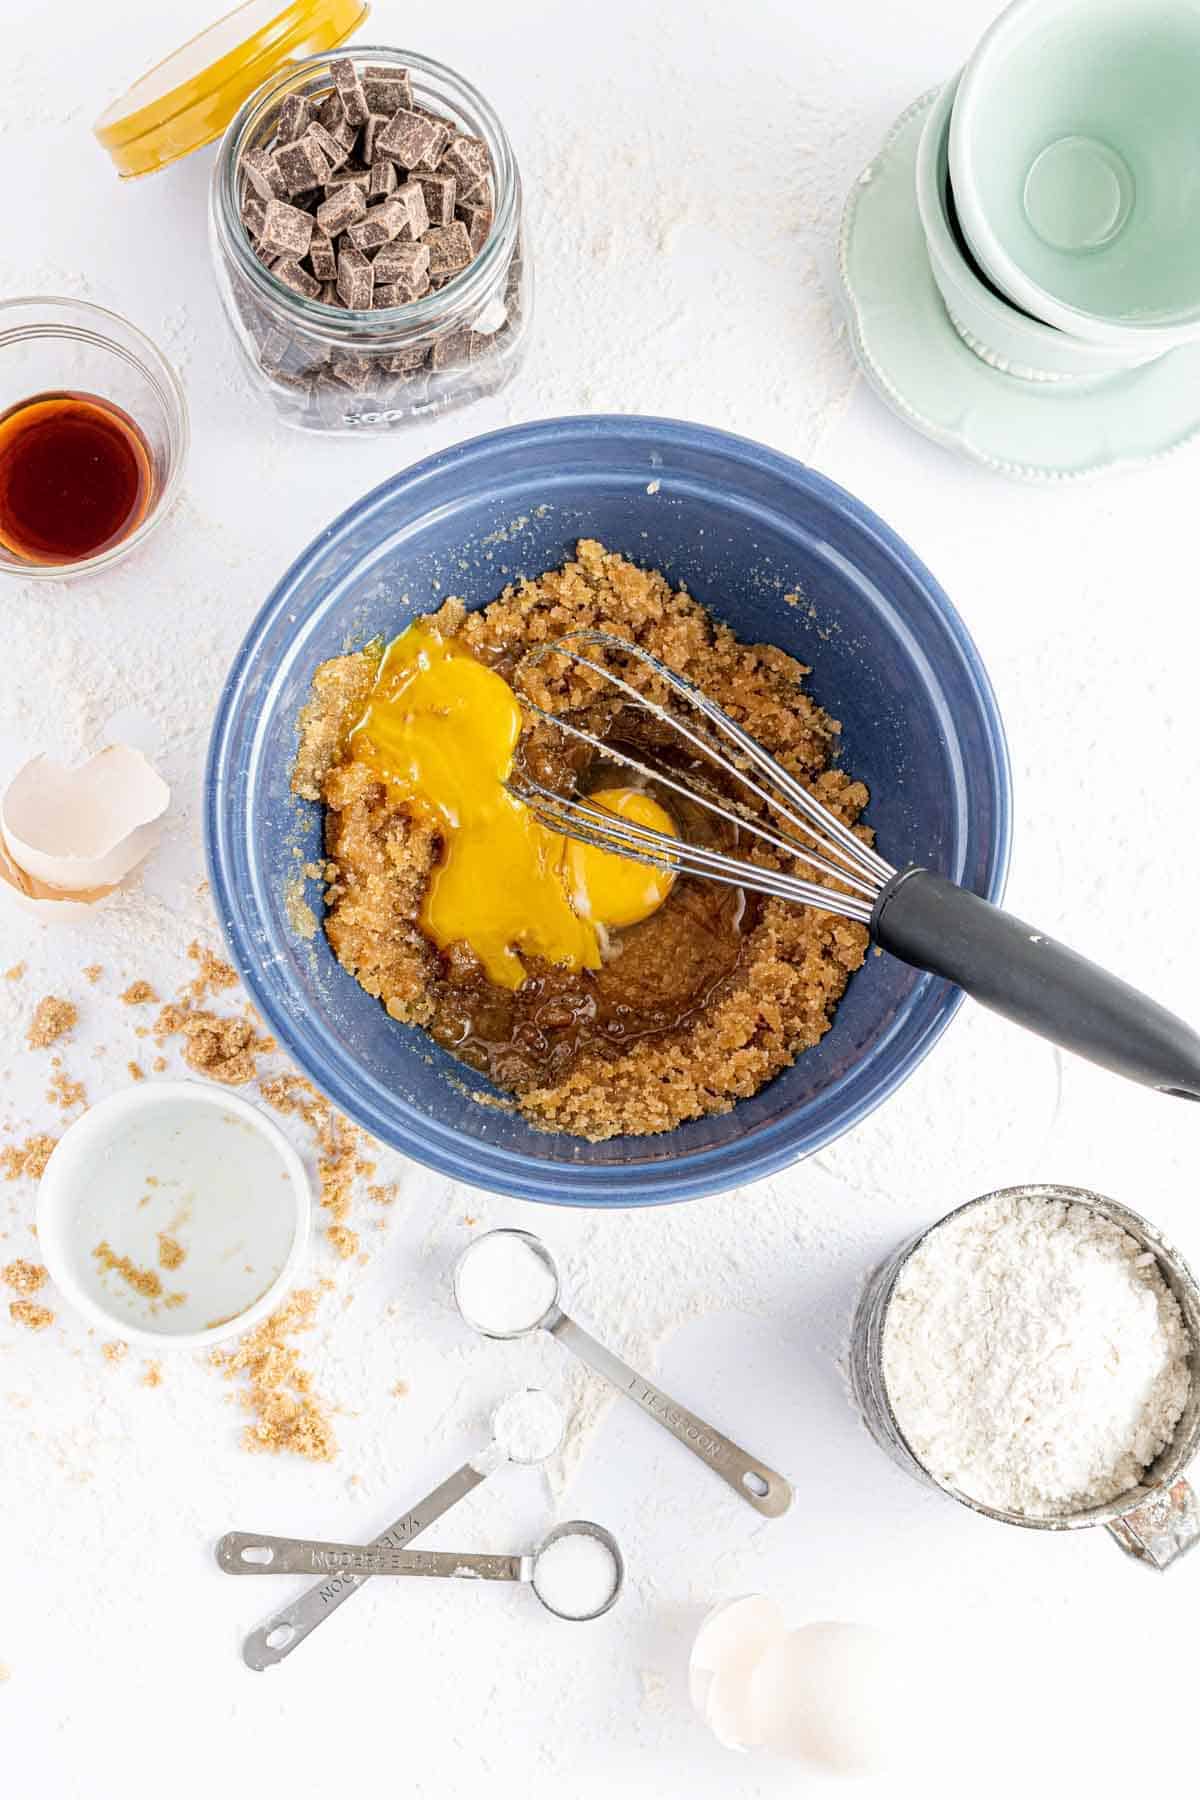
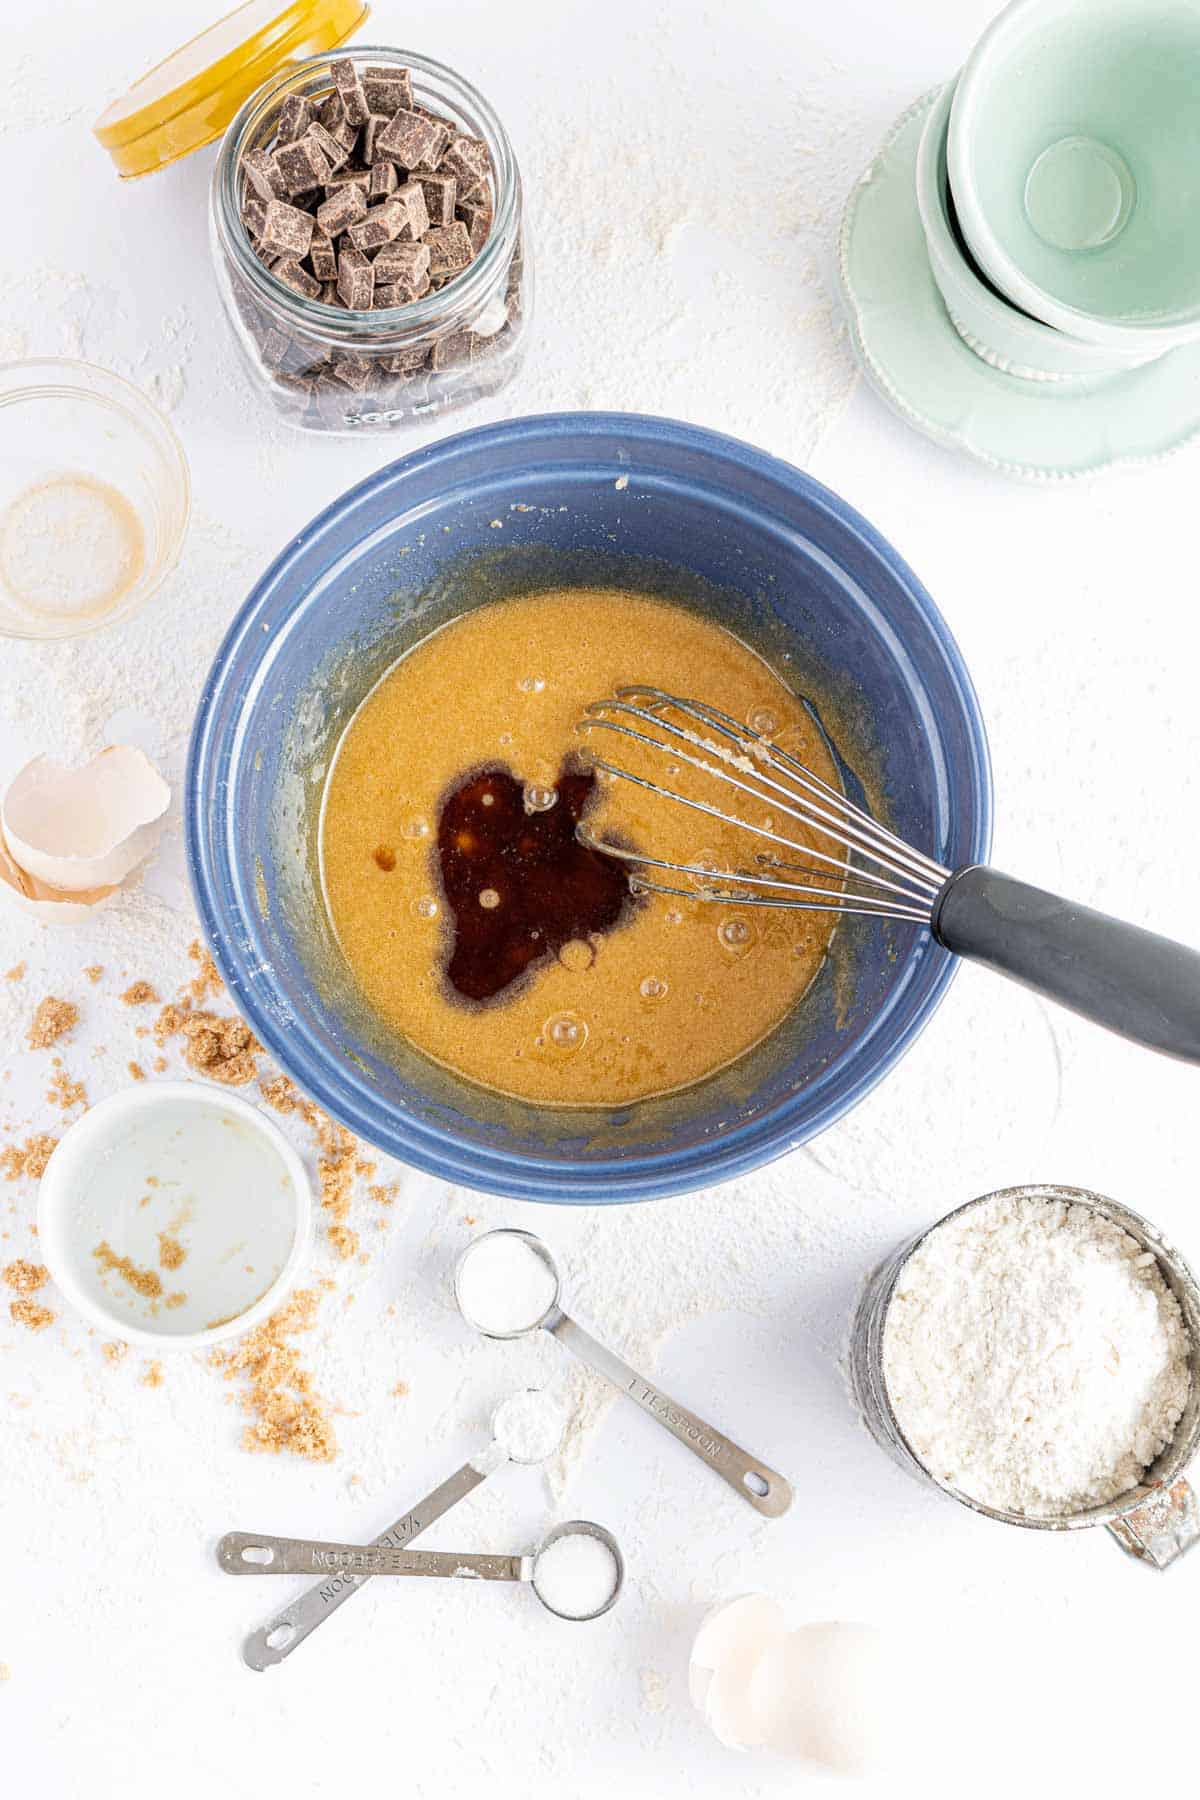
Combine Sugars & Wet Ingredients: In a medium mixing bowl, combine both sugars. Add browned butter to them and mix. Next, add the egg and egg yolk and whisk until smooth. Add in the vanilla and whisk again.
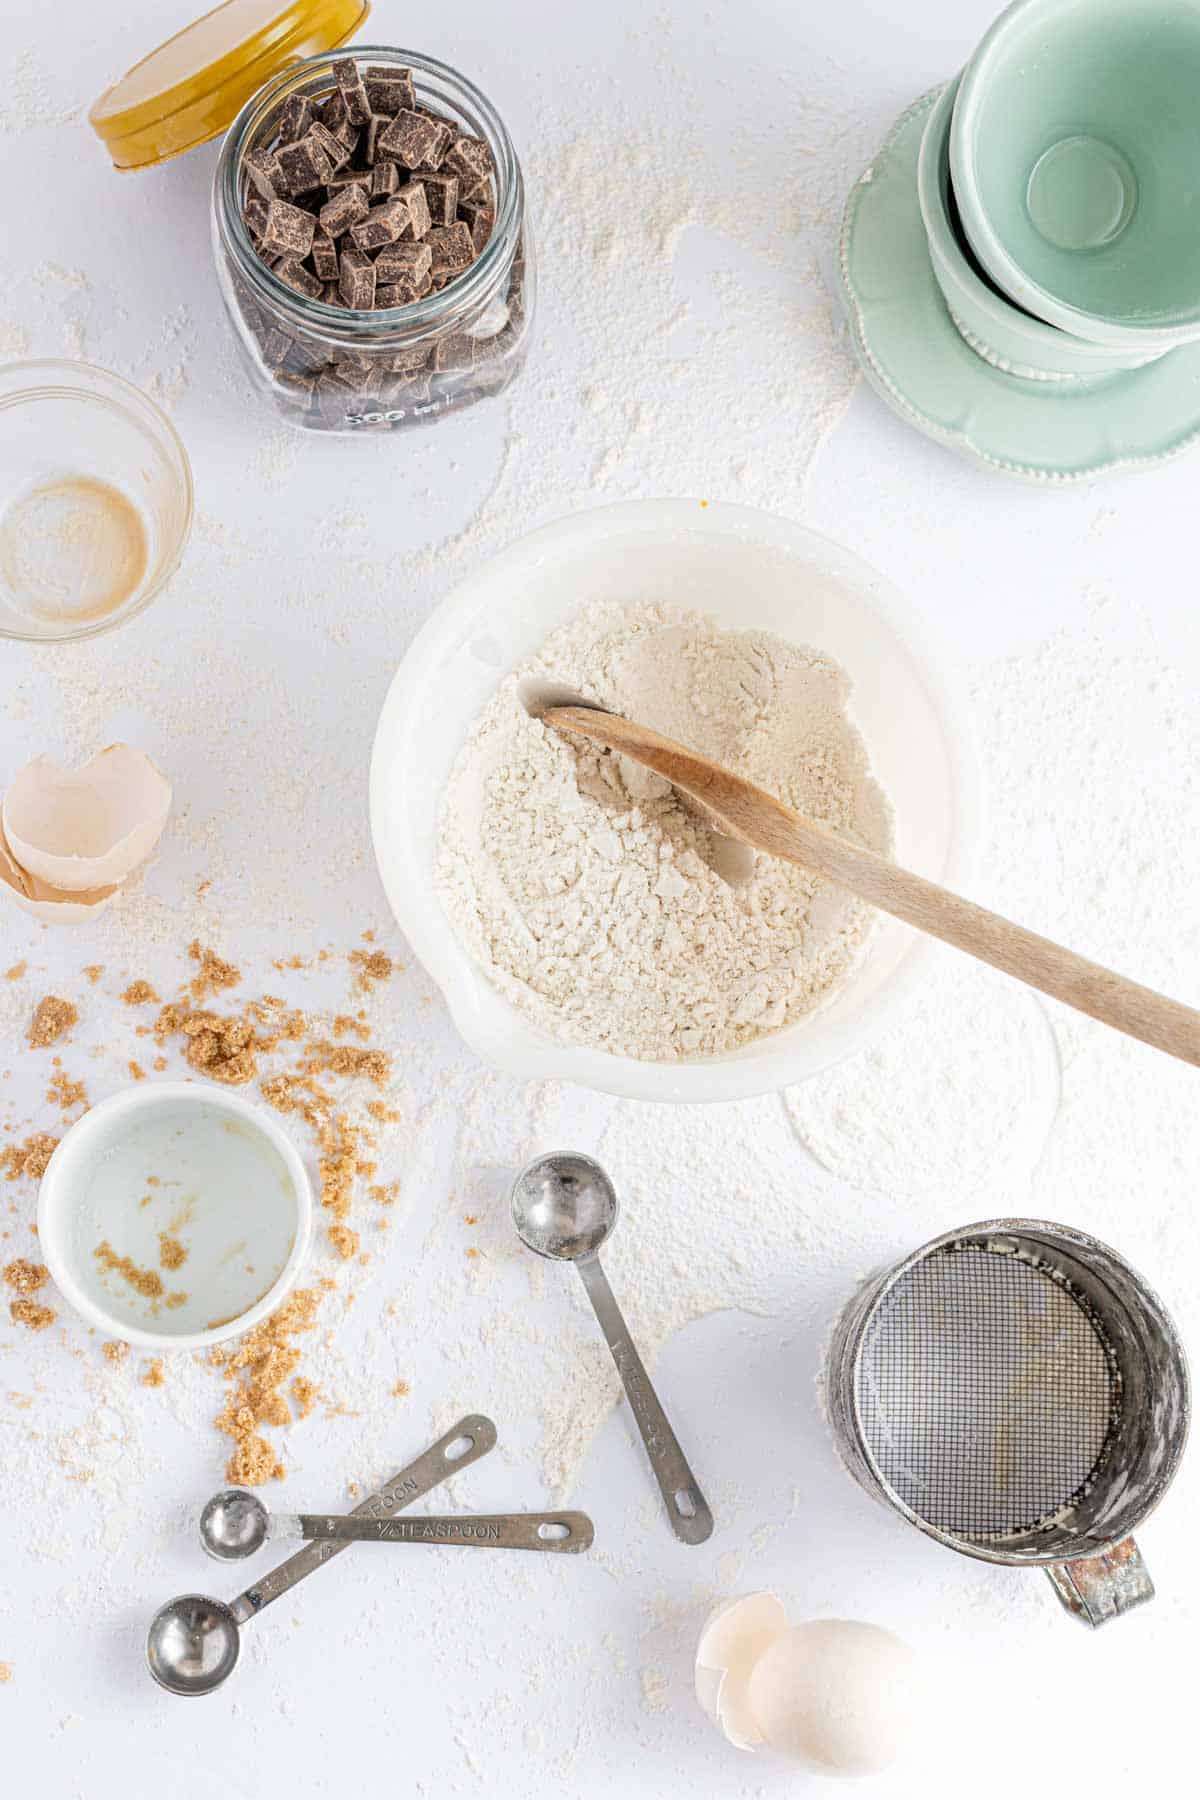
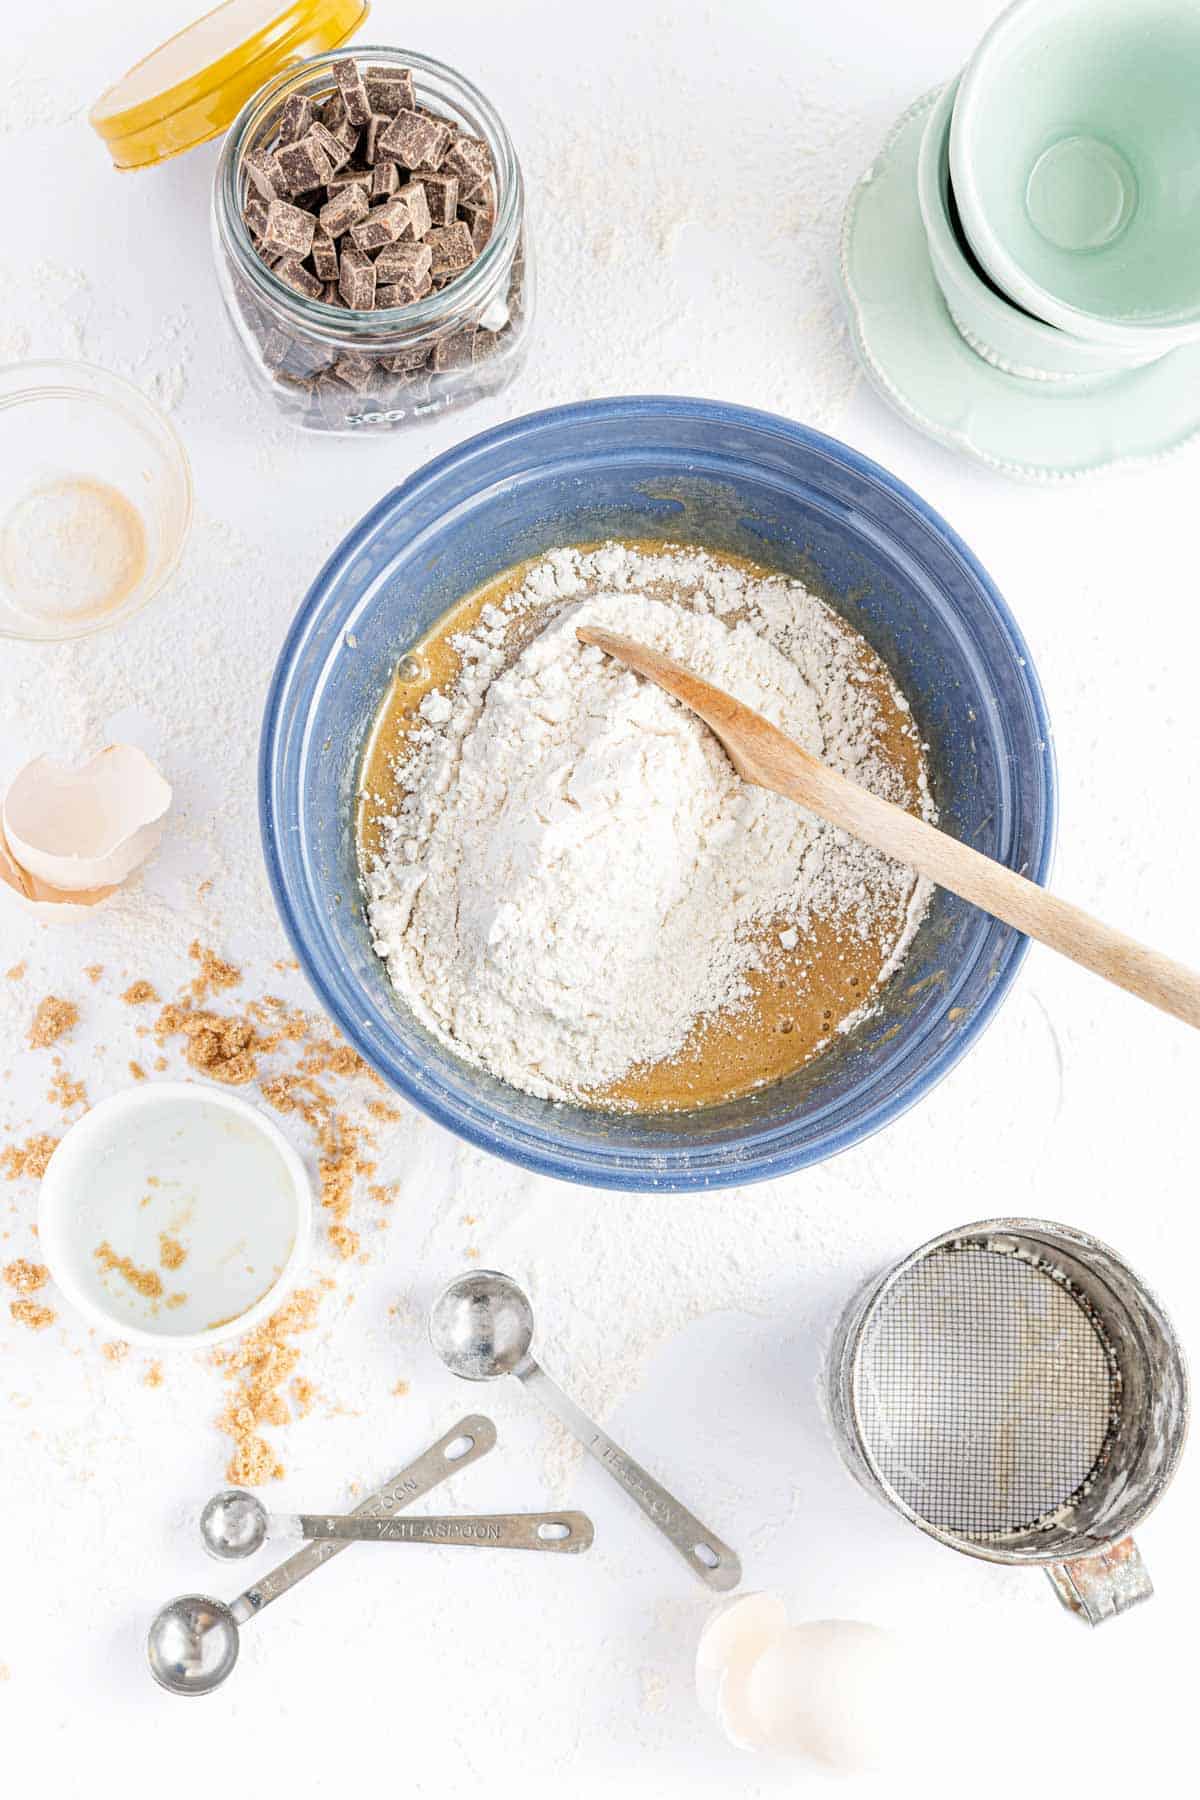
Combine Dry Ingredients: In a separate, small mixing bowl, combine the gluten free flour blend, salt, baking soda and baking powder. Add it to the wet ingredients and stir just until combined. Do not overmix.
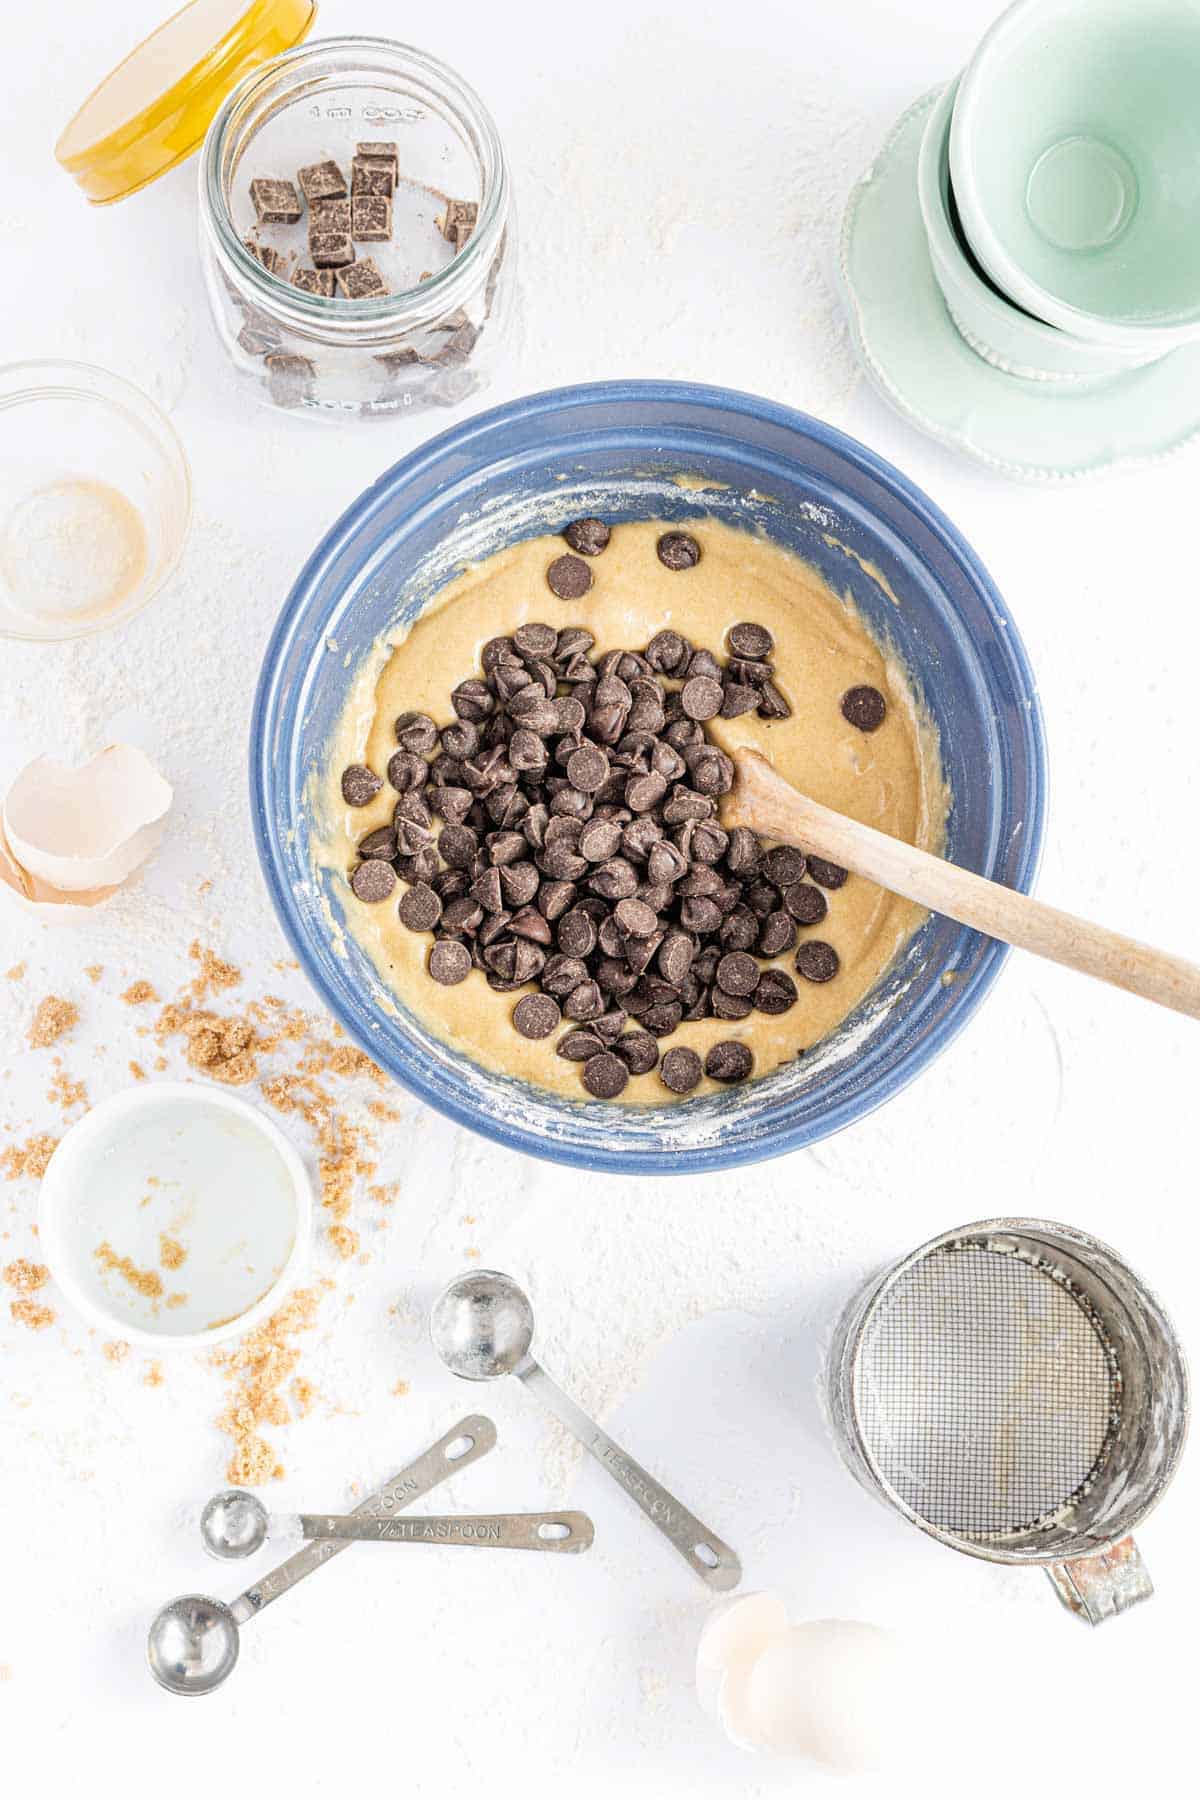
Add Chocolate Chips: Fold in the chocolate chips, taking care not to overmix the batter.
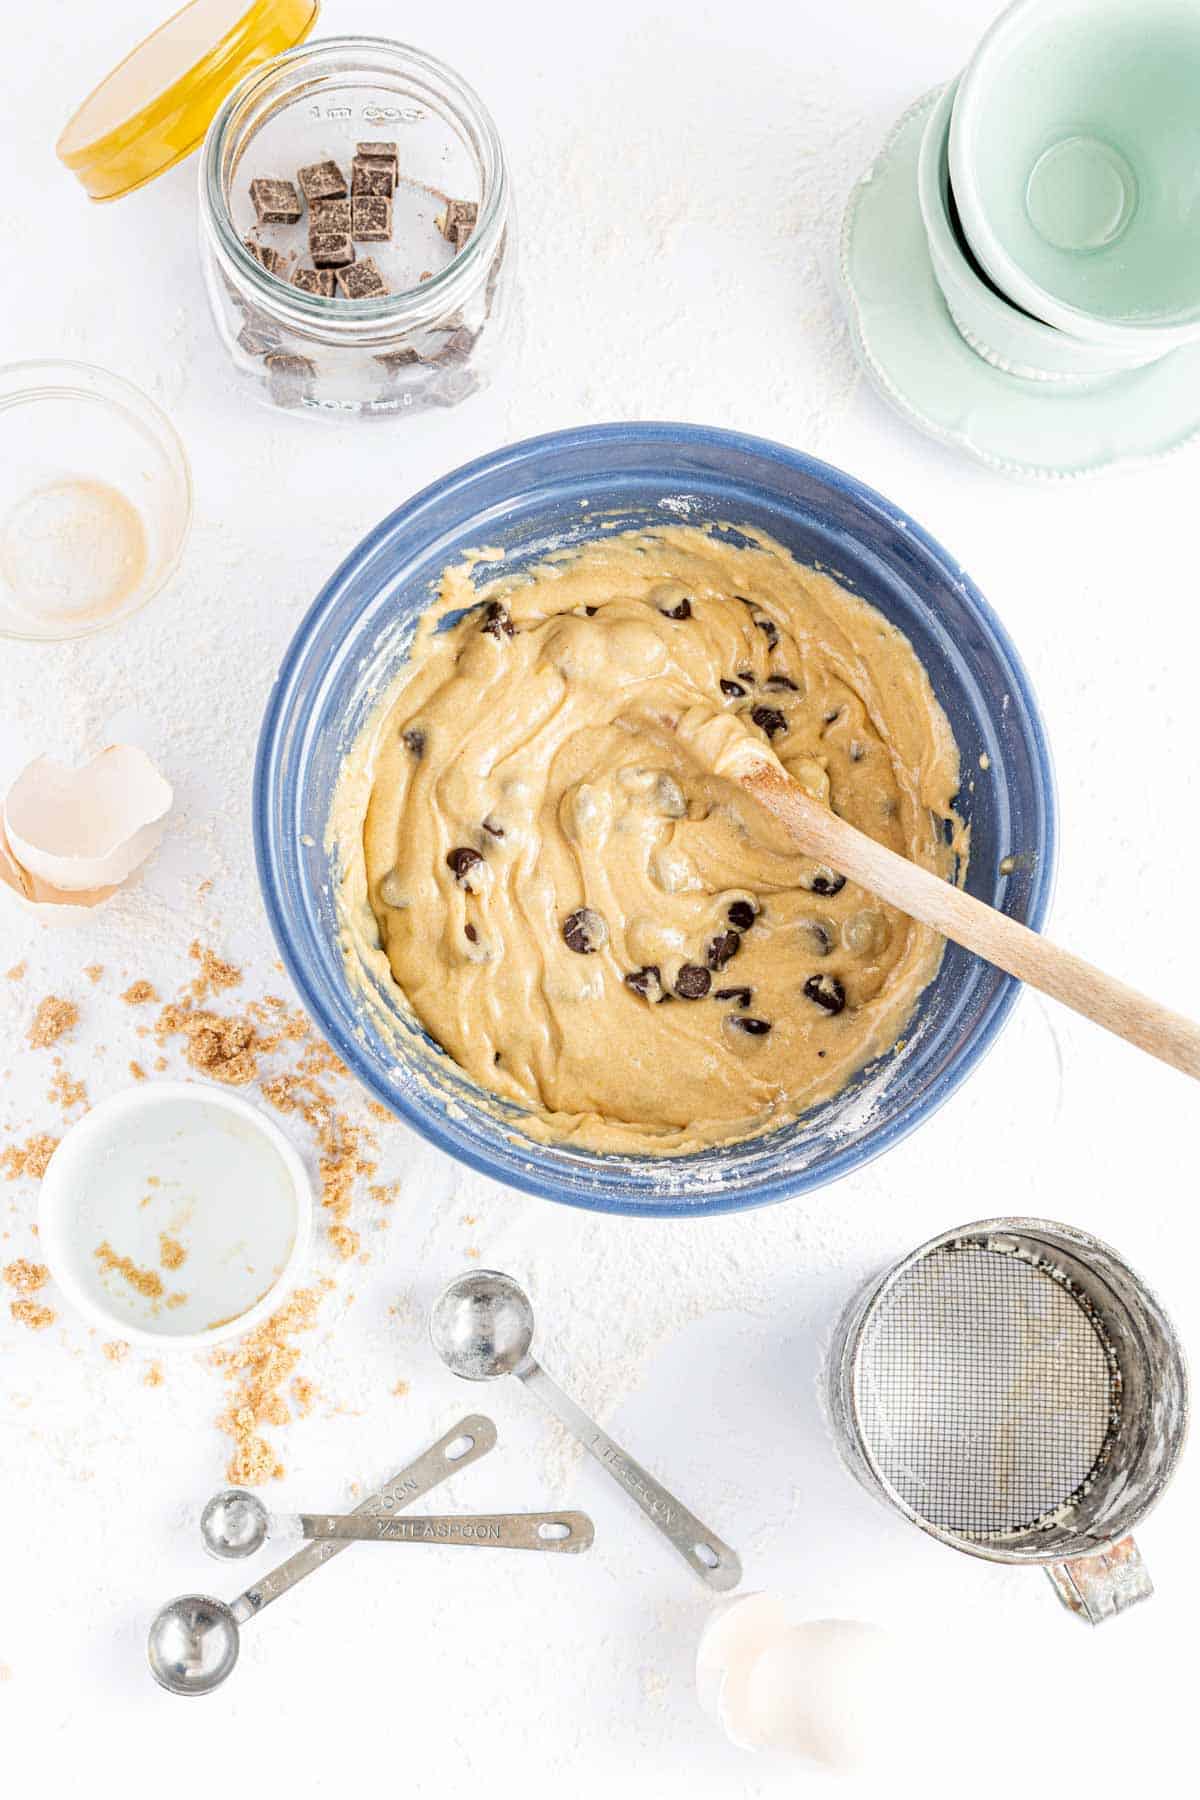
Form Cookies: Using a cookie scoop or two spoons, place balls of cookie dough on the prepared baking sheet. Be sure to space them out about 3 inches from each other to prevent spreading.
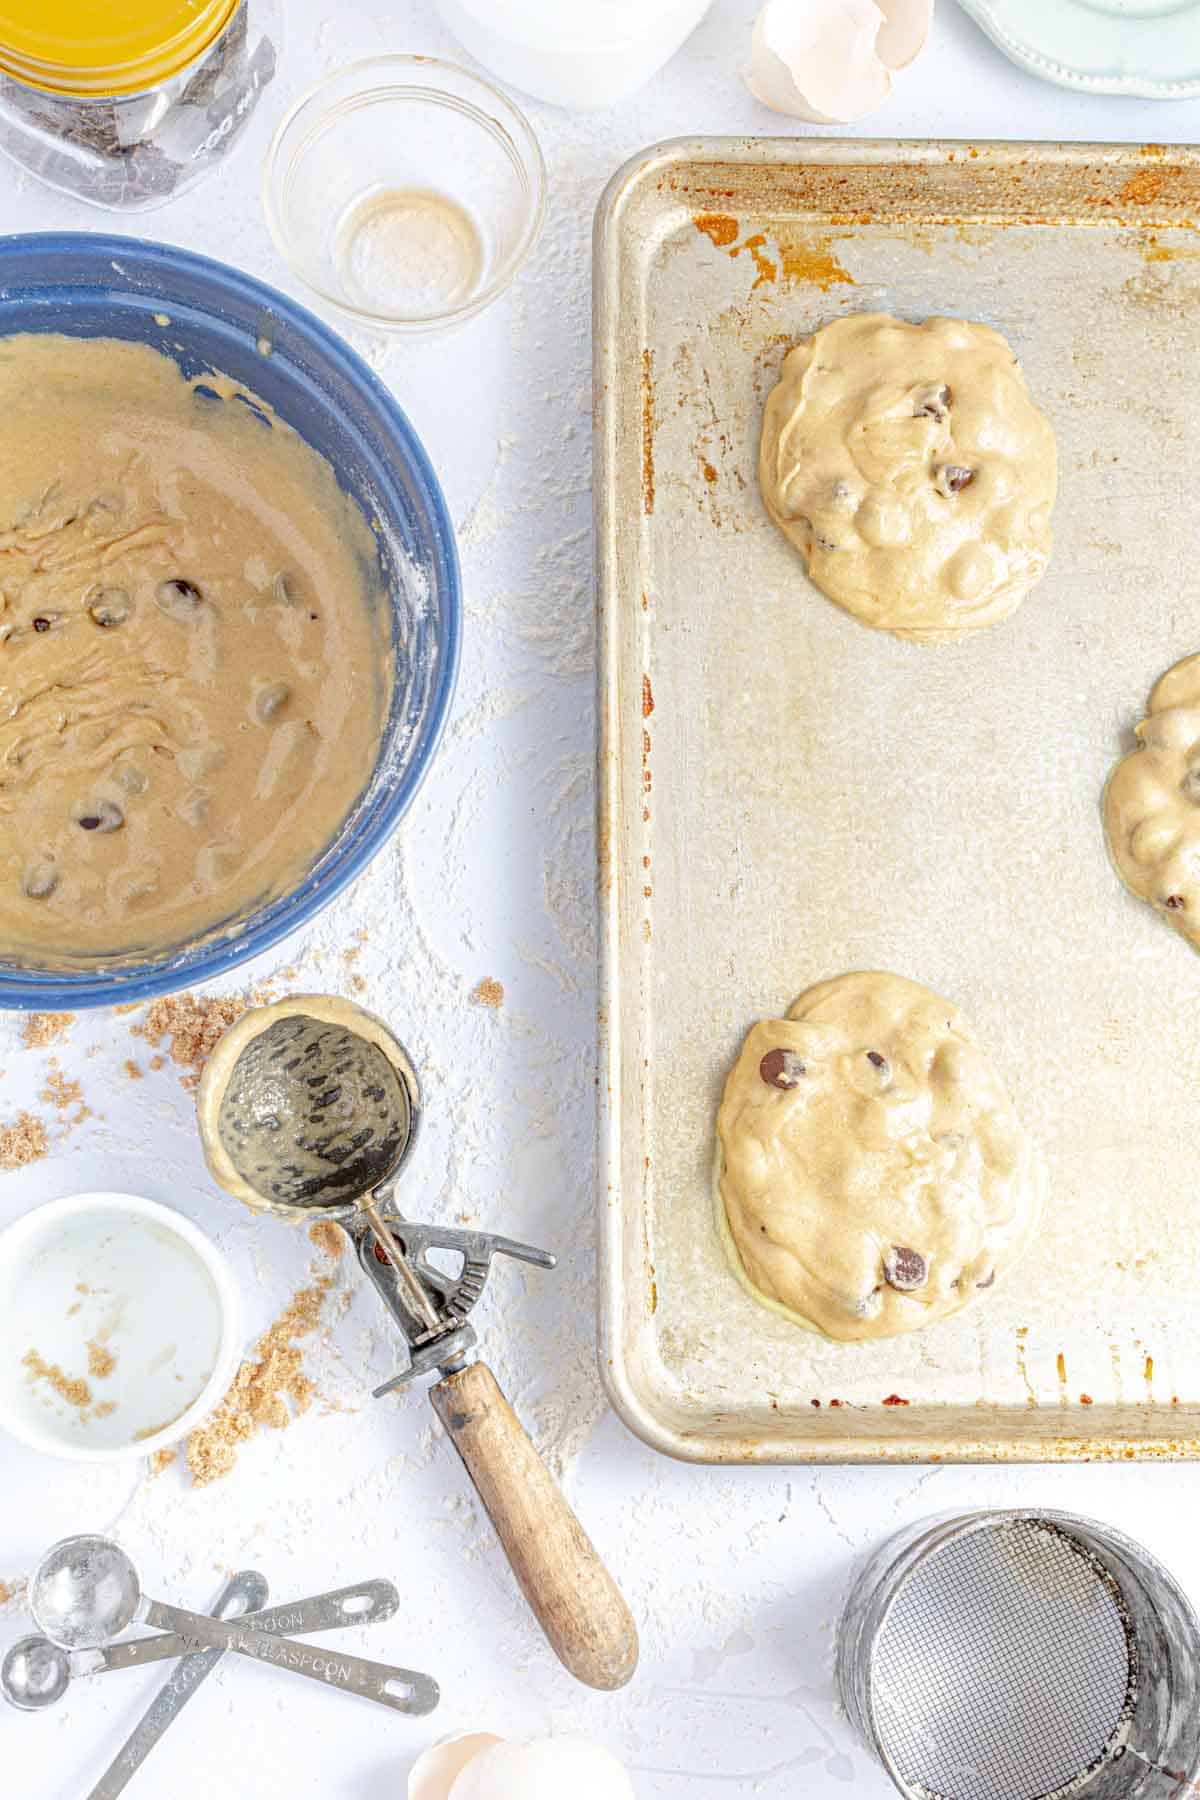
Bake: Bake the cookies for 8-10 minutes. Flip the pan around halfway through baking to ensure browning on all sides of the cookies.
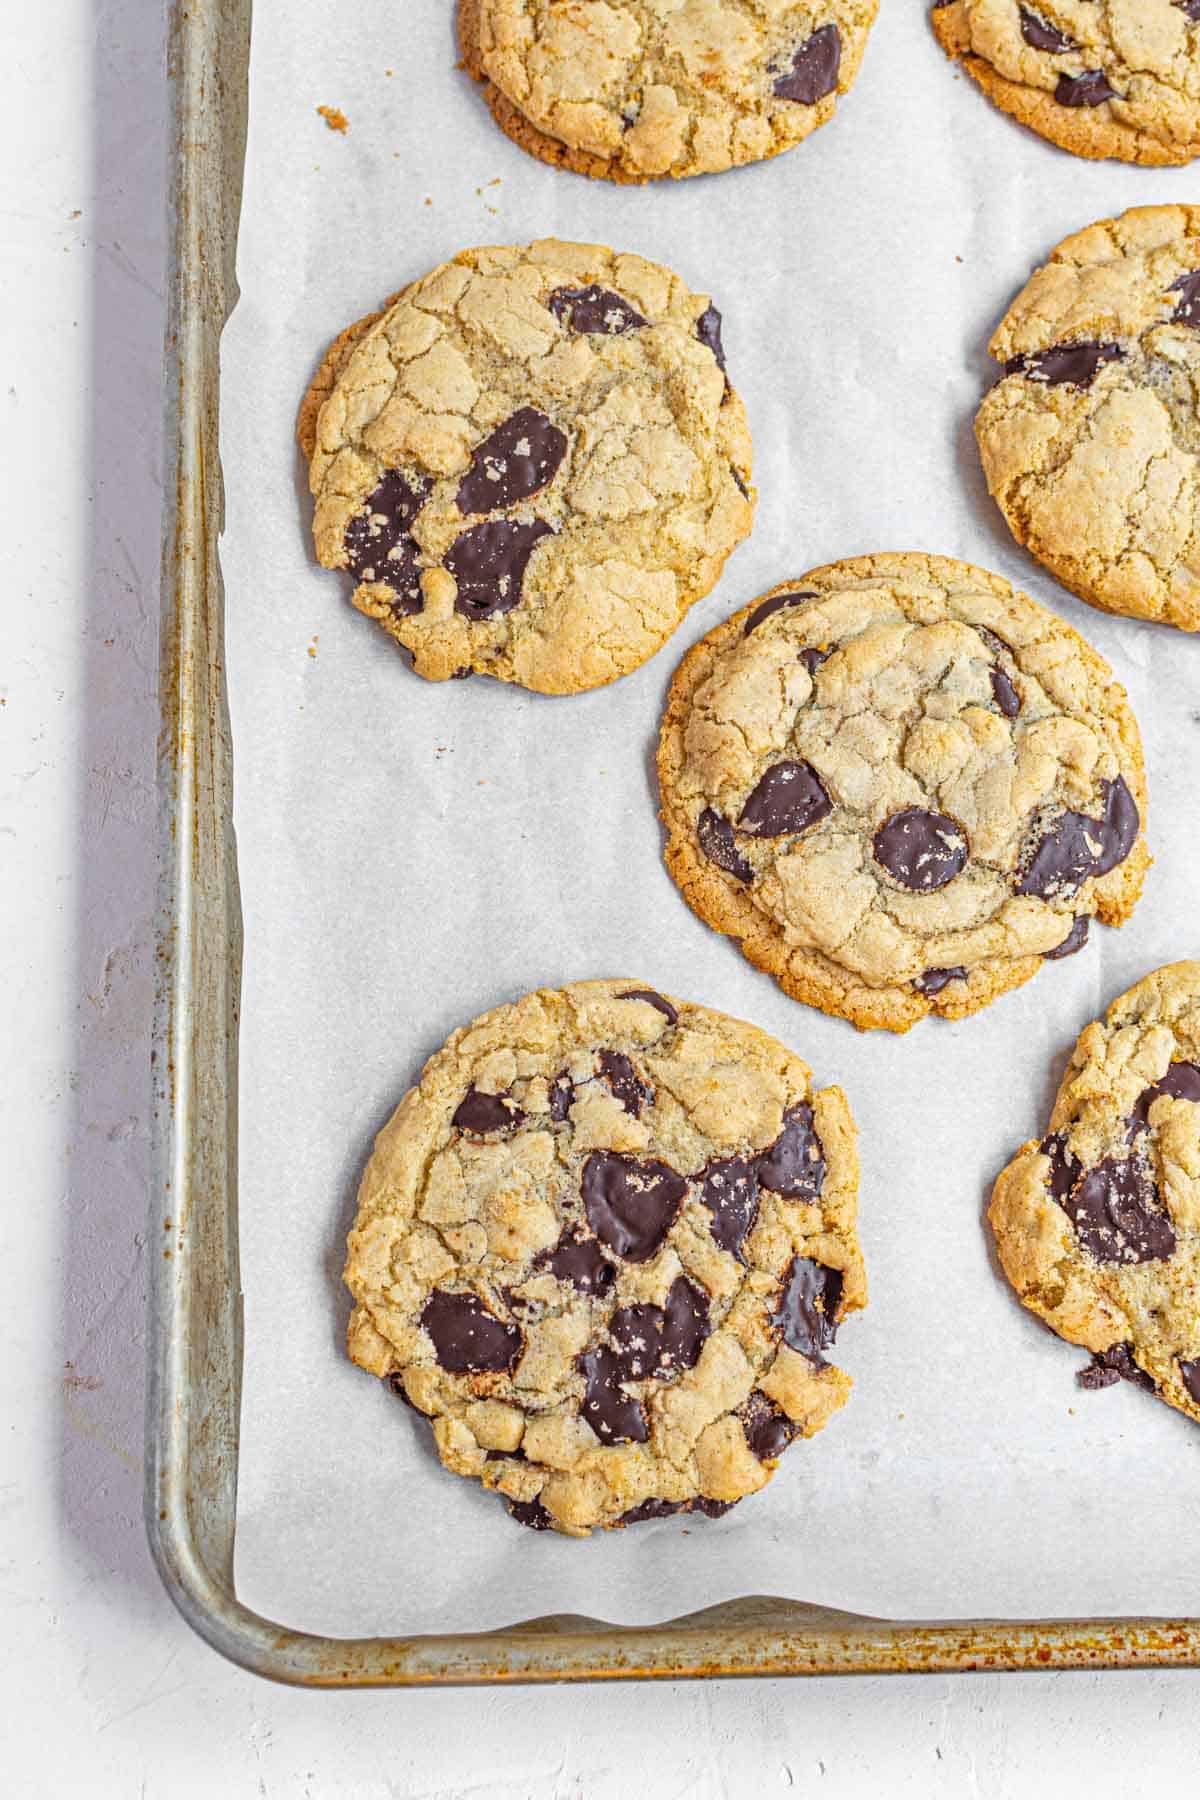
Let Cool & Serve: Once the cookies start to brown around the edges, remove them from the oven and let them cool on the pan for 10 minutes, or until cool to the touch. Enjoy them by themselves or with a cup of cold milk.
Tips for Success
These gluten-free cookies are made in a snap, and following these tips and tricks will ensure they turn out perfect!
- Grease or Line the Pan: Be sure to either grease your baking sheet or line it with parchment paper. This way, your cookies can easily be removed once they’re baked. If you have a non-stick pan, that should work too.
- Don’t Burn the Butter: There’s a fine line between browning butter and burning it – make sure you remove it from the heat as soon as it starts changing color.
- Don’t Overmix the Dough: If this cookie dough is overmixed, the cookies won’t be as soft or rise as well. Stop mixing once everything is combined, and fold in the chocolate chips gently.
- Flip the Pan: Most ovens are slightly hotter in the back than they are in the front. For this reason, it’s always a good idea to flip your pan around about halfway through the bake time when making these cookies.
- For Thinner, Fudgier Cookies: If you’d like a thinner, more fudgy cookie, open the oven and use a hot pad to bang the pan down onto the oven rack two to three times every 3-4 minutes.
- Combine with Brownies: And make the ultimate dessert mash-up, Gluten Free Brookies.
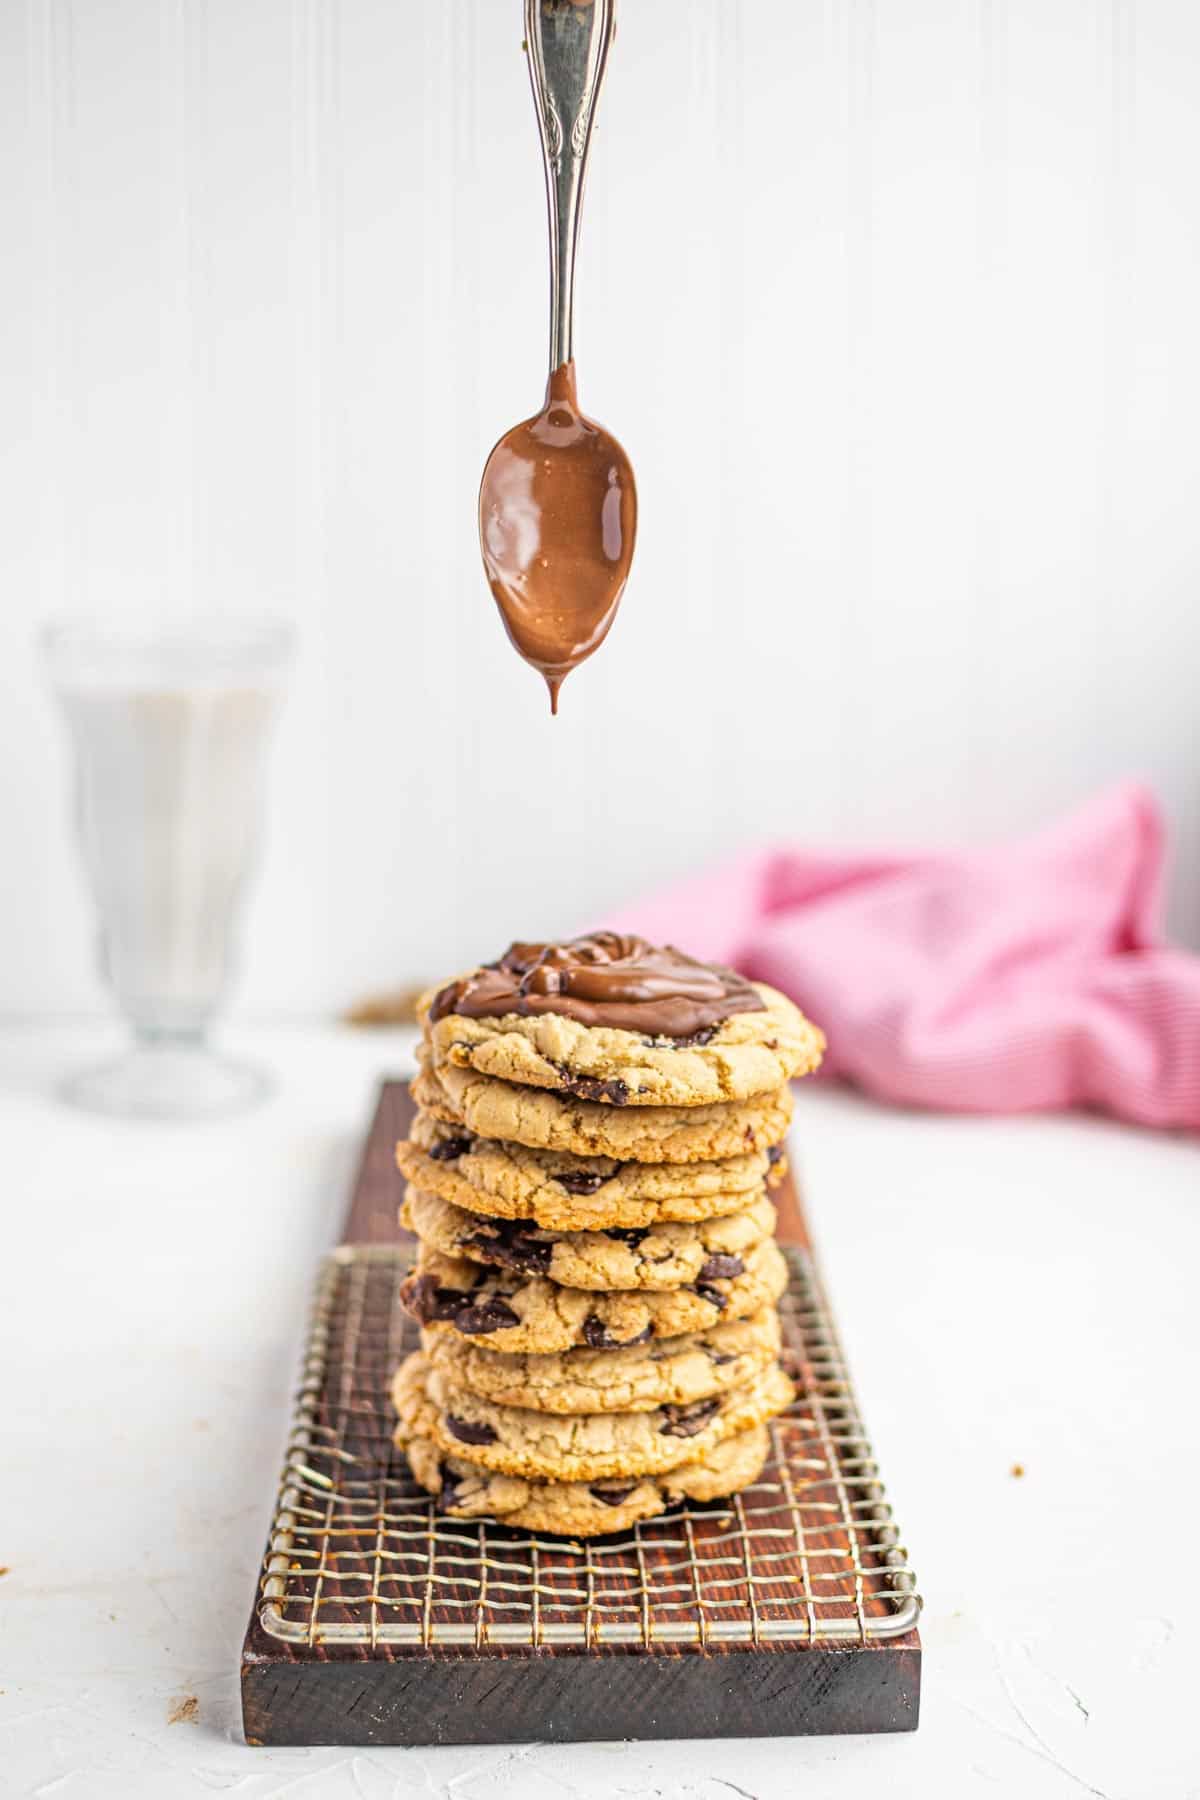
Grab two cookies and sandwich them with one of these ideas for fillings:
- Fluffy Vanilla Frosting or Pumpkin Spice Frosting.
- Creamy No-Churn Cheesecake Ice Cream or Gluten Free No-Churn Chocolate Chip Cookie Dough Ice Cream (don’t forget to store them in the freezer)
- Double up the cookie goodness with Gluten Free Cookie Dough.
To store gluten-free chocolate chip cookies, first wait until they’ve cooled completely. Then, place them in an airtight container and store them at room temperature. These cookies will stay fresh for 3-4 days. You can warm them up in the microwave for a few seconds before enjoying, if desired.
Can I Freeze These?
Yes, these chocolate chip cookies are a-okay to freeze. You can do so once they’re baked, or you can freeze the dough.
- To Freeze the Dough: Wrap each ball of dough in plastic wrap and store them in a freezer-safe container for up to 3 months. Thaw them in the fridge before baking, adding a minute or two onto the bake time, if needed.
- To Freeze the Baked Cookies: Baked cookies can be frozen in an airtight container for up to 2 months. Thaw them in the fridge before enjoying, reheating individual cookies in the microwave as desired.
Things You’ll Need
- NordicWare Baking Sheets are my favorites for cookie baking and much more. From roasting veggies to sheet pan meals, cookies to cake rolls, we use them almost daily. They are light, and the aluminum distributes the heat evenly.
- Lately, I’ve been loving these pre-cut parchment sheets for lining my pans.
- Stackable cooling racks save tons of counter space if you have a small kitchen or are doing a lot of cookie baking.
- Make sure you have your 1:1 gluten free flour. Bob’s Red Mill 1-to-1 is my favorite!
Equipment
- Oven
Ingredients
- 1/3 cup unsalted butter
- 1/2 cup light brown sugar
- 1/2 cup granulated sugar
- 1 egg
- 1 egg yolk
- 1 Tablespoon pure vanilla extract
- 1 1/2 cups 1-to-1 gluten-free flour blend, such as Bob's Red Mill, Cup-4-Cup, or King Arthur Flour
- 3/4 teaspoon salt
- 1/2 teaspoon baking soda
- 1/2 teaspoon baking powder
- 1 1/2 cups semi-sweet chocolate chips or chunks
Instructions
- Preheat the oven to 350°F. Prep a baking sheet by spraying it with cooking spray or by lining it with parchment paper and set aside.
- In a small saucepan, heat the butter over medium-low heat until melted and bubbling. Once it starts bubbling, allow it to simmer for 2-3 minutes, or until the butter starts to brown, then pull it off of the heat immediately to prevent burning.
- In a medium mixing bowl, combine both sugars. Add browned butter to them and mix. Next add the egg and egg yolk and whisk until smooth. Add in the vanilla and whisk again.
- In a separate, small mixing bowl, combine the gluten free flour blend, salt, baking soda and baking powder. Add it to the wet ingredients and stir just until combined. Do not overmix.
- Fold in the chocolate chips, taking care not to overmix the batter.
- Using a cookie scoop or two spoons, place balls of cookie dough on the prepared baking sheet. Be sure to space them out about 3 inches from each other to prevent spreading.
- Bake the cookies for 8-10 minutes. Flip the pan around halfway through baking to ensure browning on all sides of the cookies.
- Once the cookies start to brown around the edges, remove them from the oven and let them cool on the pan for 10 minutes, or until cool to the touch. Enjoy them by themselves or with a cup of cold milk.
Notes
Categories:
Want more gluten-free cookie recipes to satisfy your sweet tooth? Try not to drool over the following recipes!


