

This post may contain affiliate links. Read my disclosure policy.
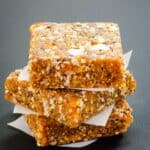
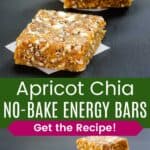
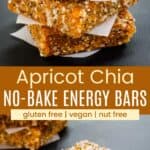
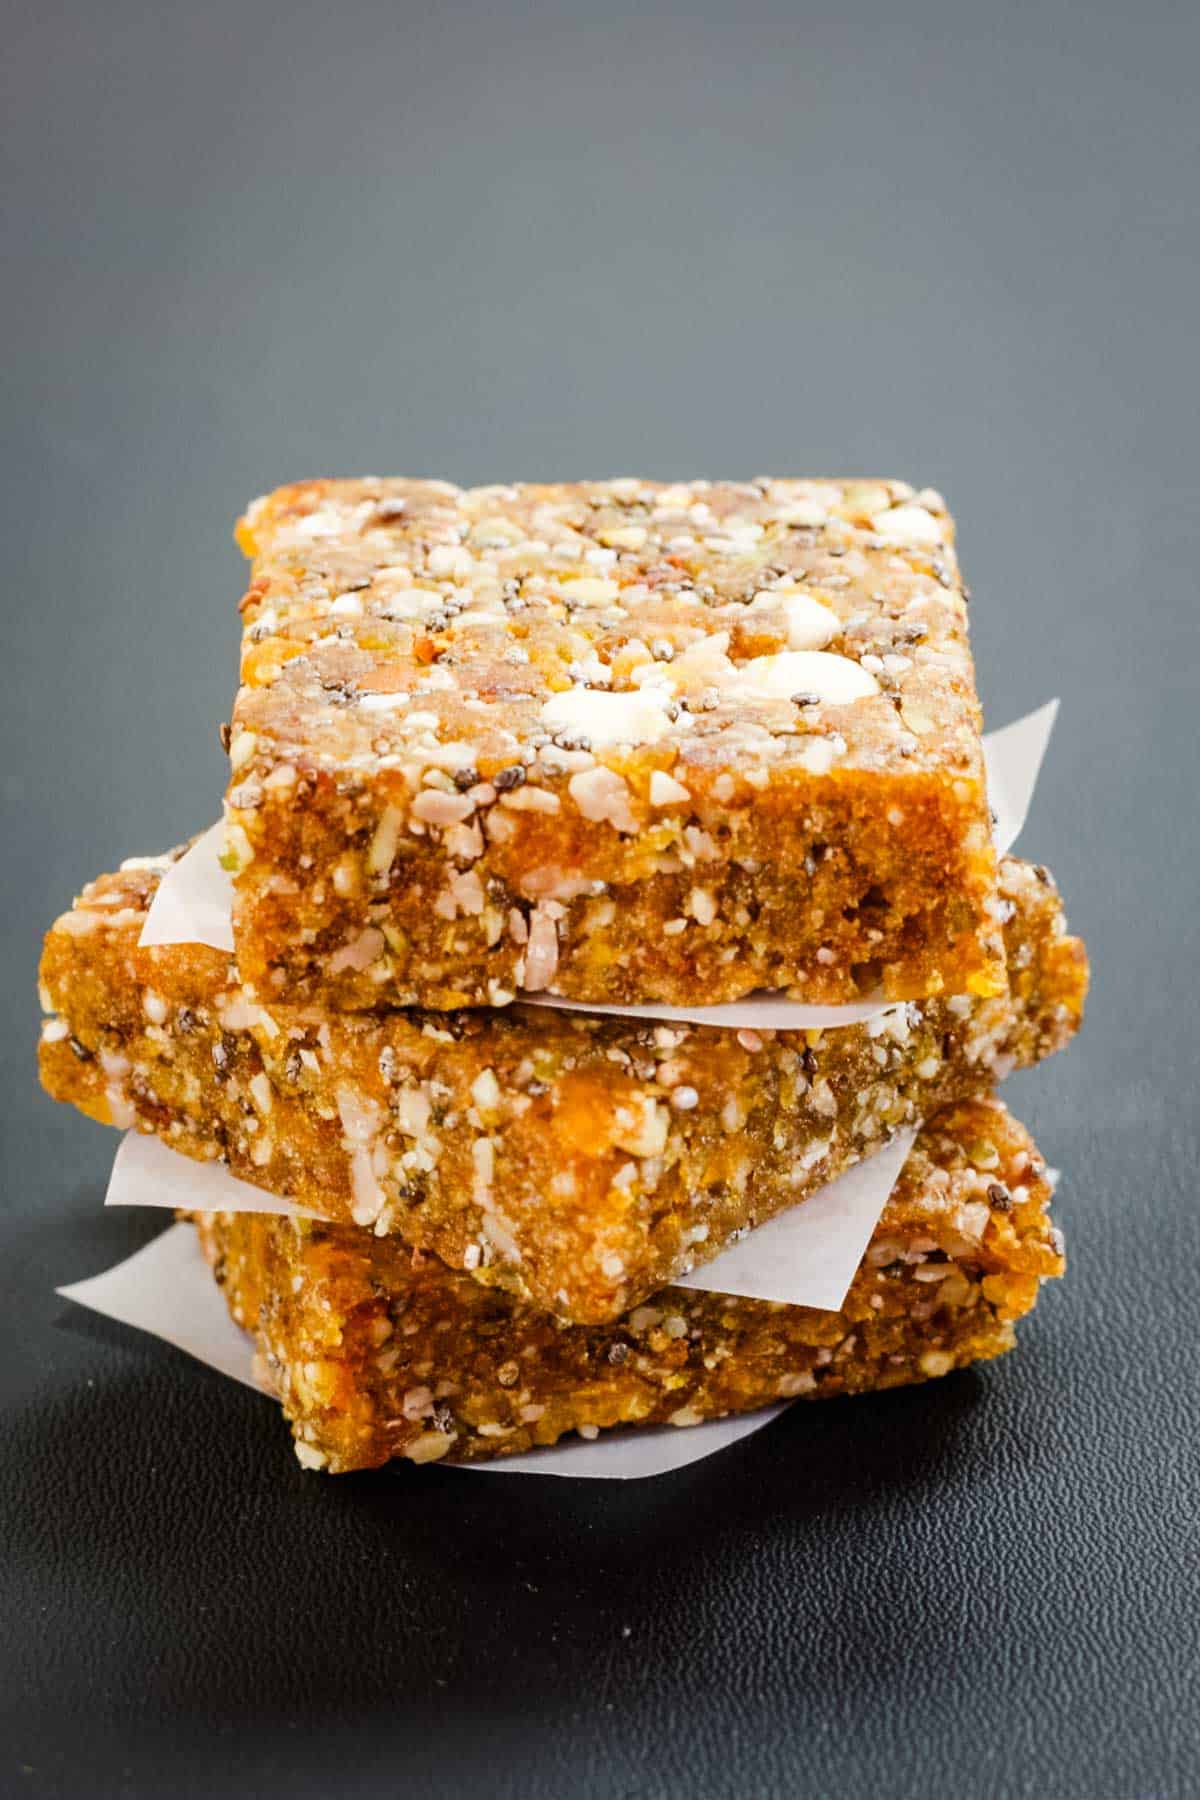
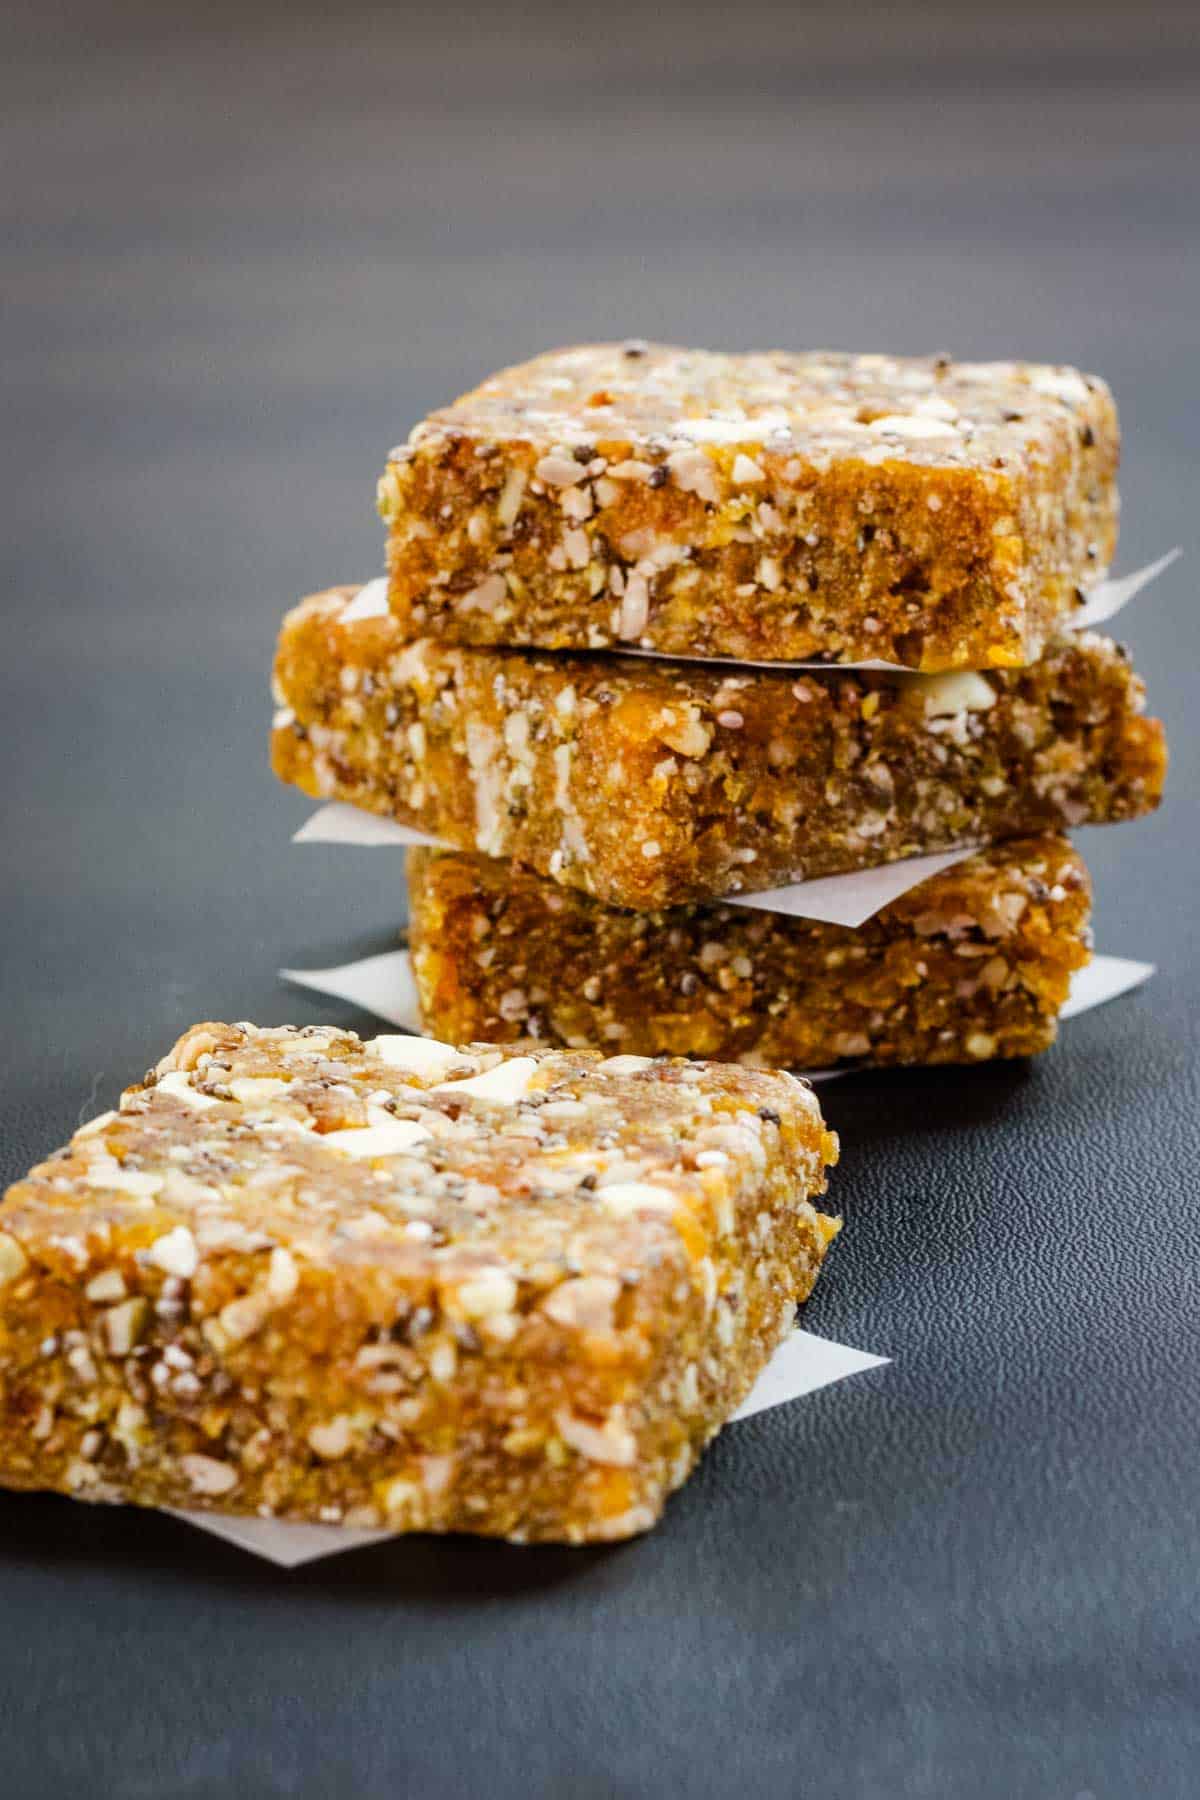
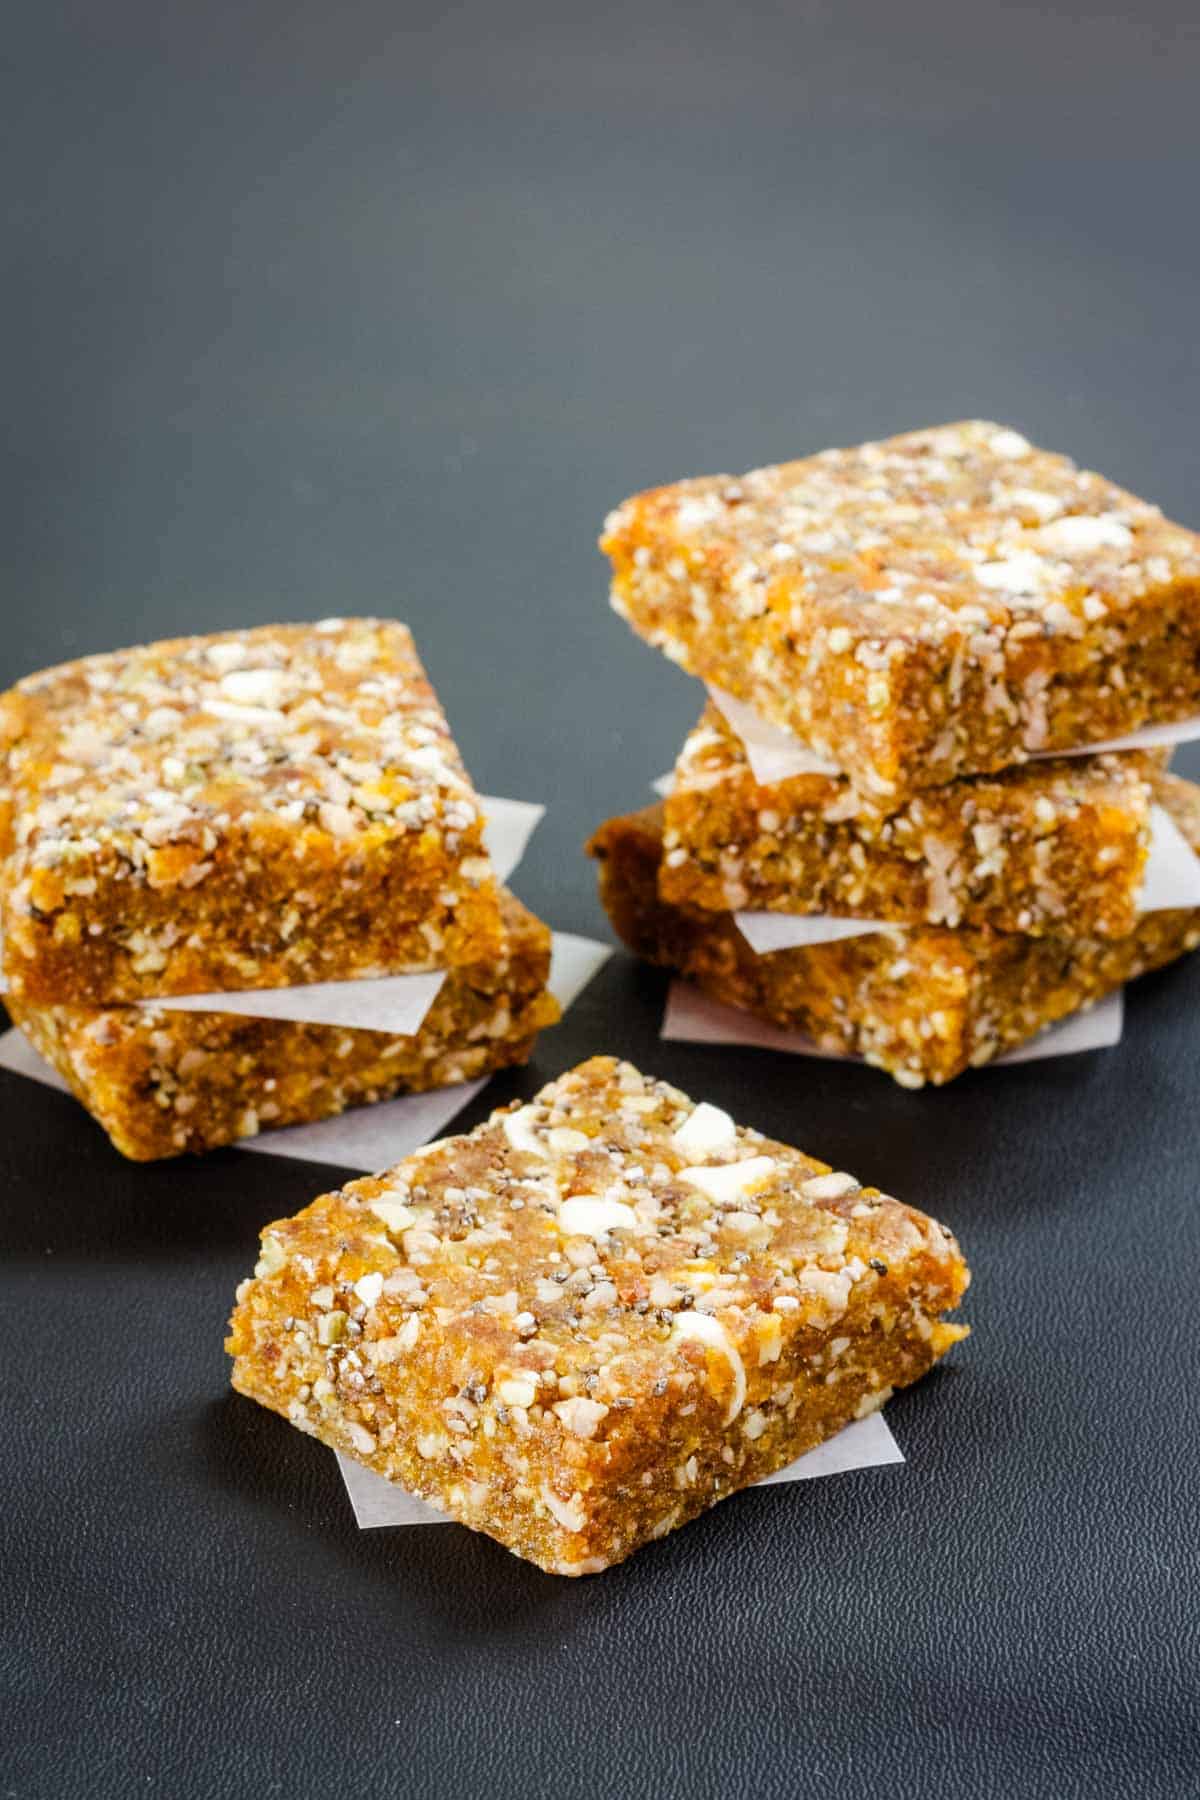
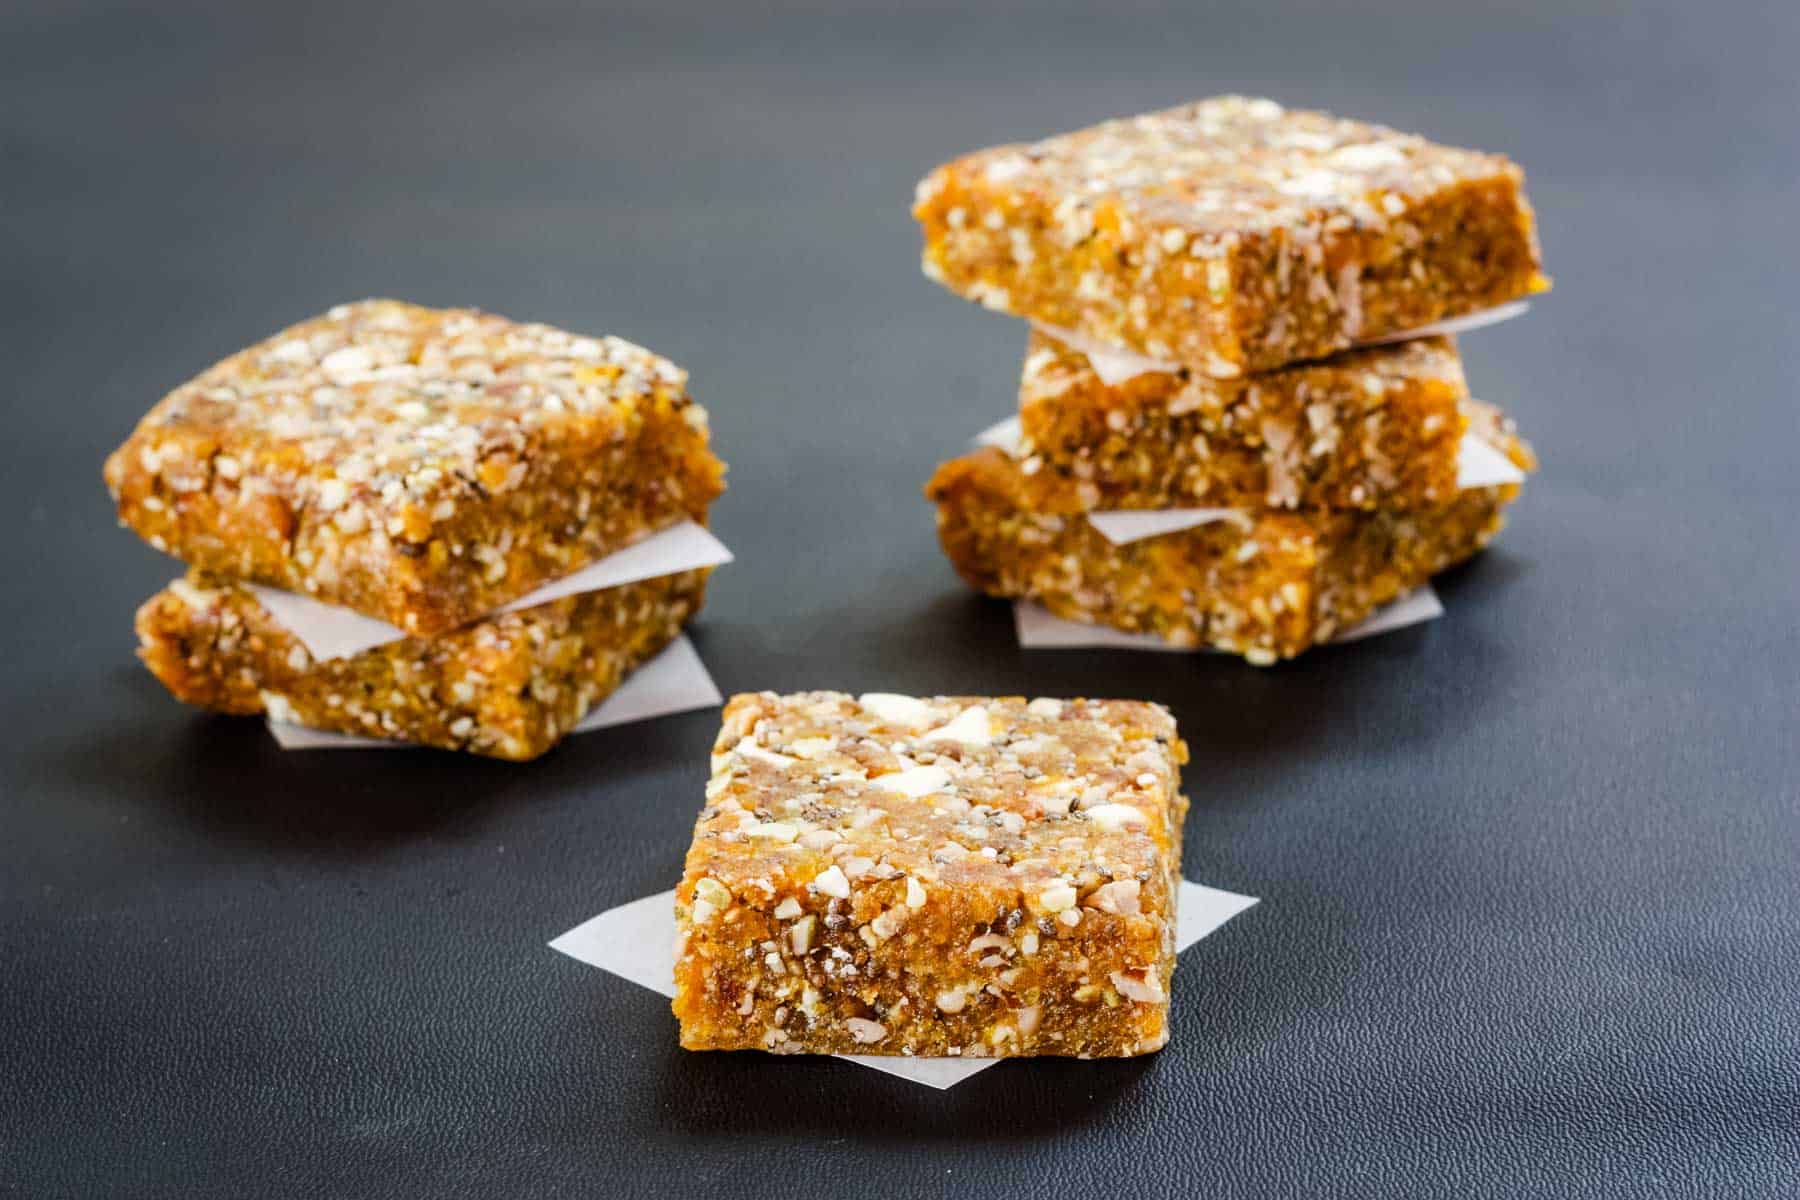
When you need a road trip or after-school snack for kids and adults, you can’t go wrong with sweet and chewy Apricot Chia Bars. These quick and easy no-bake energy bars have only six ingredients. And since they are gluten-free, have no nuts, peanuts, or eggs, and can even be made without dairy, they are the perfect allergy-safe snacks to pack in a lunch box for school or camp.
Why You’ll Love These Apricot Chia Bars
Delicious Details
- Cuisine Inspiration: American
- Primary Cooking Method: No-bake
- Dietary Info: Gluten-free, Dairy-free option
- Skill Level: Easy
Fast and easy snack bars are portable and packable for lunch boxes, but also great to keep on hand when the kids run in the house after school saying they are starving! And for adults, they can be an ideal workout fuel, or just get you through the afternoon lull.
But what are the keys to perfect homemade energy bars? Here are all the reasons these fit the bill
- Simple ingredients. The ingredient list is short and nutrient-dense, but they have just the right balance to make them sweet and tangy with just a hint of crunch.
- Quick and easy. You just have to grab the six ingredients, your food processor, and a pan. And all you have to do is pulse everything together, press it into a pan, chill, and cut into squares.
- Store well. You can make a few batches at a time because they can be kept at room temperature for several days, or even refrigerated or frozen for longer storage.
- Allergy-friendly. This recipe naturally contains no gluten, nuts, or eggs. You also can make them dairy free by using non-dairy white chocolate or just omitting that ingredient.
Tried your recipe yesterday and it was perfect. Tasted delicious, Taking it into work today , I’m sure they’ll disappear really quickly. Should have made another batch. -Lucia
Finally made these tonight. Used cashews instead of pumpkin seeds…forgot the cinnamon. They were still delish! My 21 month old ate it up. Will definitely make these again. -Kay
What You’ll Need
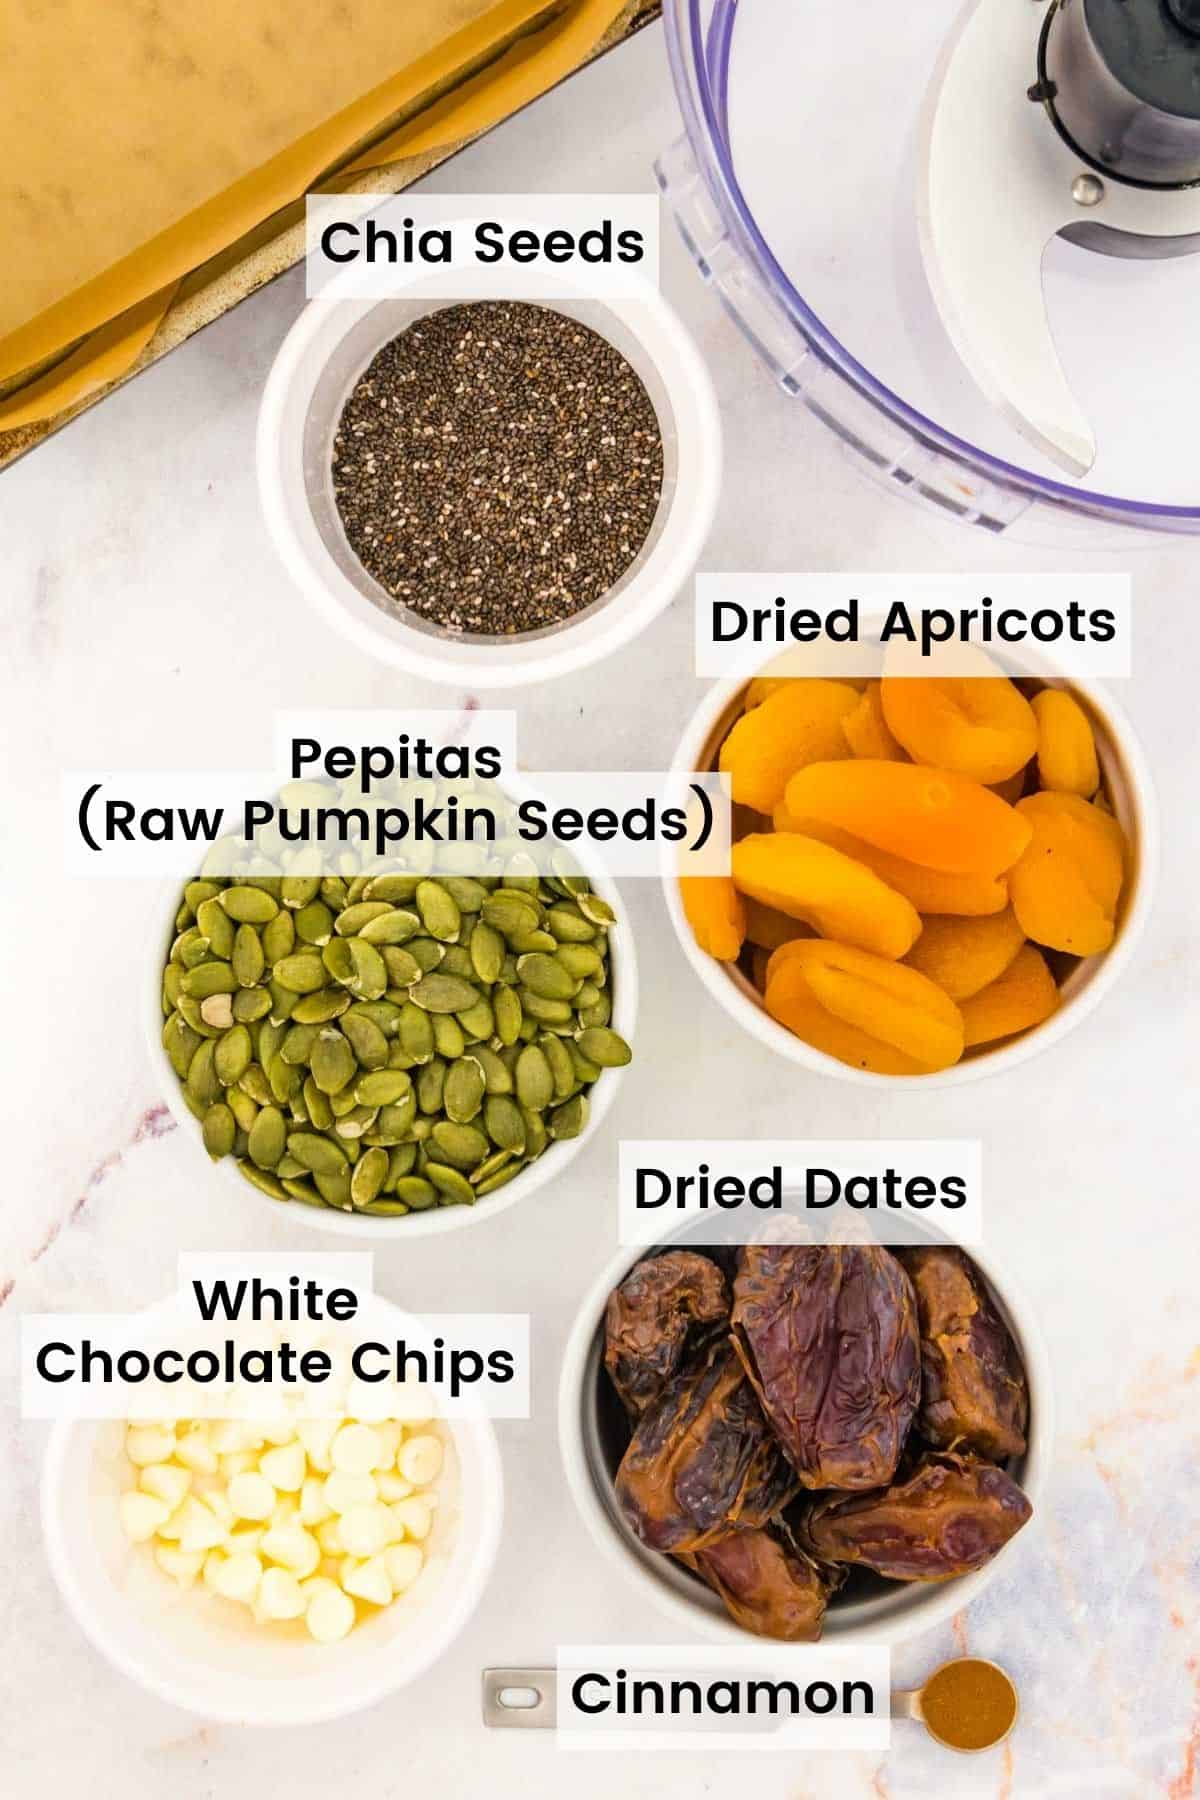
Yes, you only need 6 ingredients to make these easy no-bake bars! Be sure to read the labels for cross-contamination risks so that you can ensure they are gluten free, if needed. Here’s an overview of the energy bar ingredients list. Scroll down to the recipe card for the full amounts and detailed instructions.
- Dried dates – provide the sweetness and sticky factor to keep the bars together.
- Dried apricots – the tangy flavor keeps these sweet bars from being too sweet.
- Pepitas (raw pumpkin seeds) – add crunch and protein but keep these bars peanut-free and nut-free.
- Cinnamon – adds a hint of warm spice. Try switching it up with nutmeg or allspice.
- Chia seeds – most of the time you see chia in overnight oats like Hummingbird Cake Overnight Oats or smoothies or chia pudding where it swells up and gets gel-ish, but here it’s like little bits of crunch. Plus, superfoods for the win!
- White chocolate chips – provide a creamy bit to balance the fruit, but if you don’t want the added sugar (though it is only a bit), you could leave them out. Use dairy-free chips if you need to.
How to Make Homemade Energy Bars
These healthy snack bars come together in no time. Check out this overview, then head down to the recipe card for the details.
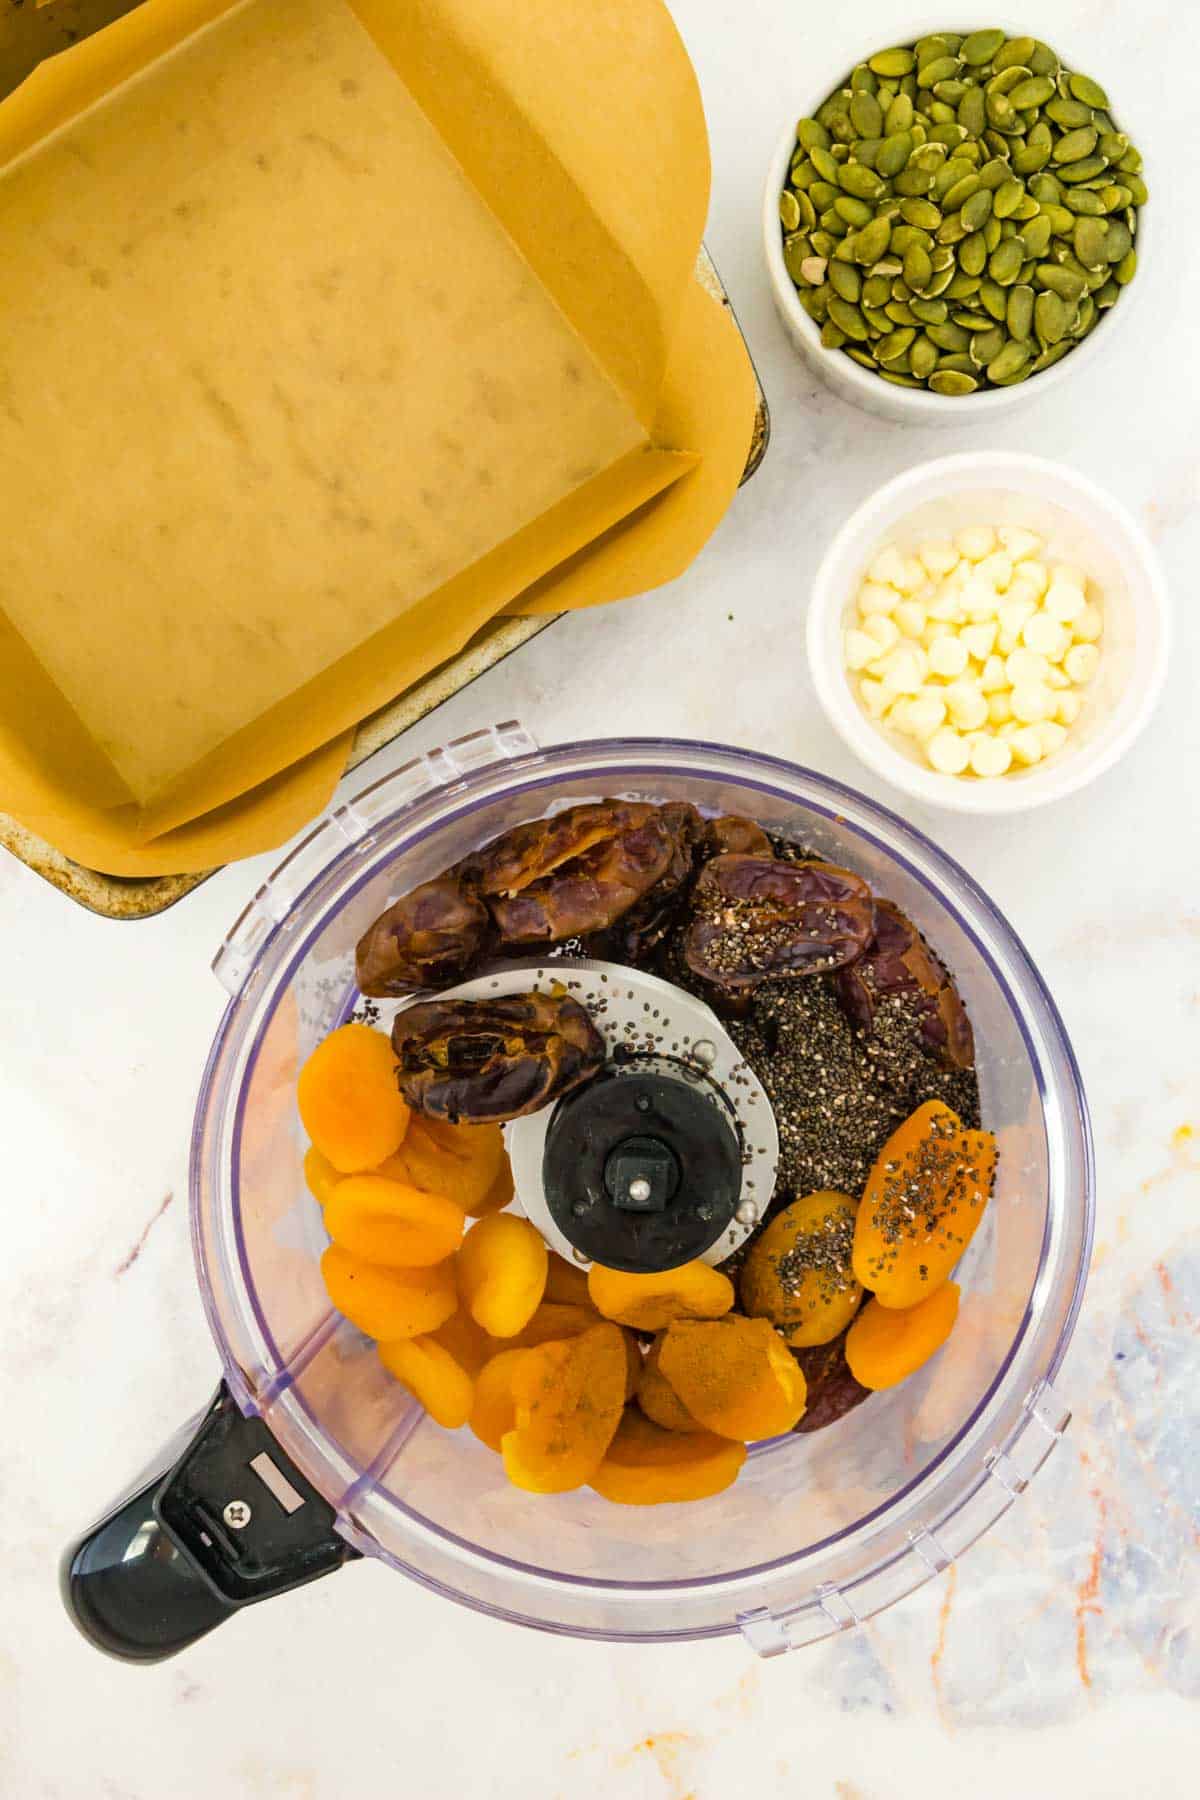
- Make the mixture: Combine the dried fruit, cinnamon, and chia seeds in a food processor and pulse until it forms almost a thick paste, but where you can still see individual bits of each of the separate ingredients. You might need to stop the processor a few times to scrape it down with a spatula.
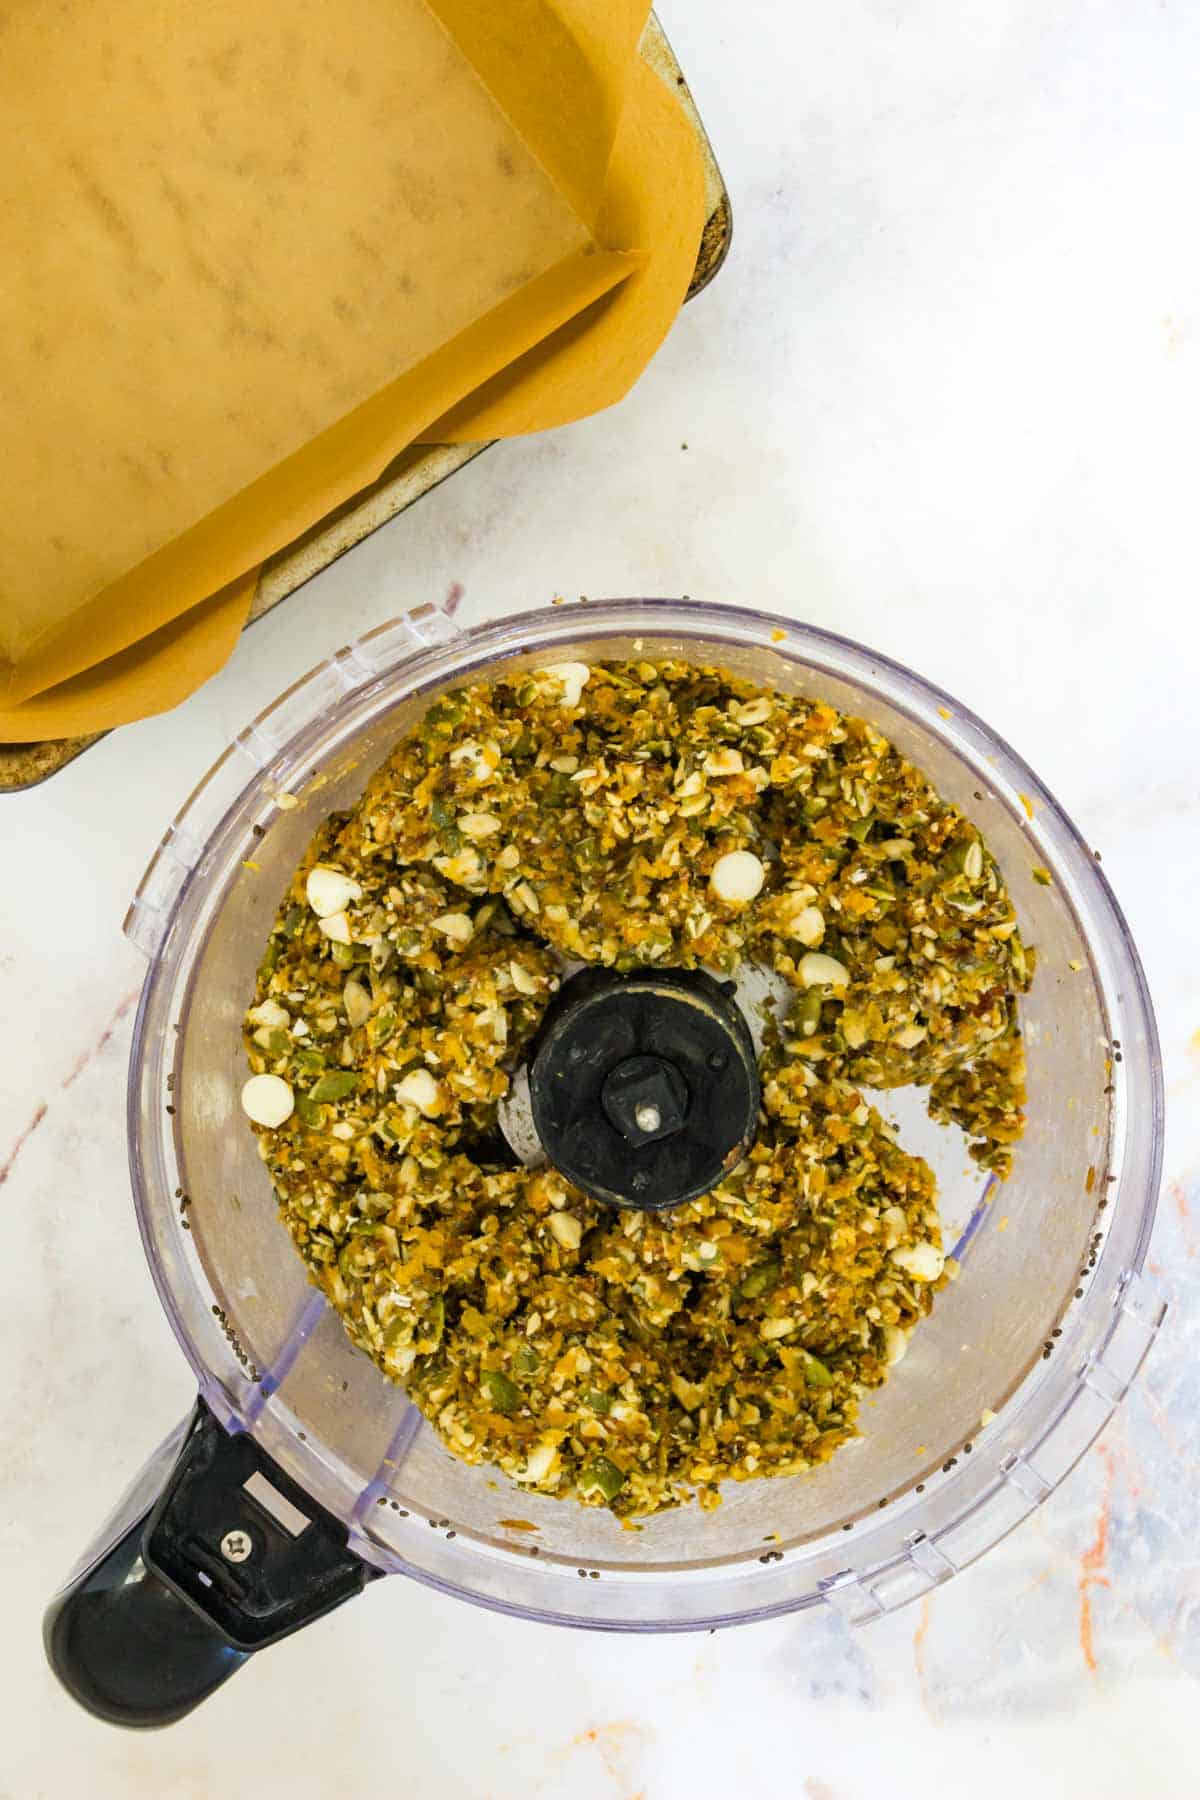
- Add the seeds and chips: Add the pepitas and pulse a few times to incorporate them, followed by the white chocolate. Only pulse a couple of times to mix it in so the chocolate doesn’t melt.
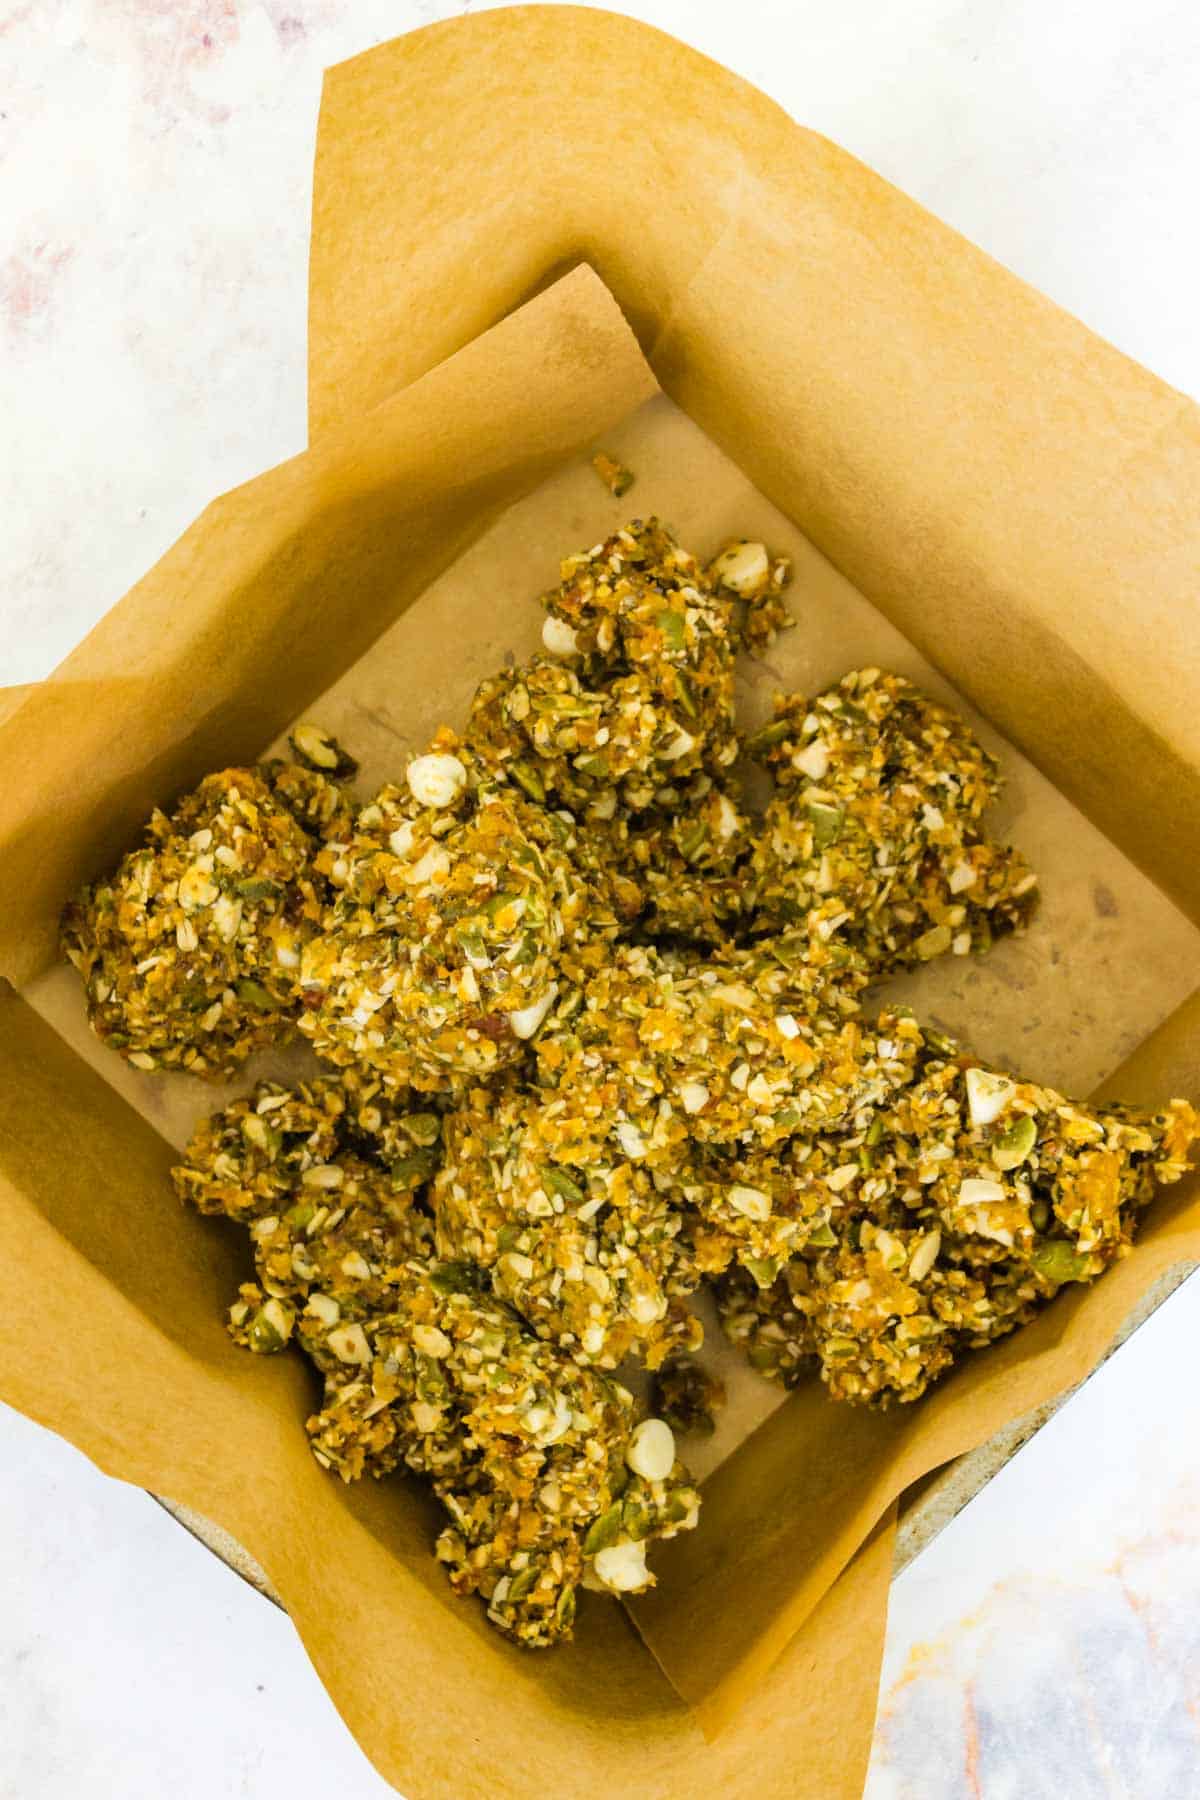
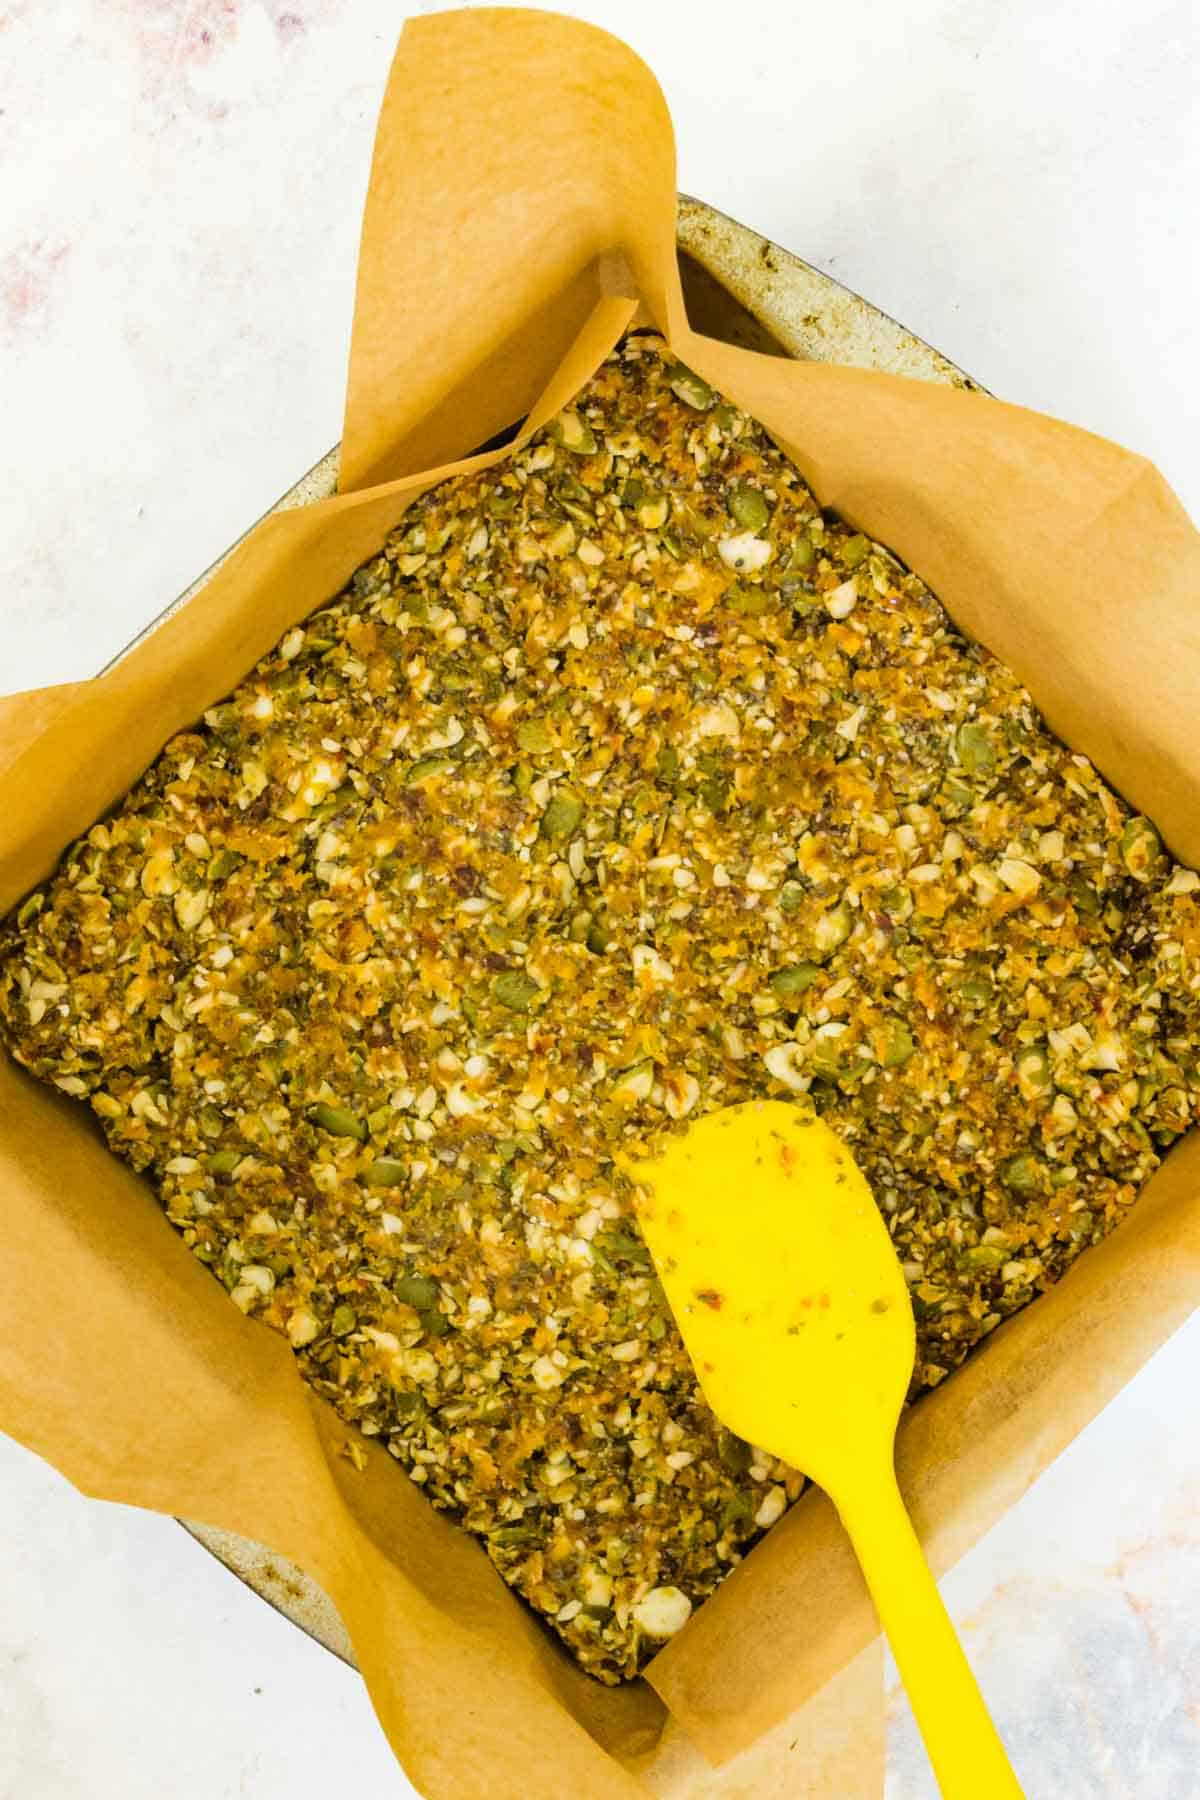
- Press into the pan. Transfer the mixture to a square pan lined with wax paper or parchment paper. Press it down firmly.
- Cool and cut. Refrigerate until firm before cutting into squares.
Tips for Success
- Get the kids involved. They are so quick and easy that the kids can definitely help you make them. They can measure out the ingredients and dump them into the food processor – keep their fingers away when you are pulsing it. Then let the kids press it into the pan.
- Don’t over-process. You want to leave some texture, which is why I like to add the pumpkin seeds after getting the dried fruit worked into a paste. Also, you don’t want to run the food processor too long after adding the chocolate because the warmth it generates will melt it.
- Line the pan. You’ll need a layer of wax or parchment paper or even plastic wrap lining your square pan to be able to lift the bars out of the pan.
- Try the double pan trick. One thing I do every time is to use another pan of the same size and place it on top to press the mixture tightly into the pan. That packs it in tightly and gives it a nice, even surface.
- Roll into balls. If you don’t have a square pan or prefer energy balls, you can always roll up Tablespoon-size portions, likes these Apricot Energy Balls.
- Make variations. You can use roughly the same ratio of dried fruits, seeds, and mix-ins to make all kinds of homemade energy bars with your favorite flavor combinations. Check out the ideas listed below.
Proper Storage
- Countertop – Transfer your bars to a container with a lid and seal them well. They will keep at room temperature for several days.
- Fridge – If you need to store them a bit longer, they will last a couple of weeks in the refrigerator.
- Freezer – For longer storage, you can even individually wrap them or place them in plastic baggies and freeze them for up to two months. Pull out as many as you need the night before, or pop a frozen bar into a lunchbox – it’ll thaw by lunchtime!
More Energy Bar Recipes
- Mango Coconut Energy Bars bring in the tropical flavors.
- Cherry Chocolate Energy Bars combine two amazing flavors into one snack bar.
- Caramel Banana Energy Bars taste totally ooey gooey, but are still good for you.
- Banana Nut Energy Bars are a no-bake way to enjoy the flavor of banana bread.
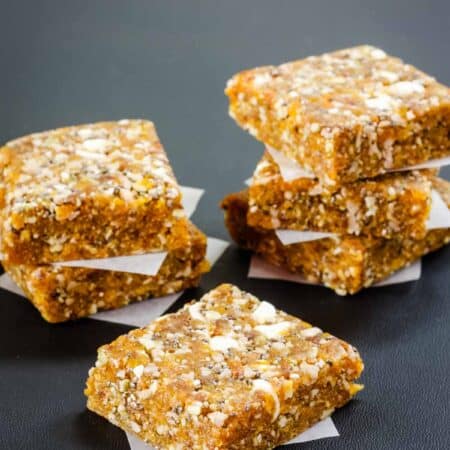
No-Bake Apricot Chia Bars
Ingredients
- 1 cup Medjool dates pitted
- 1 cup dried apricots
- 2 Tablespoons chia seeds
- ¼ teaspoon cinnamon
- 1 cup raw pumpkin seeds/pepitas
- 2 Tablespoons white chocolate chips (use vegan, if desired)
Instructions
- Line a 8×8 or 9×9 square pan with wax or paper.
- Place dates, apricots, chia seeds and cinnamon in a food processor, and process until the mixture forms a large mass.
- Break up slightly with a spatula, add pepitas to the mixture in the food processor, and pulse until there are small chunks of pepitas.
- Break up the mixture one more time, add white chocolate chips and pulse a few times to slightly break and distribute the chips.
- Press the mixture into the prepared pan. You can cover the top with more paper and press an equal sized pan to roll the top with a glass to flatten completely.
- Refrigerate for 30-45 minutes, then slice into bars or squares.
Did you make this?
Leave a rating below and tag @cupcakesandkalechips on Instagram and hashtag it #cupcakesandkalechips

We loved these. We’ve made bars and balls. They travelled well but I would suggest putting balls in a sturdy container if you want to keep the shape. Mine got squished but we didn’t care – we ate them anyway.
I substituted prunes for half of the dates last time and they were good too. I’ve had several requests to share the recipe. Thank you!
Yes, I love how portable these are, and rolling balls is a great idea!