This post may contain affiliate links. Read my disclosure policy.
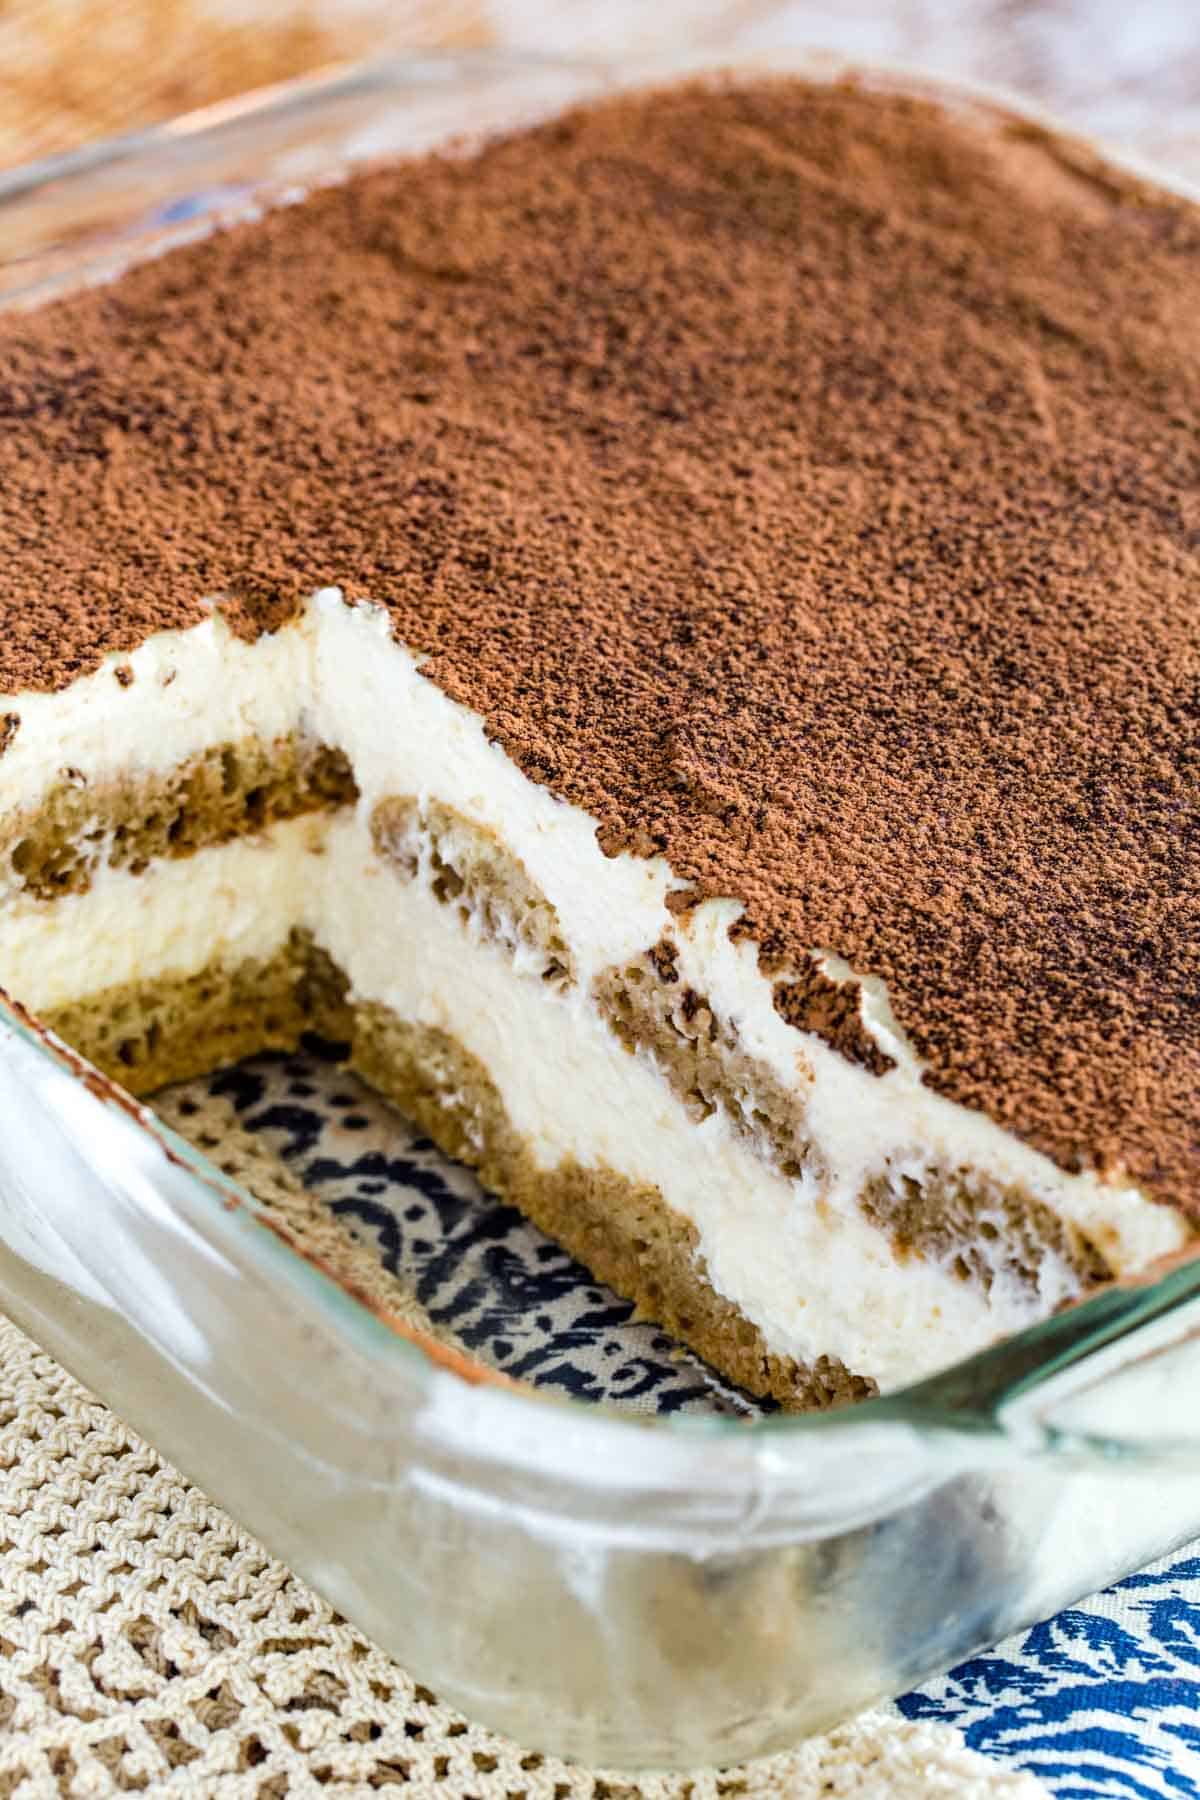
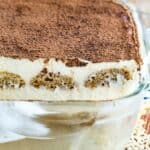
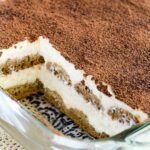
Rich and airy Gluten Free Tiramisu is a perfect post-dinner pick-me-up! This is an easy no-bake dessert made with heavenly layers of tender coffee-soaked ladyfingers and mascarpone cream, dusted with cocoa powder.
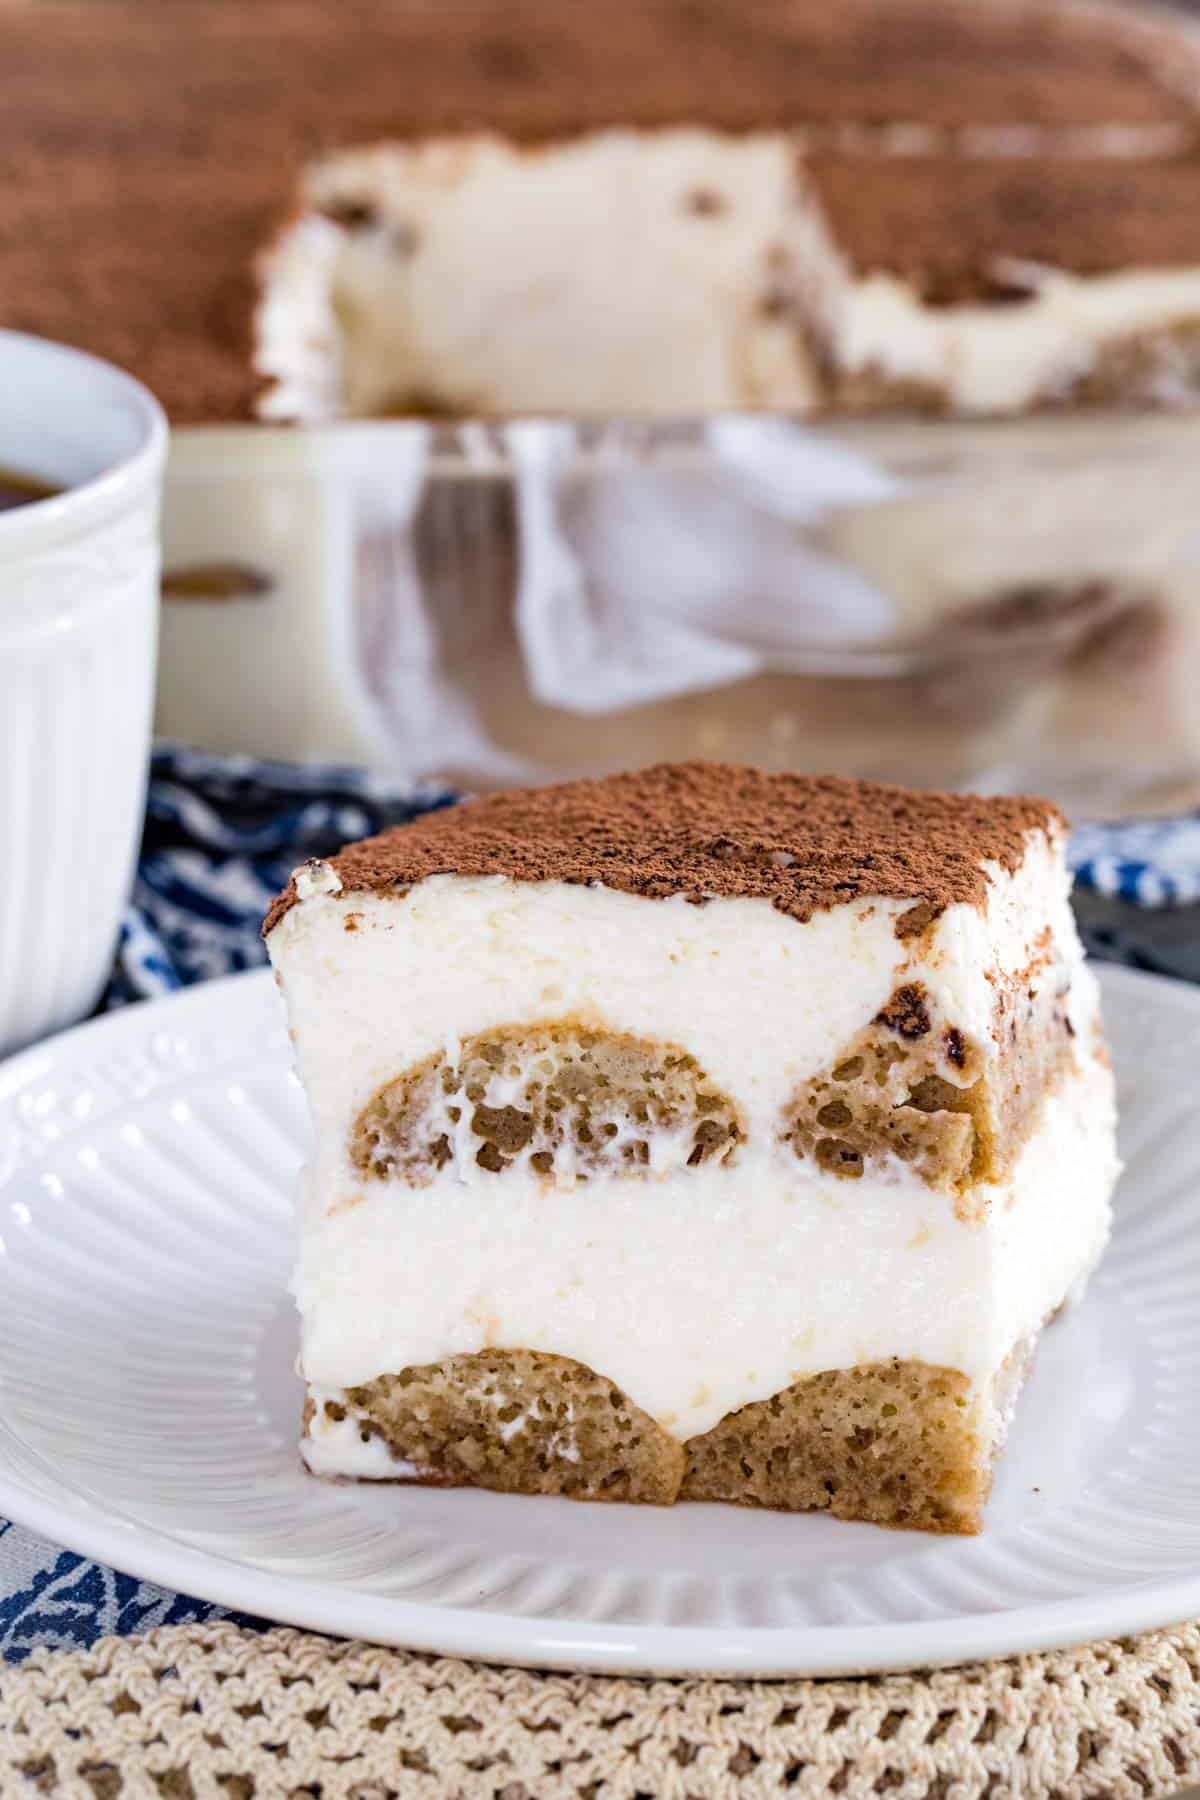
Easy Gluten Free Tiramisu Recipe
The other morning I woke up with a hankering for tiramisu, of all things! Of course, this led to an adventure down the path of homemade gluten-free ladyfingers. If I was going to make a gluten-free tiramisu from scratch, I was going all the way. Naturally.
And here you have it. I like to think of my homemade, gluten-free version as an icebox cake that spent a semester abroad. This tiramisu is a sophisticated yet low-maintenance no-bake dessert, infused with a generous kick of espresso. Along with a whisper of rum, and tender, coffee-soaked ladyfinger biscuits. Craving = officially fulfilled!
And if you don’t feel like making your ladyfingers from scratch, it works perfectly with store-bought biscuits, too.
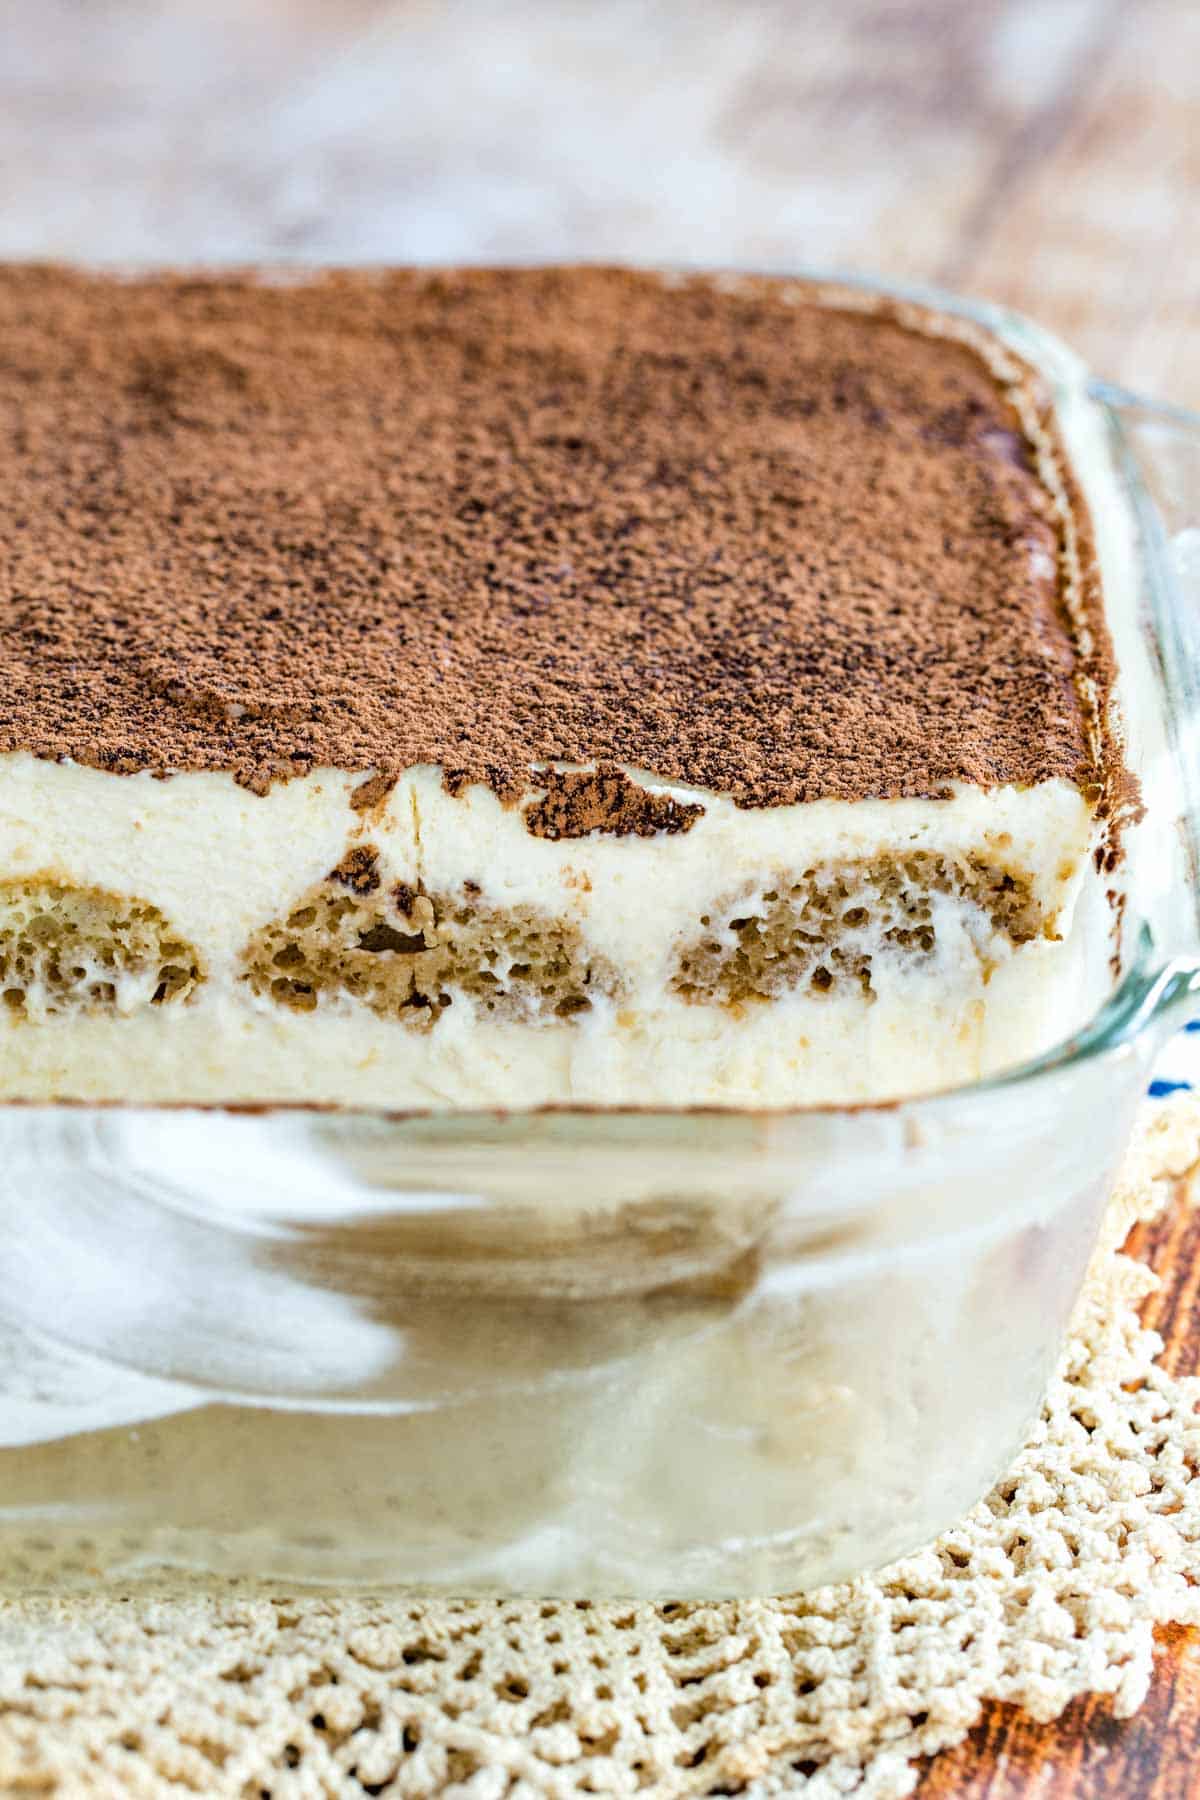
What Is Tiramisu?
You may have seen Italian tiramisu on a dessert menu once upon a time. But if you’ve never had it, tiramisu is a no-bake dessert, like Italy’s answer to an icebox cake. It’s made with ladyfingers soaked in espresso, layered with whipped, custard-like mascarpone cream, and usually topped with a dusting of cocoa powder.
For the full Italian experience, you’ll love enjoying this classic after a dinner of Gluten Free Lasagna or Gluten Free Gnocchi with Bolognese Sauce!
Recipe Ingredients
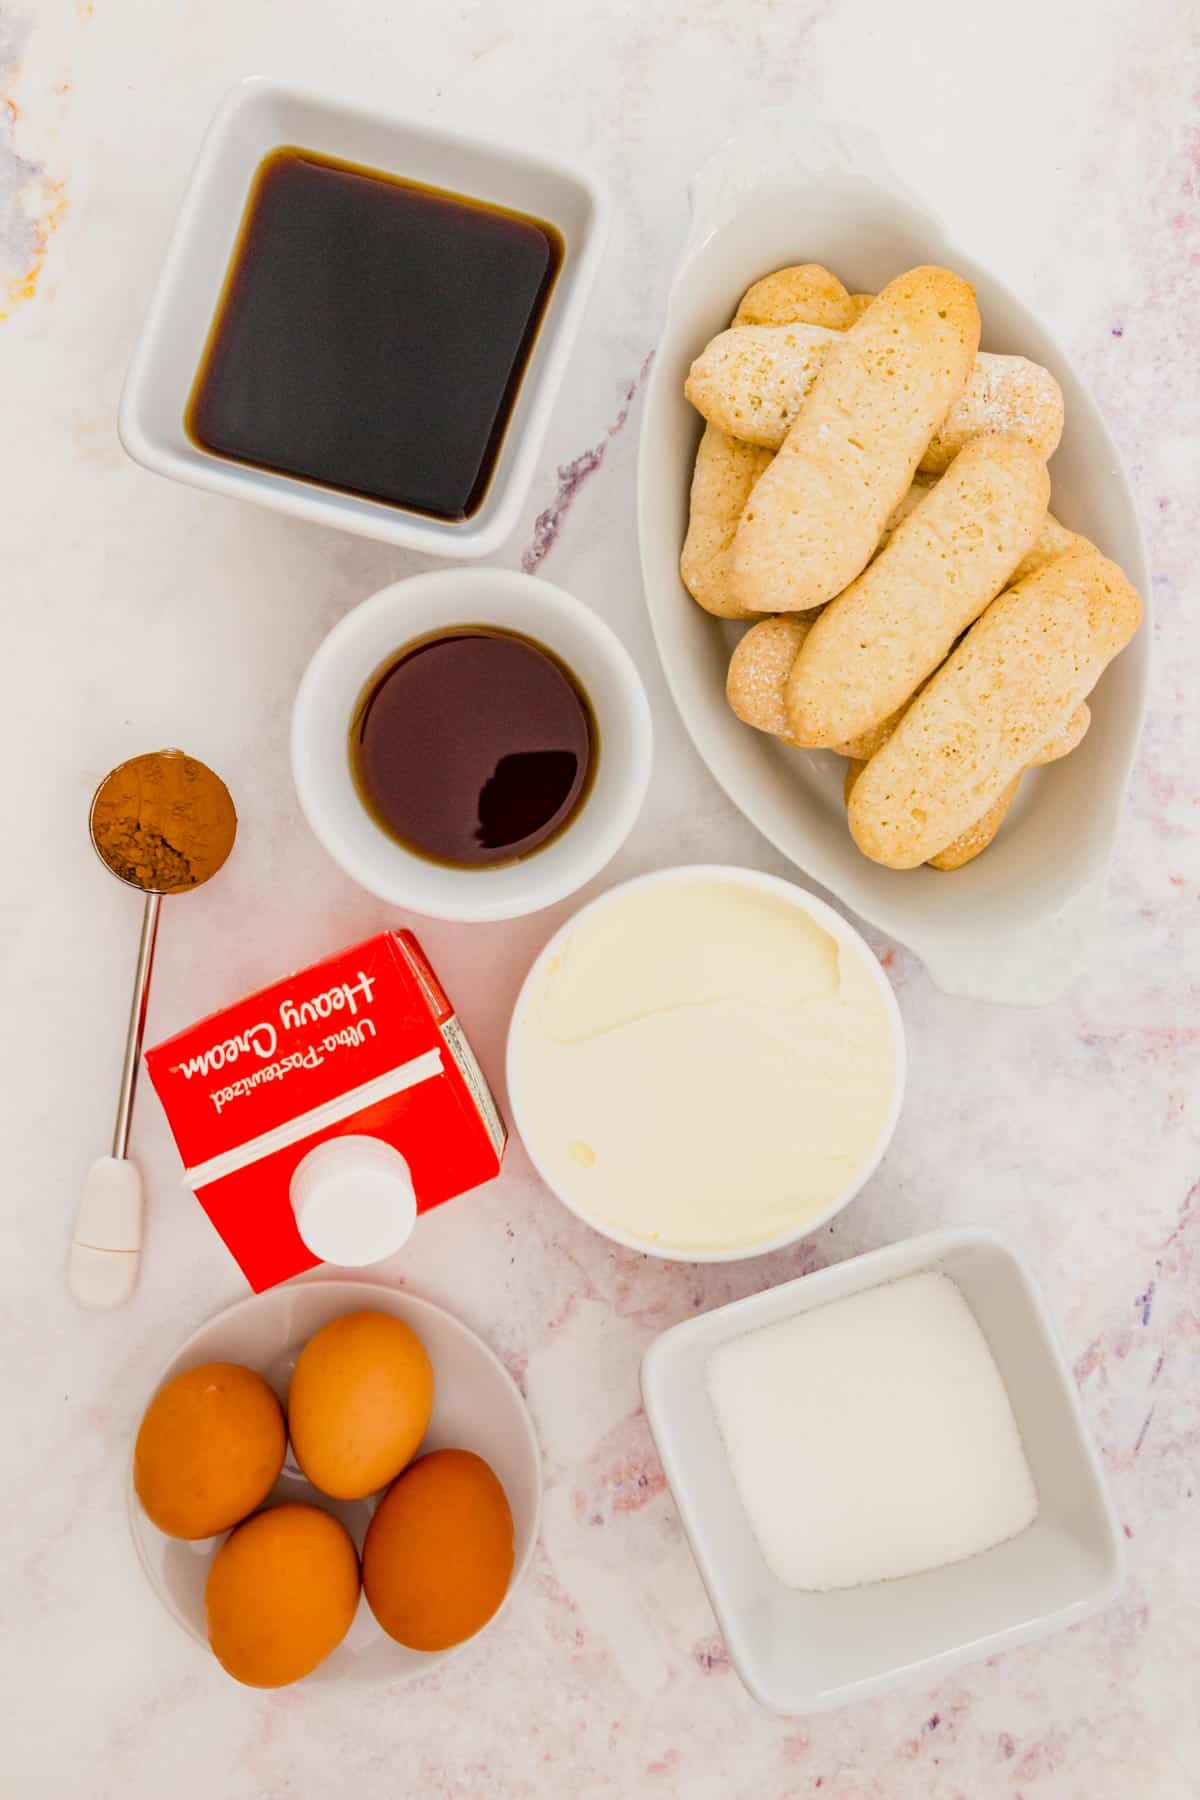
Below is everything you’ll need to make an authentic tiramisu that’s totally gluten-free! Be sure to refer to the recipe card for the full ingredient amounts:
- Eggs: You’ll need 4 large eggs with the whites and yolks separated. Adding lightly cooked eggs to the mascarpone enriches the mixture and gives it structure.
- Heavy Cream: The mascarpone mixture for this tiramisu turns out best when it’s made with full-fat whipping cream. I suggest leaving it in the fridge right up until you’re ready to whip it!
- Sugar: I recommend using white granulated sugar.
- Mascarpone Cheese: You can’t have tiramisu without those rich and velvety mascarpone layers. Mascarpone is a type of Italian cream cheese that’s especially soft, and looser than the spreadable cream cheese we know in the States. You’ll find mascarpone cheese in the dairy aisle of most major grocery stores.
- Dark Rum: I spike the espresso I use to soak the ladyfingers with a bit of rum. This isn’t mandatory, but it does add a nice flavor! You can also use Amaretto, brandy, or leave out the alcohol altogether.
- Gluten-Free Ladyfingers: I’ve perfected a homemade version of gluten-free ladyfingers specifically for this tiramisu recipe! Otherwise, use your preferred brand of store-bought gluten free ladyfingers.
- Coffee or Espresso: A classic tiramisu calls for chilled espresso or strong brewed coffee for soaking the ladyfinger biscuits. You can prepare the coffee at home, or pick up a cup of espresso from your local coffee shop. Alternatively, dissolve a spoonful of espresso powder in boiling water, then allow it to cool.
- Cocoa Powder: For dusting over top of the tiramisu before serving.
How to Make Gluten Free Tiramisu
Before you start, place a metal bowl into the fridge or freezer to get it nice and chilled. You’ll use it to whip the cream in a while, and the colder, the better! Next, get started on your other tiramisu components:
Beat the Eggs: First, beat the egg white over a double boiler until soft peaks form. Afterward, in a separate bowl, beat the egg yolks over the same double boiler until they’re thickened. You can do this using a makeshift double boiler – simply place a metal or glass bowl with the egg whites/yolks over a pan of simmering water. Set both the whipped egg whites and egg yolks aside.
Whip the Cream: Get your chilled bowl out from the freezer. Whip the cream into soft peaks using a hand mixer or stand mixer, then set aside.
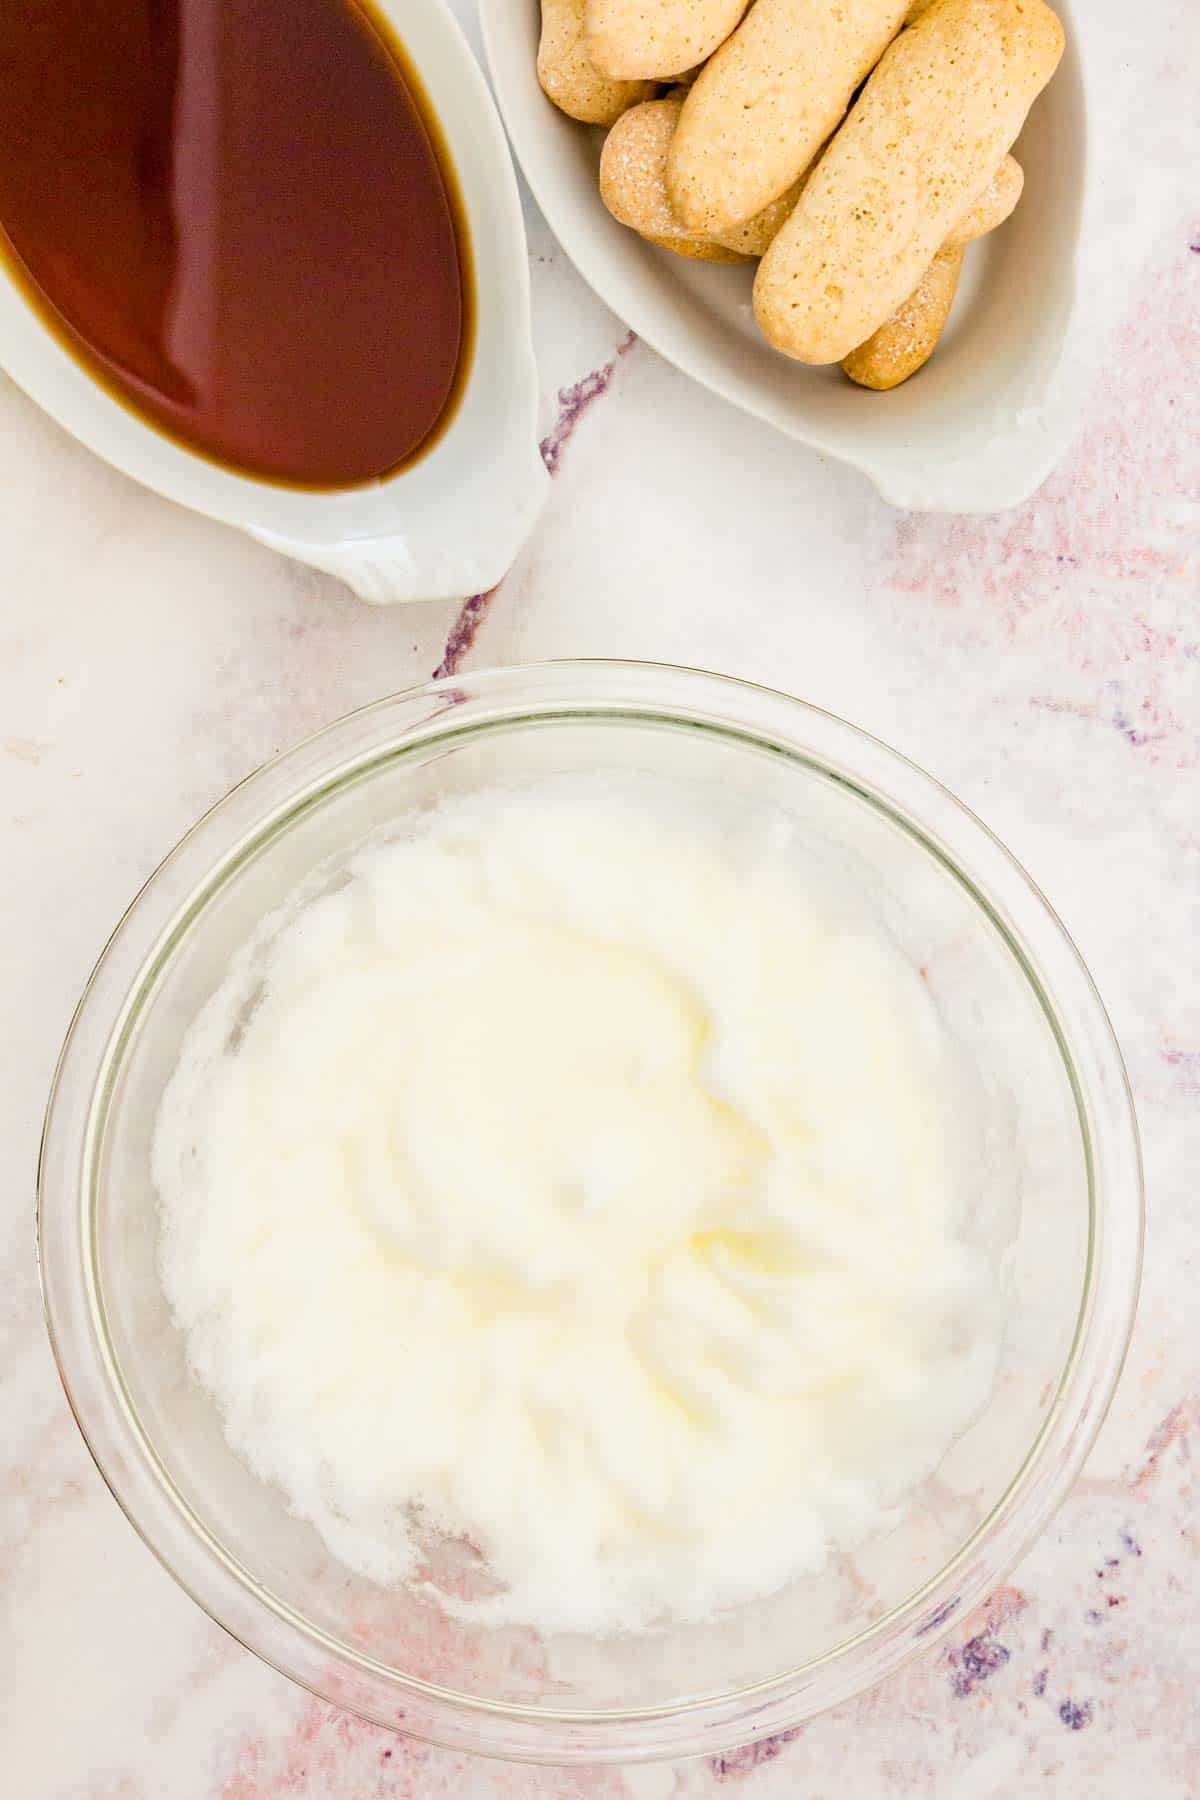
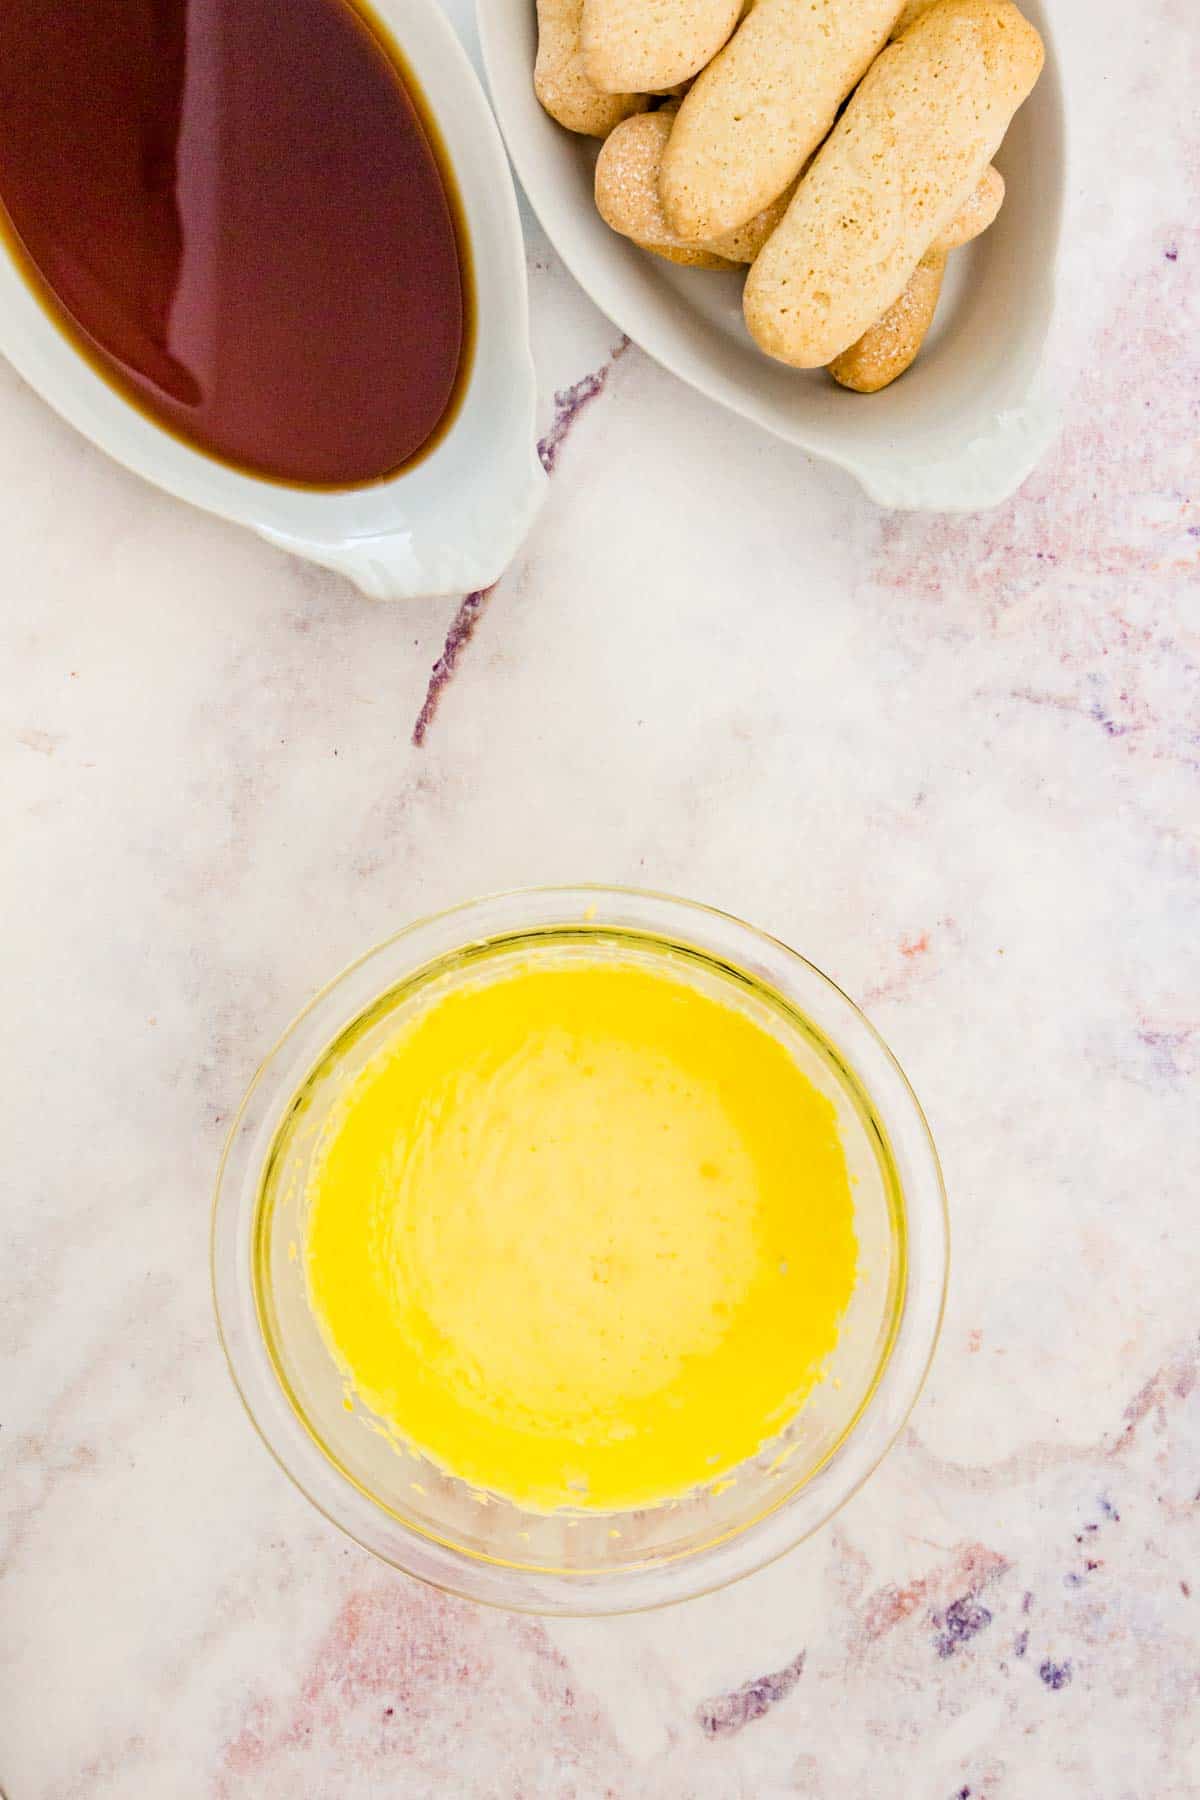
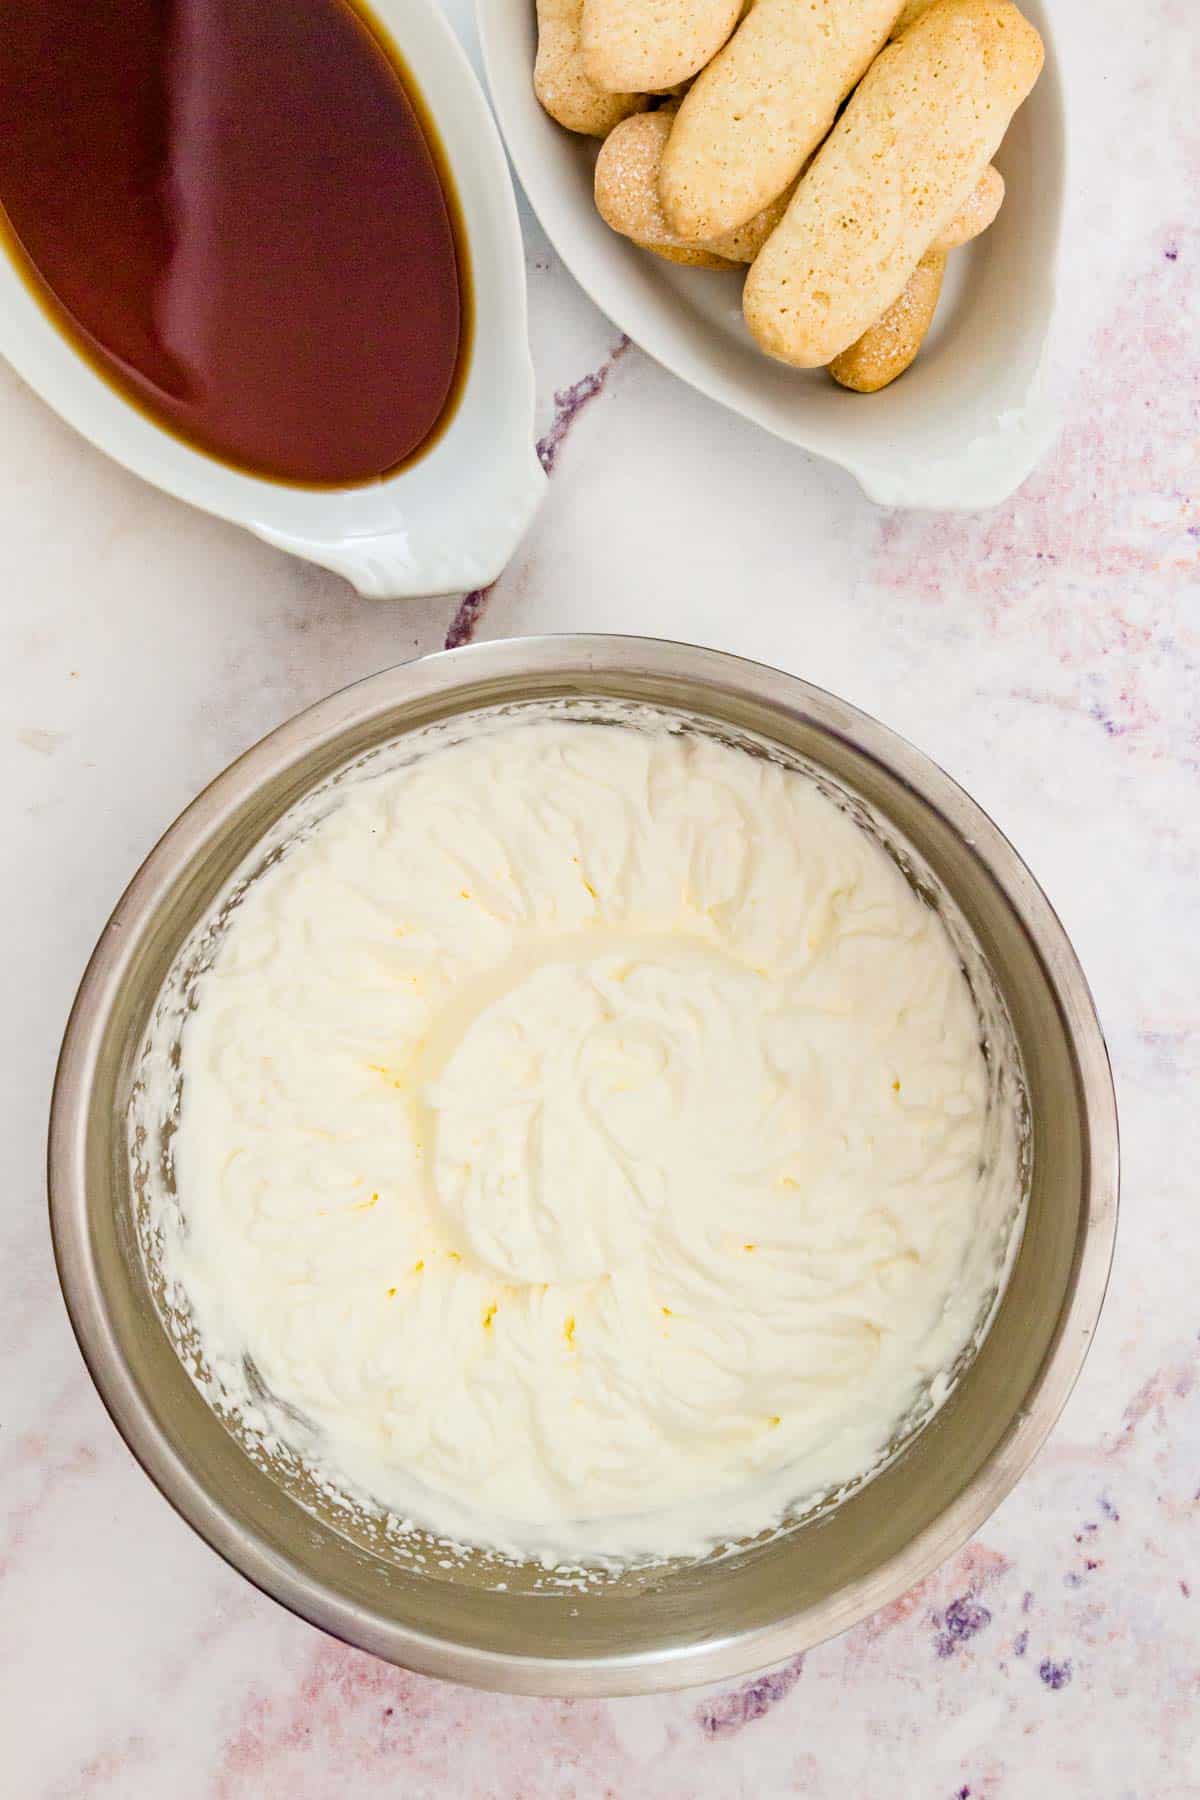
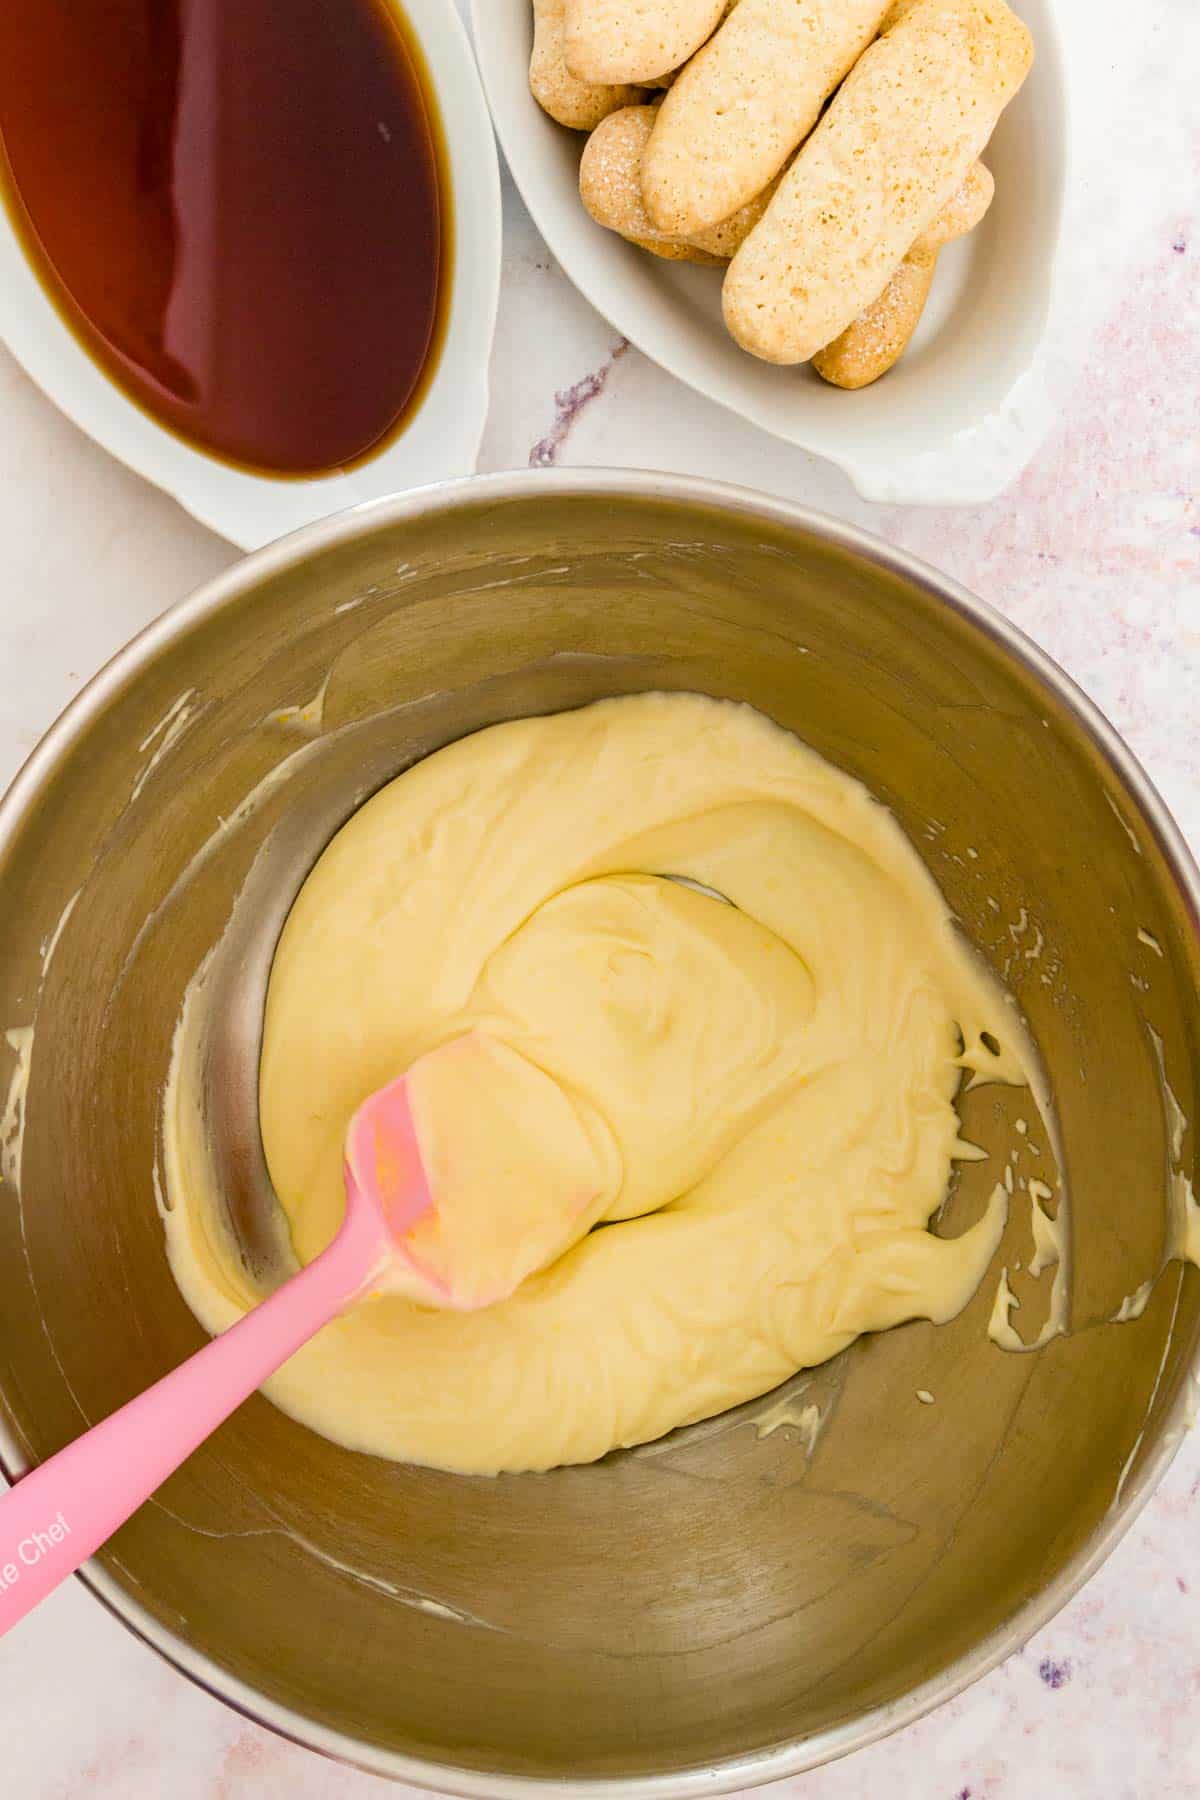
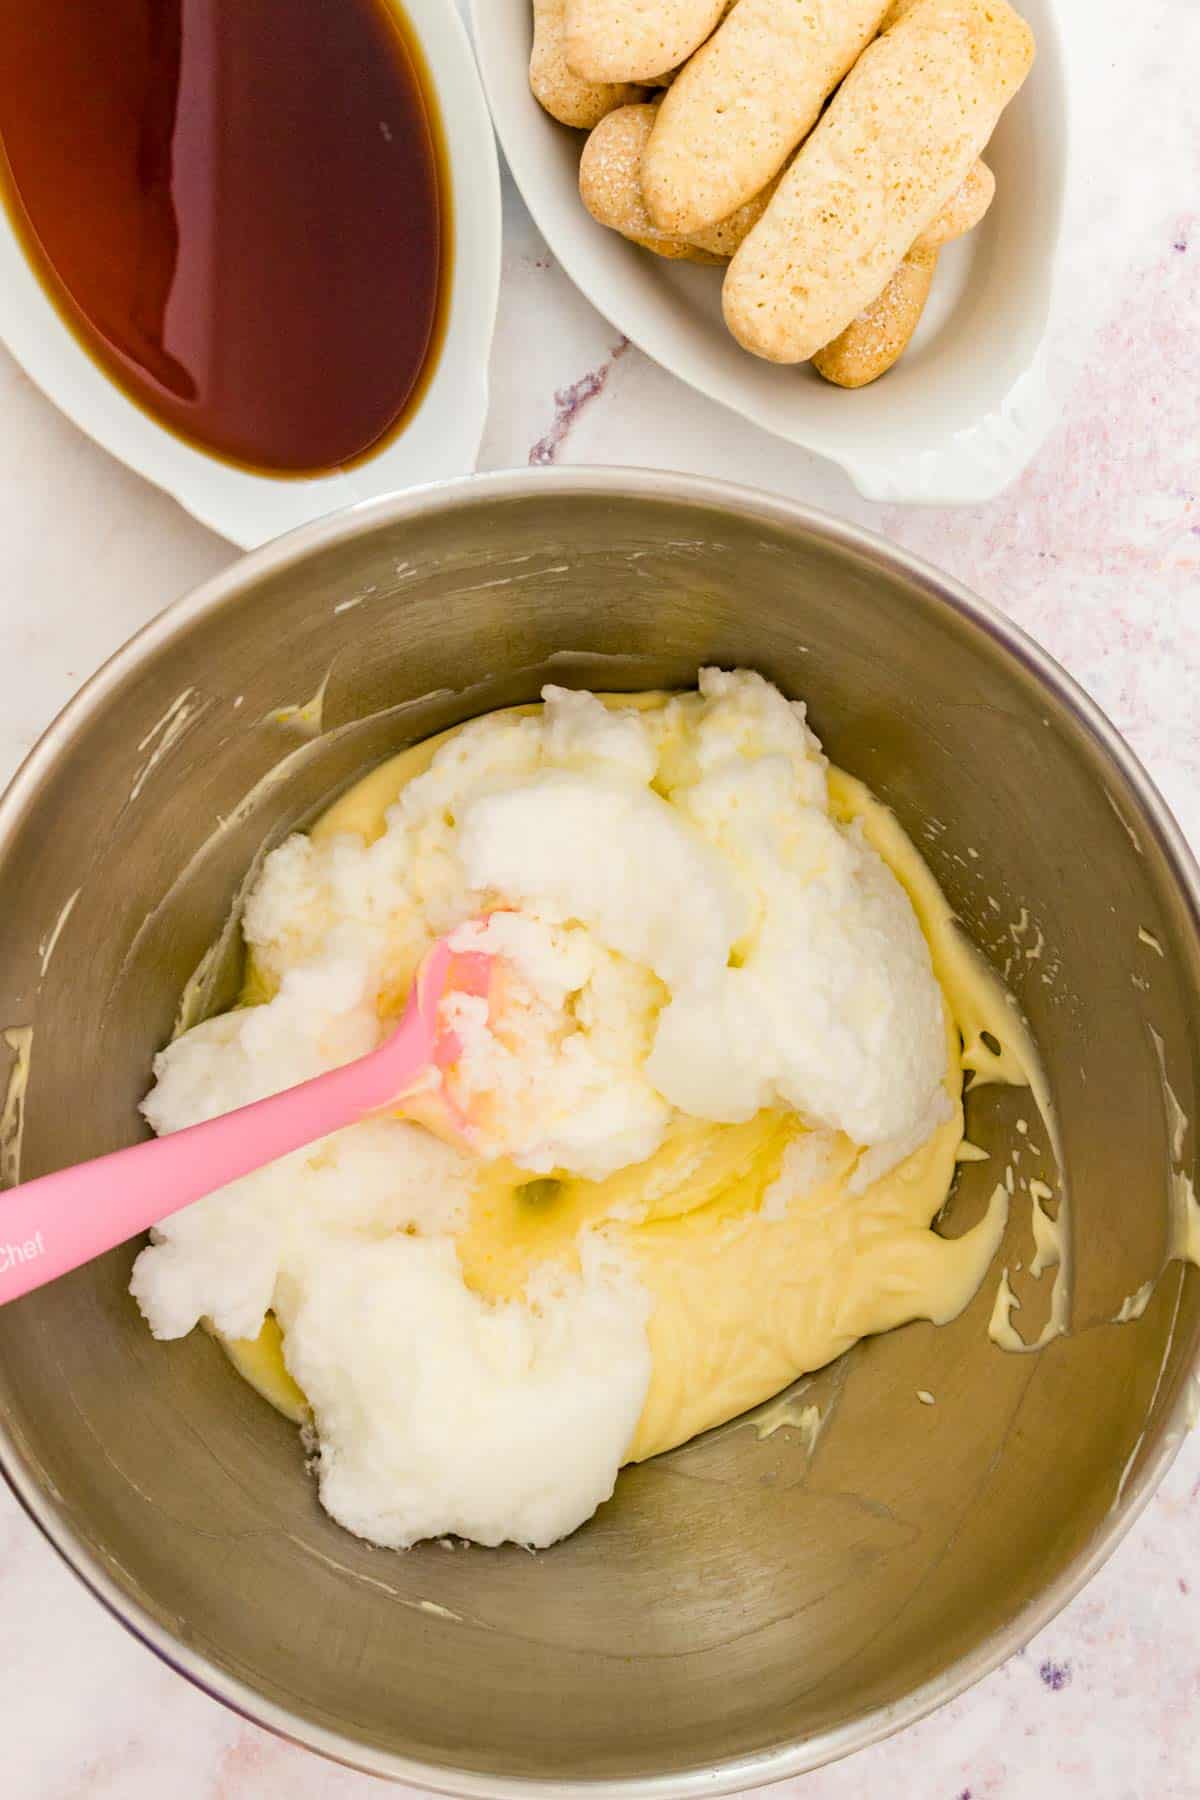
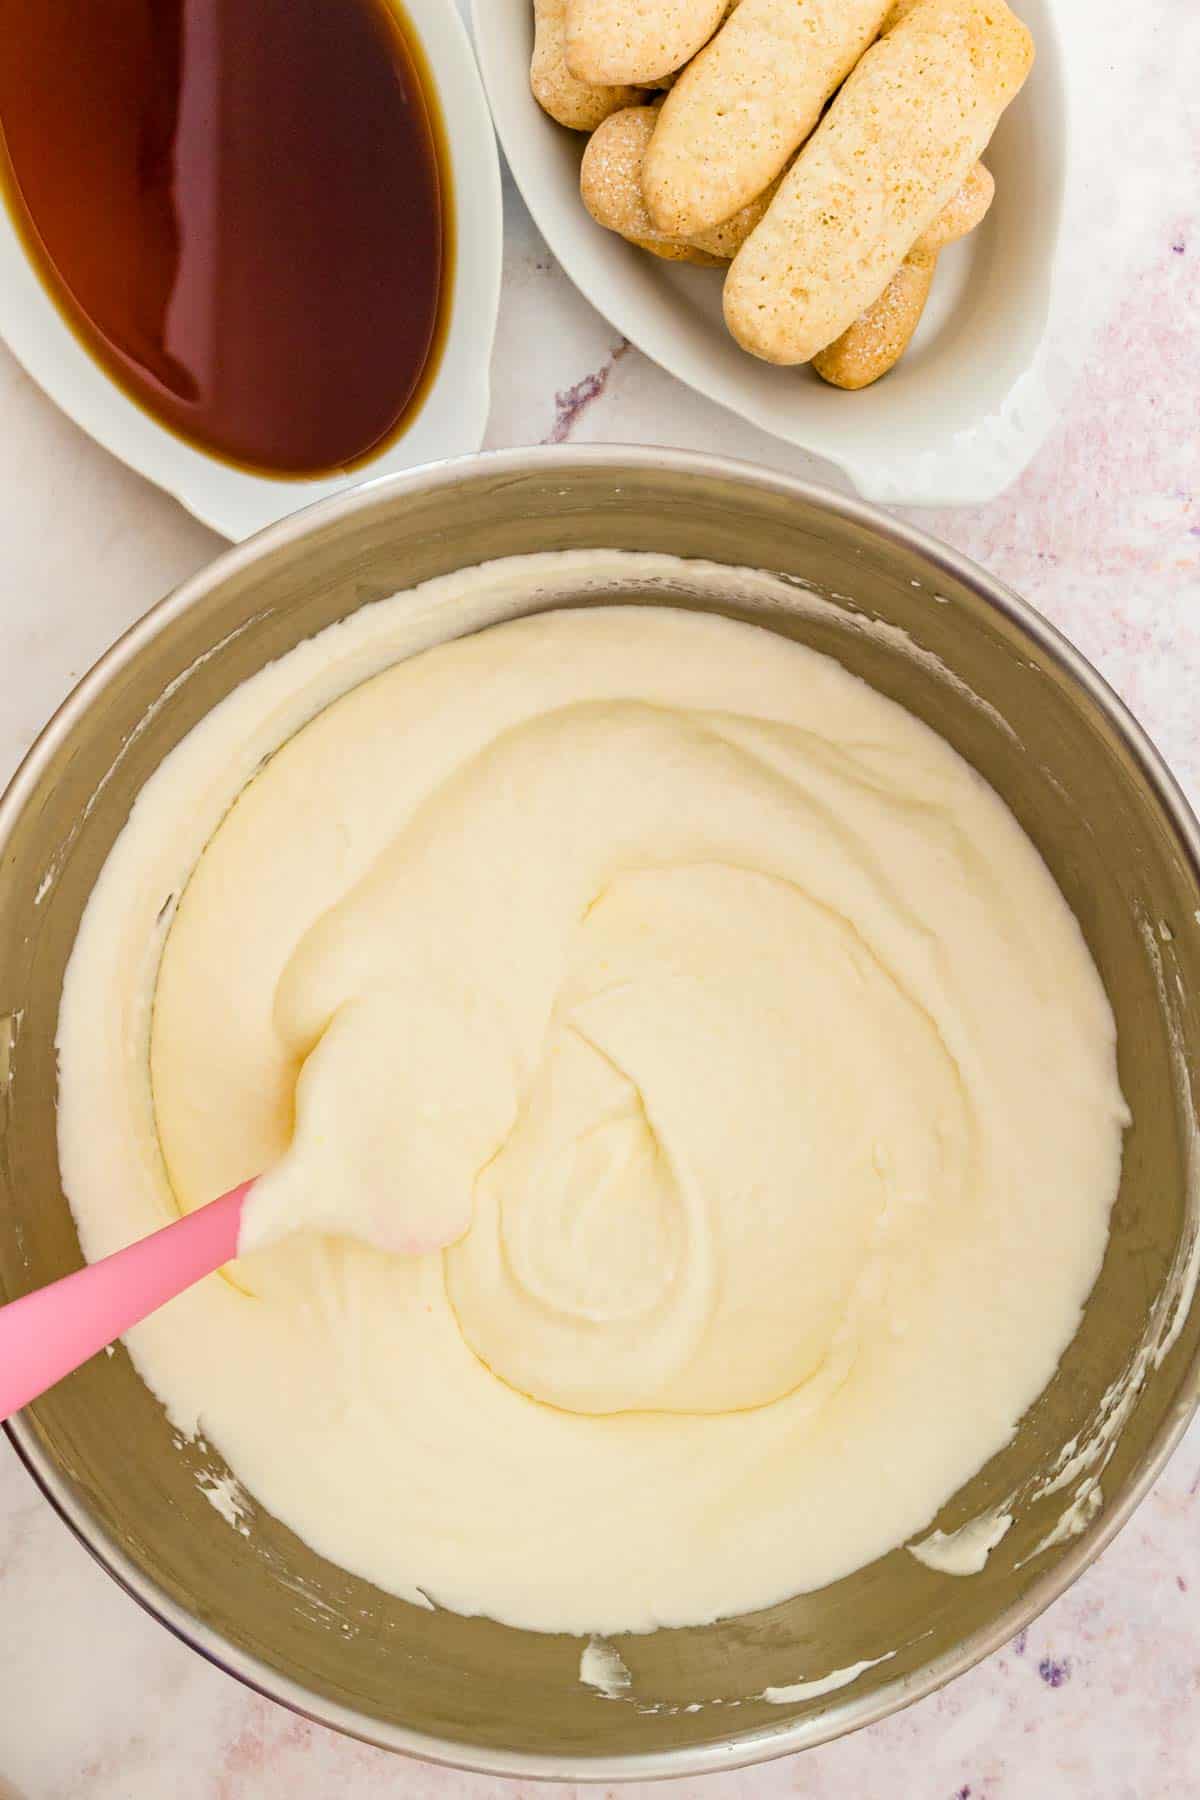
Prepare the Mascarpone Mixture: In a large, separate bowl, beat the sugar and mascarpone together along with two tablespoons of rum. Gently fold in the egg yolks, followed by the egg whites, and lastly the whipped cream. Be careful to not overmix and deflate the mixture.
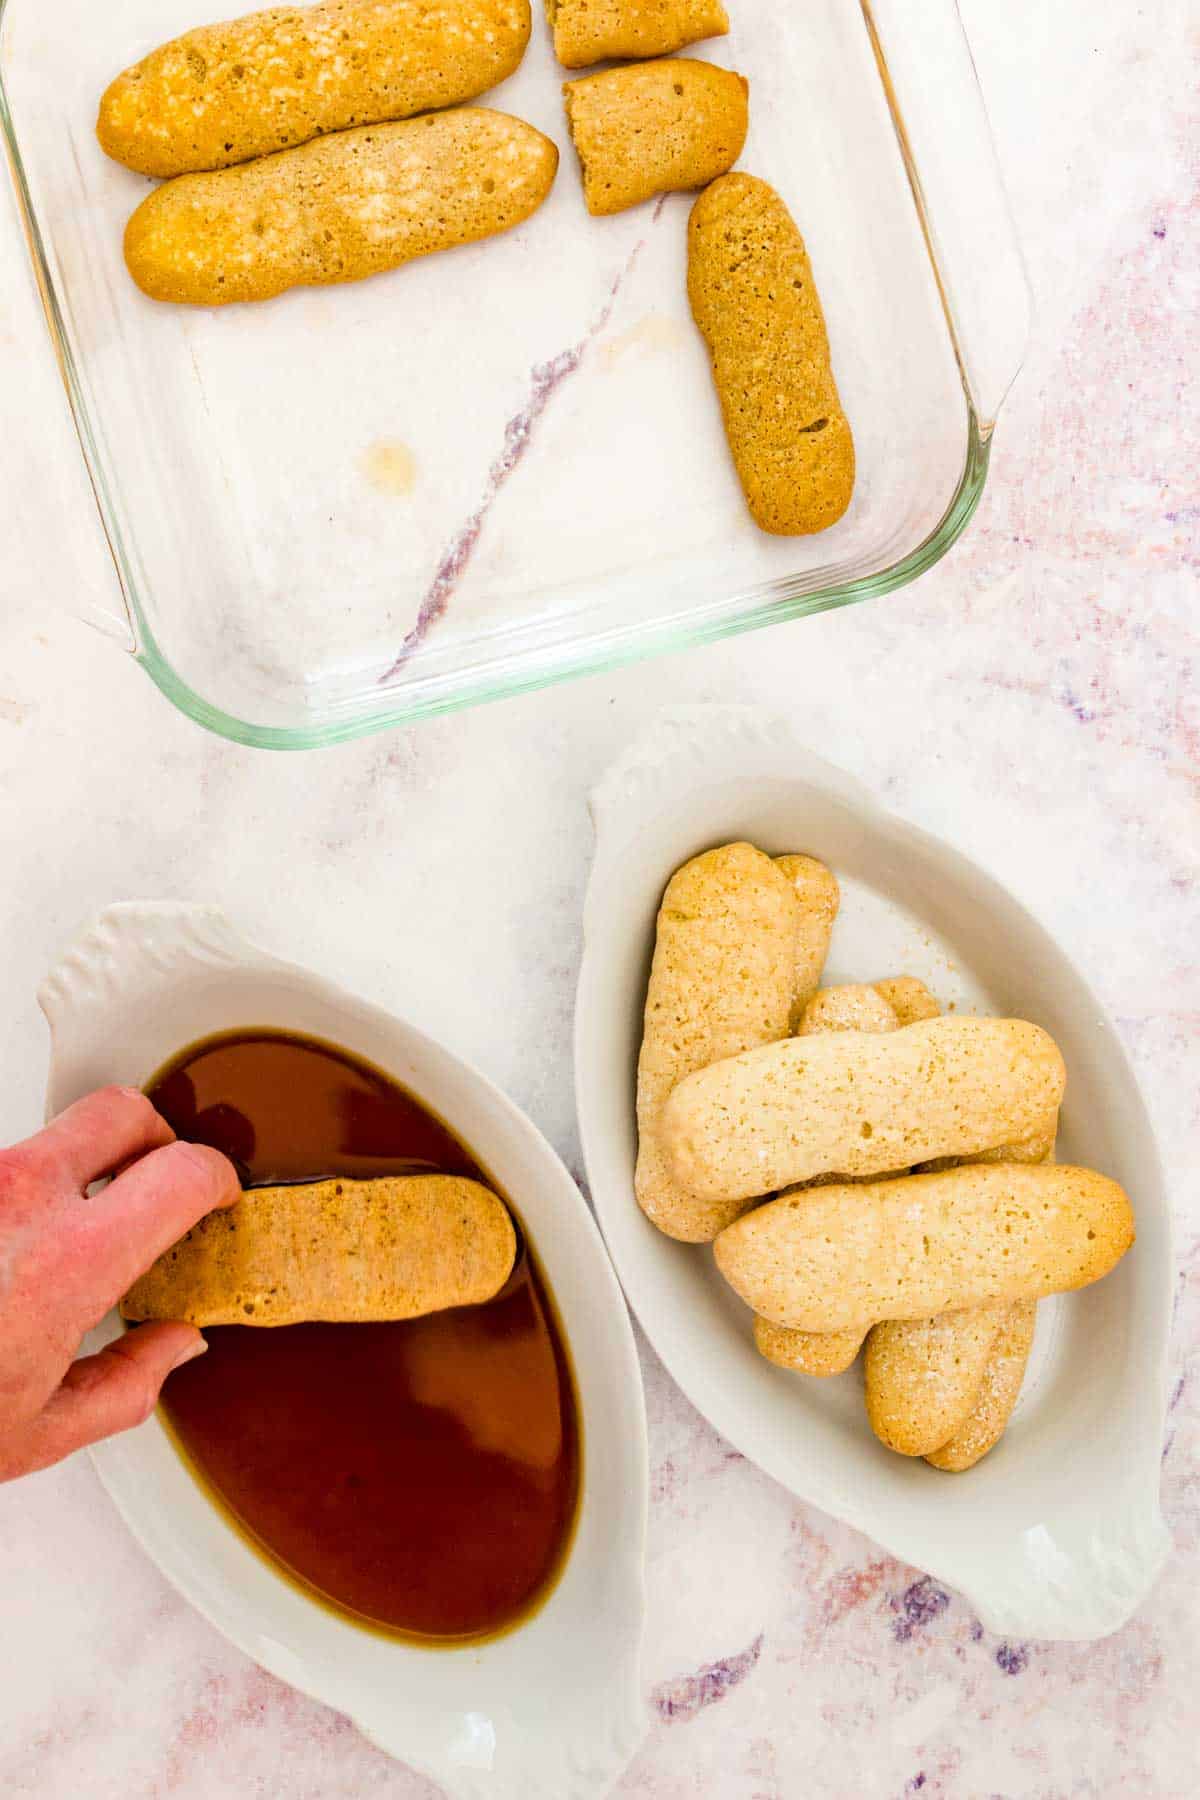
Dip the Ladyfingers: Combine the last of the rum with coffee or espresso in a shallow dish. Dip your ladyfinger cookies one at a time to coat. Lay them quickly on each side, just enough that the outside is soaked but the inside is still solid (ladyfingers that soak too long may fall apart!). Place the dipped ladyfingers into the bottom of a baking dish.
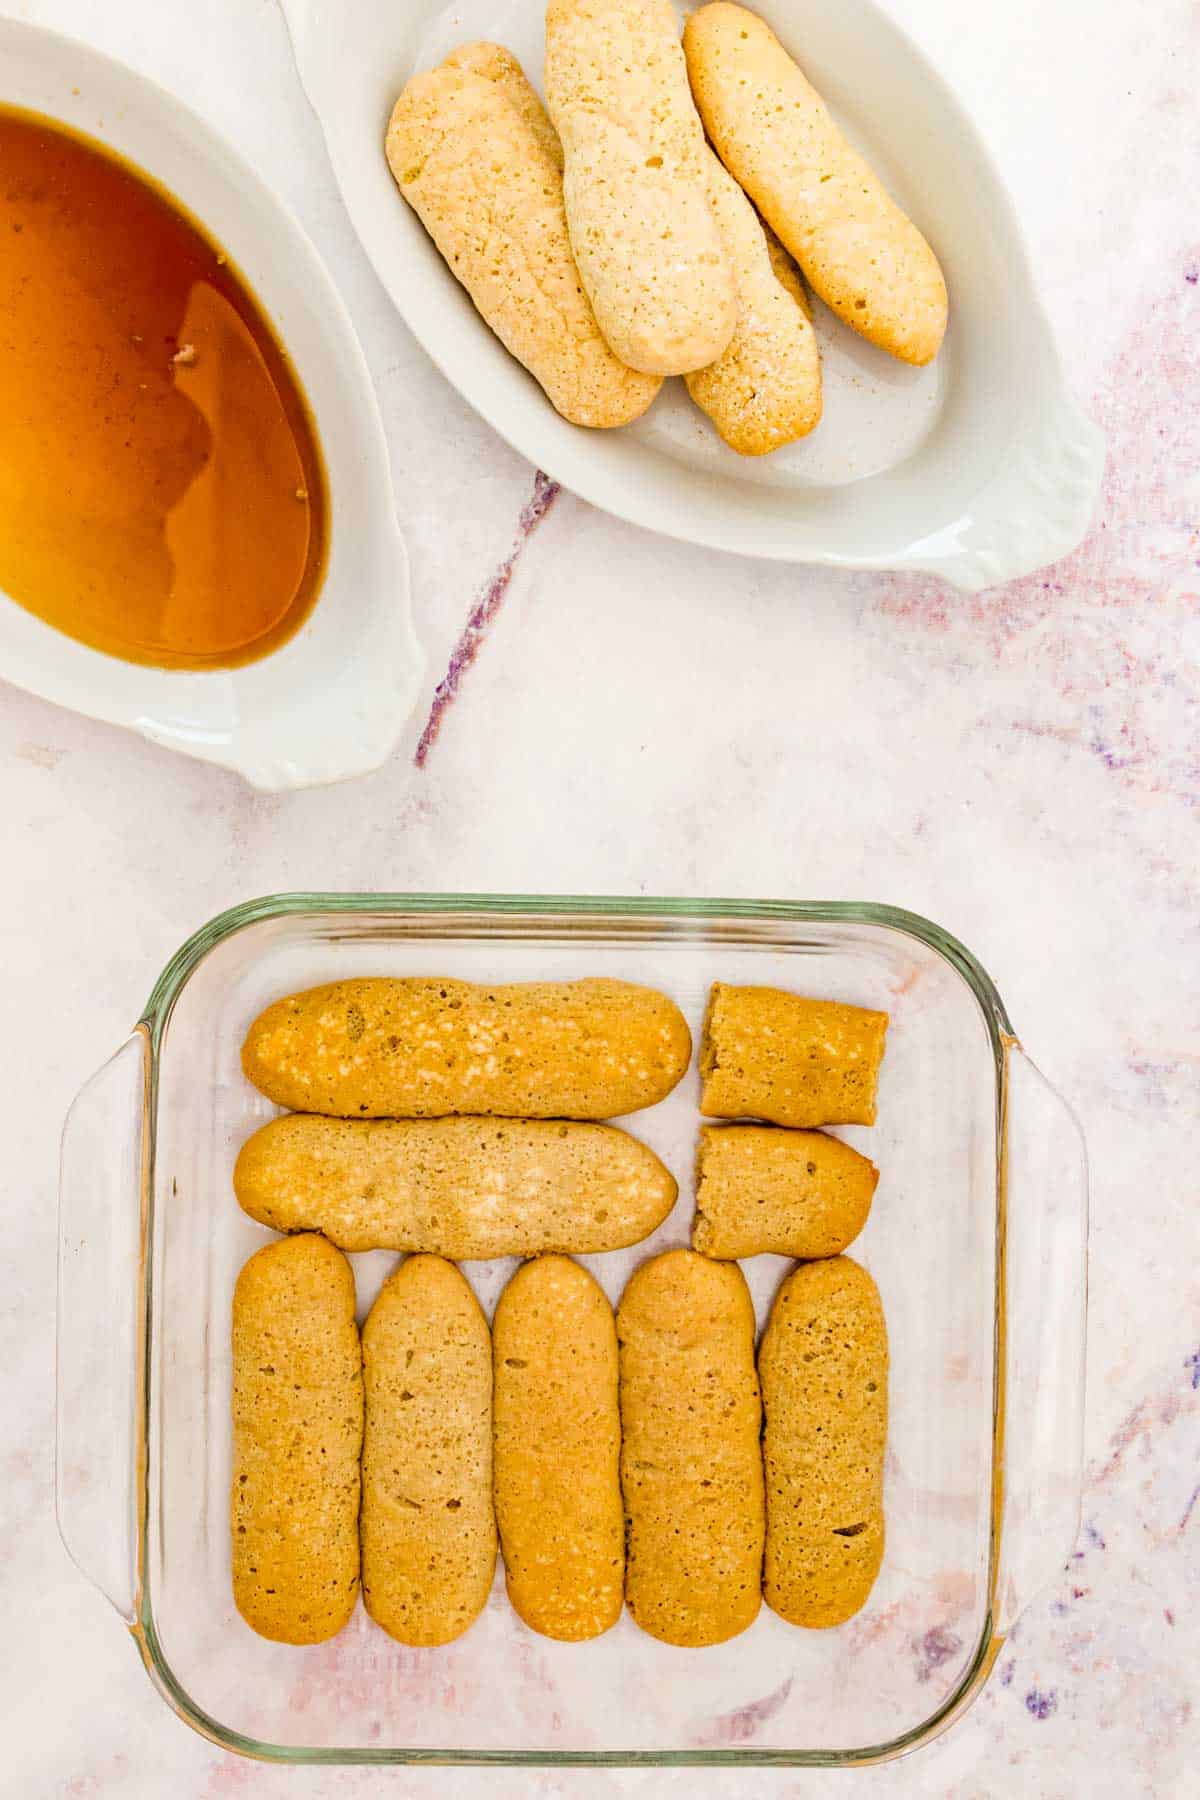
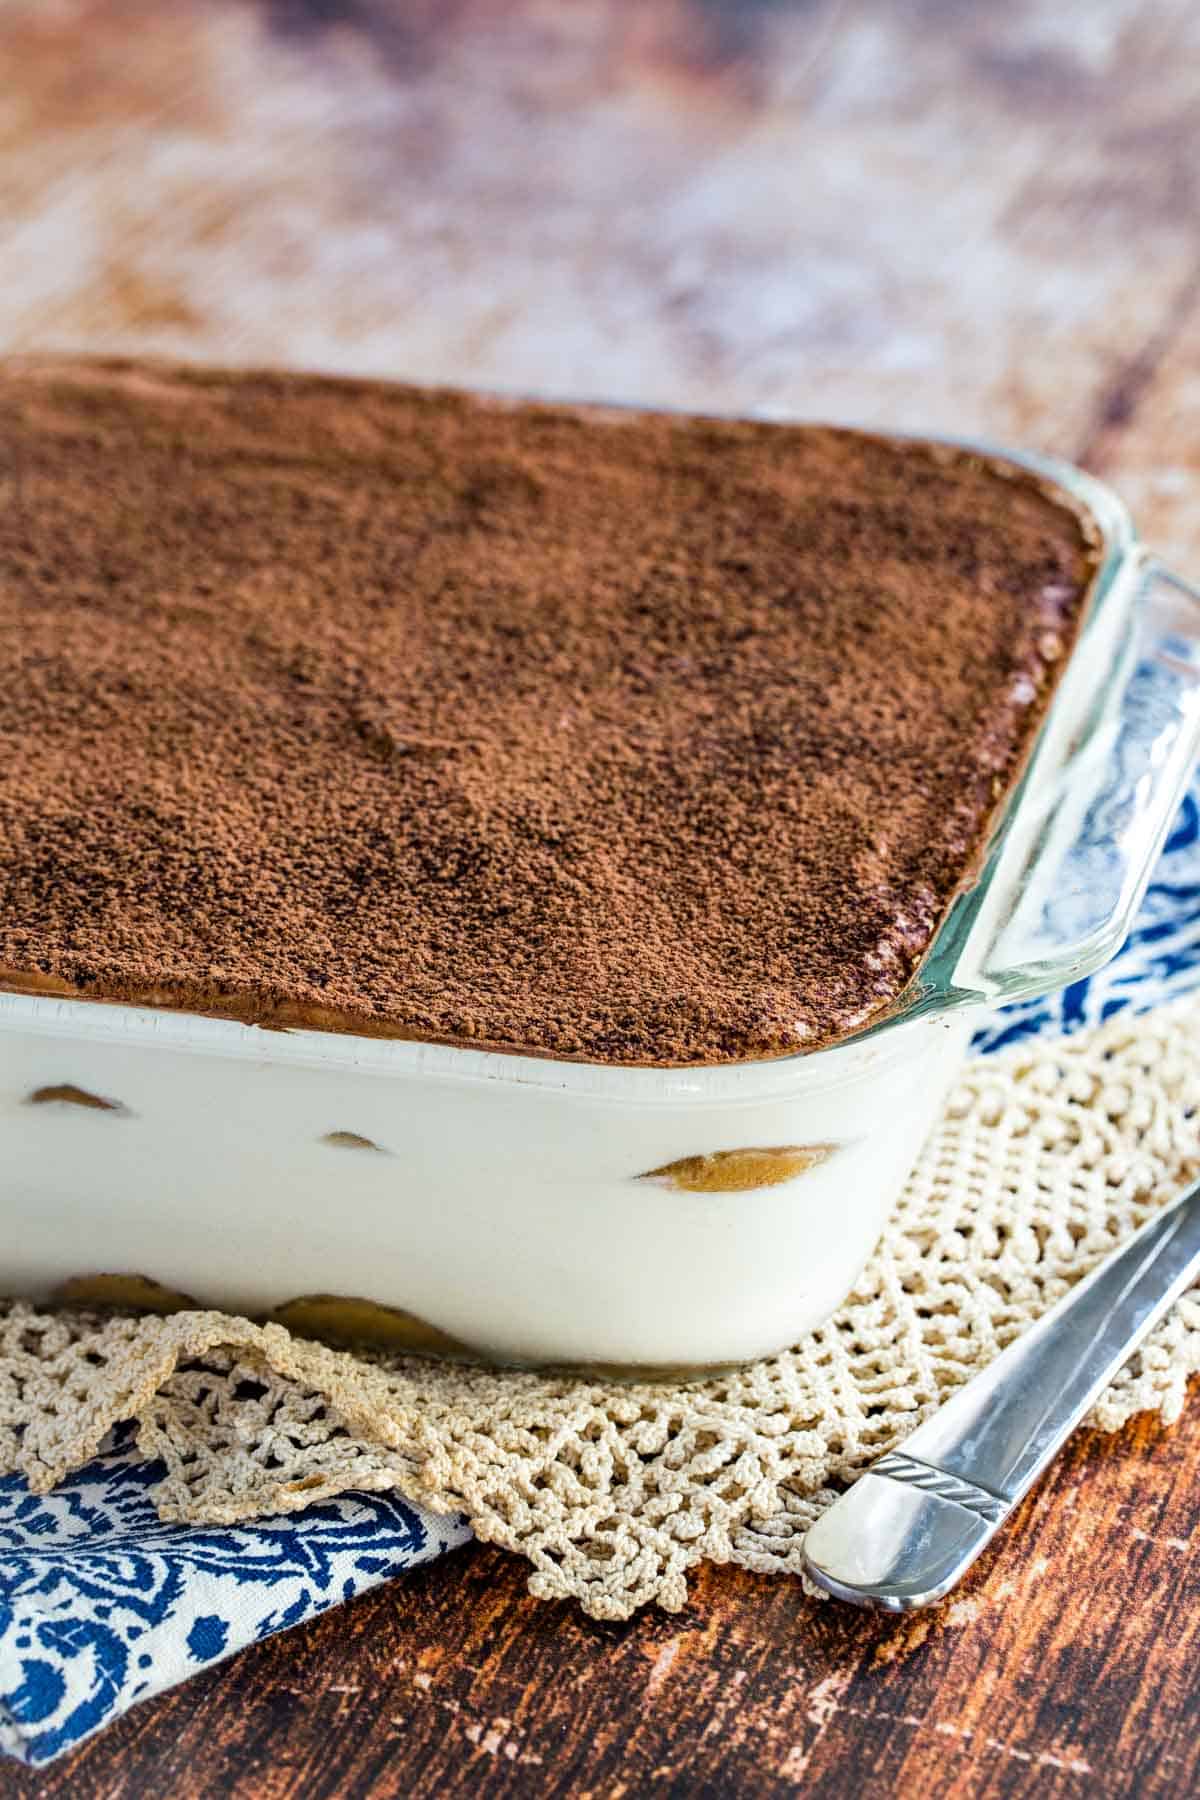
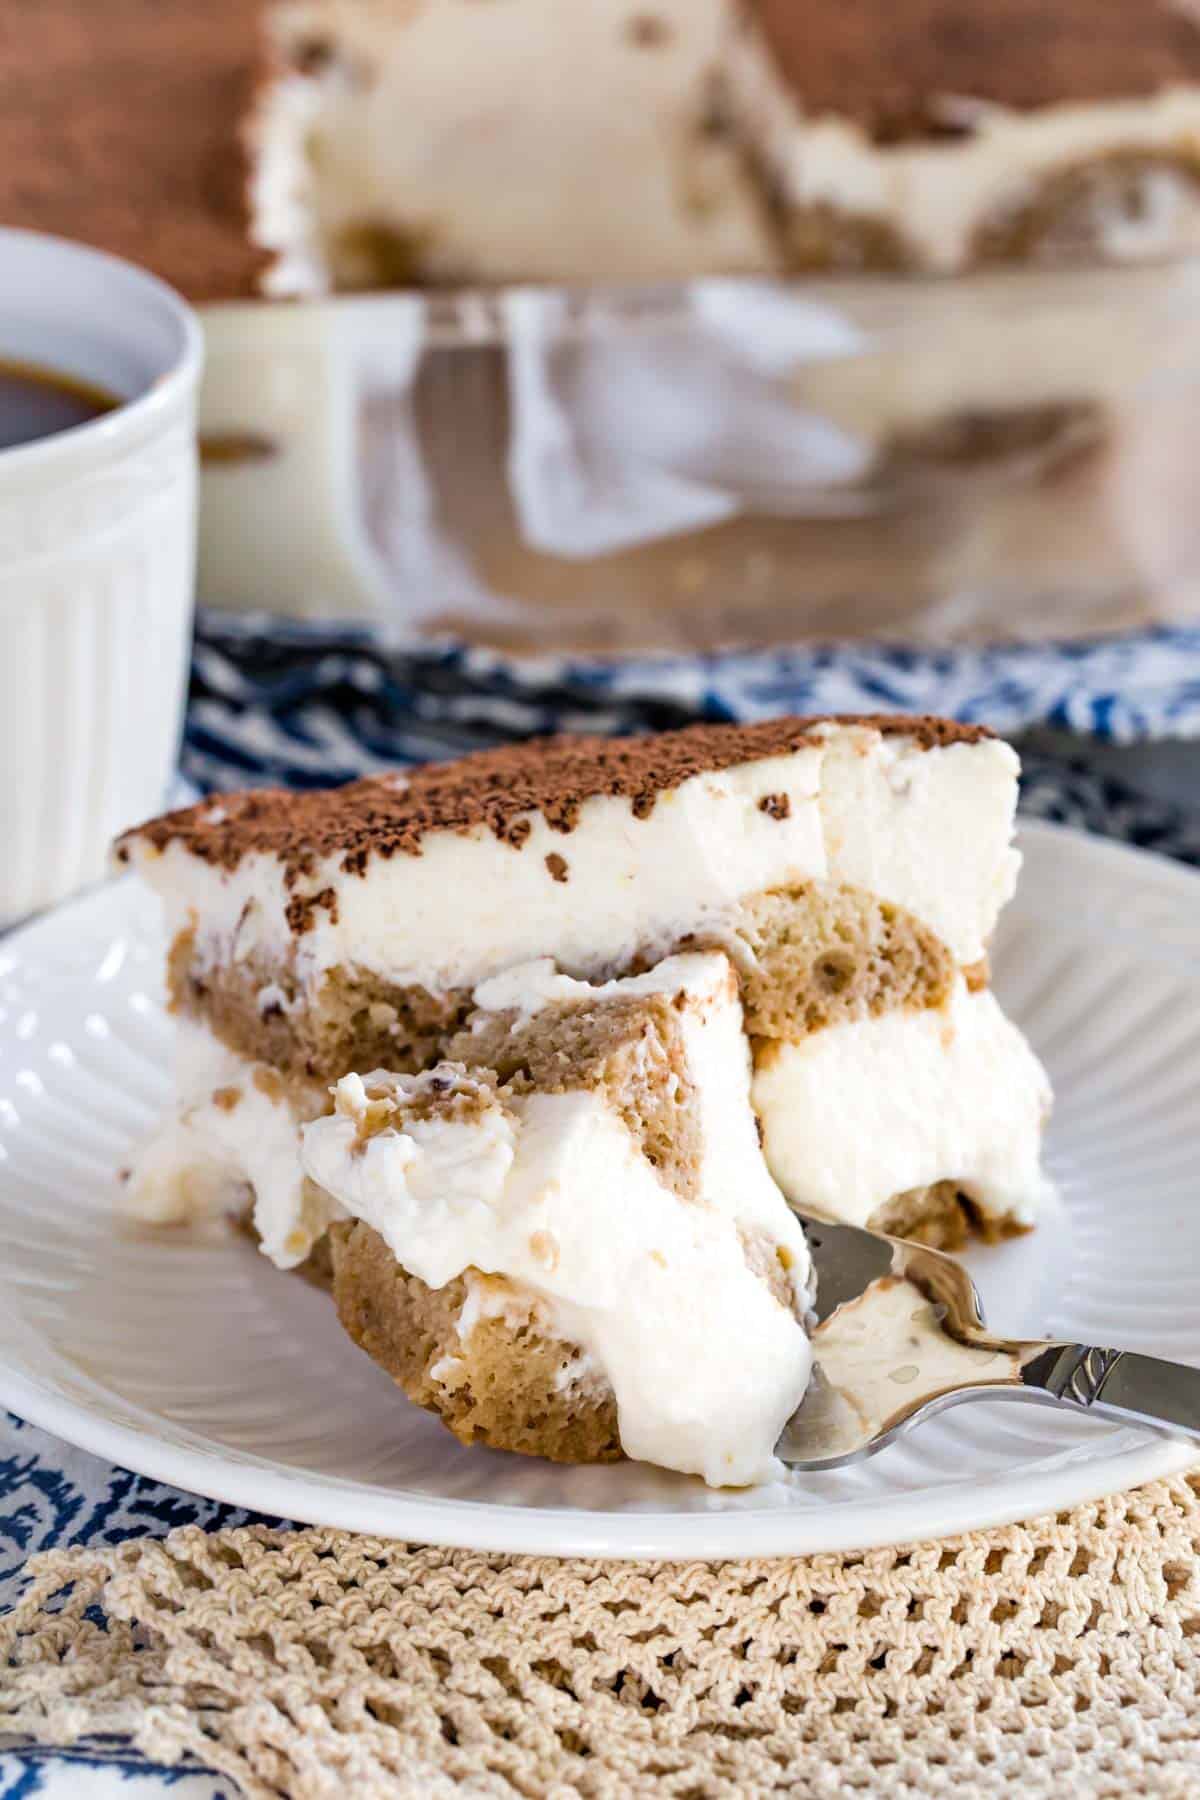
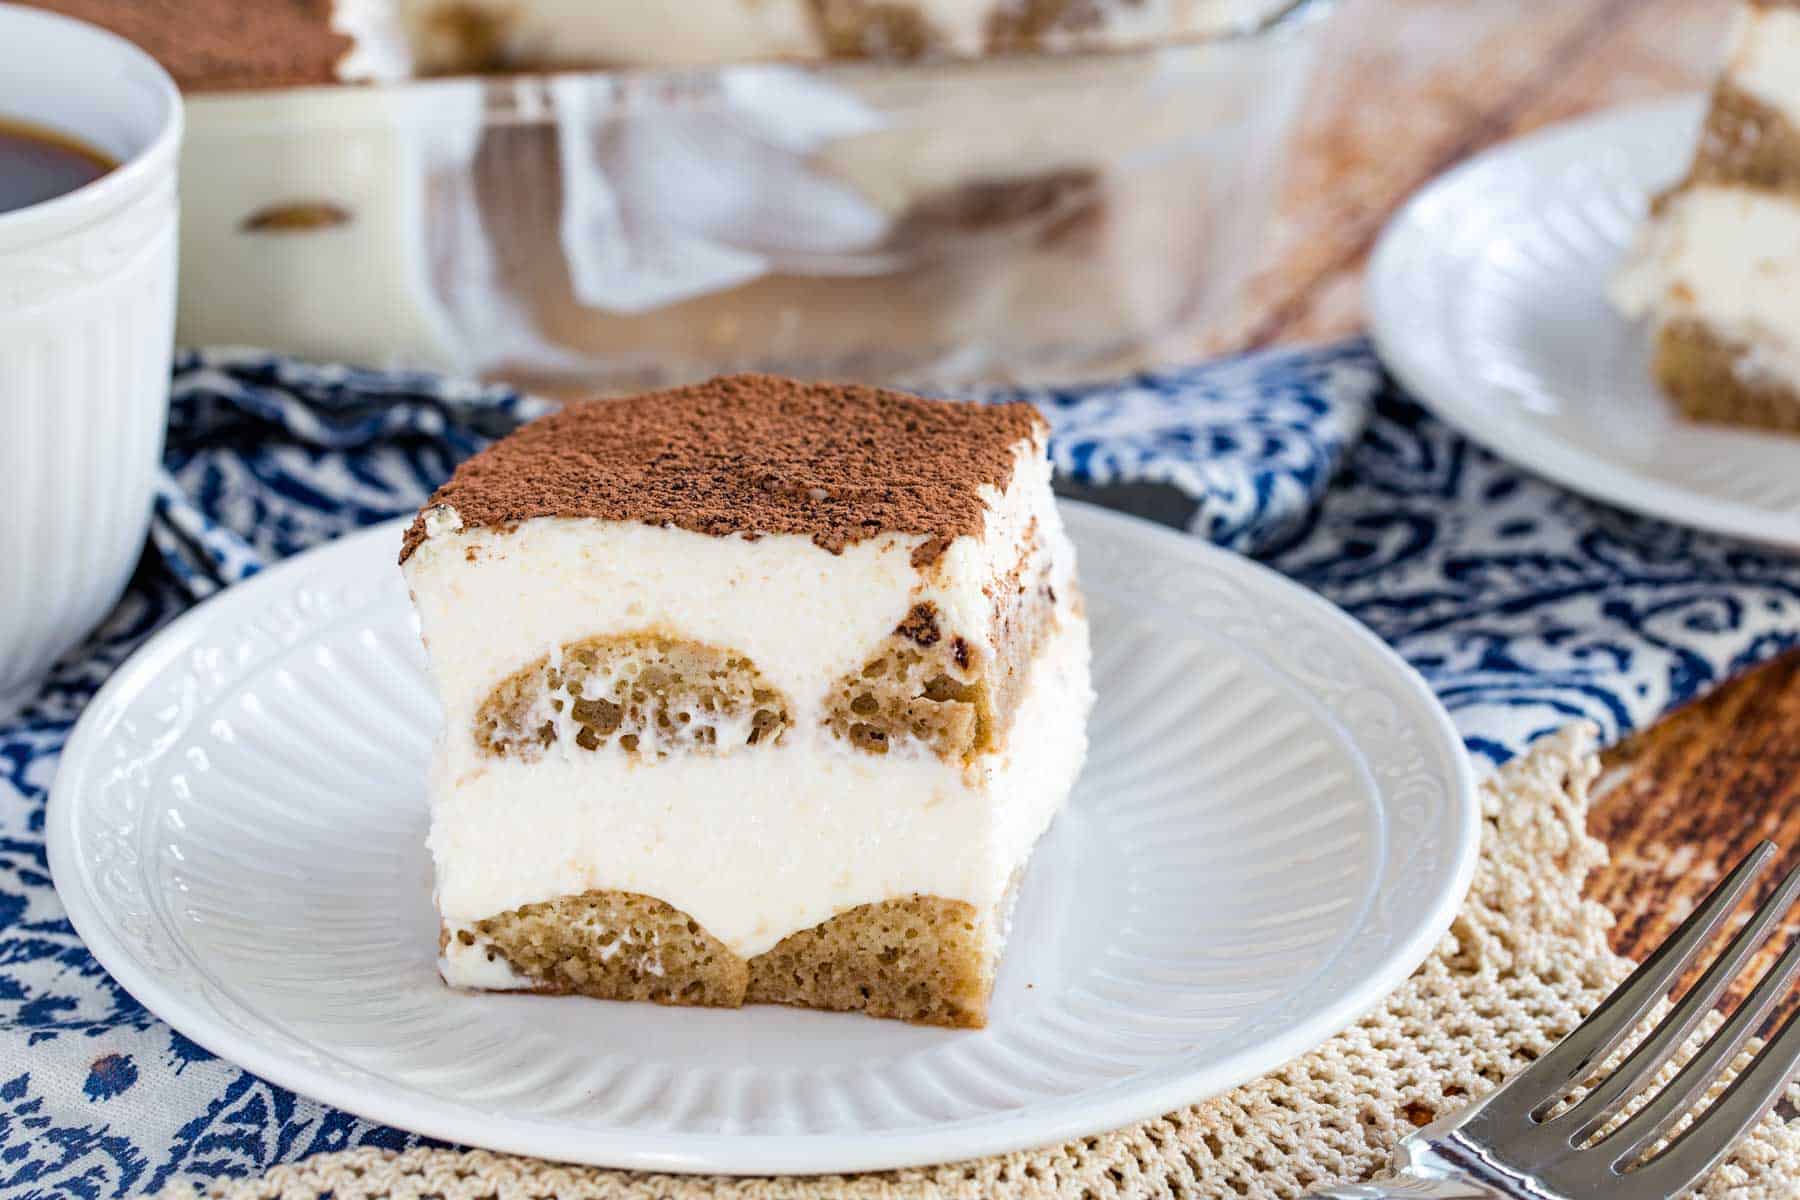
Assemble: Arrange the soaked ladyfingers in a single layer inside the baking dish, trimming them to fit as needed. Cover this first biscuit layer with half of the mascarpone mixture, then top with another layer of ladyfingers. You’ll finish off with the remaining mascarpone, and finally place the tiramisu into the fridge to chill.
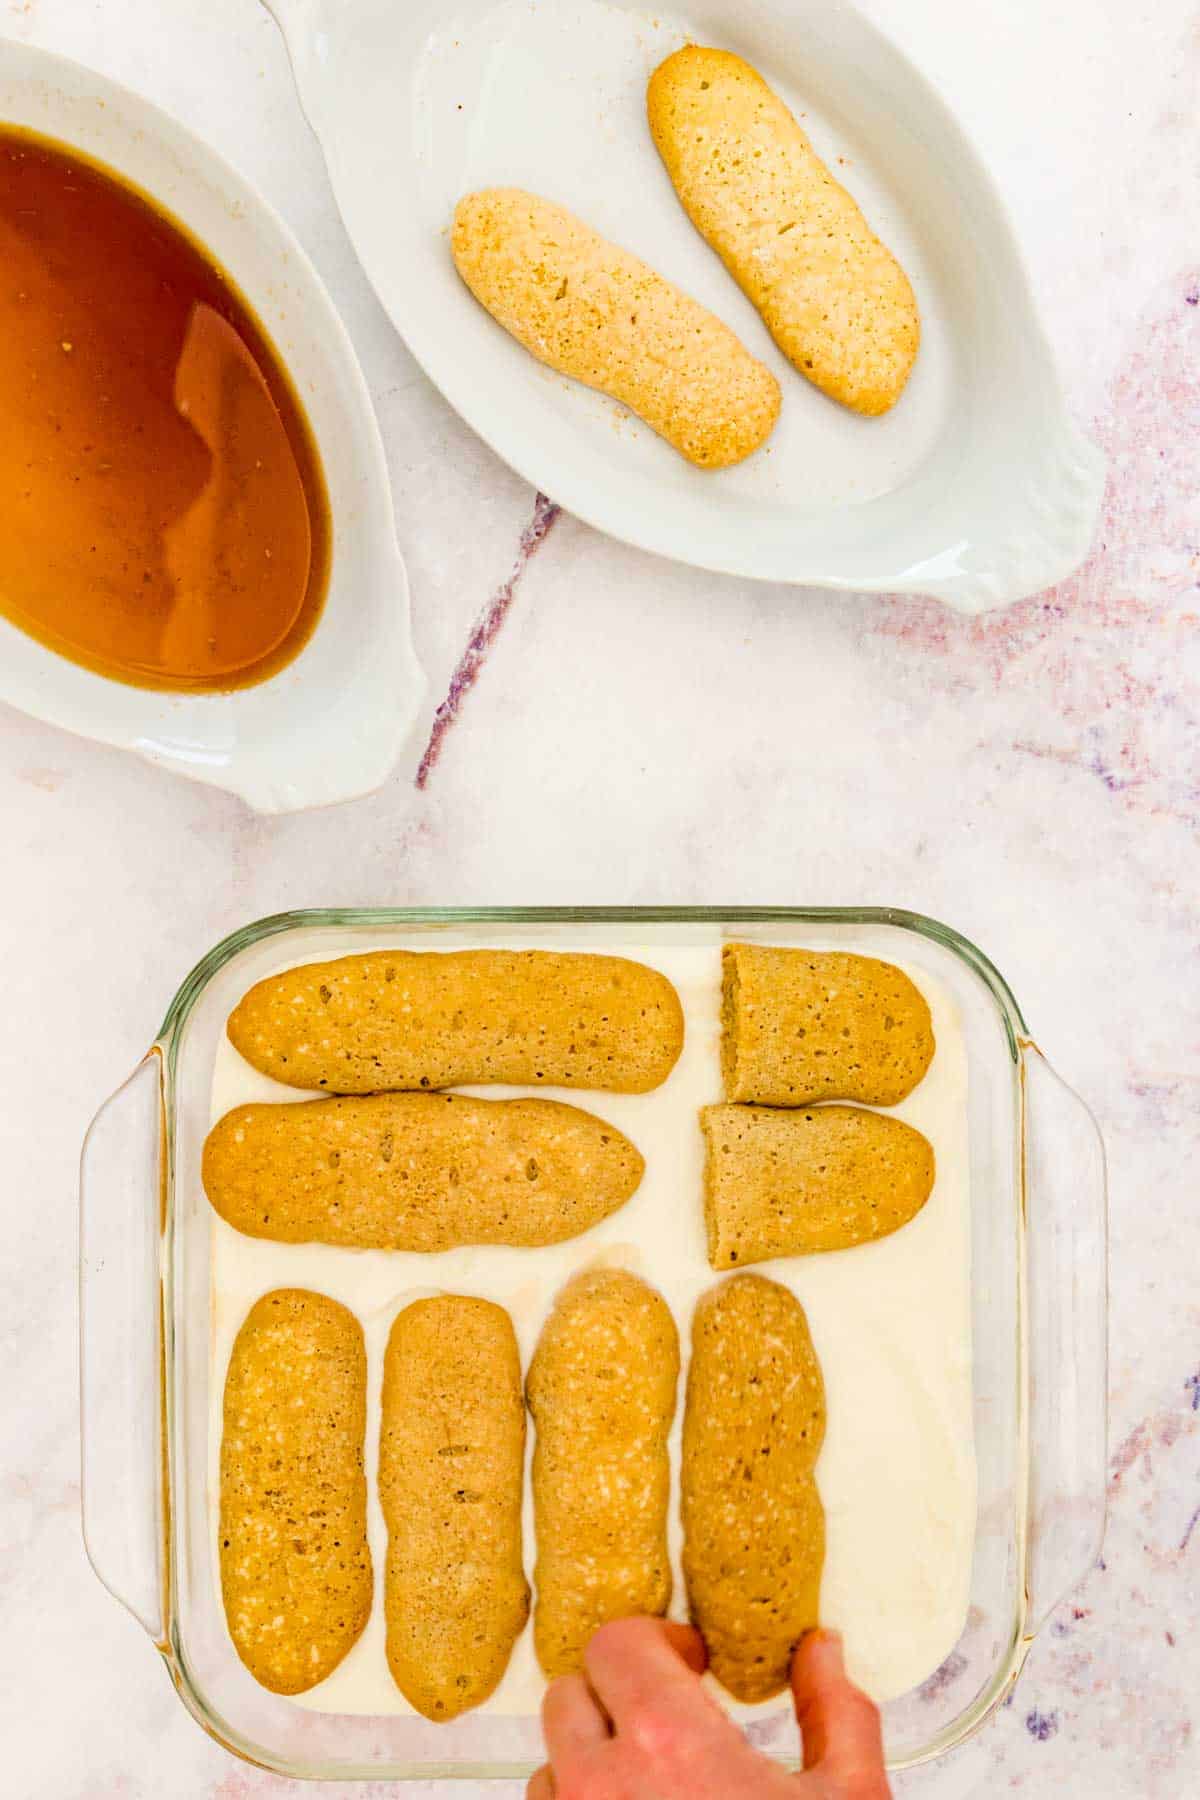
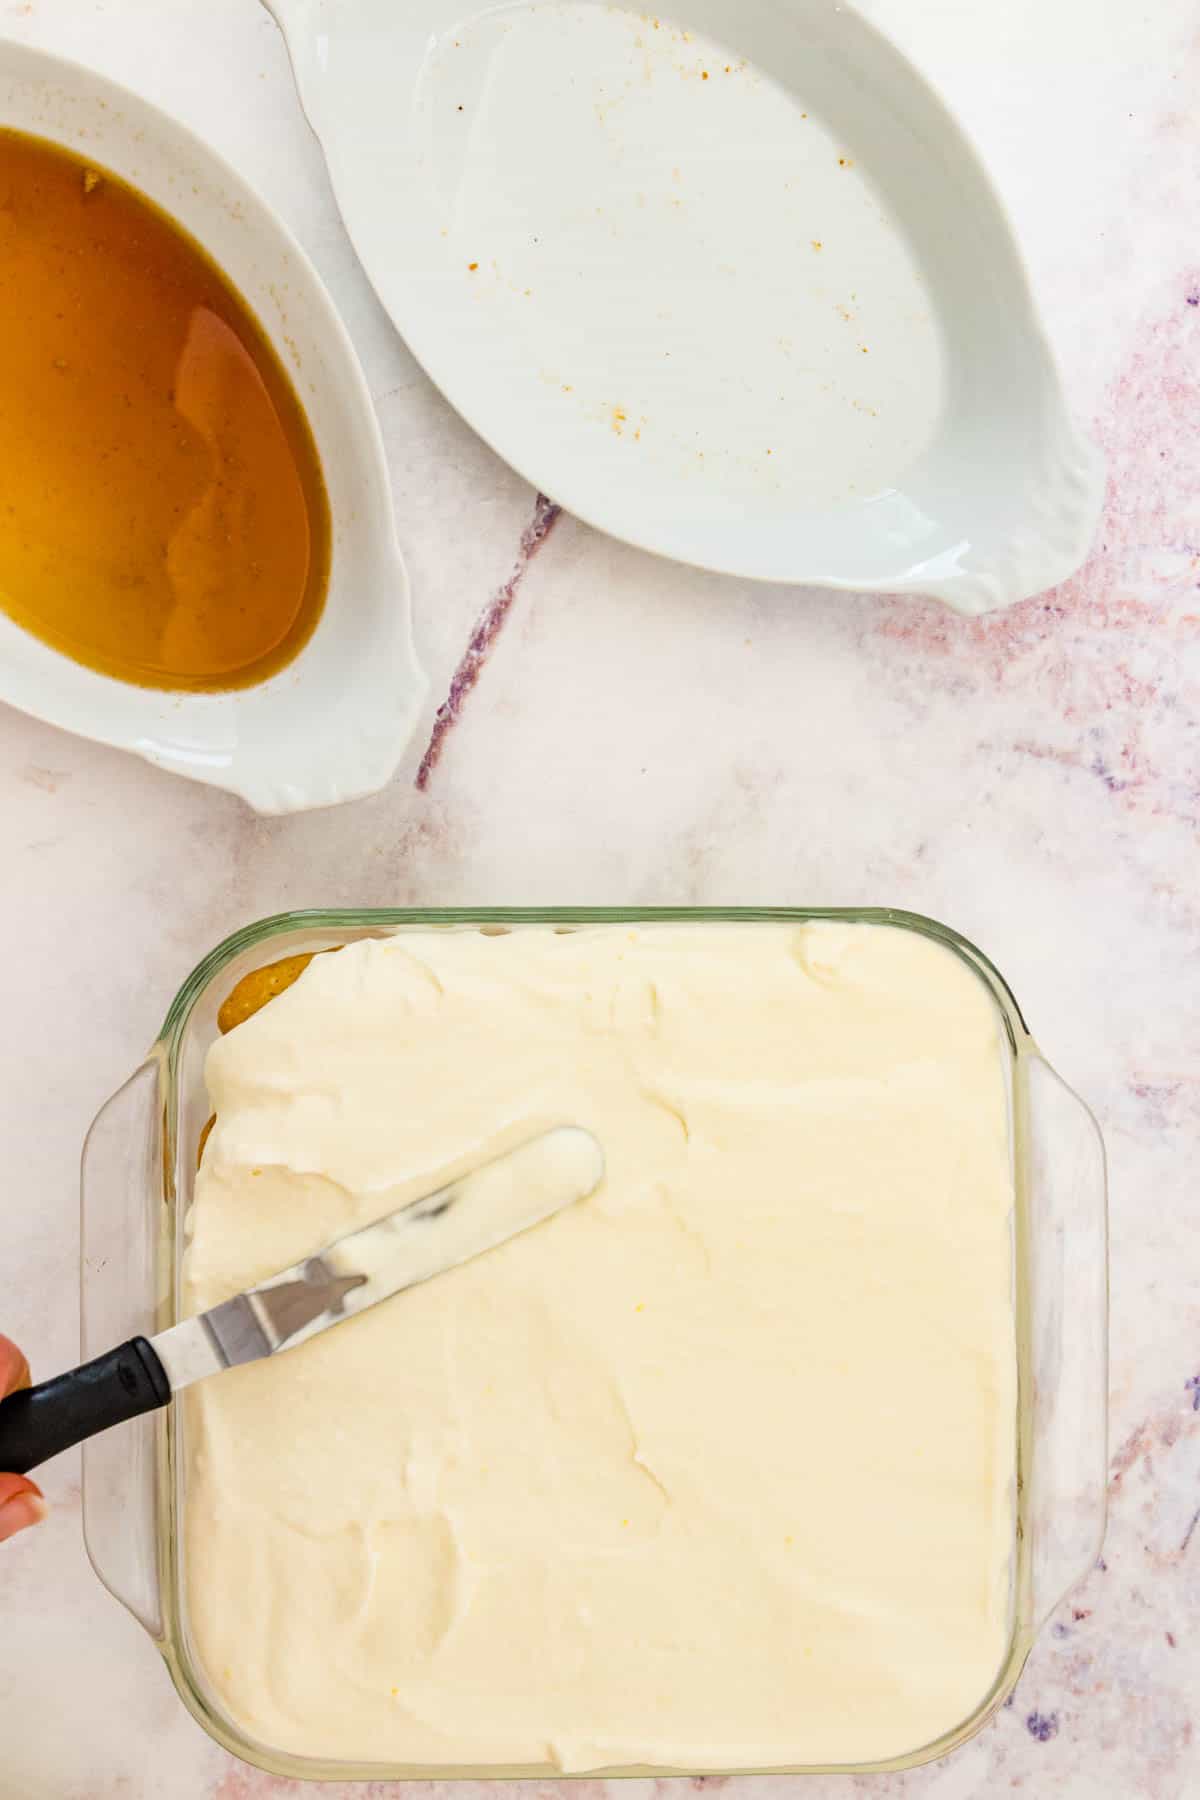
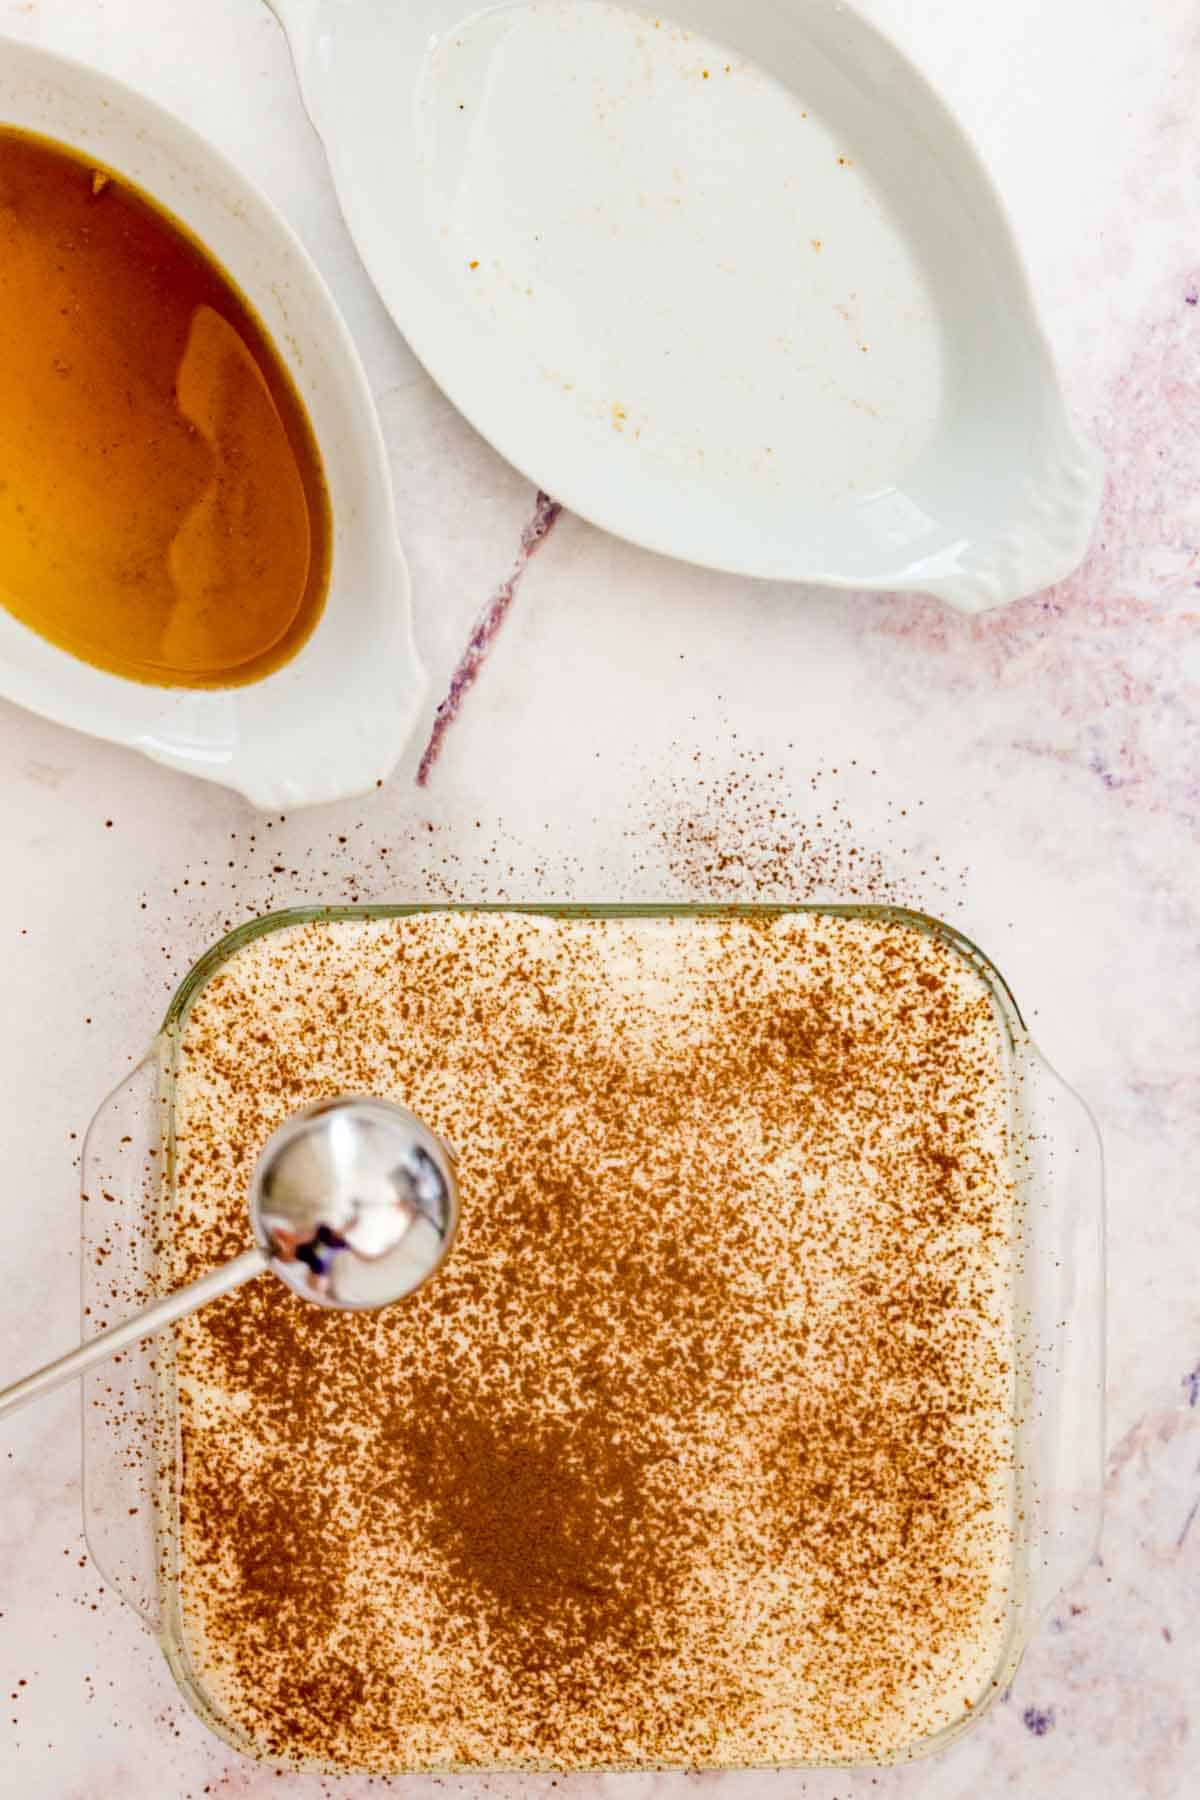
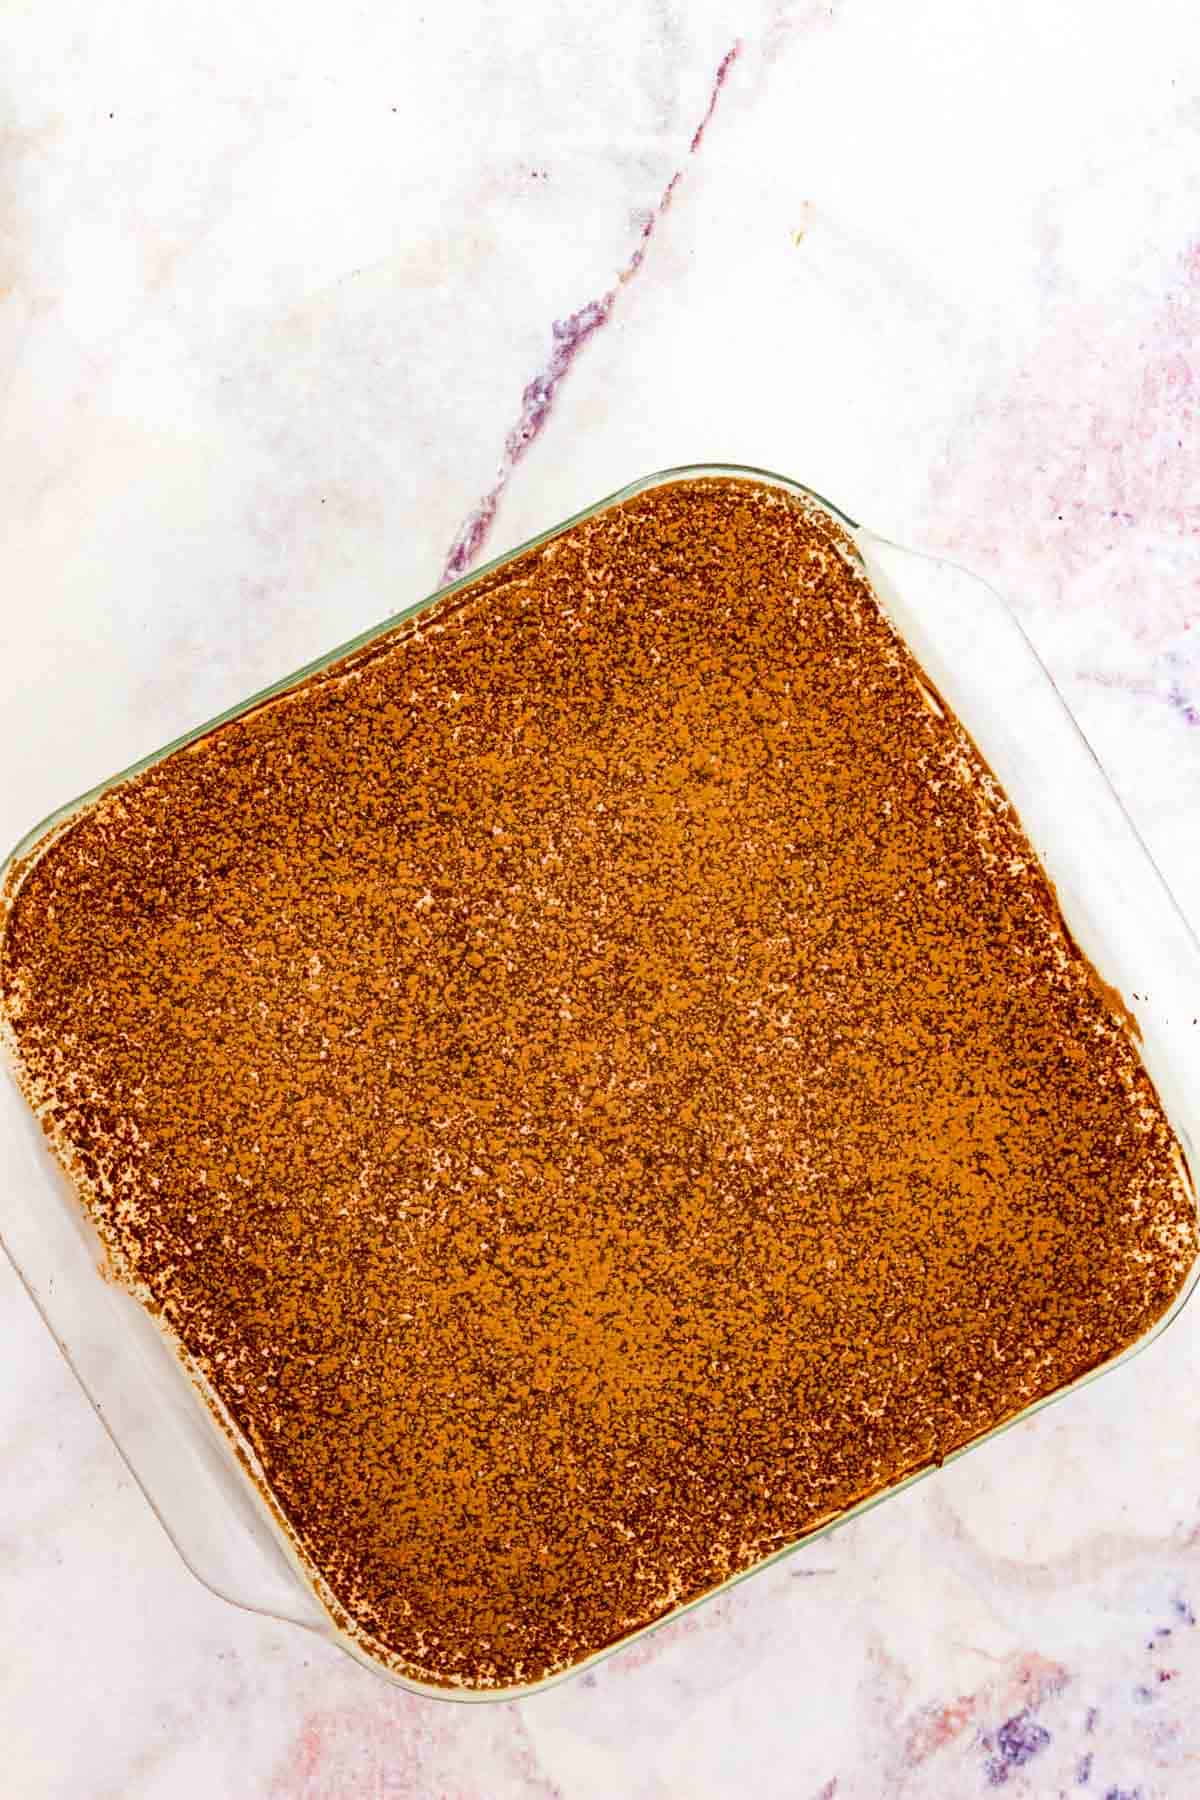
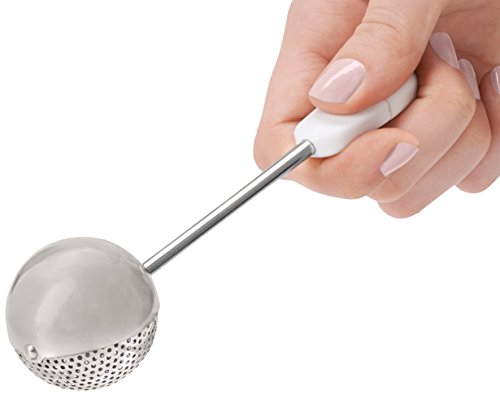
Serve: After about 4 hours, your gluten-free tiramisu is ready to serve! Use a fine mesh sieve to evenly dust the top with cocoa powder, then slice and enjoy.
Tips for the Best Tiramisu
Here are my tips for the perfect homemade tiramisu:
- Use Fresh Eggs: Make sure that the eggs you’re using are the freshest you can find. If an egg doesn’t smell fresh, don’t use it! If you’re unsure, an easy way to test the freshness of your eggs is using the float test. Fill a bowl or jar with cold water, then gently drop in the eggs. If an egg sinks to the bottom, it’s fresh enough to use. If it floats to the top, this means the egg is no longer fresh and you should discard it.
- Are The Eggs in Tiramisu Raw?: The egg yolks in this recipe are warmed in a double boiler to help them thicken. Some tiramisu recipes recommend cooking the egg yolks to 160ºF, however, I’ve found that this can lead to bits of cooked egg in the mix. If this does happen though, don’t worry. Combine the egg yolks with the mascarpone and run this through a sieve before proceeding to fold in the egg whites.
- Dip the Ladyfingers Quickly: Depending on the ladyfingers you’re using, they’ll become soggy quickly when left to soak in the coffee for long. I suggest giving the ladyfingers a quick dip on either side so that the biscuits are softened on the outside but not soaked through completely. This will also prevent the tiramisu from turning out overly watery!
FAQs
A bite of tiramisu is a dreamy combination of rich and fluffy mascarpone, softened coffee-soaked sponge biscuits, and a hint of cocoa. The flavors are sweet and creamy, with a subtle bitterness courtesy of the espresso. In the case of this recipe, you’ll also taste a touch of rum!
In Italian, tiramisu means “pick me up”. Apart from being a “pick me up” after a meal, this is likely because the dessert is made with two ingredients that contain caffeine: espresso, and cocoa.
Yes! For best results, it’s actually crucial that your tiramisu chills in the fridge for at least four to six hours before you serve it. This gives the ladyfingers enough time to soften and the layers a chance to be fully set.
How to Store It
Leftover gluten-free tiramisu will keep in the fridge for up to 3 days. Wrap the dish tightly in plastic wrap, or otherwise store it airtight. You can also freeze any leftovers for longer-term storage, see below.
Can I Freeze Tiramisu?
You can! Once your tiramisu has chilled in the fridge for a minimum of 4 hours as directed, you can wrap it tightly and transfer it to the freezer. Tiramisu will keep fresh when frozen for up to 3 months. Thaw the frozen tiramisu in the fridge and then dust with cocoa powder before serving!
Things You’ll Need
GLASS BAKING DISH: The square Pyrex dish is the perfect size for this tiramisu.
BOWLS: I like to use this set of Pyrex glass bowls because they are good for placing over the simmering water. Metal bowls can get too hot too quickly and cause the eggs to scramble.
OFFSET SPATULA: Perfect for spreading the mascarpone cream into all the edges and corners.
DUSTING WAND: Gives you a nice, even coating of cocoa powder over the top of your tiramisu.
Gluten Free Tiramisu
Ingredients
- 4 large eggs separated
- 1 pint heavy cream
- ⅔ cup granulated sugar
- 8 ounces mascarpone cheese
- 6 tbsp dark rum divided
- 16 gluten free ladyfingers (approximately, try my recipe for homemade ladyfingers)
- 1 cup strong coffee or espresso (or 1 tbsp espresso powder dissolved in 1 cup boiling water), chilled
- 1-2 tbsp cocoa powder
Instructions
- Place a large bowl in the refrigerator or freezer to chill it for whipping the cream.
- Place the egg white in a metal or glass bowl over a pan of simmering water and beat with an electric mixer until the egg whites form soft peaks. Remove the bowl from the heat and set aside.
- Place the egg yolks in another glass or metal bowl and place them over the same pan of simmering water and beat with the electric mixer until the yolks are thick and pale yellow (see note). Remove the bowl from the heat and set aside.
- Pour the cream into the chilled bowl and whip with the hand mixer or a whisk attachment on a hand or stand mixer to form soft peaks. Set the whipped cream aside.
- In a large mixing bowl, beat the sugar, mascarpone, and 2 Tablespoons of the rum until smooth. Gently fold the reserved egg yolks into the mascarpone mixture until only a few yellow streaks remain. Fold in the egg whites, being careful not to deflate them, followed by the whipped cream.
- Pour the coffee or espresso and the remaining 4 Tablespoons of rum into a shallow dish. Briefly dip each ladyfinger into the coffee and flip it to coat both sides, but don't let it soak too long or they will start to fall apart. Arrange in a single layer in the bottom of a 8-inch square glass baking dish. Cut the ladyfingers as needed to fit.
- Top the layer of ladyfingers with half of the mascarpone mixture.
- Repeat with another layer of ladyfingers dipped in the espresso and top with the remaining mascarpone mixture.
- Refrigerate for at least 4 hours. Use a small mesh sieve to dust with cocoa powder before serving. You can dust it before refrigerating, but it will get darker due to absorbing moisture.





Sensational! The DIY GF ladyfingers were straightforward & I prefer them to the wheat ones. I used Masala wine instead of rum. One X recipe made 2 X 22cm springform round pans & I doubled biscuit recipe. Truly the best tiramisu I’ve made. Thku for sharing the recipe.
I am so incredibly thrilled to hear you enjoyed the tiramisu!
I used the new GF Madeleine’s from Trader Joe’s and this recipe. It turned out SOOOO good!
Great idea!