
Peanut Butter Frozen Yogurt Bars



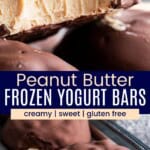
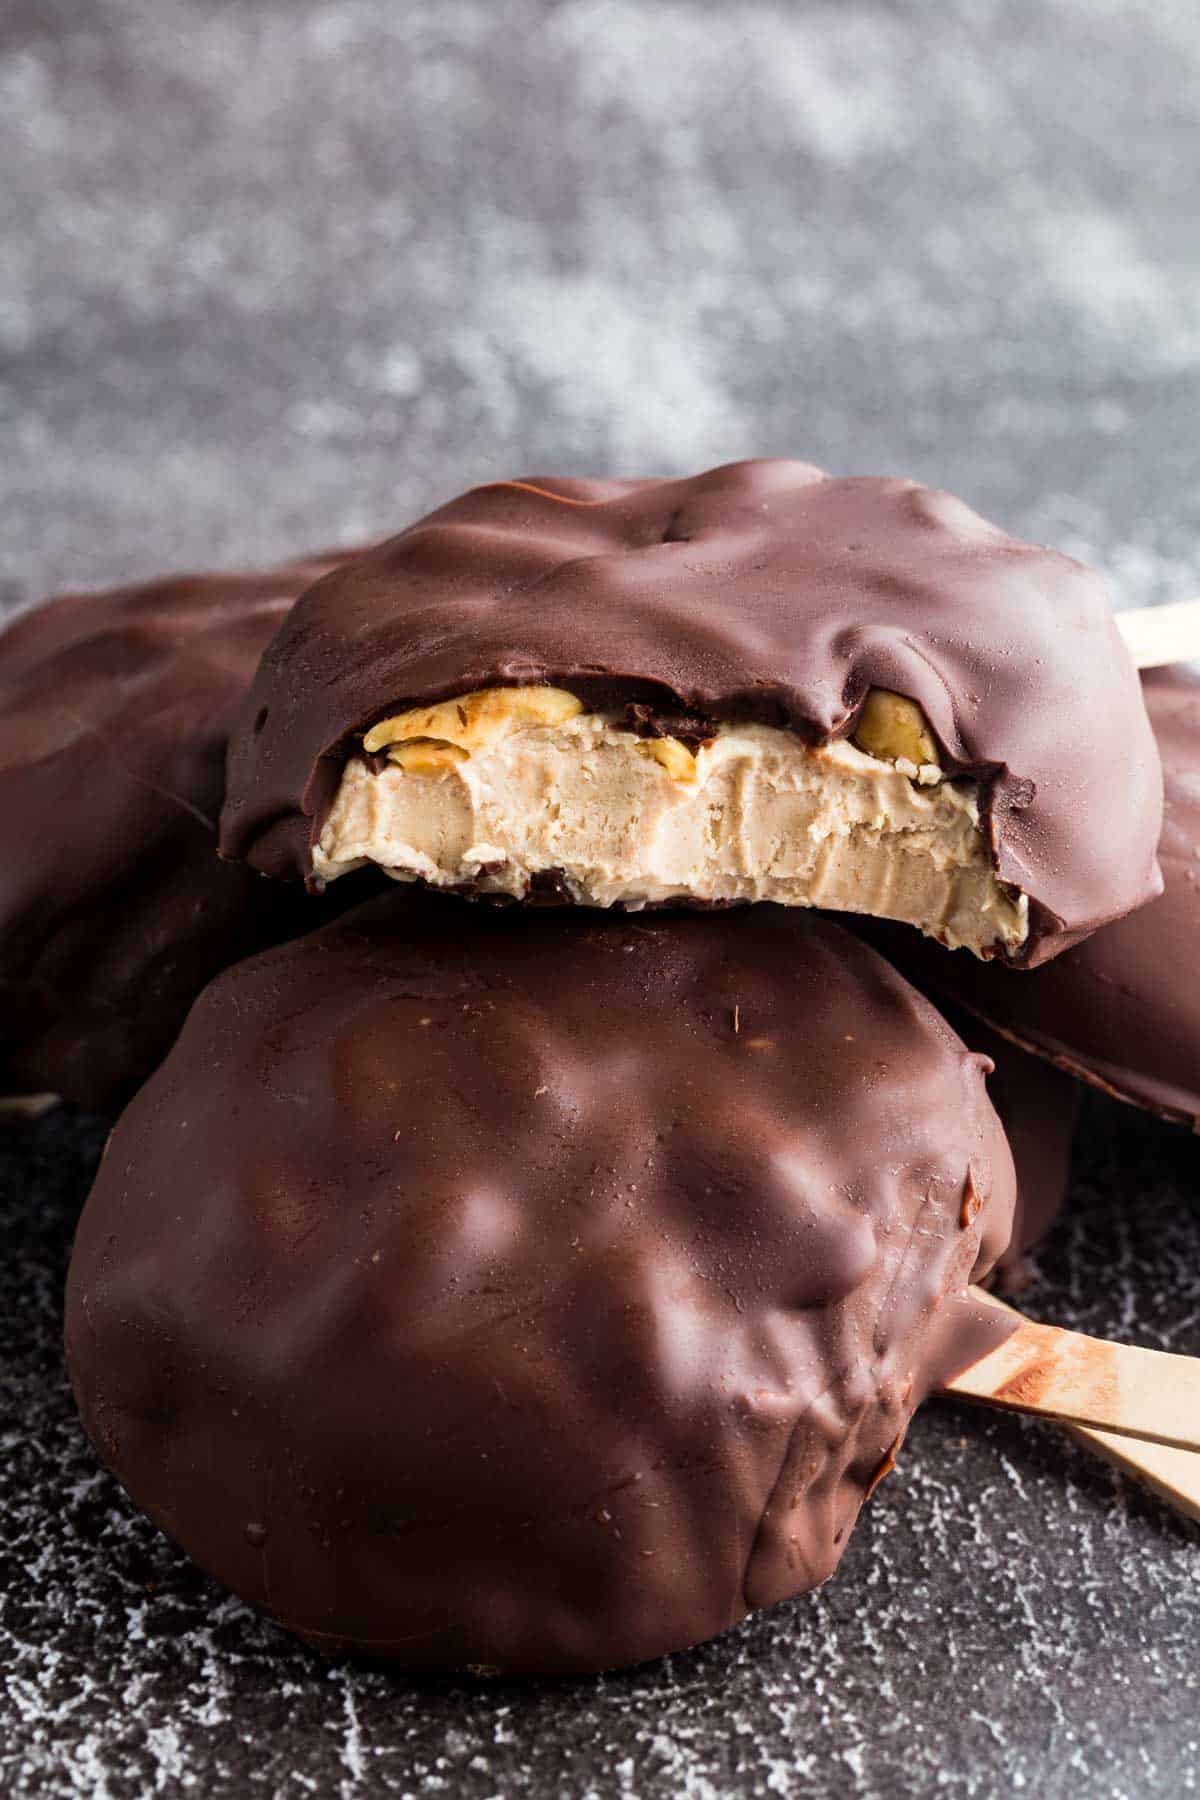
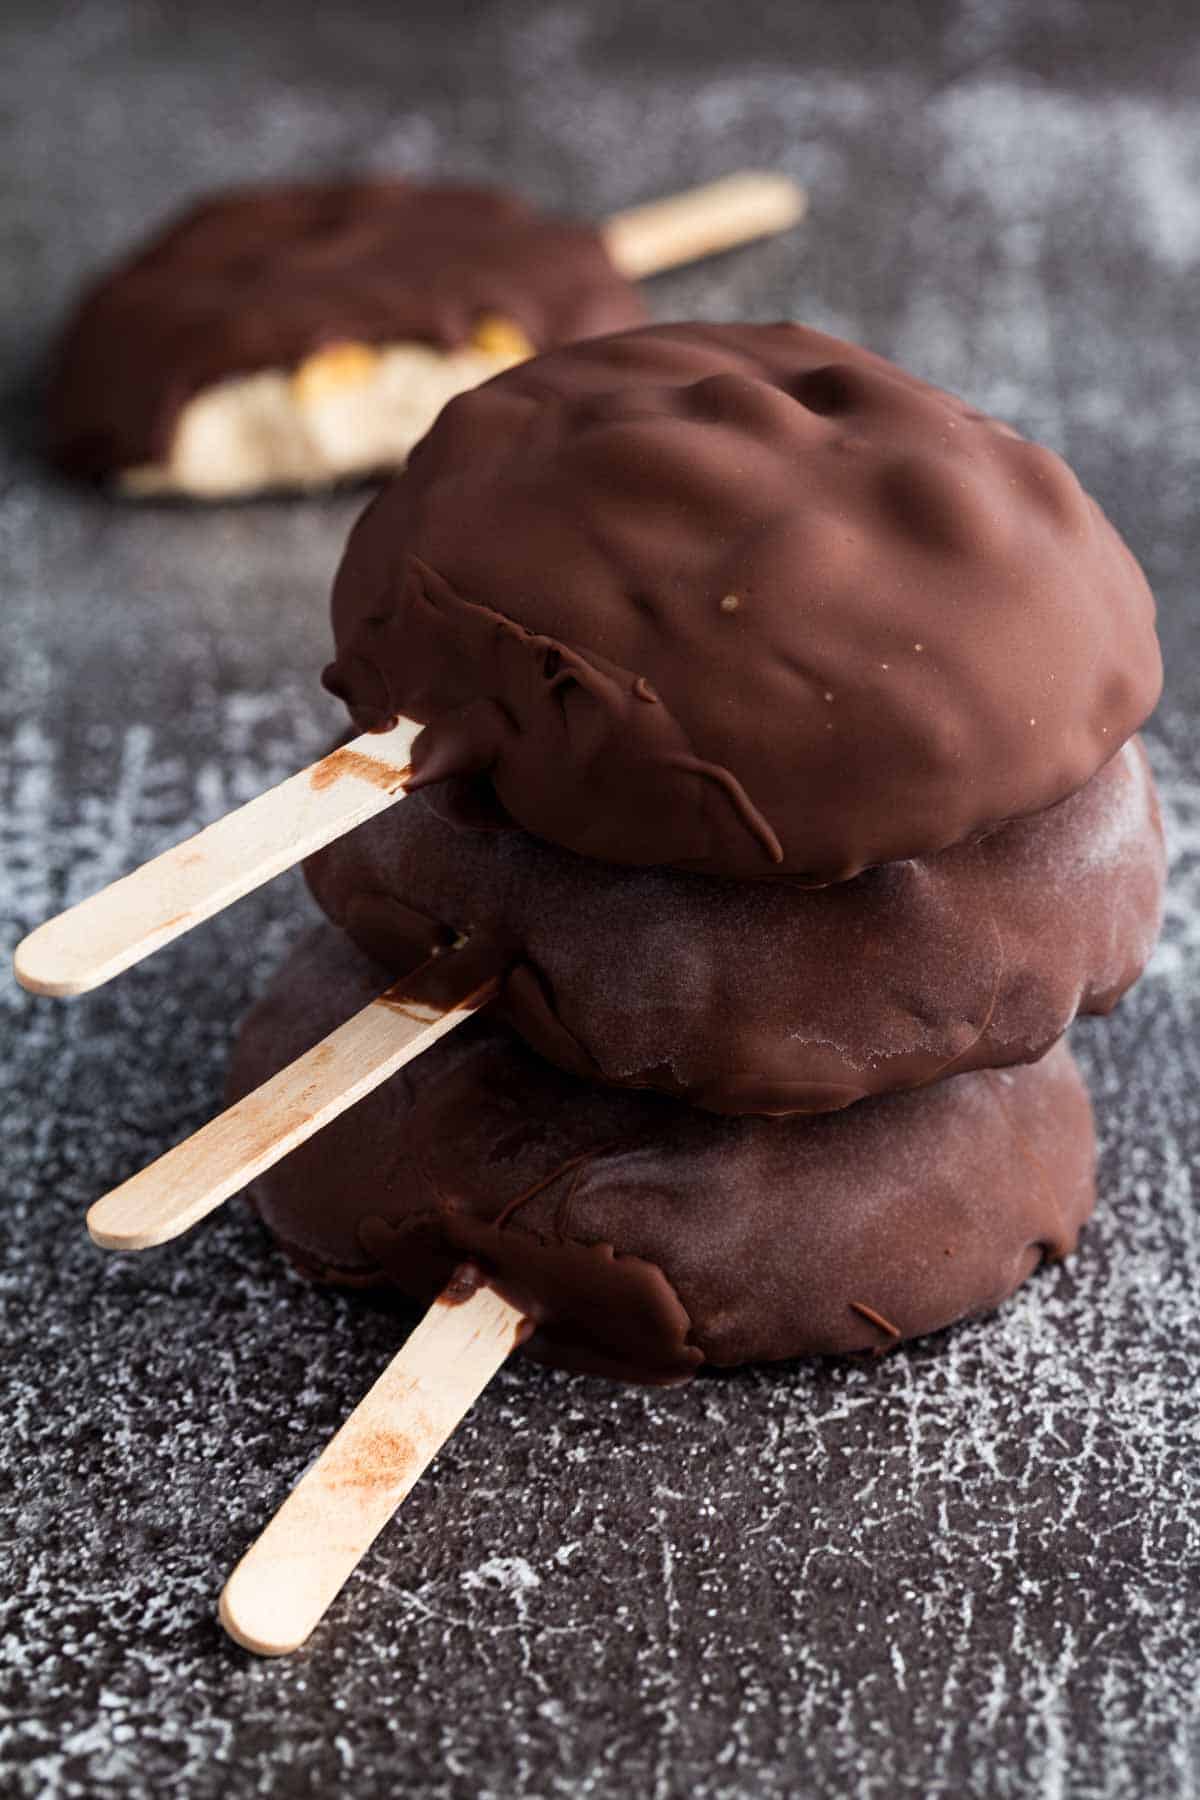
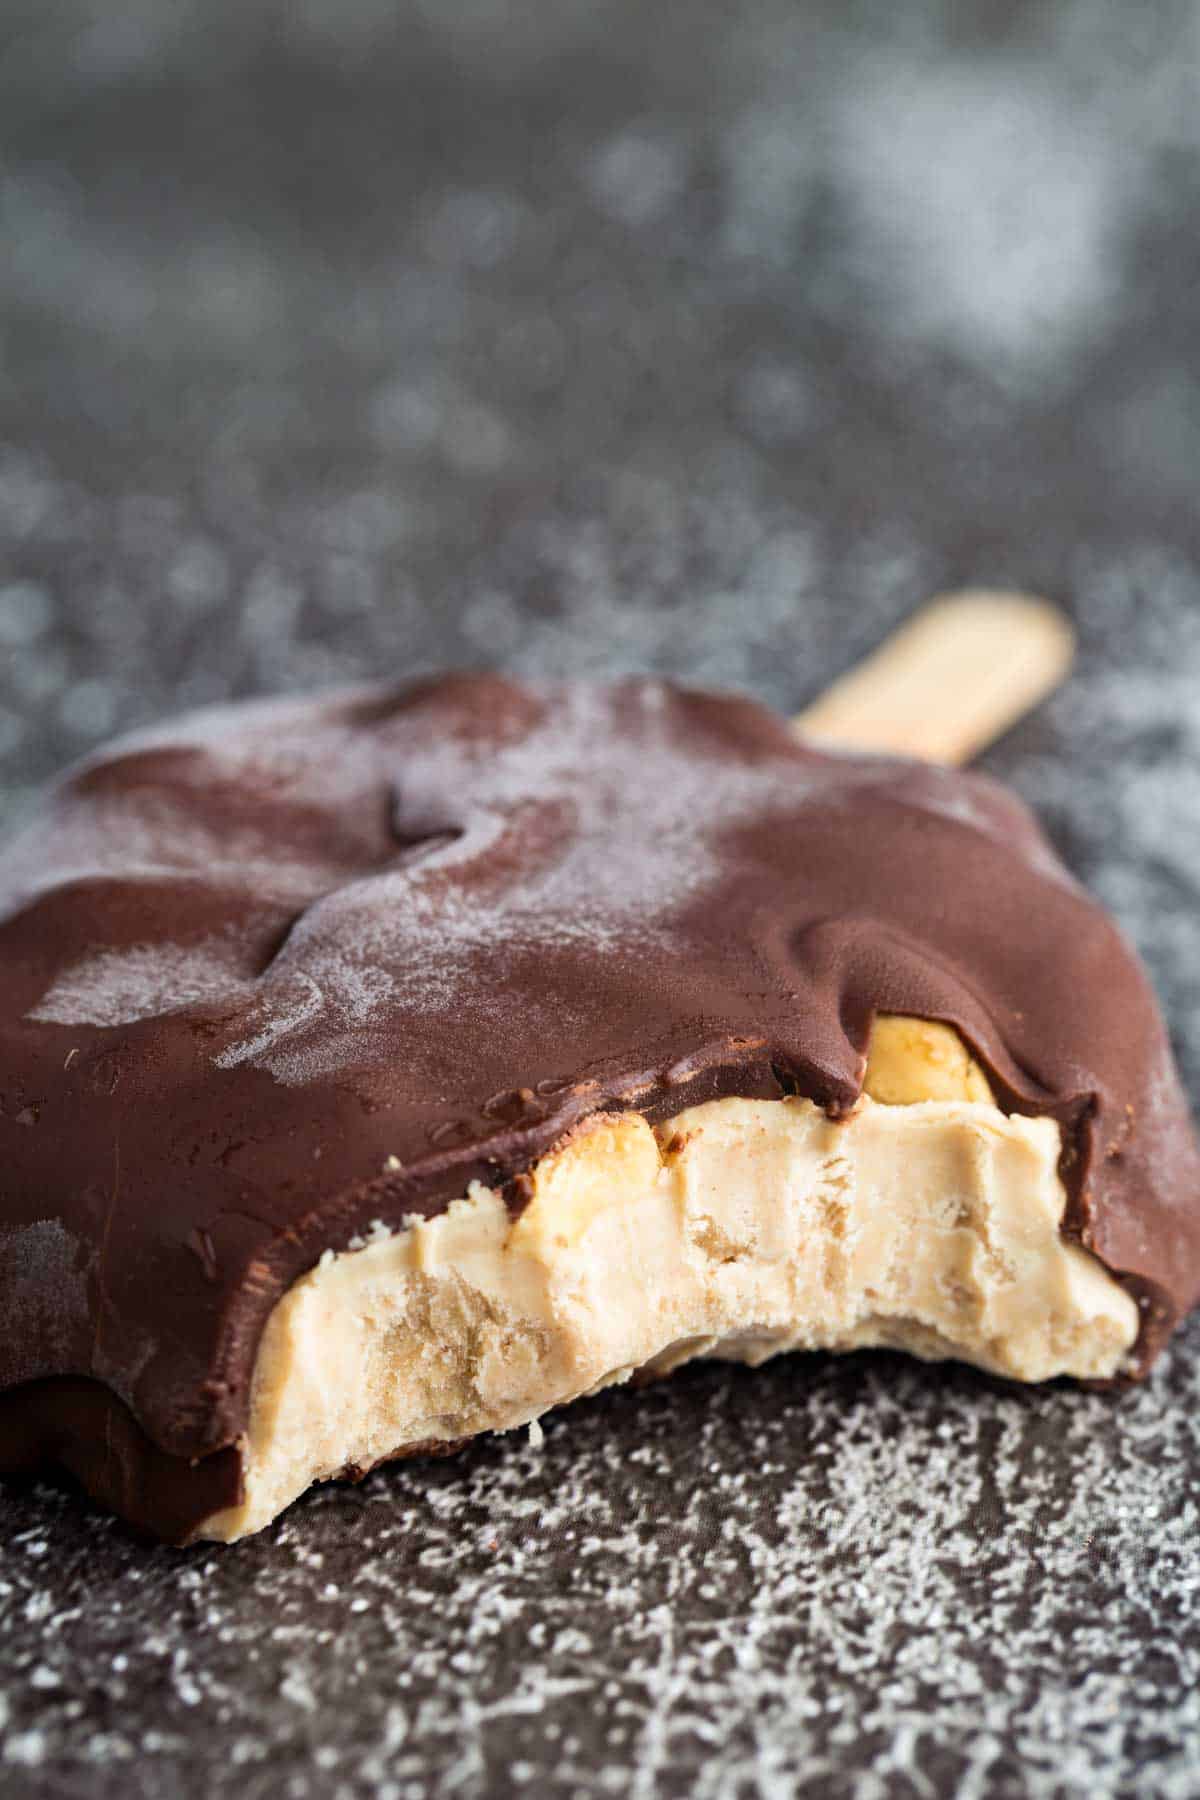
Make these Peanut Butter Frozen Yogurt Bars for a cold and creamy treat! A lightly sweet peanut butter and Greek yogurt filling is topped with crunchy salted peanuts and wrapped in chocolate. An easy gluten free dessert that will remind you of Dairy Queen Dilly Bars, but made with simple ingredients!
Delicious Details
- Cuisine Inspiration: American
- Primary Cooking Method: No-bake
- Dietary Info: Gluten-free
- Skill Level: Easy
I am totally a dessert girl. Specifically, I’m an ice cream girl. So any time I can find a way that lets me indulge my cravings for something cool and creamy on a daily basis, I’m all over it. That’s why I started making these peanut butter bars. I mean, I love my Chocolate Peanut Butter Smoothie, but sometimes I want something that feels a bit more decadent.
These fro yo pops are just as indulgent as a regular ice cream bar, but with ingredients you can feel good about.
Peanut Butter Frozen Yogurt Bars are a Cool and Creamy Treat!
Here’s why you’ll love them…
- Homemade is best! Sure, you could grab a package of ice cream bars at the store but my recipe is so much better!
- Made with Greek yogurt. This adds creamy protein without being too sweet, and all of the ingredients are safely gluten free.
- Peanut butter and chocolate. As you may know, this is one of my favorite pairings (try my homemade dark chocolate peanut butter cups recipe for a candy take on this duo). I love the mix of creamy frozen peanut butter and crisp chocolate in these bars.
- So cold and refreshing. My kids love these bars on a hot summer afternoon, and so do I! You can also easily double the recipe to feed a crowd if needed.
Recipe Ingredients
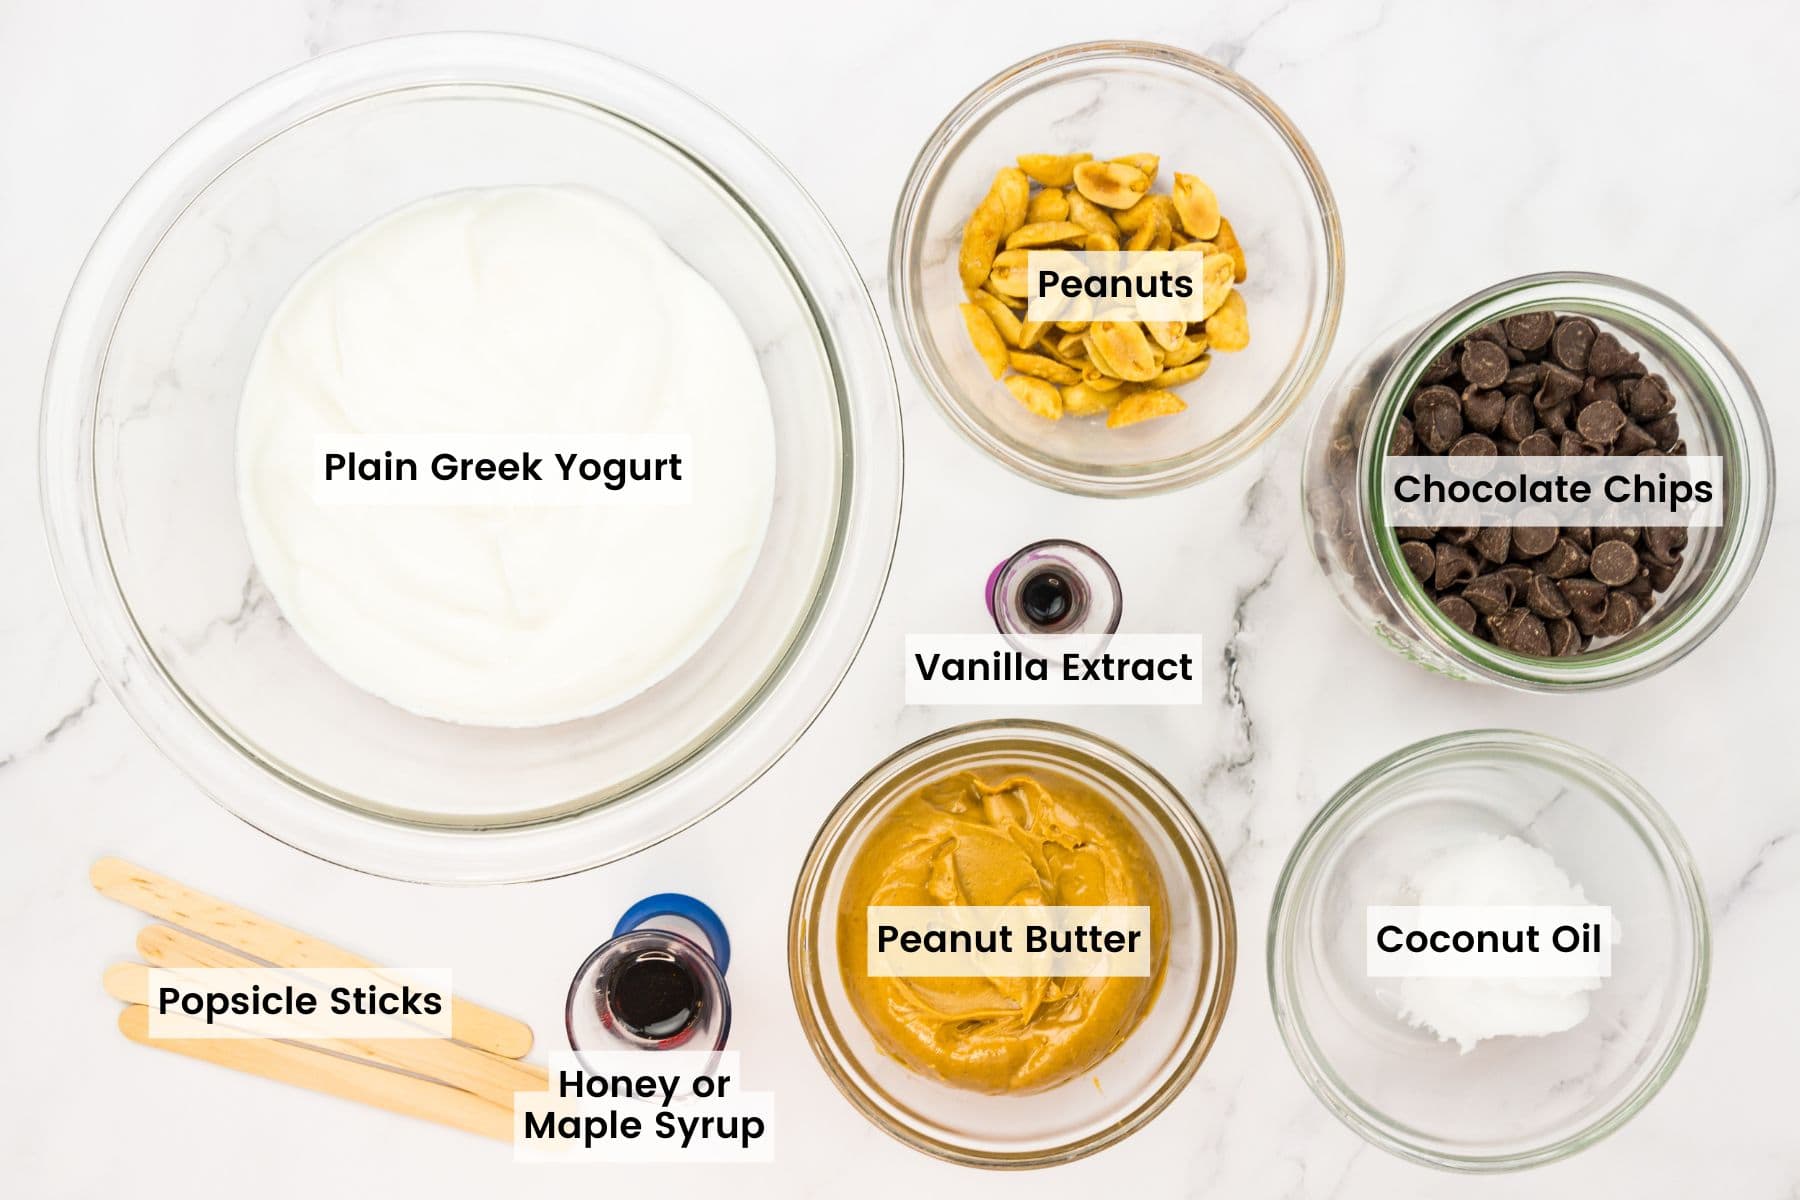
Uncomplicated ingredients form the base of these refreshing Greek yogurt ice cream bars. Don’t forget to check the recipe card at the end of this post for the full ingredient amounts.
- Greek Yogurt: I recommend using a plain variety of low-fat or whole-fat Greek yogurt so that it doesn’t compete with the other flavors in the bars. Nonfat will work, but won’t have as rich odf a flavor and consistency. You can also try vanilla Greek yogurt and omit the maple syrup and vanilla extract.
- Peanut Butter: Creamy peanut butter is best so that it seamlessly blends into the bars. You can even try my homemade peanut butter!
- Maple Syrup: You can use maple syrup or honey interchangeably for a touch of natural sweetness.
- Vanilla Extract
- Peanuts: Add roasted and salted peanuts for extra flavor and crunch.
- Chocolate: I love semisweet chocolate in these frozen treats, but you can certainly use any type of chocolate you prefer, such as milk chocolate or even white chocolate.
- Coconut Oil: Either refined or unrefined coconut oil is fine to use, just note that if you use unrefined coconut oil, it may have more of a coconut flavor. This ingredient is essential to form a chocolate shell that solidifies instantly, so the chocolate doesn’t run off, but also isn’t too hard to bite into.
🍴 In the Cupcakes & Kale Chips Kitchen…
- For this recipe, you’ll need popsicle sticks and wax paper or a silicone baking mat. I also like to use a cupcake scoop to form the Greek yogur bars.
How To Make Peanut Butter Frozen Yogurt Bars
Below, you can take a look at how to make these frozen yogurt bars. Find the detailed instructions in the recipe card lower down.
- Mix. Combine the Greek yogurt, peanut butter, maple syrup or honey, and vanilla extract.
- Stir. Mix together the ingredients until smooth.
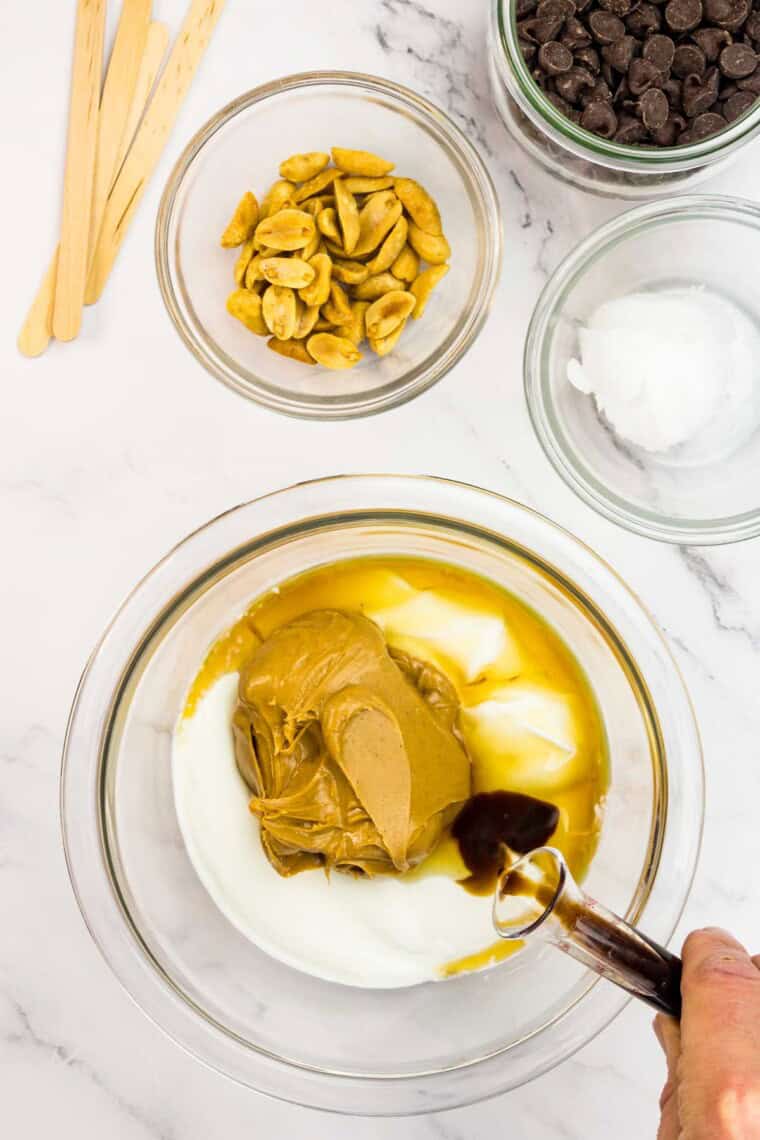
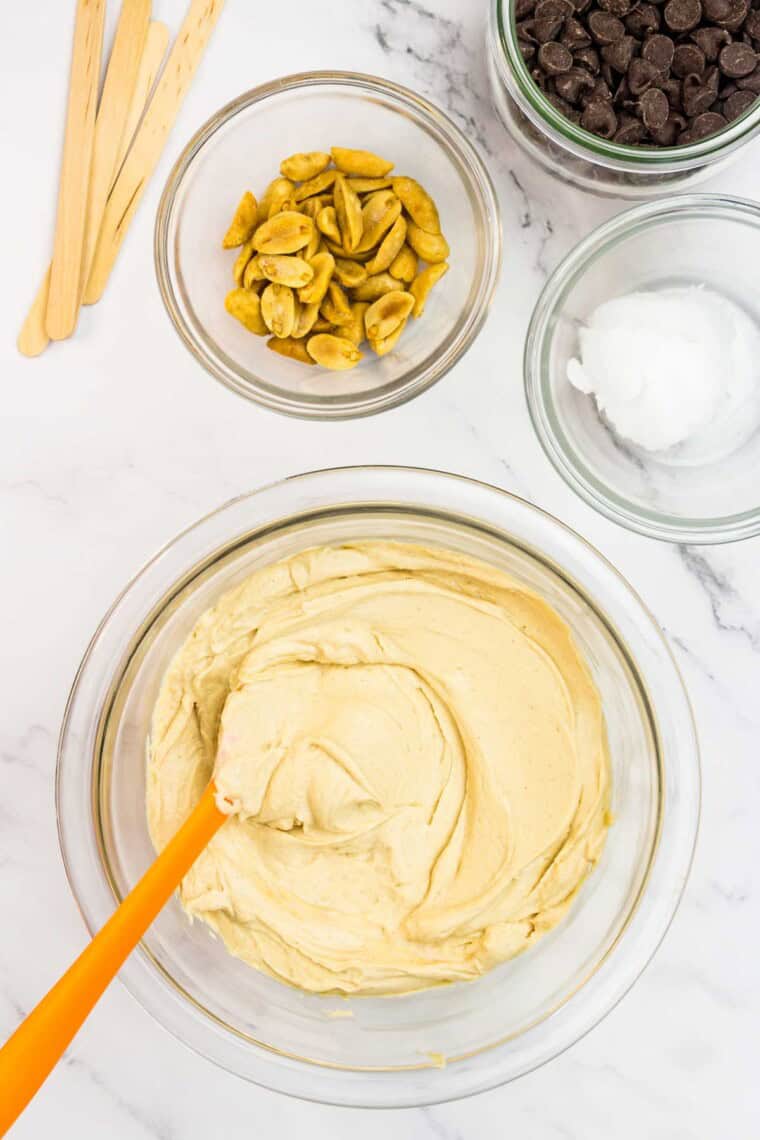
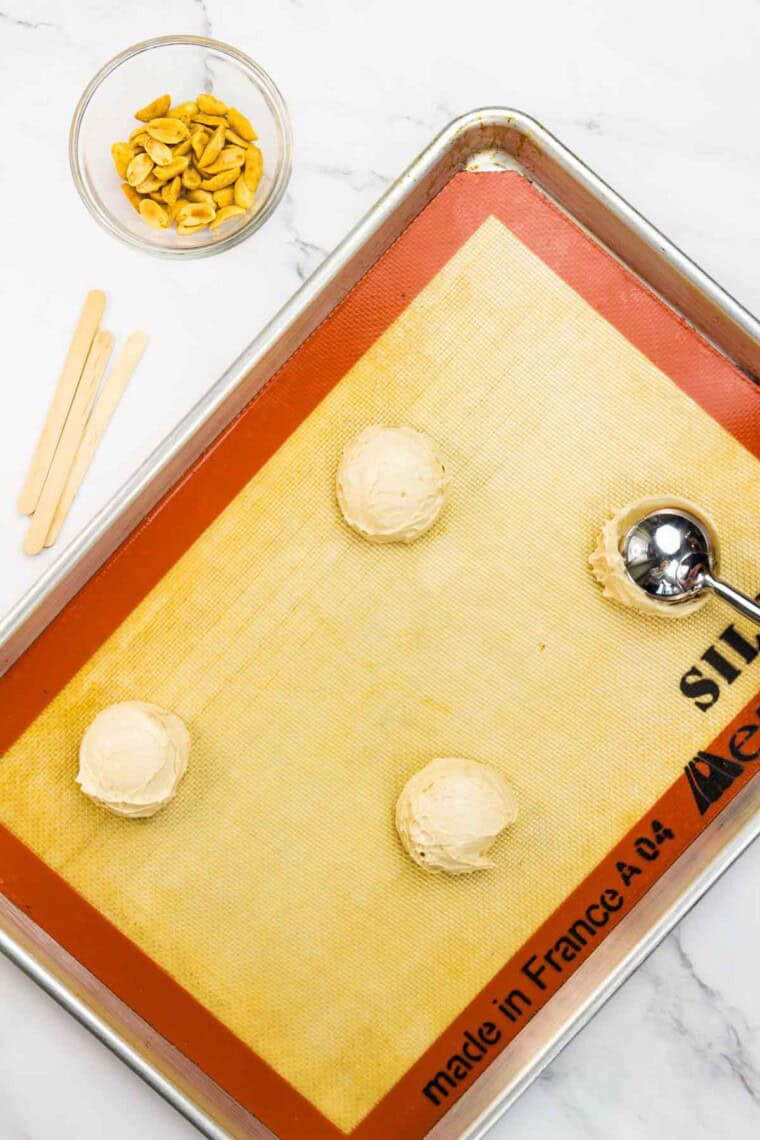
- Place on a baking sheet. Line a baking sheet with a baking mat and add 4-6 mounds.
- Add a popsicle stick. Press a popsicle stick onto each mound.
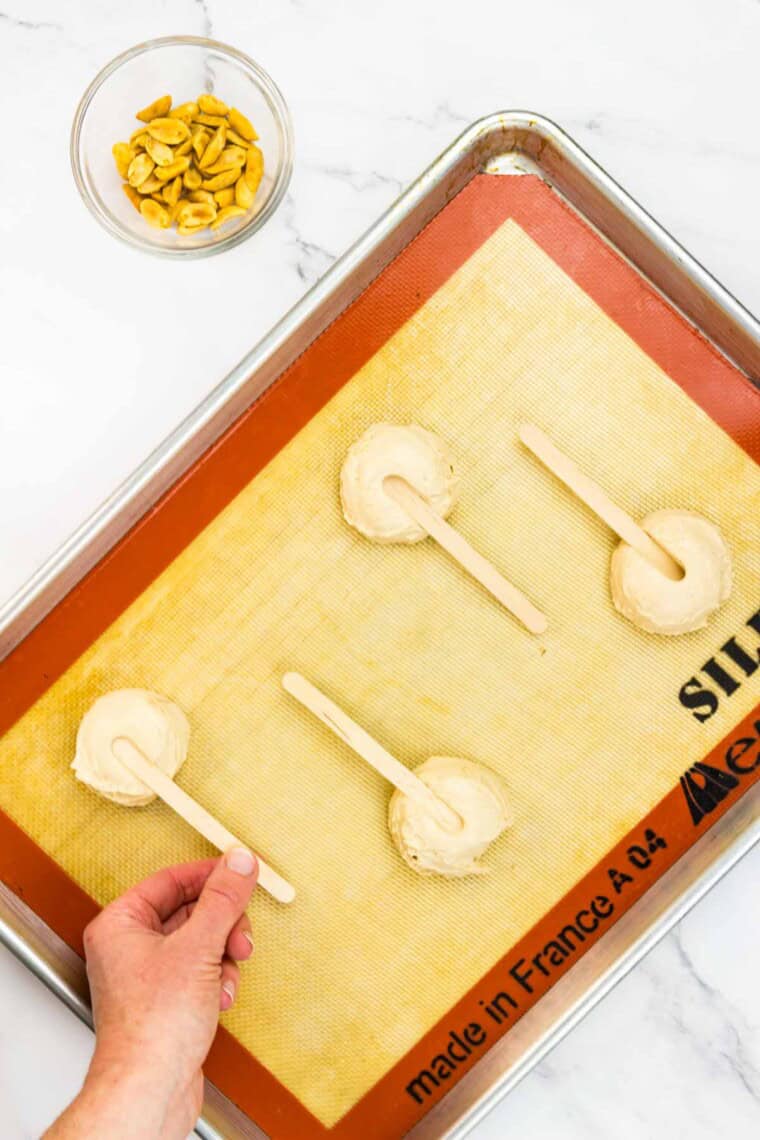
- Finish. Top the mounds with the remaining yogurt mixture.
- Press. Slightly flatten the mounds.
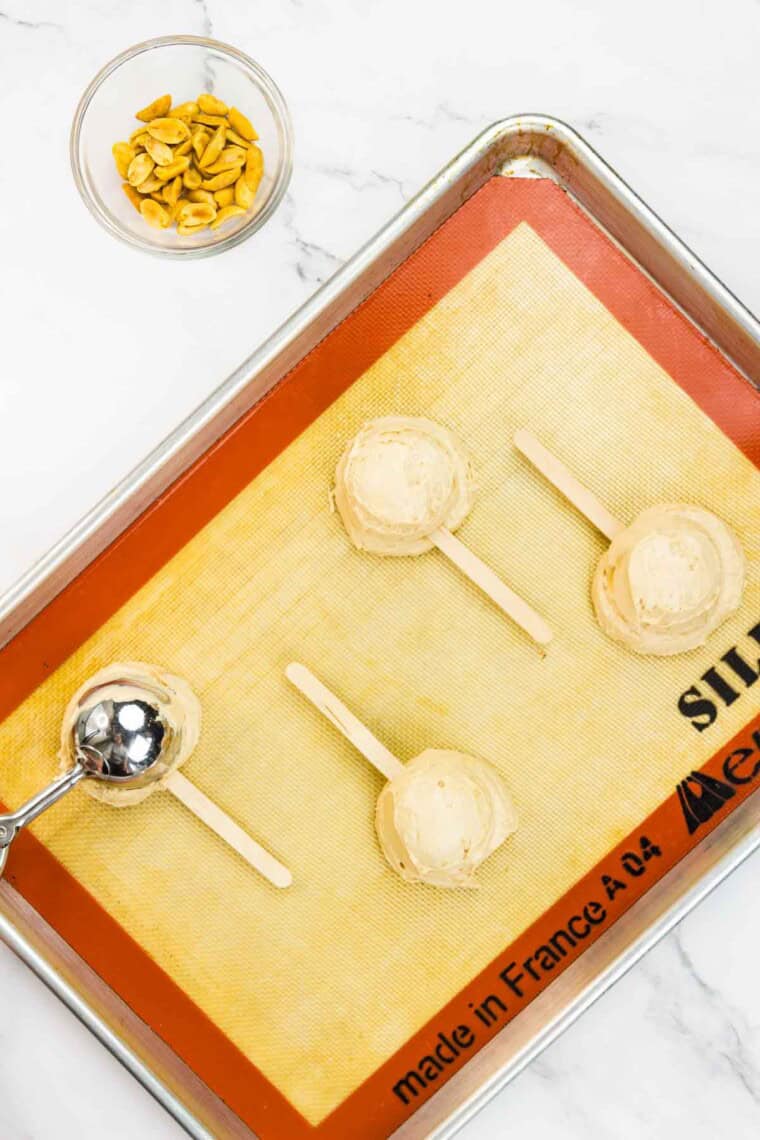
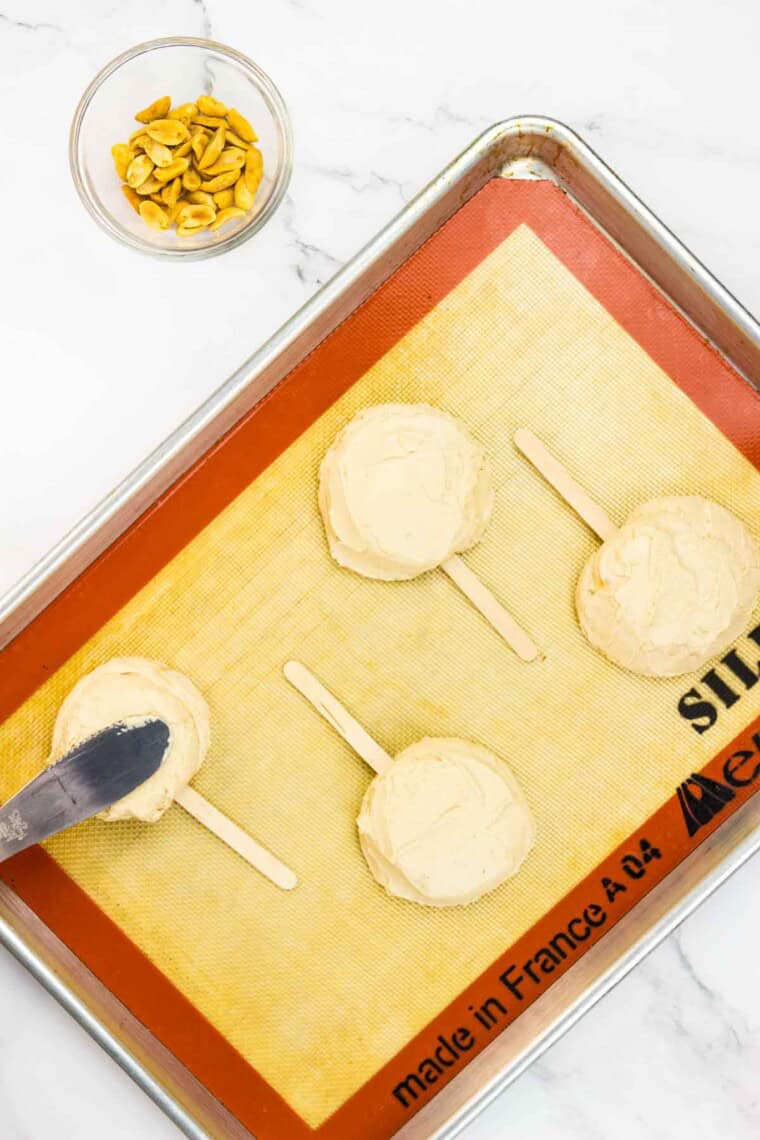
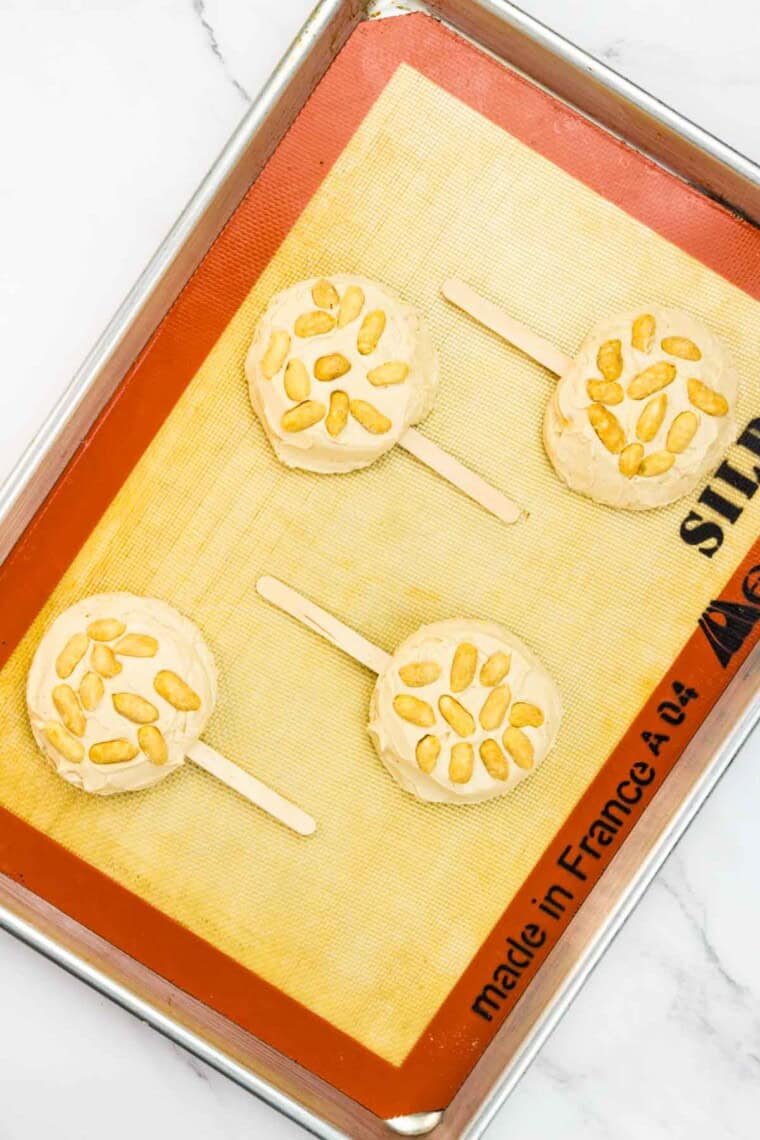
- Add peanuts. Scatter the peanuts evenly on the yogurt, then freeze for 2 hours.
- Melt chocolate. Combine the chocolate and coconut oil and melt it in the microwave.
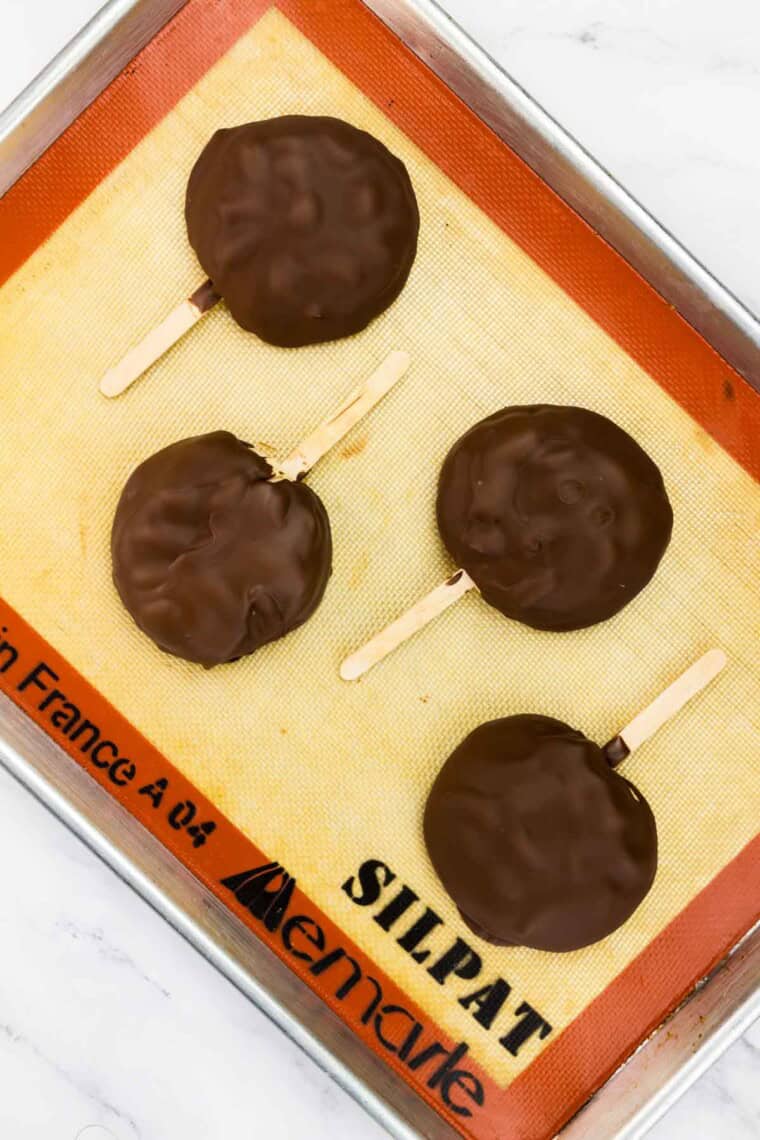
- Add the chocolate. Remove the frozen pops and dip each one into the chocolate. Eat immediately or return to the freezer.
Tips for Success
While this is a super-easy recipe, a few quick reminders will ensure the best results:
- Use whole milk yogurt. For the ultimate in rich and creamy peanut butter frozen yogurt bars, use whole-fat Greek yogurt. If needed, low-fat may be used but I would avoid non-fat yogurt because the bars need enough fat so that they don’t turn icy when frozen.
- Taste for sweetness. I have not included a ton of added sweetener in this recipe, and you may find you wish for these bars to be a bit sweeter. When you’re done mixing the ingredients, taste, and if it doesn’t taste sweet enough, add a little more maple syrup or honey.
- Add chocolate chips. For even more chocolate goodness, stir 2 tablespoons of mini chocolate chips into the yogurt mixture.
- Try almond butter. To make these into almond butter frozen yogurt bars, simply swap creamy almond butter for the creamy peanut butter. Add crushed almonds instead of peanuts if you wish.
- Don’t skip the coconut oil. This is an essential ingredient to form that chocolate shell. When you melt chocolate and coconut oil together and then dip something cold, it forms a shell almost immediately, so it won’t run off of the yogurt bars, but it’s also not so hard that you can’t bite into it.
Proper Storage
Place the frozen peanut butter frozen yogurt bars in an airtight, freezer-safe container or sealable and store them in the freezer for up to 3 months. You can also wrap each bar separately in plastic wrap before placing them in the container.
More Peanut Butter Recipes To Try
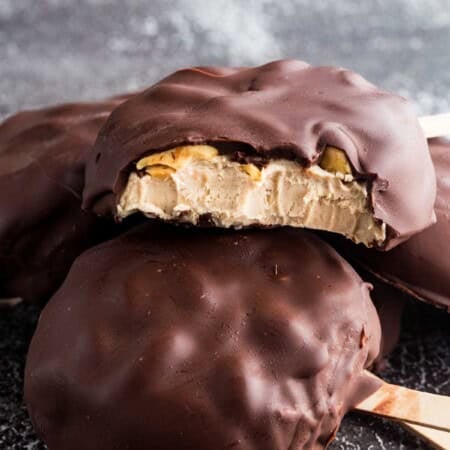
Chocolate Peanut Butter Frozen Greek Yogurt Bars
Equipment
- Popsicle sticks
- Wax paper or silicone baking mat
Ingredients
- 1 cup plain Greek yogurt
- ½ cup creamy peanut butter
- 1 tablespoon maple syrup or honey
- 1 teaspoon vanilla extract
- 2 tablespoons roasted and salted peanuts (optional)
- 1 cup chocolate chips or chopped chocolate (6 oz.)
- 2 tablespoons coconut oil
Instructions
- Line a baking sheet with wax paper or a silicone baking mat.
- In a small bowl, combine 1 cup plain Greek yogurt, ½ cup creamy peanut butter, 1 tablespoon maple syrup or honey, and 1 teaspoon vanilla extract, and stir until smooth.
- Use a cupcake or ice cream scoop and use about half of the yogurt mixture to dollop 4-6 mounds on the lined pan. Press a popsicle stick onto each mound, then use the scoop to top the mounds with the remaining yogurt mixture. Use a small offset spatula to slightly flatten the mounds.
- Scatter 2 tablespoons roasted and salted peanuts evenly on each of the mounds. Place the pan in the freezer for at least 2 hours, or until frozen solid.
- Once the yogurt mixture is frozen, add 1 cup chocolate chips or chopped chocolate and 2 tablespoons coconut oil to a microwave-safe bowl. Microwave at 50% power for 30 seconds, stir, then continue to microwave for 15-20 second intervals until melted.
- Remove the pan from the freezer and dip each pop into the melted chocolate. Place the pops back on the sheet pan and enjoy immediately or return to the freezer. Let thaw for 5-10 minutes after removing from the freezer or they will be hard to bite into.
Notes

Did you make this?
Leave a star rating to help others know that they should make this recipe.
Share a photo and tag @cupcakesandkalechips on Instagram!
I just made them for the second time. I make a keto nut mix so added some of that to the chocolate before dipping. Great!
,
That sounds so good!
These were really yummy! I made sure to share with my gf friends. I will say that they are very rich and I think next time I will make them smaller.
Love love love!! I’ve already made them twice this week!
Excellent! Is the nutrition information for 4 or 6 popsicles?
It’s based on 6 popsicles.
Is it possible to use cookie butter instead of peanut butter?
I think that would work, though you may need less maple syrup, so I would taste the mixture first.
The best version I’ve made so far!! Really great recipe:)
So happy you love them!
Heavenly delicious and so easy to make! I love this recipe.
I love that these are frozen and healthy. I can’t wait to make them. Thanks for sharing on Thursdays Treasures. These will be a feature.
Thanks so much Christie!!
I love Chex! And chocolate and peanut butter together. I totally have to try these! Thanks for awesome recipe.
Chex are surprisingly versatile. Enjoy!
Definitely pinning this one. Delish!
Thanks! It was quite tasty!!
GET IN MY BELLYYYY!!!
The saddest thing was that I couldn’t take any leftovers. Only a few bites made it into my belly.