This post may contain affiliate links. Read my disclosure policy.
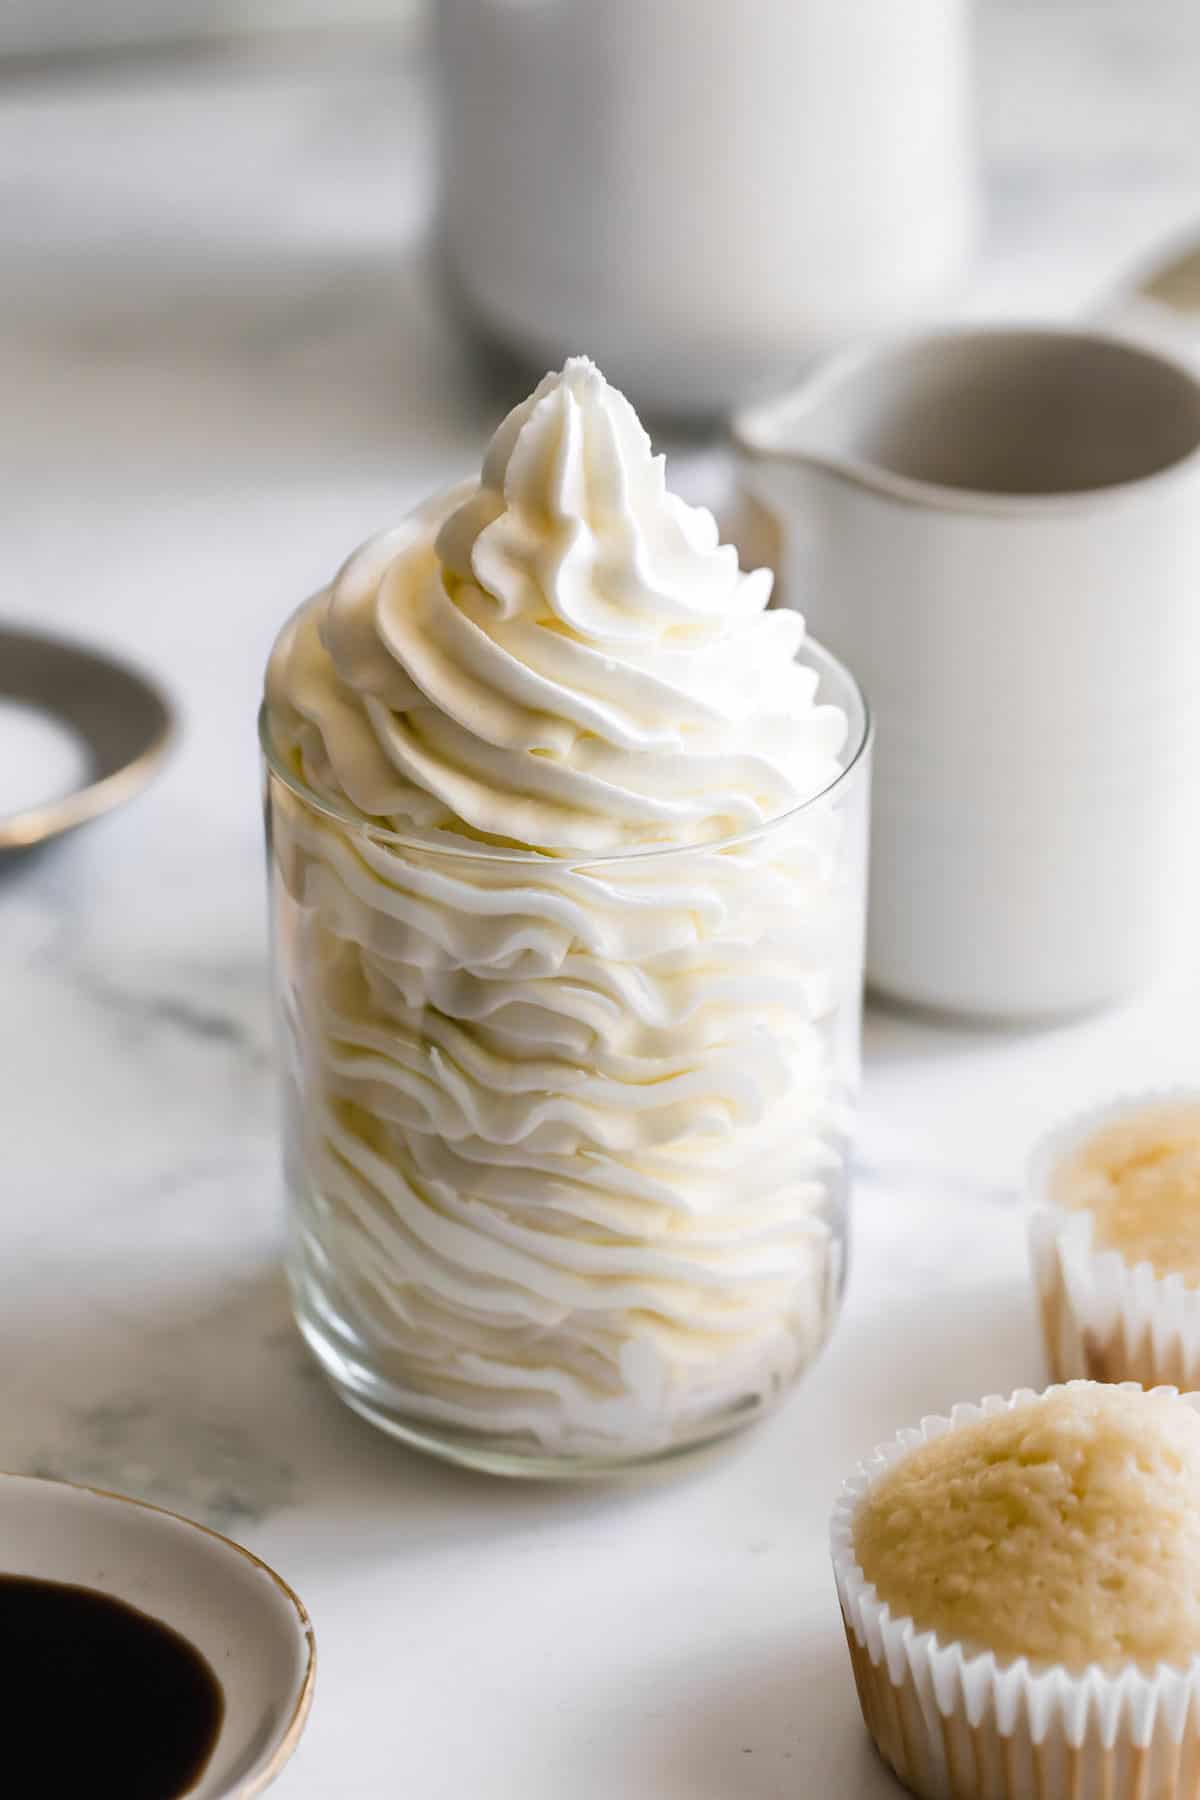
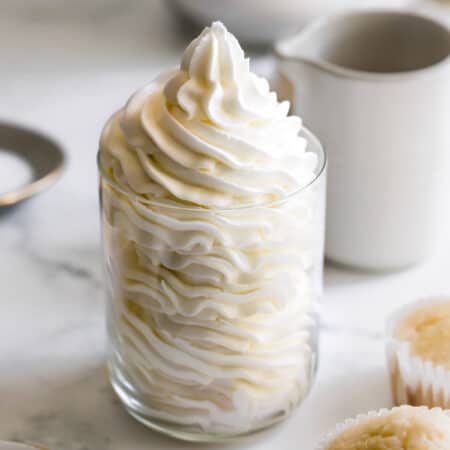
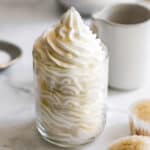
Light, fluffy, and oh-so-sweet, this wonderful Vanilla Frosting is just dreamy! You’ll love how easy it is to make, and how its delicate vanilla flavor enhances cakes, cupcakes, and just about any dessert.
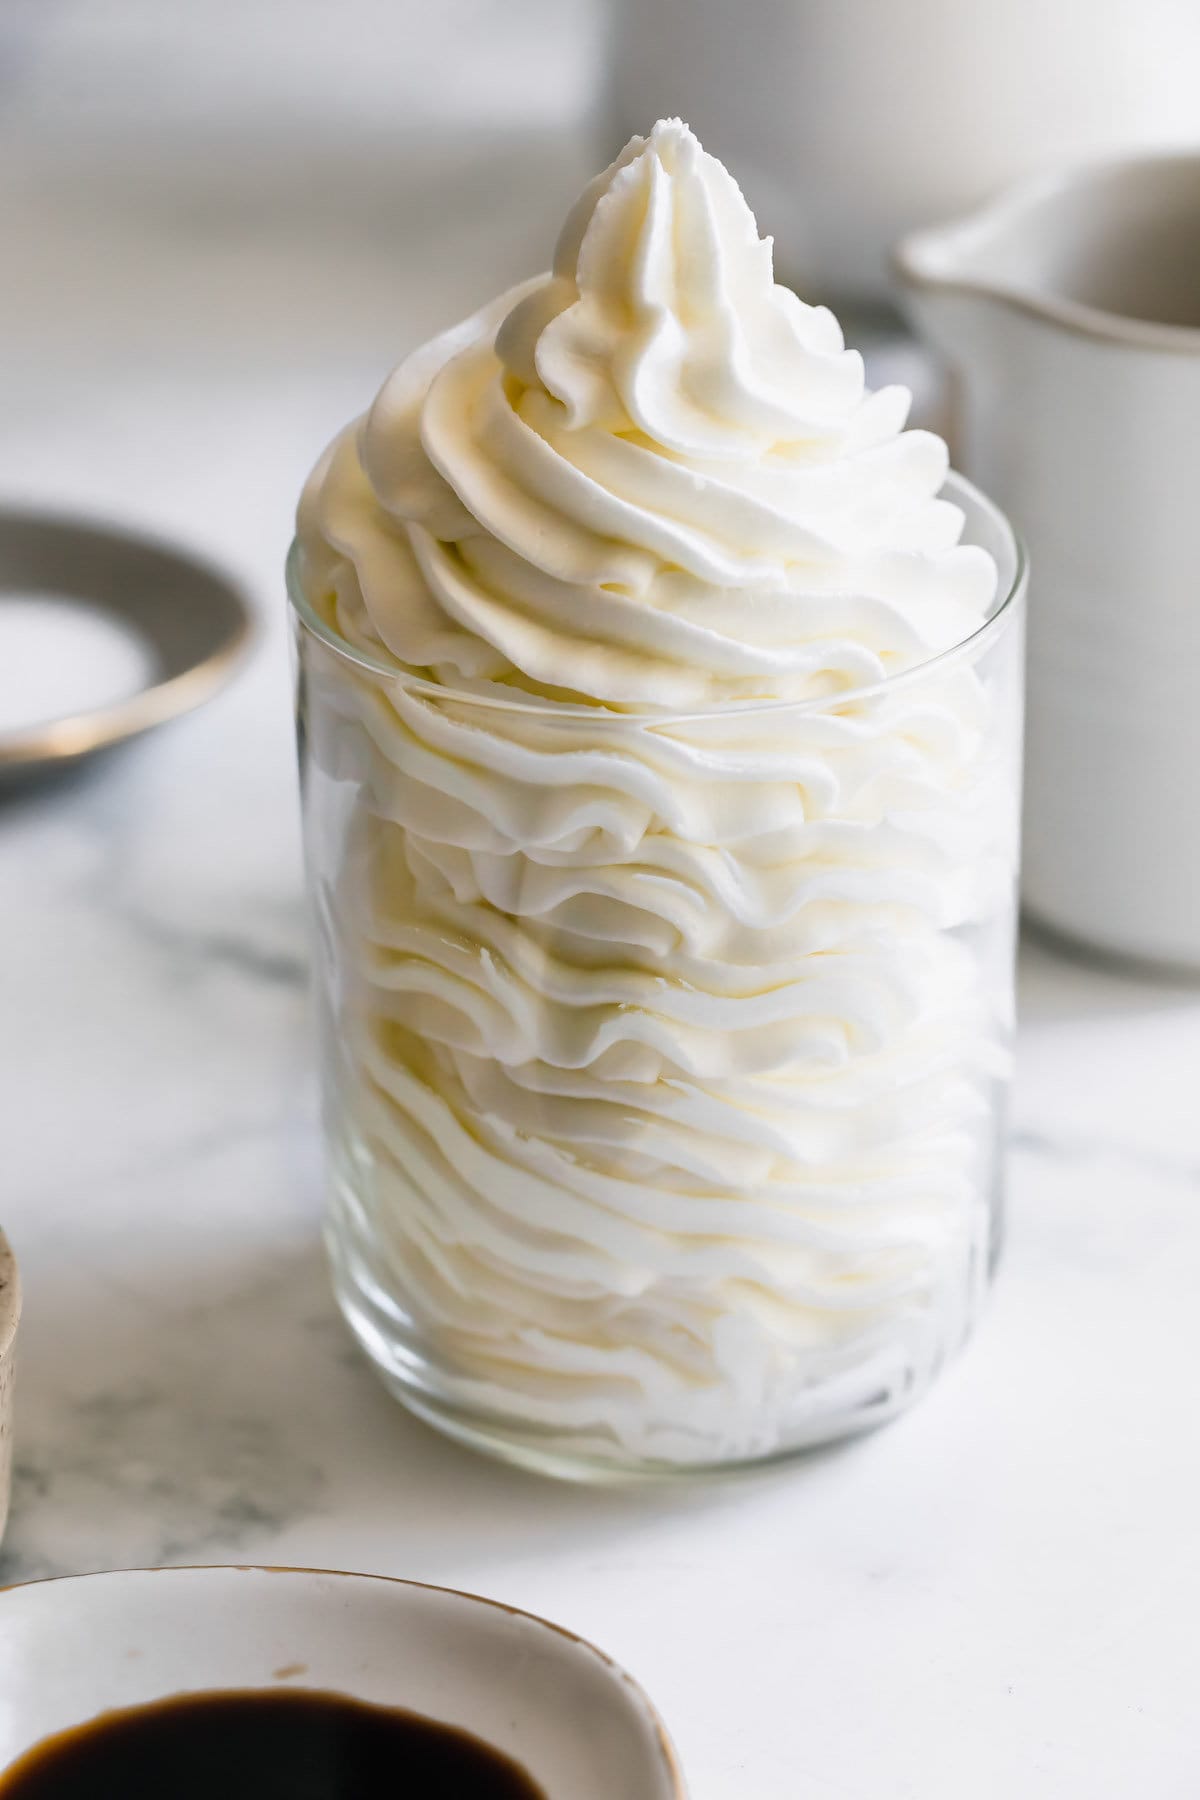
Why You’ll Love Homemade Vanilla Frosting
Delicious Details
- Cuisine Inspiration: American
- Primary Cooking Method: No-bake
- Dietary Info: Gluten-free, Egg-free
- Skill Level: Easy
No offense to the pre-made stuff, but homemade frosting beats canned frosting, hands down! It’s just no contest. Here’s why you’ll never want to use canned frosting again…
- Amazing flavor. The simple, real ingredients blend together perfectly, creating a sweet and scrumptious topping for cakes, cupcakes, cookies, brownies… you name it!
- Easy and versatile. As-is, it goes with just about any flavor profile, from chocolate to fruit to caramel. And if you want to add other flavors, or use food coloring, that works too!
- Stores for later. These days, when I make this basic buttercream, I like to double the recipe, because it freezes beautifully! All I have to do is let it thaw, and then give it a quick mix with a hand-mixer. Easy!
Vanilla Frosting Ingredients
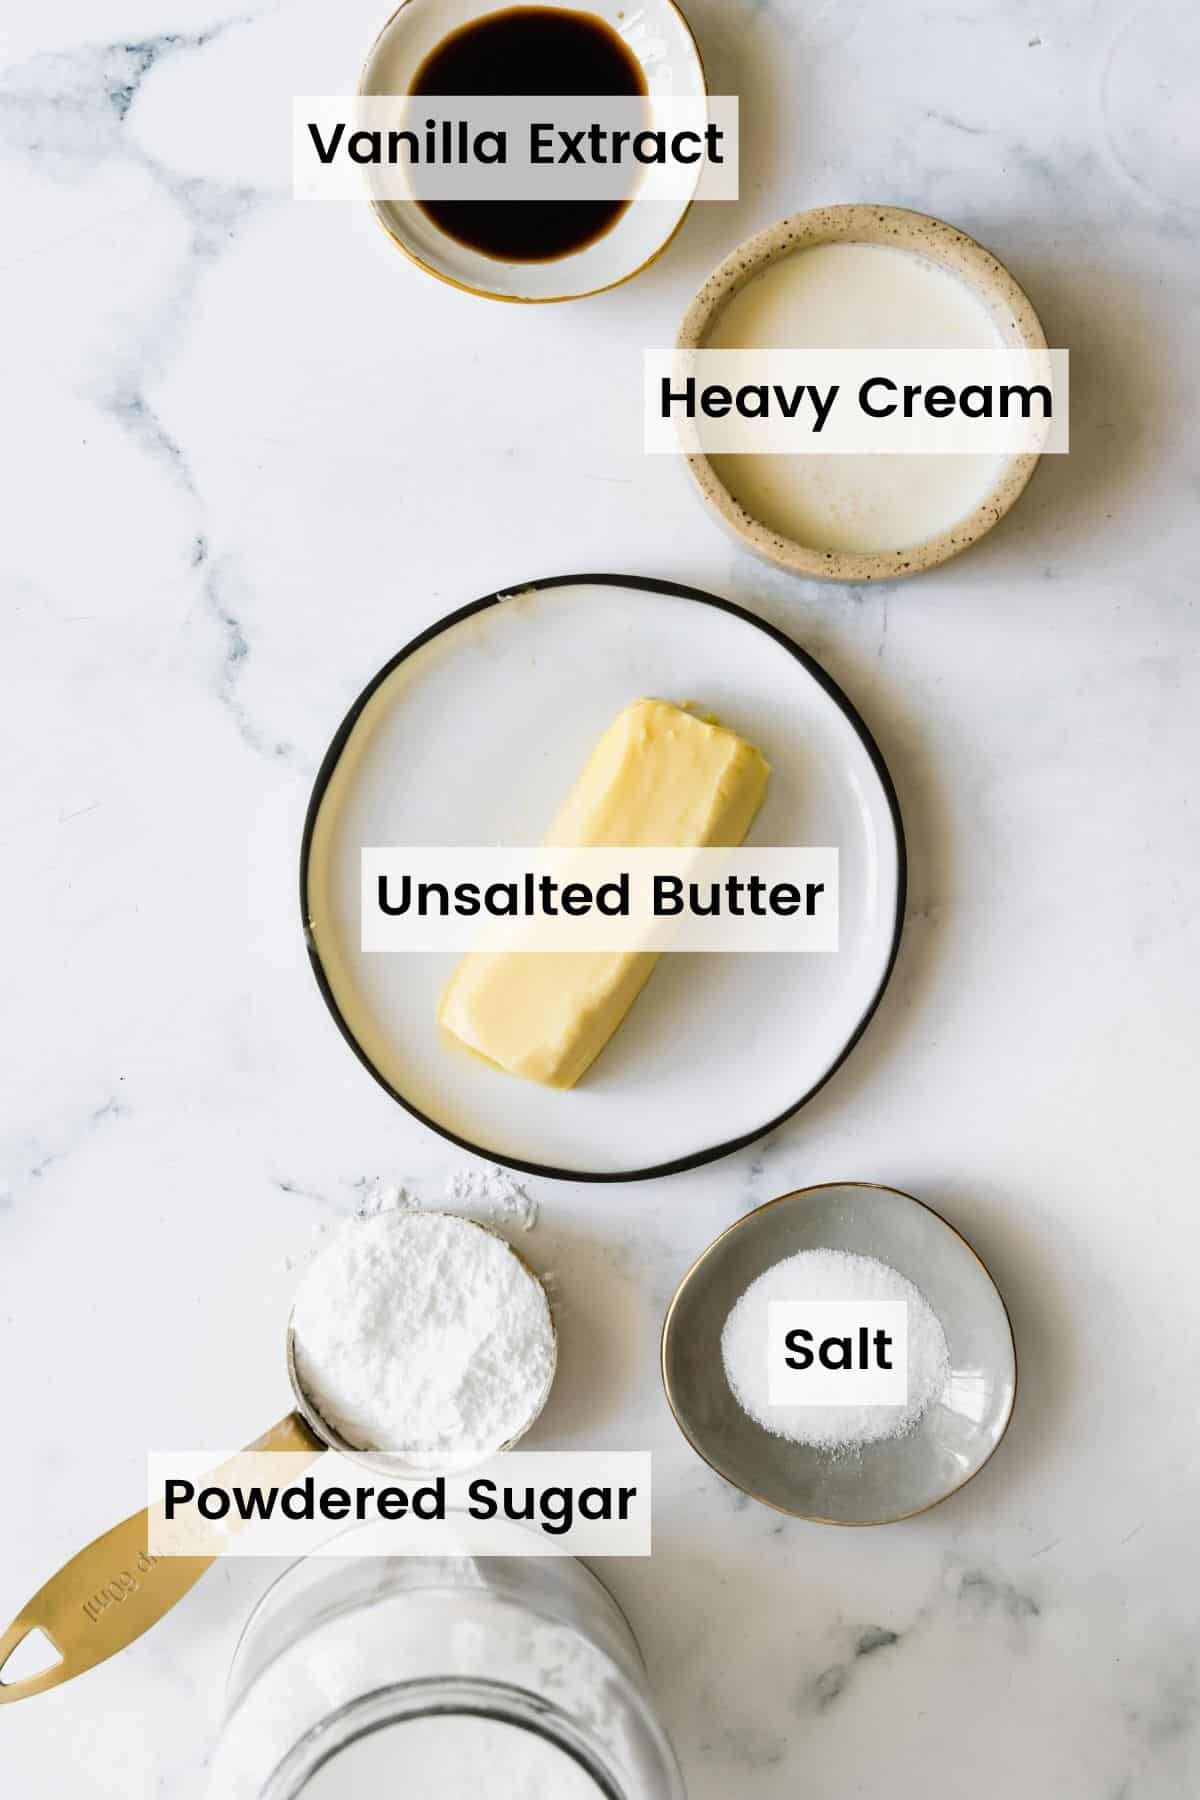
Since this recipe is a homemade, from-scratch buttercream, it’s probably no surprise that the two main ingredients are butter and sugar! Together, they make a light, fluffy, versatile frosting. Here’s a quick rundown of what you’ll need. The full quantities are listed in the recipe card at the bottom of the post.
- Butter. Let your butter stand at room temperature until it’s softened. I recommend unsalted butter so you can control the level of salt. If you use salted butter, you may want to reduce the amount of salt in the recipe.
- Powdered Sugar. If yours look lumpy, sift it first.
- Vanilla. Pure vanilla extract gives this creamy frosting its signature taste. If you truly need a pure white buttercream, you can use clear vanilla extract.
- Cream. Some recipes call for milk, which can be substituted, but I prefer heavy whipping cream, for extra richness and flavor!
- Salt.
How to Make Vanilla Buttercream from Scratch
It’s as easy as pie (mmm, pie!) to make this indulgent vanilla buttercream. I’ll give you a brief overview of the steps here. You’ll find the detailed instructions in the recipe card at the bottom of the post.
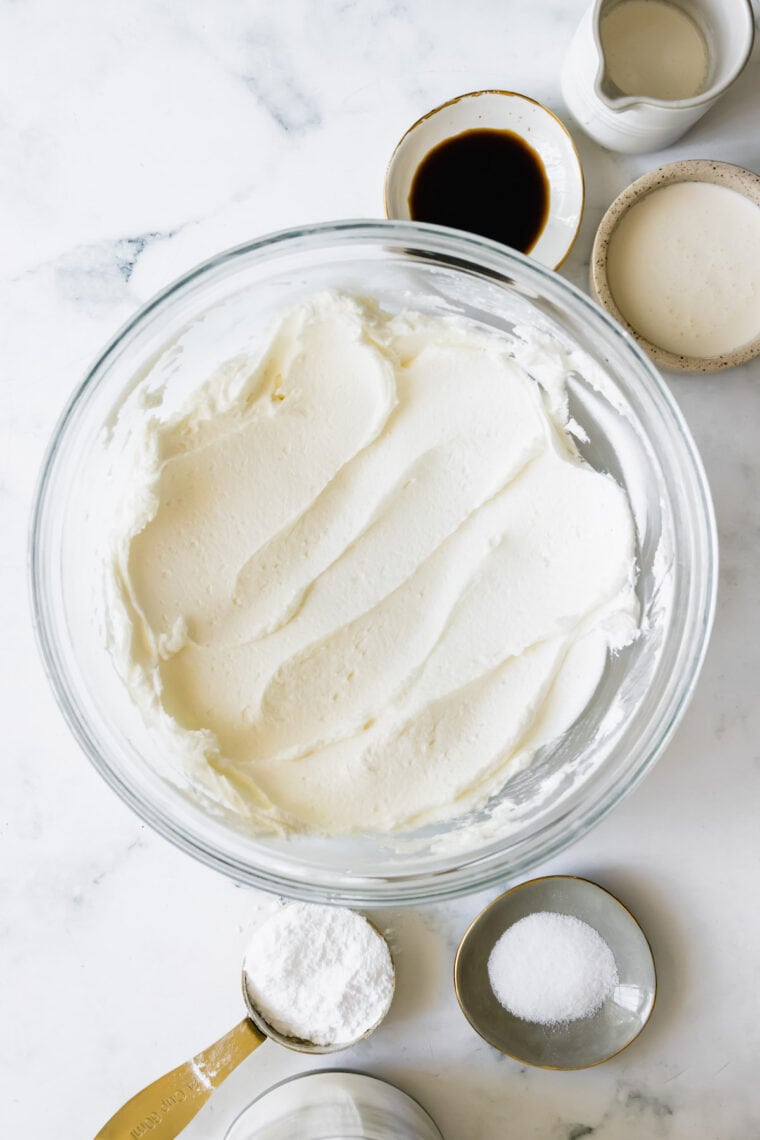
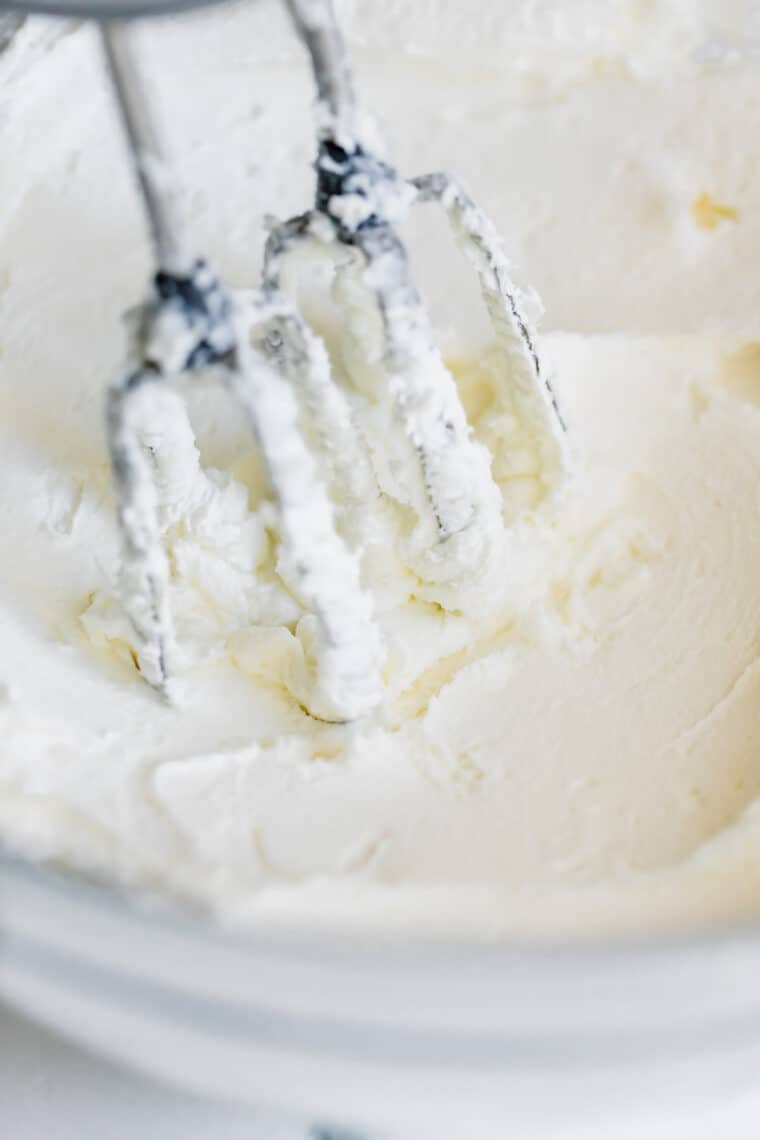
- Beat the Butter. In a large mixing bowl, beat the butter with an electric mixer on medium speed for 3 minutes.
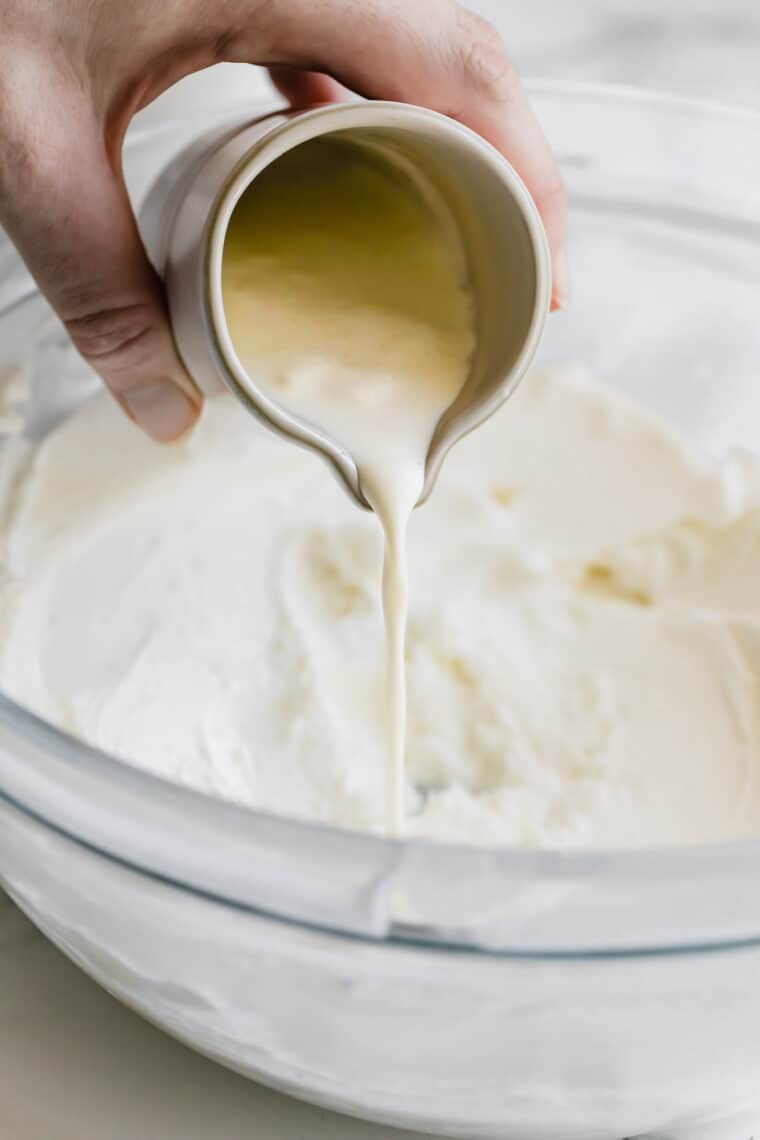
- Gradually Add the Remaining Ingredients. Add the powdered sugar, vanilla extract, cream (starting with just 2 tablespoons), and salt. Beat well, adding additional cream to achieve the desired consistency.
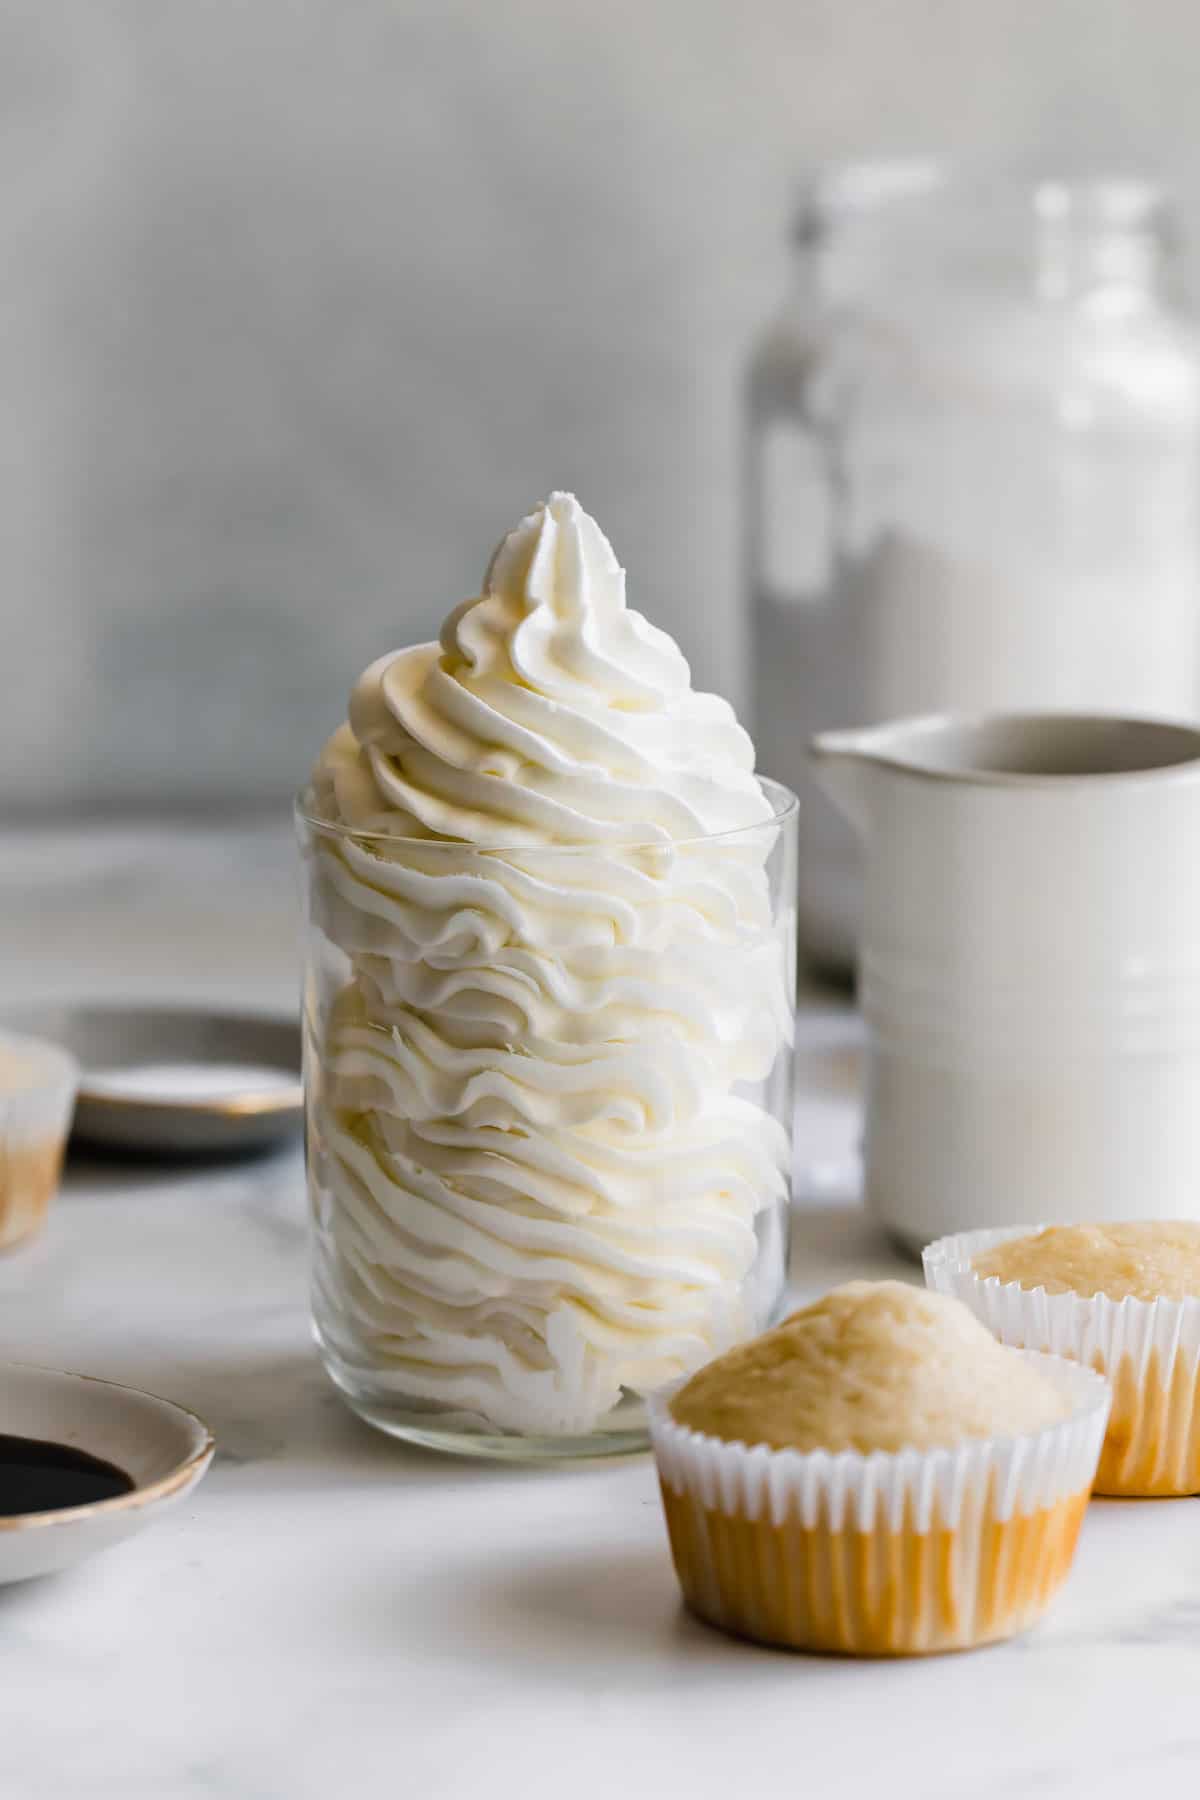
- Frost All the Things! Immediately use your buttercream to frost your cakes, cupcakes, etc. Make sure they’re cooled first! You can also store this tasty frosting in an airtight container for later use (see below for more details).
Tips for the Best Frosting
- Know Your Sugar: Powdered sugar comes in a few different types, from 4X to 6X to 10X. These numbers refer to how fine the sugar is, with 10X being the finest. Most cooks agree that finer is better, but you can definitely play around with it and see what suits you! The slightly more textured feel of 4X definitely has its own charm!
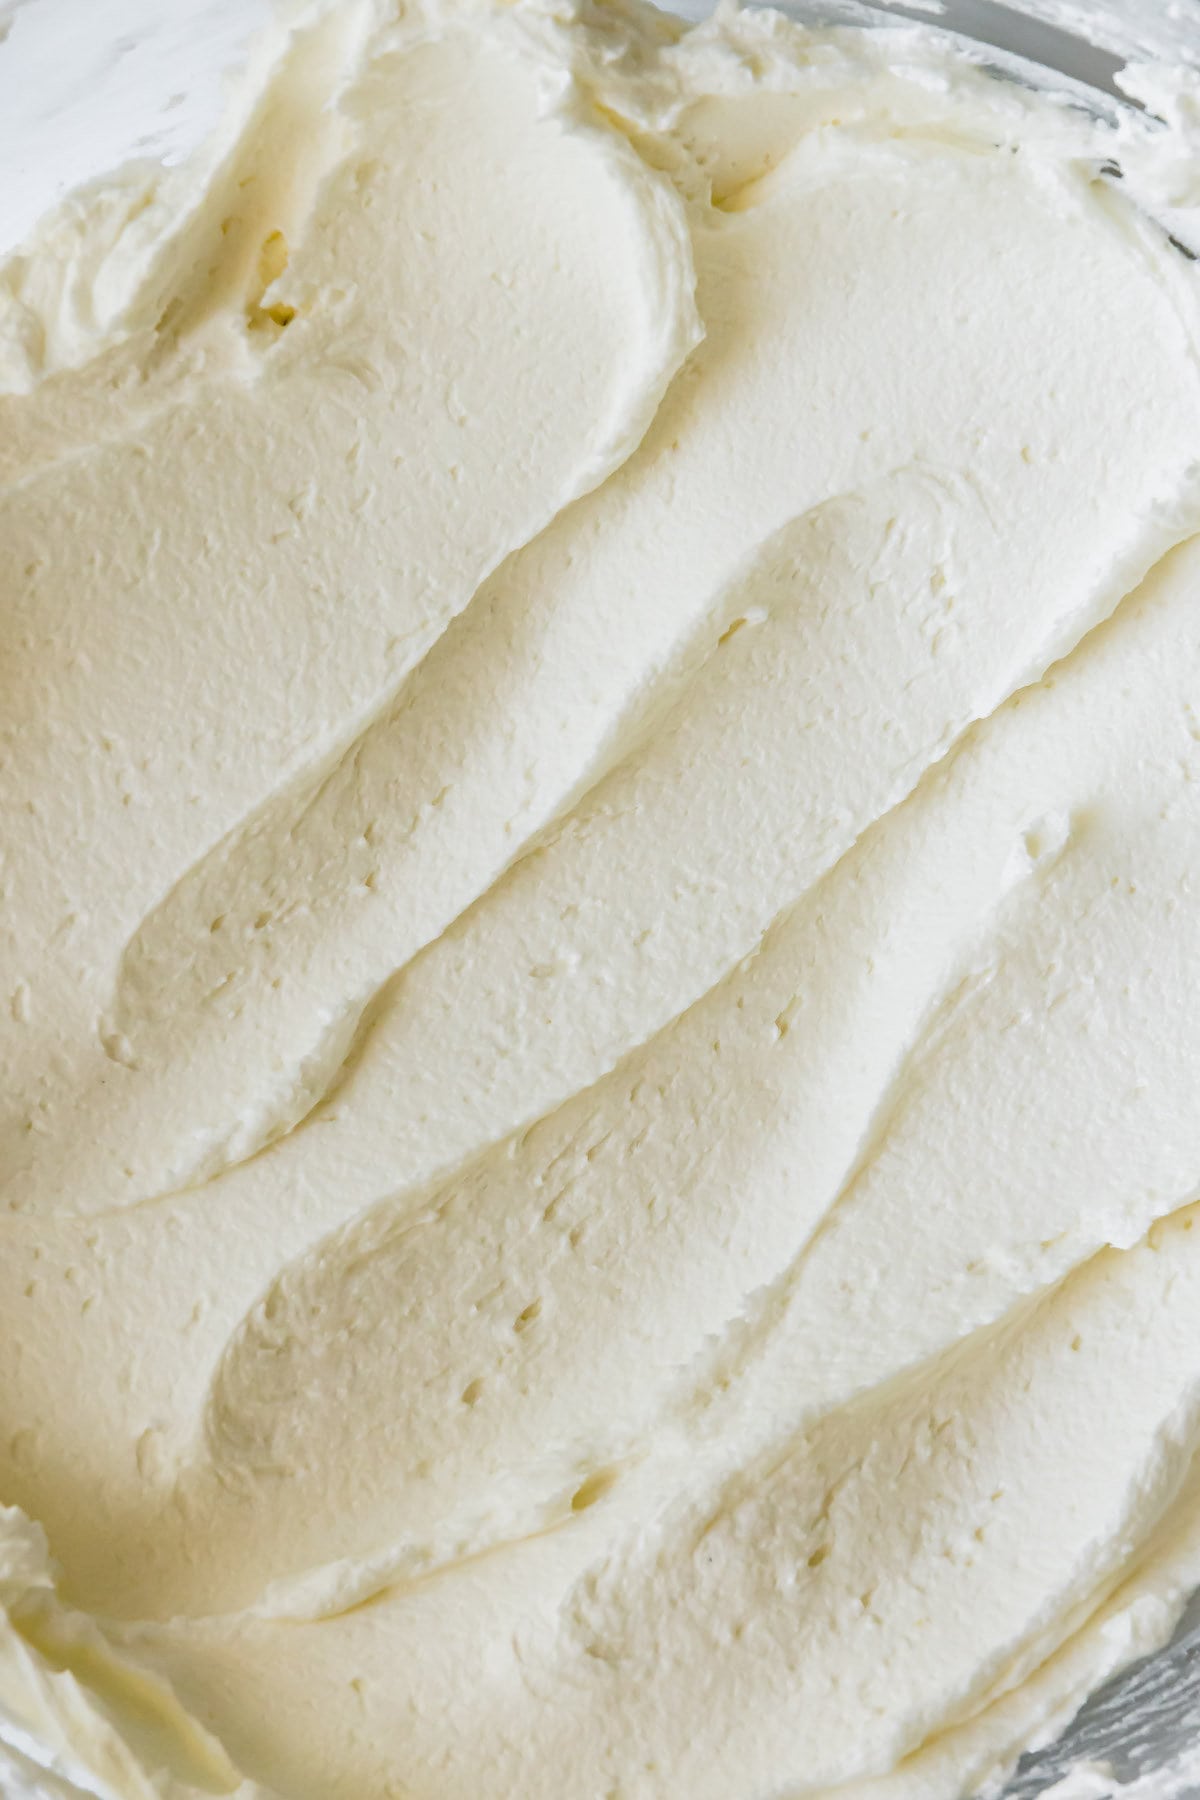
- Beat the Butter Well: It’s really important to make sure that your butter is completely smooth before you begin adding the other ingredients. This ensures a perfect, lump-free frosting that will spread like a dream! The butter should be at room temperature for the best result.
- Flavor It Up: If you wish, you can add a touch of almond extract, orange extract, lemon extract, etc. If you add additional flavoring, plan on adding slightly less whipping cream to avoid having runny frosting! You can also stir in crushed cookies (even gluten free ones) to make Oreo frosting.
Can Frosting Be Made in Advance?
Definitely! I love making this ahead of time, to make things easier on the day I serve the dessert. You can make this two or three days in advance and just store it in an airtight container on the counter. If you need to store it longer than that, refrigerate or freeze!
Storing Frosting
- How to Store in the Fridge. Storing this in the refrigerator couldn’t be easier! Just scrape or spoon it into an airtight food storage container, and refrigerate it for up to a week. Before using, let the frosting stand on the counter until it comes to room temperature.
- How to Freeze Frosting. To freeze this frosting, just transfer it into a freezer bag. Press out as much air as you can as you seal it up. Frosting keeps in the freezer for up to a month. You’ll need to thaw it completely and then beat it before serving.
Ways to Use Your Vanilla Frosting
Buttercream frosting is always appropriate, in my opinion. I mean, it goes so well with so many different desserts! From frosted cookies to frosted brownies, cakes to cupcakes, the possibilities are practically endless. Here are a few of my favorites!
- Cakes: Of course, you need the perfect frosting to make your gluten free cake extra delicious. You can always change out the chocolate frosting for vanilla on a basic Gluten Free Yellow Cake or cover a festive Gluten Free Funfetti Cake.
- Cookie Bars: While sometimes I take the easy way out and use a can of frosting on my Gluten Free Frosted Sugar Cookie Bars, they are even better when you use homemade.
- Sandwich Cookies: Sandwich this scrumptious frosting between soft, chewy cookies to make super-easy whoopie pies. What kind of cookies, you may ask? How about Gluten Free Snickerdoodle Cookies? They’re amazing!
- Frosted Brownies: The only thing better than a brownie is a frosted brownie! Swirl this homemade buttercream over your favorite brownie for an extra-decadent dessert. I recommend my perfect crackly-top Gluten Free Brownies.
- Cupcakes: Of course, I have to include cupcakes! And while just about any cupcake can be topped with this luxurious frosting, there is nothing more classic than gluten free vanilla cupcakes with a lovely vanilla buttercream. Or cross a cookie and a cupcake and pipe it into Gluten Free Chocolate Chip Cookie Cups.
Homemade Vanilla Frosting
Ingredients
- 1 cup unsalted butter (2 sticks), softened
- 4 – 5 cups powdered sugar
- 1 Tablespoon vanilla extract
- 2 – 3 Tablespoons heavy whipping cream
- 1/4 teaspoon salt
Instructions
- In a large mixing bowl, beat the butter with an electric mixer on medium speed for 3 minutes.
- Add 4 cups of the powdered sugar, vanilla extract, cream (starting with 2 tablespoons), and salt. Beat until smooth and creamy. Add additional cream or powdered sugar to achieve desired consistency.
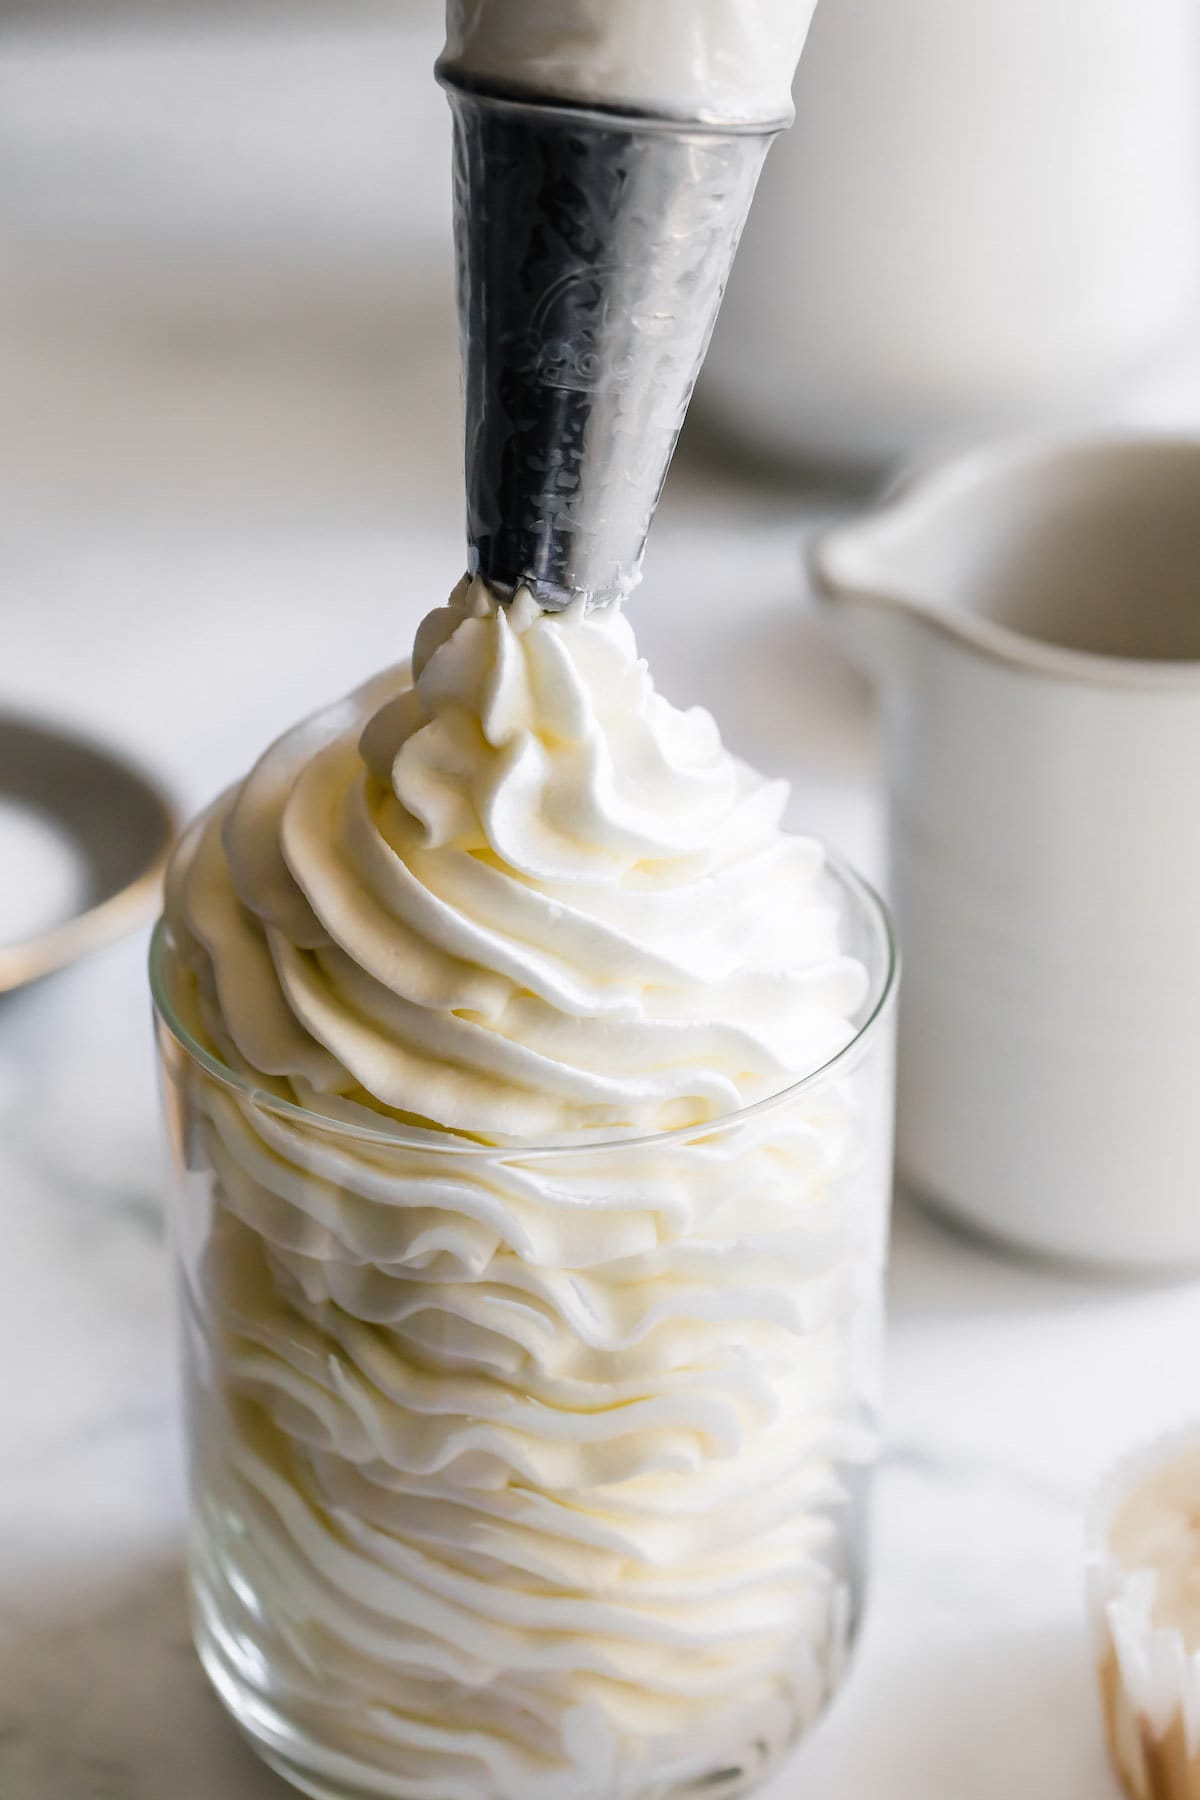
- Immediately frost cooled cakes and cupcakes, or store in an airtight container for later use.
Notes
- If stored in an airtight container in the refrigerator, frosting will keep for up to a week. Bring to room temperature before using. Frosting can also be stored at room temperature for 2 or 3 days.
- Frozen frosting can be stored in a freezer for up to a month. Bring to room temperature and beat again before using.
Categories:
More Frosting Recipes to Try
- Chocolate Frosting
- Lemon Frosting
- Cream Cheese Frosting
- Peanut Butter Frosting




So yummy, great texture. Easy!!!!!!
How much does this make? How many cupcakes will it cover or cakes?
It makes enough for 12-24 cupcakes (12 if you really pipe a big swirl, 24 for a lighter topping. And it can cover a 13×9-inch cake or a two layer round cake.
Can’t wait to try it!
If I only have salted butter, can I use that and leave out the 1/4 tsp salt?
Each stick has about 1/4 teaspoon of salt, so it may be a little saltier.