This post may contain affiliate links. Read my disclosure policy.
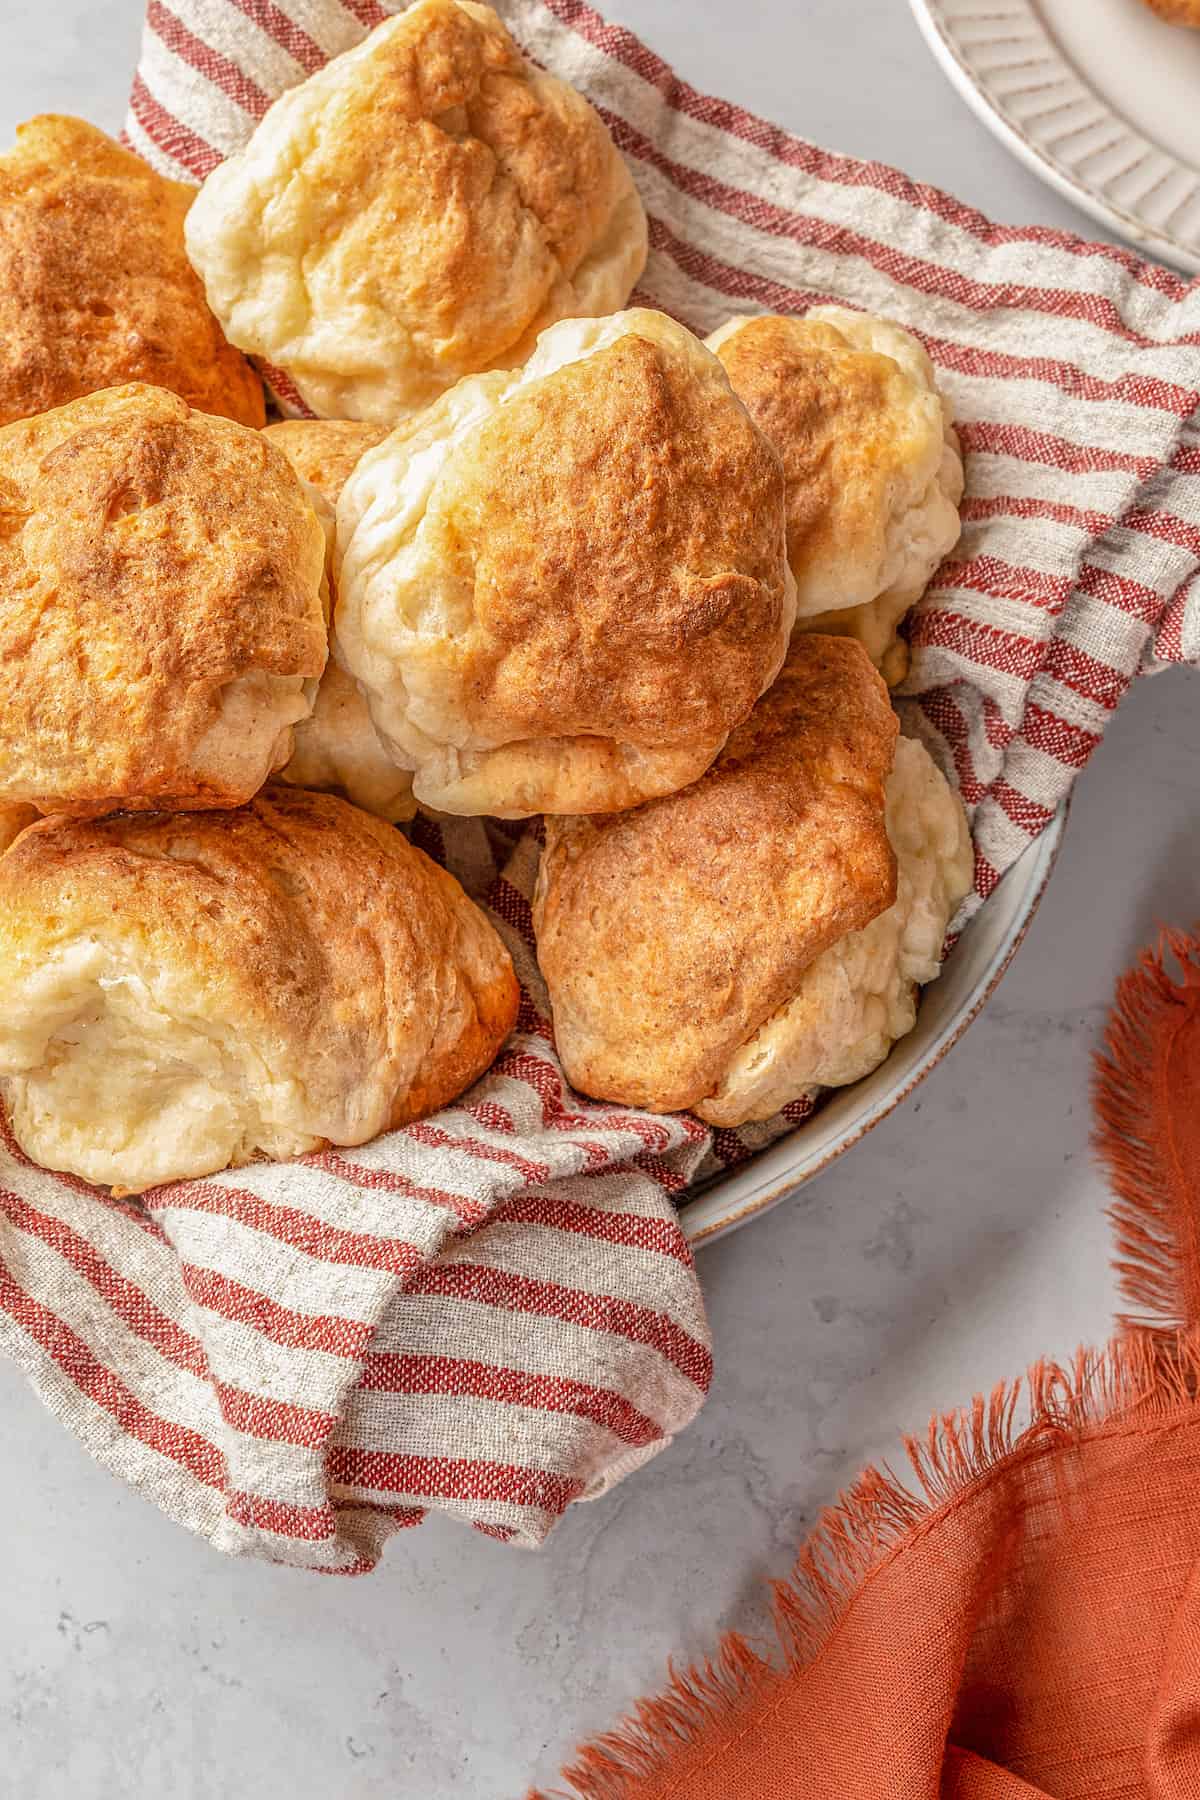
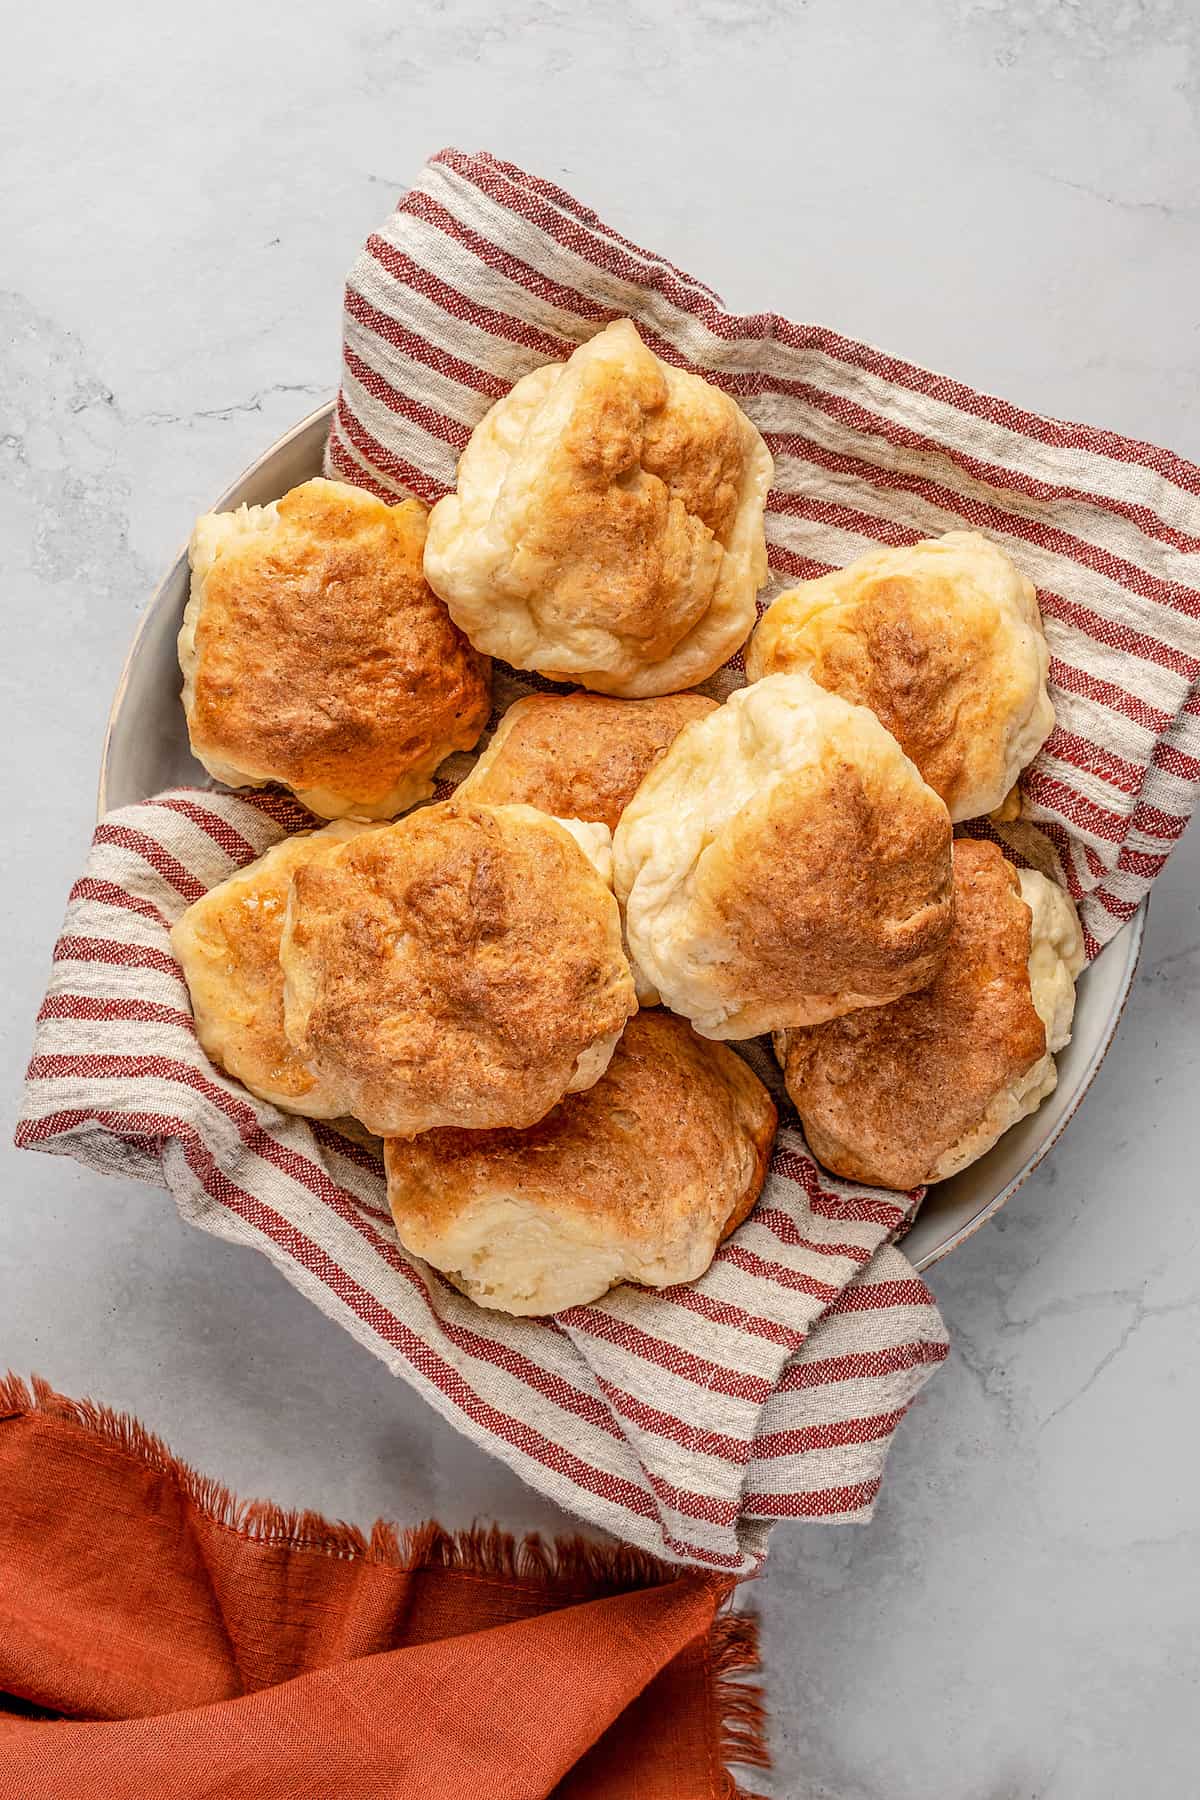
These fluffy Gluten Free Hawaiian Rolls are an easy homemade dinner roll recipe enriched with butter and the perfect amount of sweetness. Serve these pillow-soft sweet rolls with soups and stews, as a holiday side, or fill them to make delicious Hawaiian bread sliders and appetizers.
Why You’ll Love Gluten Free Homemade Hawaiian Rolls
Delicious Details
- Cuisine Inspiration: American
- Primary Cooking Method: Oven
- Dietary Info: Gluten-free, Dairy-free
- Skill Level: Moderate
Sometimes you can find gluten free versions of old favorites in the store. Other times you have to recreate them on your own. But let’s be real, making anything fresh always produces better results. And that especially holds true with gluten free breads like these homemade gluten-free Hawaiian rolls.
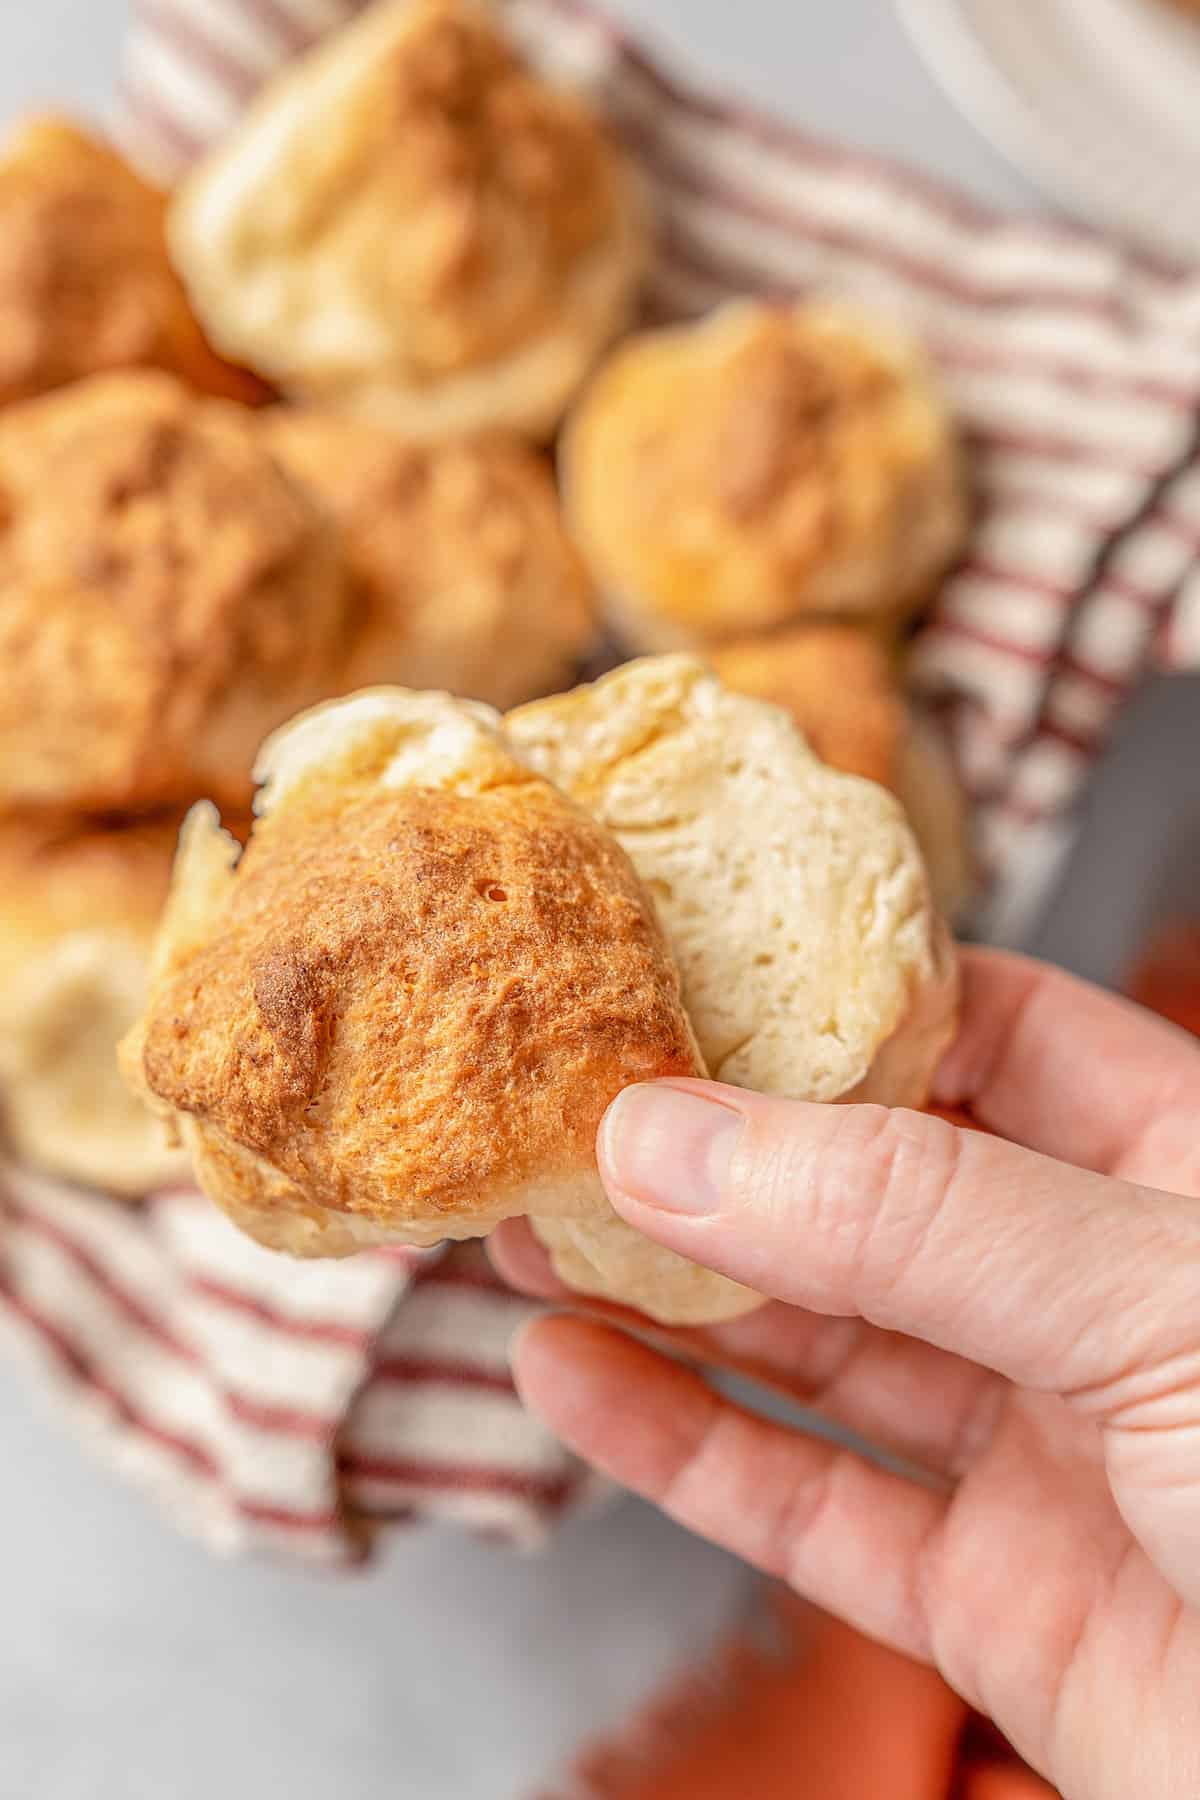
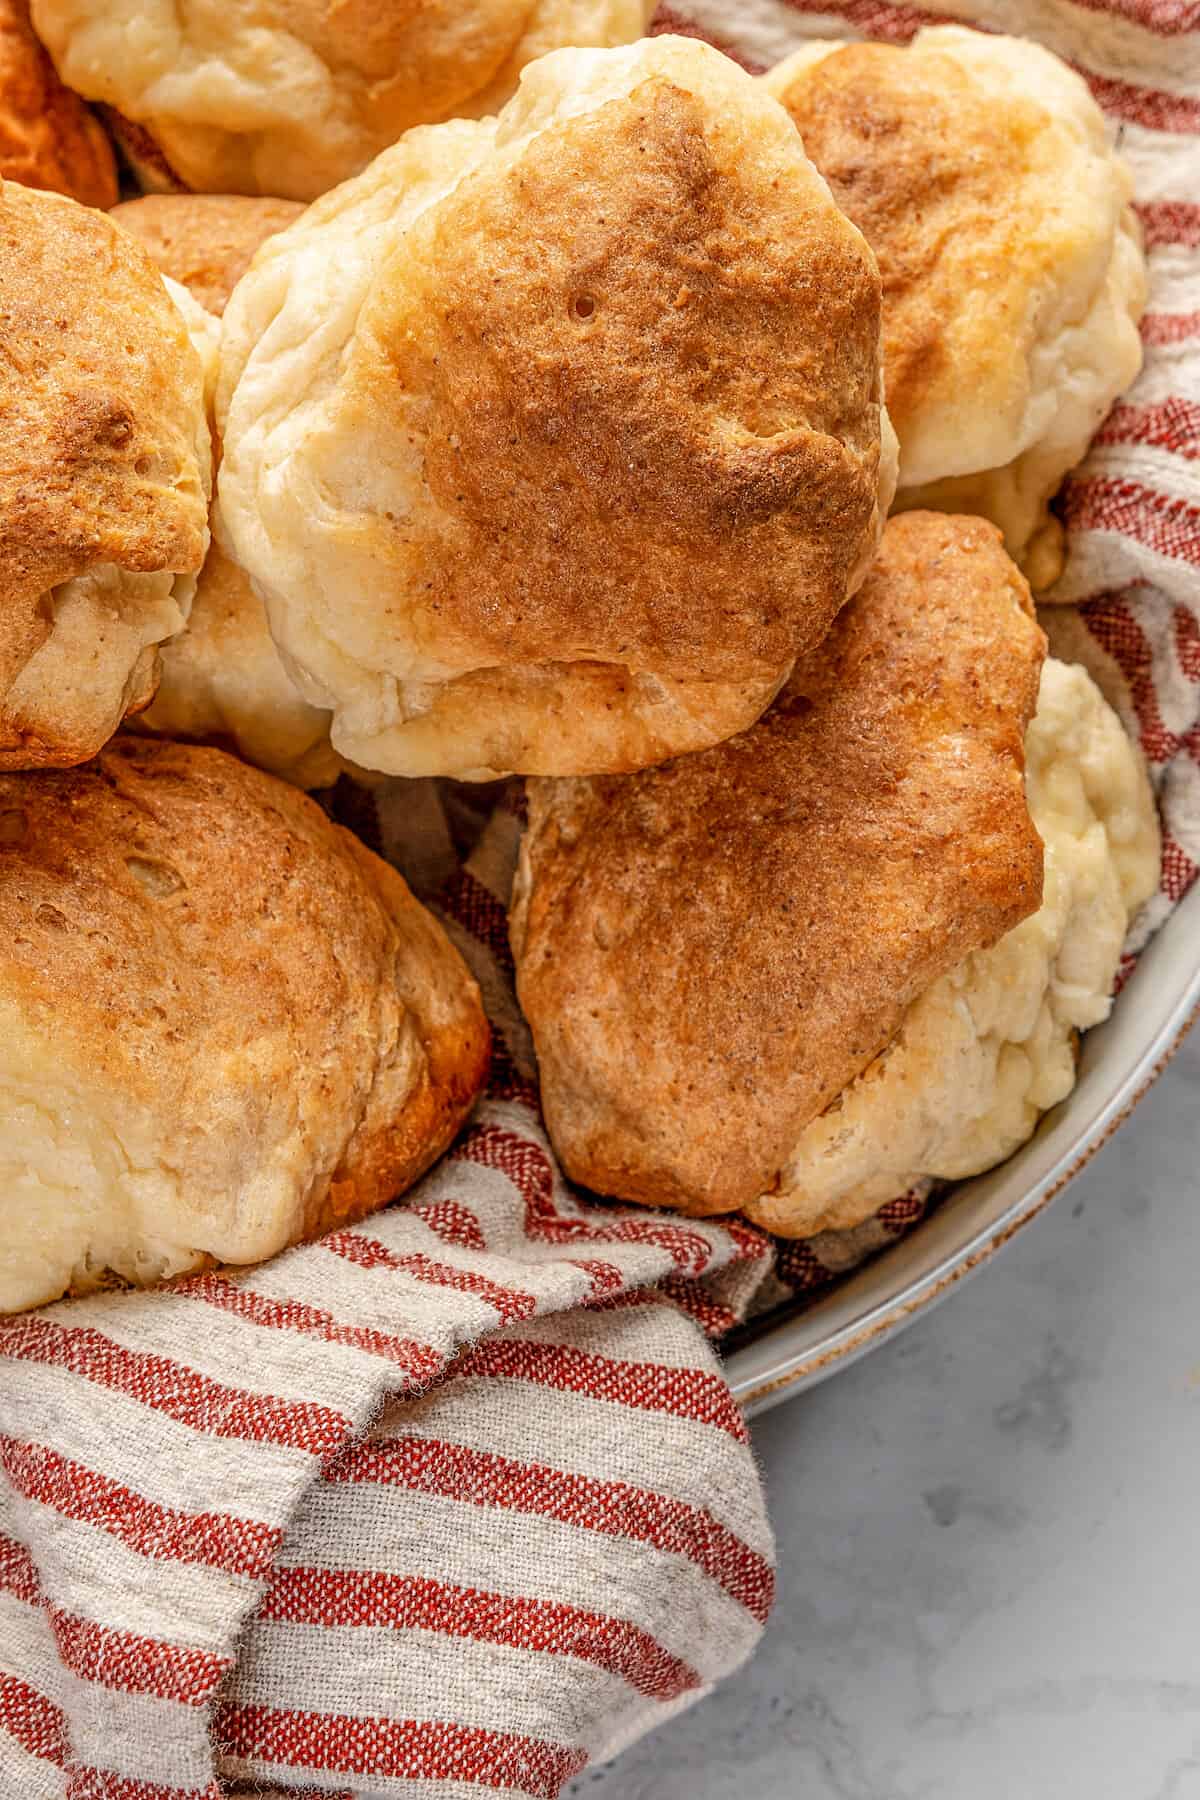
These rolls are like small poofy pillows with a delectable, sweet flavor and an irresistibly tender crumb. The outsides are a rich, deep brown, yet flaky. We can’t get enough of these mouthwatering homemade sweet rolls, they’re truly impossible to resist! Here’s why you will love them too…
- Quick prep. This recipe uses instant yeast, so there’s no activating and no kneading involved. Then it’s just a matter of a little resting time and a short bake in the oven.
- Super versatile. You’ll find them sturdy enough to use for sandwiches and sliders, but soft enough to soak up all your favorite soups and sauces as a sweet dinner roll.
- Amazing flavor. Slightly sweet and buttery, you’ll find these buns pair well with savory flavors, but can also just be smeared with butter and jam for breakfast.
What You’ll Need
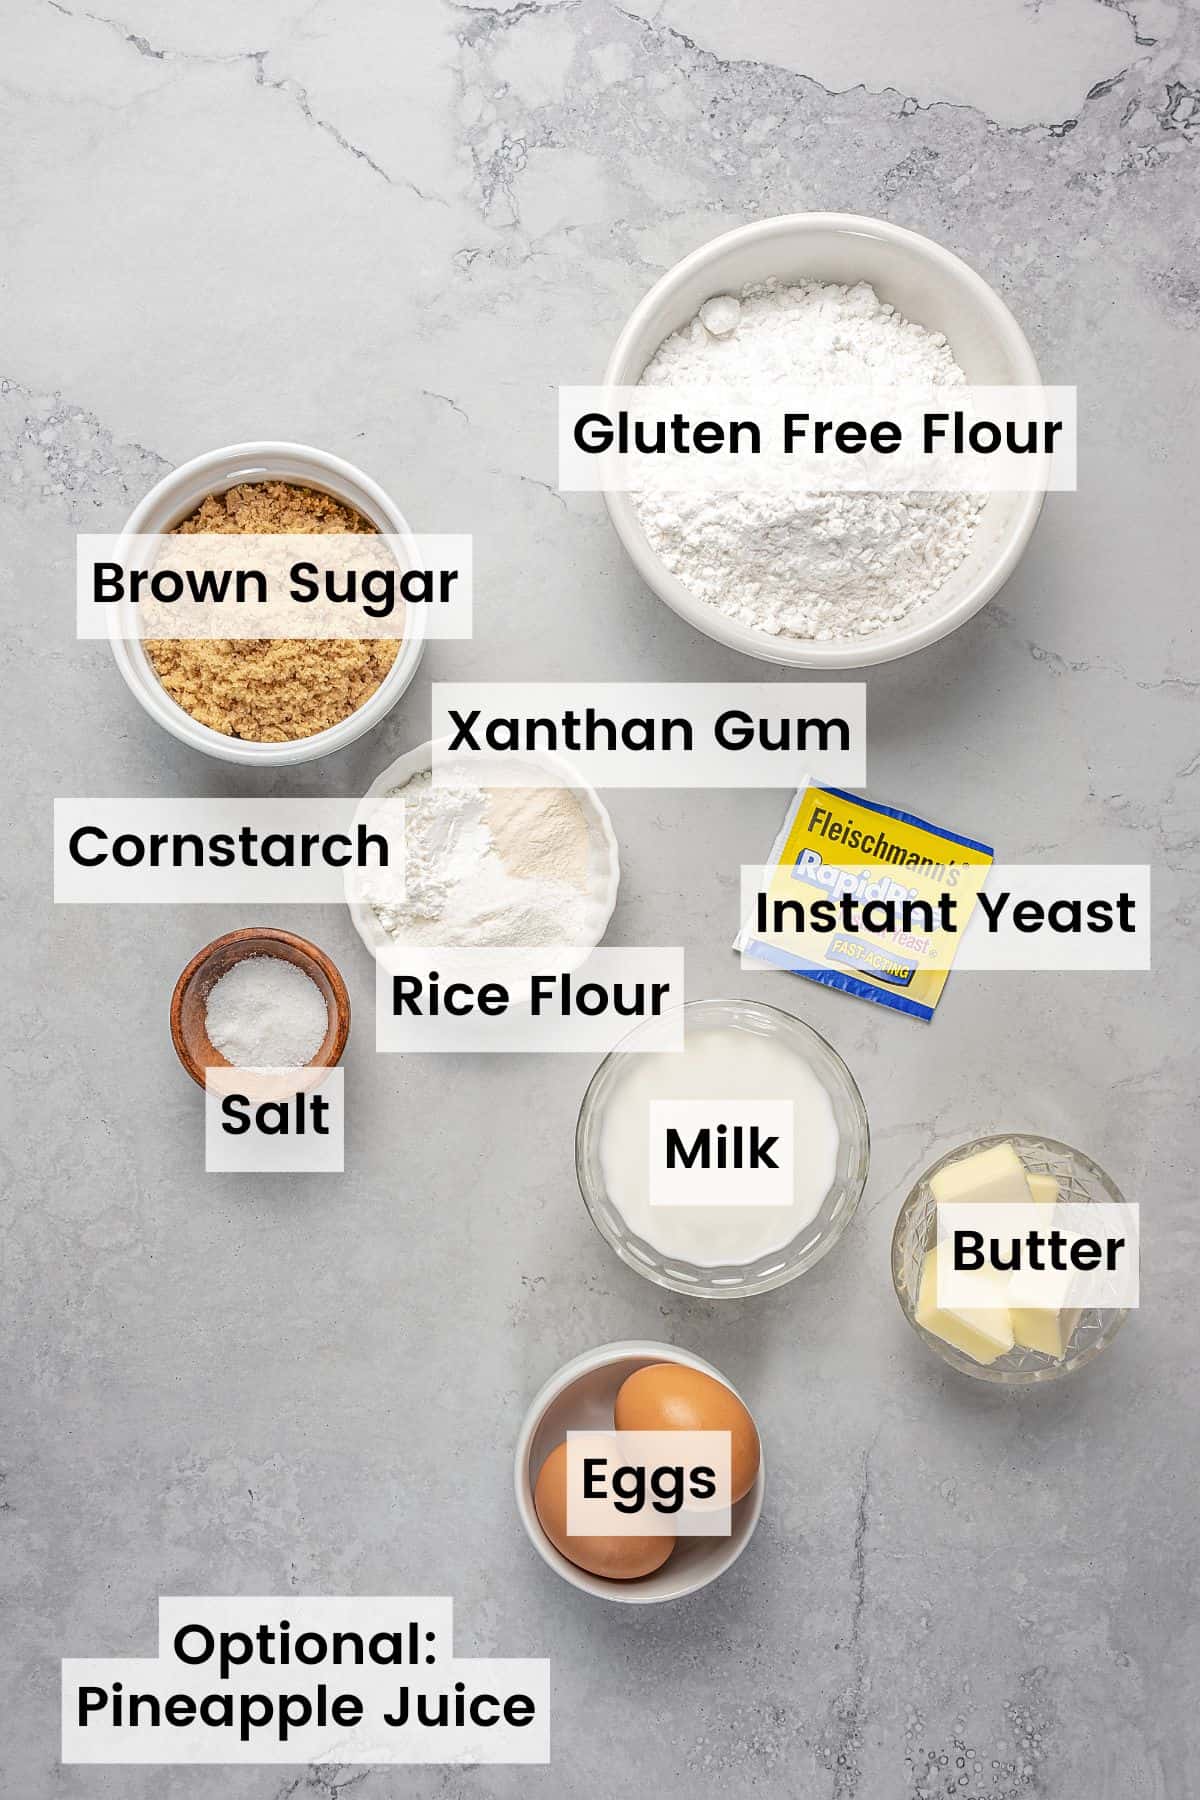
Below is a quick summary of the ingredients needed to make these enriched gluten-free sweet rolls. Be sure to scroll to the recipe card for the full recipe details and amounts:
- Gluten-Free Flour: I had great results with King Arthur Flour Gluten Free All-Purpose Flour (NOT Measure for Measure). It also works well with Caputo Fioreglut gluten-free flour IF you omit the pineapple juice.
- Brown Sugar: Brown sugar adds sweetness and moisture to the dough for better browning, and also feeds the yeast.
- Rice Flour, Cornstarch, and Salt: Rice flour and cornstarch lend these fluffy Hawaiian rolls their light, crisp texture. Adding salt prevents the yeast from overproducing and helps balance the sweet flavors of the dough.
- Xanthan Gum: Xanthan gum acts to thicken and bind the dough in place of gluten in this gluten-free bread recipe.
- Instant Yeast: Also called “breadmaker’s” yeast, this type of yeast doesn’t require activating beforehand. Make sure to check the labels on your yeast sachets to 1) ensure it’s certified gluten-free and 2) that the yeast hasn’t expired.
- Milk, Butter, and Eggs: These ingredients are key to enriched rolls. Cube the butter into smaller pieces, as this will make it easier to melt with the milk. You can also set aside some additional butter to melt and brush over the rolls.
- Pineapple Juice: This adds sweetness and a slightly tropical flavor. However, it doesn’t play nice with all gluten free flours, so proceed with caution. You can replace 1/2 cup of the milk with pineapple juice when you use the King Arthur All-Purpose Flour.
How to Make Hawaiian Sweet Rolls
It couldn’t be easier to make perfectly light and tender gluten-free Hawaiian rolls at home. Here’s how:
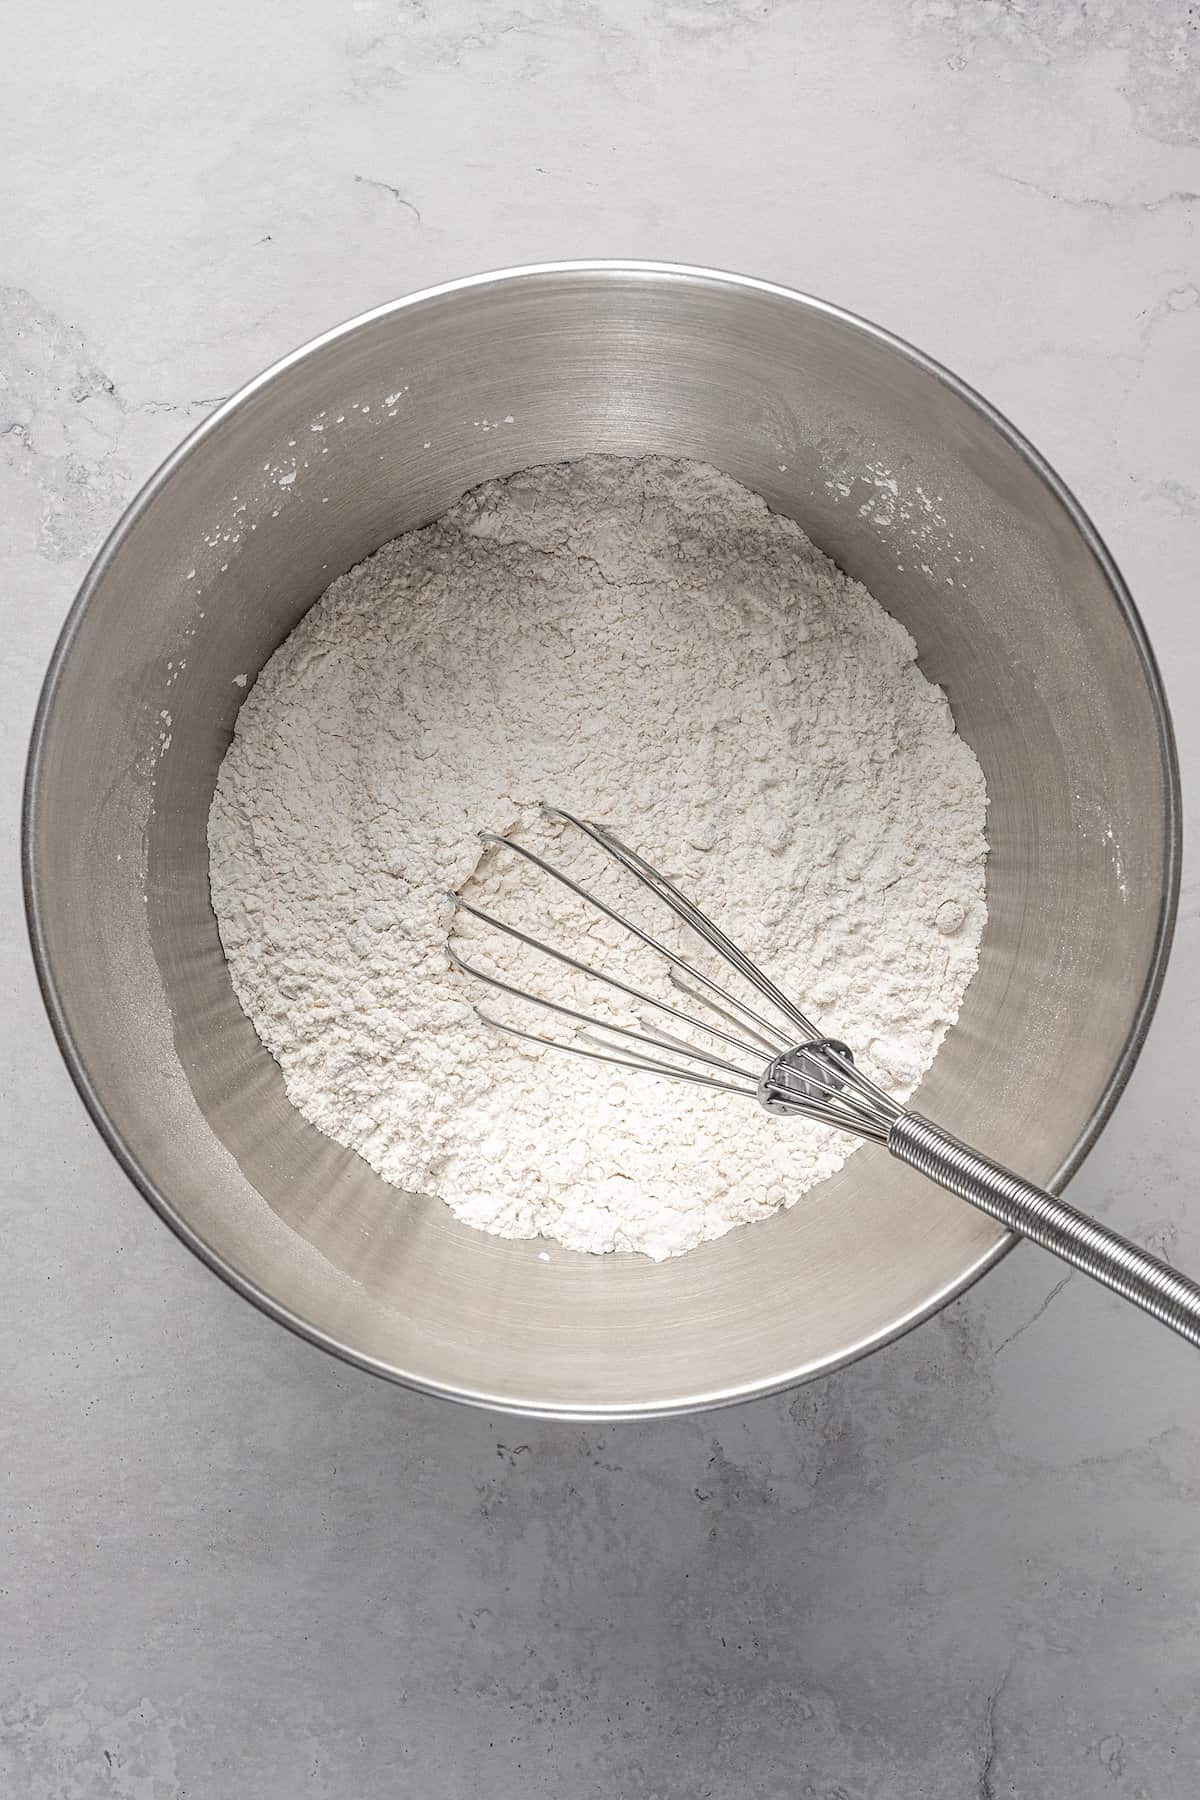
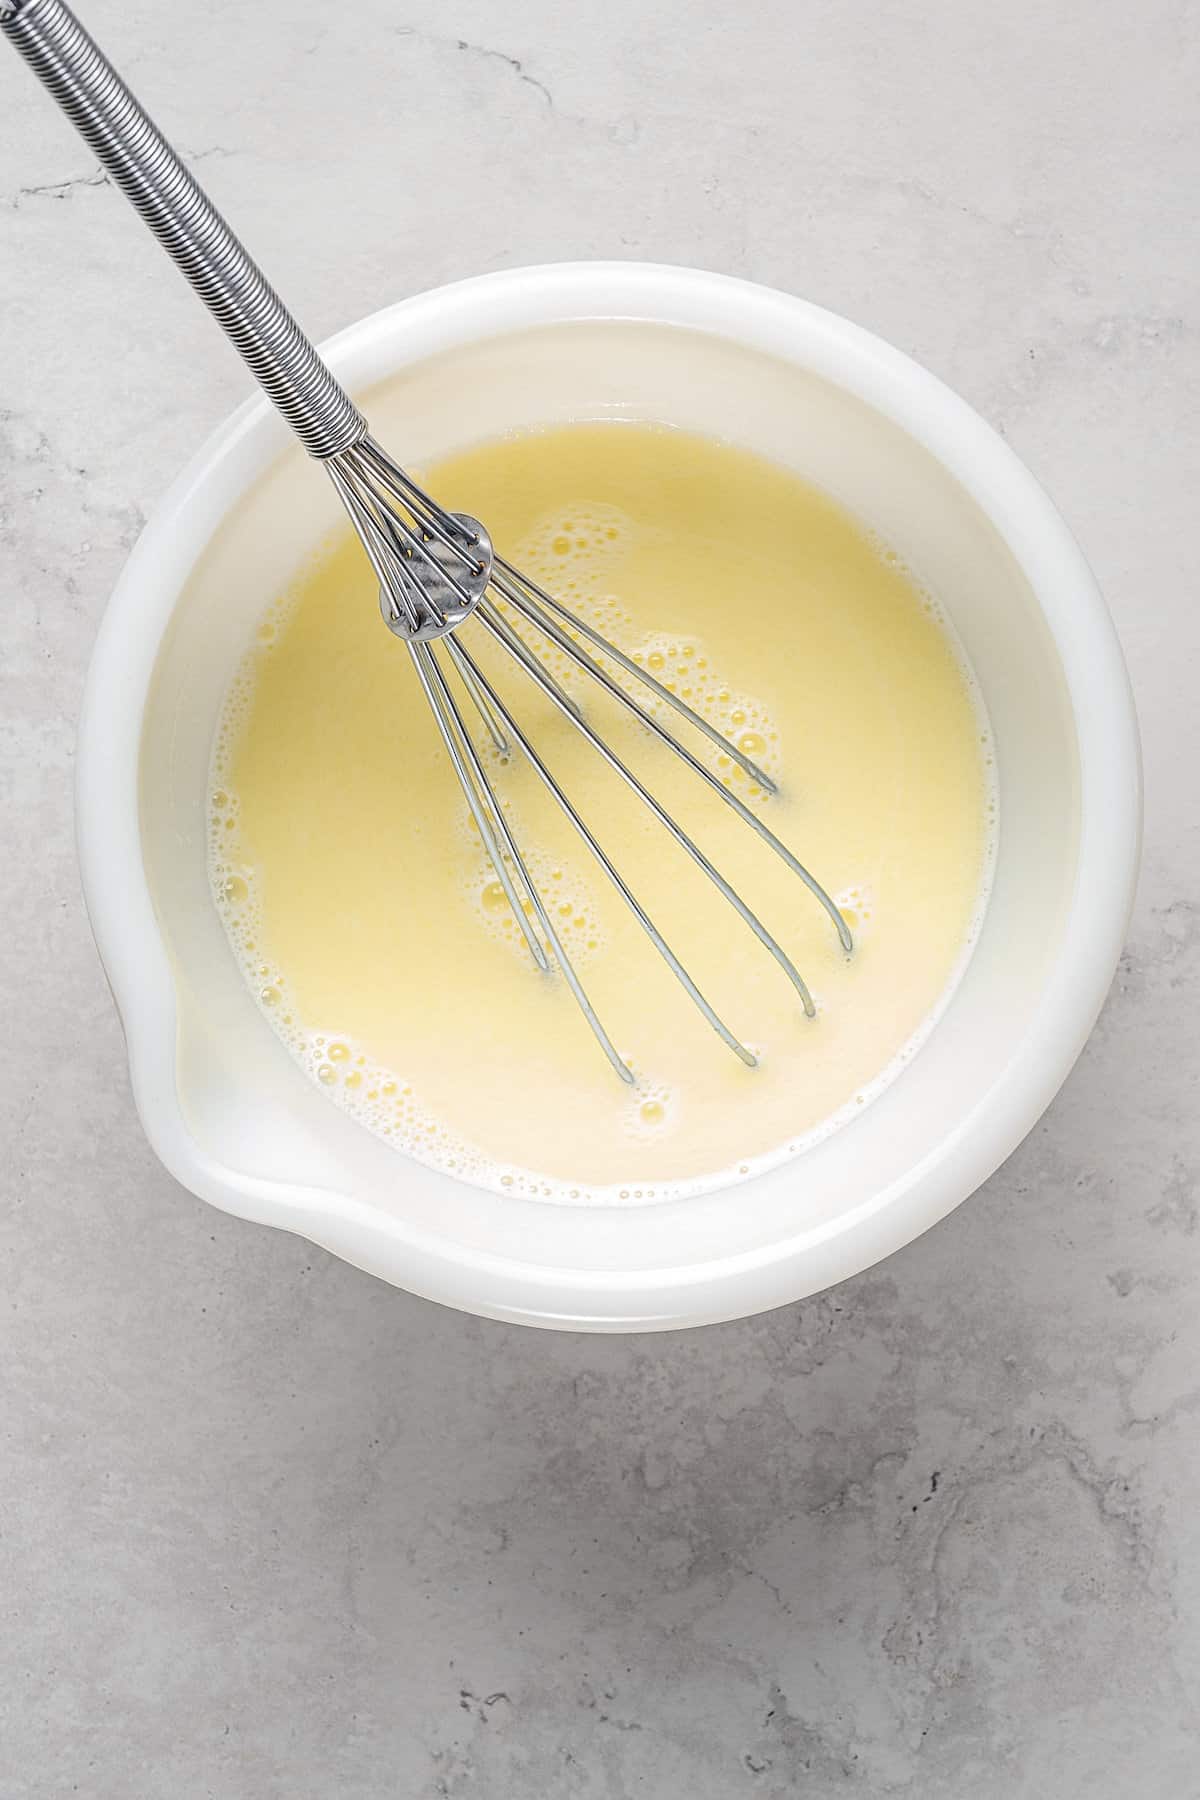
- Mix Dry and Wet Ingredients Separately: First, whisk together the dry ingredients. Next, melt the butter into the milk using the microwave, and check that the temperature lands at around 120°F and 130°F. If it’s higher, let the mixture cool before adding it to the dry ingredients.
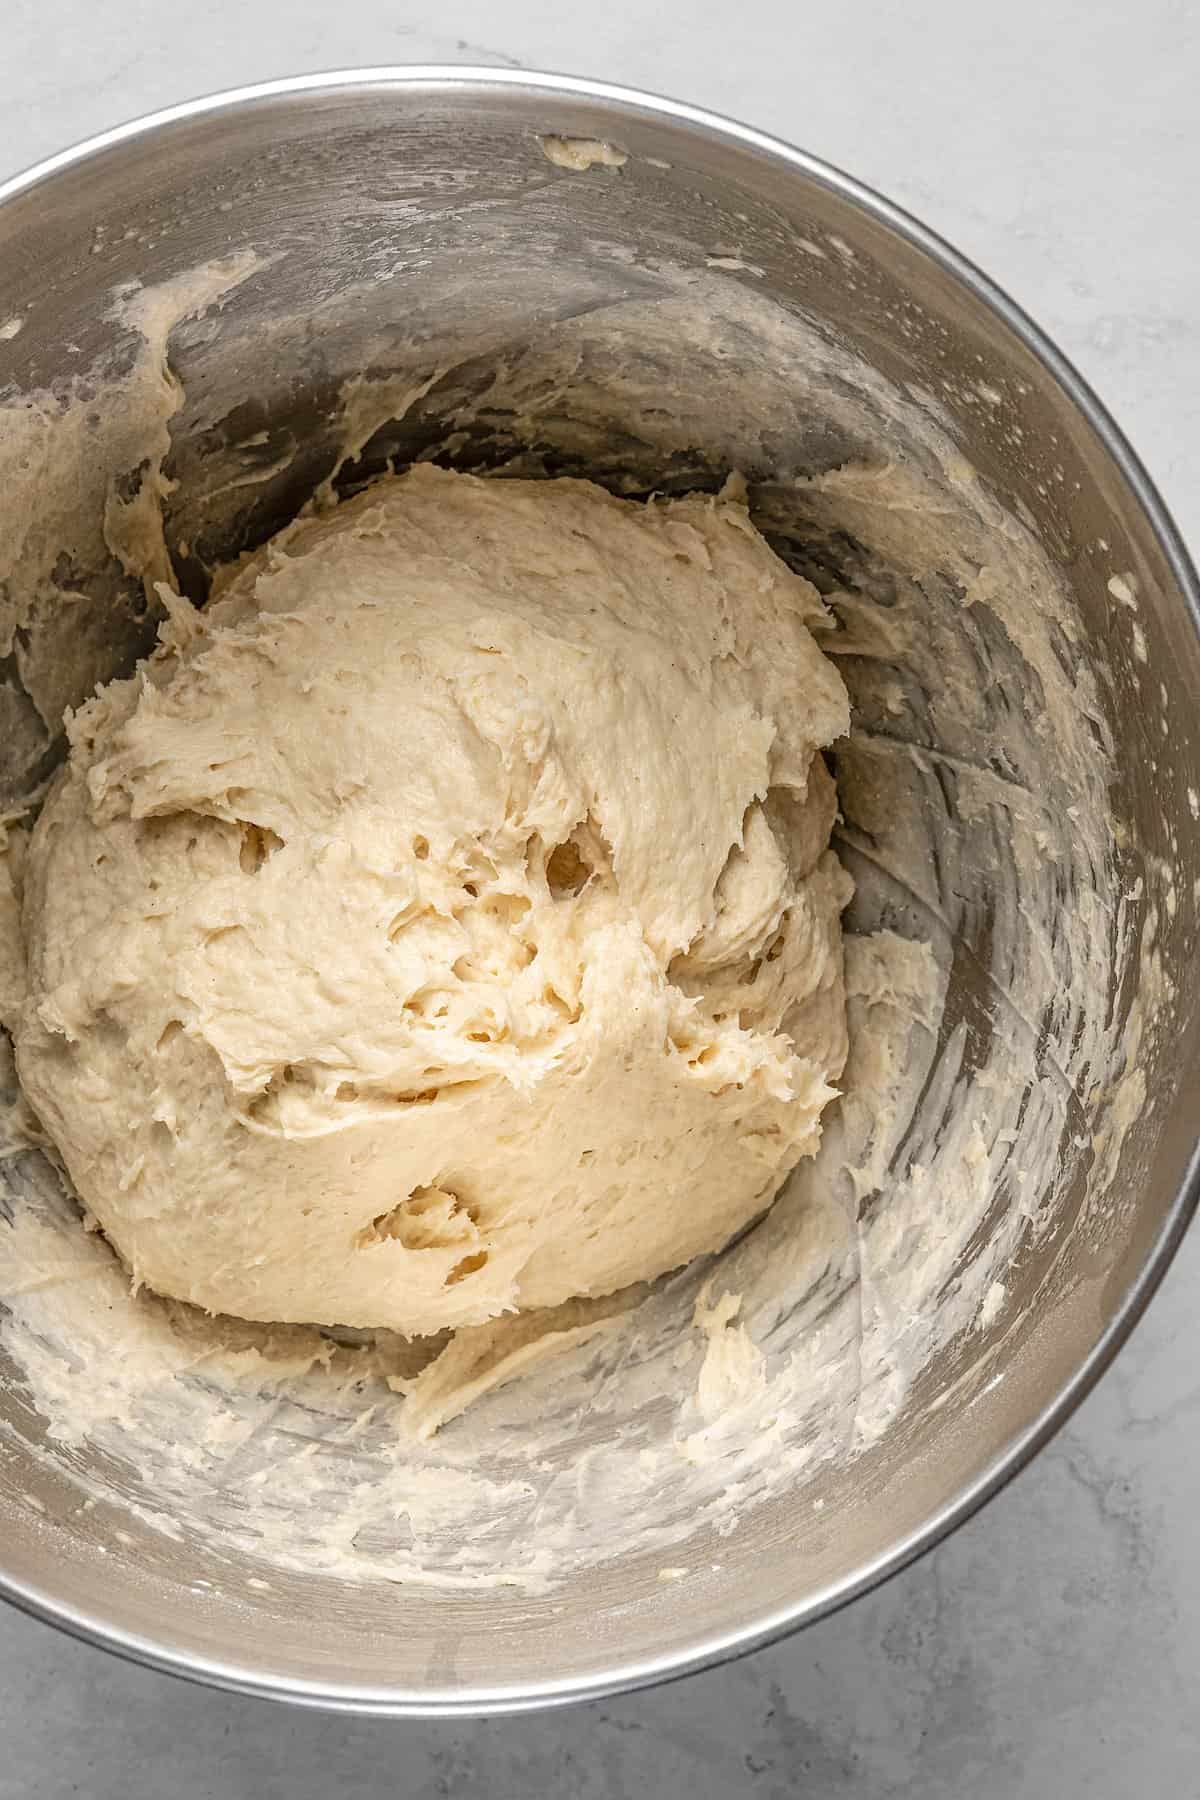
- Combine: Gradually mix the milk mixture into your dry flour mixture, followed by the pineapple juice, if using. Then add the eggs one at a time. You should be left with a thick, smooth dough.
- Portion and Shape: Scoop and roll portions of dough into 12 even-sized balls, and place them in a greased cake pan. Greasing your hands with a bit of oil also makes it easier to handle the dough.
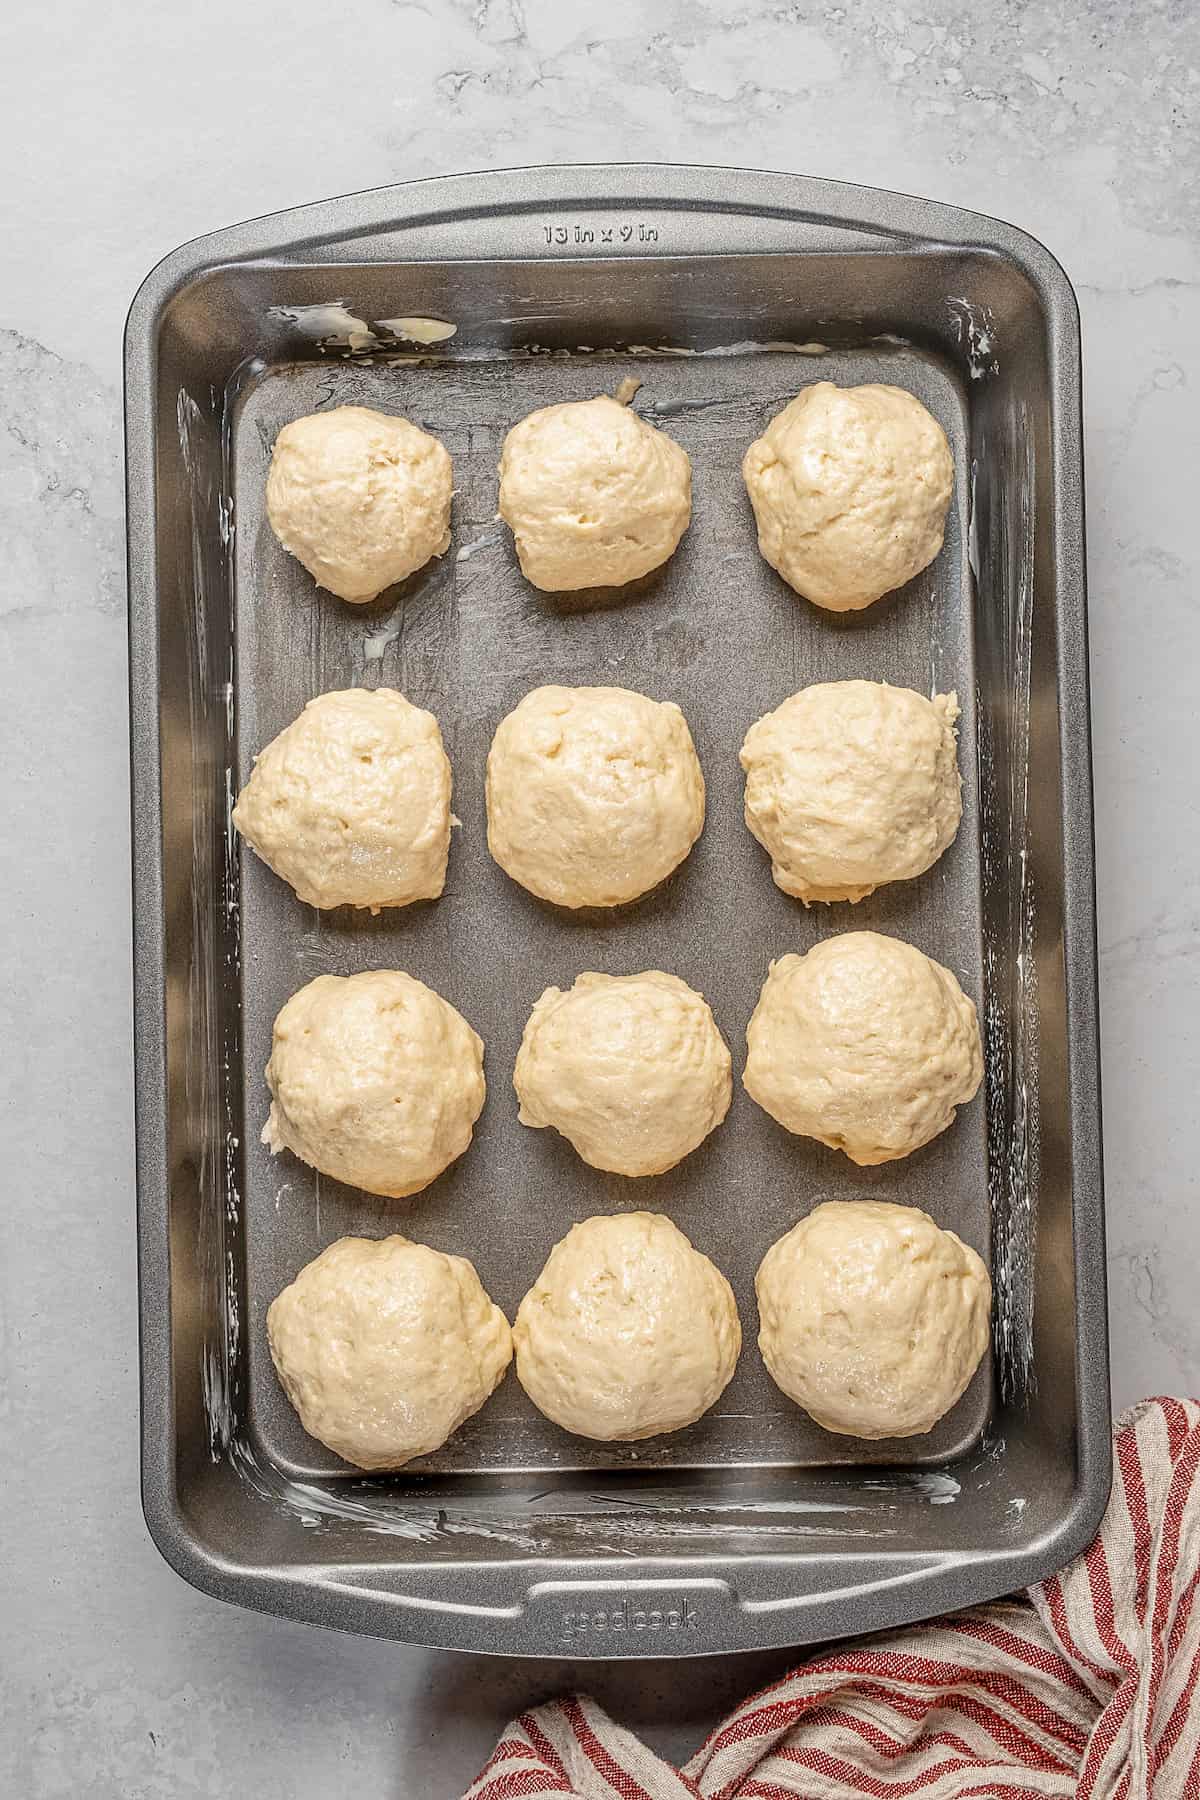
- Rise: Place the pan covered in plastic wrap in a warm, draft-free spot to rise for an hour until doubled in size. Towards the end of the rising time, preheat the oven to 350ºF.
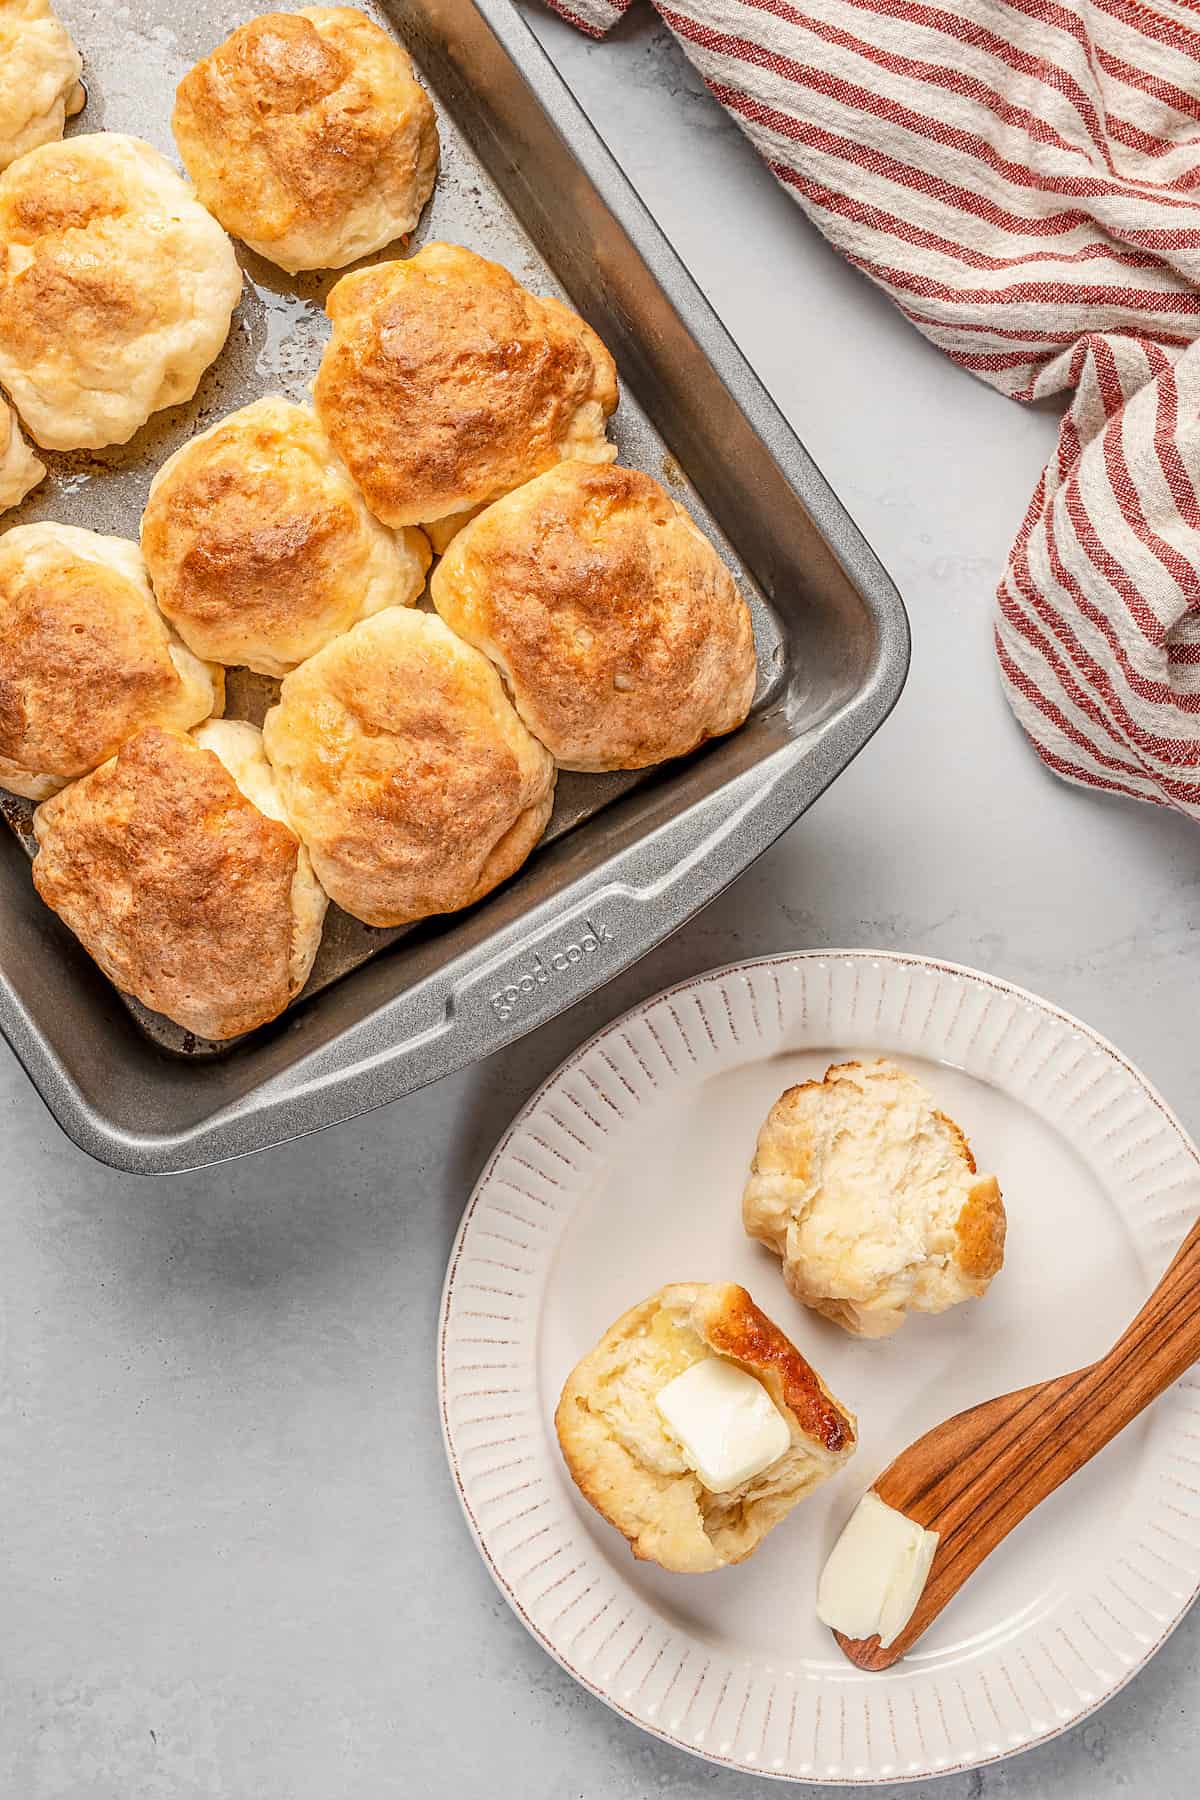
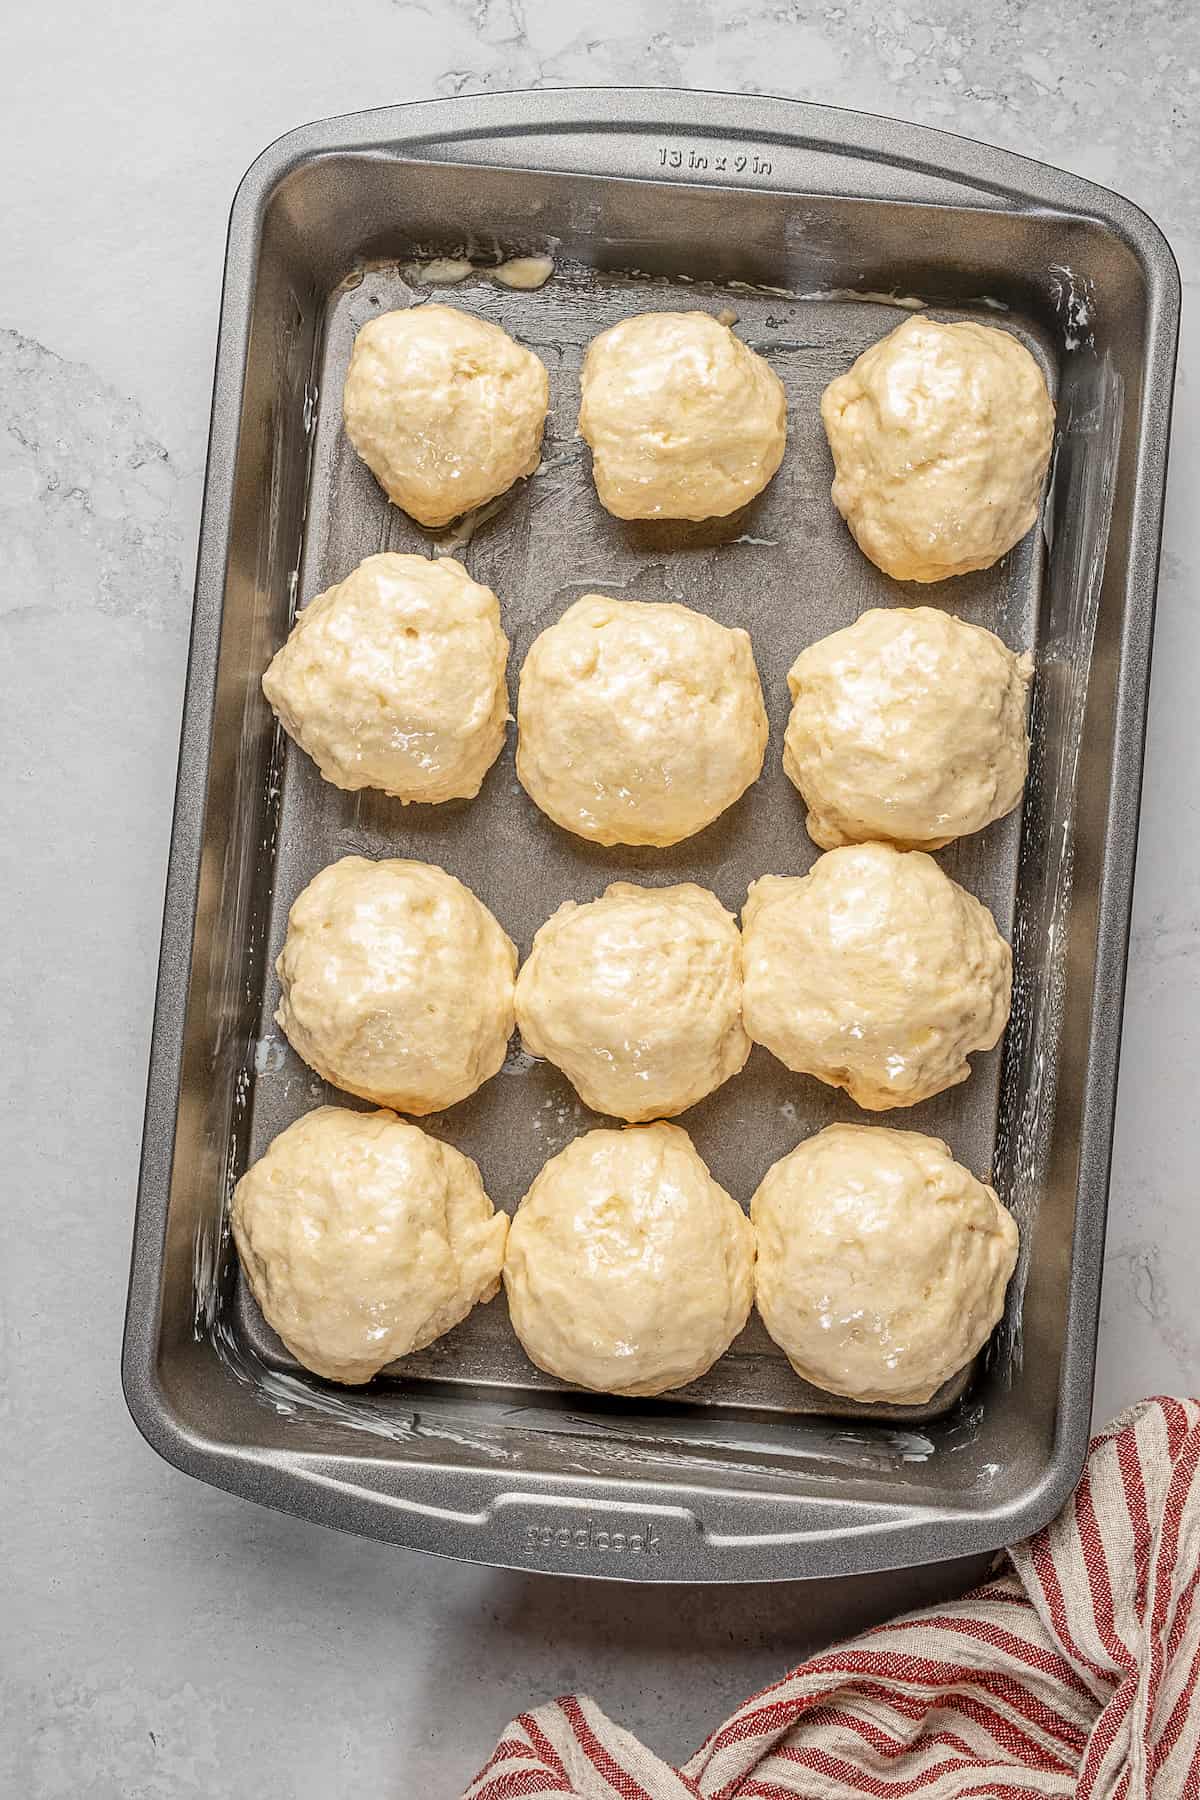
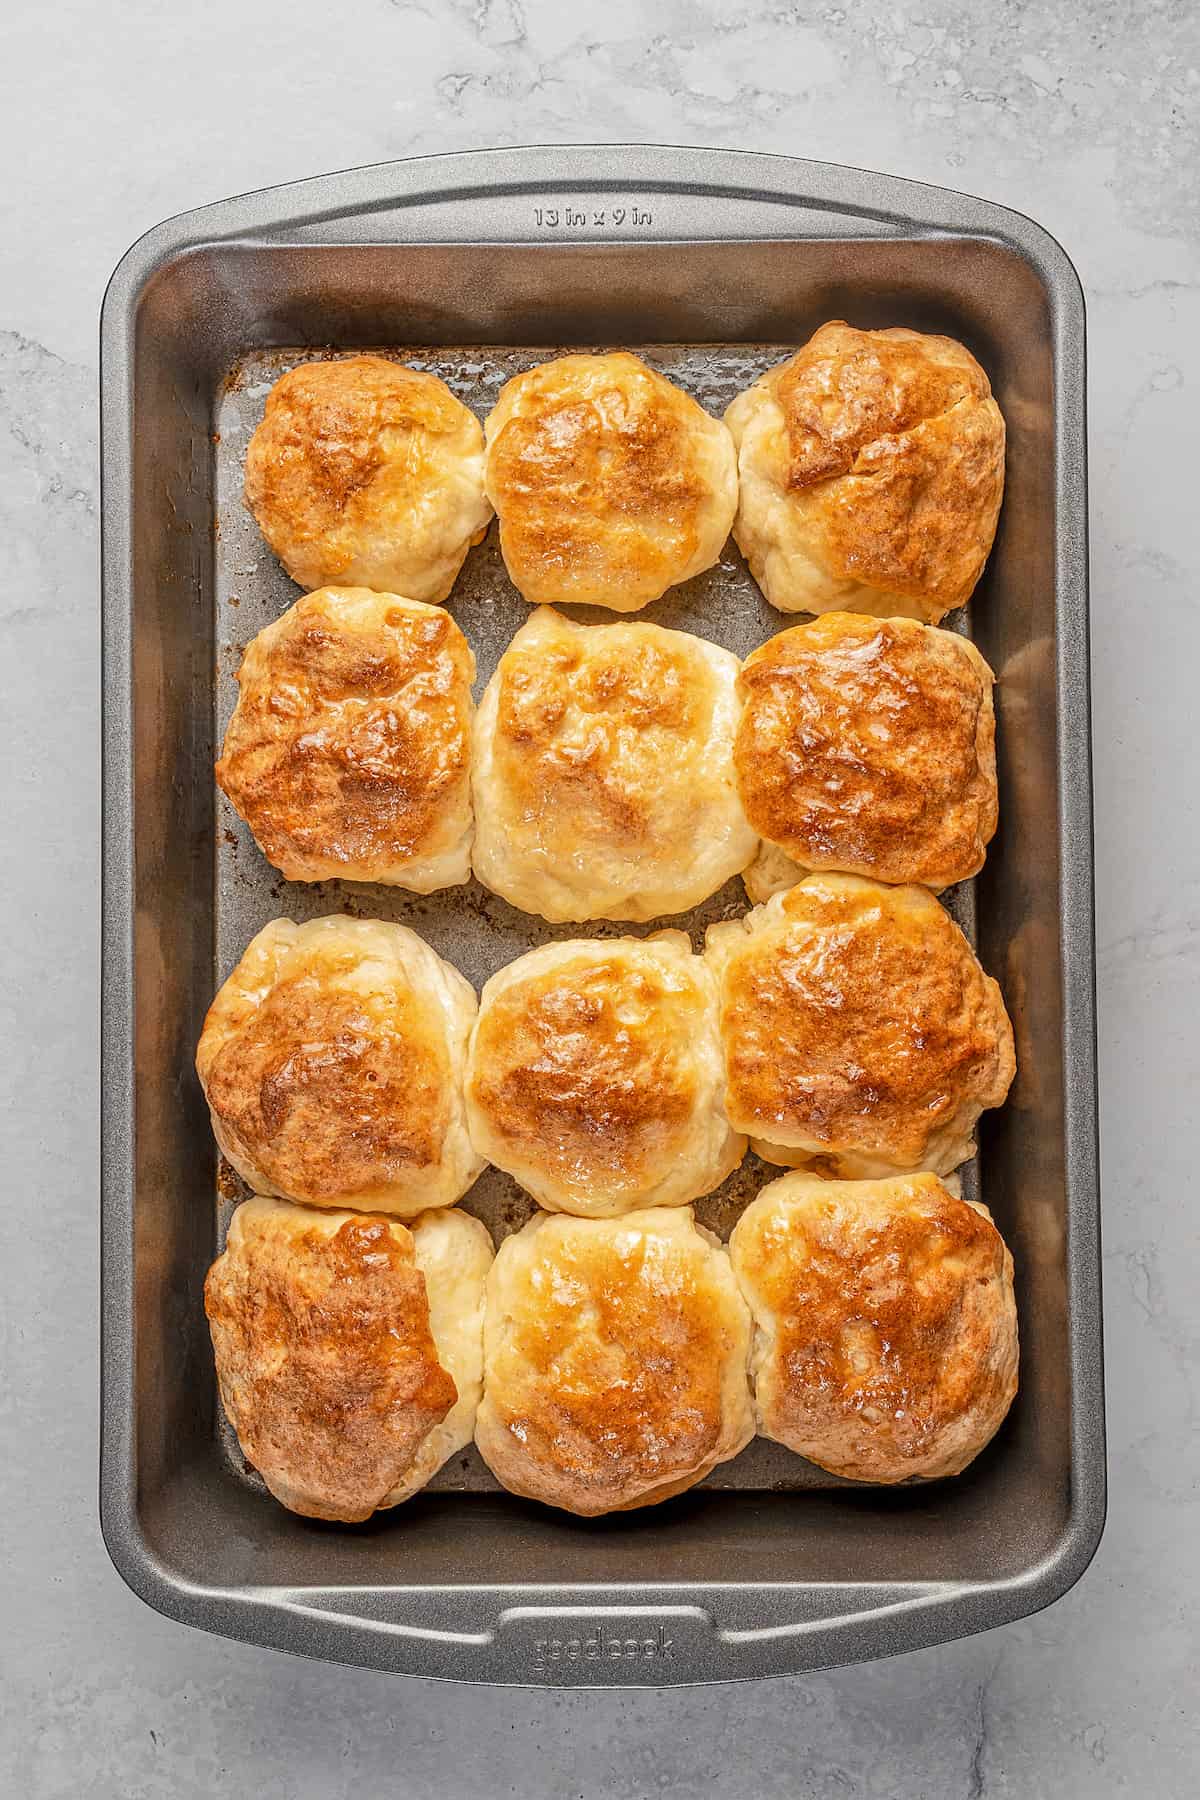
- Bake: Melt some additional butter in the microwave and brush this over the tops of the dough balls. Pop the rolls into the oven to bake for 20 minutes to a half hour, until golden. You’ll want to leave the Hawaiian rolls to rest in the cake pan for another 10 minutes or so once they’ve left the oven, before moving them to a wire rack.
Tips for Success
Here are some additional tips for the best homemade gluten-free Hawaiian rolls:
- Grease your hands when handling the dough, as gluten-free bread dough does tend to be stickier than regular bread dough. Give your hands a quick spritz with the same cooking oil you use to grease your cake pan.
- For even-sized rolls, a kitchen scale comes in handy. Weigh the total amount of dough, and then divide that by 12 in order to weigh out the rolls. However, you don’t have to be too exact if you prefer more rustic-looking rolls, just as long as they’re not drastically different in size (otherwise they won’t bake evenly).
- If your Hawaiian rolls come out too dense, there could be a few reasons for this. Make sure you budget enough time to allow the dough to rise, and always check expiration dates and use fresh yeast for the fluffiest rolls.
Frequently Asked Questions
Hawaiian rolls are enriched rolls made with butter, milk, and eggs. Traditional Hawaiian rolls are also sweetened with pineapple juice, which is where their classic “Hawaiian” flavor comes from.
The pineapple juice is optional in my gluten-free version. When combined with some brands of GF flour, it inhibits the rising of the rolls. But wither way, these homemade Hawaiian rolls are just as irresistibly soft, flaky, and sweet!
This popular brand of Hawaiian rolls is unfortunately not gluten-free. And while gluten-free sweet rolls do exist in stores, they are also larger, sandwich-sized rolls. Plus, I’ve found that nothing compares to these homemade rolls!
Vegan butter can be substituted for regular butter and almond or oat milk for the milk if you’d like to make dairy-free, gluten-free Hawaiian rolls.
Yes, and the dough can turn out a bit rubbery as a result. Be mindful to not overwork the dough when combining the ingredients, but do give it enough time for the moisture to be fully absorbed.
Storing Gluten Free Hawaiian Rolls
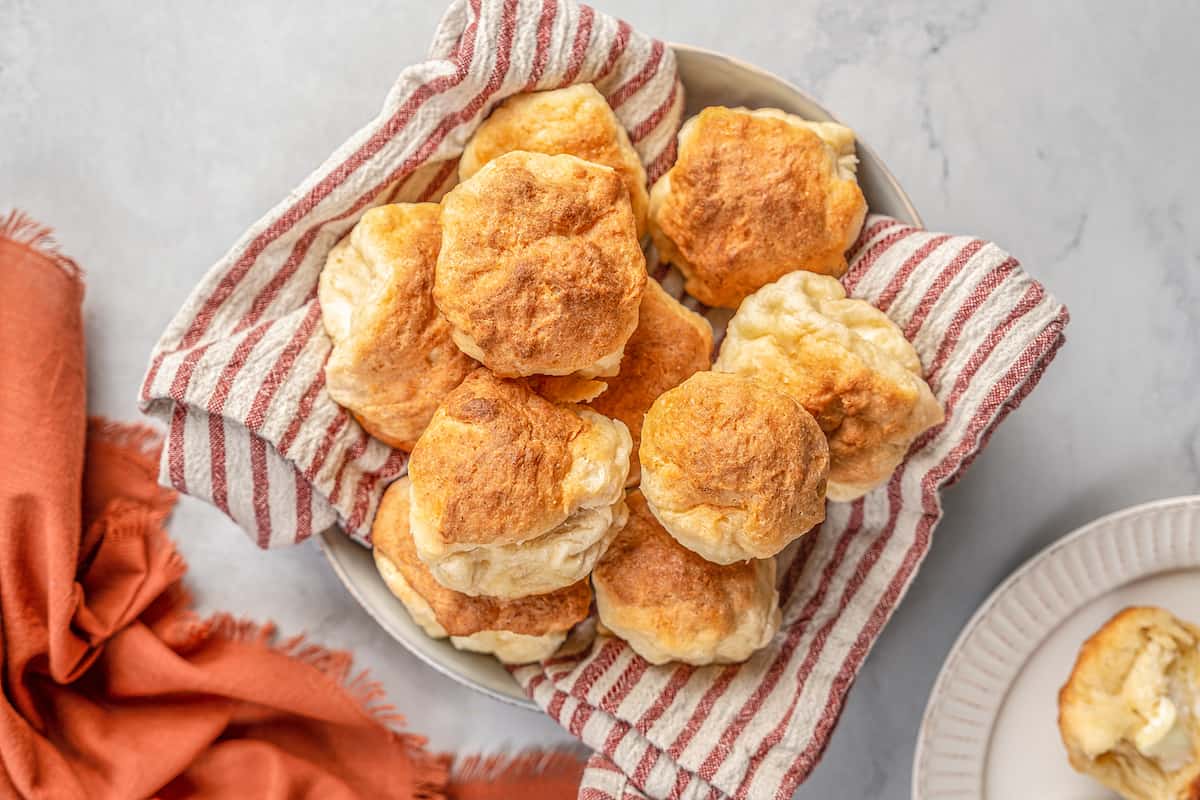
- Room temperature – Store leftover Hawaiian rolls airtight in a cool, dry place on the counter or in your pantry. They’ll keep fresh enough for 3-4 days. If you know you’ll have a lot of leftovers, you may want to consider freezing them.
- Freezer – Gluten-free Hawaiian rolls are great to freeze for longer-term storage. Once the rolls are completely cooled, wrap them tightly in plastic wrap or store them in a freezer bag, and freeze them for up to 3 months.
- Reheat – If frozen, thaw the rolls at room temperature, or in the microwave (at 10% or low power). You can also wrap the frozen rolls in foil and warm them in the oven at 300ºF for 15 minutes or so.
Make it a Meal
Here are some of our favorite ways to serve these gluten-free Hawaiian rolls:
- As Dinner Rolls: The sweetness of these homemade rolls compliments other sweet-savory dinner ideas like BBQ Pulled Pork or Baked BBQ Chicken Breasts. They’re also great to enjoy as a side at Thanksgiving and Christmas dinner!
- Toasted with Butter: These sweet rolls are delicious when they’re lightly toasted and smeared with butter, honey, or jam (also try them with Cranberry Orange Butter! Delicious.)
- For Sliders: Make life-changing Ham Sliders or Cheeseburger Sliders on these Hawaiian rolls, or turn them into Maple Dijon Sausage Breakfast Sliders or Pulled Chicken Sliders.
- With Soups and Chilis: Serve tender Hawaiian rolls with comforting bowls of Pineapple Turkey Chili, Crockpot Beef Stew, and Split Pea Soup with Ham.
Gluten Free Hawaiian Rolls
Ingredients
- 3 cups Caputo Fioreglut Gluten Free Flour or King Arthur Flour All-Purpose Gluten Free Flour
- 2/3 cup light brown sugar
- 2 Tablespoons white rice flour
- 2 Tablespoons corn starch
- 1 Tablespoon xanthan gum
- 1 Tablespoon instant yeast
- 1 1/2 teaspoons salt
- 1 1/2 cups milk OR 1 cup milk plus 1/2 cup pineapple juice (see note)
- 4 Tablespoons butter, cut into small pieces
- 2 eggs
- 2 Tablespoons butter, melted for the top of the rolls
Instructions
- In the bowl of your stand mixer, whisk together the flour, light brown sugar, white rice flour, cornstarch, xanthan gum, yeast, and salt.
- In a microwave-safe bowl, combine the milk and butter. Microwave for 1-2 minutes to melt the butter. Using a thermometer, check the temperature of the mixture. It should be between 120°F and 130°F. If the temperature is higher than 130°, allow the mixture to cool slightly. You do not want the mixture to be too hot, as it could kill your yeast.
- Using the paddle attachment on your stand mixer on low speed, slowly pour the milk and butter mixture into the prepared flour mixture, followed by the pineapple juice, if using Add in the eggs one at a time.
- Beat the mixture on medium speed for 5 minutes. The mixture should become thick and smooth.
- Grease a sheet cake pan with cooking spray and set aside. Grease your hands using a bit of cooking oil. Scoop out about 1/3 cup of the dough and gently roll it into a ball. Place the ball into your cake pan. Repeat until you have formed 12 equal-sized balls.
- Cover the cake pan with plastic wrap. Place in a warm draft-free place and allow the dough to rise for about 1 hour. The dough should rise to about 50% of the original size.
- While your dough is rising, preheat your oven to 350°F.
- Brush the tops with melted butter.
- Bake the rolls for between 20-30 minutes. The rolls should be golden brown on top when they are done.
- Allow buns to rest for at least 10 minutes in the pan before removing and transferring them to a cooling rack. You can add more melted butter to the tops for an extra decadent experience!


