
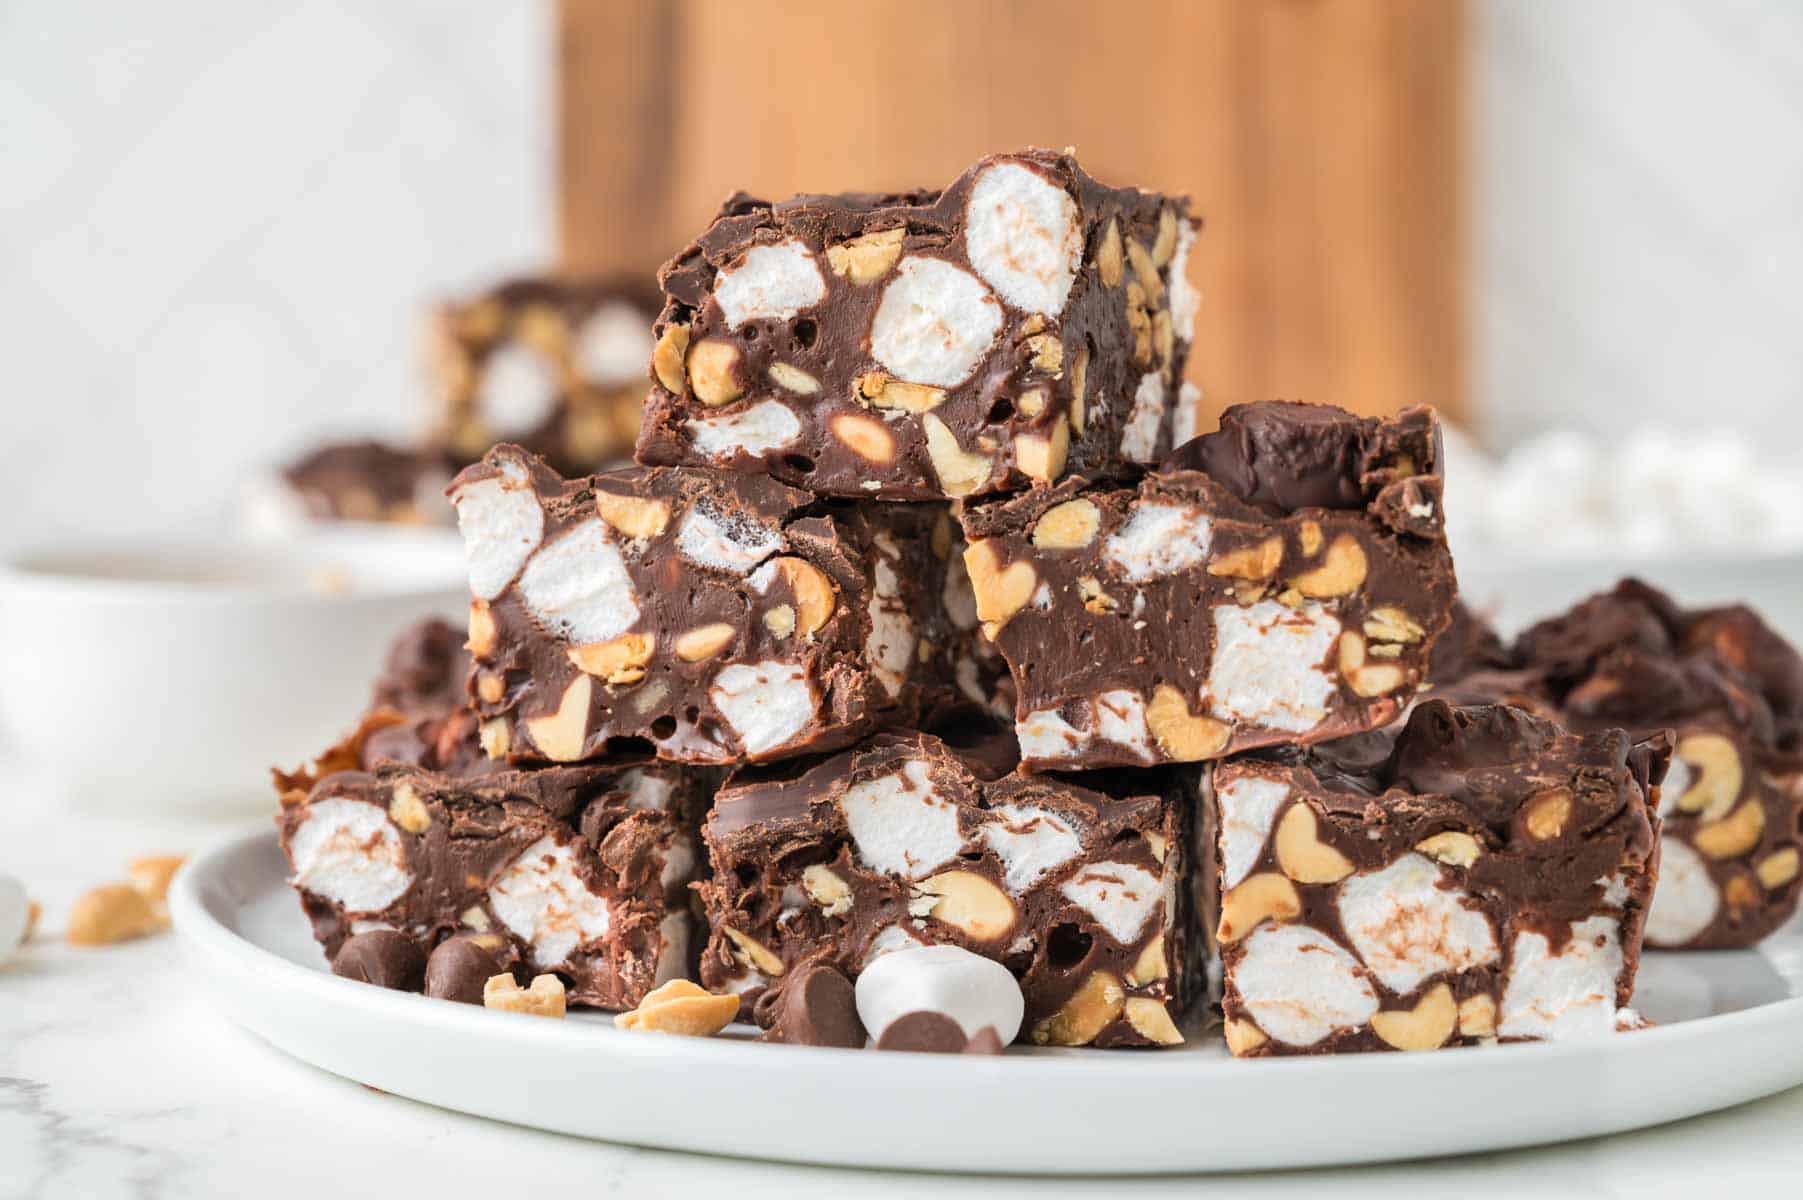
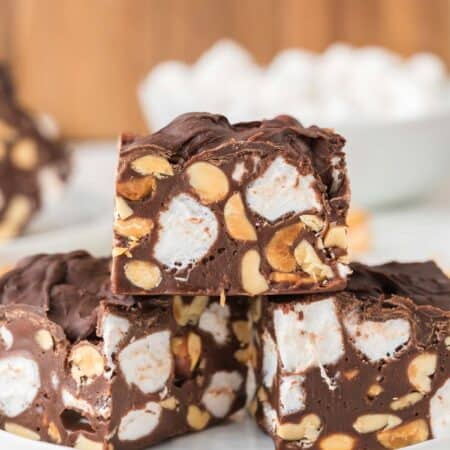
Rocky Road Fudge


Rich and creamy Rocky Road Fudge needs just 4 ingredients and is loaded with everything you love about this classic flavor – milk chocolate, mini marshmallows, and toasted peanuts! It’s an easy and indulgent treat to enjoy any time of the year, and is an especially yummy addition to your platters and containers of holiday goodies!

Delicious Details
- Cuisine Inspiration: American
- Primary Cooking Method: Stovetop
- Dietary Info: Gluten-free
- Skill Level: Easy
Why You’ll Love This Rocky Road Fudge
I consider this Rocky Road fudge recipe to be a candy version of my incredible Rocky Road Brownies, and it’s even better if you can believe it. A dense layer of fudge is packed with crunchy nuts and pillowy bits of marshmallows, then topped with a thin layer of melted chocolate. It makes a fantastic holiday dessert to keep or to share (I give you packaging tips lower down if you want to share this give this fudge as an edible gift.) Here are some highlights:
- Classic flavor in fudge form. If you love Rocky Road ice cream you are sure to love those same flavors and textures turned into creamy fudge!
- Quick and easy! A little melting, stirring, and chilling is all you’ll need to do to create fudgy candy magic.
- Simple, gluten-free ingredients. Give the ingredients list a scan and you’ll see that you don’t need much – just chocolate chips, peanuts, condensed milk, and marshmallows. These are all gluten-free ingredients!
What is Rocky Road?
Rocky road is a classic flavor that features chocolate, marshmallows, and nuts! It can be found in candy form, showcasing chocolate studded with almonds or peanuts and chopped marshmallows, as ice cream, in which rich chocolate ice cream is swirled with mini marshmallows and almonds, or in fudge form, like in this Rocky Road fudge recipe!

Recipe Ingredients
A few ingredients are all that you’ll need for this easy fudge, and I’ve listed them with some notes below. Don’t forget to scroll to the recipe card at the end of this post for the full ingredient amounts.
- Chocolate Chips: I prefer to use semisweet chocolate chips in this recipe. If you like a sweeter, richer taste of chocolate you can try milk chocolate chips. Use good-quality chocolate if possible.
- Sweetened Condensed Milk: Use sweetened condensed milk to add sweetness to the fudge.
- Peanuts: For the best flavor, use roasted peanuts. Choose salted or unsalted peanuts depending on your preference.
- Mini Marshmallows: For that classic rocky road taste, use mini marshmallows! And don’t worry, most marshmallows are gluten-free. Check my post Are Marshmallows Gluten Free? for tips on choosing gluten-free marshmallows.

How to Make Rocky Road Fudge
See the easy steps you’ll take to make Rocky Road fudge below, then scroll down to the recipe card at the end of this post for the detailed instructions.
- Mix milk and chocolate. Place most of the chocolate chips in a pot with the condensed milk and heat to melt the chocolate.
- Add peanuts. Remove the pot from the heat and stir in the peanuts.


- Mix. Fold and mix in the nuts.
- Add marshmallows. Now stir in about half of the marshmallows until they’re completely coated with chocolate.


- Finish the marshmallows. Then stir in the rest of the mini marshmallows.
- Add to a pan. Pour the mixture into a parchment-lined 9×9-inch square baking pan.


- Top with chocolate. Melt the remaining chocolate chips, then pour over the top of the fudge.
- Chill completely. Place the fudge in the fridge to chill for at least 1 hour, then cut it into 16 squares.


Tips for the Best Fudge
- Cook on low heat. Turn the burner to low when you’re cooking fudge so that it doesn’t burn. Don’t rush it!
- Stir constantly. Another tip for keeping the fudge from burning is to stir the mixture constantly while it cooks. This will help the chips to completely melt into the milk.
- Use a candy thermometer. If you have a candy thermometer handy, test the fudge mixture. When it reaches between 237-239°F you can remove it from the heat.
- Chill. For the best results, fudge should be chilled in the fridge for at least 1 hour. You can check the fudge after about 30-40 minutes to see if it’s solid and ready to cut, but I like to wait for the full hour so that I get nice clean cuts from the cold fudge,
- Toast the nuts! I like roasted, salted peanuts for a salty-sweet flavor with that extra nuttiness that complements the chocolate. If you don’t want to use peanuts, feel free to use walnuts, almonds, cashews, or pistachios. But regardless of the nut you choose, if they aren’t roasted, I recommend toasting them lightly in a pan until they give off a nutty aroma.
- Skip the chocolate layer. Adding the extra melted chocolate to the fudge helps give it a more even top, making it look nicer and easier to cut. If you’re in a rush, you can add all of the chips to the fudge mixture and skip that extra chocolate layer.
- Cut smaller squares. Feel free to cut the fudge into smaller squares to make up to 32 pieces – it is quite rich!

How to Store Fudge
- Fridge – Place the fudge in an airtight container with a layer of parchment between any layers and store it in the fridge for up to 1 week.
- Freezer – Store fudge in an airtight, freezer-safe container in the freezer for up to 2 months. Defrost the fudge in the fridge before serving.
Packaging Fudge For Gifting
I love giving homemade Rocky Road fudge as edible holiday gifts. Here’s how to package it: Place pieces of fudge in a decorative tin, box, or other container. Add a layer of parchment paper between any layers if needed so that they don’t stick together. Wrap the container in plastic wrap to keep it airtight, then place the container in the fridge until you give it away.
Rocky Road Fudge
Ingredients
- 2 cups semisweet chocolate chips , divided
- 1 14 oz. can sweetened condensed milk
- 1 ½ cups roasted peanuts , shopped
- 2 ½ cups mini marshmallows
Instructions
- Line a 9×9-inch square baking pan with parchment paper and set aside.
- Add 1 ½ cups of the semisweet chocolate chips and the sweetened condensed milk to a small saucepan over medium-low heat and stir until all of the chips have melted.
- Remove from the heat and quickly stir in the peanuts. Then stir in half of the marshmallows until completely coated, followed by the rest of the marshmallows.
- Pour the mixture into the prepared pan – there may be some slightly uneven bumps due to the add-ins, and this is fine.
- Melt the remaining ½ cup of the chocolate chips in a microwave-safe bowl, in the microwave, in 15-second increments, stirring each time, until completely melted.
- Pour this chocolate over the top of the fudge in the baking dish and smooth it out into a thin layer.
- Chill in the fridge for at least 1 hour before cutting into square.
- Enjoy immediately or store in the refrigerator in an airtight container.

Did you make this?
Leave a star rating to help others know that they should make this recipe.
Share a photo and tag @cupcakesandkalechips on Instagram!