This post may contain affiliate links. Read my disclosure policy.
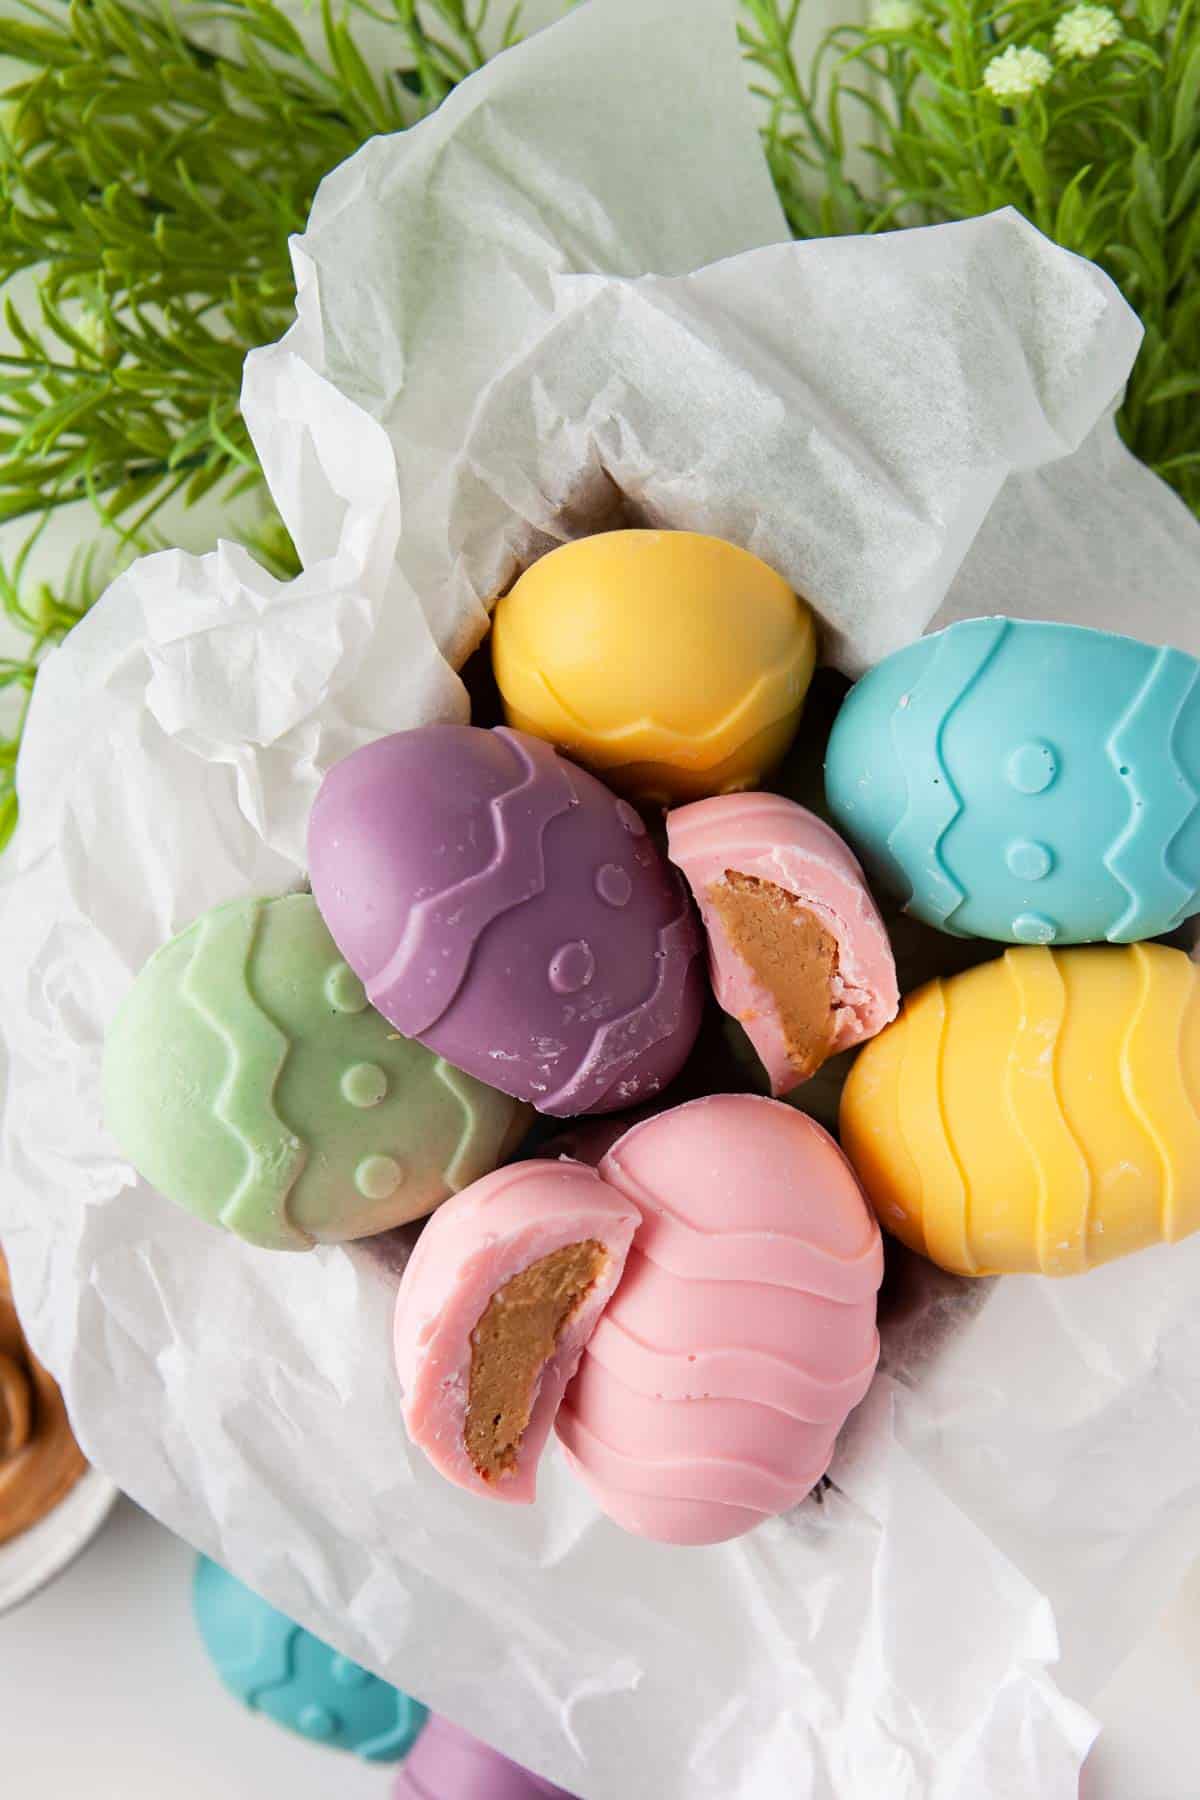
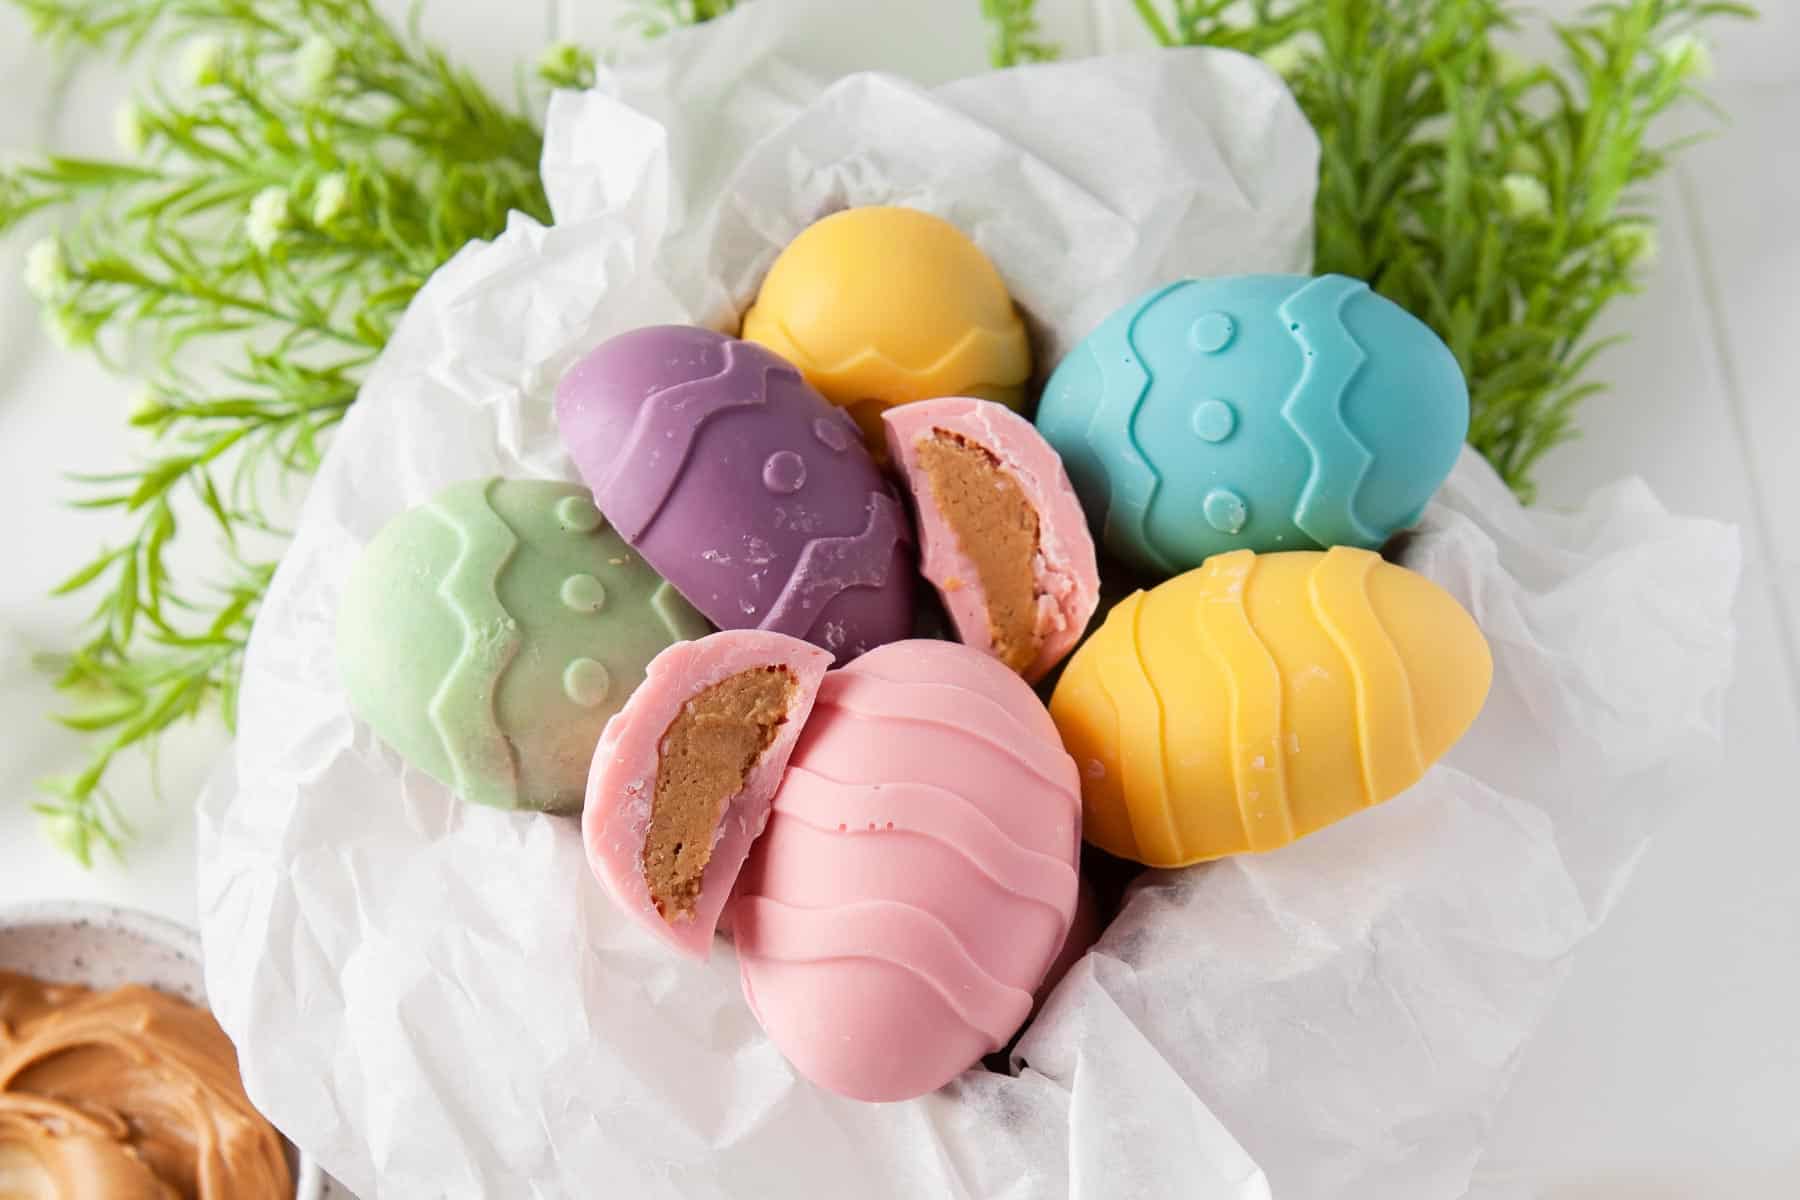
Get ready to fill your baskets with Homemade Peanut Butter Eggs! With a colorful chocolate shell and a rich, sweet peanut butter filling, these easy treats are a favorite Easter candy. Only 5 ingredients, and when you make them yourself, you know they are gluten free!
Chocolate Peanut Butter Eggs – Better than Reese’s Eggs
I know many people out there are just like me – serious chocolate peanut butter lovers. So peanut butter eggs, specifically Reese’s eggs, were a staple in my Easter basket. Imagine my sadness when I had to give up gluten and found out that Reese’s eggs are NOT gluten free! That’s right. While regular peanut butter cups are safe, the holiday shapes are manufactured on shared equipment where gluten cross-contamination is a risk.
But that’s OK because these tasty treats are so easy. Plus they are BETTER than Reese’s and even some of the other copycat recipes out there. Why?
The homemade peanut butter filling has a deeper peanut butter flavor that isn’t as crumbly or oily. And compared to recipes where you have to shape the filling by hand, this piped peanut butter mixture is creamier, fluffier, and not overly sweet. You also don’t have to deal with the mess and fuss of shaping and dipping, and the molds make them extra pretty!
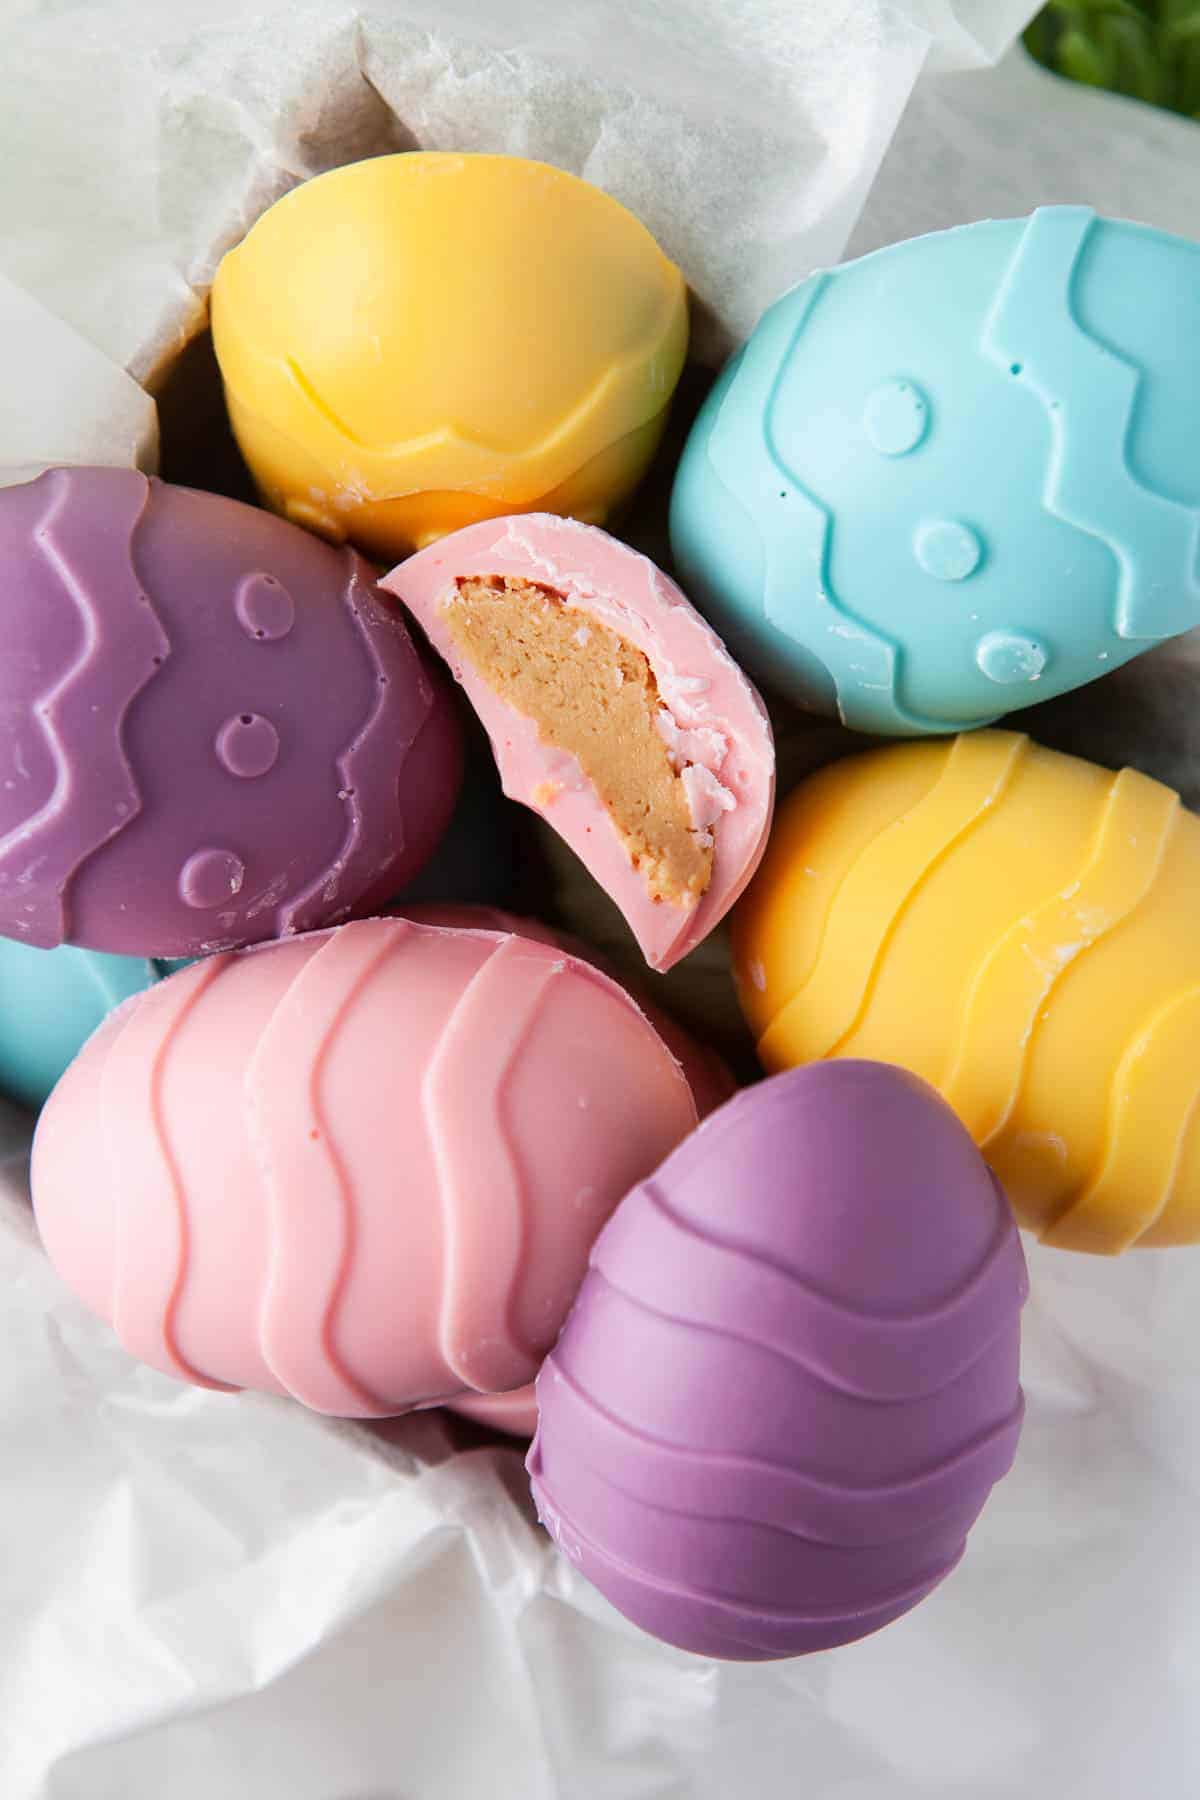
You get to choose the chocolate you use. Of course, you can go with classic milk chocolate. Make them a little more gourmet with deep, dark chocolate. Or have some fun with colored white chocolate candy melts for bright, beautiful Easter egg candies!
What You’ll Need
The ingredients are super simple, but to make these peanut butter eggs extra easy and super cute, it’s important to have the right equipment.
Supplies
- Molds – I used these decorative silicone molds but you can use any shape or style.
- Piping bags – Heavy-duty plastic storage bags work in a pinch, but piping bags are less likely to burst.
- Piping tips – You’ll want to use the larger piping tips like the Wilton #1M or #2D to fill the molds.
- Small offset spatula – This will make it easier to smooth out the peanut butter filling and the chocolate.
Ingredients
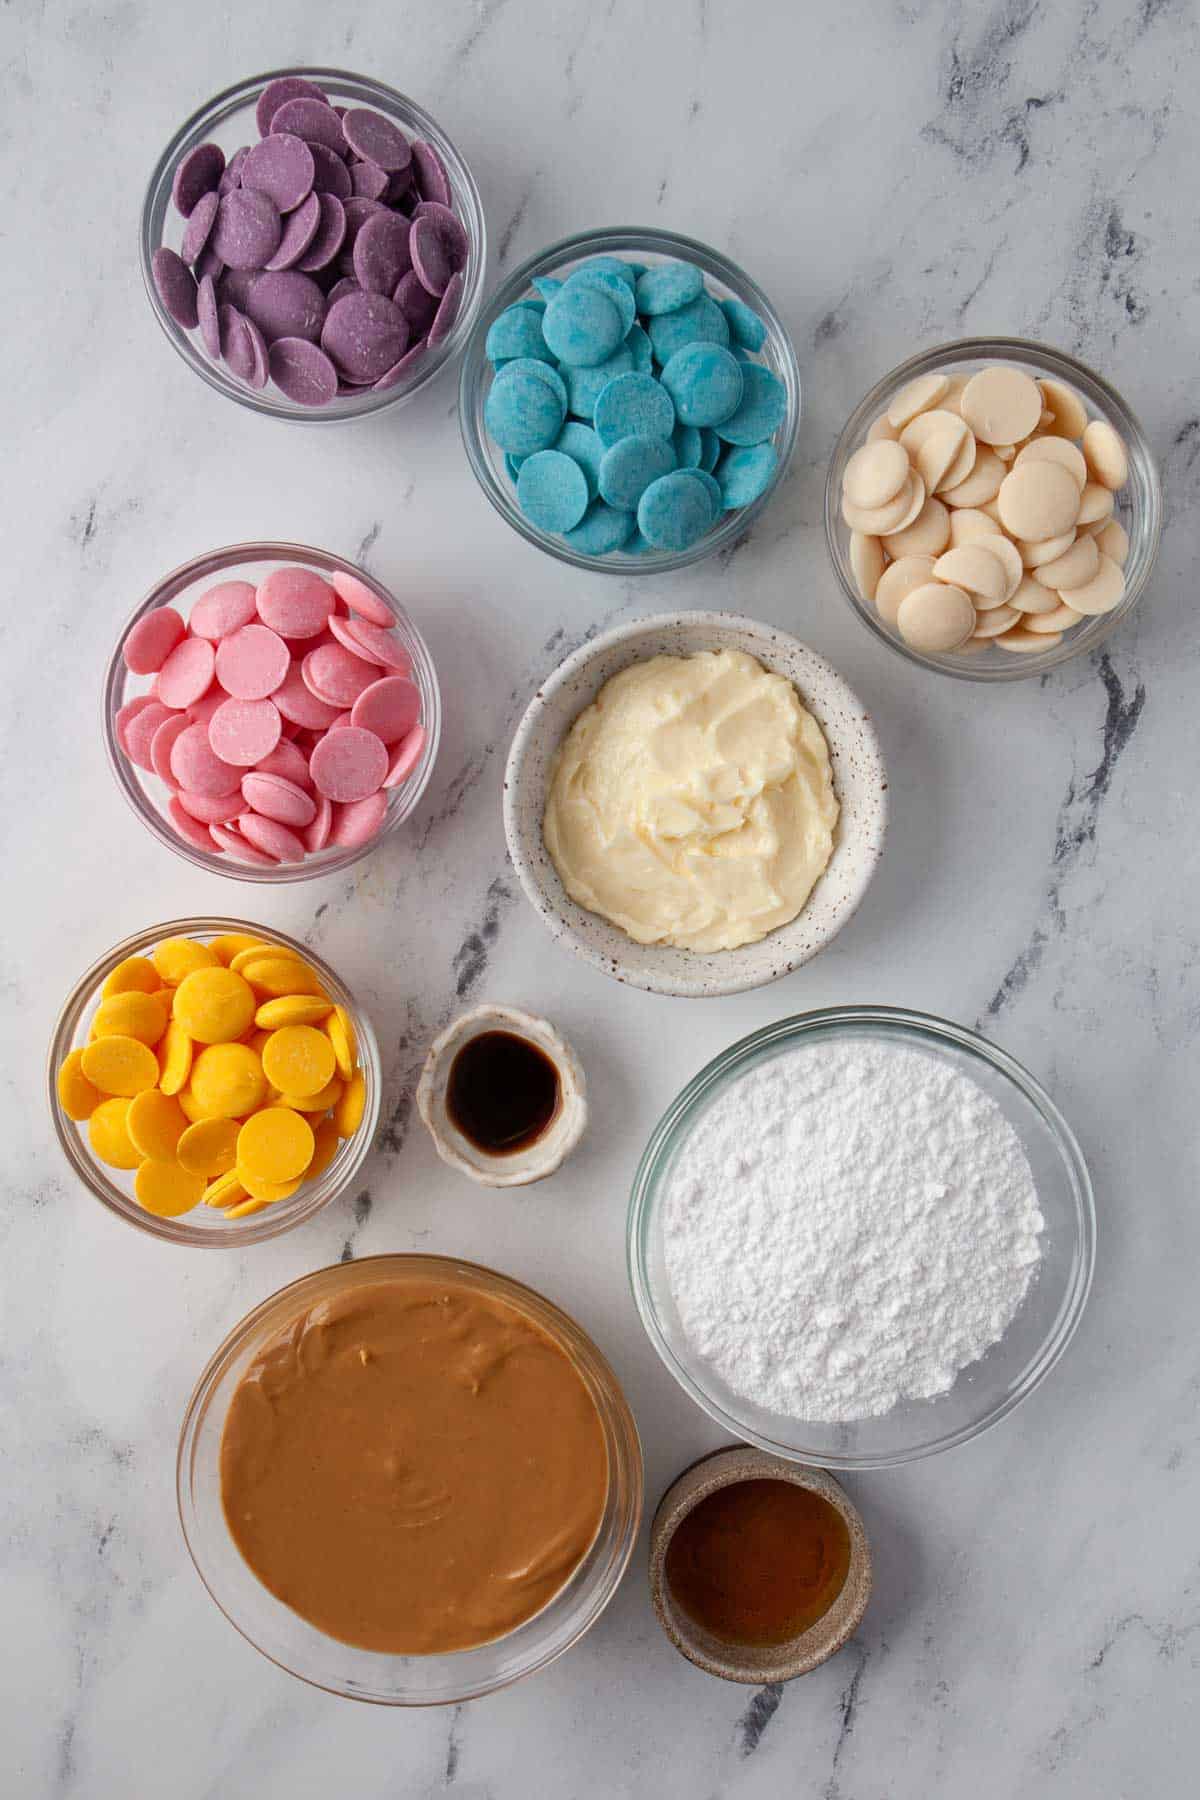
- Peanut butter – creamy is best, and you should avoid natural or low fat peanut butter for the best consistency.
- Powdered sugar
- Pure vanilla extract
- Unsalted butter – Make sure it is softened to room temperature.
- Candy melts – You can go with classic milk, dark, or white chocolate, or choose colored candy melts. Just be sure the brand you use is gluten free, if that is a concern for you. Wilton is NOT, but at the time of this writing, Merckens or Make’n Mold are gluten free options (always check the packaging or manufacturer for updated information).
How to Make Peanut Butter Eggs
Now that you have everything you need, you can make these yummy treats in no time.
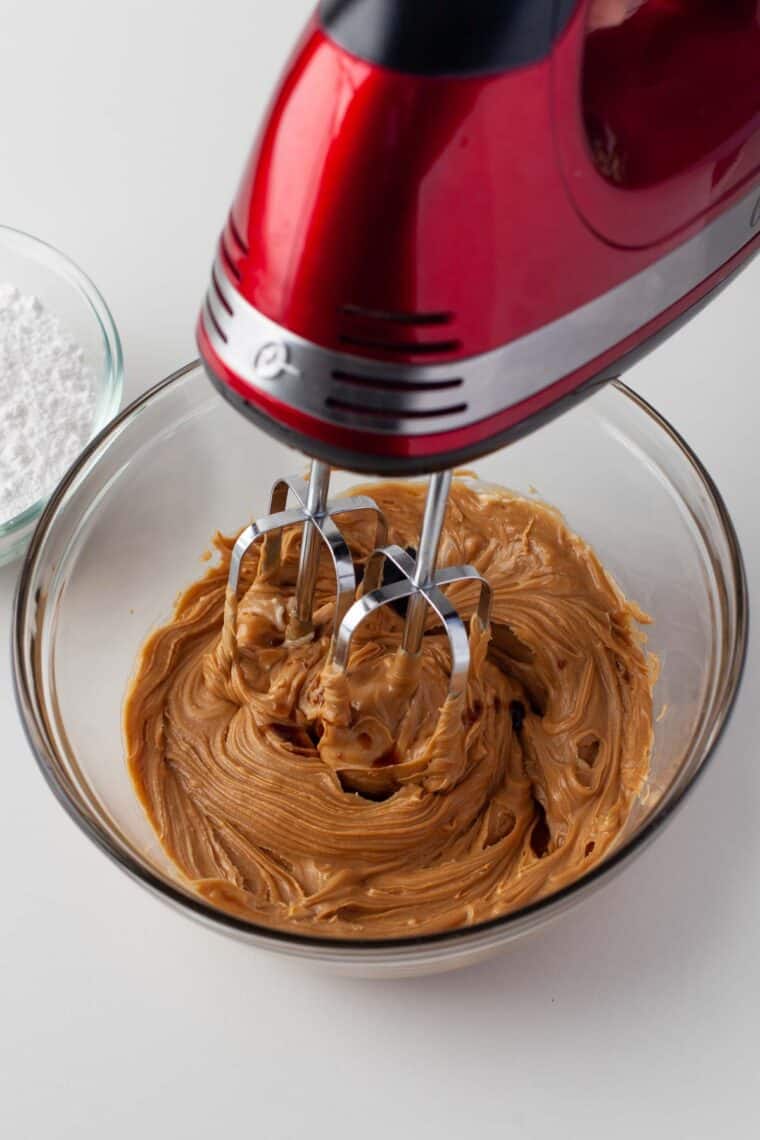
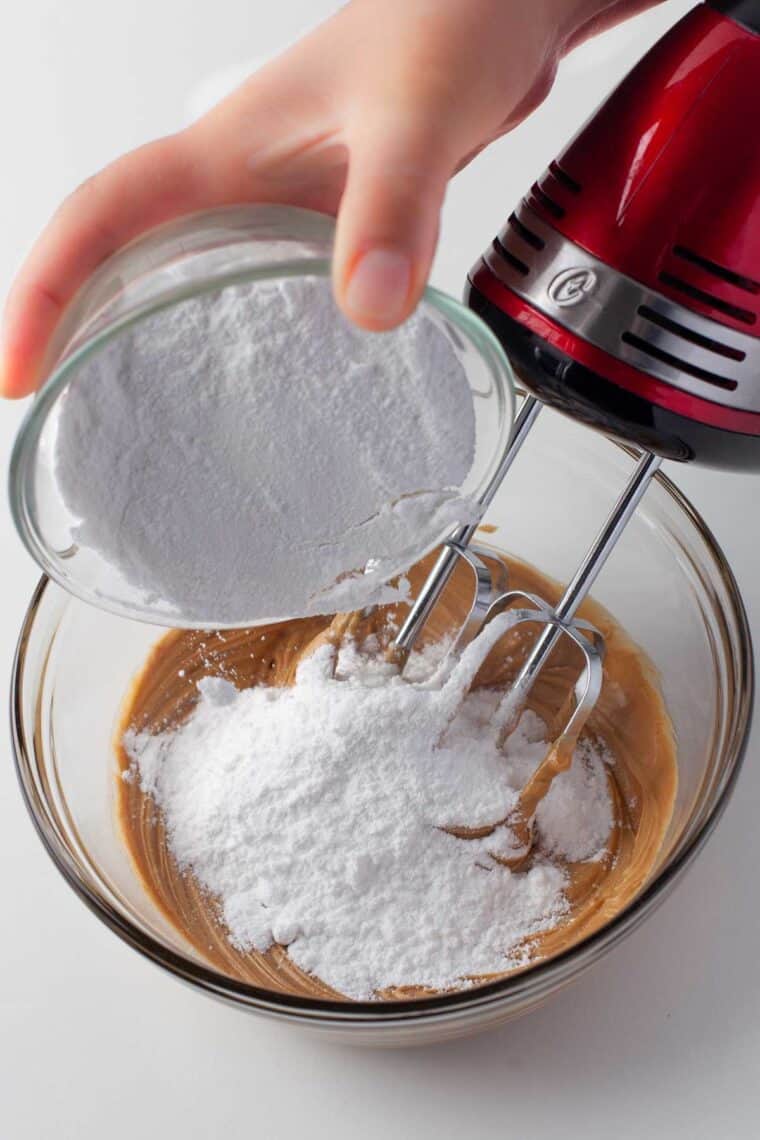
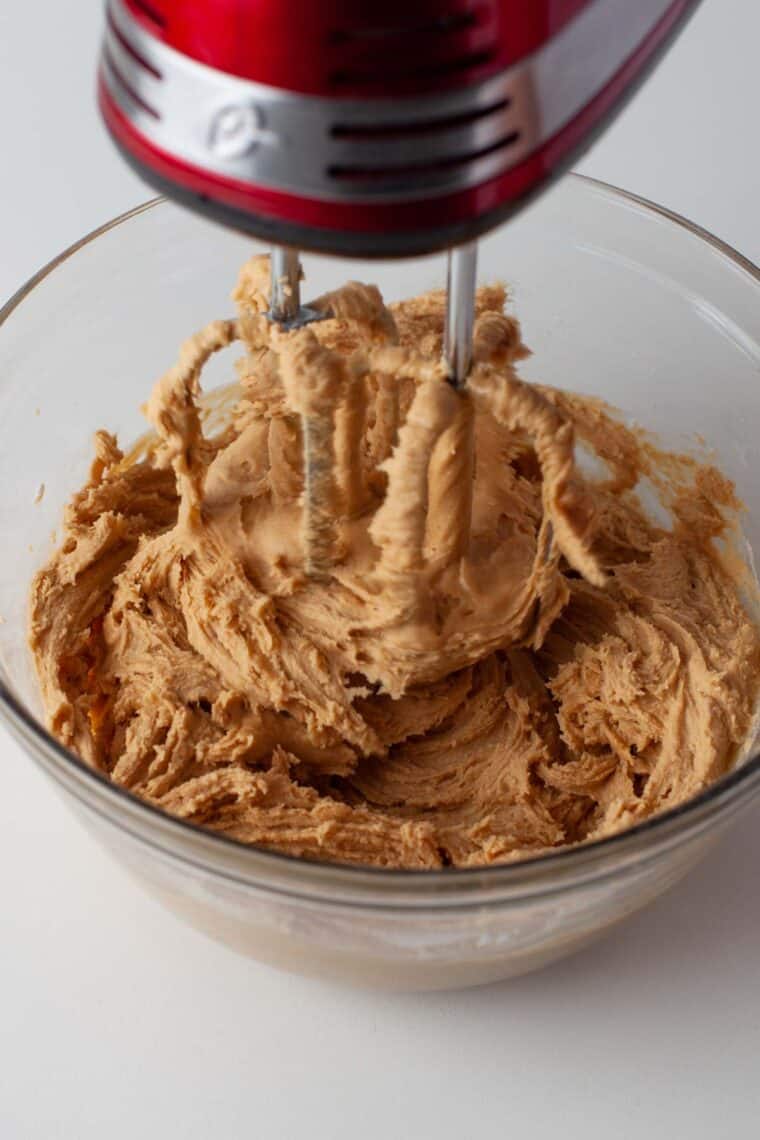
Make the peanut butter egg filling. Combine the peanut butter and butter in a mixing bowl and cream with a hand mixer until light and fluffy. Add the powdered sugar and vanilla, then mix until combined. Transfer the mixture to a piping bag or heavy-duty plastic storage bag. You can just cut off the corner or use a large round or star-shaped piping tip.
Melt the chocolate. Using one color at a time, follow the instructions on the package or microwave the candy melts in 20-second intervals until melted and smooth. Make sure to stir well between each interval and do not heat it too long or it will start to seize.
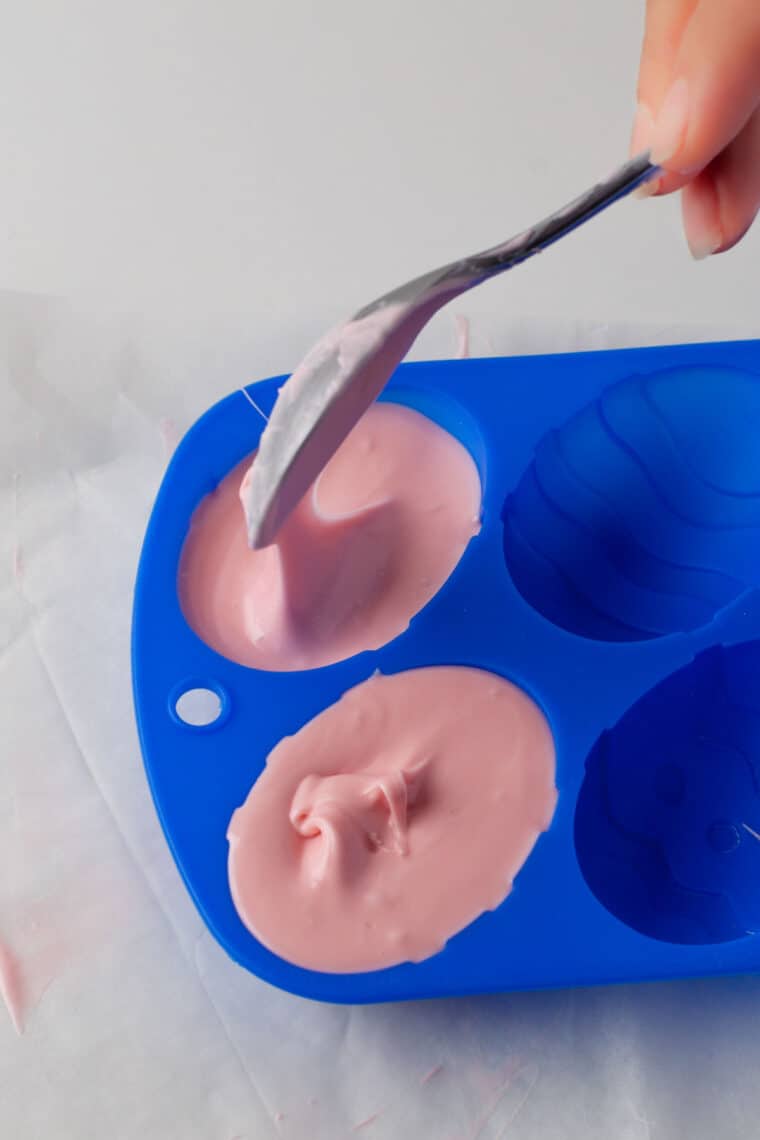
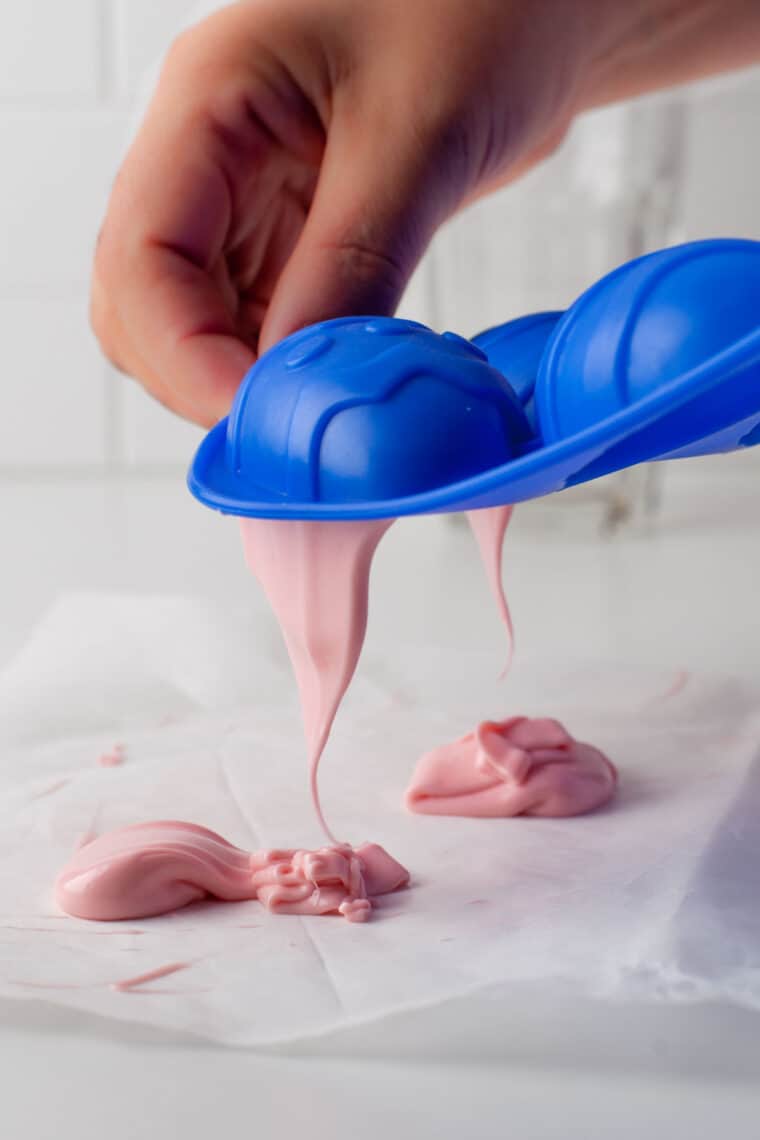
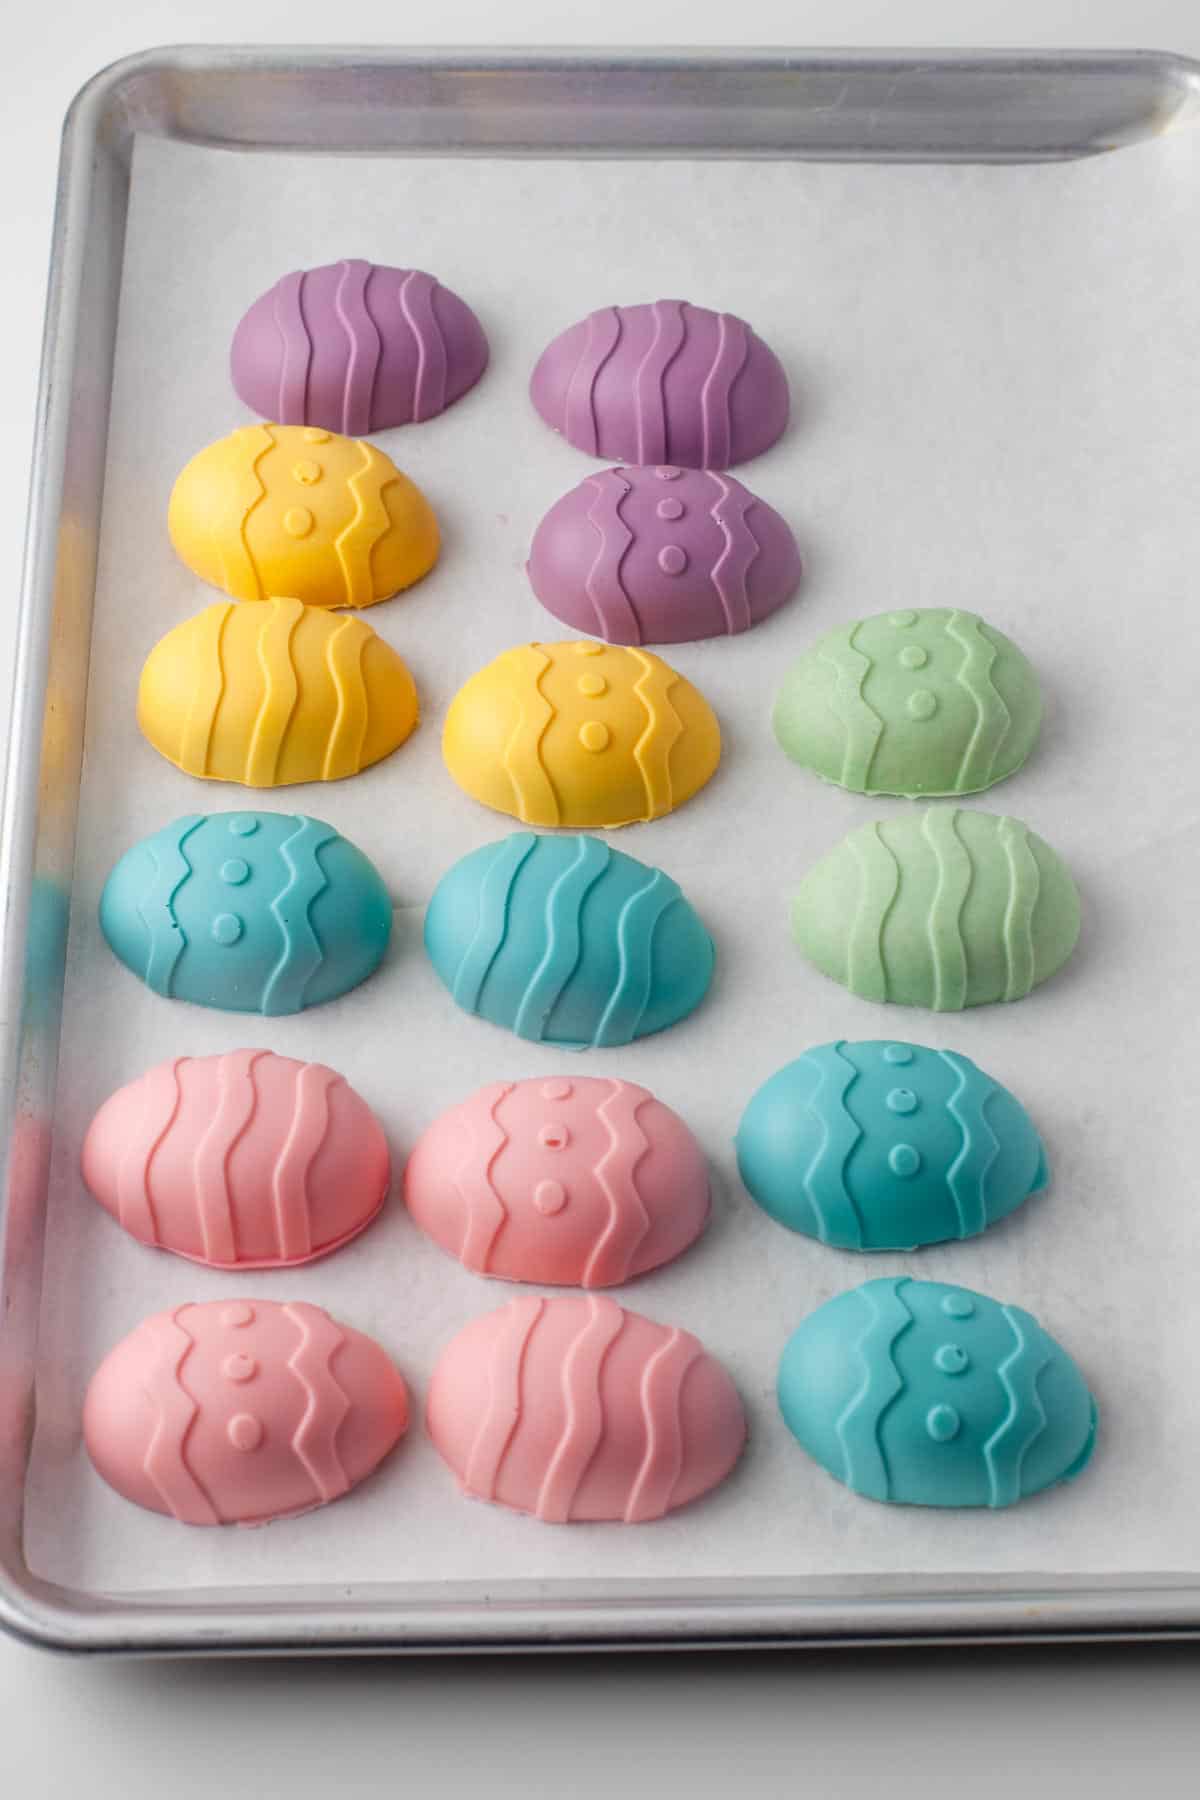
Make the chocolate shells. Take your mold and fill each cavity with the melted candy melt. Turn the mold upside down above a sheet of parchment paper or wax paper. Let it drip until the excess chocolate has dripped out. Now turn the mold how it normally sits for about 10 -12 minutes at room temperature or 5 minutes in the refrigerator until the chocolate is set.
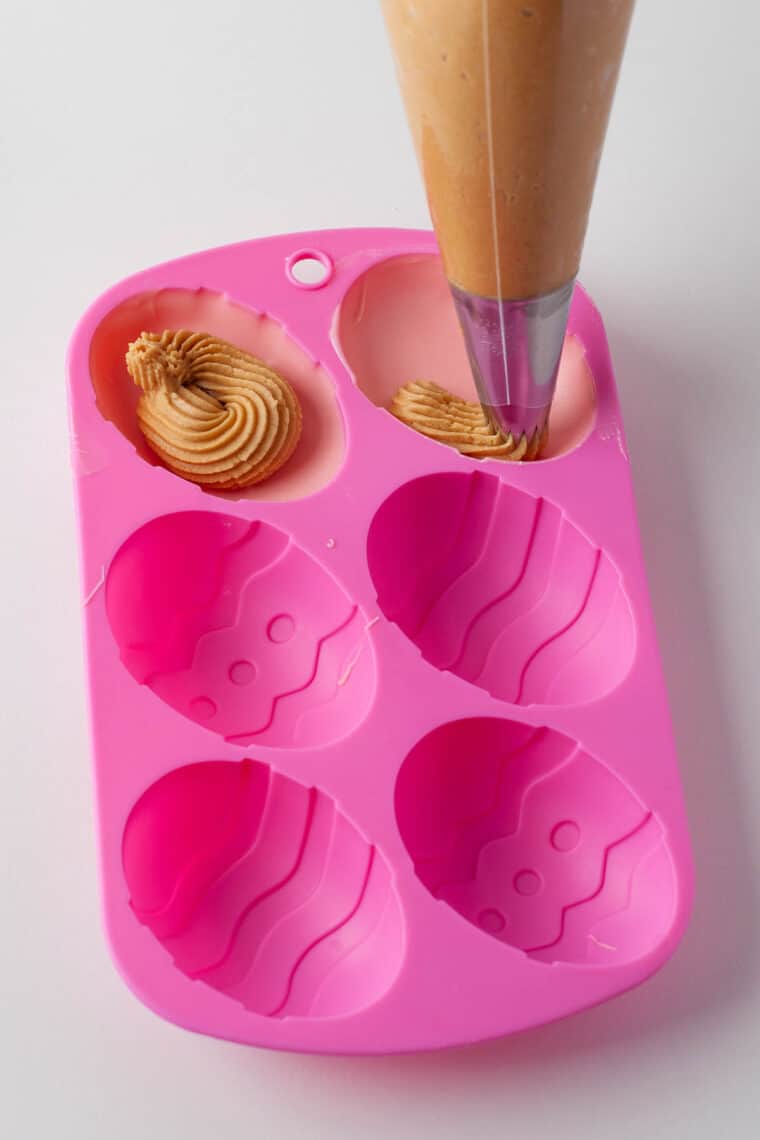
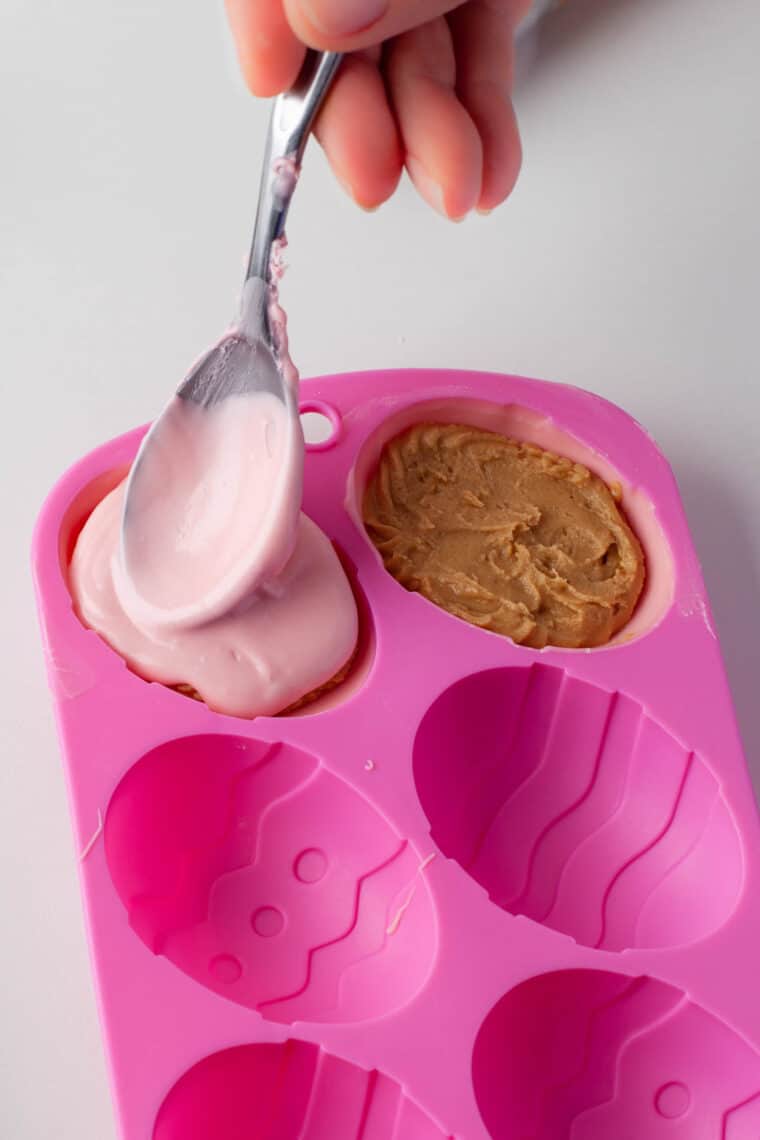
Fill the shells. Pipe the peanut butter filling into each mold filling them 2/3 full with a piping bag. Do not overfill. Seal with another layer of candy melt and scrape the mold to remove the excess candy on top. Place in the refrigerator for 10-15 minutes until completely set and remove from the mold.
Make the rest of the peanut butter eggs with other colors. Repeat with the rest of the chocolate and peanut butter filling. Work with any different colors of chocolate one at a time so that you can melt and reuse the excess chocolate that you have poured out onto the parchment paper. This way you will avoid mixing the colors.
Tips for Success
Use the right peanut butter. Natural or low fat peanut butter can cause you to end up with a dry, crumbly, or oily filling. Your basis peanut butter like Skippy or Jif will work best.
Make sure to use candy melts. Also known as coating chocolate or melting wafers, these are made for melting and molding. If you try to use chocolate chips or candy bars, they may not melt smoothly, and don’t usually give you that nice, shiny finish when they harden.
Work with one color at a time. If you use fresh parchment paper for each color of candy melt, you can re-melt that excess that dripped out and reuse it for making more peanut butter eggs without mixing the colors.
Change it up. Use different types of chocolate. Try almond butter or cashew butter. Or even get different molds for other holidays. Just like the eggs, Reese’s Pumpkins and Christmas Trees aren’t gluten free either.
Storing Peanut Butter Eggs
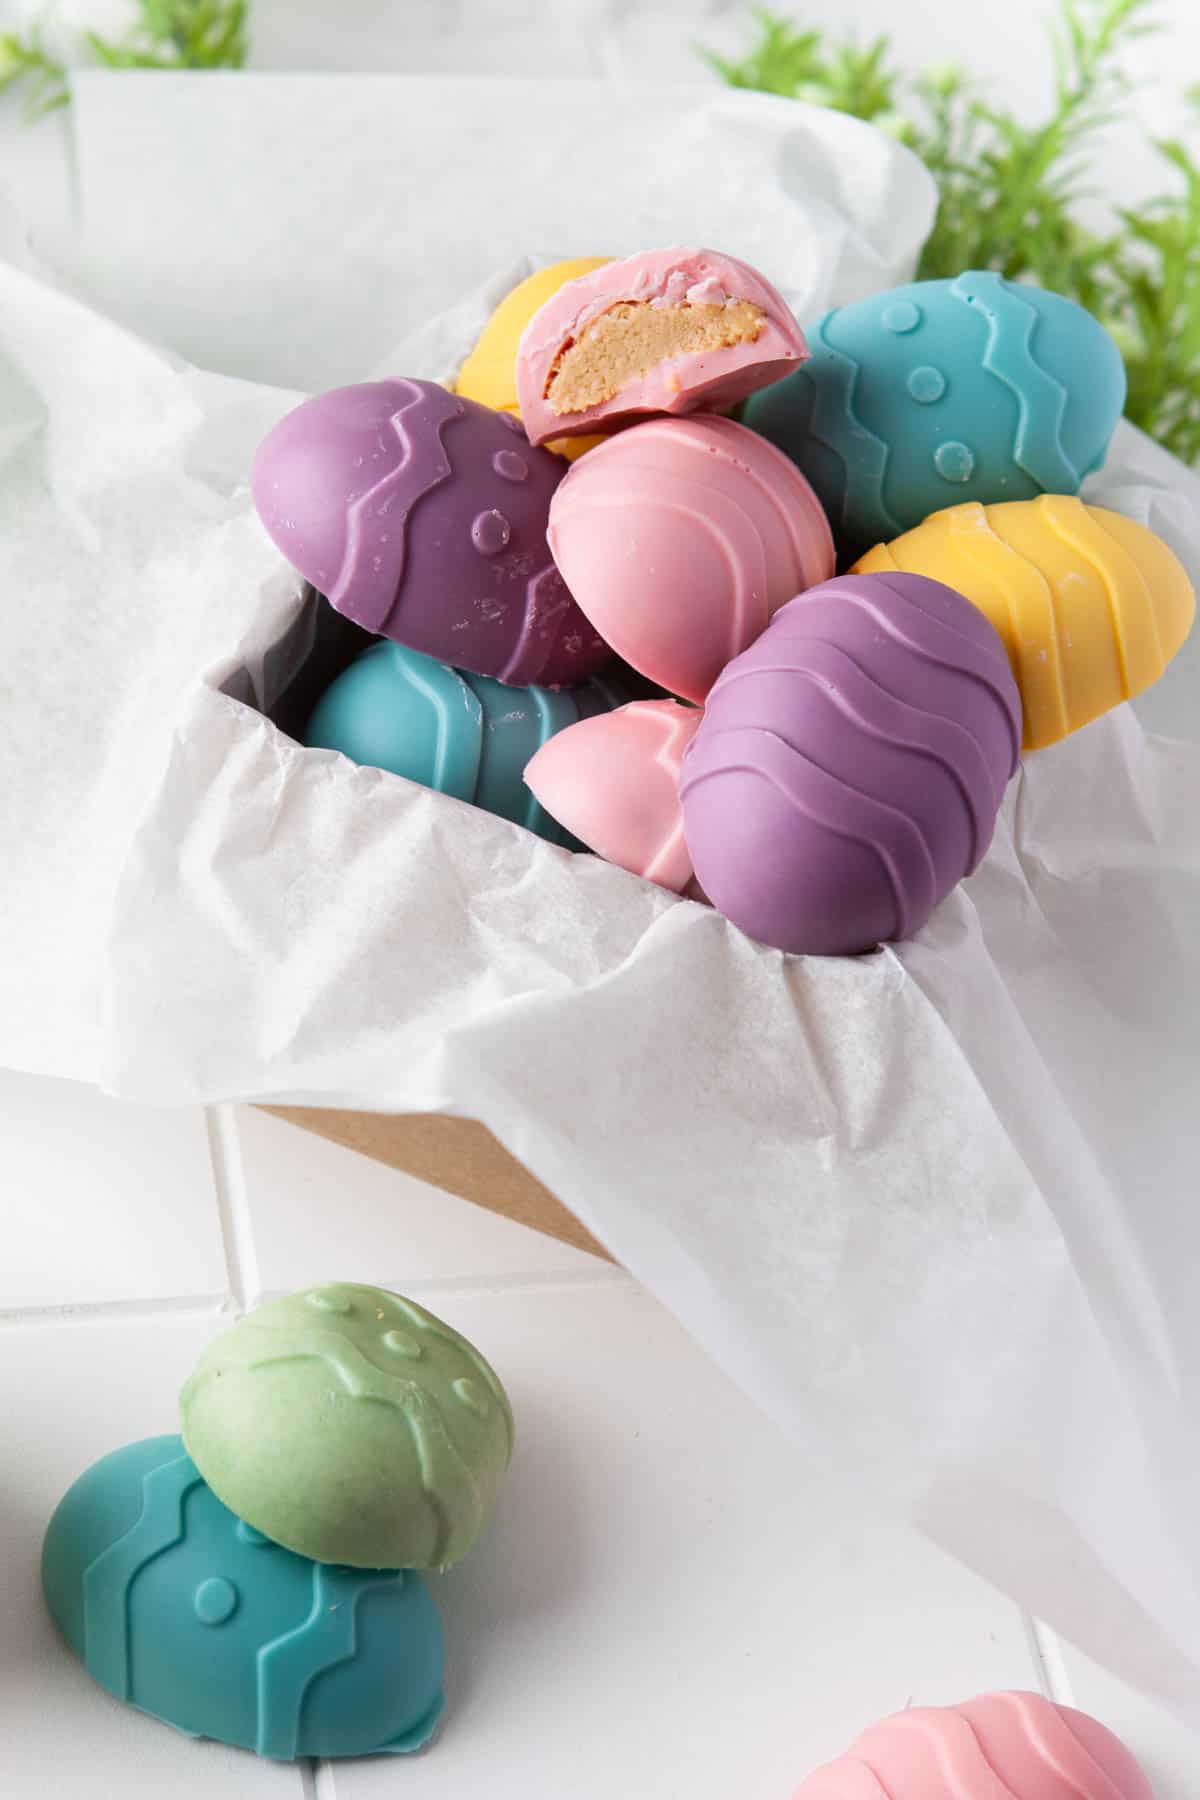
Peanut butter eggs should be kept refrigerated, and they will be good for up to 2 to 4 weeks. I recommend storing them in an airtight container with layers separated with wax paper.
You can also freeze them for 2 to 3 months. Again, make sure they are sealed well and each layer is lined with wax paper.
More Easter treats
- Gluten Free Chocolate Waffle Cookies
- Funfetti White Chocolate Covered Strawberries
- Double Chocolate Snickers Fudge
- Almond Joy Muddy Buddies
Peanut Butter Eggs
Ingredients
- 1 cup creamy peanut butter
- 1 cup powdered sugar
- 1 teaspoon pure vanilla extract
- 3 Tablespoons unsalted butter, softened to room temperature
- 4 3/4 cup candy melts (colors of your choice)
Instructions
- In a small bowl mix, combine the peanut butter and butter, and beat with a hand mixer on medium speed until it is light and fluffy. Add in the powdered sugar and vanilla. Mix until combined.
- In another bowl, melt your candy melts one color at a time, in 20 second intervals in the microwave, until completely melted. Make sure they do not burn.
- Take your mold and fill each cavity with the melted candy melt. Turn the mold upside down above a sheet of parchment paper or wax paper. Let it drip until the excess chocolate has dripped out. Now turn the mold how it normally sits for about 10 -12 minutes at room temperature or 5 minutes in the refrigerator until the chocolate is set.
- Meanwhile, place your peanut butter mixture into a piping bag, so you can fill the candy cavities easily.
- Once the chocolate has set, add the peanut butter filling into each mold, filling them 2/3 full with a piping bag. Do not overfill. Use a small knife or spatula to smooth out the filling.
- Seal with another layer of candy melt and scrape the mold to remove the excess candy on top.
- Place in the refrigerator for 10 – 15 minutes until completely set and remove from mold.
- Repeat steps 2-7 for the rest of the chocolate and peanut butter filling. Work with any different colors of chocolate one at a time so that you can melt and reuse the excess chocolate that you have poured out onto the parchment paper. This way you will avoid mixing the colors.
- Keep the peanut butter eggs in a container, separating the layers with parchment paper, in the refrigerator for up to 2 weeks until you are ready to enjoy them.


