This post may contain affiliate links. Read my disclosure policy.
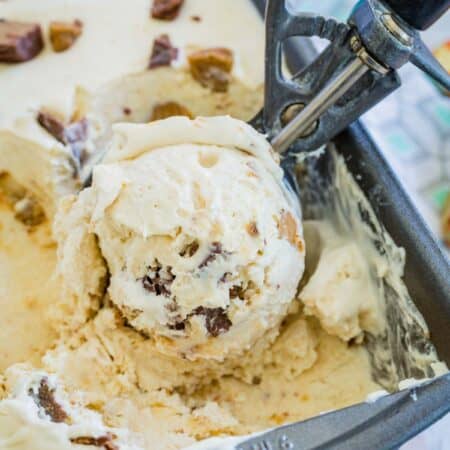
Creamy homemade No-Churn Reese’s Ice Cream is a peanut butter lover’s dream! This is a simple yet fully-loaded frozen dessert that’s ready for the freezer in just 10 minutes. No ice cream maker is required!
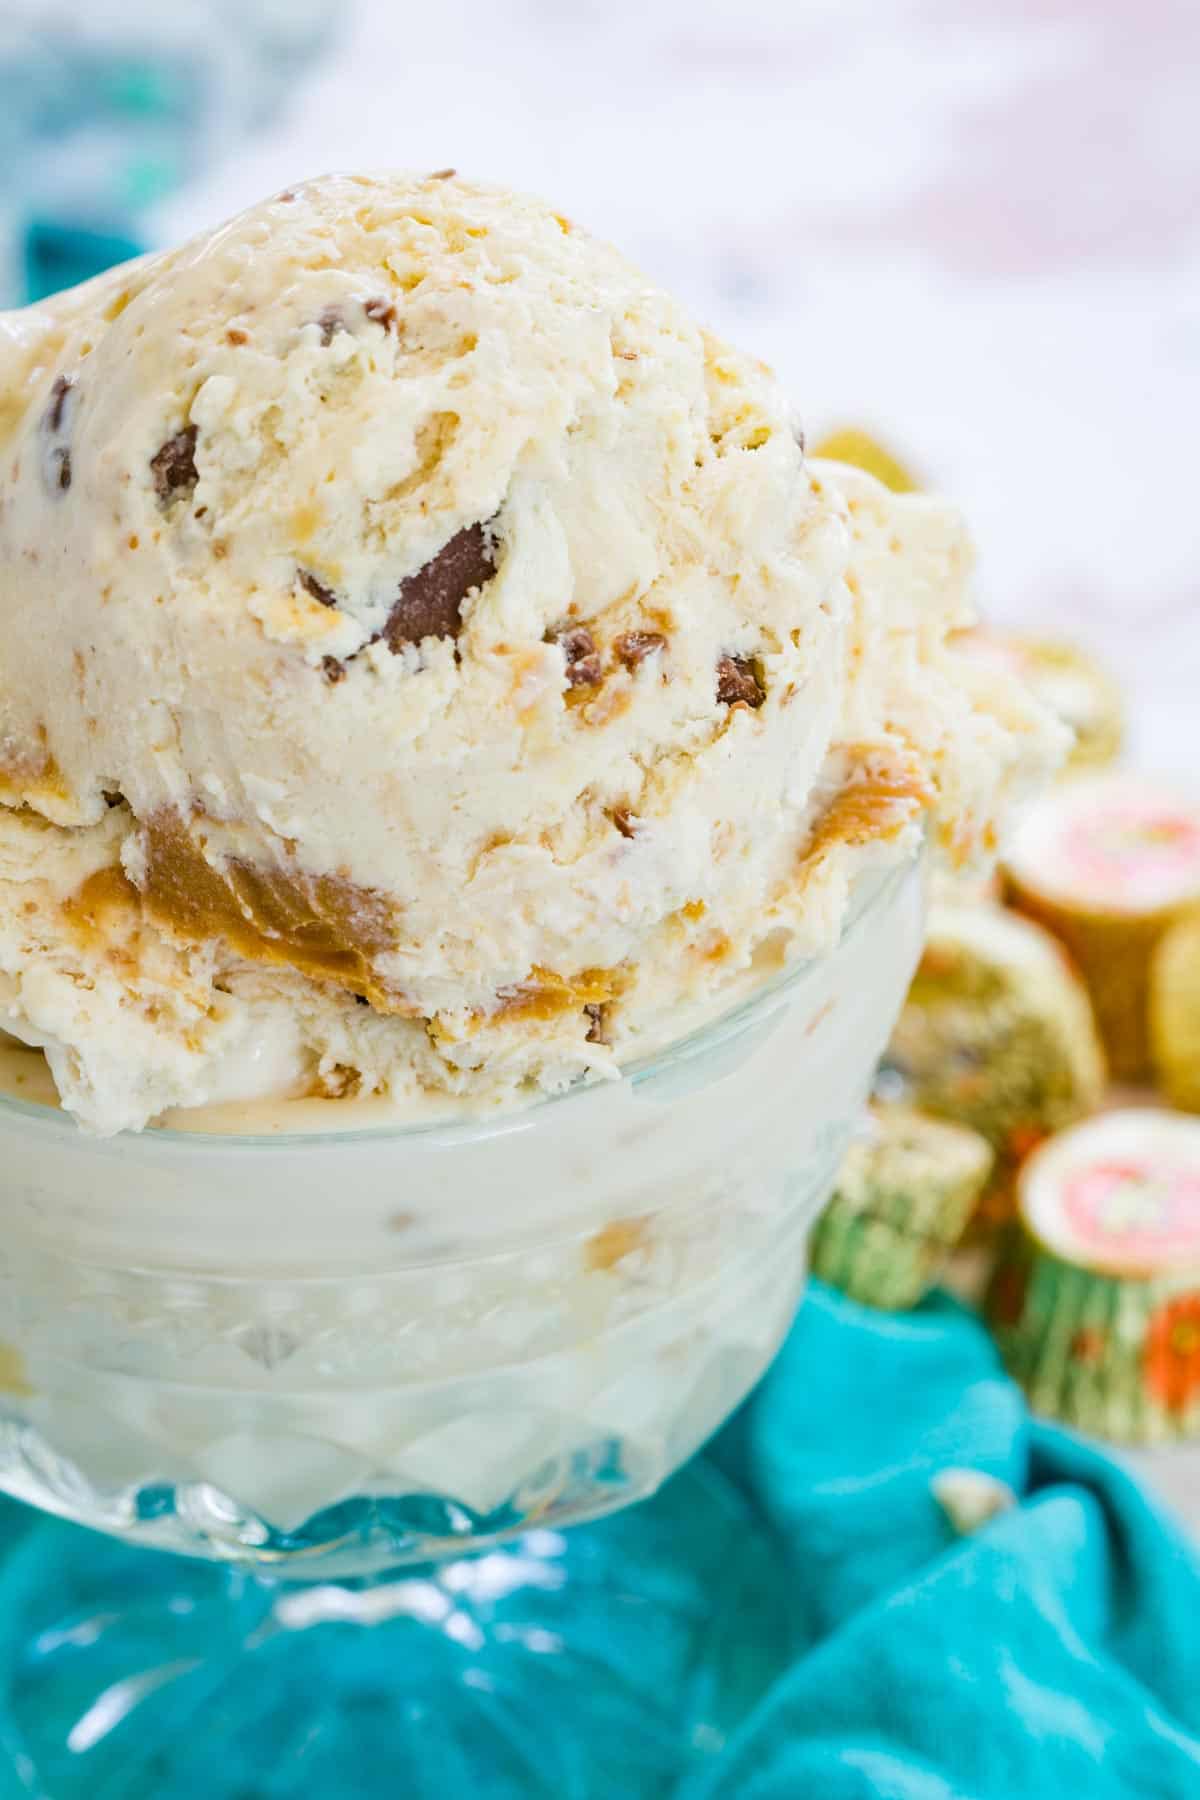
Easy Homemade Peanut Butter Cup Ice Cream
Do you love chocolate and peanut butter? Is that even a question? I can’t think of a better pairing than sweet chocolate and creamy, smooth peanut butter. Especially when it comes together in homemade ice cream!
This no-churn Reese’s ice cream recipe is the best way to satisfy a peanut butter craving. It’s made with just a short bit of prep, and a whole lot of everyone’s favorite chocolate peanut butter candy. Get ready to serve up a scoop (or three) with whipped cream and chocolate sauce!
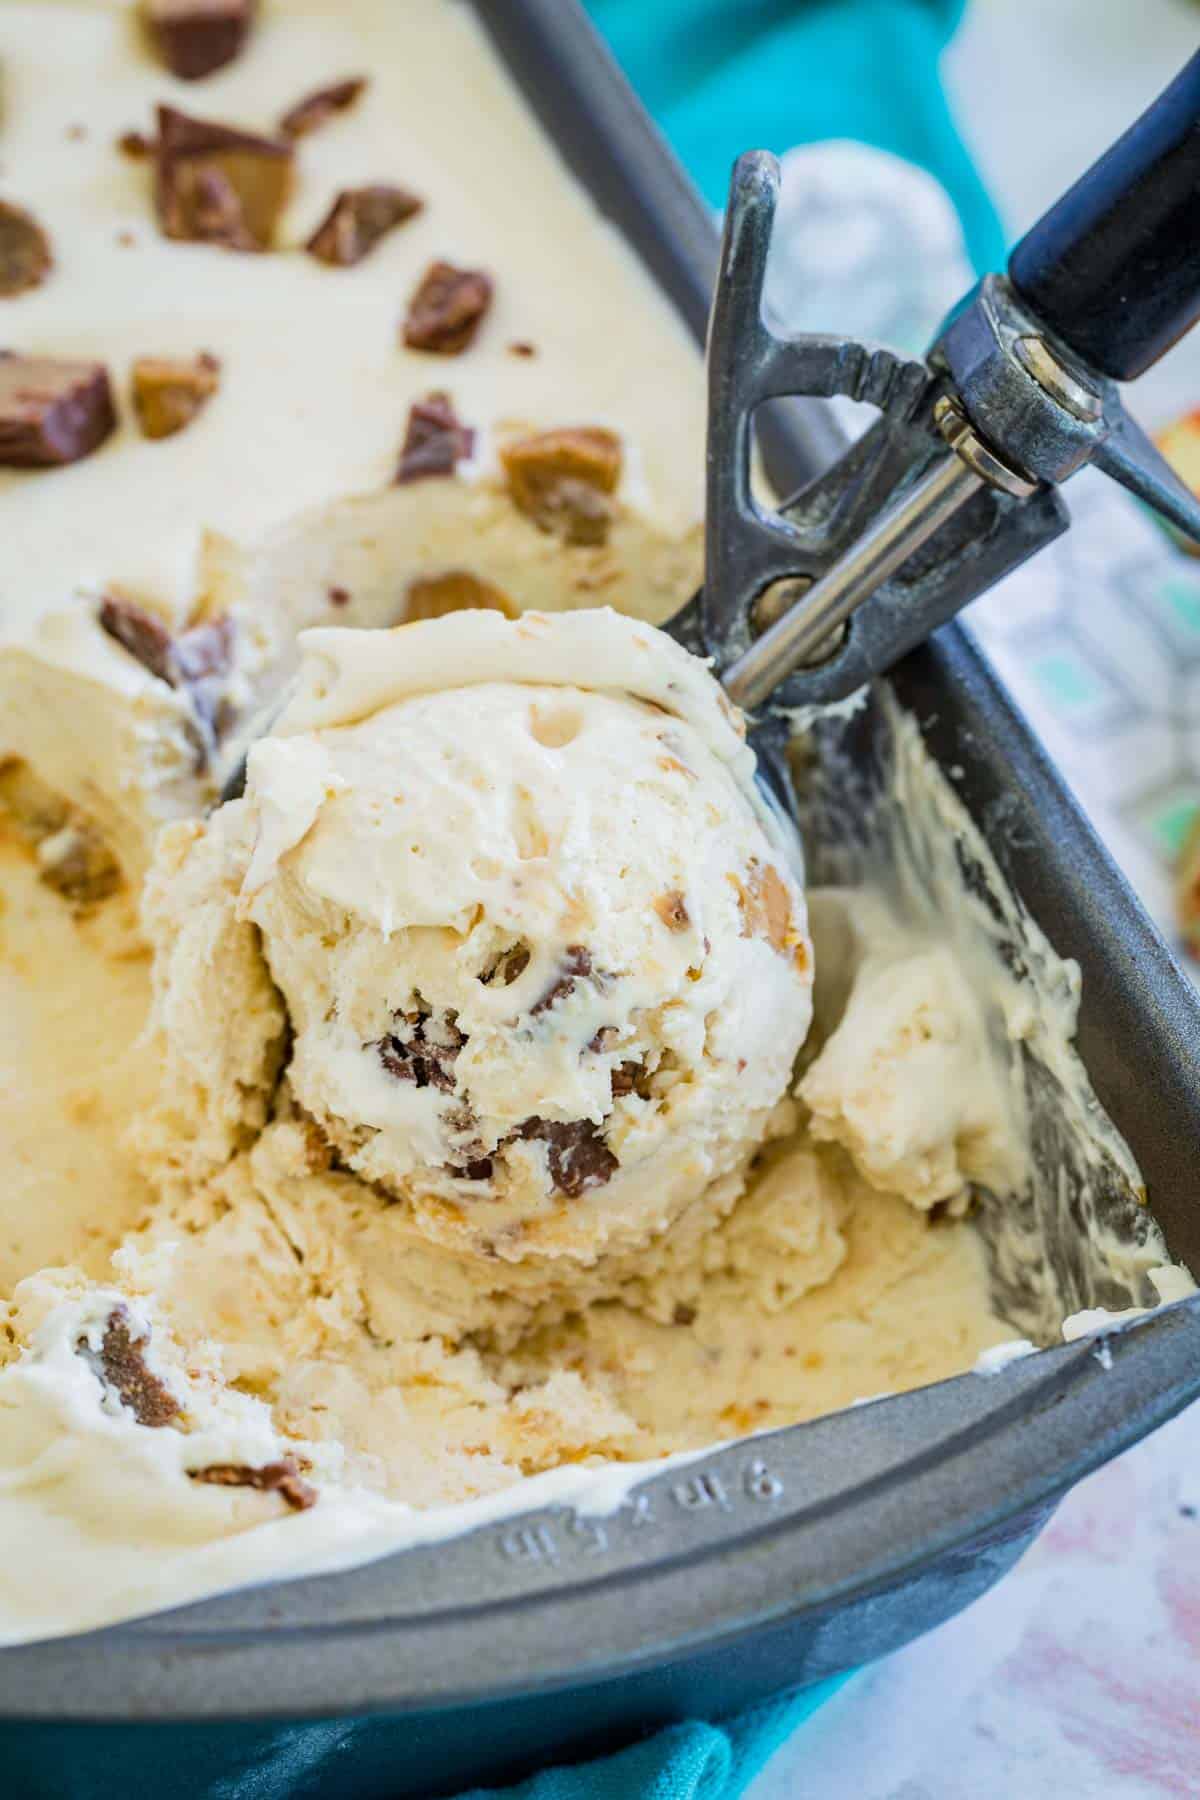
Why You’ll Love This Recipe
Why is making your own Reese’s ice cream at home just the best? There are so many reasons to love this creamy, no-churn homemade ice cream:
- Little prep. I love this no-churn ice cream recipe because it takes only 10 minutes to prepare the ice cream base. Then the freezer does the rest!
- Simple ingredients. You only need 5 ingredients to make this Reese’s ice cream, and I bet most of them are in your pantry already.
- No ice cream machine. No-churn means you can make this peanut butter ice cream from scratch with your average kitchen tools. No ice cream maker is needed here!
- Customizable. There are so many ways to make this recipe your own. Add in any and all of your favorite ice cream add-ins, or scroll down to my suggestions later on for more inspo.

What You’ll Need
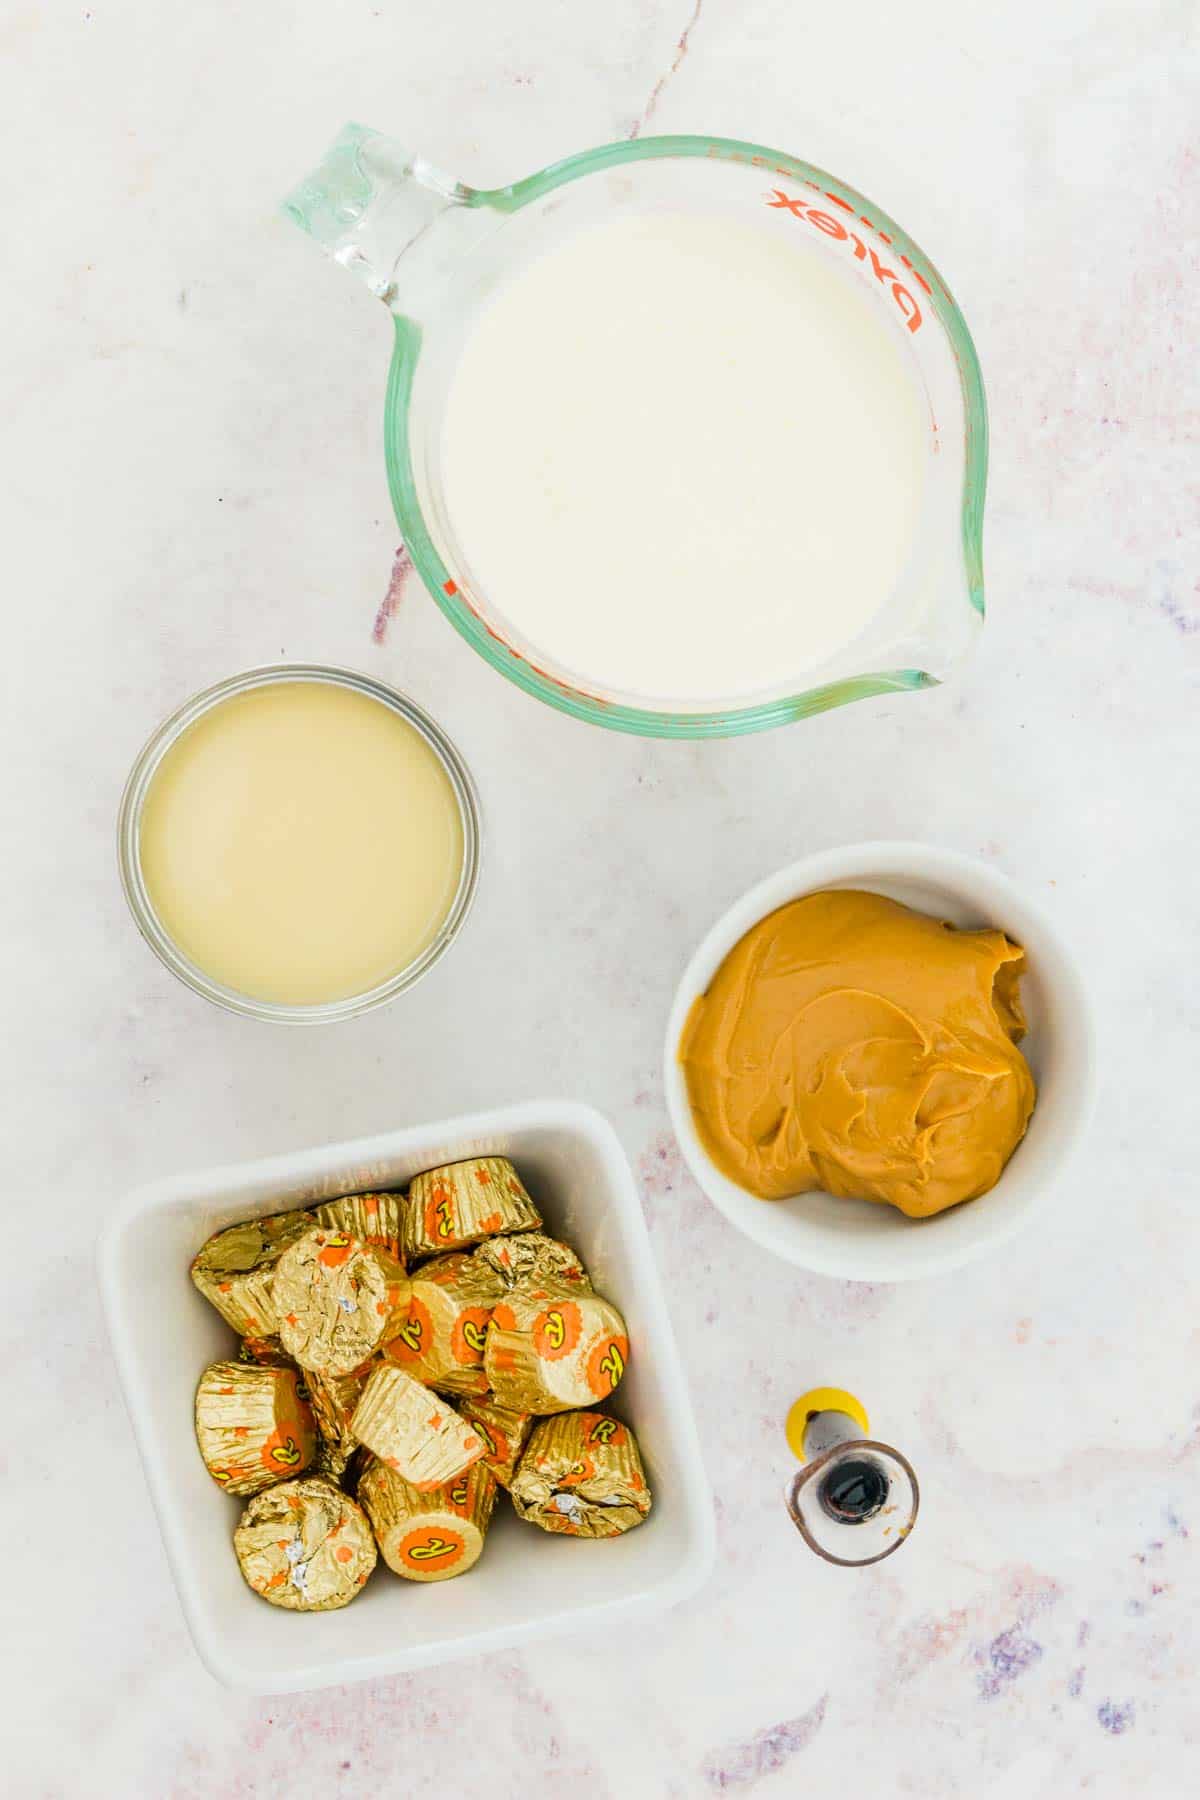
Remember those simple ingredients mentioned above? Well, here they are. Be sure to check the recipe card further on for the full amounts:
- Heavy Cream: Since you’ll be whipping the cream for the ice cream base, make sure it’s nice and chilled from the fridge.
- Vanilla Extract: For the purest flavor, use real vanilla extract (as opposed to imitation).
- Sweetened Condensed Milk: The key to no-churn ice cream recipes! I recommend using regular, full-fat sweetened condensed milk. This is because a higher fat content yields the creamiest ice cream. Fat-free will also work if you prefer, though the texture won’t be the same.
- Peanut Butter: Use your favorite creamy peanut butter brand. I wouldn’t recommend using natural peanut butter here – the excess oils can cause the ingredients to separate.
- Reese’s Peanut Butter Cups: I use Mini Reese’s Cups and give them a coarse chopping. You can do the same with the full-sized version, too.
How to Make No-Churn Reese’s Ice Cream
The key to perfect homemade no-churn ice cream is to keep everything as cold as possible, right up until you’re ready to use it. This means keeping ingredients like whipping cream chilled in the fridge. You’ll also want to pop the bowl you’ll use to whip the cream into the freezer for about 20 minutes or so beforehand.
Once that’s ready, it’s time to whip up some peanut butter cup ice cream:
Whip the Cream: Take your chilled bowl out of the fridge or freezer. Add the whipping cream to the bowl along with vanilla extract, then beat the cream until fluffy peaks form. Separately, whisk together the sweetened condensed milk and a quarter cup of peanut butter.
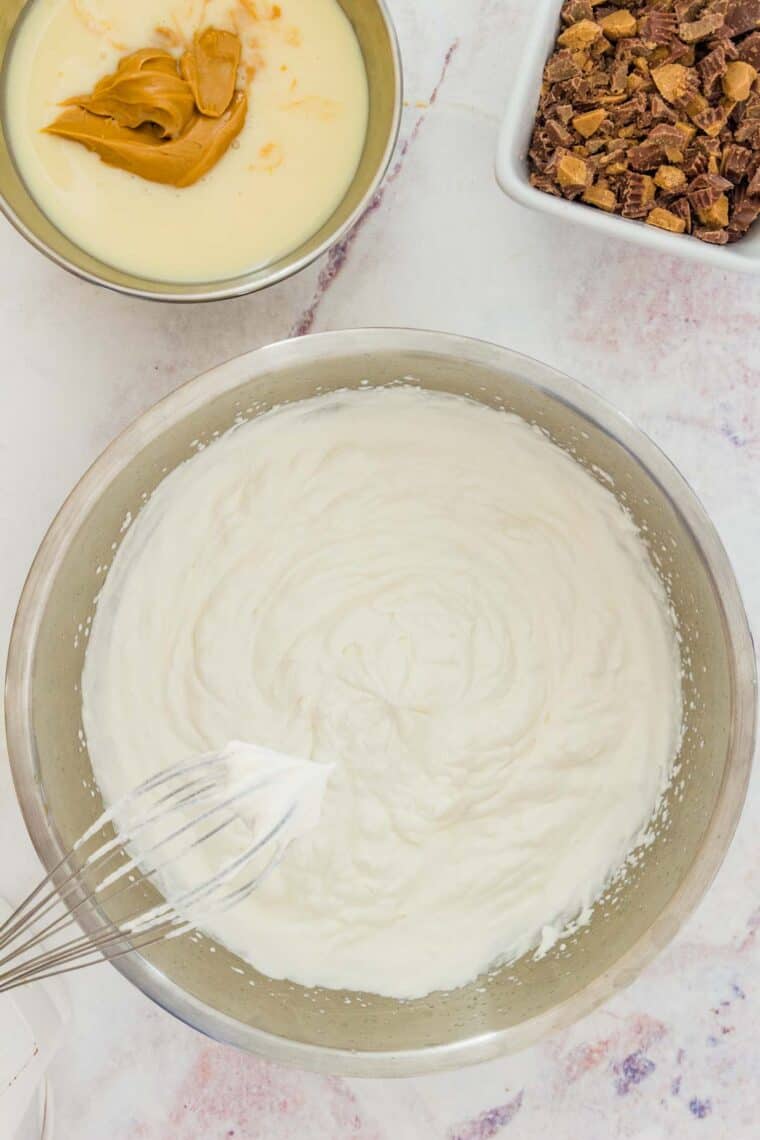
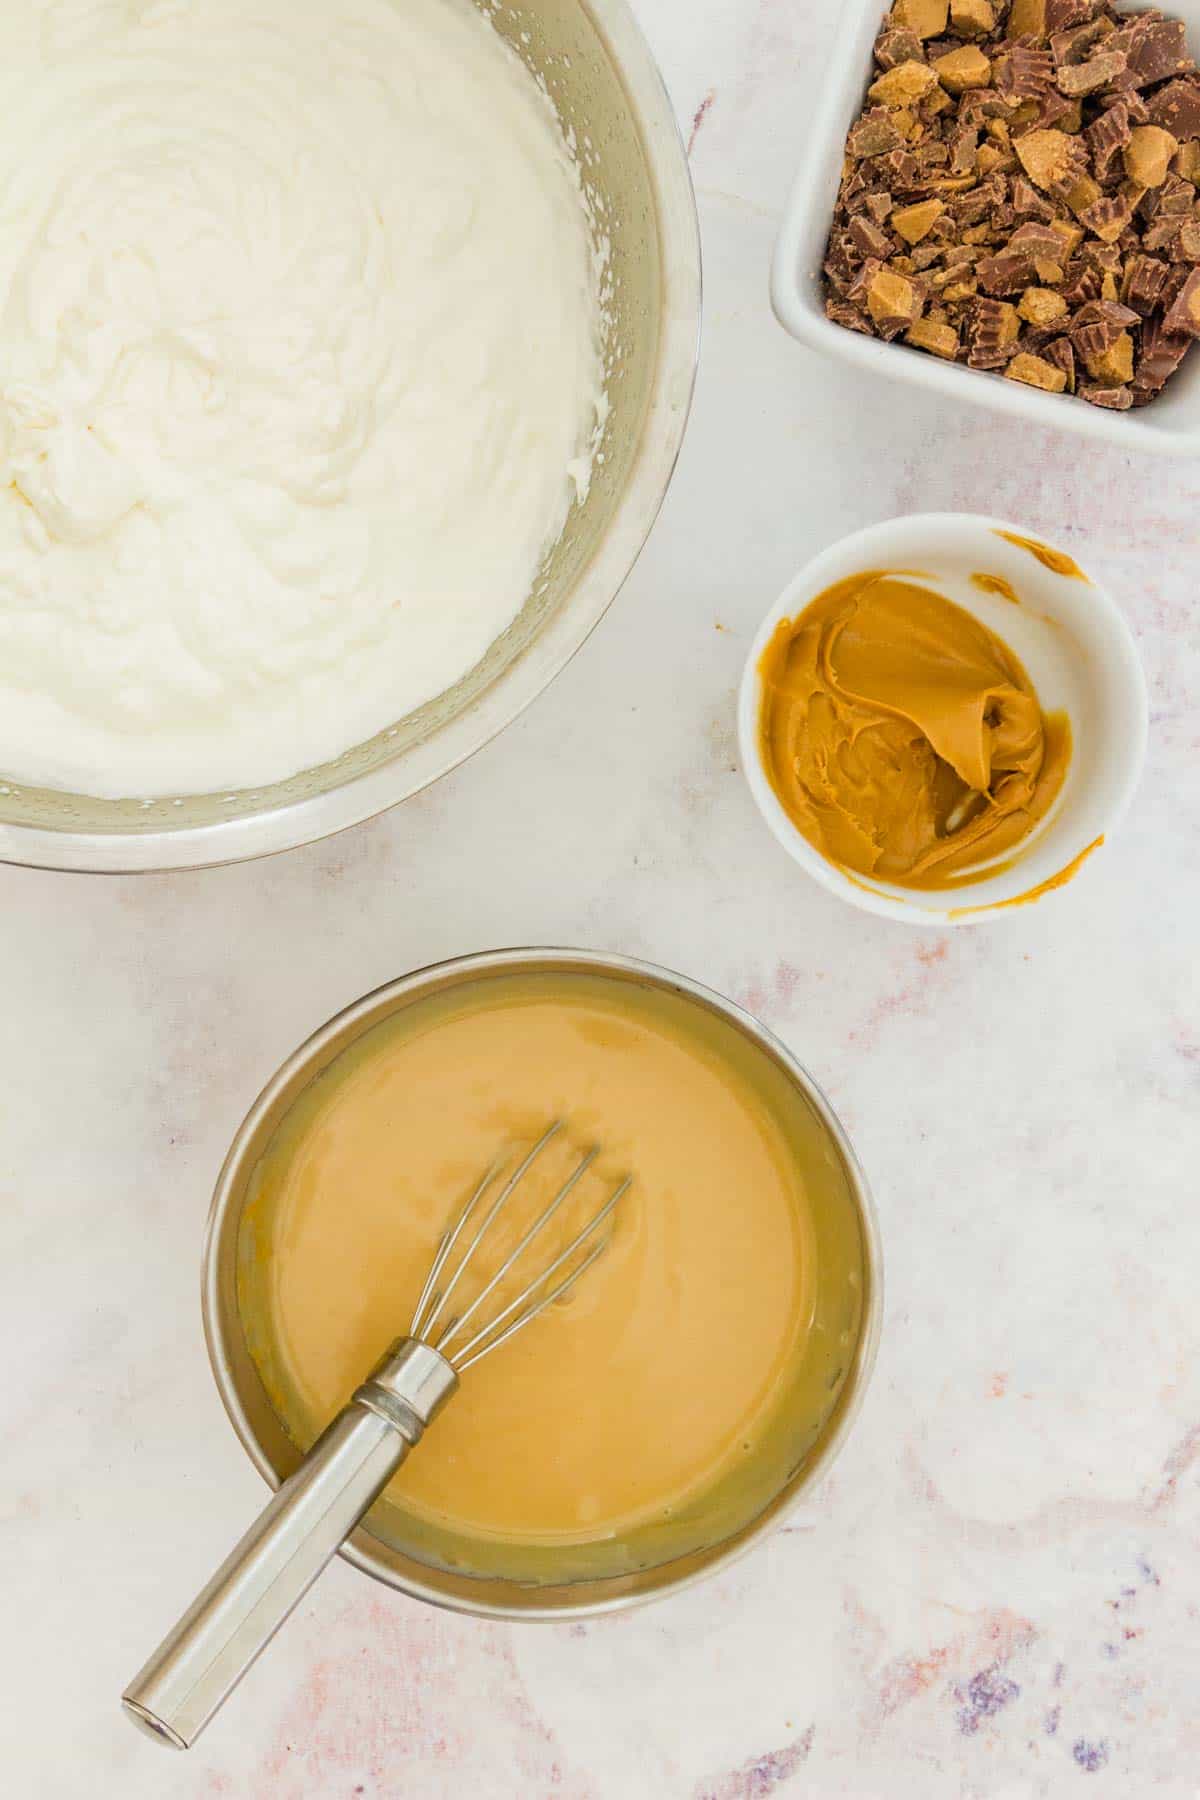
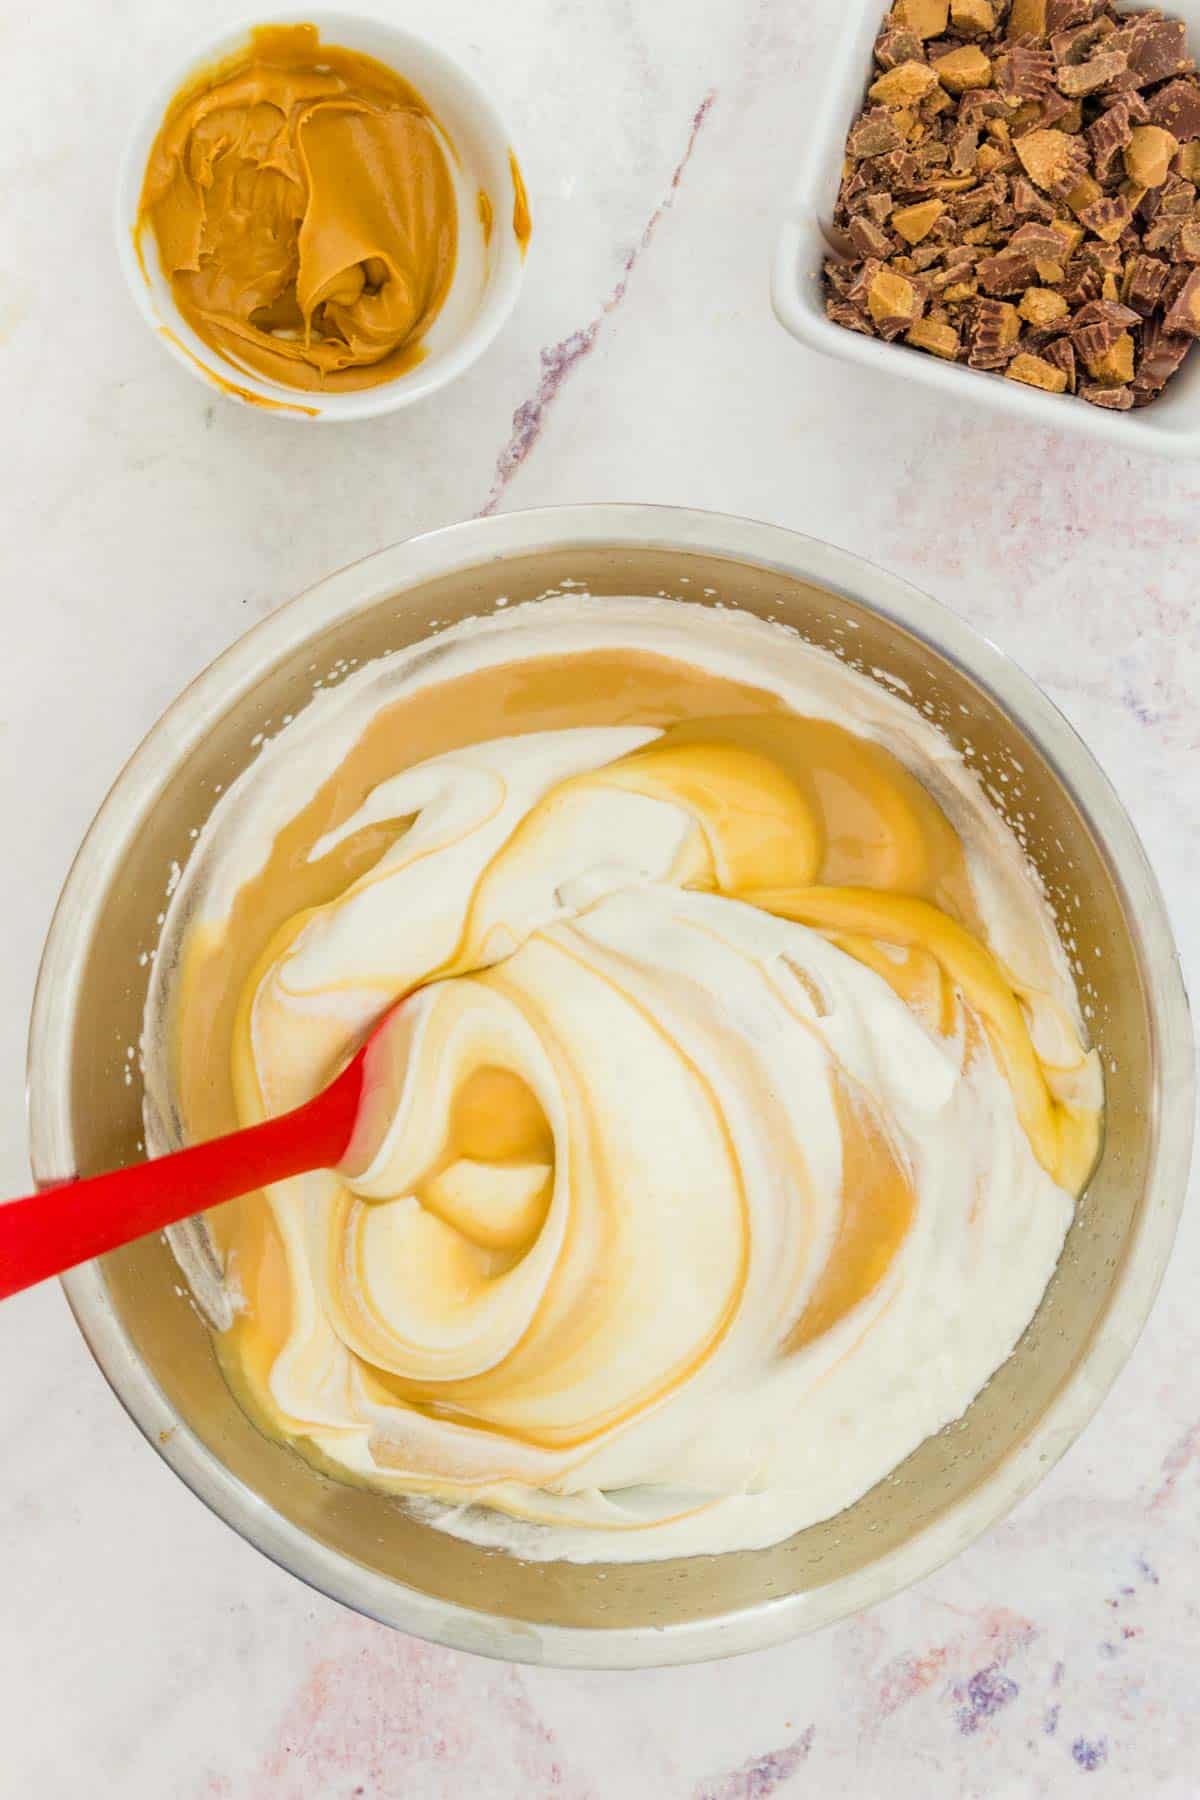
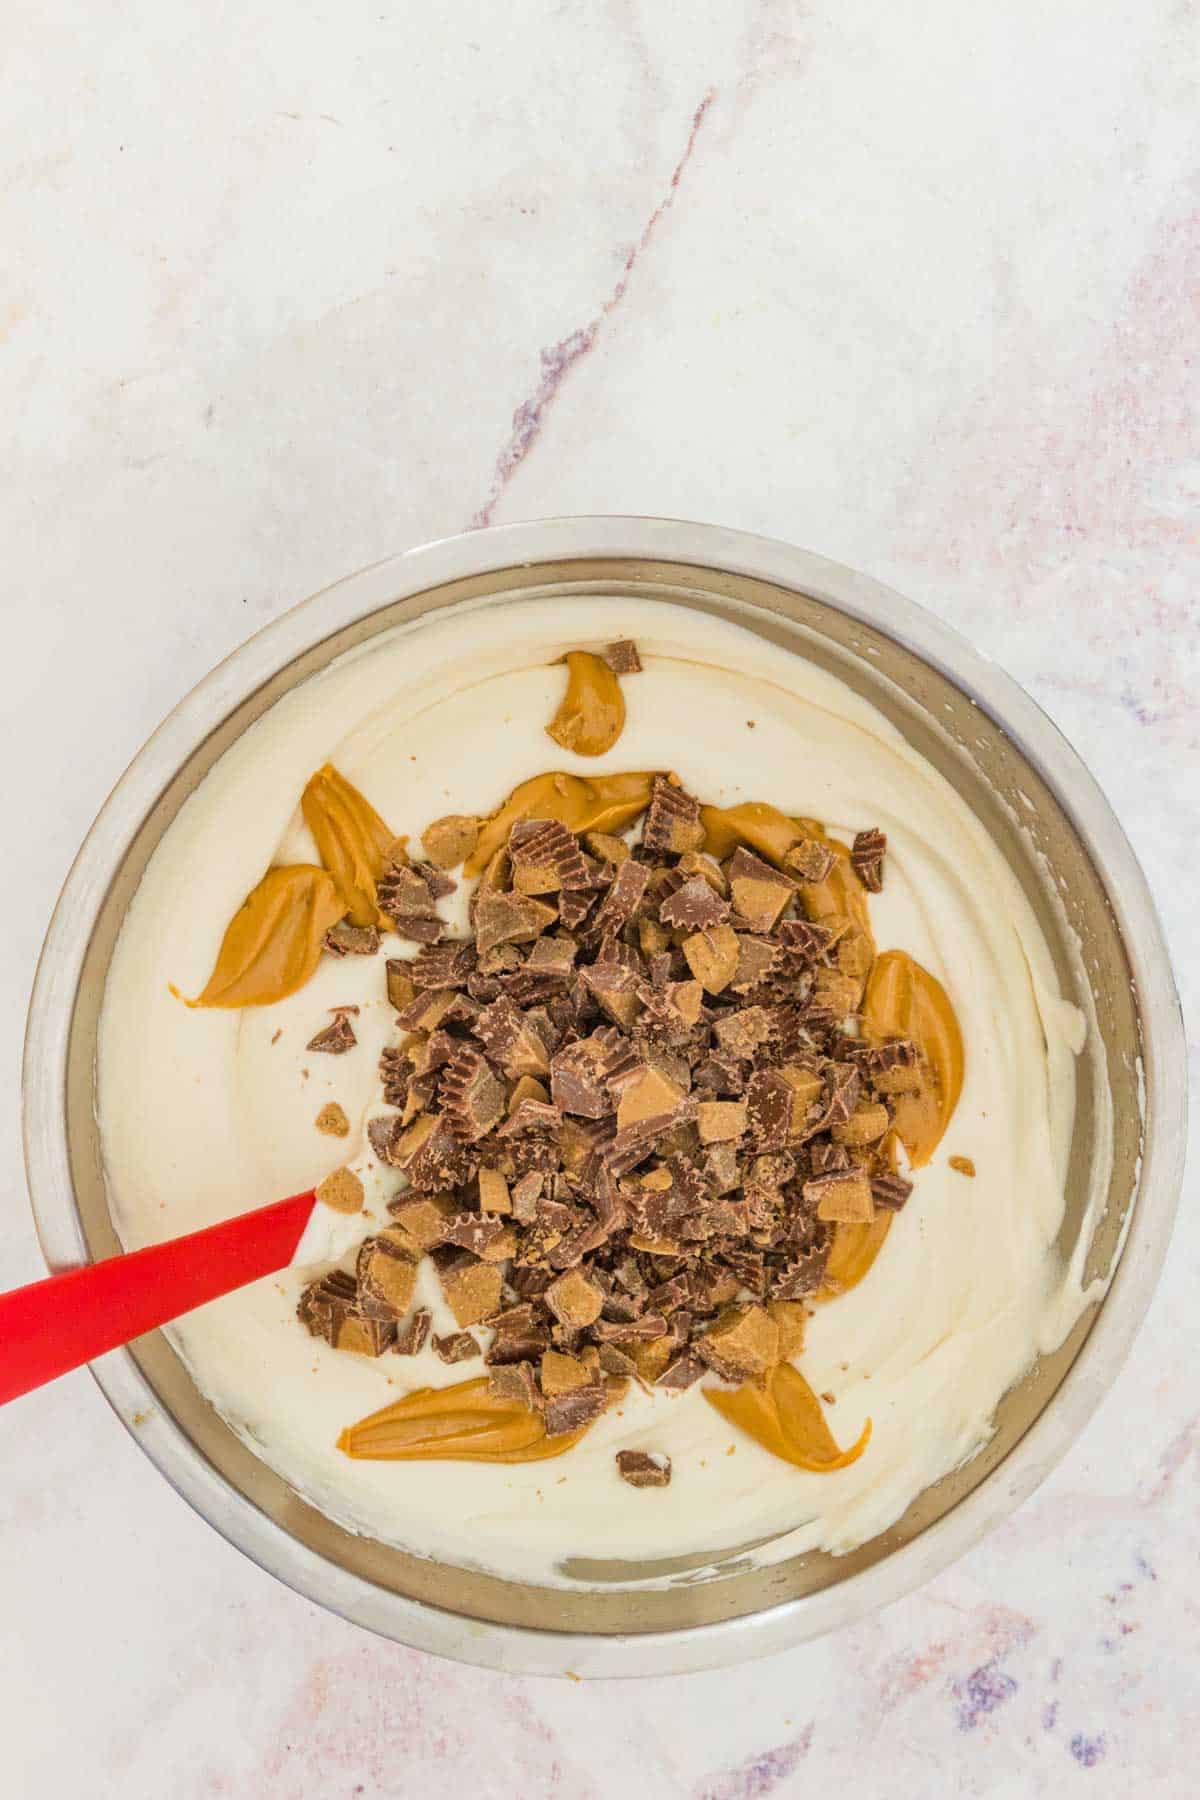
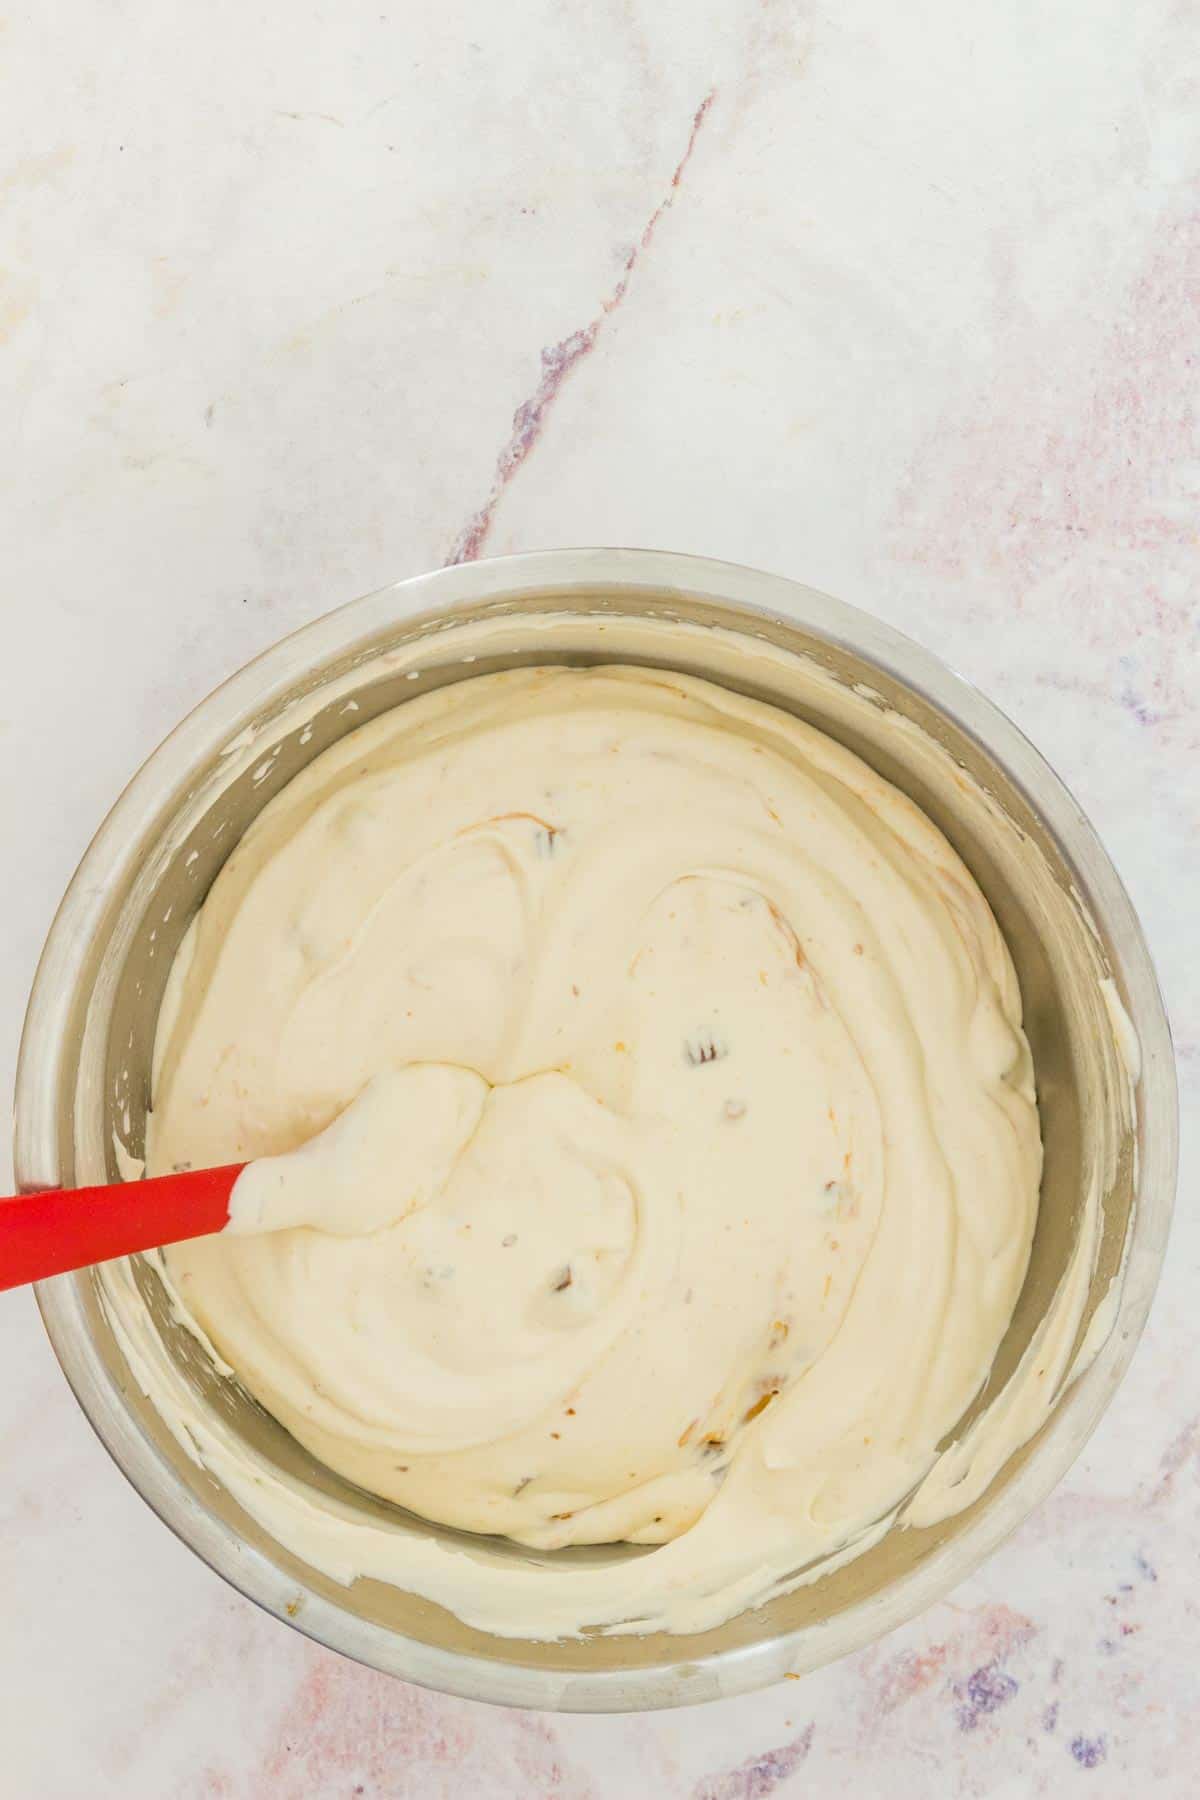
Combine: Next, you’ll gently stir the condensed milk mixture into the whipped cream. Dollop spoonfuls of peanut butter into the mixture, and finally toss in the chopped Reese’s cups. Fold everything together once more to combine.
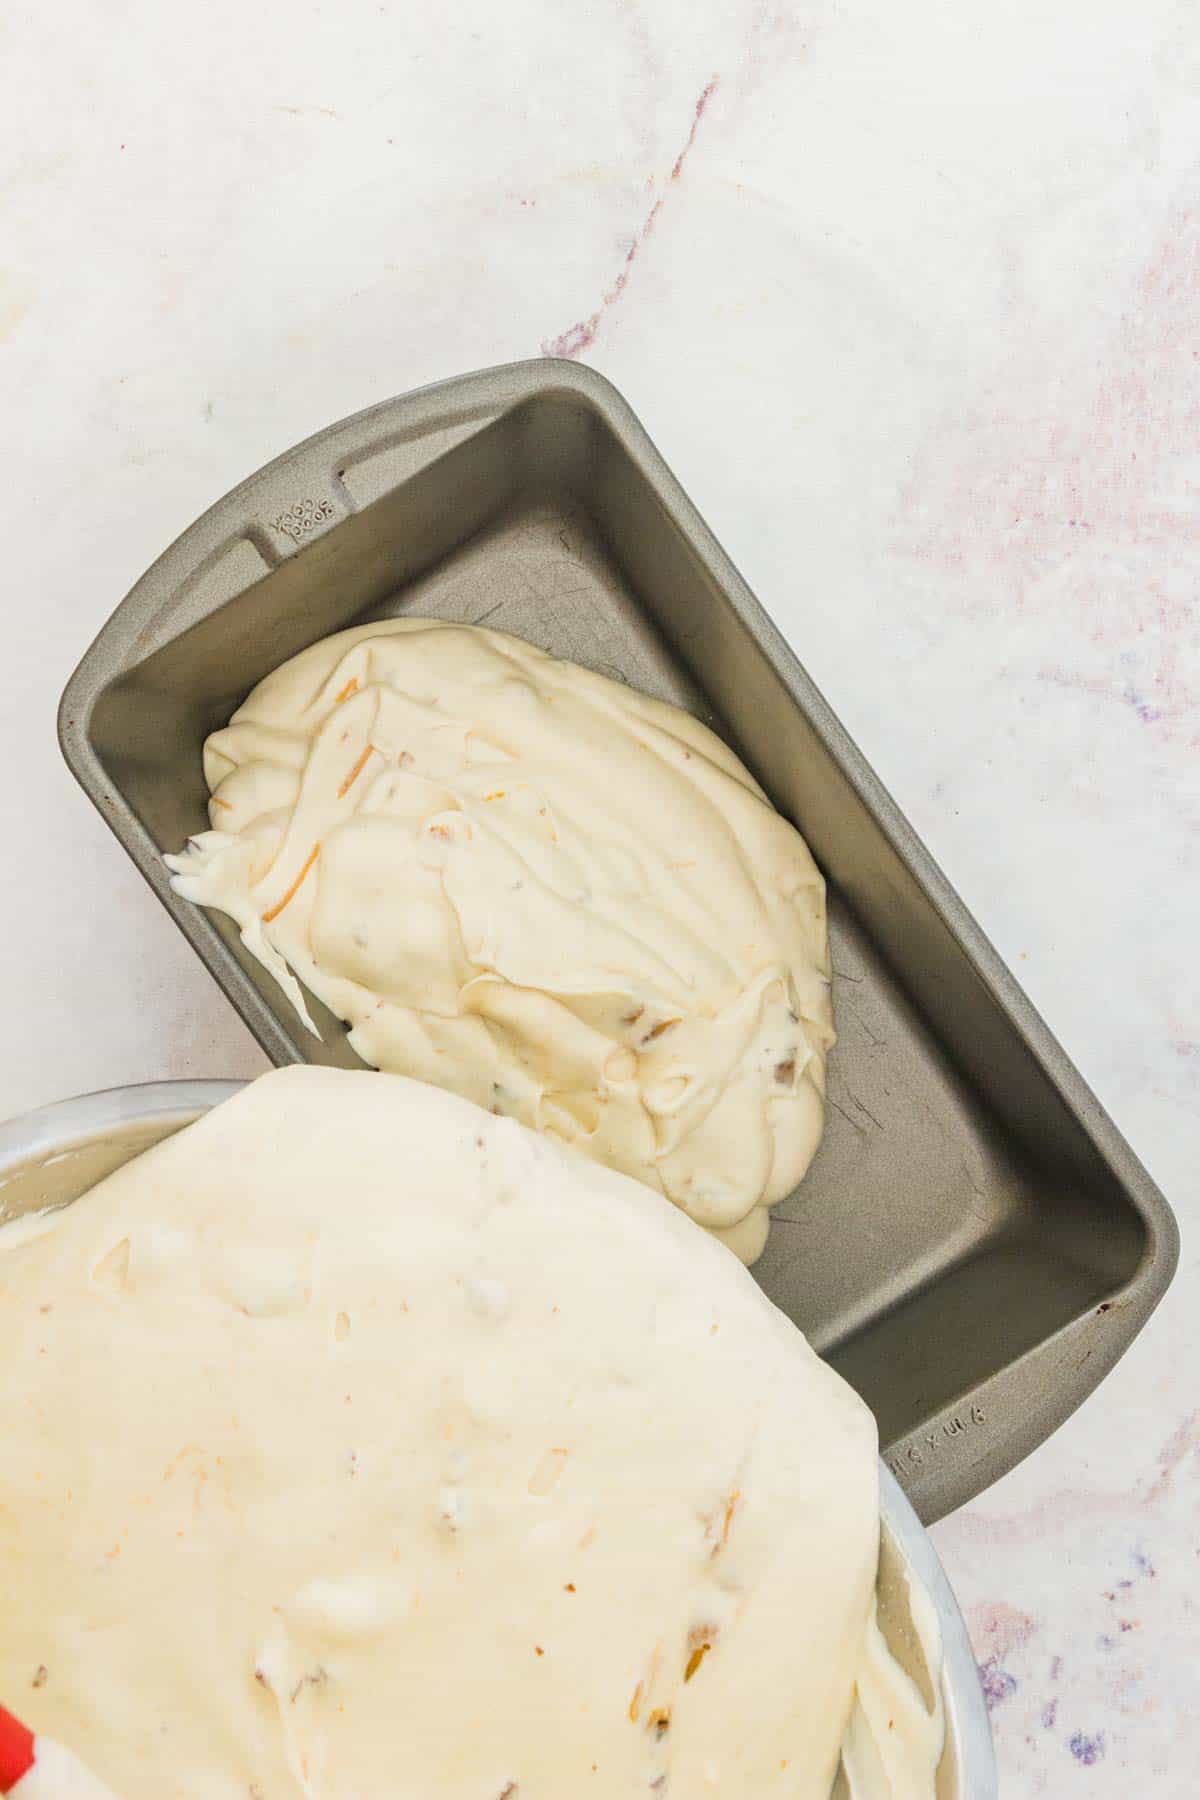
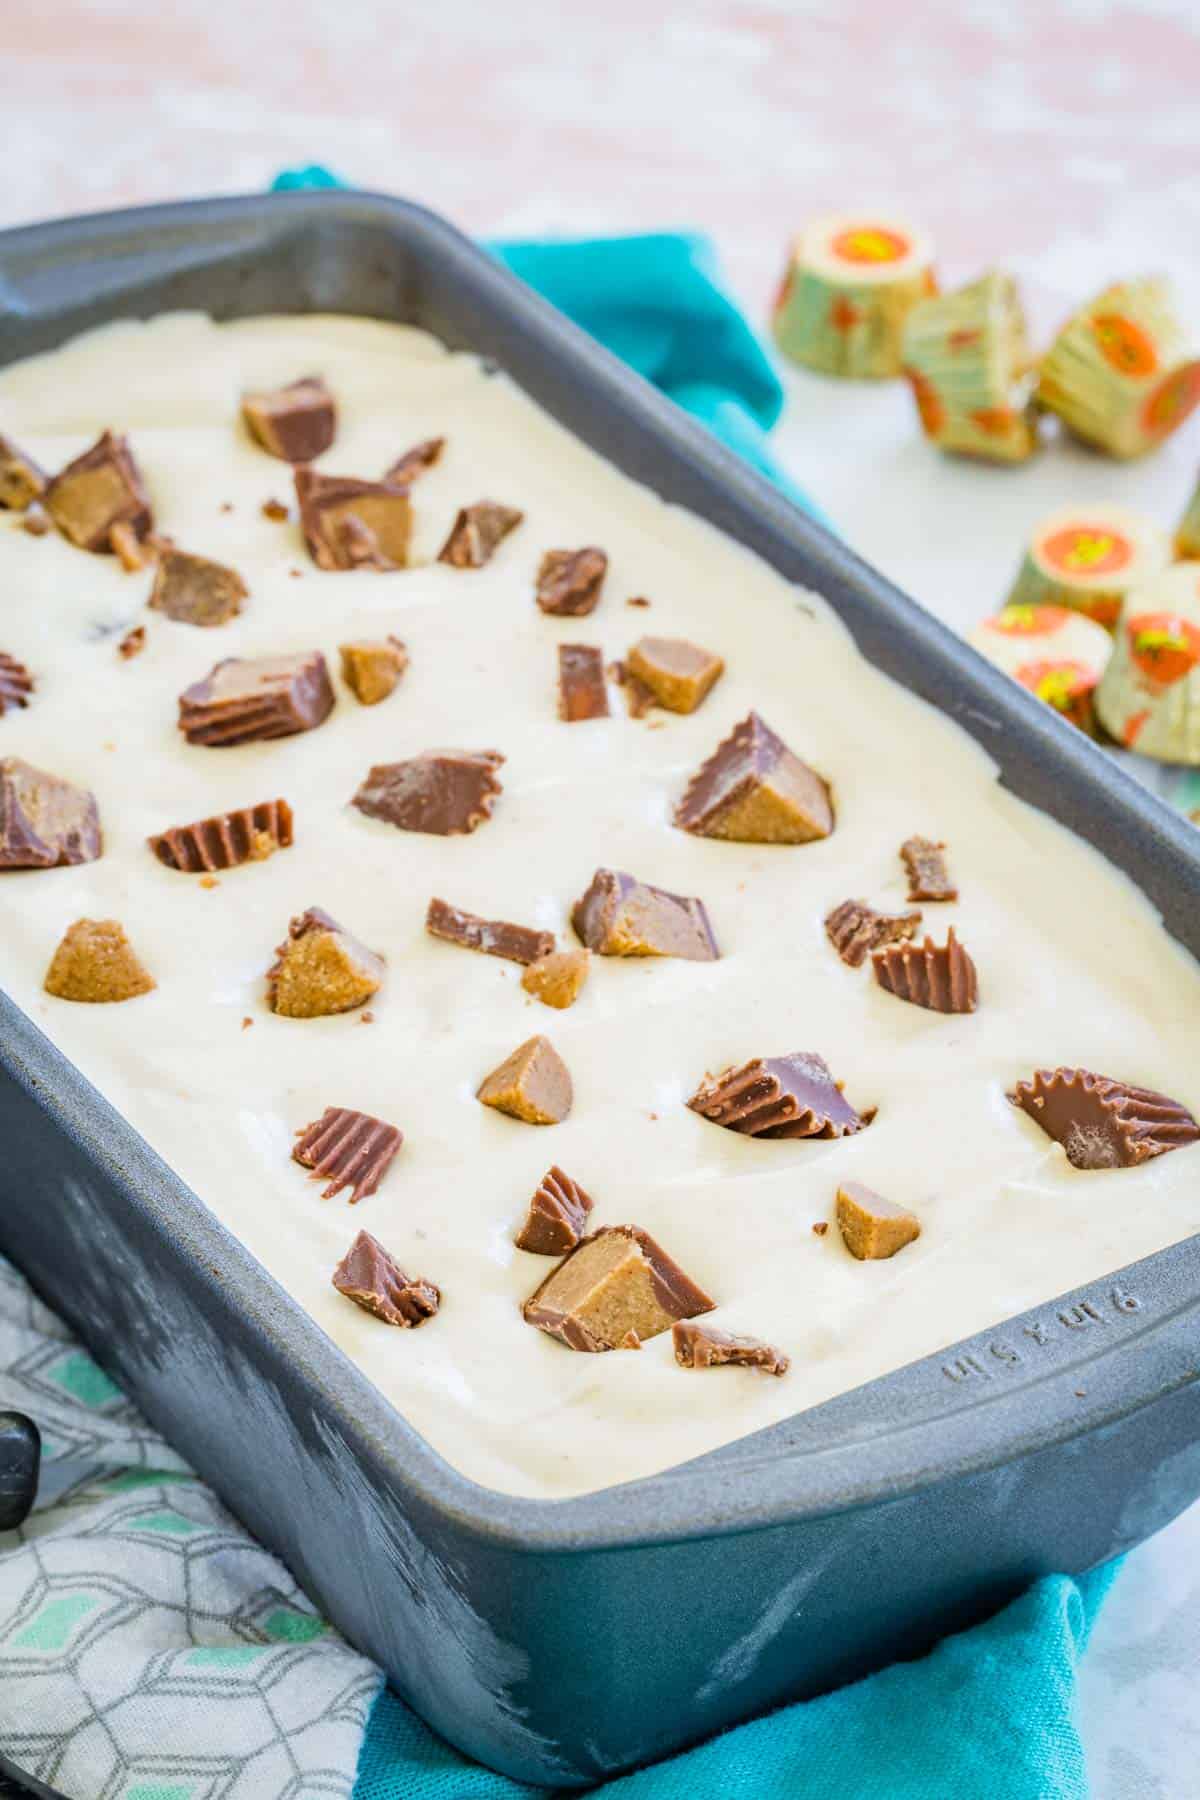
Freeze: Pour the ice cream base into a freezer-safe container. I like to sprinkle mine with additional crumbled Reese’s cups, but this is optional. Make sure to cover your container with the lid, or seal it with plastic wrap, then place it in the freezer. It will need to chill for at least 4-6 hours until it’s completely frozen.
Tips and Tricks
Some extra tips for a seamless homemade ice cream experience:
- Make the Reese’s Easier to Chop: Freezing the Reese’s Peanut Butter Cups prior to chopping will make them easier to cut into pieces.
- Enjoy Within 30 Days: Homemade, no-churn ice cream is blissfully free from many of the additives that come with store-bought ice cream. This means a short and sweet shelf life! Your Reese’s ice cream is at its best within 30 days from when it’s made. After this, it runs the risk of crystalizing/freezer burn. See further down for storage tips, including measures that you can take to minimize freezer burn!
Variation Ideas
If you love peanut butter and chocolate, this Reese’s peanut butter ice cream is perfect just as it is! In case you wanted to jazz it up a little, here are some variation ideas to try:
- Chocolate Swirl: Once you’ve combined the ice cream ingredients, swirl in a drizzle of chocolate sauce for delicious creamy ribbons of chocolate throughout. Alternatively, use caramel sauce!
- Crushed Nuts: Chopped peanuts are the obvious choice here, but why limit yourself? Add a handful of chopped pecans or walnuts, hazelnuts, macadamias, or almonds.
- Chocolate Chips: Amp up that chocolate and peanut butter factor and stir in some chocolate chips or chopped chocolate. Try using semi-sweet, dark chocolate, white chocolate, or even peanut butter chips!
- Cookie Dough: Make Reese’s cookie dough ice cream! Add in chunks of edible gluten-free cookie dough for a fun, sugary twist.
- Crushed Cookies: Chop up Nutter Butters, Gluten Free Oreos, or Chocolate Chip Cookies to add to the mix.
- Candy: Chop up more of your favorite candy bars to include. Or, add in any bite-sized candies you prefer. Toss in Snickers, Butterfingers, and even Reese’s Pieces or M&Ms!
Storage Instructions
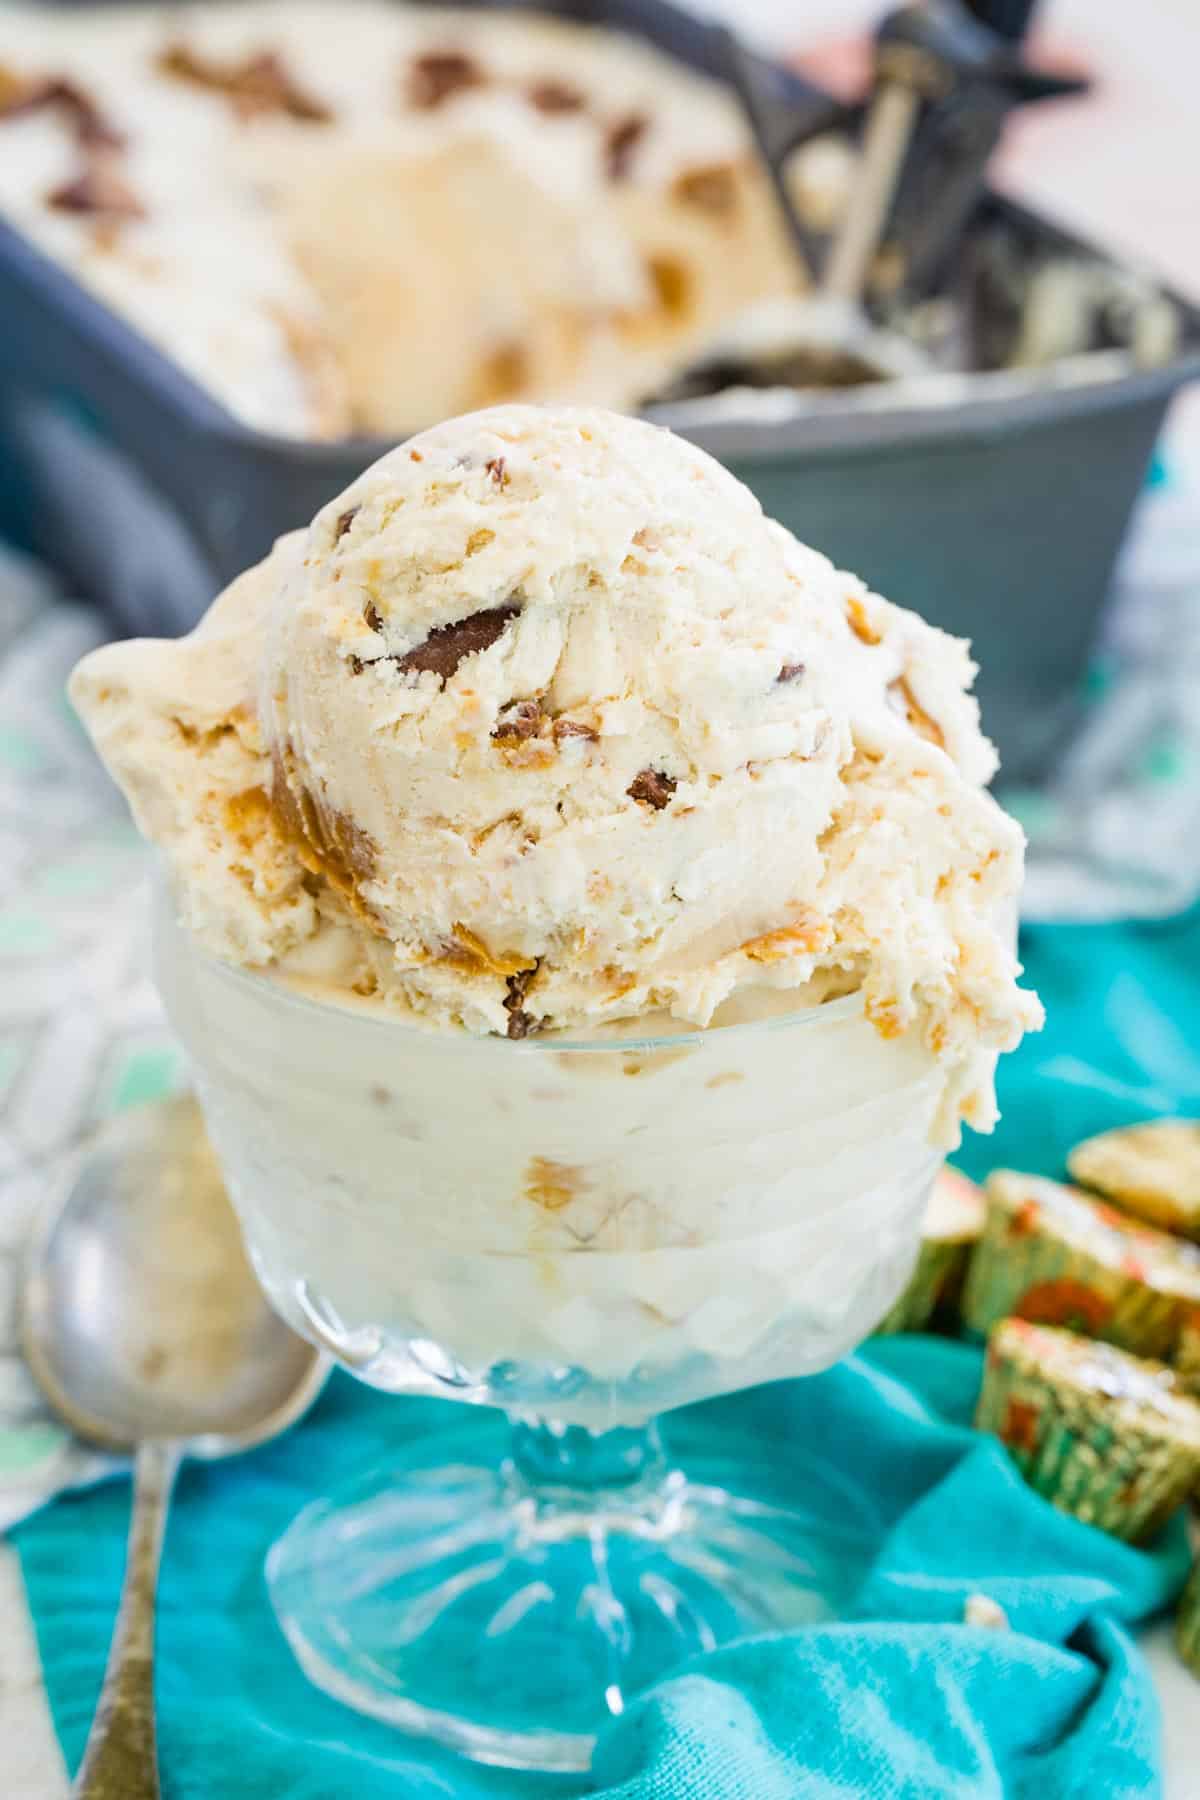
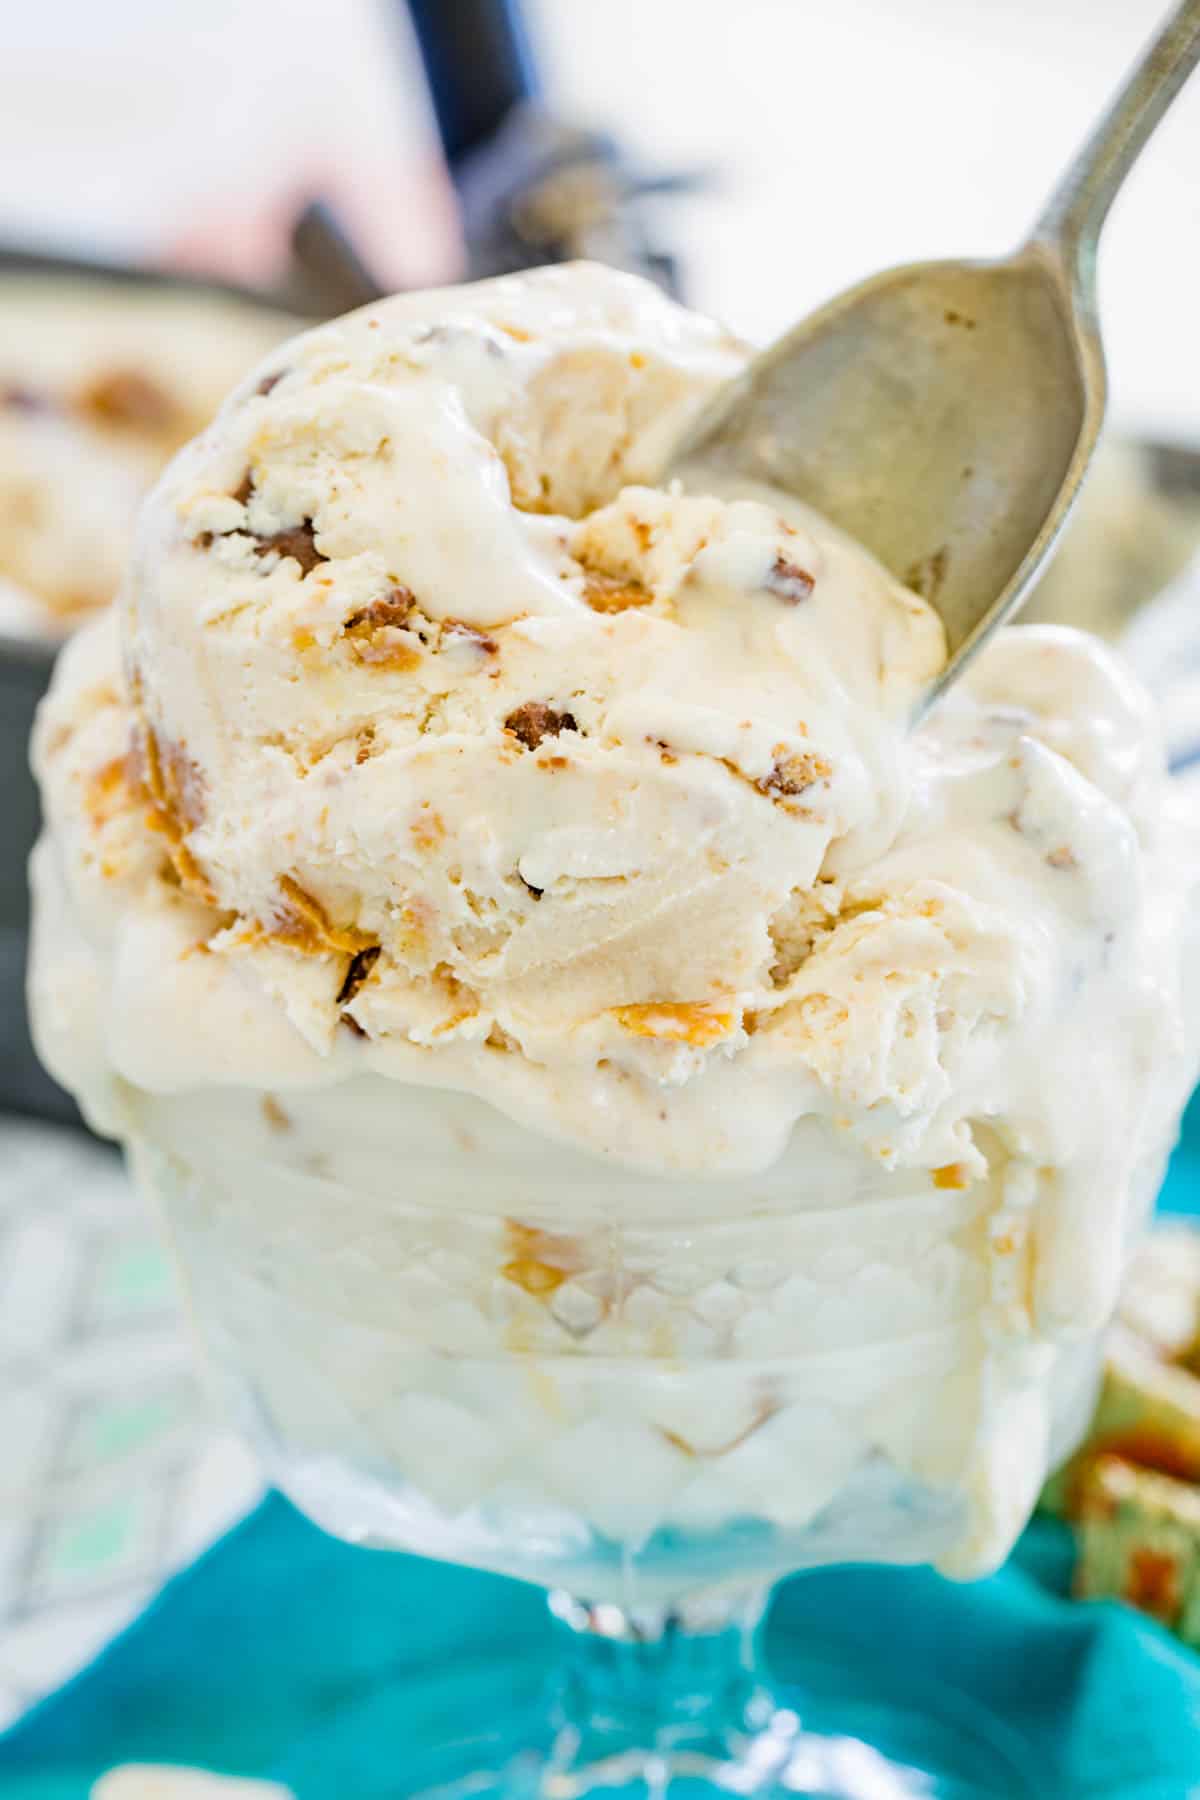
Homemade ice cream will last in the freezer for up to one month. Since this ice cream is free from additives, unlike store-bought ice cream, it runs the risk of icing over with longer storage.
You can take extra precautions against freezer burn by layering plastic wrap between the ice cream and container lid. You can also use specially-designed containers for ice cream that have double-wall insulation to help keep it as fresh and creamy as possible. However, I still recommend enjoying your Reese’s ice cream within 30 days. Once you’ve had a spoonful, I doubt this will be a problem!
No-Churn Reese’s Ice Cream
Ingredients
- 1 pint heavy cream well chilled
- 1 tsp vanilla extract
- 14.5 oz. can of sweetened condensed milk regular or fat free
- ½ cup cream peanut butter divided
- 20 Mini Reese's Peanut Butter Cups coarsely chopped (about 1-1 ¼ cups). Set aside a few for decorating the top of the ice cream, if desired.
Instructions
- Place a large glass or metal bowl in the refrigerator or freezer for whipping the cream.
- Add the heavy cream and vanilla extract to the chilled bowl. Using an electric mixer or whisk, beat the heavy cream to soft peaks.
- In another bowl, whisk together the sweetened condensed milk and ¼ cup of peanut butter until smooth.
- Pour in the sweetened condensed milk mixture and gently fold until you no longer see ribbons of the sweetened condensed milk and it is evenly distributed.
- Place small dollops of peanut butter on top of the cream mixture, add the chopped peanut butter cups, and fold them together gently. Transfer to a container that you can freeze. Top with the reserved chopped Reese’s, if desired.
- Cover with a lid or plastic wrap and place in the freezer for 4-6 hours or until frozen completely.


