This post may contain affiliate links. Read my disclosure policy.
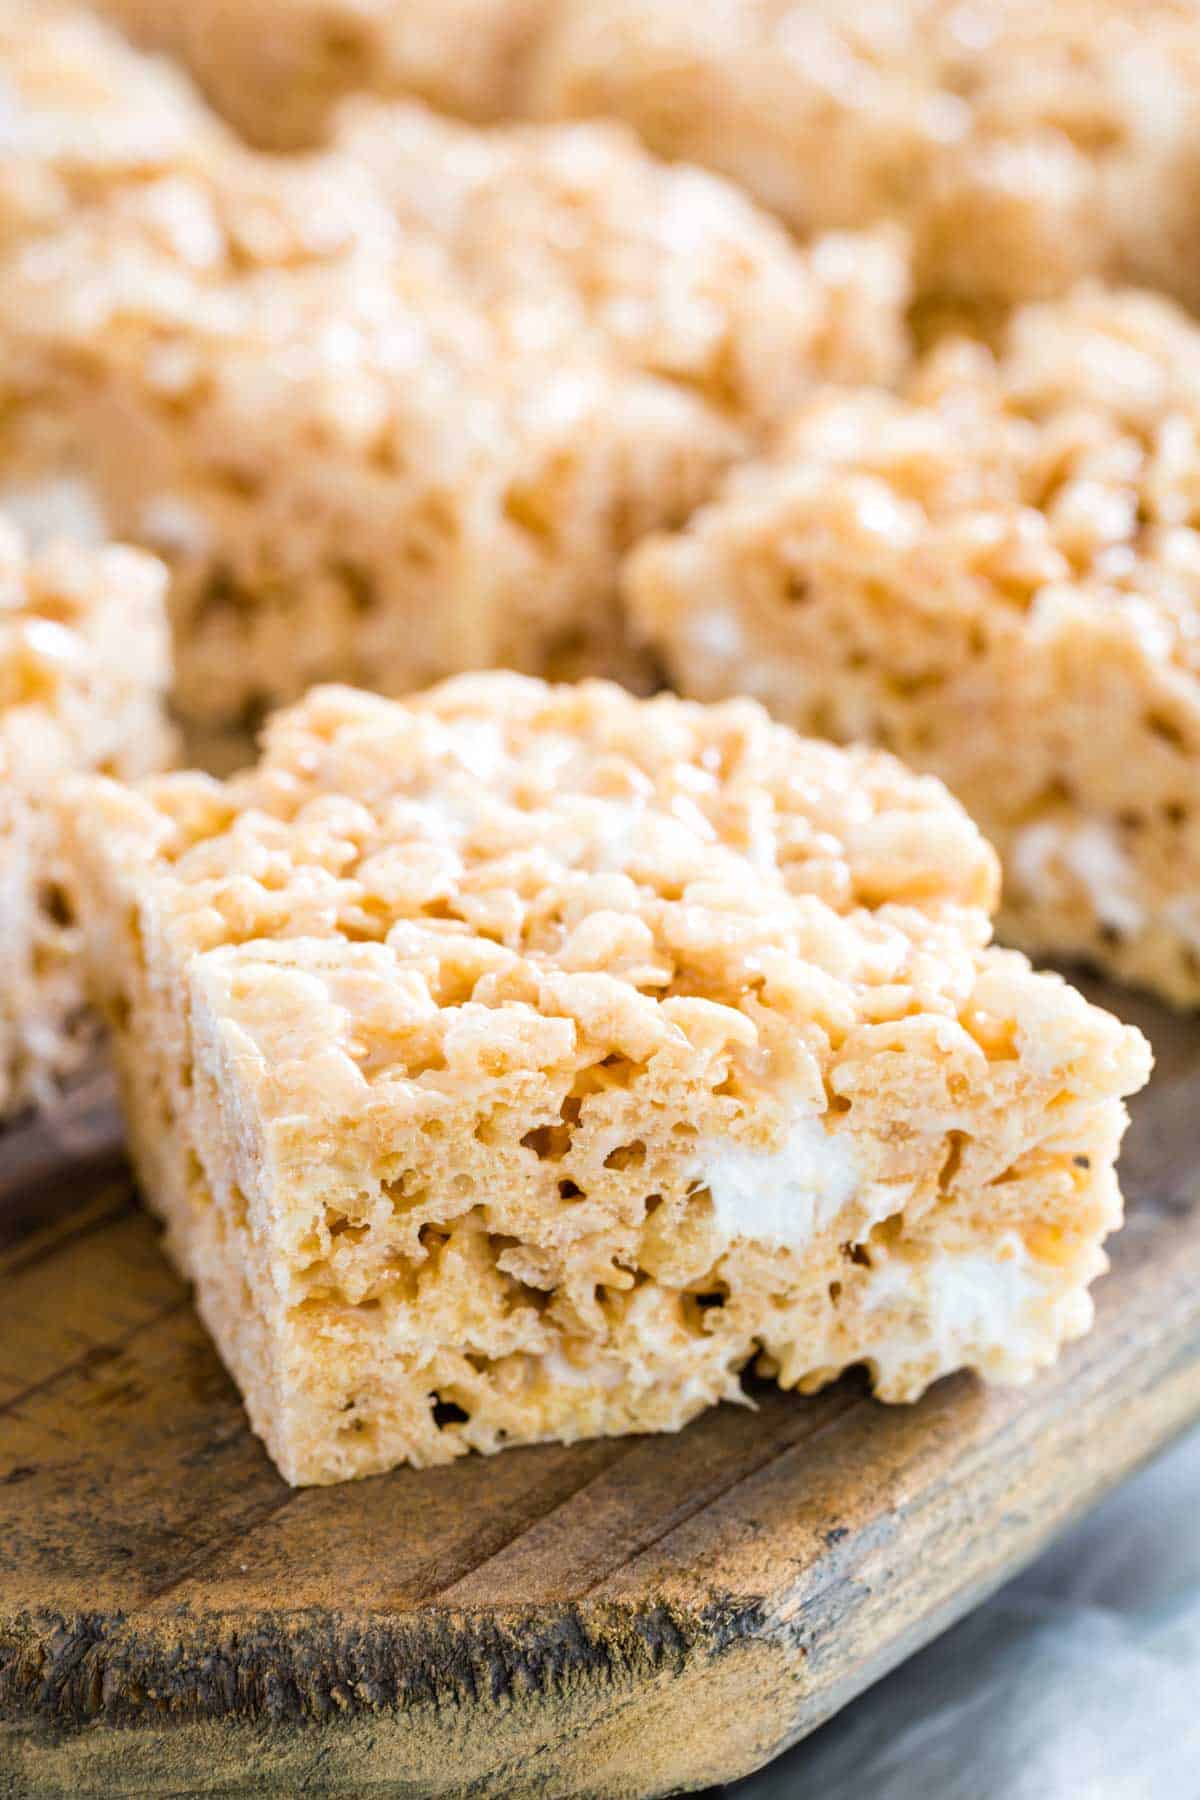
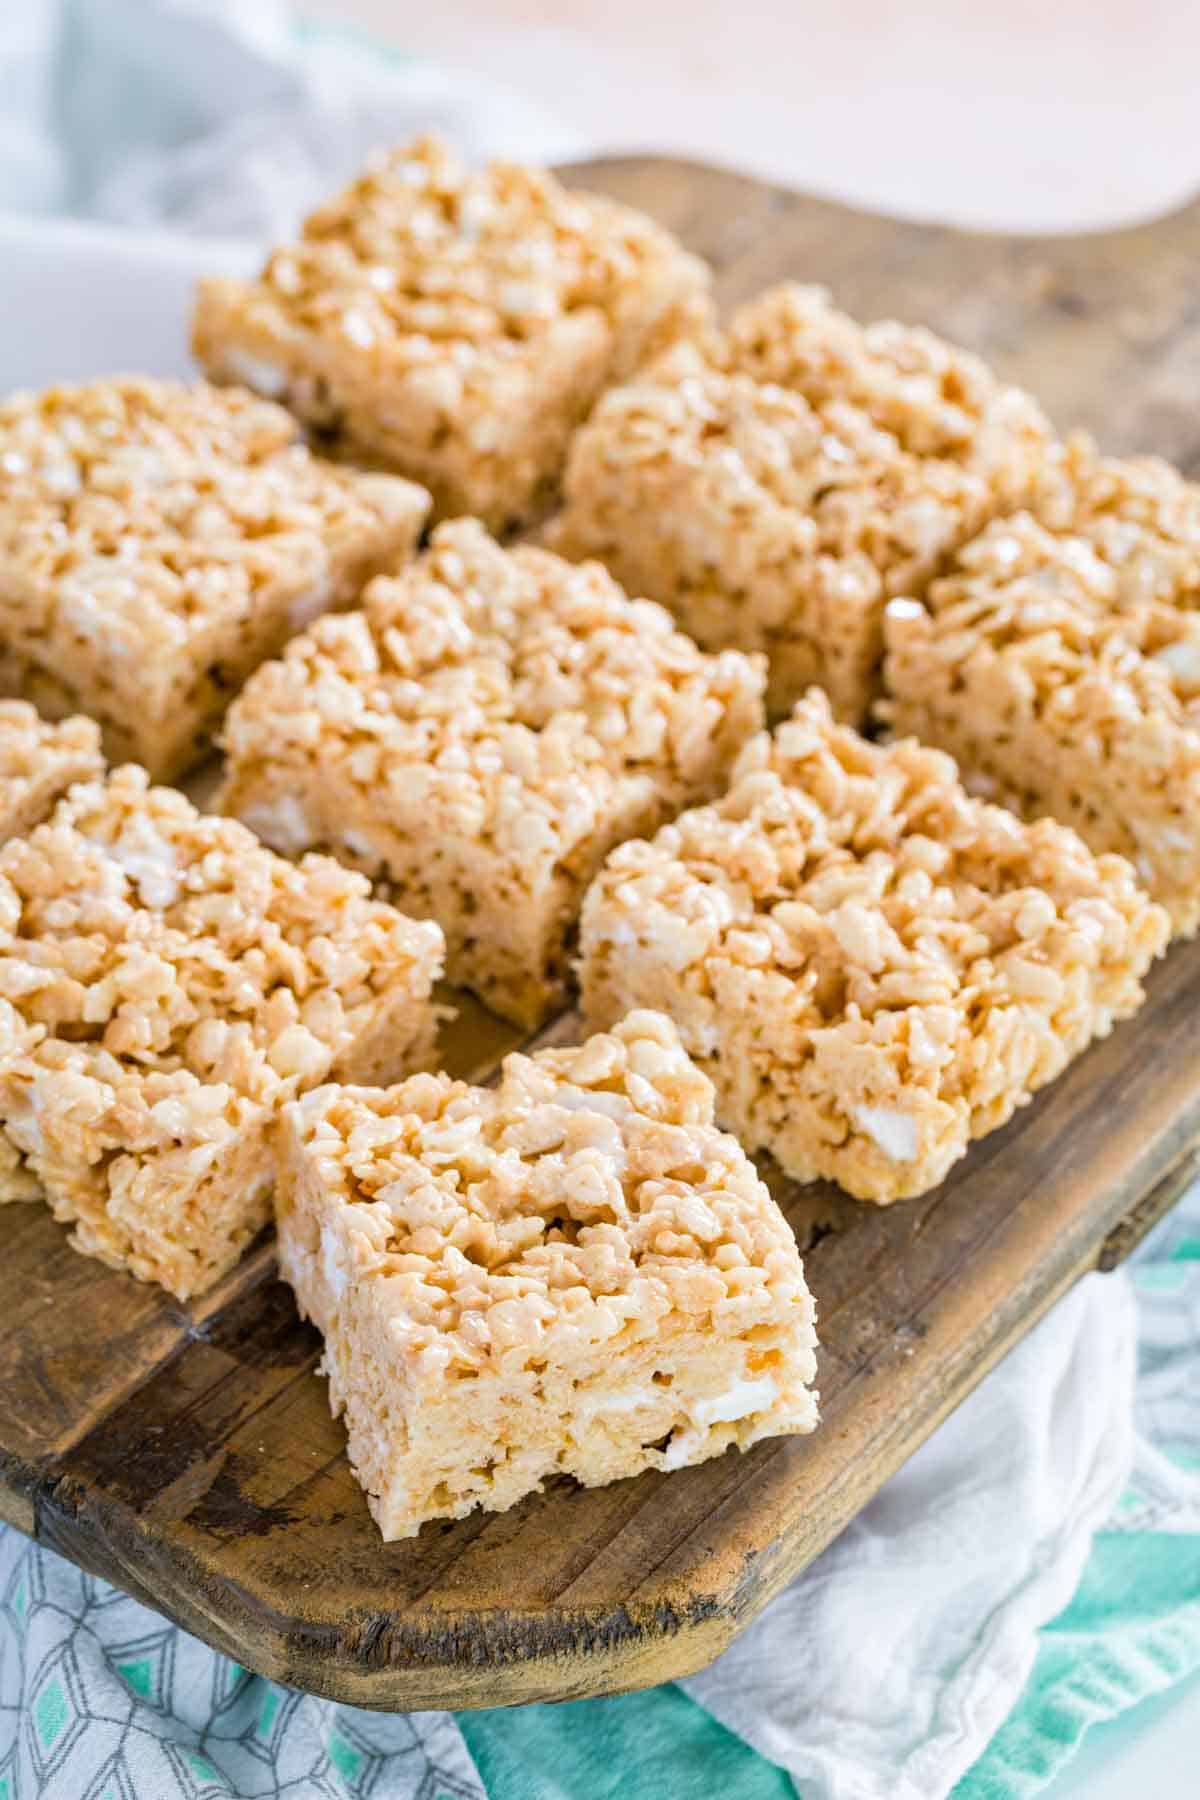
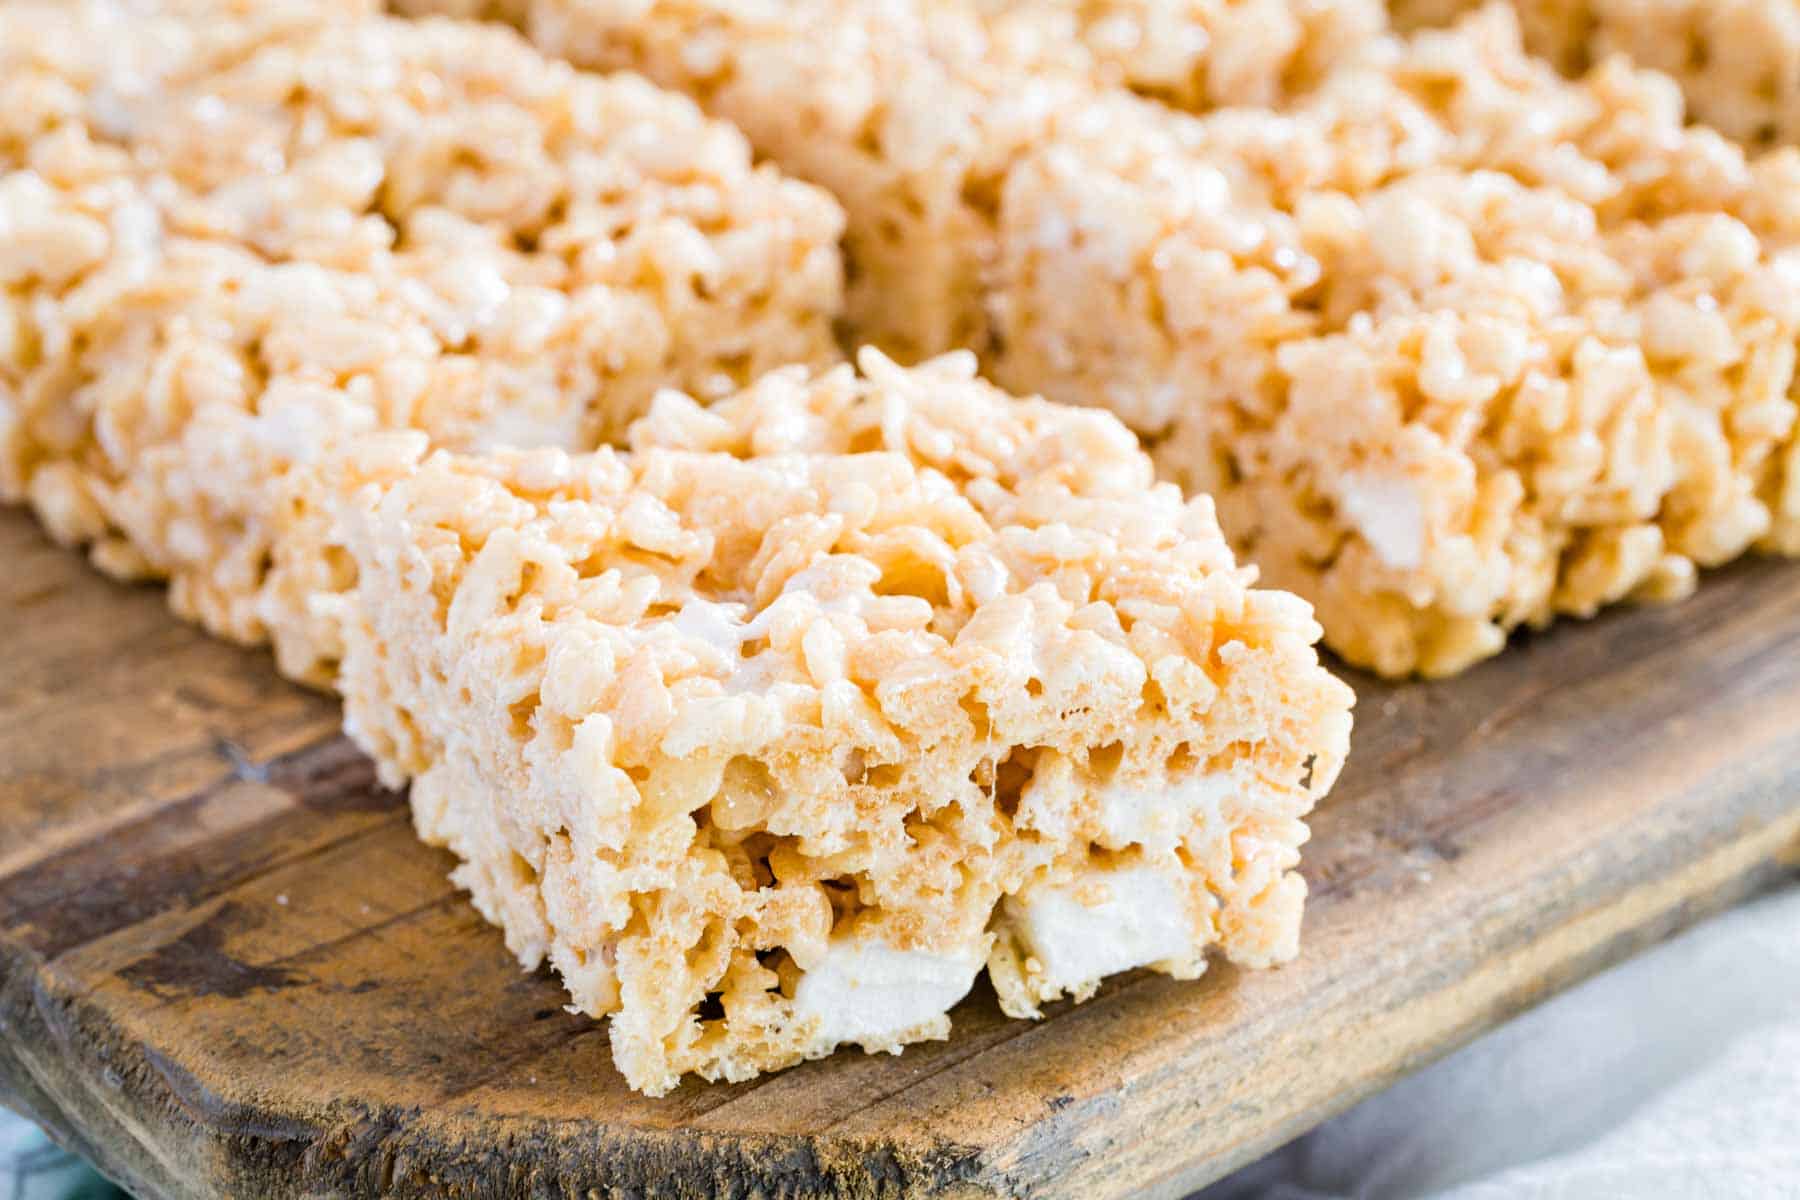
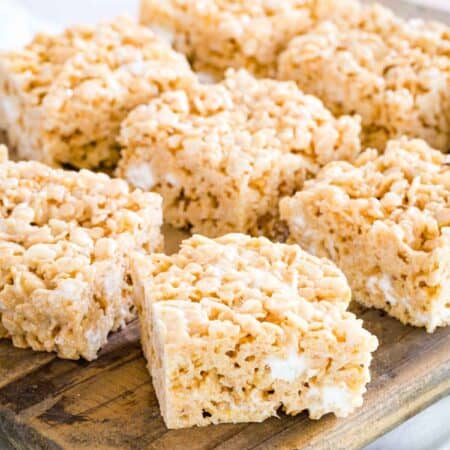
These are the best Gluten Free Rice Krispies Treats made from gluten-free crispy rice cereal. This recipe makes the perfect no-bake bars that are soft and chewy with gooey pockets of marshmallow throughout. Perfect for parties and snacks!
A Gluten-Free Twist on Classic Rice Krispie Treats
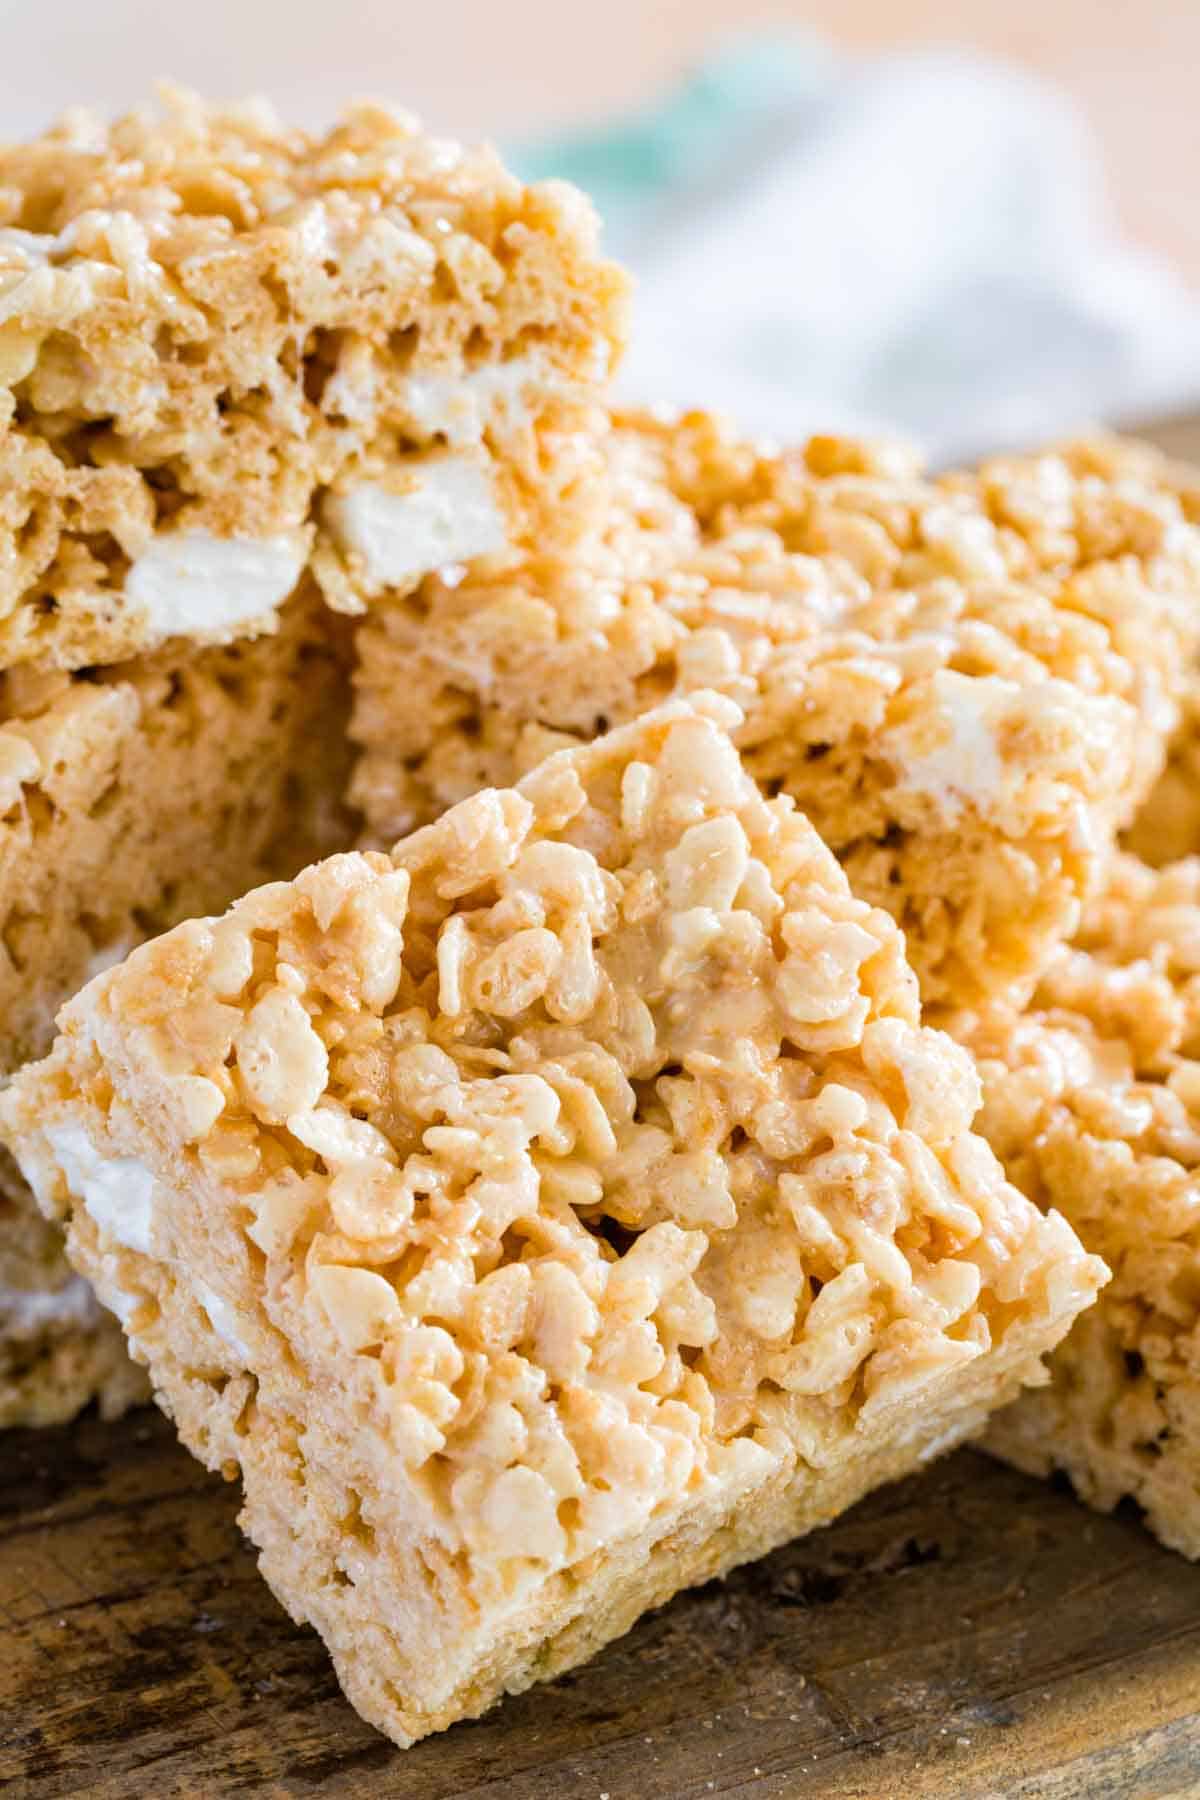
Today we’re putting a gluten-free spin on a nostalgic dessert: Rice Krispies Treats. If you grew up eating these and loving them just as much as I did, you’re going to LOVE this recipe! These gluten-free rice krispies treats are soft and chewy, with irresistible crackly crunch.
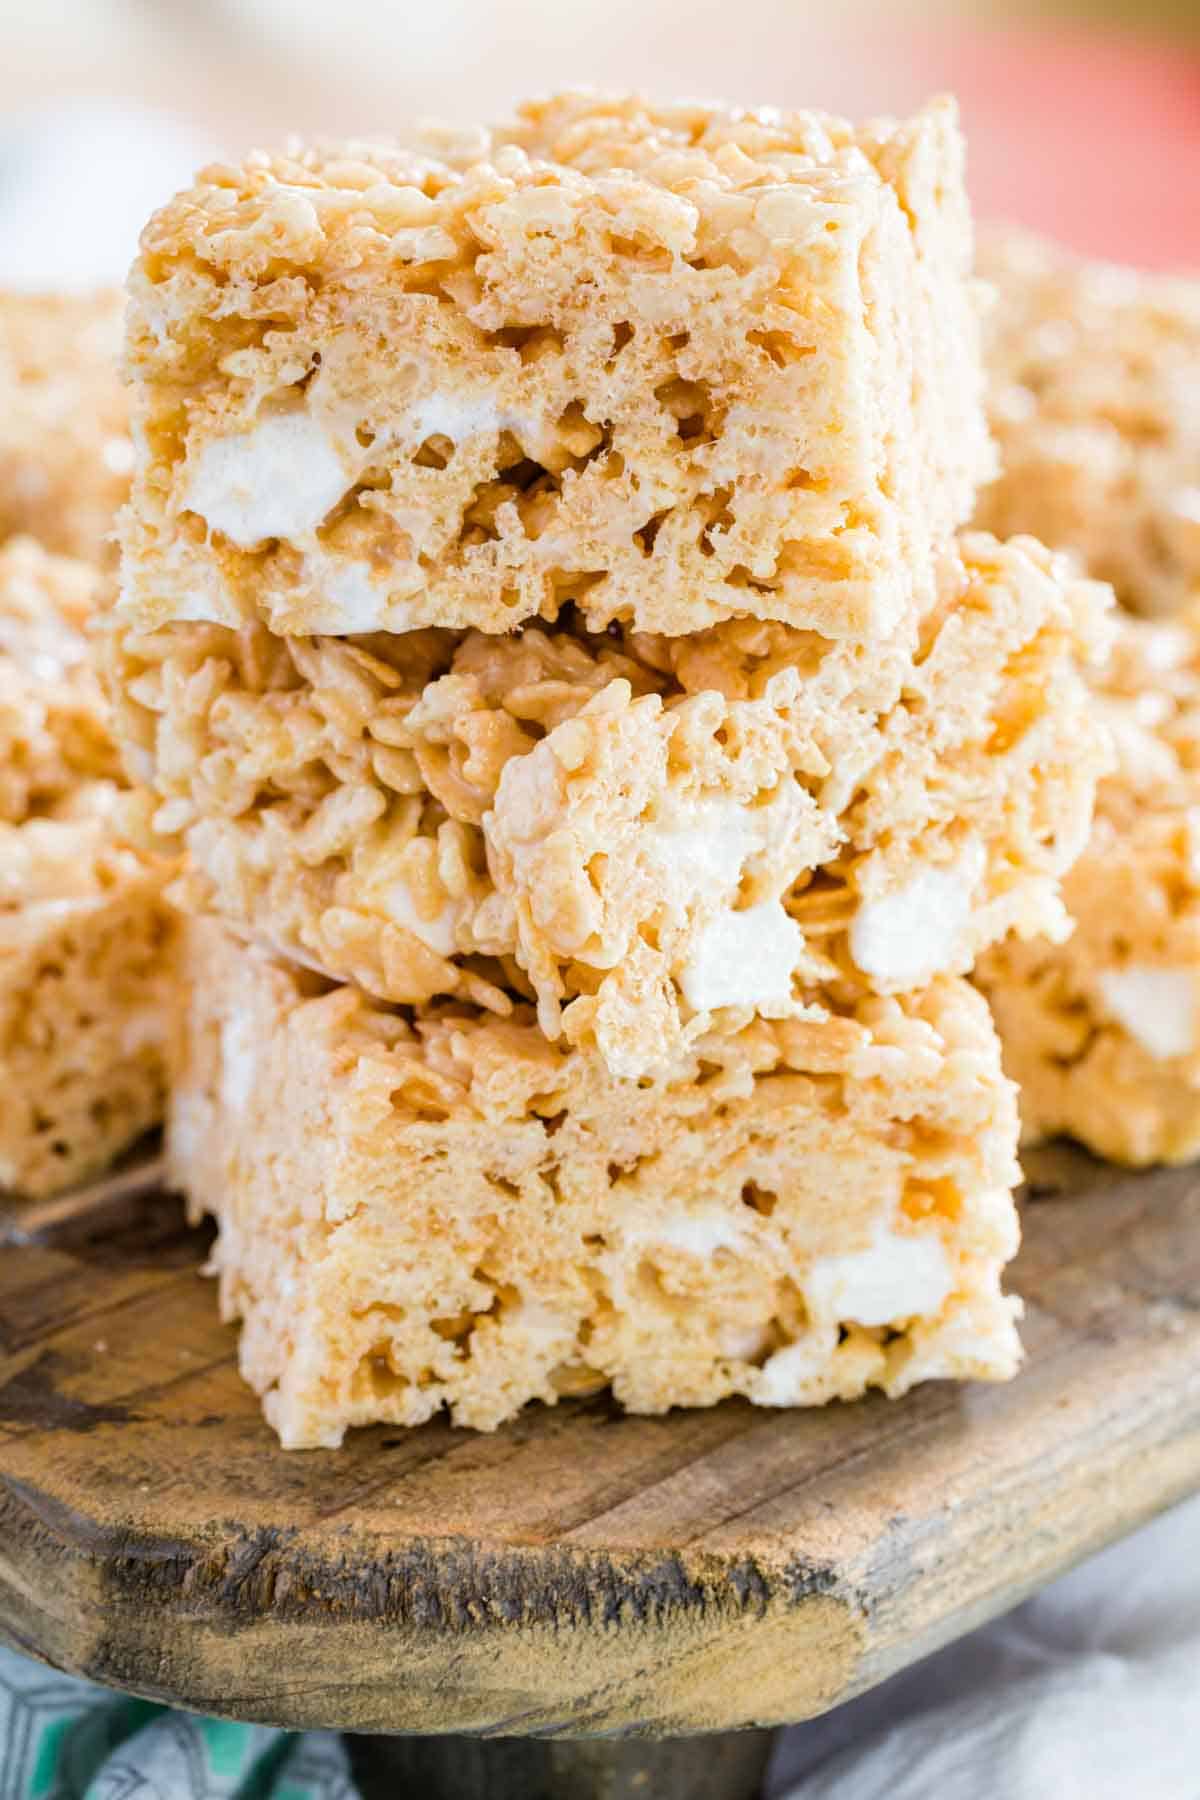
My secret? Mini marshmallows. Melted as the base (of course), and also stirred throughout the cereal mixture for a whole ‘nother layer of texture.
These no-bake treats are quick and easy to make, and they’re always welcome at parties, potlucks, you name it. This gluten-free recipe is always a hit at school bake sales, too. Everyone can’t get enough of those ooey-gooey pockets of melty marshmallows!
Is Kellogg’s Rice Krispies Cereal Gluten Free?
I go into this in detail in my post Are Rice Krispies Gluten Free?, but the short answer is: No, Kellogg’s Rice Krispies are not gluten-free. Traditional Rice Krispies are made with malt syrup, a derivative of barley that contains gluten. The company discontinued its certified gluten-free version in 2015.
The good news is, there are plenty of gluten-free crispy rice brands out there. Nature’s Path, Barbara’s, One Degree, and Aldi Crispy Rice Cereal are all good options. Be sure to check labels and look for brands that are specifically labeled or (better yet) certified gluten-free.
What You’ll Need
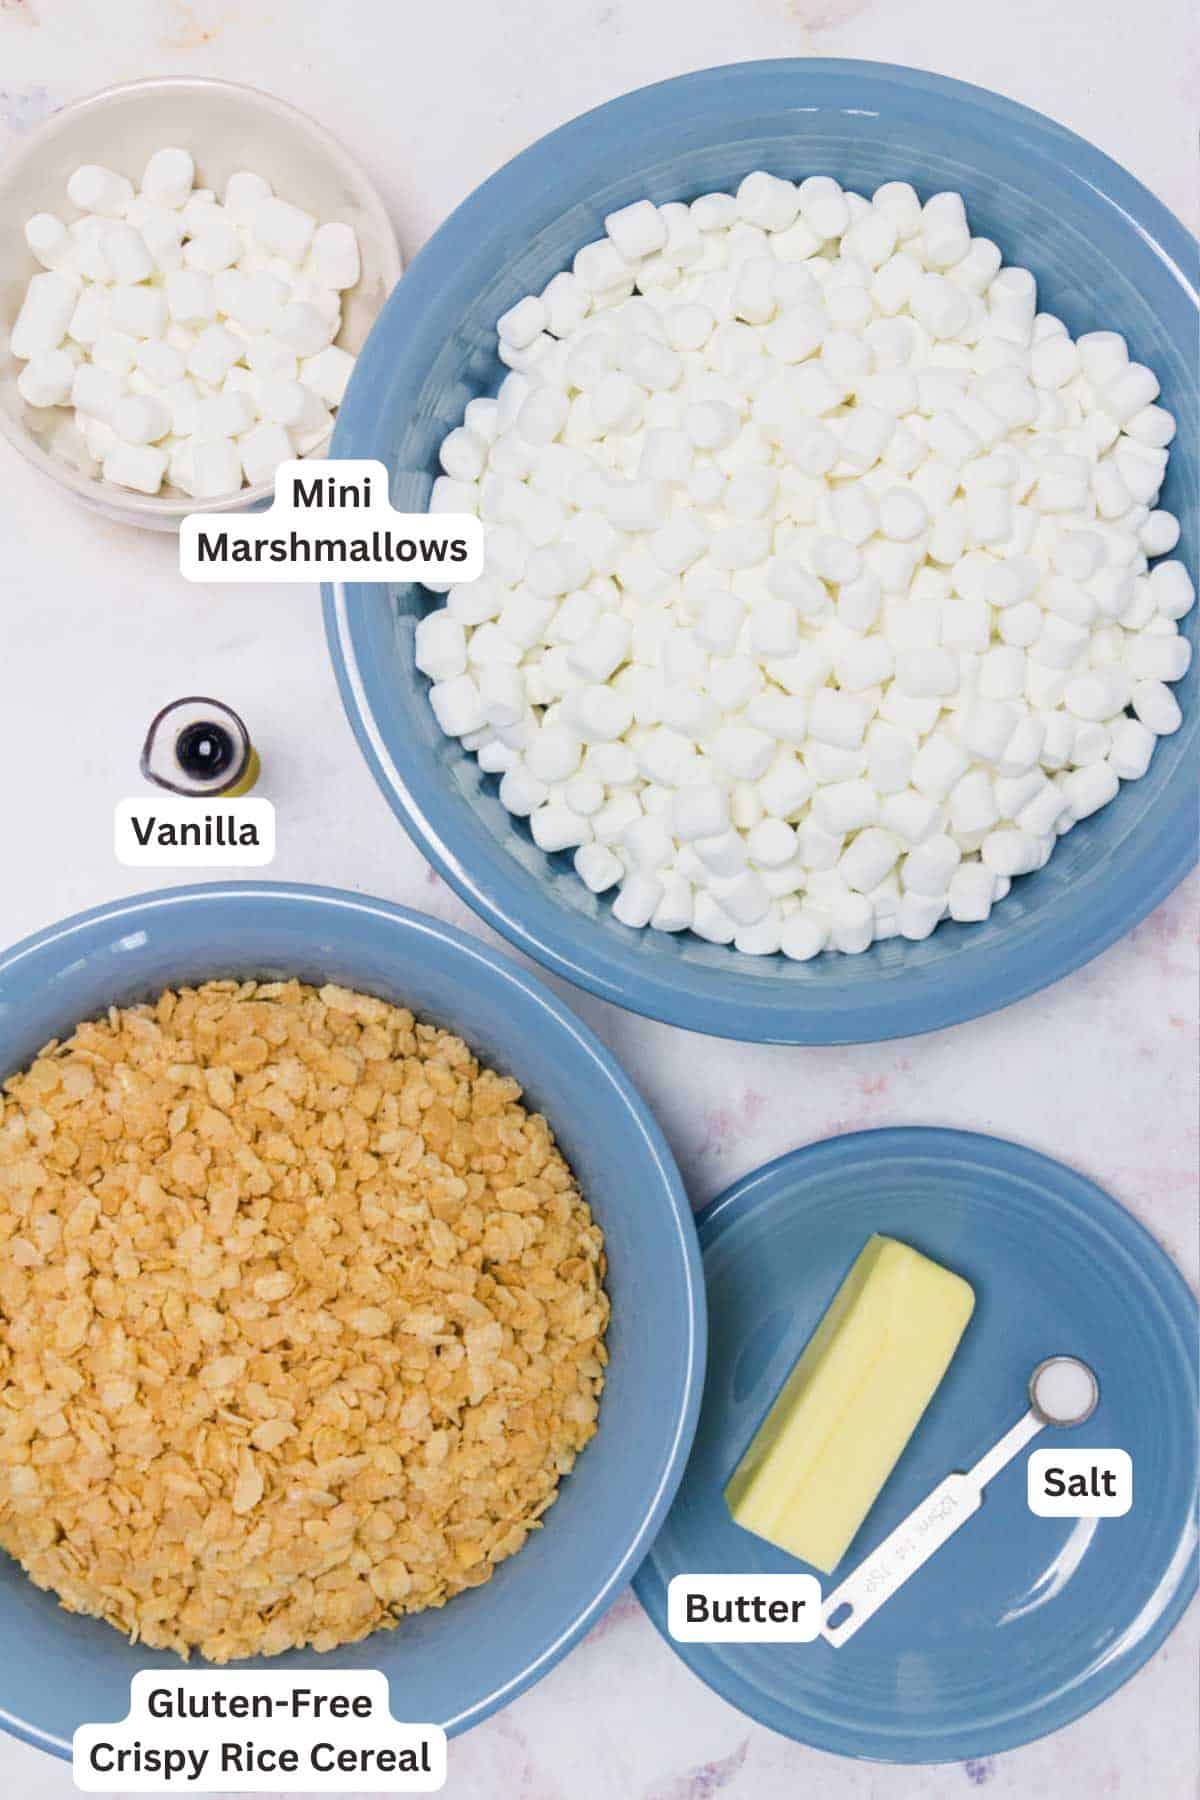
You only need 4 ingredients to make perfect gluten-free rice krispies treats! Let’s have a look at what you’ll need below, and don’t forget to refer to the full recipe details in the recipe card further on.
- Butter: You can use salted or unsalted butter. If you use unsalted, add an extra pinch of salt.
- Mini Marshmallows: Many marshmallow brands are gluten-free (my favorite is Kraft Jet-Puffed). However, some brands contain trace amounts of gluten, so always check those labels! You can also refer to my post, Are Marshmallows Gluten Free? for more details.
- Vanilla: Real vanilla extract gives the treats more depth of flavor.
- Crispy Rice Cereal: Make sure that you’re using a cereal brand that is certified gluten-free (see above). Of course, you can use regular Rice Krispies if you aren’t making these gluten-free.
Can I Use Regular-Sized Marshmallows?
Yes, while minis are best for this recipe, you can use any sized marshmallows to make marshmallow treats. I recommend chopping larger marshmallows into smaller pieces. Not only will they melt quicker, but you’ll still have some marshmallow chunks to stir in whole afterward.
How to Make Gluten-Free Rice Krispies Treats
Begin by lining and greasing a 9×9-inch square baking pan. You can also make this recipe in a larger, 9×13-inch pan for thinner treats.
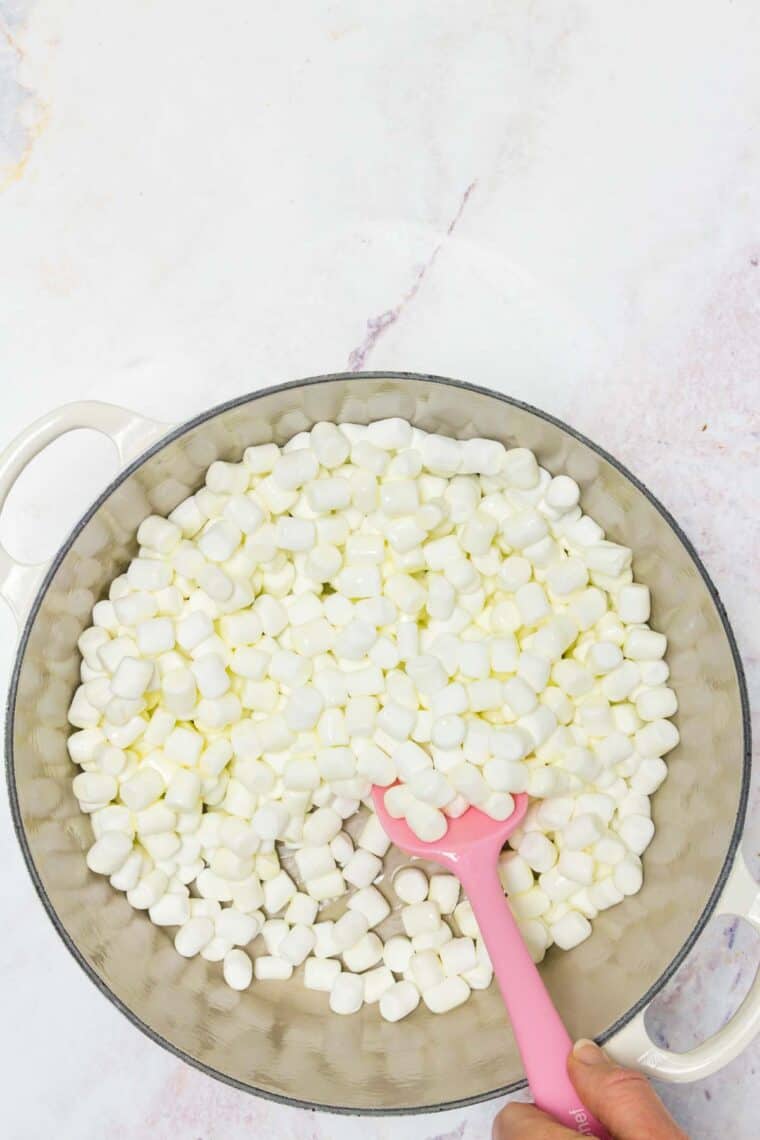
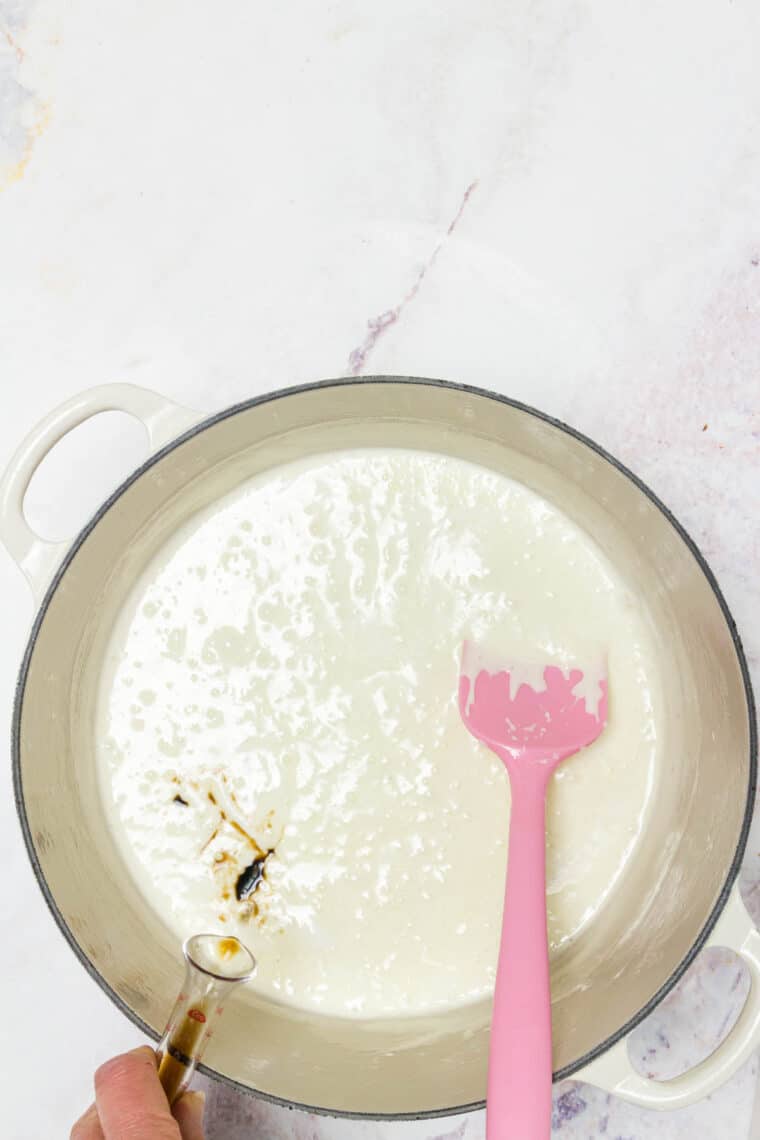
- Melt the Marshmallows: First, heat butter in a large saucepan. Leaving aside one cup of your mini marshmallows for later, dump the rest in with the butter. Stir often while the marshmallows melt. Afterward, take them off the heat and stir in the vanilla extract.
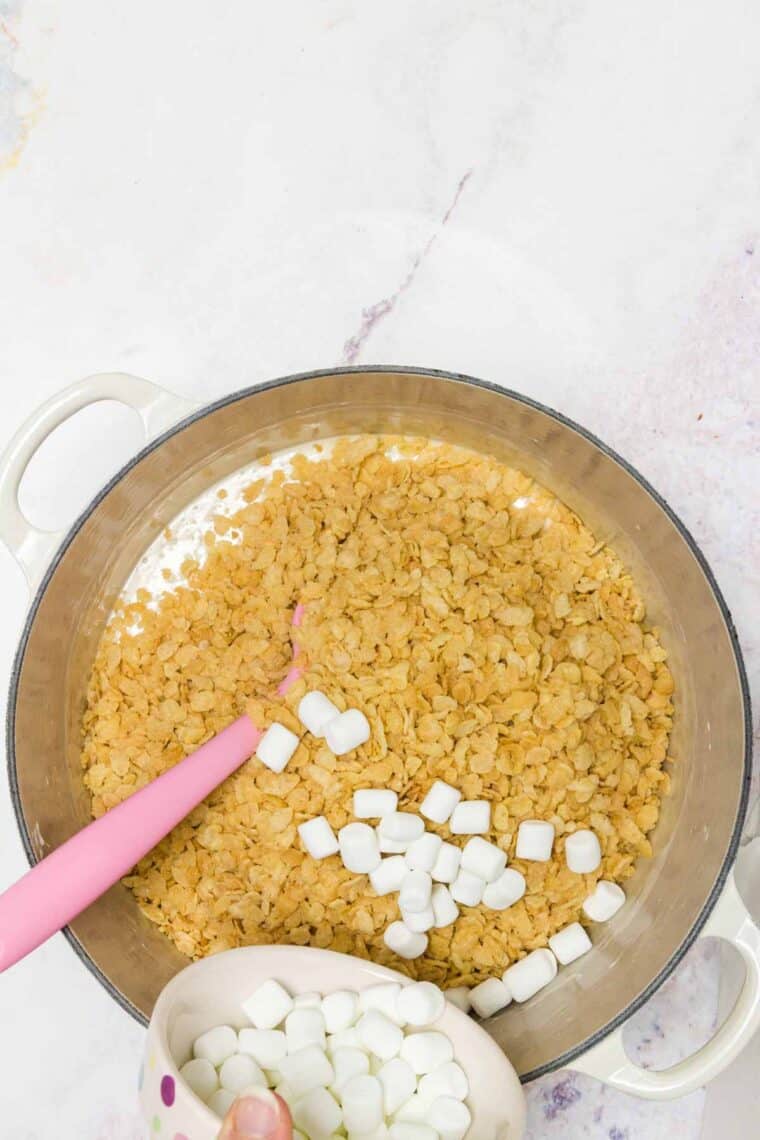
- Fold in the Cereal: Next, gently stir the crispy rice cereal into the melted marshmallows, along with the cup of marshmallows you set aside earlier. I like to use a rubber spatula to carefully fold everything together.
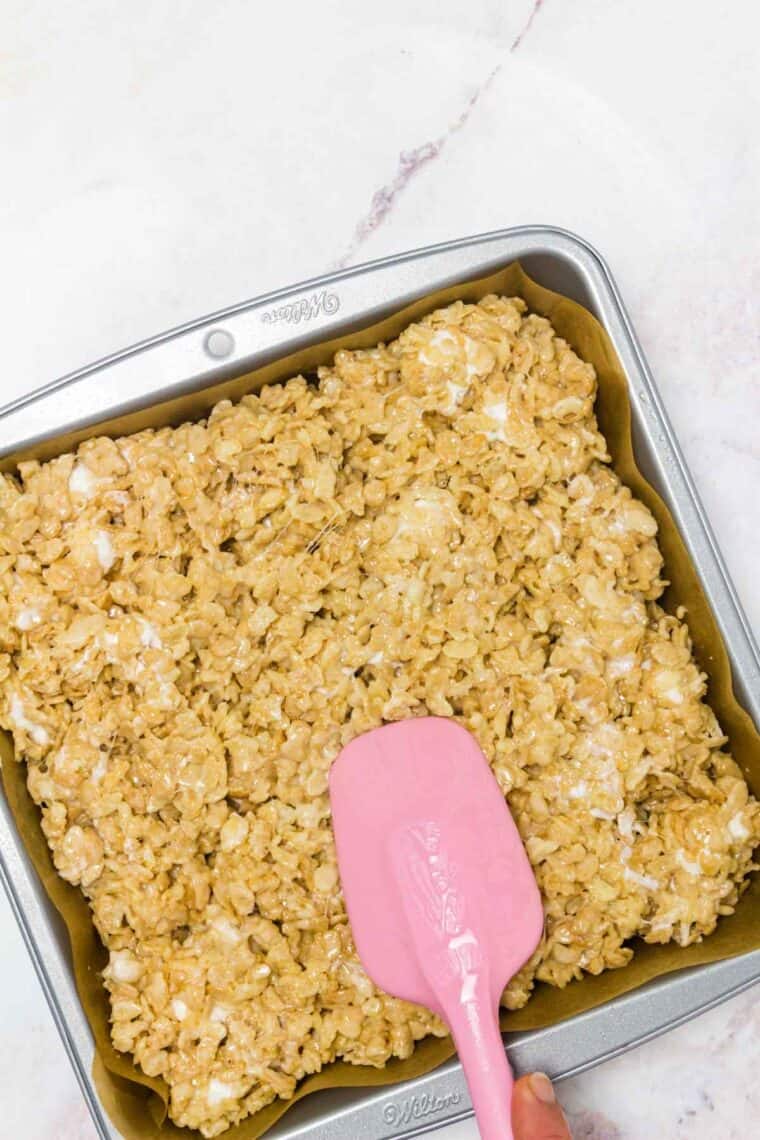
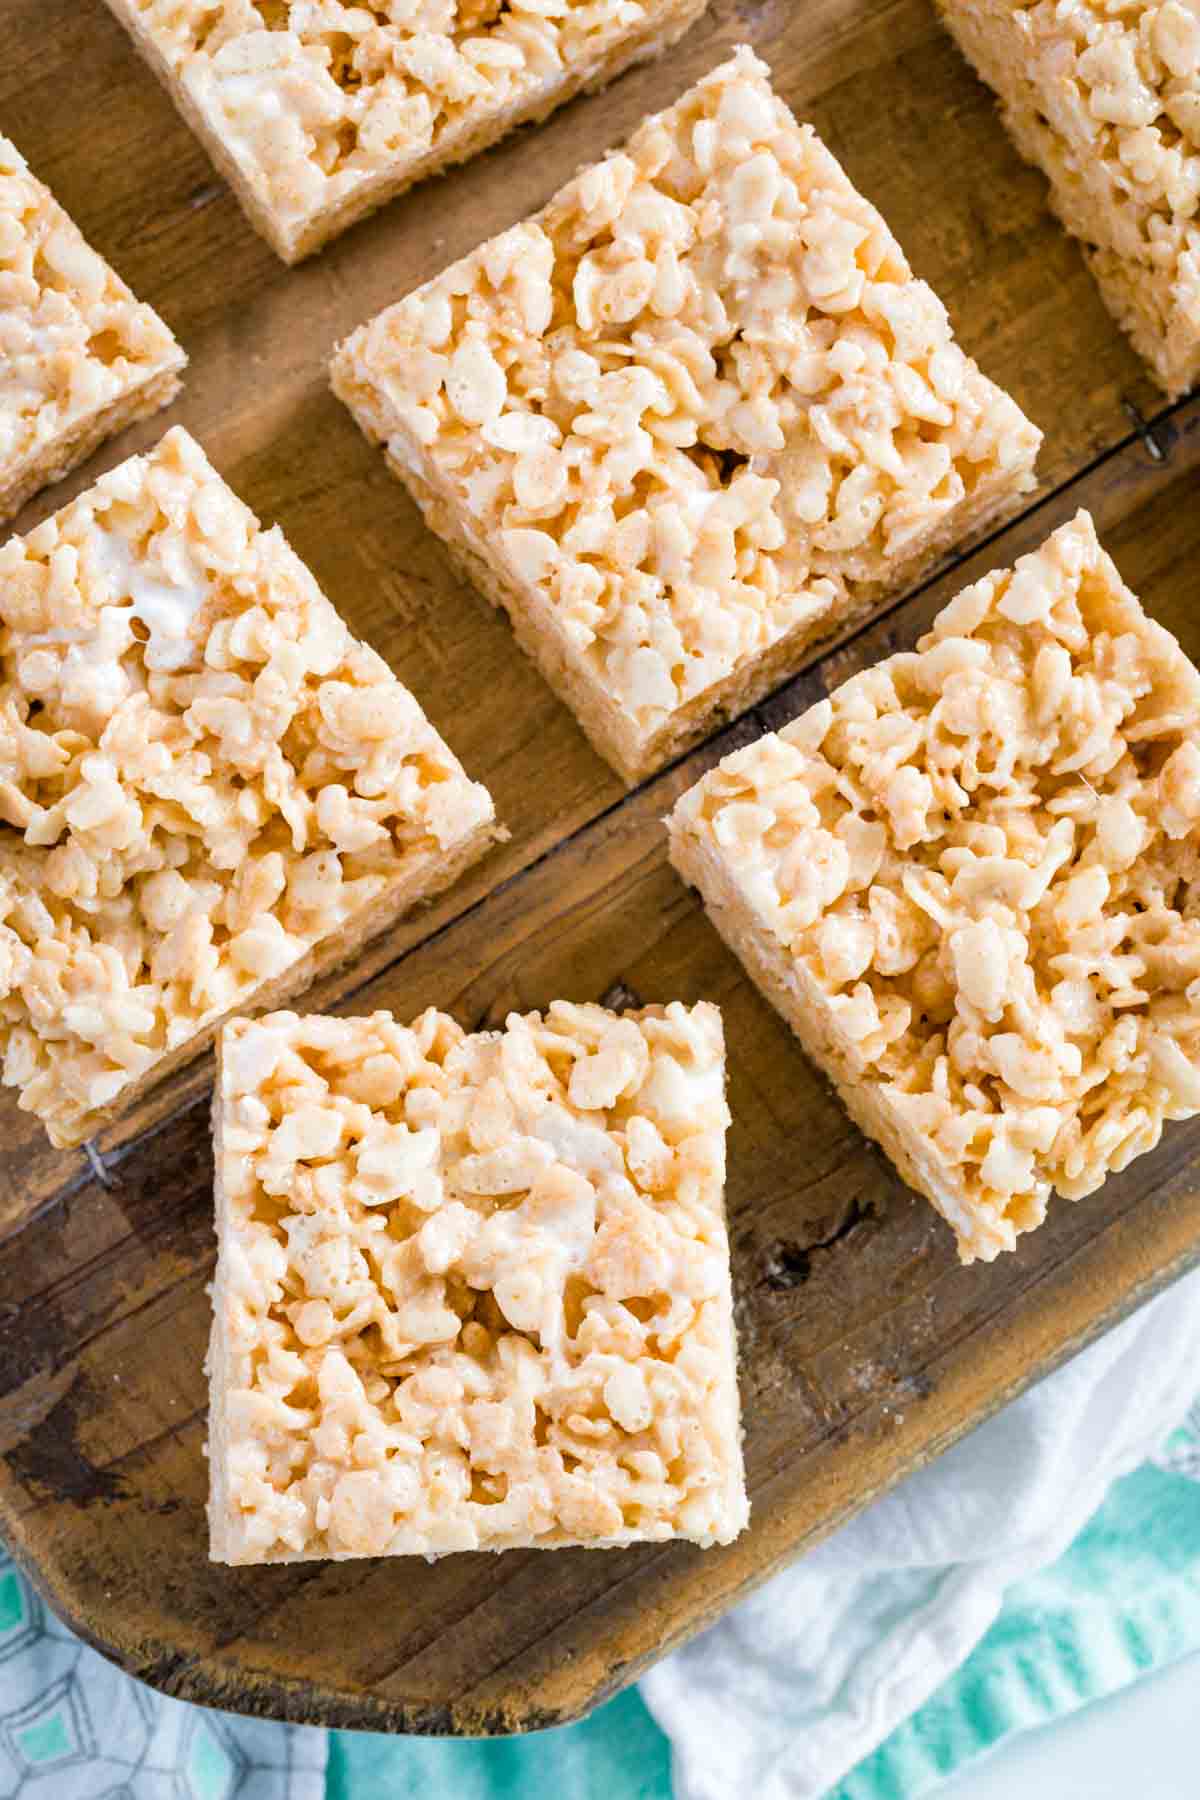
- Fill the Pan: Lastly, scrape the mixture into your prepared baking pan and use your fingers or a spatula to gently spread it out. Let your krispie treats set and cool completely at room temperature before cutting them into squares.
Tips for Success
Rice Krispies treats are a classic dessert, and they’re so easy to make! I’ll often get the kids involved in pressing the cereal mixture into the pan. Here are some final tips on how to make the best gluten-free crispy rice treats:
- Use the right cereal. Aside from ensuring that your cereal is gluten-free, make sure you’re using crisped rice cereal and not rice puffs. Rice puff cereal isn’t as sturdy and won’t hold up as well.
- Line the pan. This makes the treats much easier to remove. I like to line my baking pan with parchment paper and grease it with cooking spray.
- Don’t overcook the marshmallows. If you’ve ever bit into a rice krispies treat that was hard and crunchy, not soft and chewy, it’s likely because the marshmallows were overheated. Cook the marshmallows until they’re just melted, then take them off the heat.
- Be careful to not crush the cereal. Fold it into the marshmallows gently and avoid packing the cereal mixture tightly in the pan.
- Give the rice krispies treats enough time to set. Leave them for at least 30 minutes, otherwise, they’ll be too gooey.
- Serve them fresh. Gluten-free rice krispies treats tend to harden the longer they sit, so I always recommend serving them the day they’re made. However, you can keep them stored airtight for an additional day or two, see below for storing and freezing tips.
Rice Krispie Treats Variations
There are endless variations for homemade rice krispies treats. Here are some easy add-ins and ways to customize your gluten-free dessert bars:
- Add-Ins: Stir in chocolate chips or your favorite brand of gluten-free candy. Just be mindful to not go overboard with the mix-ins, as the treats won’t hold together as well.
- Different Cereal: You can use this recipe with another variety of gluten-free cereal to make any cereal bars you’d like! Just make sure you use a gluten free cereal!
- Browned Butter: Browning the butter in the pan before adding the marshmallows is a wonderful way to add more flavor to rice krispies treats. Melt the butter and stir constantly until it darkens in color and foams a bit at the edges.
- Peanut Butter: Make peanut butter rice krispie treats by adding in your preferred brand of shelf-stable gluten-free peanut butter (or, try these irresistible Salted Caramel Peanut Butter Rice Krispie Treats!)
- Holidays: Customize your treats with colored frosting and sprinkles to make Christmas or Halloween rice krispie treats or treats for any occasion.
- Chocolate: Use gluten-free chocolate crispy rice cereal to make chocolate rice krispie treats.
- Vegan: Make vegan gluten-free rice krispies treats with dairy-free butter and vegan marshmallows.
How to Store
While these gluten-free rice krispies treats are best when enjoyed fresh, you can keep them airtight on the counter for up to 3 days. They will toughen up over time, so be sure to store or wrap them tightly.
Can I Freeze Rice Krispies Treats?
Yes, krispie treats freeze well. I recommend pre-freezing the individual squares on a baking sheet before transferring them to a freezer-safe container or resealable bag (use parchment paper between layers if needed). Freeze your rice krispies treats for up to 6 months, and defrost them at room temperature.
Things You’ll Need
- BAKING PAN: As I mentioned, you ca use an oblong pan, but a square pan will give you those nice, thick squares.
- PARCHMENT PAPER: A lined pan sprayed with nonstick cooking spray makes it so much easier to get the treats out of the pan.
- HEAVY-BOTTOMED POT: Even heat distribution will make the marshmallows melt nicely, and it’s easy to clean the sticky stuff out of an enameled pan.
- SILICONE SPATULAS: These trust kitchen utensils always come in handy, especially with gooey mixtures.
Gluten Free Rice Krispies Treats
Ingredients
- 6 Tablespoons salted butter or 6 Tablespoons unsalted butter plus 1/4 tsp salt
- 8 cups mini marshmallows (one 16 oz. bag, preferably Kraft Jet Puffed), divided
- 1 teaspoon pure vanilla extract
- 6 cups Crispy Rice Cereal (Be sure to use a brand that is gluten free. Kellogg’s Rice Krispies are NOT gluten free.)
Instructions
- Line a 9×9-inch square baking pan with parchment paper or aluminum foil and grease it generously with cooking spray or butter. You can also use a 9×13-inch baking pan, but your treats will be thinner.
- In a large, heavy-bottomed saucepan or Dutch oven, melt the butter over low heat. Set aside 1 cup of the marshmallows, and add the remaining 7 cups to the melted butter. Stir over low to medium-low heat until just melted (it’s fine if a few unmelted marshmallows remain). Remove from the heat and stir in the vanilla extract (plus the salt if you use unsalted butter).
- Add the cereal and reserved 1 cup of marshmallows and gently stir with a spatula until the cereal is evenly coated.
- Transfer the mixture to the prepared baking dish and gently press down with your fingers to spread it out and fill the pan, but do not pack it down tightly.
- Let cool at room temperature for at least 30 minutes, then cut into squares and enjoy.


