This post may contain affiliate links. Read my disclosure policy.
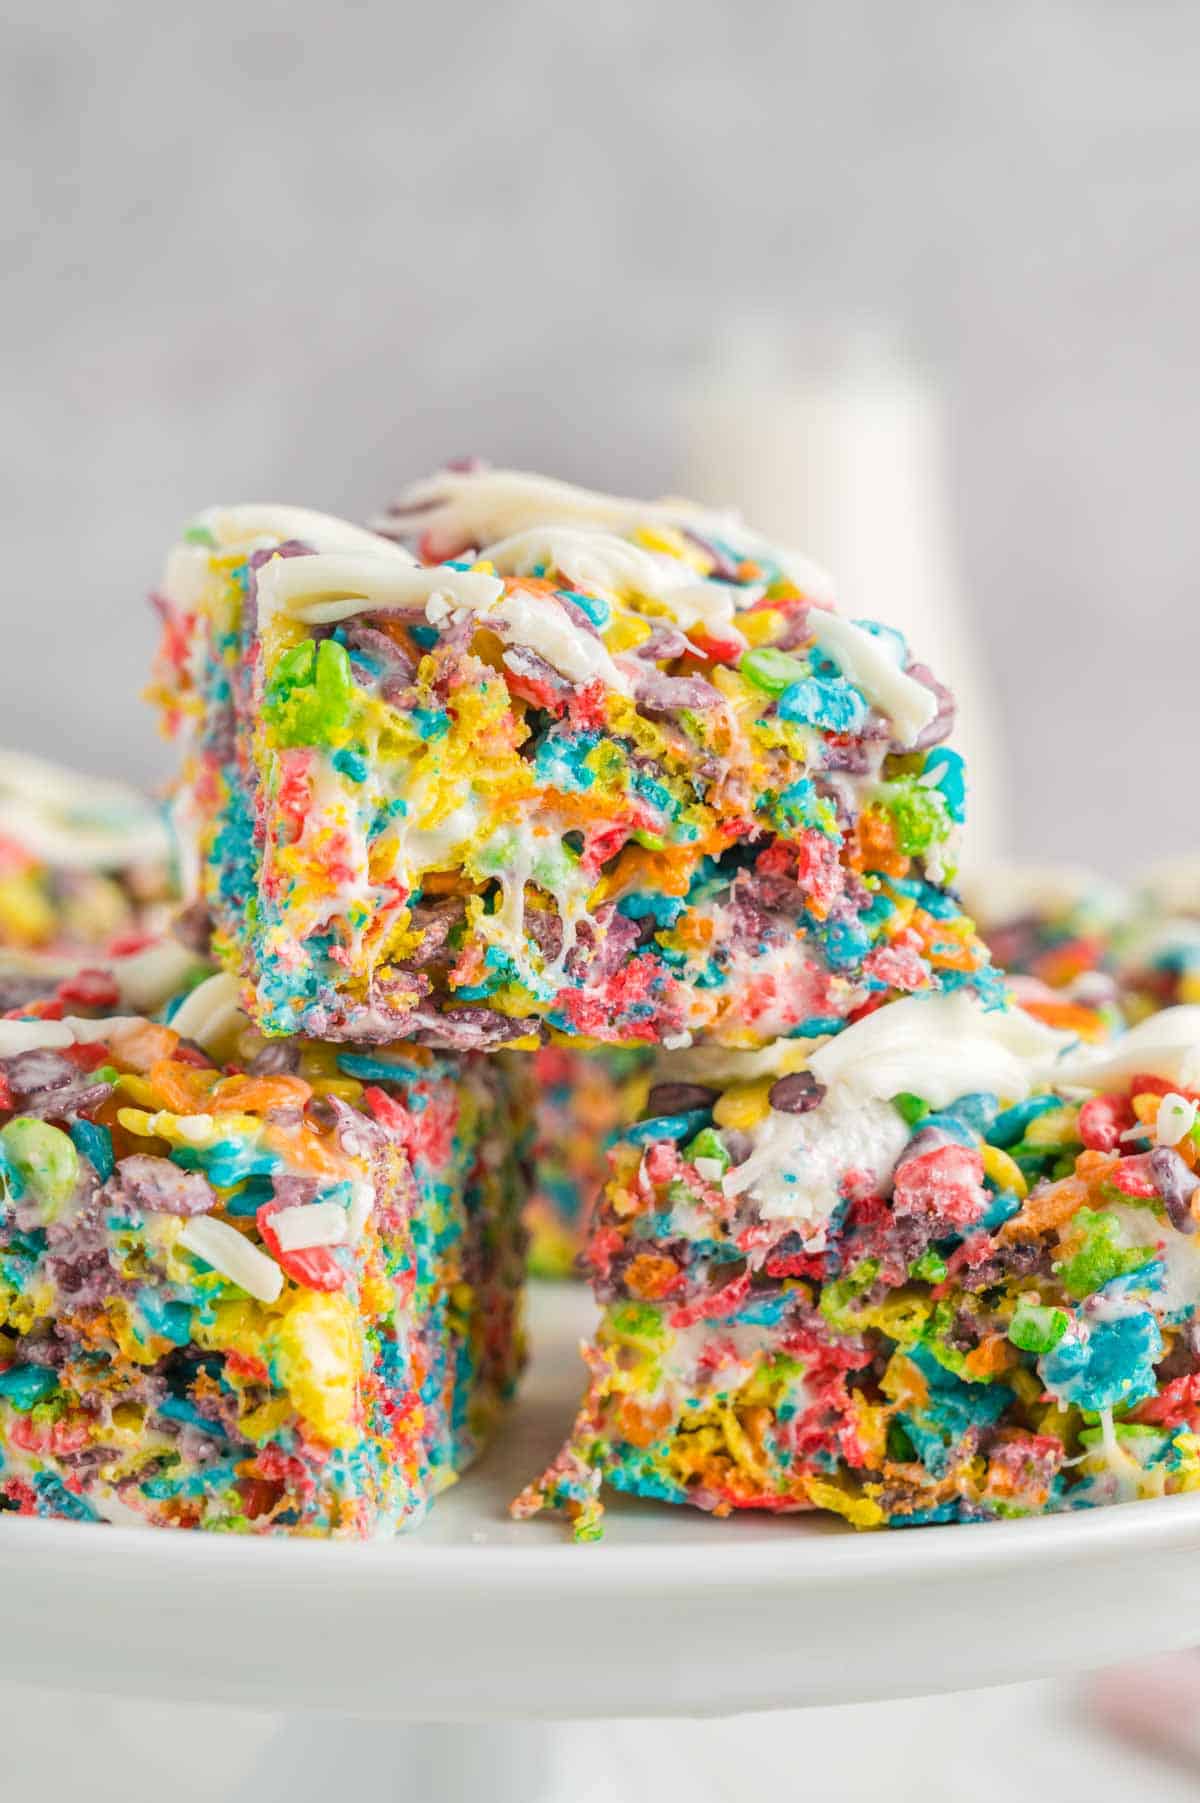
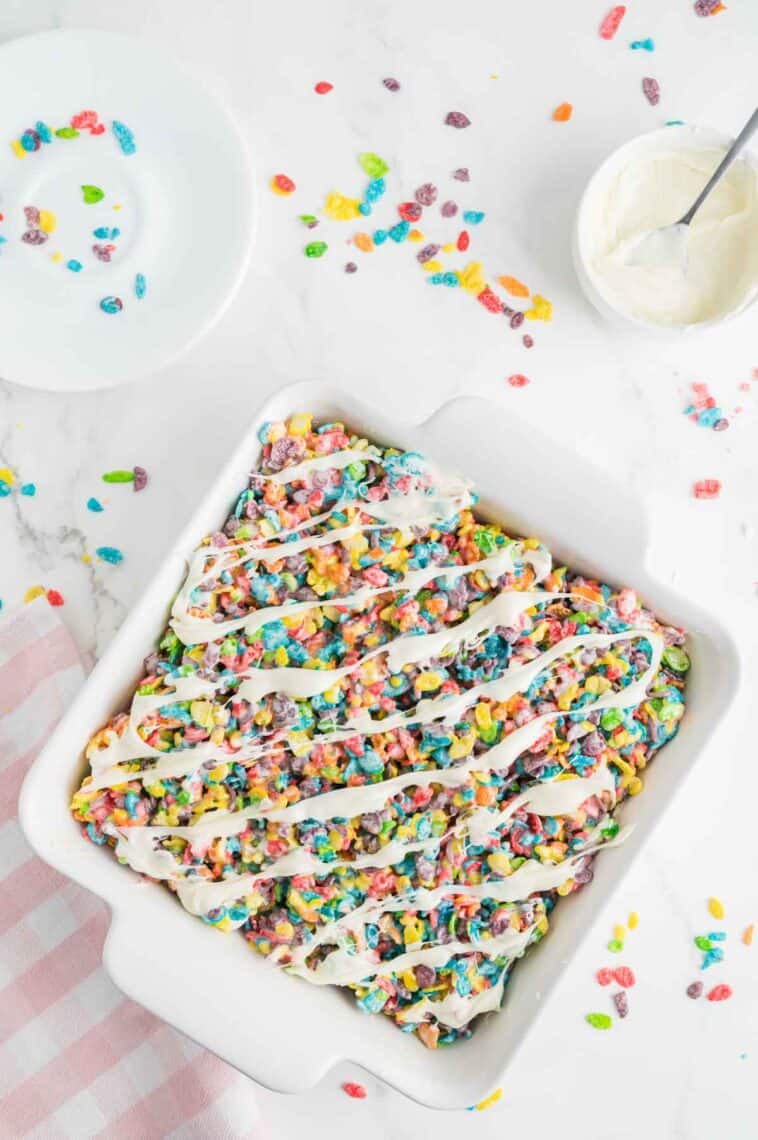
Chewy and sweet Fruity Pebbles Treats are similar to rice krispies treats, but way more fun! Packed with a classic cereal and marshmallows then topped with a white chocolate drizzle, these colorful squares are sure to be a favorite. It’s an easy no-bake dessert that’s gluten free too!
Why You’ll Love These Fruity Pebbles Treats
Delicious Details
- Cuisine Inspiration: American
- Primary Cooking Method: Stovetop
- Dietary Info: Gluten-free
- Skill Level: Easy
You’ll find most of the colors of the rainbow in these fruity pebbles krispies treats! Kids love the bright colors of these cute, no-bake bars that feature marshmallows and a drizzle of white chocolate, and fruity pebbles treats are great for bake sales. Here’s why you’ll also love this recipe:
- Gluten Free. Fruity Pebbles cereal is gluten-free! This is a reason I use them in this recipe rather than Rice Krispies, which contain barley malt and are not gluten free. Marshmallows are also gluten-free. You can learn more about what cereals are gluten free in this post.
- Fun. This is at the top of my list of why I love making fruity pebbles treats! The brightly-colored cereal makes them truly stand out. Plus the fruit flavor is hard to resist.
- Easy. This is a no-bake dessert recipe and it comes together in 10 minutes. Perfect for when you need a last-minute option.

Fruity Pebbles Krispies Treats Ingredients
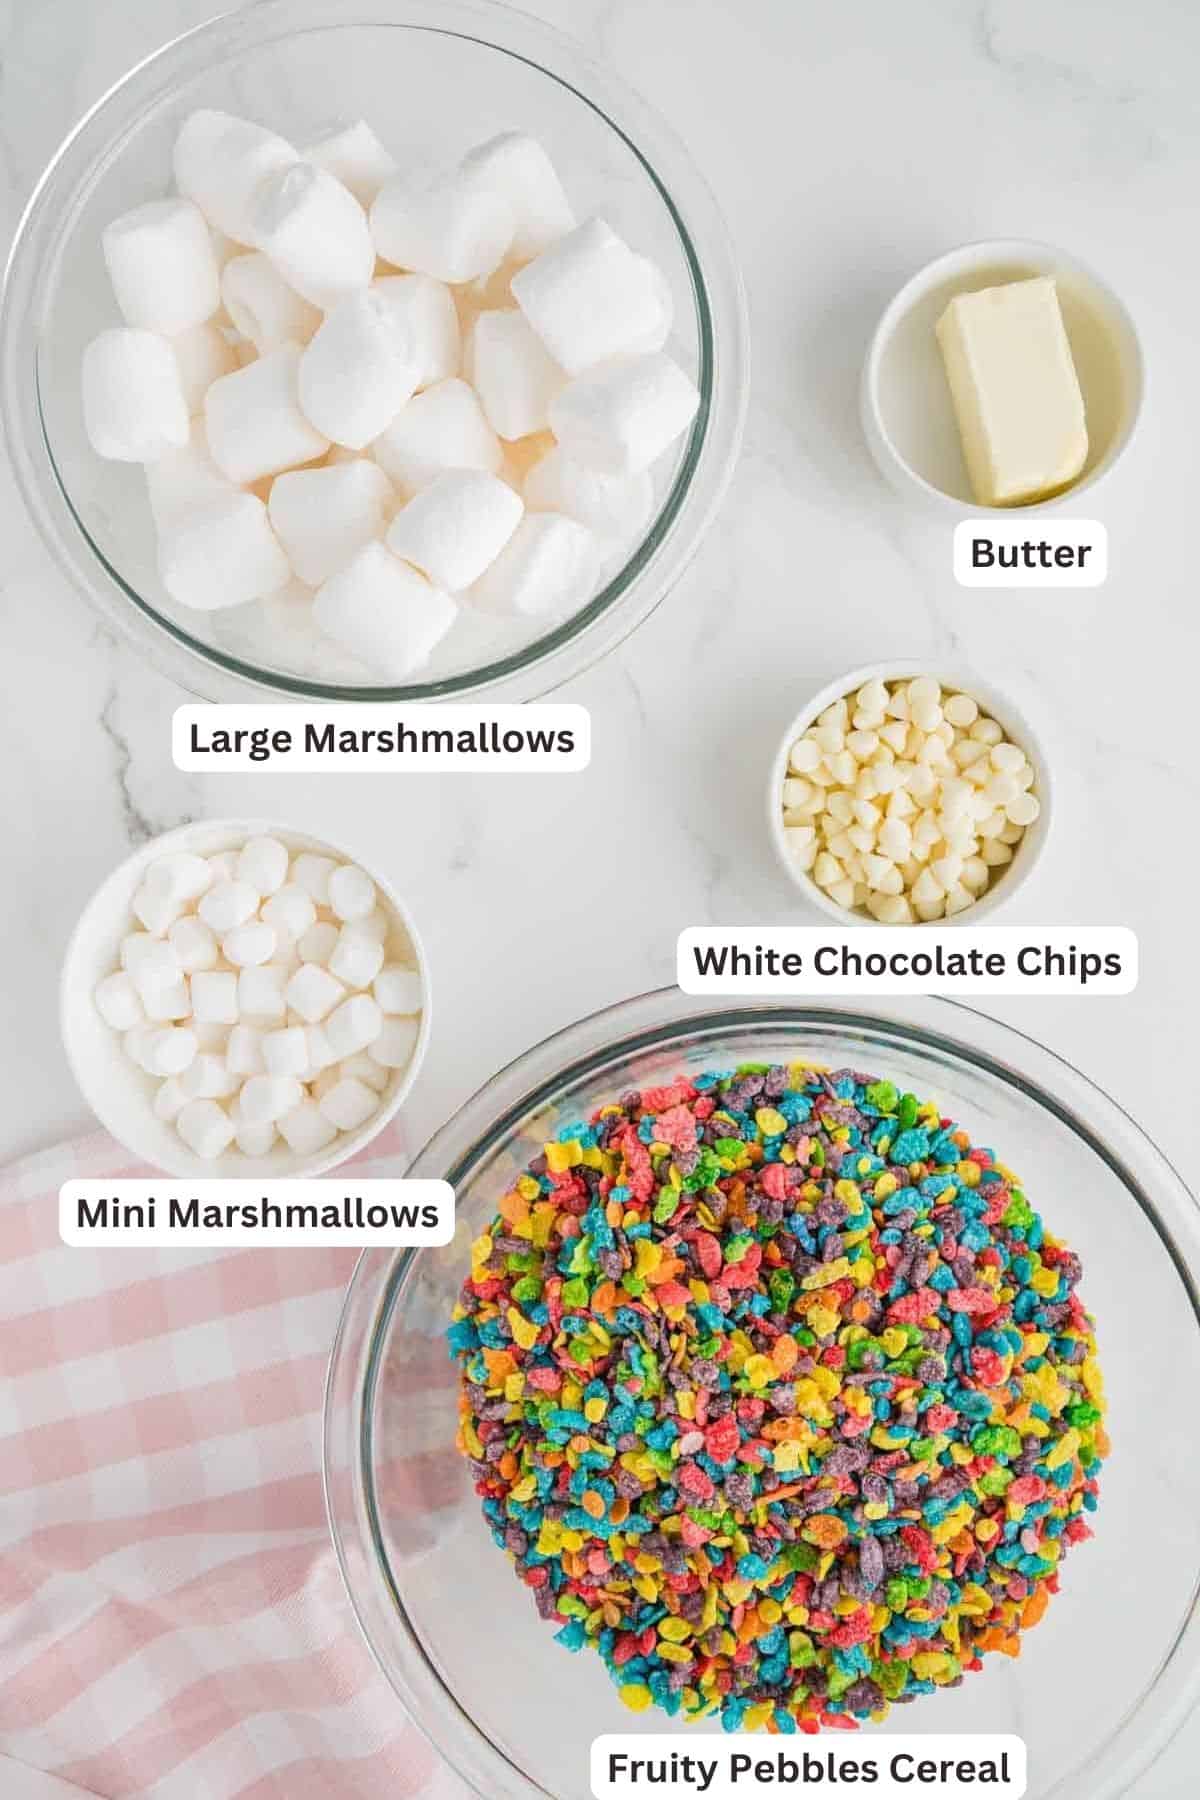
You need just four ingredients to make fruity pebbles rice krispies treats. I’ve outlined them below. Don’t forget to check the recipe card at the end of this post for the full ingredient amounts.
- Fruity Pebbles Cereal: This gluten free cereal makes a colorful and fun addition to these treats.
- Marshmallows: You’ll need mini marshmallows and additional mini or large marshmallows.
- Butter: I use unsalted butter.
- White Chocolate Chips: These are used for an optional topping.
Can I Make This With Other Cereal?
You can make these fruity pebbles treats with other cereals, making sure that you use a gluten free cereal if needed. This recipe works wonderfully when made into regular rice krispie treats – although you’ll need to be sure to use a brand that is gluten free. Traditional Kellogg’s brand rice krispies are not gluten free, but you can find others that are. Learn more in my post, Are Rice Krispies Gluten Free?. You can also make a chocolate version using Cocoa Pebbles.
How to Make Fruity Pebbles Treats
Just a few easy steps are all you will take to make fruity pebbles treats! I’ve outlined them for you below. Find the detailed instructions in the recipe card lower down.
- Prepare. Line an 8×8-inch square baking pan with parchment paper.
- Combine. Stir together the Fruity Pebbles cereal and one cup of mini marshmallows.
- Melt. In a large pot, melt the butter and add the remaining marshmallows.
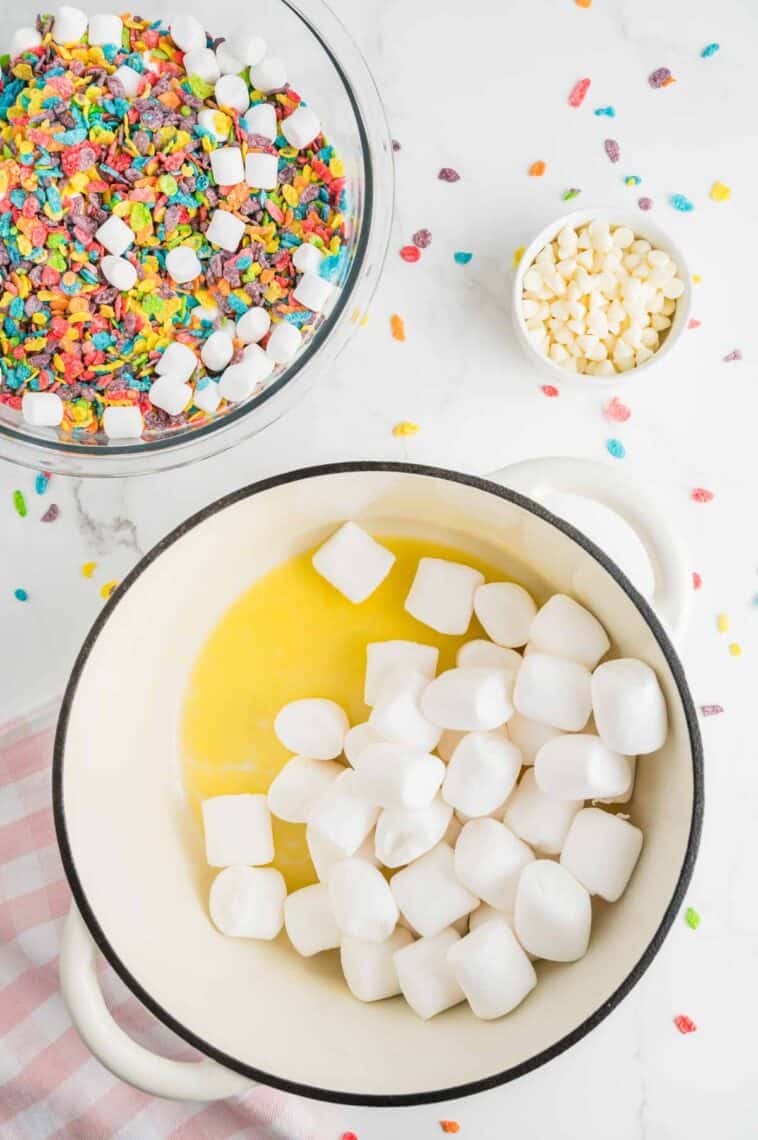
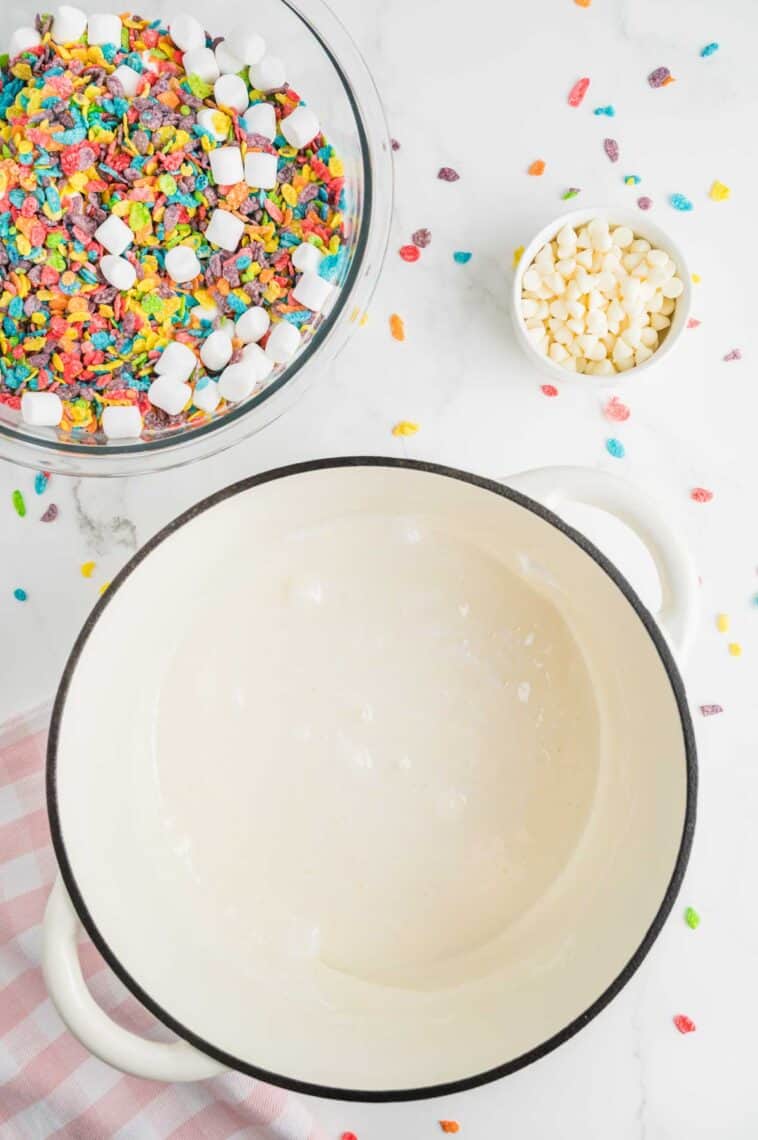
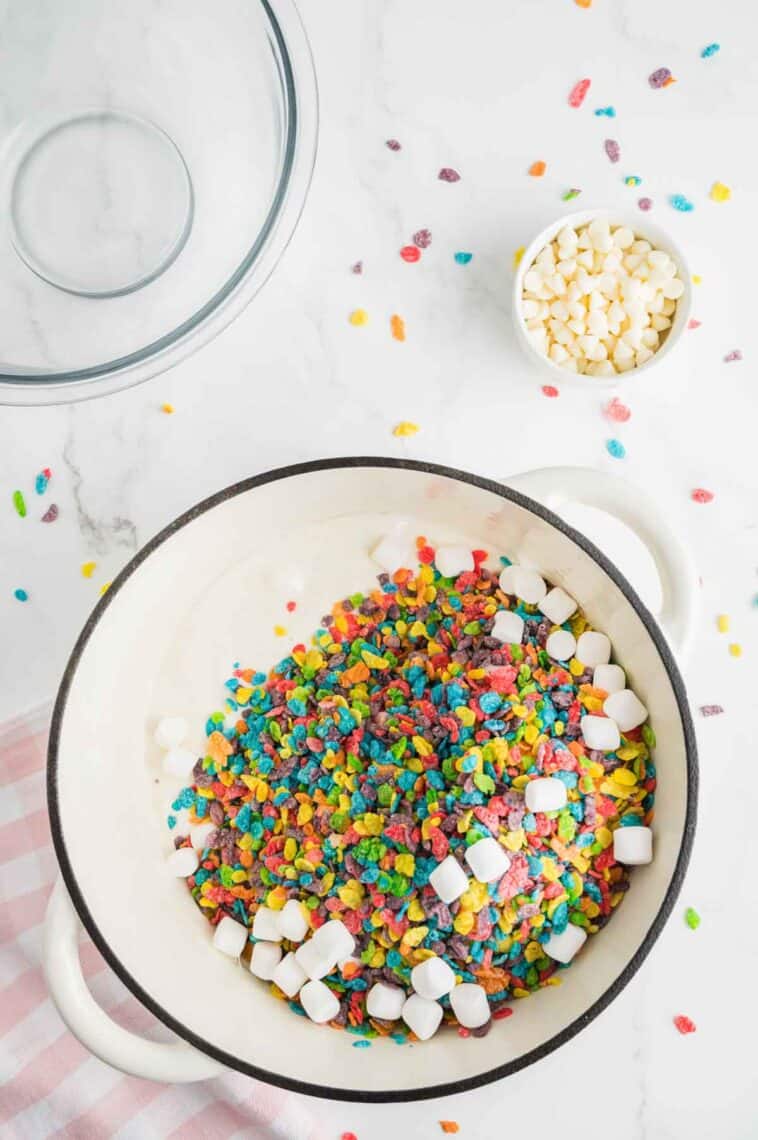
- Add cereal. Pour the in the cereal and marshmallow mixture.
- Combine. Stir until well combined.
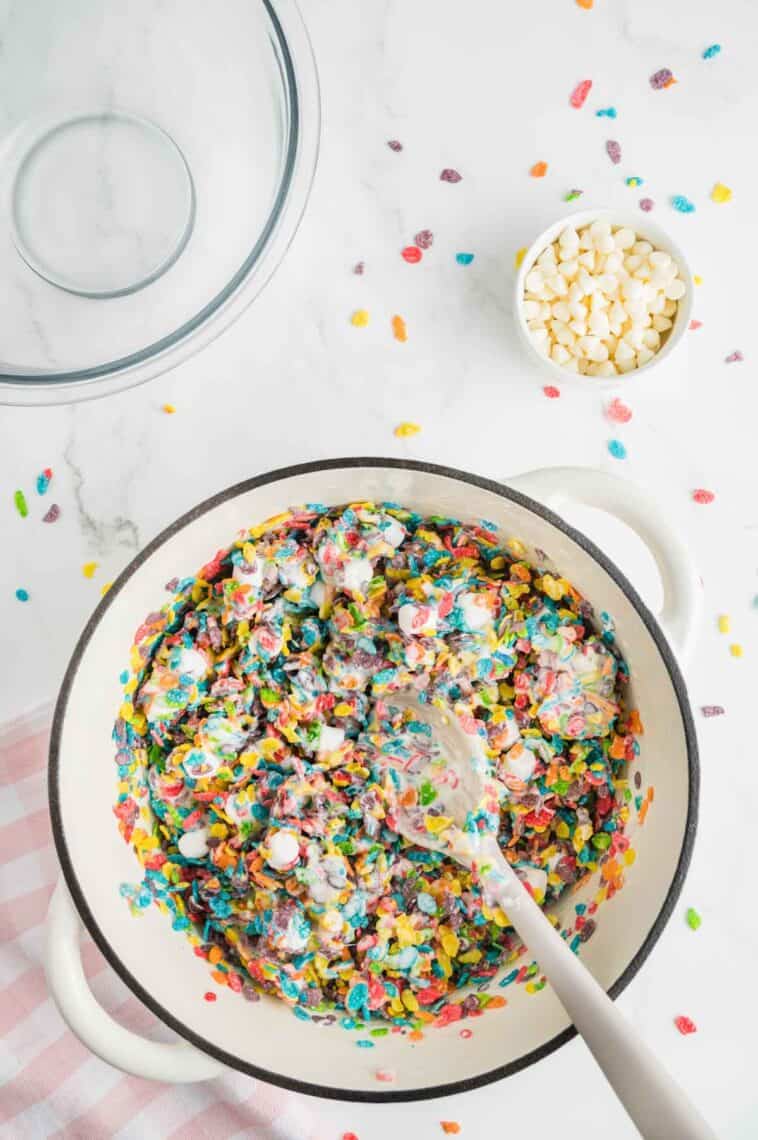
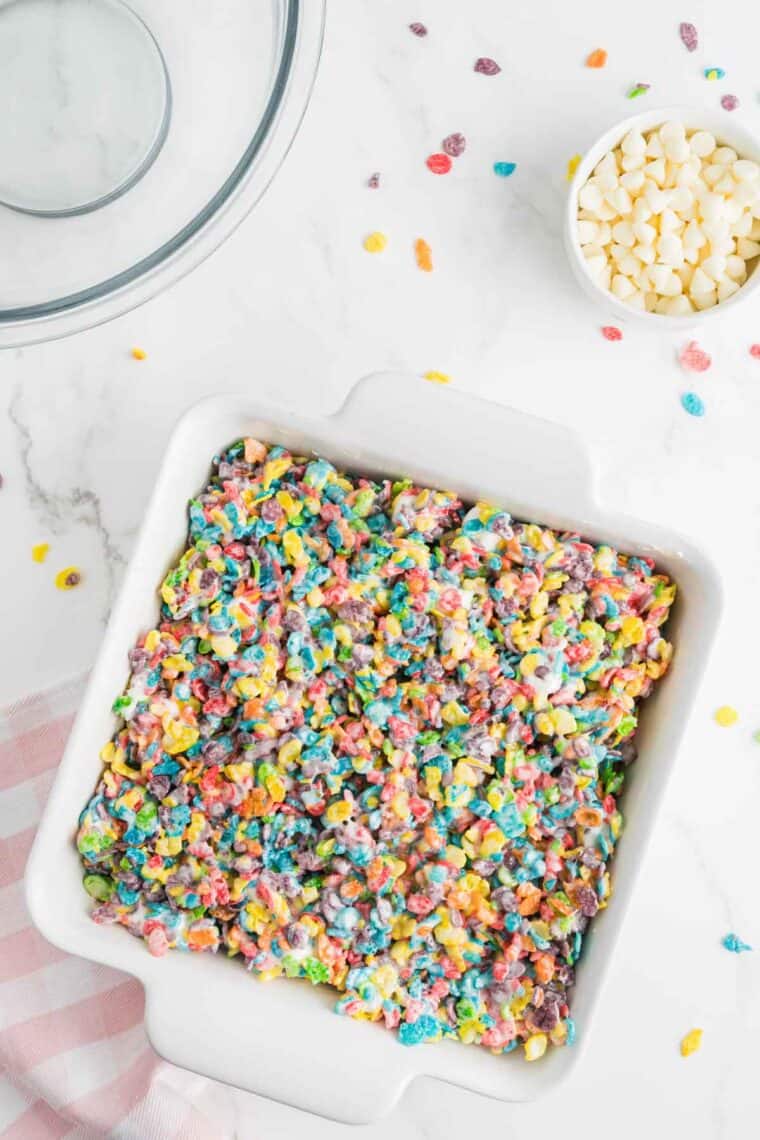
- Set. Transfer the mixture to the baking dish and let it firm up.
- Glaze. Melt the white chocolate and drizzle it over the bars.
- Finish. Let the bars set for a few minutes more, then slice and serve.
Tips for the Best Fruity Pebbles Treats
If you’ve made rice krispies treats you can make fruity pebbles treats!
- Don’t overcook the marshmallows. See more in the FAQs below, but this can lead to hard cereal treats instead of gooey ones.
- Skip the white chocolate topping. I love the drizzle of melted white chocolate over the top of these bars because it adds rich flavor and a fun texture. However, you can pass on the chocolate and the treats will still taste amazing.
- Try semisweet chocolate. You could also add a drizzle of melted semisweet (or milk) chocolate to the bars either instead of the white chocolate or in addition to it.
- Make them vegan. You can easily make these into vegan fruity pebbles treats by using a brand of vegan marshmallows and vegan white chocolate chips (or just omit the glaze). Swap the butter for your favorite non-dairy butter or margarine.
- Add sprinkles. For even more pops of color, top your treats with colorful sprinkles scattered over the white chocolate.
Cereal Treat FAQs
Yes, both Fruity Pebbles and Cocoa Pebbles are gluten-free. The ingredients on Fruity Pebbles are made from rice, oil, sugar, and coloring. They are currently labeled gluten fre at the time of this writing, but always check labels and company websites for updated information.
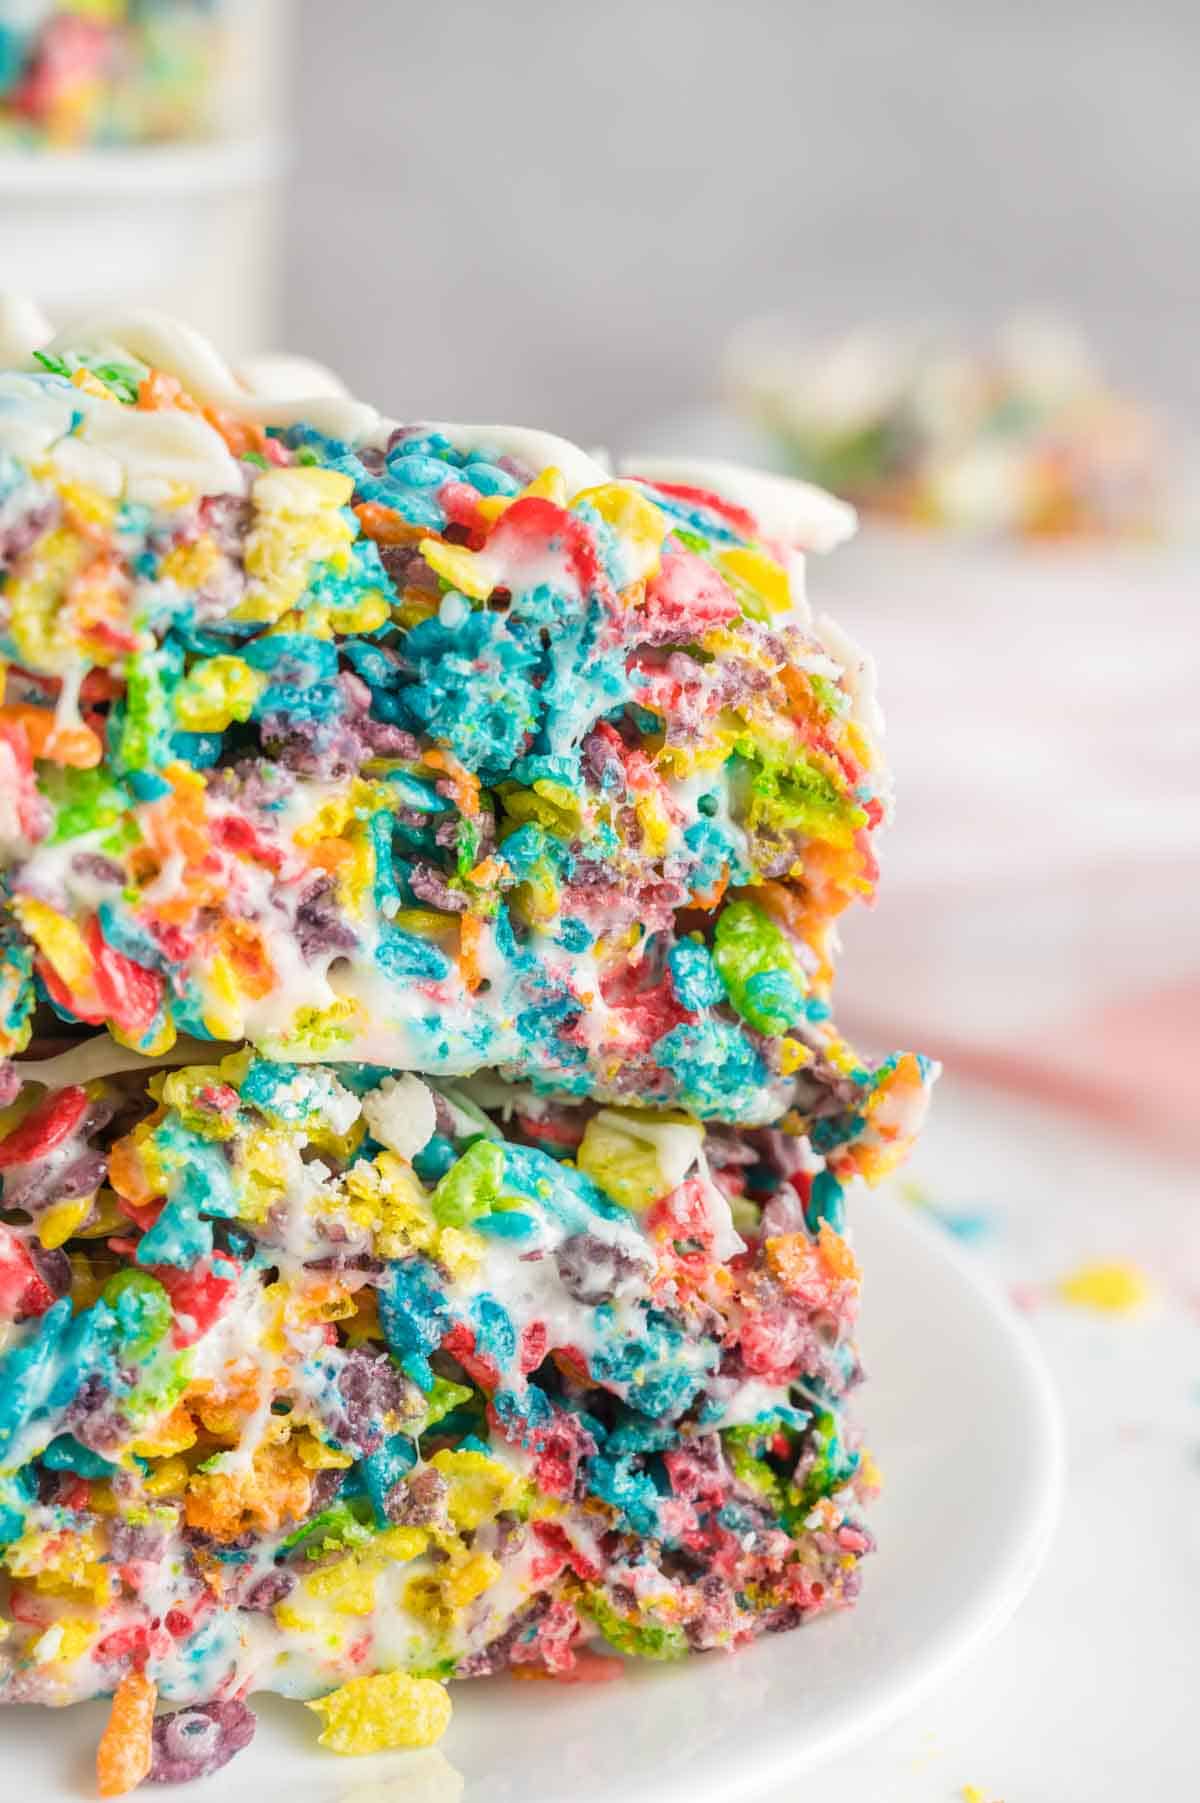
The best way to tell if these bars are ready to cut is either by touching the top lightly or using a knife. If your finger doesn’t stick to the bar, they are ready to cut. If you cut into the pan and they stick to the knife, hold off for a little while longer.
Yes, you can make classic rice krispies treats (using a brand of crispy rice cereal that is gluten free), Cocoa Pebbles Treats, or really any cereal you like. Just be sure to choose a gluten free variety if that is a concern for you.
You may have melted the marshmallows on too high heat or cooked them too long. It is better to err on the side of leaving some small unmelted pieces than risk heating them too much. You may also have packed them too tightly in the pan.
How to Store Fruity Pebbles Rice Krispies Treats
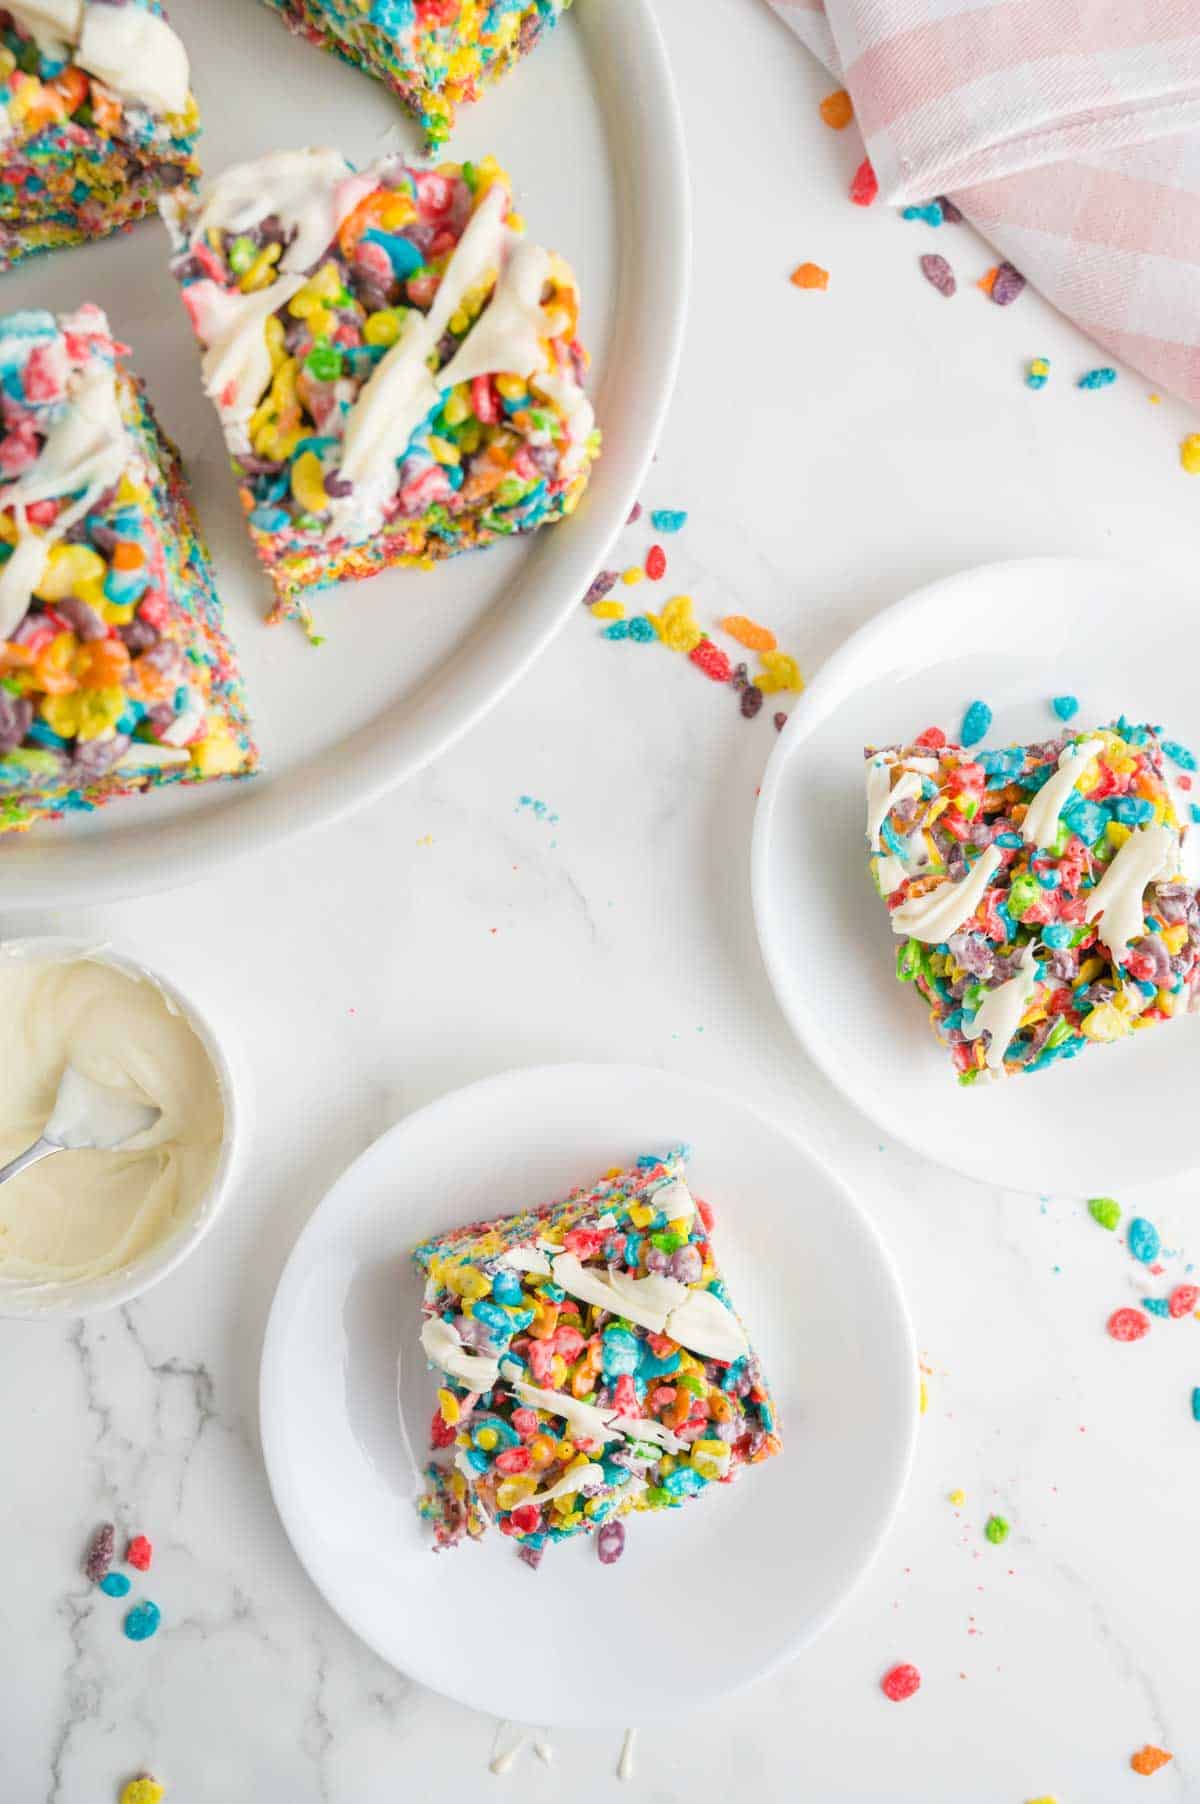
Place the fruity pebbles treats in an airtight container and keep them on the counter for up to 1 week. I don’t recommend storing the treats in the fridge because they can become hard and lose their wonderfully soft and chewy texture.
More Fun Cereal Treats To Try
Fruity Pebbles Treats
Ingredients
- 5 cups Fruity Pebbles cereal
- 1 cup mini marshmallows
- 4 tablespoons unsalted butter
- 10 ounce bag large or mini marshmallows
- ½ cup white chocolate chips , optional
Instructions
- Line an 8×8-inch square baking pan with parchment paper or aluminum foil and grease it generously with cooking spray or butter.
- In a large bowl, stir together the Fruity Pebbles cereal and the 1 cup of mini marshmallows. Set aside.
- In a large, heavy-bottom pot, melt the butter over low heat. Add the remaining marshmallows and melt while stirring constantly. Remove from heat.
- Pour in the cereal and marshmallow mixture and stir until well combined.
- Transfer the mixture to the prepared baking dish and press down tightly until the top is level. Let set at room temperature or in the refrigerator for 1 1⁄2 hours.
- Once it’s done setting, melt the white chocolate chips at 50% power in 15-30 second intervals in the microwave and drizzle over the bars with a spoon.
- Allow to set for another 20 minutes, or until the white chocolate has firmed, before cutting into bars and serving.


