
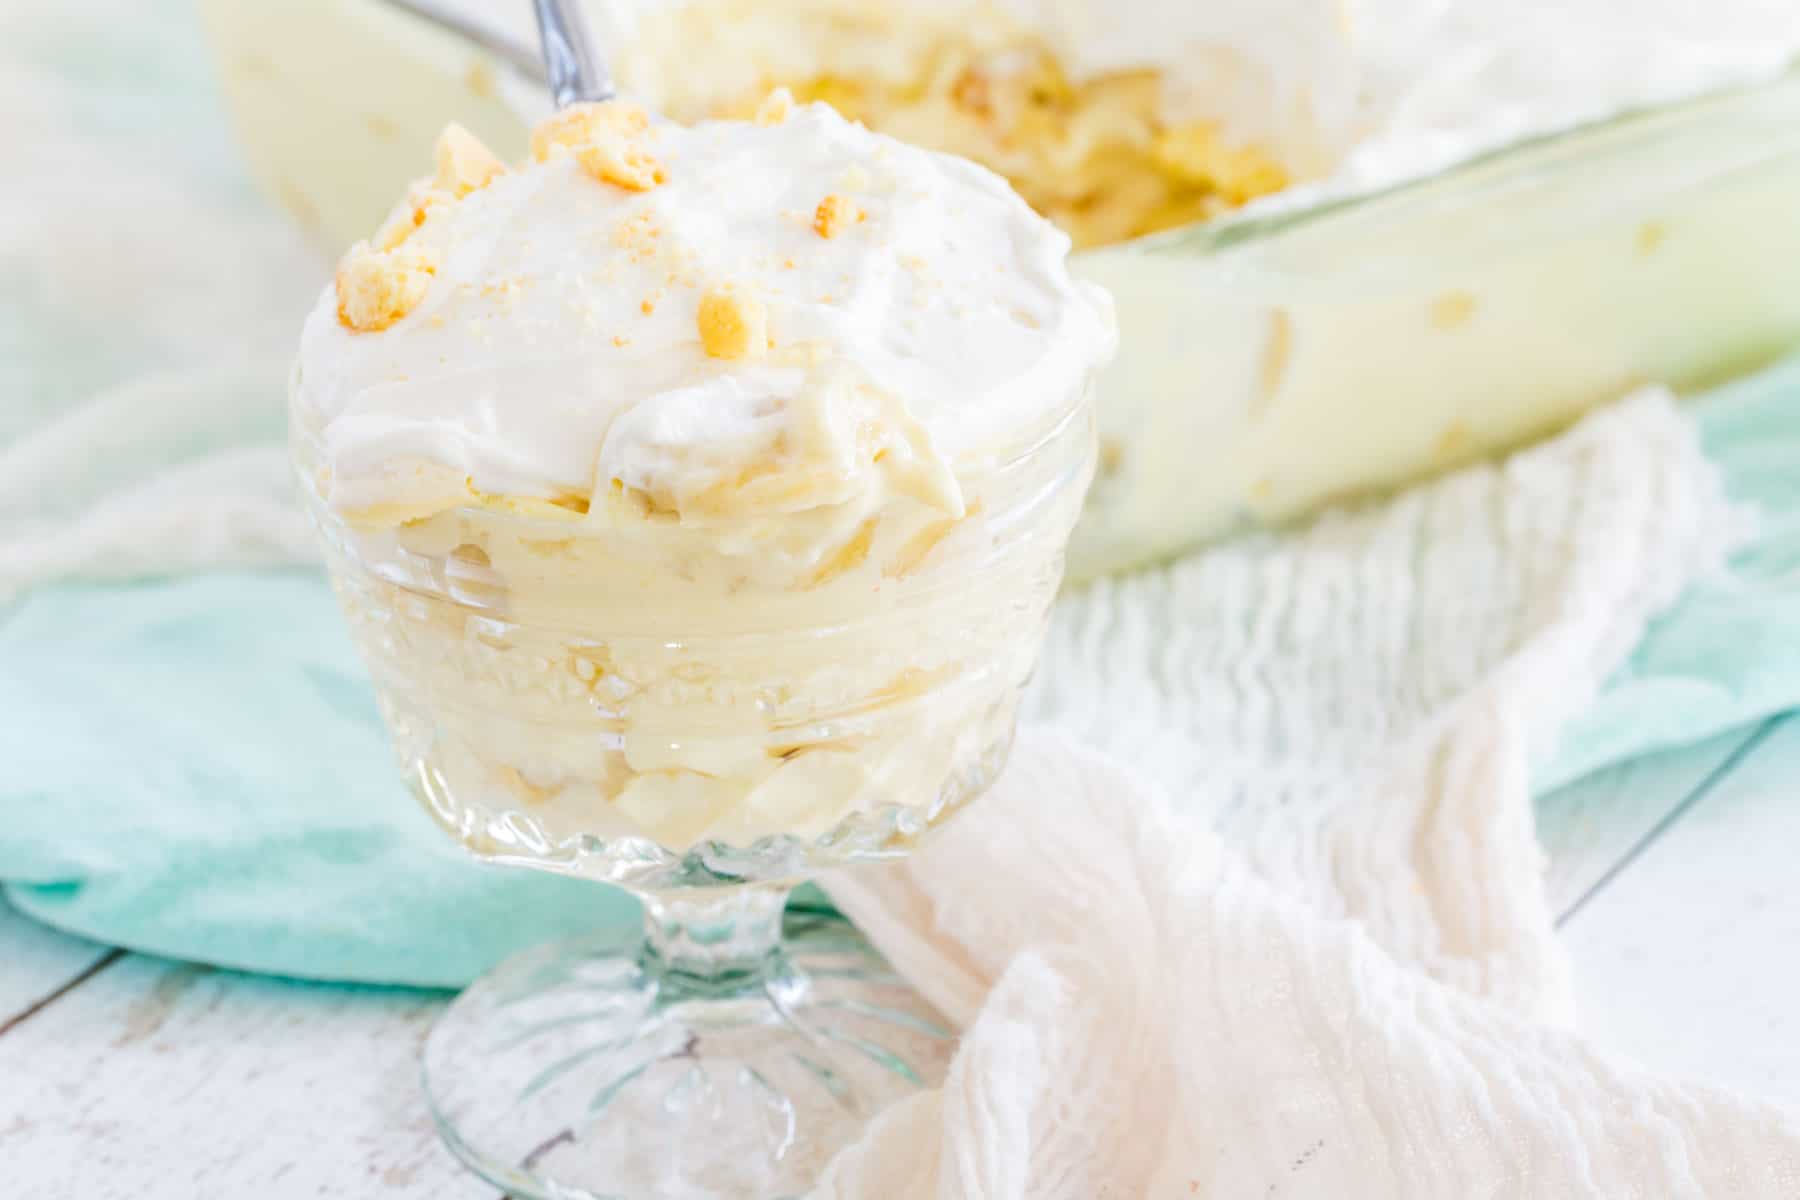
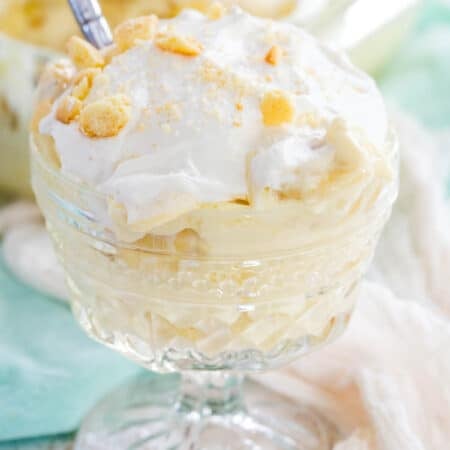
Easy Gluten Free Banana Pudding (Magnolia Bakery-Style)


This easy Gluten-Free Banana Pudding is a heavenly dessert made from creamy pudding layered with ripe bananas and homemade (or storebought!) gluten-free vanilla wafers. Made in the style of the iconic Magnolia Bakery banana pudding, you don’t need to travel to NYC to get a taste right at home!

Magnolia Bakery Banana Pudding, Made Gluten Free!
You don’t have to take a trip all the way to New York City to enjoy the creamy, sweet, iconic flavors of Magnolia Bakery’s famous Banana Pudding. It turns out, it’s pretty easy to make it at home!
I made this version gluten-free, of course, using my homemade Gluten Free Vanilla Wafers (but you can use any wafers of choice). They melded perfectly with the airy layers of vanilla pudding and sweet ripe bananas. I just can’t get over the silky texture of this banana pudding recipe, it’s no wonder people flock to the Bakery for a taste of the original.
This homemade banana pudding is a delicious no-bake dessert that I’m definitely going to repeat throughout the spring, and straight into summer. It helps that it’s chilled, making it the ultimate refreshing treat to bring along to cookouts, without even needing to turn on the oven.

What Is Magnolia Bakery Famous For?
You may already be familiar with Magnolia Bakery from a visit to New York City, or you might recognize it as Carrie Bradshaw’s favorite place for cupcakes in Sex and the City. Magnolia Bakery is a chain of bakeries known for their cupcakes, true, but even more so for their banana pudding!
Seriously, people line up around the West Village block for this creamy banana dessert. So, imagine the thrill it was to learn that I could make it at home. It’s surprisingly easy, and with a few gluten-free swaps, this homemade banana pudding turned out super close to the real thing.

What’s In Banana Pudding?
Below is what you’ll need to make this gluten-free version of Magnolia Bakery’s banana pudding. The full recipe details are available in the recipe card, so don’t forget to scroll.
- Milk: You’ll combine cold milk with pudding mix to form the base of the whipped pudding layer.
- Instant Vanilla Pudding Mix: Yes, even the original, famous Magnolia Bakery banana pudding is apparently made with pudding mix! Be sure you’re using instant pudding, and not the one that needs heating.
- Sweetened Condensed Milk: For extra richness, you’ll need the sweetened kind and not regular condensed milk. There is a difference!
- Heavy Cream: Make sure that your heavy cream is well chilled. This is key to a fluffy, airy whipped cream.
- Vanilla Extract: Nothing rivals real vanilla extract when it comes to flavor.
- Powdered Sugar: You’ll combine powdered sugar with leftover whipped cream for the final frosting layer.
- Vanilla Wafers: You’ll need one batch of homemade Gluten-Free Vanilla Wafers, or you can use your preferred brand of store-bought gluten free Nilla wafers, such as Kinnikinnick.
- Bananas: You’ll need about 5 bananas (ripe ones), sliced into rounds.

How to Make Gluten-Free Banana Pudding
Before you begin, you’ll need to get your bowl for the whipping cream nice and cold. Pop it into the fridge or freezer while you get started on your banana pudding:
- Prepare the Pudding: In a large mixing bowl, whisk together the milk and pudding mix until thickened, then beat in the condensed milk.


- Whip the Cream: Take out your chilled bowl, add heavy cream and vanilla, and beat the cream into stiff peaks. Afterward, you’ll transfer two-thirds of the whipped cream to the bowl with vanilla pudding, and fold the powdered sugar into the remaining third. Place the whipped cream with powdered sugar into the fridge for now.


- Assemble: Now, you’re ready to assemble your banana pudding. Start with a thin layer of pudding, followed by a single layer of vanilla wafers, then banana slices. Top this with more pudding, and repeat. Once you have three layers of wafers and bananas, finish with a final spread of pudding.
- Chill: Wrap your banana pudding tightly and place it in the fridge for at least 4-6 hours, or overnight.


Finish and Serve: When you’re ready to serve, top your pudding with the sweetened whipped cream mixture from earlier. You may need to give it an additional whip to fluff it up again. Spread the whipped frosting over the top pudding layer, then sprinkle over crushed wafers and banana slices to garnish. All that’s left to do is dig in!


How Do I Keep Bananas From Browning?
The best way to avoid browned bananas is to serve your banana pudding right away! But there are some precautions that you can take as well:
- Use ripe bananas, but not overly ripe ones. This isn’t banana bread! Make sure to use bananas that are just ripe, or even barely ripe, and not already going brown.
- Rinse the banana slices in water. Rinsing fruit in water, or even club soda can help it from browning too quickly. You can also brush the banana slices lightly with lemon juice, though this may affect the flavor slightly.
- Don’t expose bananas to too much oxygen. The more air your banana slices are exposed to, the quicker they will brown. If you cut them a bit ahead of time, store them airtight until you’re ready to use them.

More Tips for Success
Here are some additional tips and tricks for the best homemade banana pudding:
- Make sure that your tools are clean. When making whipped cream from scratch, make sure to remove any traces of leftover grease from your bowl and stand mixer attachment. The best way to ensure they’re 100% clean is to give everything a wipe with white vinegar beforehand.
- To avoid a watery banana pudding, don’t overmix the ingredients or mix them too roughly. At the same time, try not to under-mix them, as they won’t combine properly.
- Chill the pudding long enough. Make sure to budget enough time for the banana pudding to chill for at least a few hours, if not overnight so that the cookies can soften and the layers can set up.

Variation Ideas
This gluten-free banana pudding recipe is perfection all on its own, but like most desserts, there’s always room for add-ins if you’d like. Here are some ideas:
- Add Nuts: Sprinkle chopped pecans or walnuts between the layers of your banana pudding for some texture and crunch.
- French Vanilla: You can use French vanilla instant pudding for a more intense vanilla flavor.
- Different Cookies: Make this recipe with another type of vanilla cookie, like Gluten-Free Ladyfingers or shortbread cookies. Or try making it chocolaty with Gluten Free Oreos.

How to Store Banana Pudding
This dessert is best served within 12 hours to one day from when it’s made. However, you can store your gluten-free banana pudding covered in the fridge for up to 3 days. The wafers will soften the longer the pudding is stored. If you’d like, you can also press a layer of plastic wrap directly to the top of the pudding, to help maintain its freshness.
Can I Freeze Banana Pudding?
Yes, you can freeze this banana pudding if you’d like to make it ahead. Once it’s assembled, cover it tightly and store it frozen for up to 1 month. Defrost the banana pudding in the fridge before serving.
What Kind of Pan Do You Need
I make this gluten free banana pudding in a 8-inch square glass baking dish, like the one from Pyrex. You might already have one in your kitchen, but if not, it’s a great pan to have in your cabinets.
Easy Gluten Free Banana Pudding (Magnolia Bakery-Style)
Ingredients
- 1 1/2 cups cold milk
- 5.1 oz. instant vanilla pudding mix
- 14 oz. sweetened condensed milk
- 1 pint heavy cream , well chilled
- 1 teaspoon vanilla extract
- 1 Tablespoon powdered sugar
- 1 batch Gluten-Free Vanilla Wafers , or about two boxes of store-bought wafers (such as Kinnikinnick), depending on the size you’ll need about 50-80 cookies (16-25 per layer, plus extra for garnish)
- 5 ripe bananas , sliced (about 3 1⁄2 cups)
Instructions
- Place one large metal mixing bowl in the refrigerator or freezer.
- In another large mixing bowl, combine the milk and pudding mix, then beat with a whisk for about 2 minutes until slightly thickened. Blend in the sweetened condensed milk until smooth.
- Add the heavy cream and vanilla extract to the chilled bowl, and use beaters or a whisk attachment of a hand mixer to beat the the mixture to form stiff peaks.
- Transfer about two-thirds of the whipped cream to the bowl with the vanilla pudding and gently fold in until combined.
- Add the powdered sugar to the remaining one-third of the whipped heavy cream and gently fold it in. Refrigerate until you need it.
- Set aside about several vanilla wafers to top the banana pudding before serving.
- Spread a thin layer of the pudding mixture on the bottom of an 8-inch square glass baking dish or 1 1⁄2 quart casserole dish. Cover with a single layer of vanilla wafers, and about one-third of the banana slices. Spoon one-third of the remaining pudding mixture over the bananas, followed by a layer of wafers and another one-third of the bananas. Repeat with another one-third of the pudding mixture, wafers, and the remaining bananas. Finish with a final layer of the pudding mixture.
- Cover with plastic wrap and refrigerate for several hours or overnight.
- If needed, rewhip the sweetened whipped cream for a minute or two. Spread the sweetened whipped cream on top of the pudding, then garnish with reserved vanilla wafers (whole or crumbled) and/or additional banana slices before serving.
Did you make this?
Leave a star rating to help others know that they should make this recipe.
Share a photo and tag @cupcakesandkalechips on Instagram!
Categories:
More Gluten-Free No-Bake Desserts
- Gluten Free Tiramisu
- Blueberry Maple Mini Cheesecake Parfaits
- Homemade Pumpkin Pie Pudding
- Pineapple Coconut Fool Dessert
- Clementine Panna Cotta with Chocolate Sauce